Healthy Double Chocolate Chip Muffins

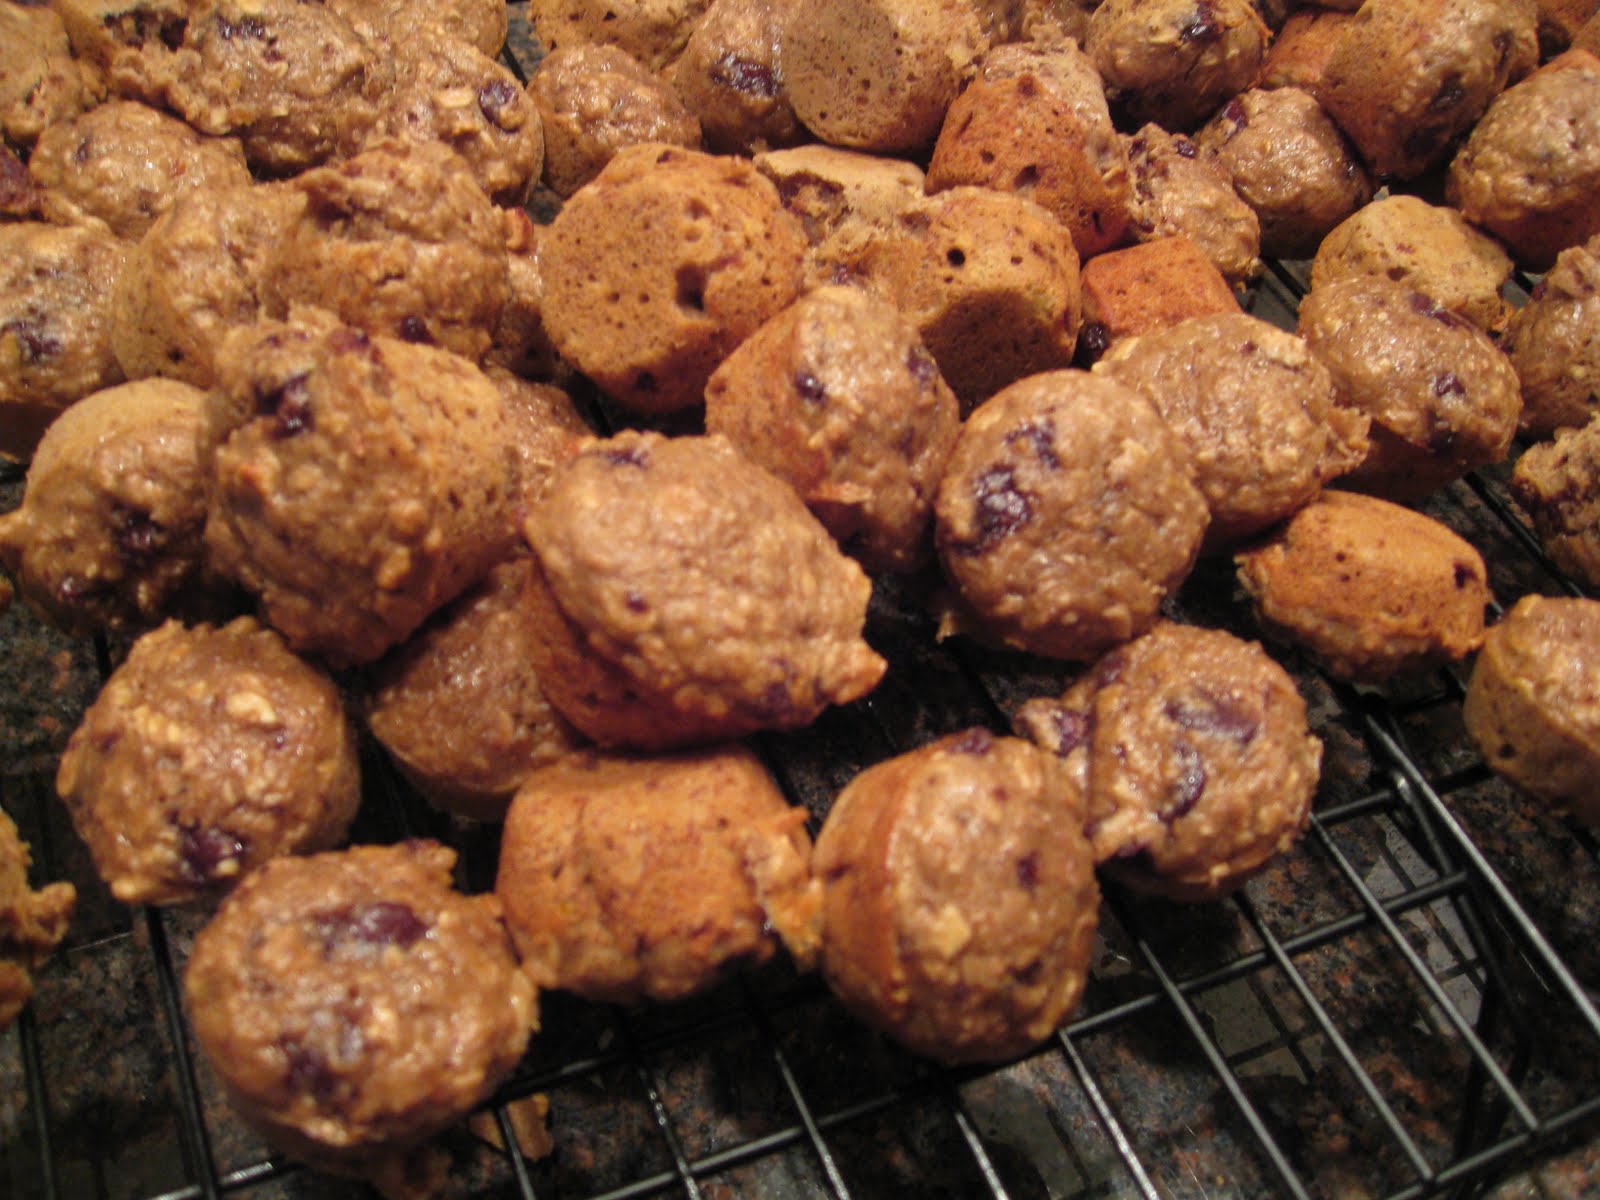
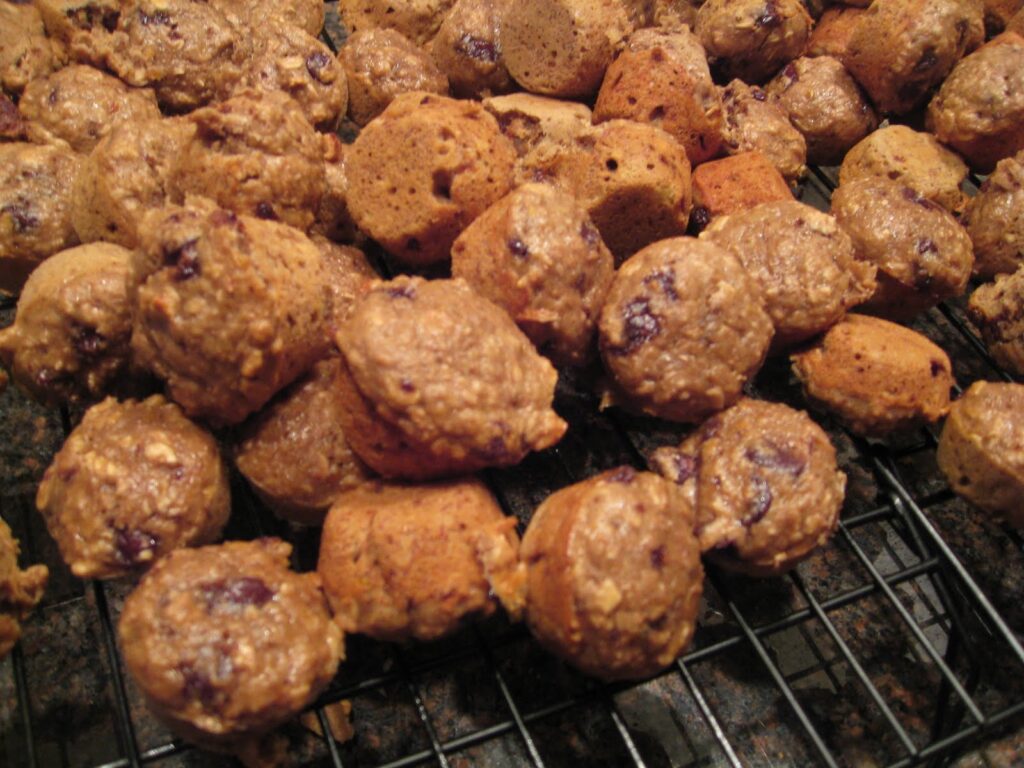
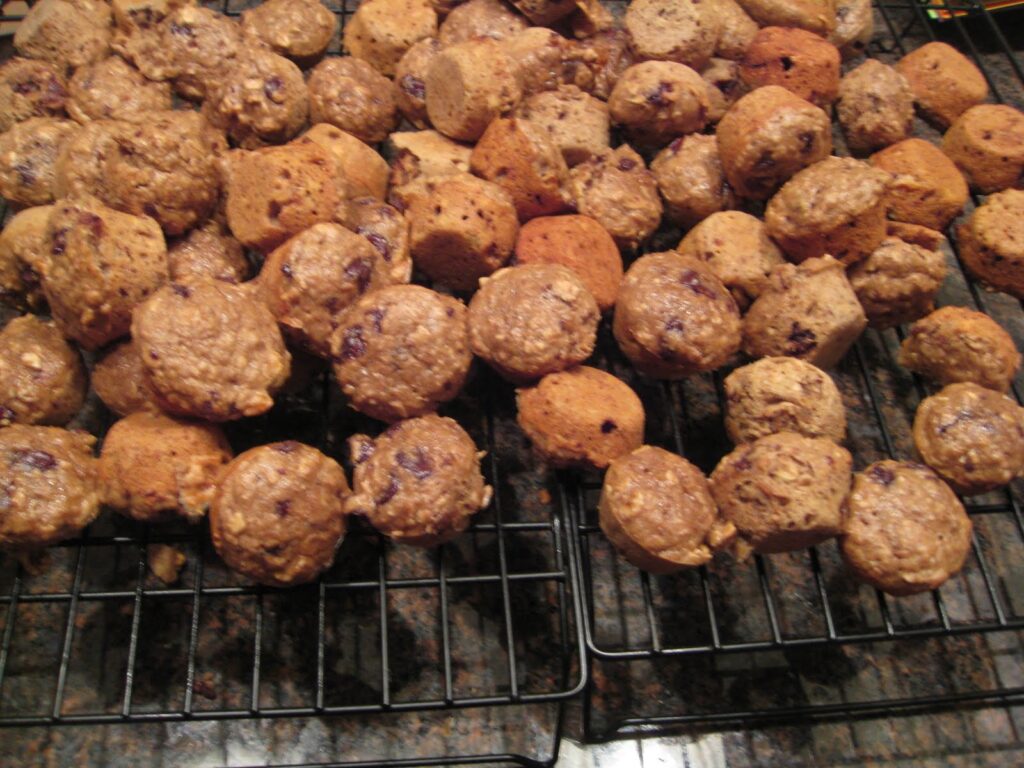
double chocolate chip muffins on a cooling rack

These healthy double chocolate chip muffins are a delicious recipe that kids can help to make. Getting kids active in the kitchen in cooking with kids recipes supports development of skills, and this muffin recipe does the job! Here’s how you make this healthy treat.

Healthy Double Chocolate Chip Muffins

If you like chocolate, this double chocolate muffin is for you.

 
This recipe is one I have made so many times for my kids. They LOVE banana muffins, especially when they are mini versions. The original recipe is from here. I have made this so many times and modified it to what I think is the best banana muffins. It can’t get much healthier than this.
 
There is so much protein in these little buggers, you won’t feel bad about grabbing two (or four). My kids love them with breakfast, lunch, or as a snack. I make a double batch and freeze most of them, pulling out a dozen or so when we need them. Baby Girl even loves them frozen (feels great on teething gums). 
 
We had a rainy day on Friday and certain wild children needed to do something (besides jump off of couches). We decided to make some of these banana muffins, with a few extras added in. They LOVE to help me in the kitchen.  
 
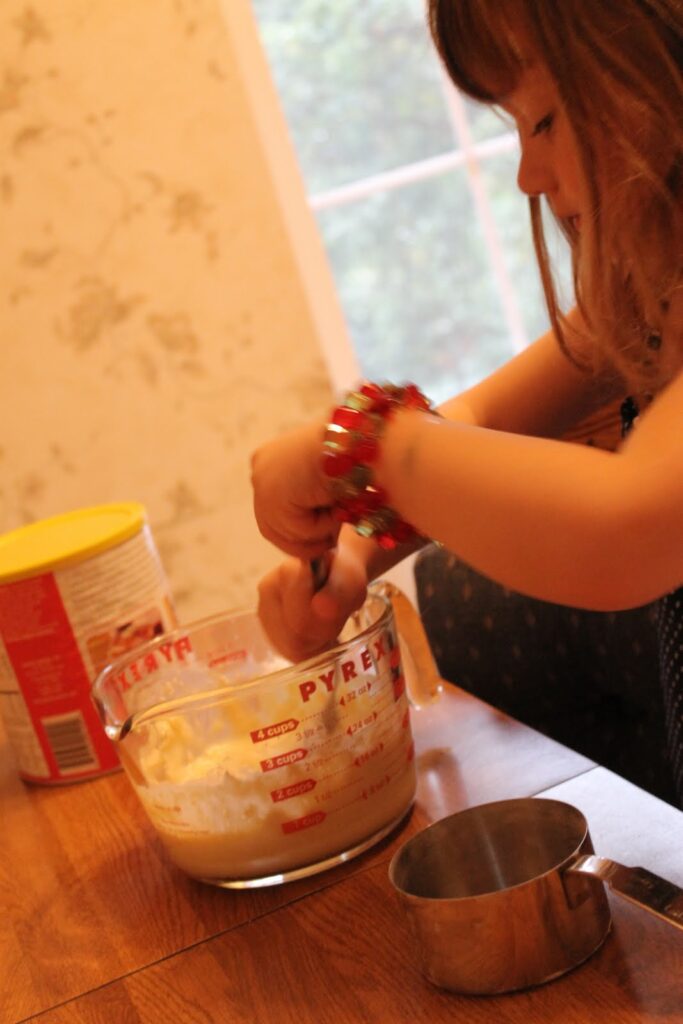
They love to scoop, stir, spill… 
 
The benefits of scooping and pouring is that you can use kitchen tasks like helping to make these muffins as a fine motor and visual motor activity.


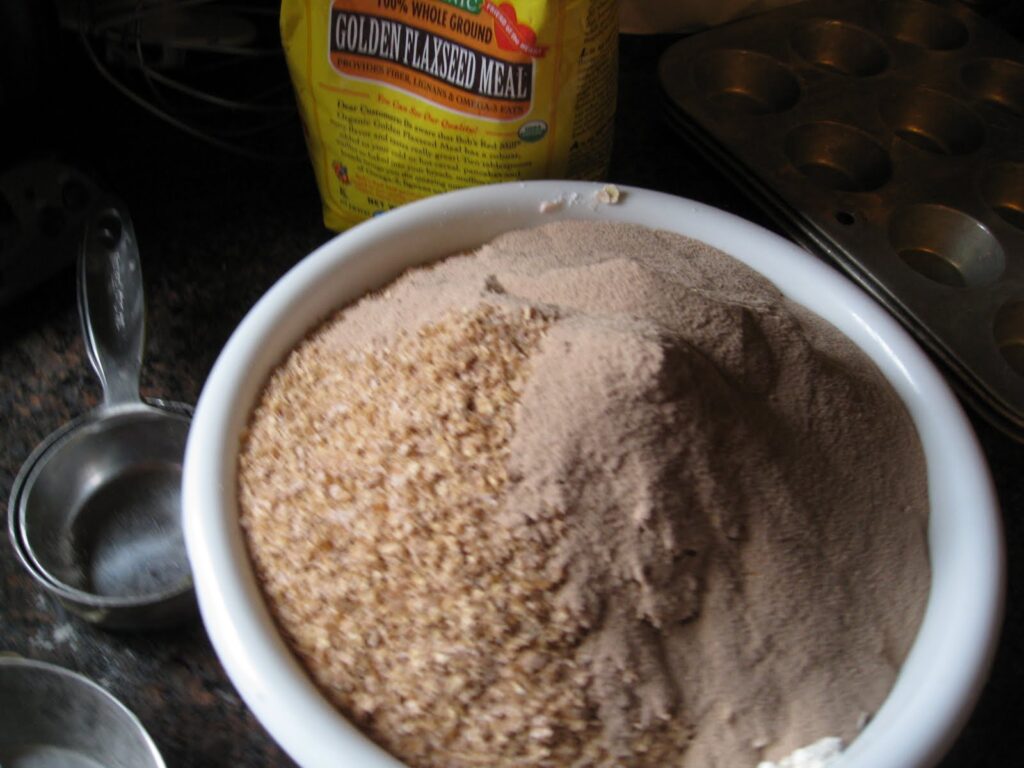
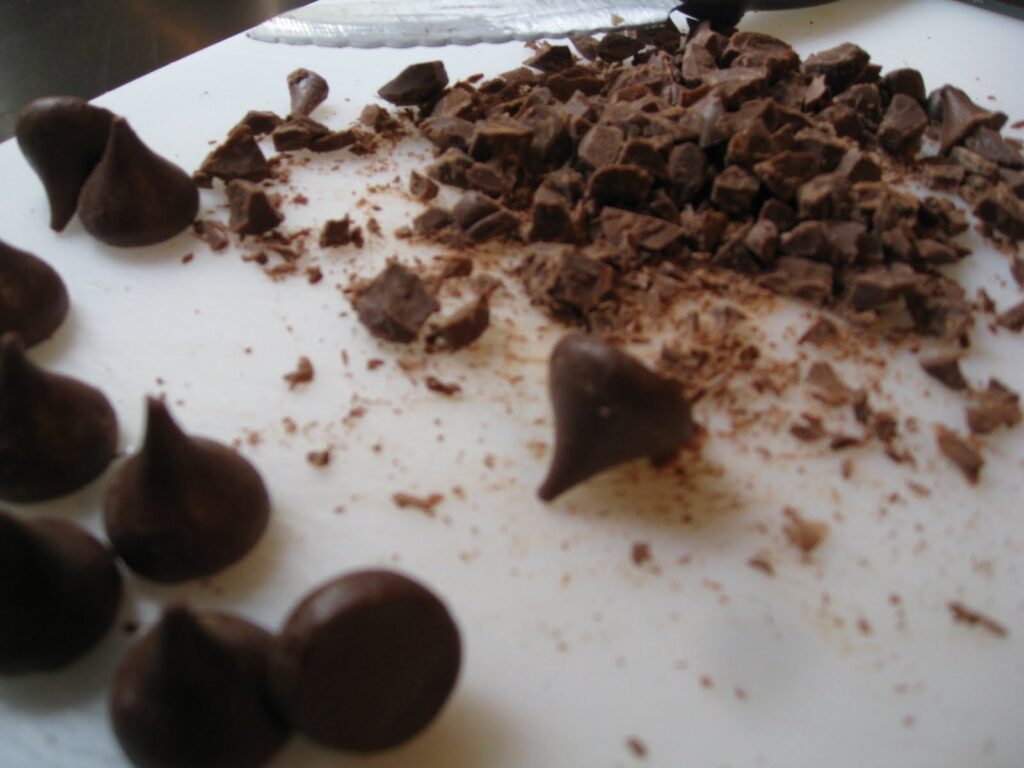
I added flax seed, wheat germ, and a scoop of protein powder to make these double chocolate muffins. We were out of chocolate chips but I found some Hershey kisses and chopped them up into big chunks.


I usually use apple sauce instead of oil, but was out of apple sauce. I looked through the fridge and found yogurt. That works! Plain Greek yogurt would be even better.  What else do these muffins need?

Peanut Butter!


Healthy Double Chocolate Chip Muffins Recipe

Our recipe includes bananas to help hold the ingredients together.

 
4 Ripe bananas
1 cup whole wheat flour
1 cup oats
1/2 cup peanut butter
1/2 cup ground flax seed
1/2 cup wheat germ
1 scoop chocolate protein powder
1/2 cup brown sugar
1/2 cup apple sauce (or plain Greek yogurt)
2 Tbsp light butter
1 tsp vanilla extract
1 tsp baking soda
1/2 tsp baking powder
1 egg
1/4 tsp salt
12 chopped Hershey kisses
 
Directions:
  1. Preheat oven to 350 degrees.
  2. Cream butter with sugar and peanut better.
  3. Add egg and beat lightly. Add mashed bananas, vanilla, and yogurt.
  4. Then add all dry ingredients and mix well.
  5. Spoon into lined mini muffin tins.
  6. Bake 10 minutes. Enjoy!


Colleen Beck, OTR/L has been an occupational therapist since 2000, working in school-based, hand therapy, outpatient peds, EI, and SNF. Colleen created The OT Toolbox to inspire therapists, teachers, and parents with easy and fun tools to help children thrive. Read her story about going from an OT making $3/hour (after paying for kids’ childcare) to a full-time OT resource creator for millions of readers. Want to collaborate? Send an email to contact@theottoolbox.com.

Super Cool Ice Play

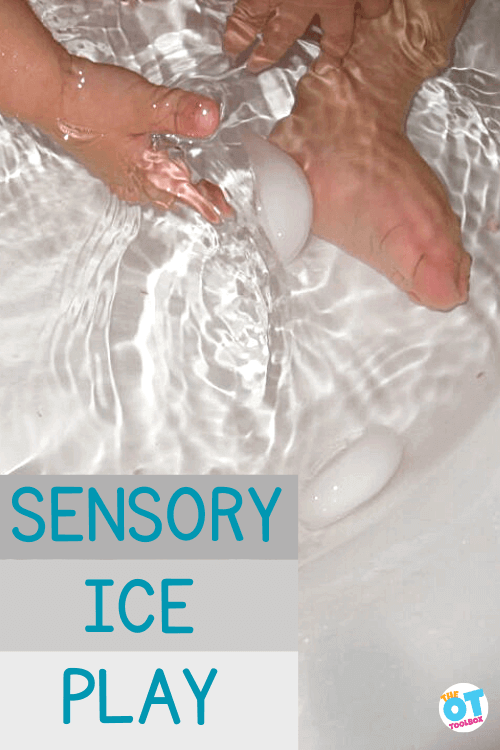
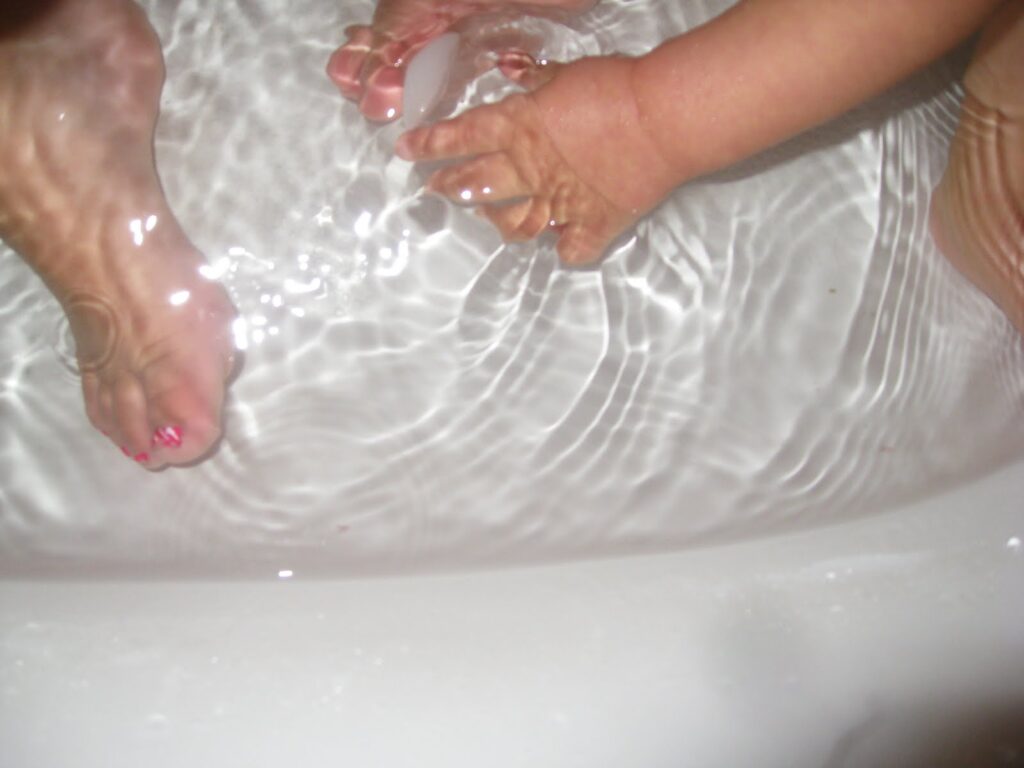
Child's feet and hands in a bathtub with water and ice as the child grasps ice cube. Text reads Sensory ice play

One super “cool” and fun way to encourage sensory motor exploration is with ice play! You might be thinking, “What is ice play?!” Well, many years ago, we shared a blog post about playing with ice in the bath tub as a sensory and fine motor activity for kids. This idea was designed to build skills and add a fun component to the bath tub. That simple sensory activity still stands today!

ice play

Ice Play

Ice play simply means playing with ice! Ice is a readily available tool for building skills in several areas:

Ice play can be anything! We’ve used ice to develop sensory motor skills in several different ways:

Scooping Ice- All you need is a few bowls, some ice, and some spoons to work on scooping and pouring skills.

Smashing Ice- Smashing ice is a great proprioceptive activity that fosters motor planning and hand-eye coordination skills.

Ice Bath- The ice bath is all the rage right now for health reasons, but we aren’t talking about the traditional ice bath used by athletes. When my kids were younger, we used this sensory and motor activity to play in the bathtub. Fill the bath as you normally would and add a few ice cubes to target motor skills.

ice cube sensory play

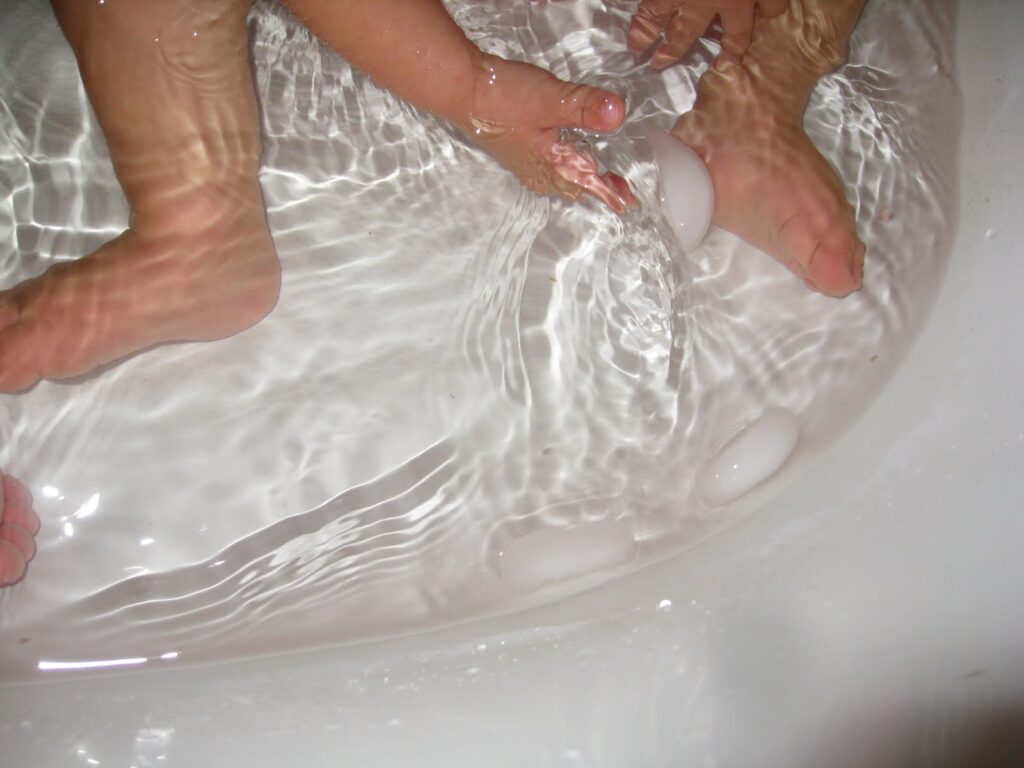
Tonight we filled the tub with warm water, added children, and ice???!!!
 
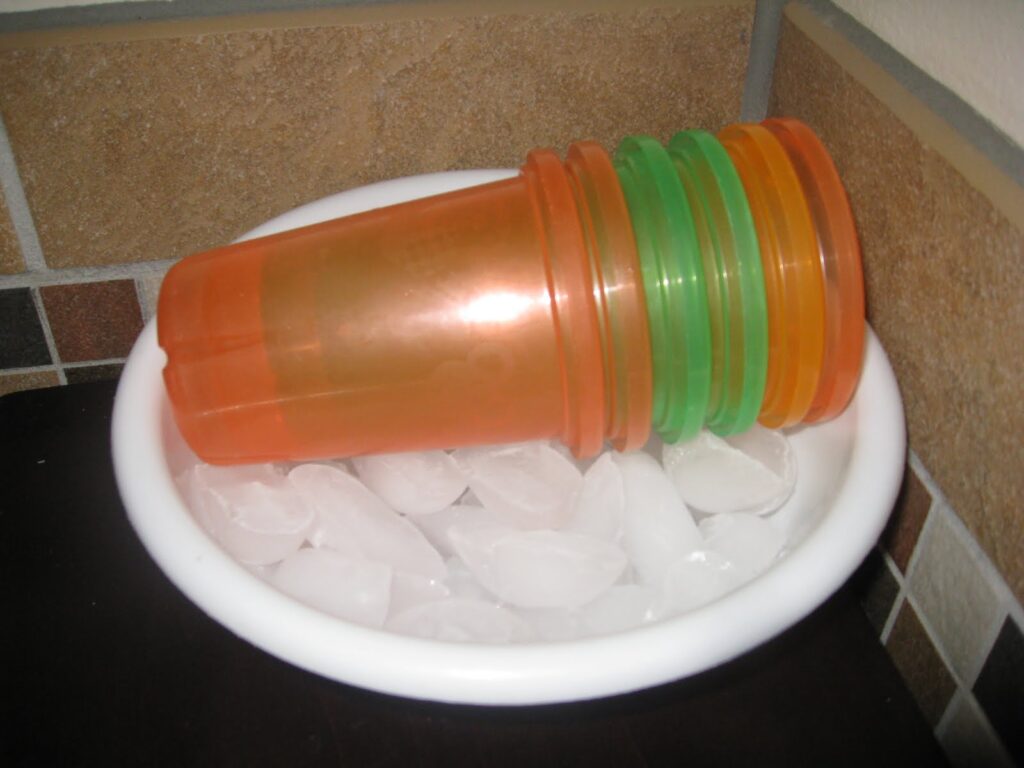
We threw in a few ice cubes and added some cups to catch the ice cubes for a fun change to the typical bath time.
 
This is such a great game to work on baby’s eye-hand coordination. She watched the ice slip around and chased after it with her hands. She was able to catch it most of the time.
 
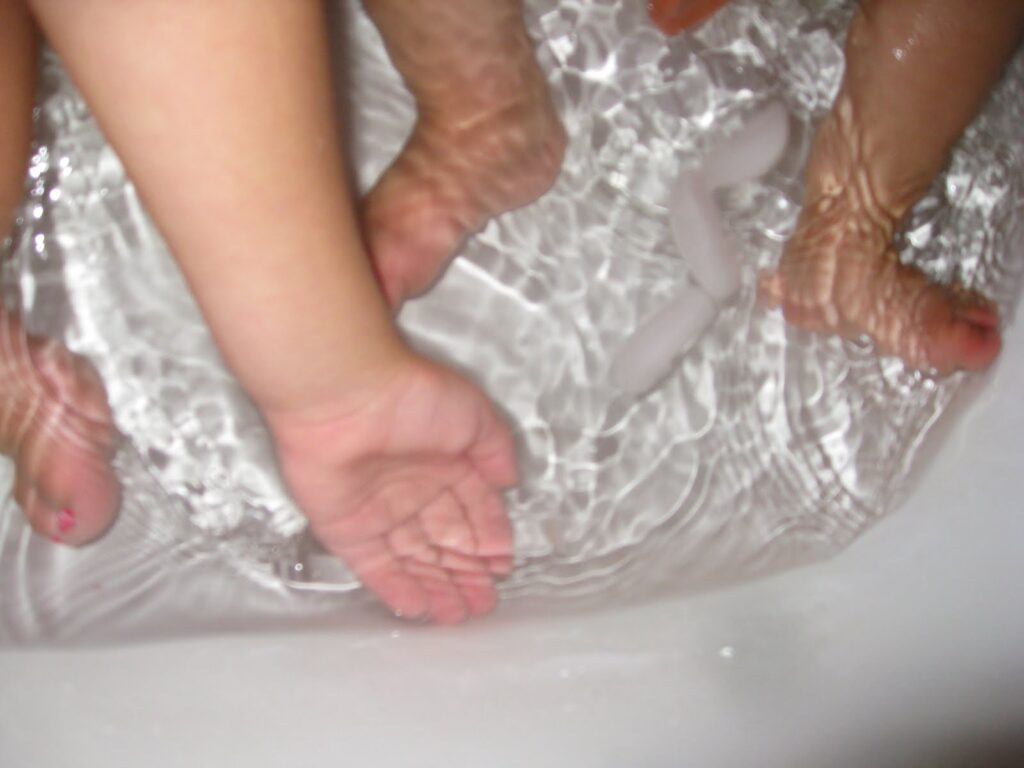
Crossing midline (reaching the right hand over to the left side of the body and vice versa) is crucial for so many functional skills of a child. Crossing midline builds neural pathways of the brain and is needed for learning. 


(that’s a lot of ice…we didn’t use it all…only a handful of ice cubes!)


The big kids used cups to catch the ice cubes, transfer them cup-to-cup, and kid-to-kid! 
 
 
We warmed up the water once, but a few ice cubes didn’t make the bath too cool. Keep a close eye on baby to make sure any caught ice cubes don’t become choking hazards. 
 
Baby Girl loves her bath time and ice only made it better today!


More sensory play activities that are built right into everyday functional tasks:


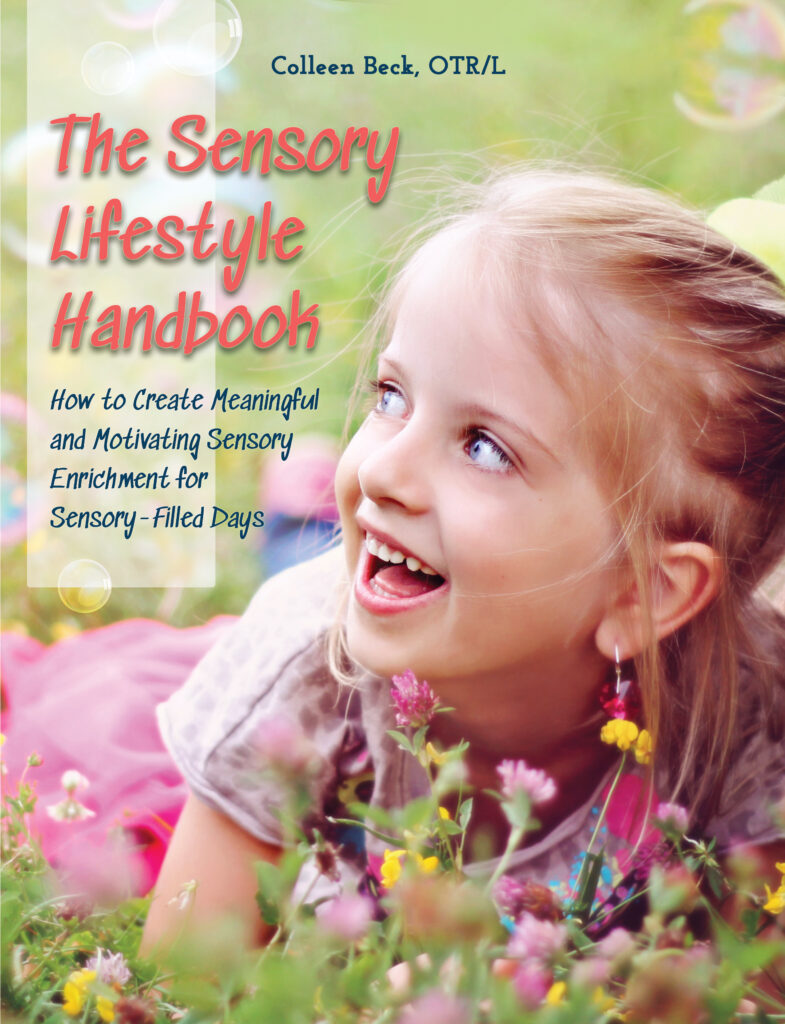
The Sensory Lifestyle Handbook walks you through sensory processing information, each step of creating a meaningful and motivating sensory diet, that is guided by the individual’s personal interests and preferences.

The Sensory Lifestyle Handbook is not just about creating a sensory diet to meet sensory processing needs. This handbook is your key to creating an active and thriving lifestyle based on a deep understanding of sensory processing.

Fine Motor Water Bead Activities

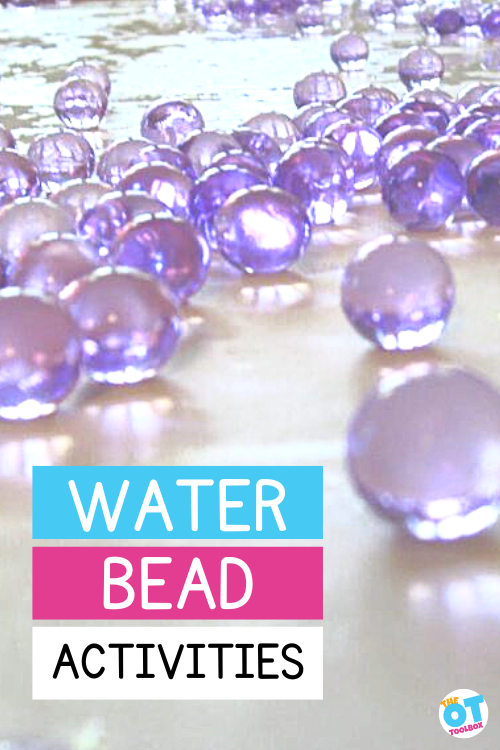
Purple water beads on a table. Text reads water bead activities

We love water bead activities and just like our water bead sensory bin, the activities in this blog post are fun ways to target fine motor skills through play. You’ll also find a list of fun water bead ideas to support sensory play and multisensory learning.

water bead activities

Have you ever experienced the unique fun and sensory experience that water beads provide? From creating colorful creations with your hands to exploring a squishy, mesmerizing texture between your fingers – there are plenty of incredible ways to explore the wonderful world of water beads. Let’s dive right in and explore some of the exciting possibilities of this activity!

What are Water Beads

Have you heard of water beads? Traditionally used as a vase filler, over the years, these expandable beads have been introduced as a sensory play medium.

Water beads, also known as non-edible beads, are composed of a water-absorbing polymer mixture. This polymer is comprised of minute particles that adhere to one another, forming elongated chains, which holds the form of the waterbead.

Dry water beads have the capacity to absorb water, expanding and filling up like a sponge when immersed in water. This is the form that is used in sensory play activities.

Benefits of Waterbead Activities

Water bead activities have become increasingly popular with children and adults alike as these activities offer a host of benefits. Not only are water bead activities fun and engaging, but they also help build physical and mental skills.

One of the best things about waterbead activities is that they help to develop hand-eye coordination. Children can use their hands to manipulate the beads into different shapes and patterns that require a certain amount of skill and concentration. This helps strengthen their motor skills, as well as their ability to think spatially and problem solve.

Waterbead activities also encourage creative thinking. When playing with the beads, children are encouraged to come up with new ways to use the beads and create unique designs. This helps to build their imagination and increase their confidence in their own creative abilities.

Finally, water bead activities are a great way to teach children about the properties of water. By playing with the beads, children learn about the properties of water, such as viscosity and surface tension. In addition, they can explore the different effects that different temperatures and amounts of pressure can have on the beads.

Before we get to our water bead activity below, think of all of the ideas you can do with water beads. These are activities to support several aspects of development:

  • Fine motor skills– pincer grasp, separation of the sides of the hand, thumb opposition
  • Eye-hand coordination
  • Tactile sensory exploration
  • Benefits of playing with a sensory bin: self-confidence, problem solving, creativity, etc.
  • Learning opportunities

Beside the benefits of using this sensory material, water beads should be used with caution. They should only be used under the supervision of an adult and never with children who may put the water beads into their mouth.

Water Bead Activities

There are SO many creative ideas for using waterbeads! Some of our favorite fun ways to use water beads include:

  1. Sensory play: Let your hands sink into a container filled with water beads and enjoy the unique tactile sensation.
  2. Water bead sensory bin: Create a large sensory bin filled with water beads and let children explore and play. After using them, they can be used for other sensory bins like in this purple sensory bin.
  3. Make water bead shapes: Use the beads to form different shapes such as squares, circles, and triangles. Once the shape is complete, ask your children to draw the shape on a piece of paper. This activity is great for developing hand-eye coordination and spatial awareness.
  4. Color mixing: Use water beads of different colors and mix them together to create new color combinations.
  5. Water bead patterns: Give your children a handful of beads in different colors and ask them to arrange them in an interesting pattern. This activity encourages creativity and problem solving.
  6. Sorting and counting: Sort water beads by color, size, or shape. Practice counting and organizing them into different groups. This activity is great for encouraging your children to think critically about the properties of the beads.
  7. Water bead art: Glue water beads onto a canvas or paper to create unique textured art pieces.
  8. Water bead ice: Freeze water beads in ice cube trays to create colorful, sensory ice cubes for water play.
  9. Make a sensory mat- Fill a gallon sized baggie with water beads. Seal the edge and tape. Then tape to the floor or table surface to create a water bead sensory mat.
  10. Water bead balloons: Fill balloons with water beads and then inflate them. Squishing and playing with these squishy balloons is lots of fun.
  11. Water bead sensory bags: Fill resealable plastic bags with water beads and a little bit of water, then seal them tightly. Children can squeeze, squish, and explore the beads through the bag.
  12. Water bead sensory bottles: Fill empty water bottles with water beads and water to create calming sensory bottles. Add glitter or other small objects for added visual interest.
  13. Water bead bath: Add water beads to a bathtub filled with warm water for a unique sensory bath experience.
  14. Fill a clear plastic container to make a water bead sensory box. Seal the edges and shake!
  15. Water bead shooters: Use plastic syringes or turkey basters to shoot water beads across a table or into targets.
  16. Water bead slime: Mix water beads into homemade slime or play dough to create a textured and colorful sensory experience.
  17. Water bead excavation: Freeze water beads in a block of ice and let children excavate them using warm water or tools like spoons and small hammers.
  18. Water bead planters: Fill small pots or vases with water beads and place small plants or flowers in them. The beads will help keep the plants hydrated.
  19. Water bead sensory letters or numbers: Glue water beads onto large foam letters or numbers to create a tactile learning experience.
  20. Water bead stress balls: Fill balloons with water beads and tie them off tightly. Squeeze and squish the stress balls to relieve stress and promote relaxation.
  21. Water bead marbles: Use water beads as a substitute for traditional marbles in games or marble runs.
  22. Water bead sensory jars: Fill clear jars or bottles with water beads of different colors and sizes. Children can shake, tilt, and observe the beads as they move and settle.
  23. Water bead target practice: Set up targets or containers and try to toss or shoot water beads into them, testing your aim and coordination.

Remember to always supervise children during water bead play and ensure they do not put them in their mouths, as they can be a choking hazard.

 
I’ve seen Water Bead play all over Pinterest and the web. We had to try them! They are the beads you see in vases with flower arrangements and you can find them in the floral aisle of Walmart. I’ve even heard that  Dollar Tree carries them. They are non-toxic and stay squishy long enough for fun sensory play once they are hydrated when out in the open air. If covered with a lid, they won’t dehydrate and will stay hydrated for much longer.
 

how to hydrate water beads

Hydrating water beads is easy to do (and fun for little hands). It’s a great motor skills activity in and of itself.
 
1. Pour the packet of water beads into a large container. Select a container that has a lid so you can keep your water beads hydrated for some time.
 
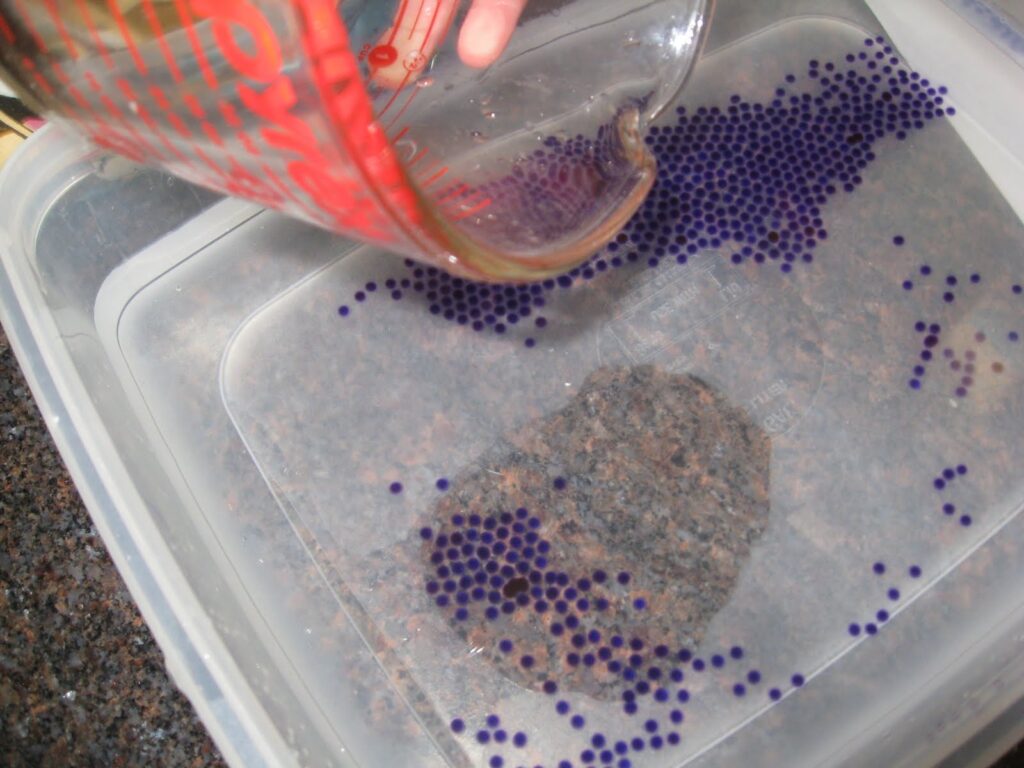
2. Add water…This is a great activity for little ones to work on scooping and pouring as a gross motor and coordination activity.

3. Allow the water beads to sit in the water for a few hours. You will see them start to expand as they soak up the water. 

4. Drain the water beads into a colander to remove the excess water. Or, if there is just a small amount of water still in the container, you can keep the water in the bin for added sensory input.

5. Now it’s time to play!


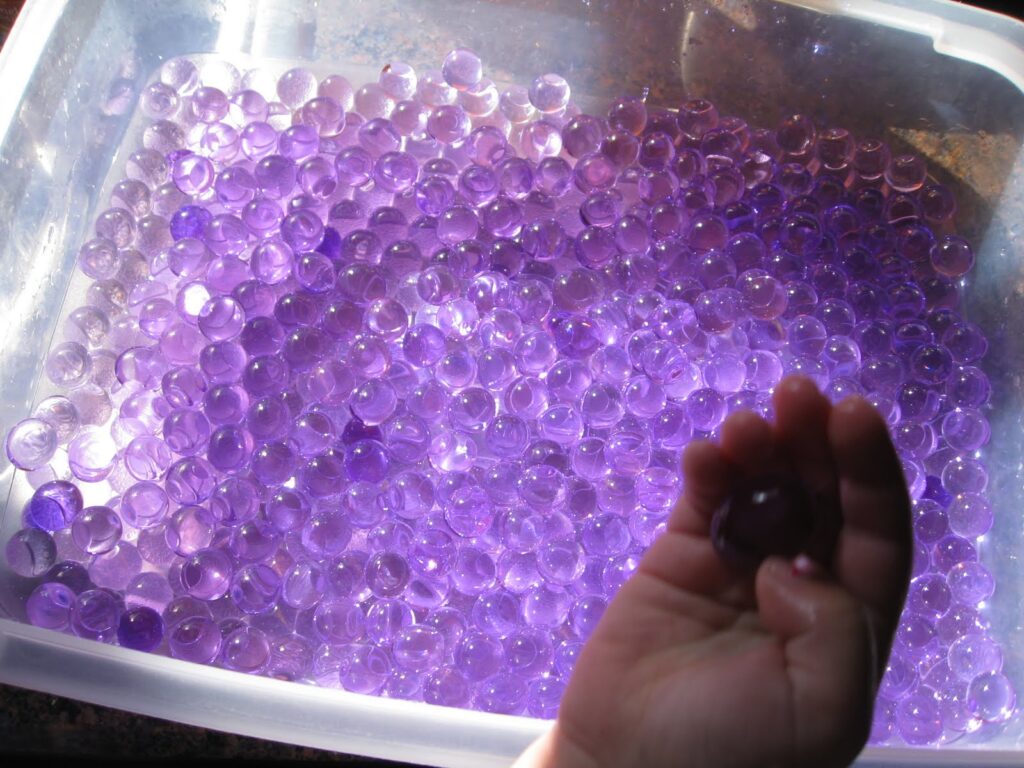
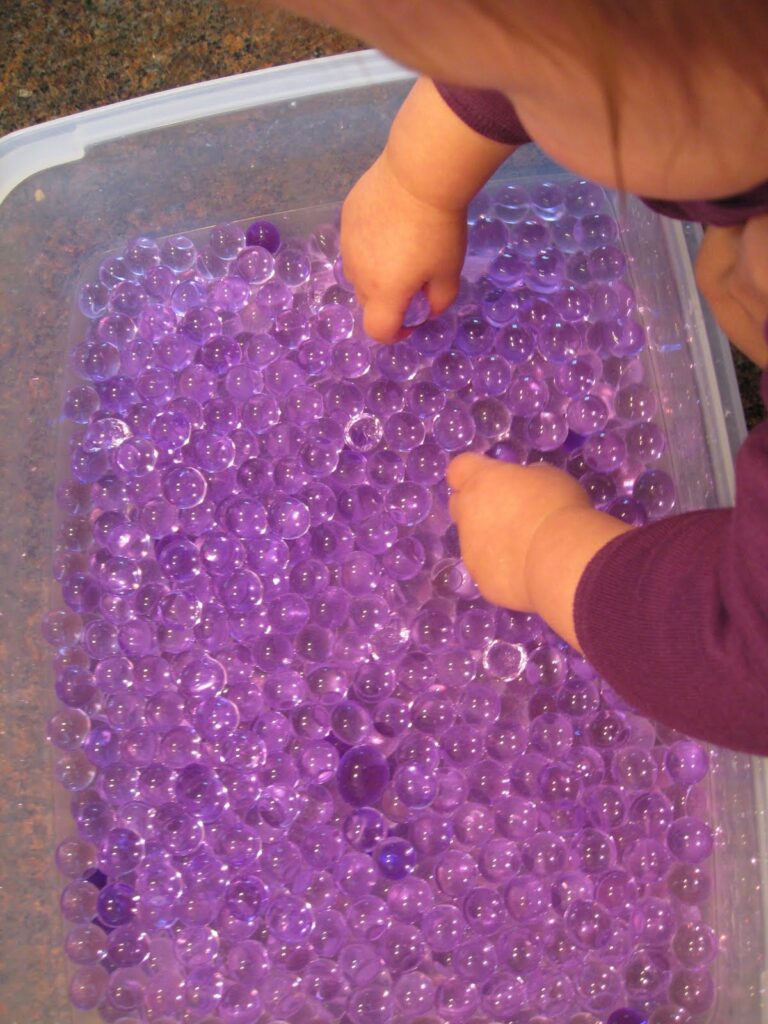
Drain the water in a colander and PLAY!

We left them over night but they hydrate in about 6 hours.
 
 
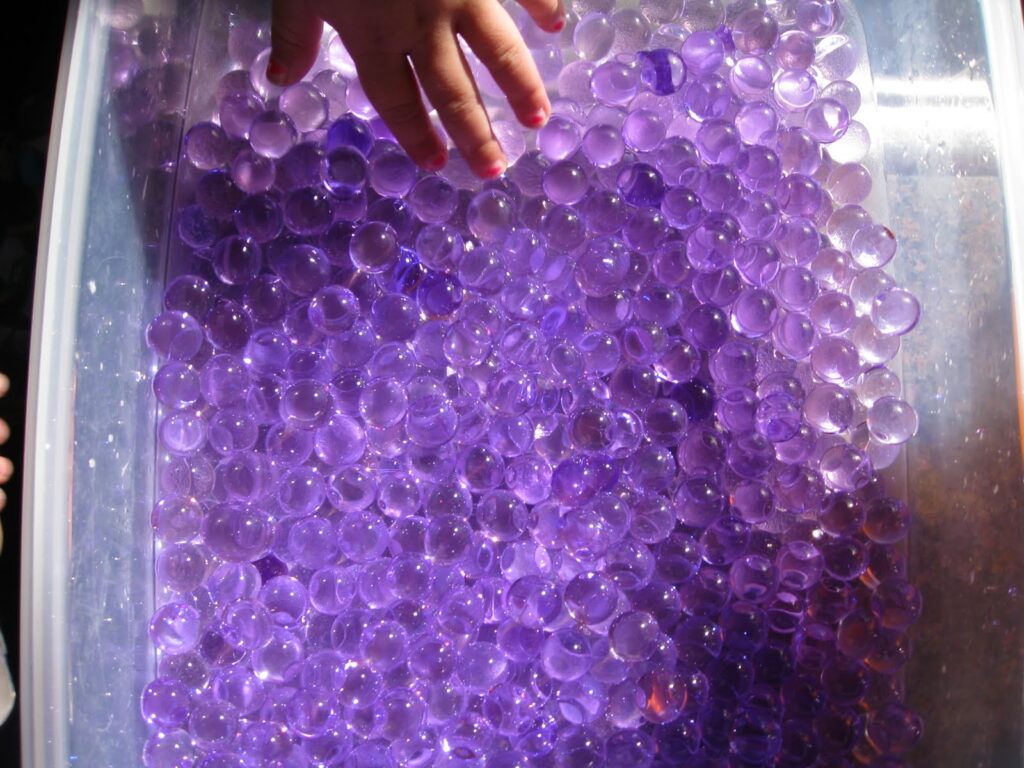
We LOOOOOVED playing with these things! We had them sitting in this bin on the counter the other day and every time she caught a glimpse, she got all excited and wanted to play.


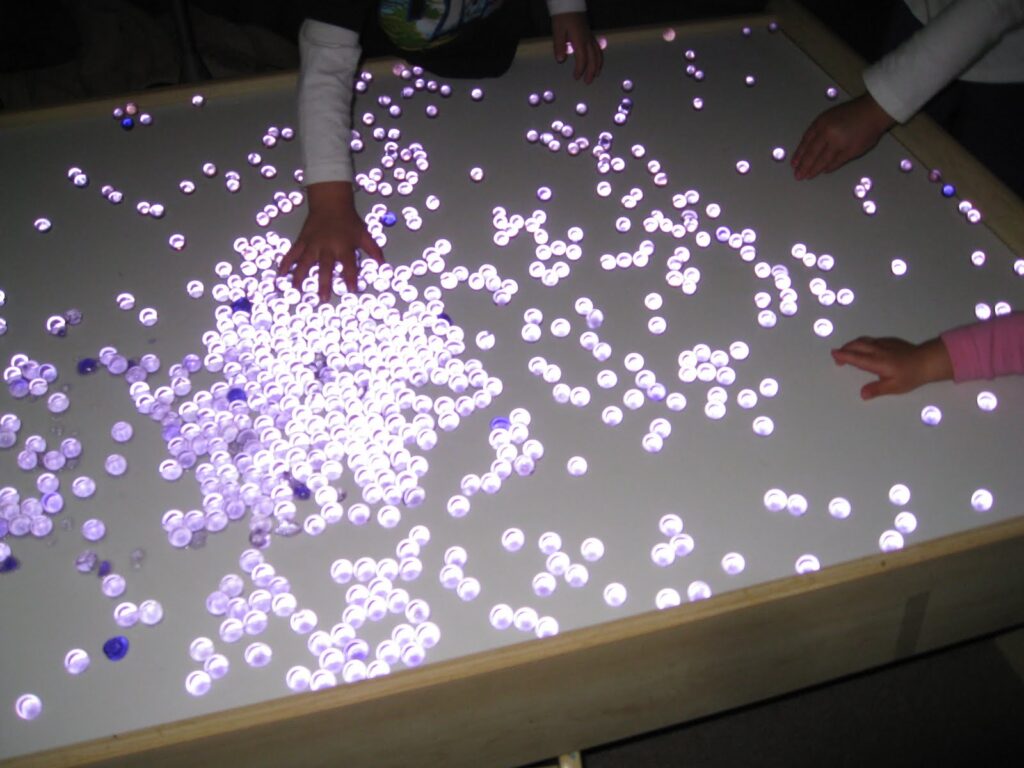
Use a flashlight and make them shine.
 
 
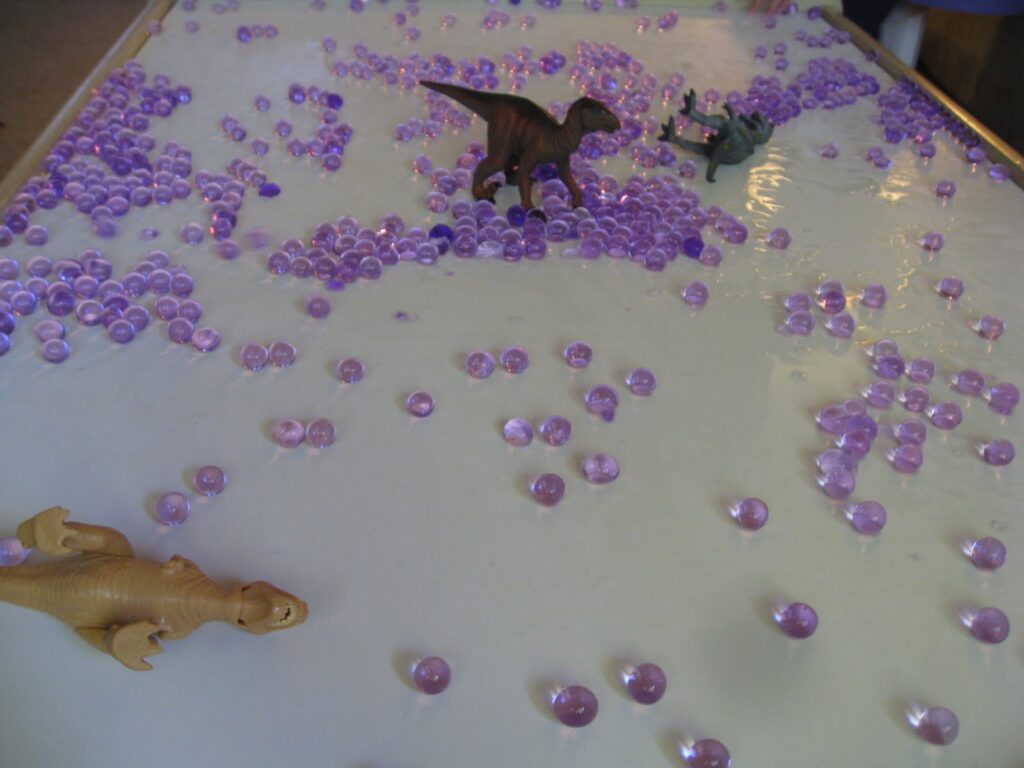
Dinosaurs MAY have been caught stomping, kicking, eating, and fighting the water beads…
 
 
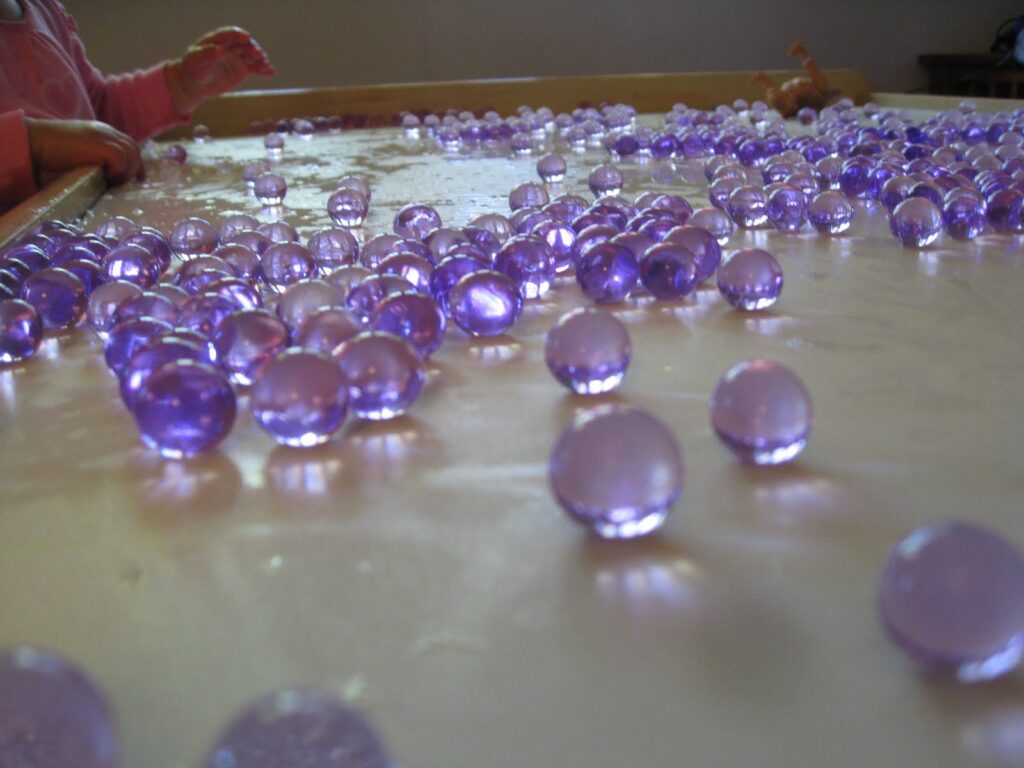
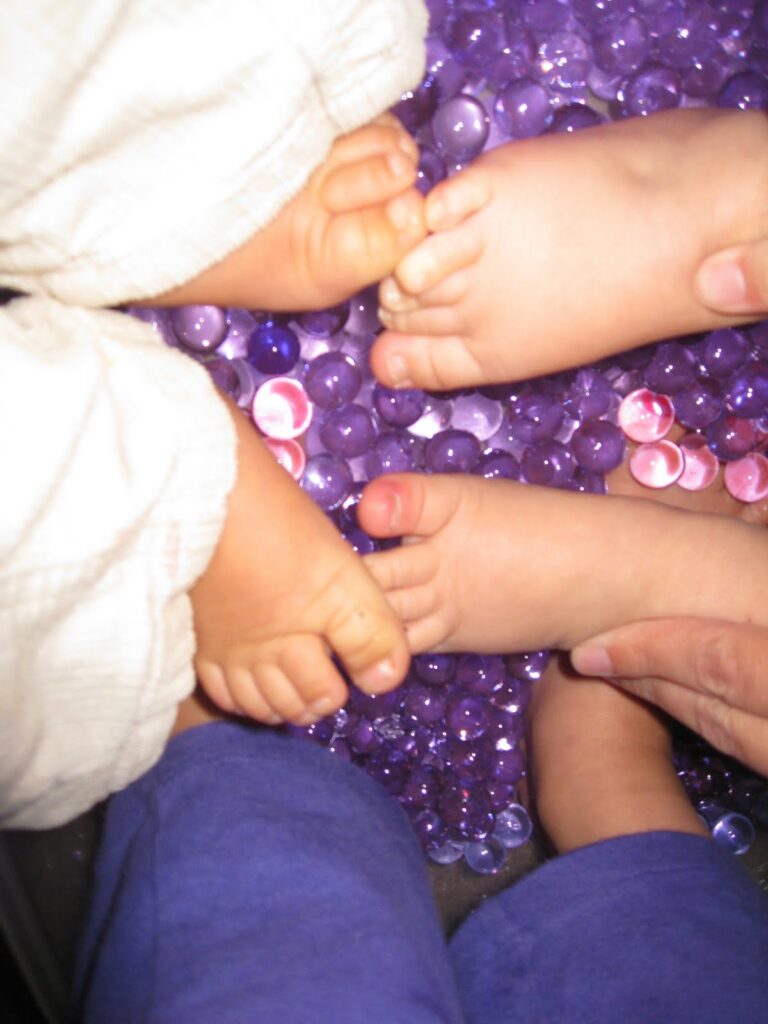
So squishy on bare toes! Our neighbor came over with her little guy to get in on the fun.

 
This was so fun and water beads are so cool to play with. The imagination really emerged  when dinosaurs came onto the table. We have the water beads in a bin with a lid now. What to do with them next….hmmmm… 🙂


Working on fine motor skills, visual perception, visual motor skills, sensory tolerance, handwriting, or scissor skills? Our Fine Motor Kits cover all of these areas and more.

Check out the seasonal Fine Motor Kits that kids love:

Or, grab one of our themed Fine Motor Kits to target skills with fun themes:

Want access to all of these kits…and more being added each month? Join The OT Toolbox Member’s Club!

Rainy Day Fun- “Beach Day”

Rainy Day Fun  “Beach Day”!
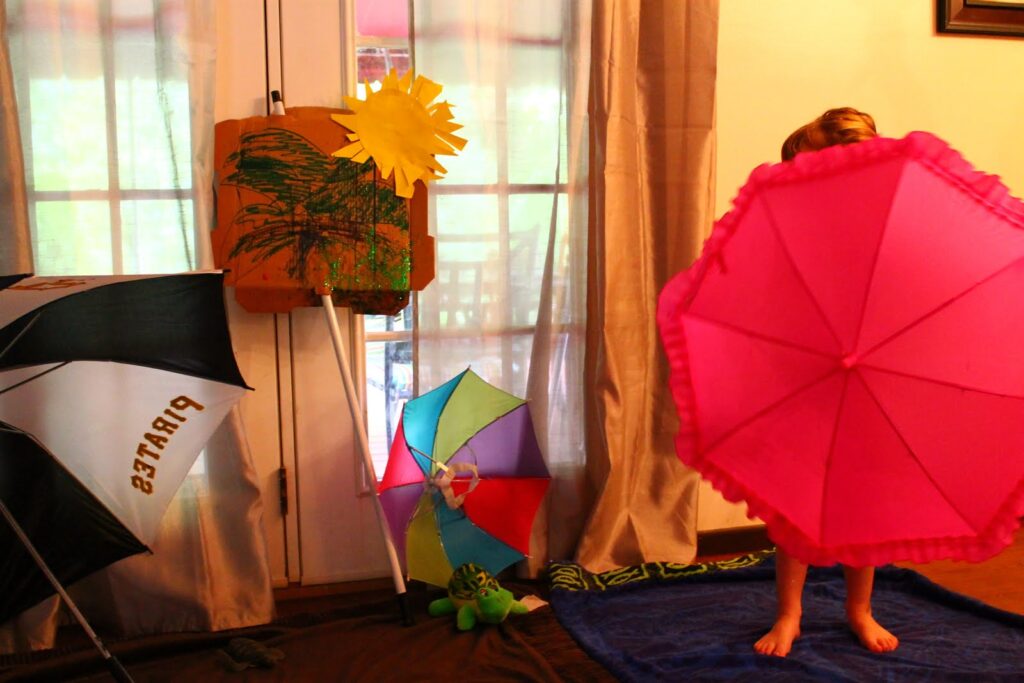
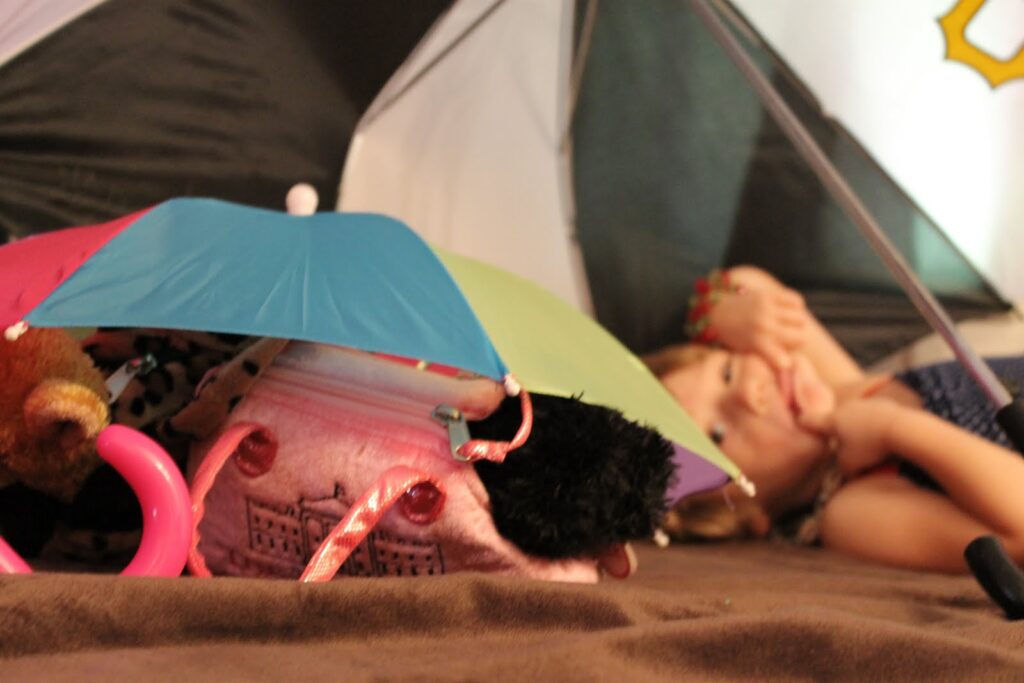
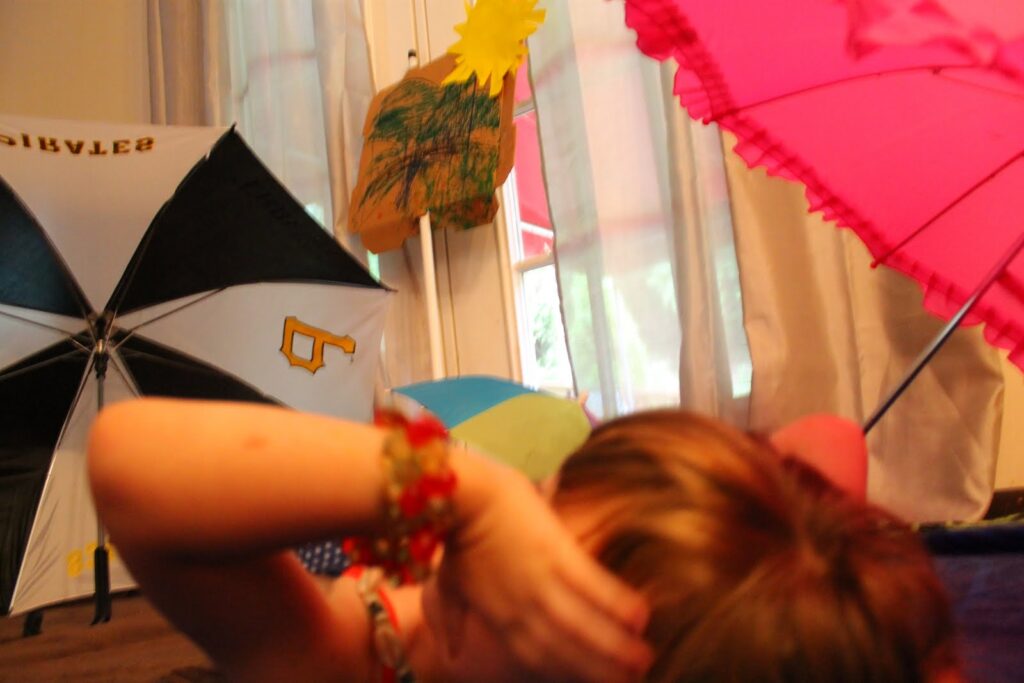
Last week I was working at home on Tuesday and it was raining.  I was trying to think of a fun activity to keep both the kids busy.  I got to thinking about what I remember doing as a little girl with my sisters.  We would wake up early, all go downstairs get out the umbrellas and towels, lay out on the couch like we were at the beach. 

 
So, when my daughter woke up on Tuesday, I had already gathered up the umbrellas and towels and had them ready for her in the living room.  I told her it was going to be a special fun day today while mommy worked at home.  She was a little confused at first (haha) but quickly became so excited! 
       This guy wasn’t too sure about the whole thing 🙁     
Gwen on the other hand was ready to jump right in before breakfast!
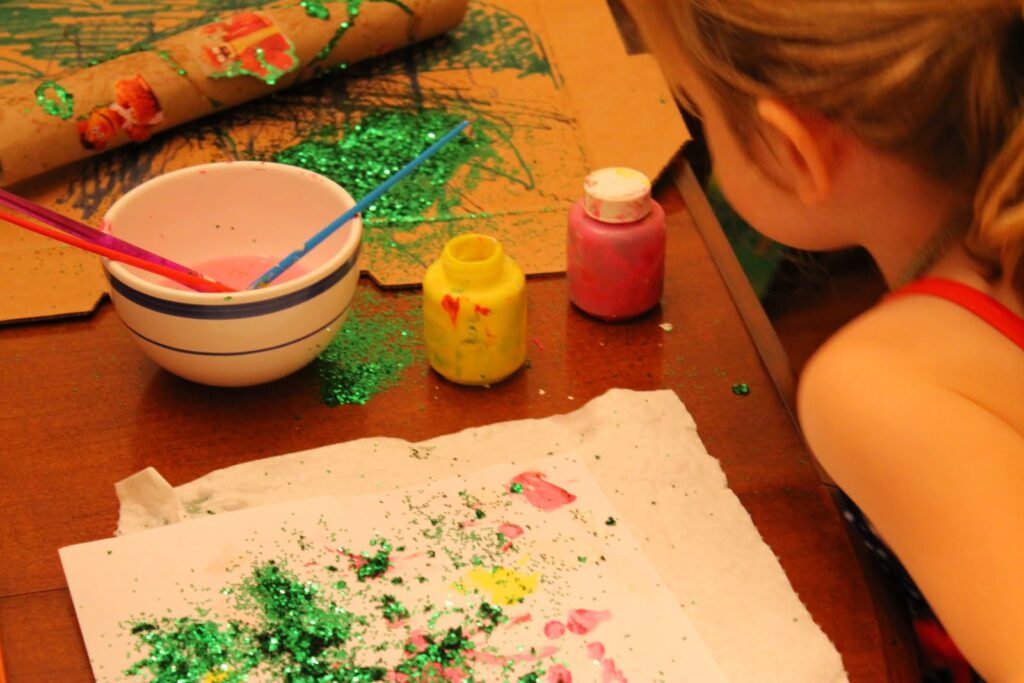
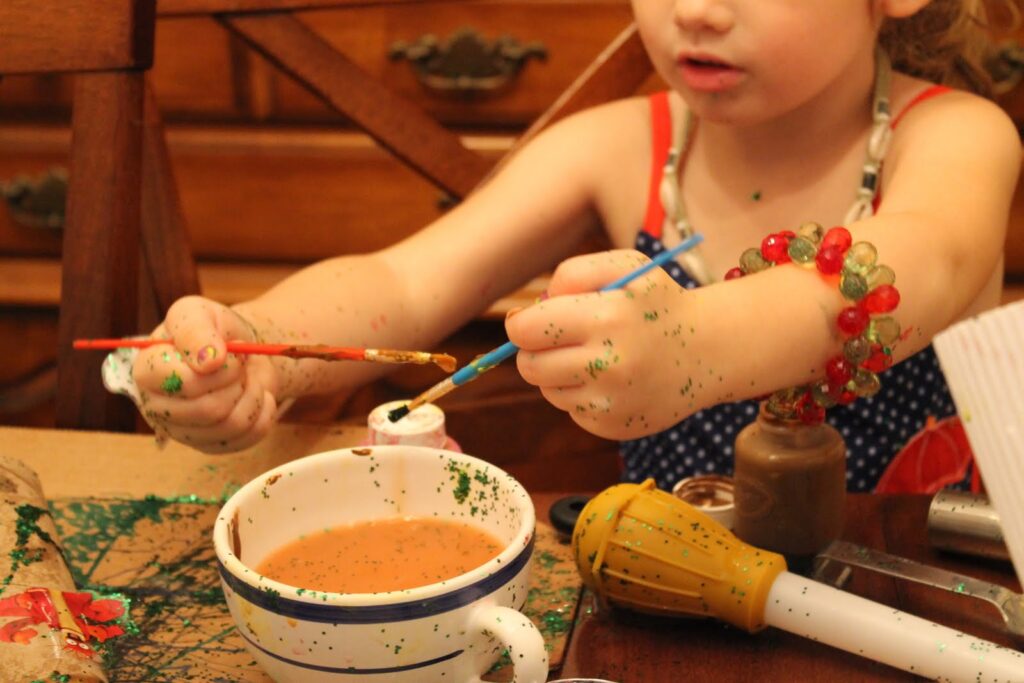
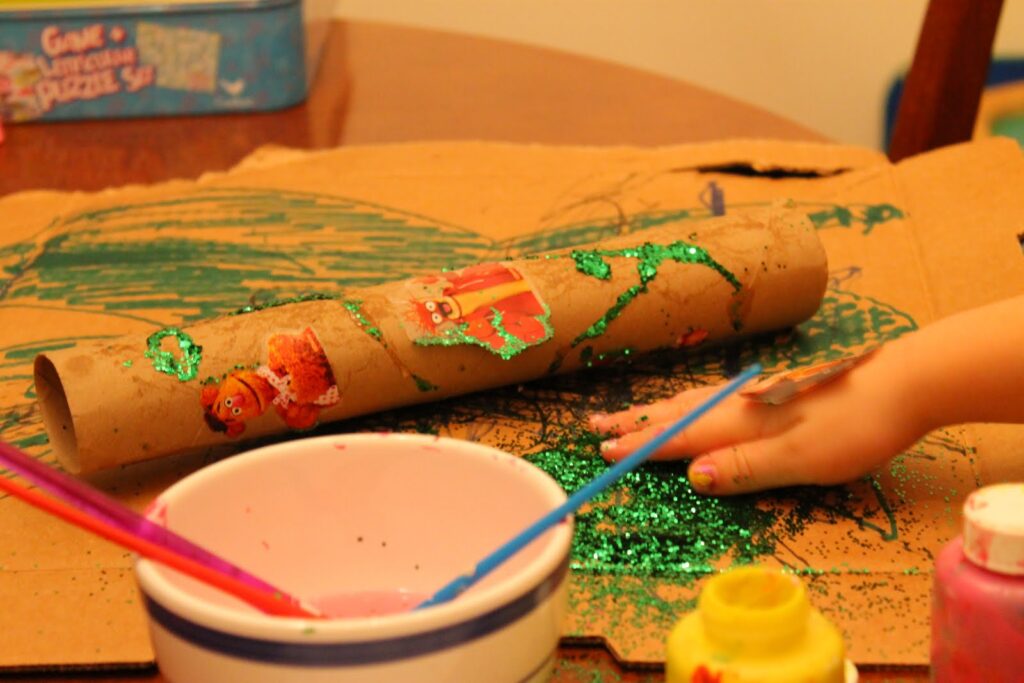
 We had a fun time making a huge mess out of a mixture of paint, water, glue, and glitter. She decided that she needed a telescope to look for treasure! We took an empty paper towel tube and glittered it up and accessorized with stickers.

While I was working I didn’t notice that she had gone into the kitchen and helped herself to some kitchen tools…a turkey baster???? Really???  Made quite the mess but kept her busy for quite some time.

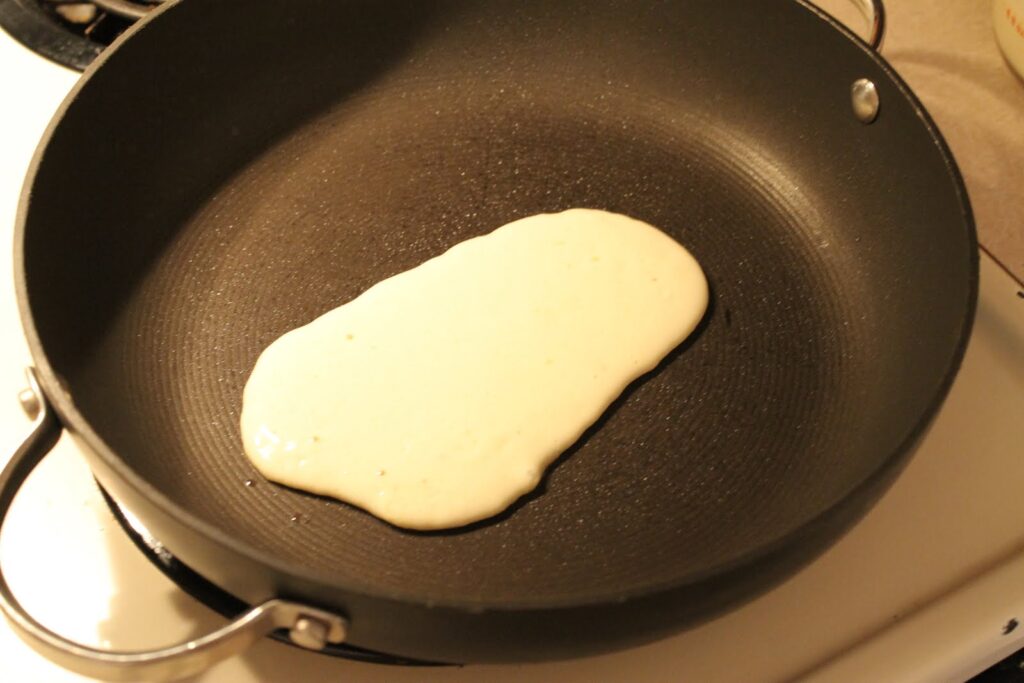
We made seashell shaped pancakes. These didn’t turn out exactly like I thought it would but my daughter didn’t care, she thought it was pretty cool and that is all that matters 🙂

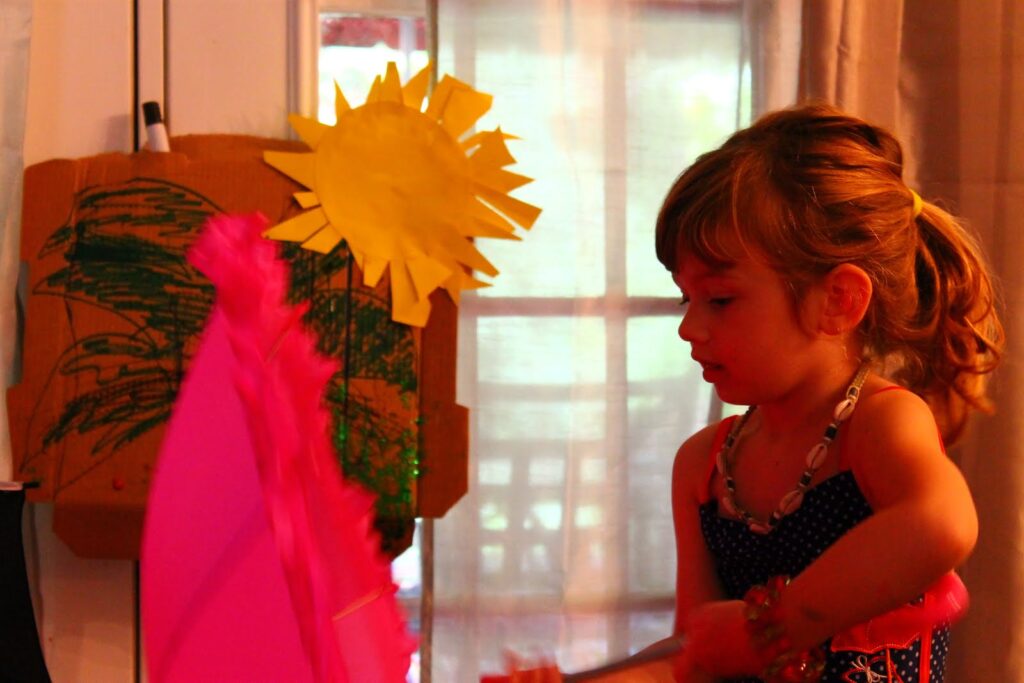
We decorated the lid of a pizza box. I found the pole to an old mop that I was able to poke through the holes in the pizza box. The kids painted this like a palm tree and put a little sunshine on it. 


 What an imagination a 4 year old has! 
The umbrellas were a little dangerous for the little guy but my daughter made sure to keep him safe.  She is such a good big sister 🙂
I think her favorite part was wearing her bathing suit all.day.long…  She picked out her rainy day ducky bathing suit, very appropriate! 
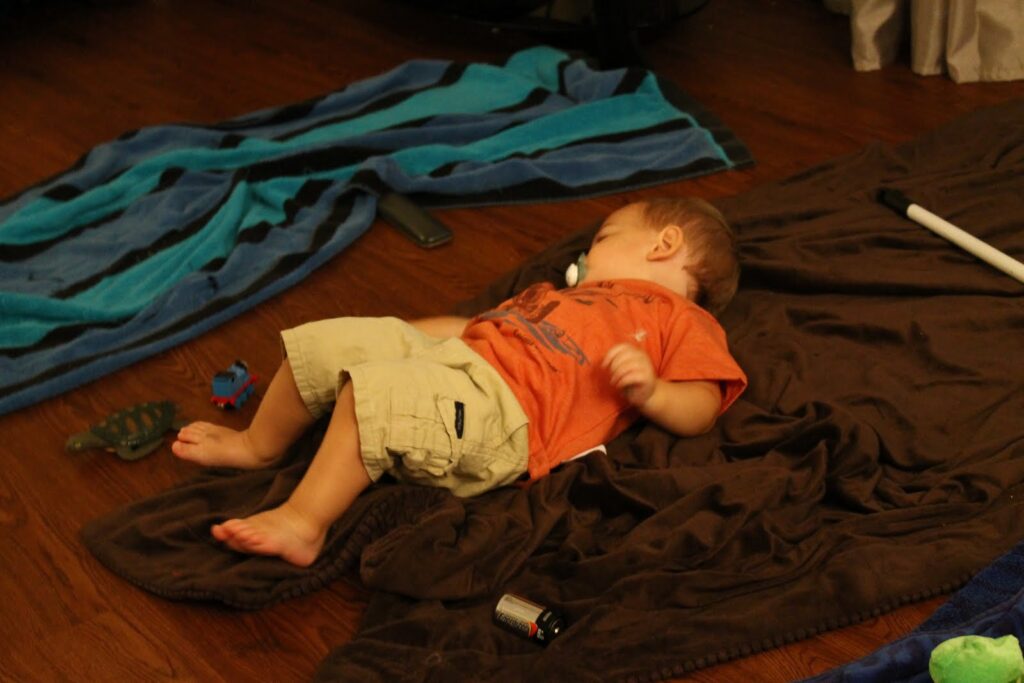
My 16 month old was not too sure what was going on, but he was having fun too! He liked to just roll around on the blankets/towels (hehe).  I later found him sitting on the train table just playing by himself.  I am not sure where that battery came from laying on the blanket next to him…he tends to carry around the oddest things.

Even the stuffed animals need a little shade!

“Phew, I am so sweaty!”  Where does she come up with these???

What does everyone else like to do on rainy days?
~Posted by Leanne

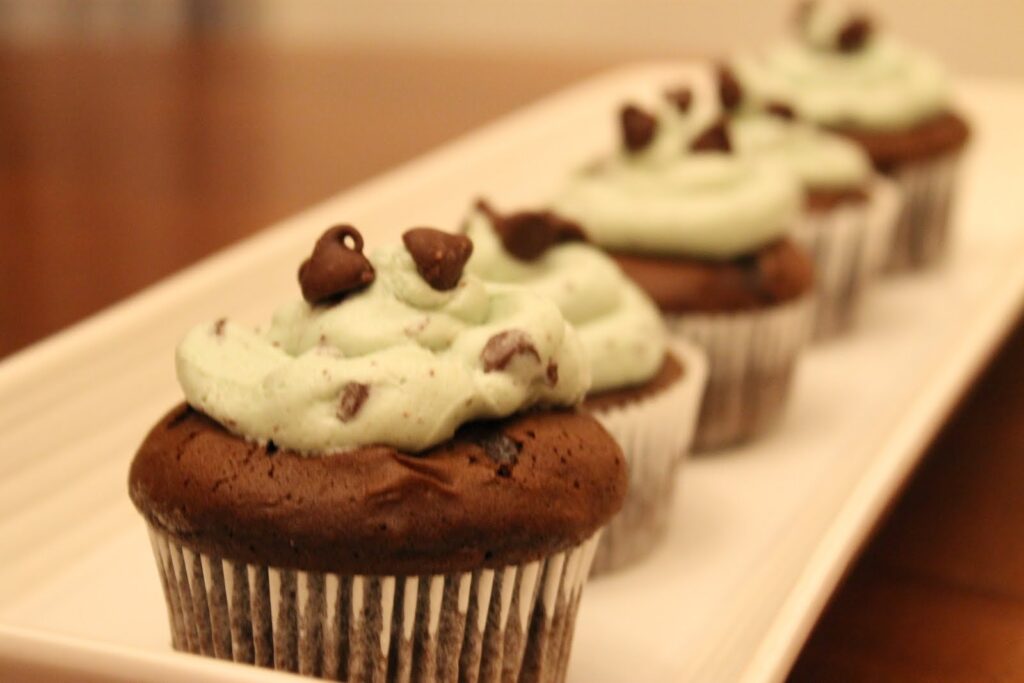
Mint Chocolate Chip Cupcakes

Mint Chocolate Chip Cupcakes
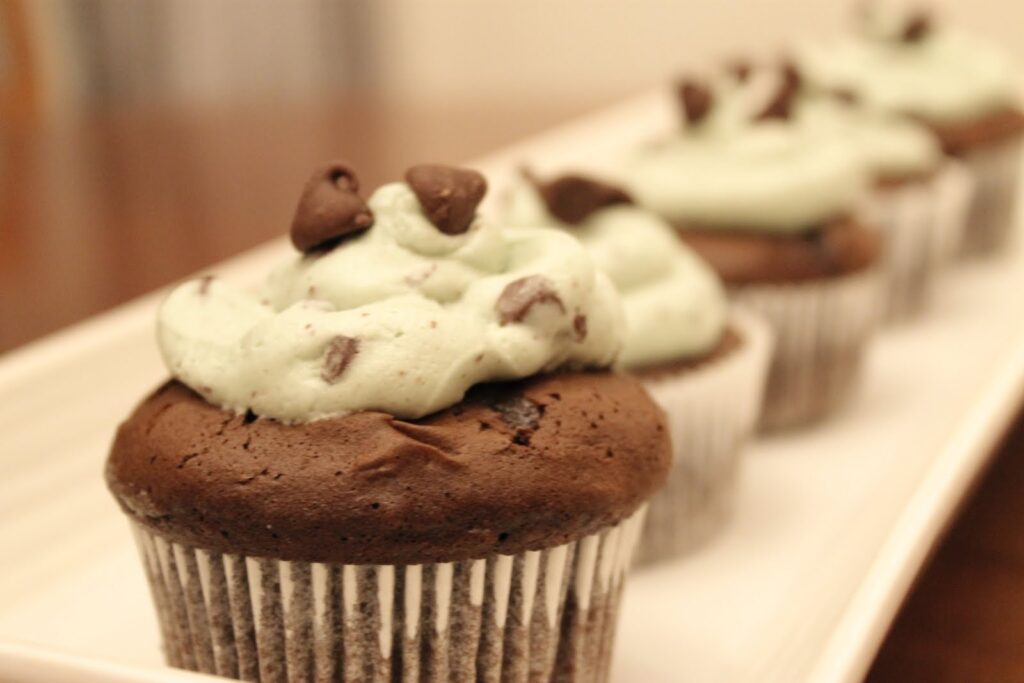
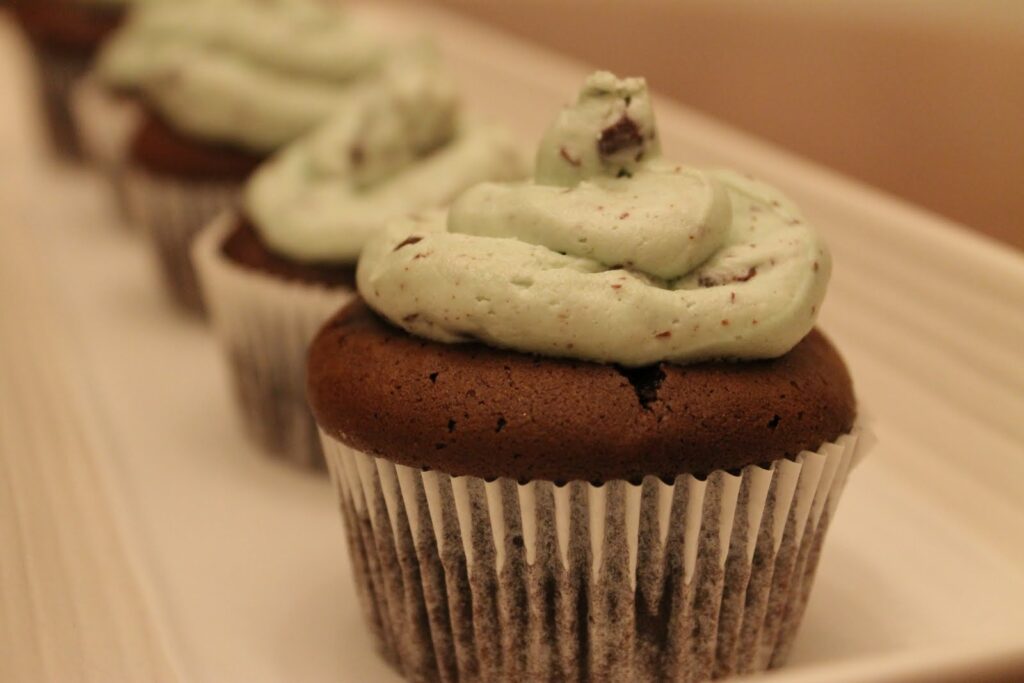
 If you like mint chocolate chip ice cream, you need to try these! 
I signed up to bake something at a bake sale at work and I wanted to try something different.  I usually make chocolate chip cookies but others had already signed up to make those. I had an idea…what about mint chocolate chip cupcake?  I used a box mix for the chocolate cake and added some chocolate chips to them before baking.  The icing was super simple…mint flavored butter cream icing with chopped up chocolate chips. 
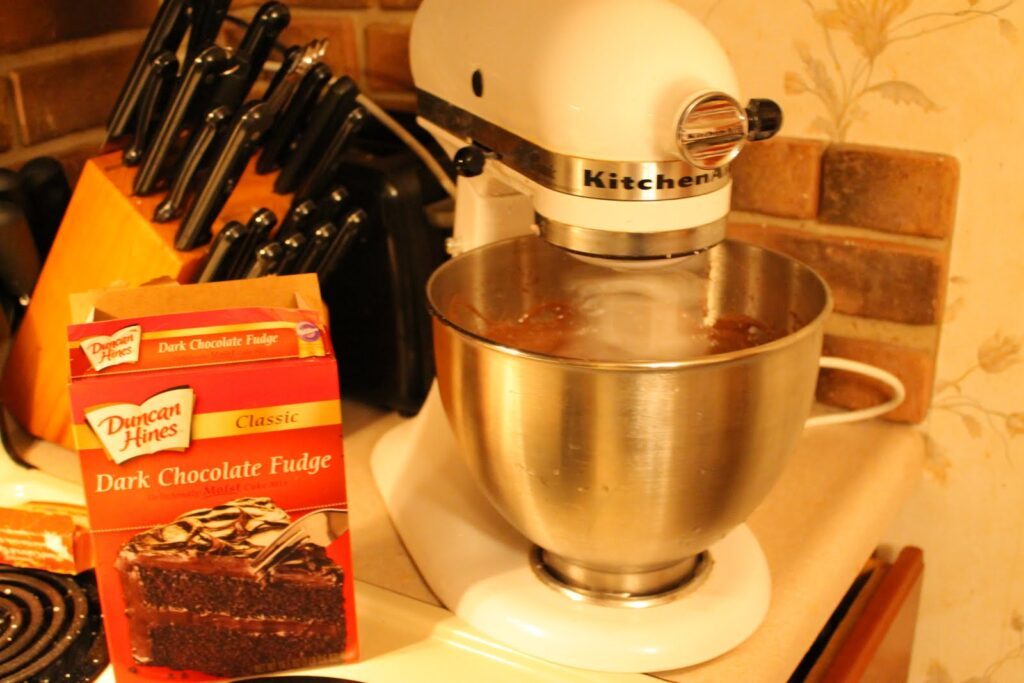
I made the cake according to the directions on the box.  I usually like to make chocolate cake from scratch with the recipe on the back of Hershey’s Cocoa power (sooo good and so easy) but I just used the box to make it easier.
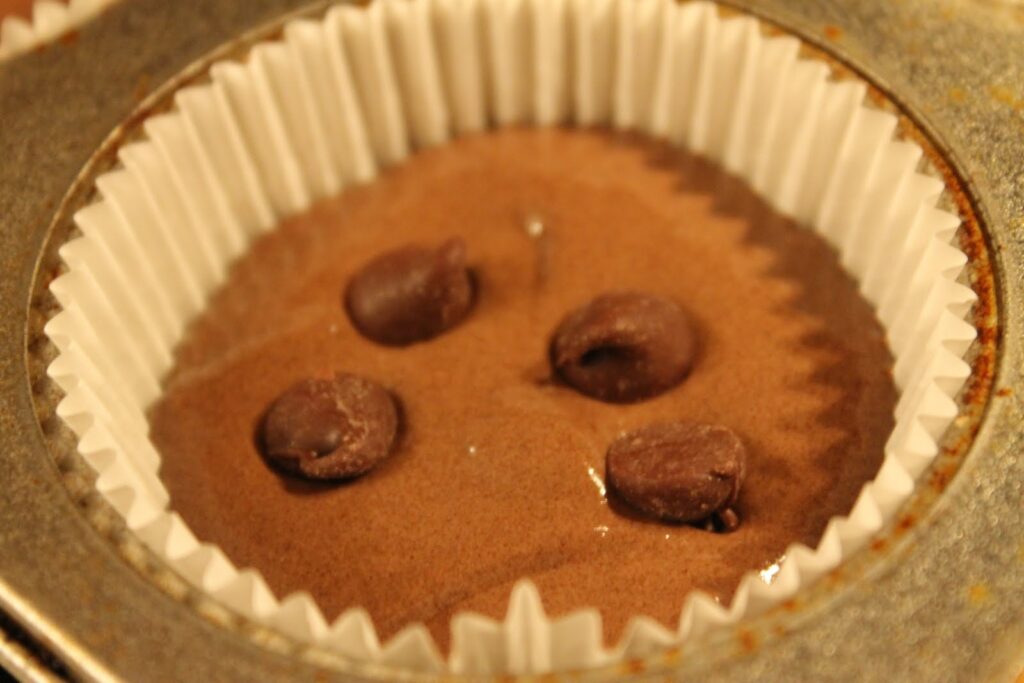
I sprinkled chocolate chips on top.
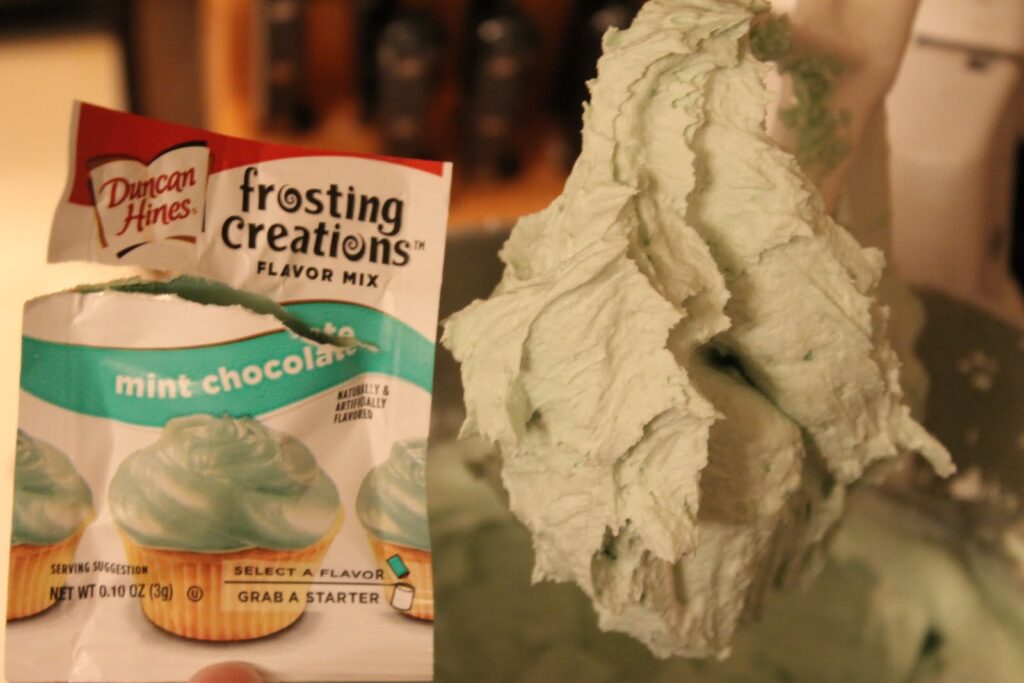
Once these were cool, I worked on the icing.  I found a package of mint flavor that you just mix into any frosting you want to make (I made a butter cream). 
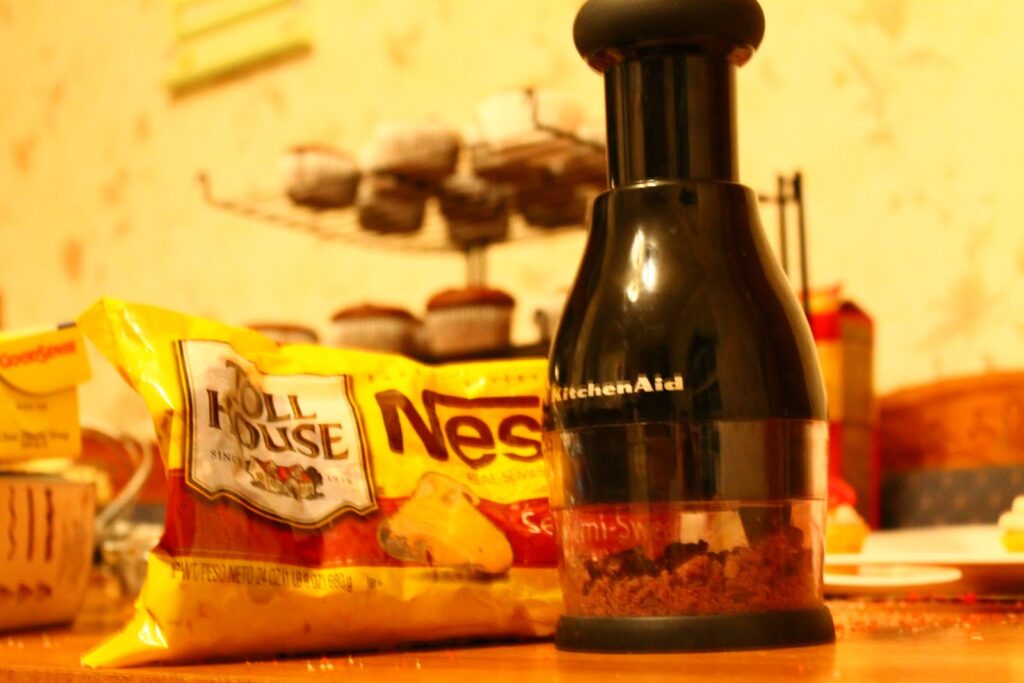
This tasted good, but I wanted to add a little something…chopped up chocolate chips (YUM)!

I piped the icing onto the cooled cupcake.  I didn’t have a pastry bag so I scooped the icing into a Ziploc bag and cut off a corner.  Once they were decorated with the icing, I added a few chocolate chips on the top just to make them look pretty!
Here is the butter cream icing I made.  So simple yet so good.
Buttercream Icing:
1/2 cup shortening
1/2 cup butter, softened
1 teaspoon vanilla extract
4 cups confectioners’ sugar
2 tablespoons milk
In a large bowl, cream together the butter, shortening, and vanilla. Blend in the sugar, one cup at a time, beating well after each addition. Beat in the milk, and continue mixing until light and fluffy. Keep icing covered until ready to decorate.               
Now onto my next creation….Lemon Raspberry Mini Cupcakes!
~Posted by Leanne

No Mess Sensory Play

This mess free sensory play activity supports tactile sensory skills, the sense of sight, and sensory motor skills to manipulate the textures when making a sensory bag. This is an old sensory play activity here on The OT Toolbox but it’s a fun one for supporting sensory needs without the messy play aspect.

There are benefits to messy play, but sometimes mess-free sensory experiences are needed as well.

Mess Free Sensory Play

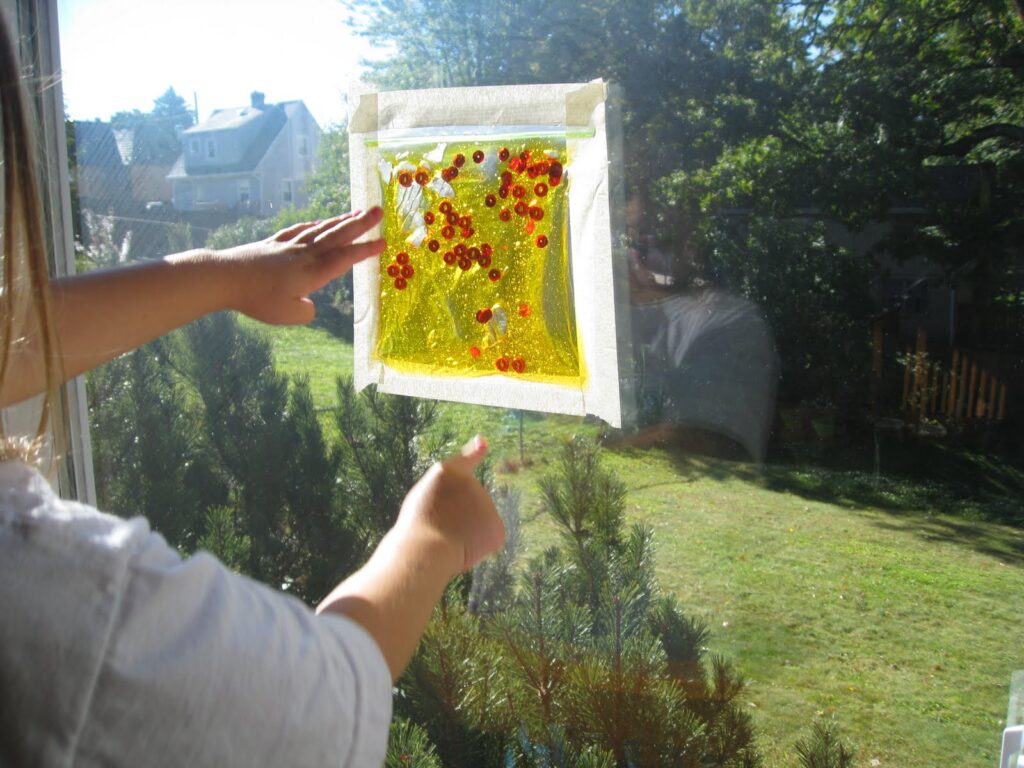
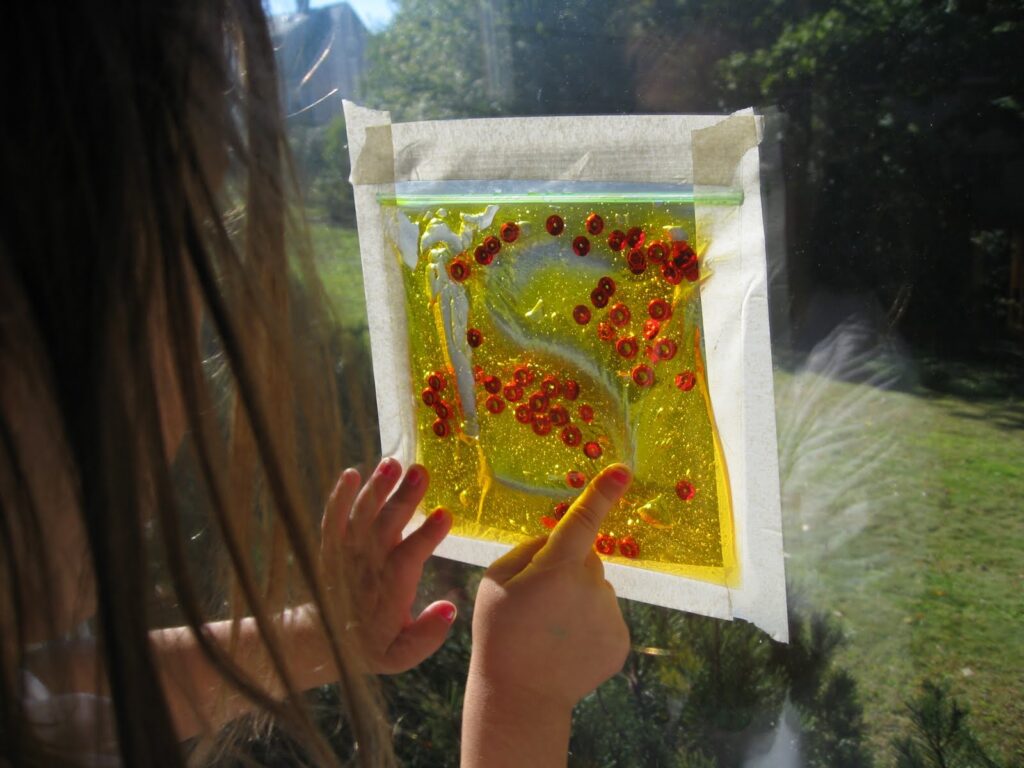
For the individual who is tactile defensive, or sensory avoiding when it comes to sticky or messy sensory input, this no mess sensory activity is for them. Supporting sensory needs can be easy with an activity like this window bag.

This was sitting out this morning when the kids woke up. Big Sister and Little Guy were so excited to see what we would be doing!
 
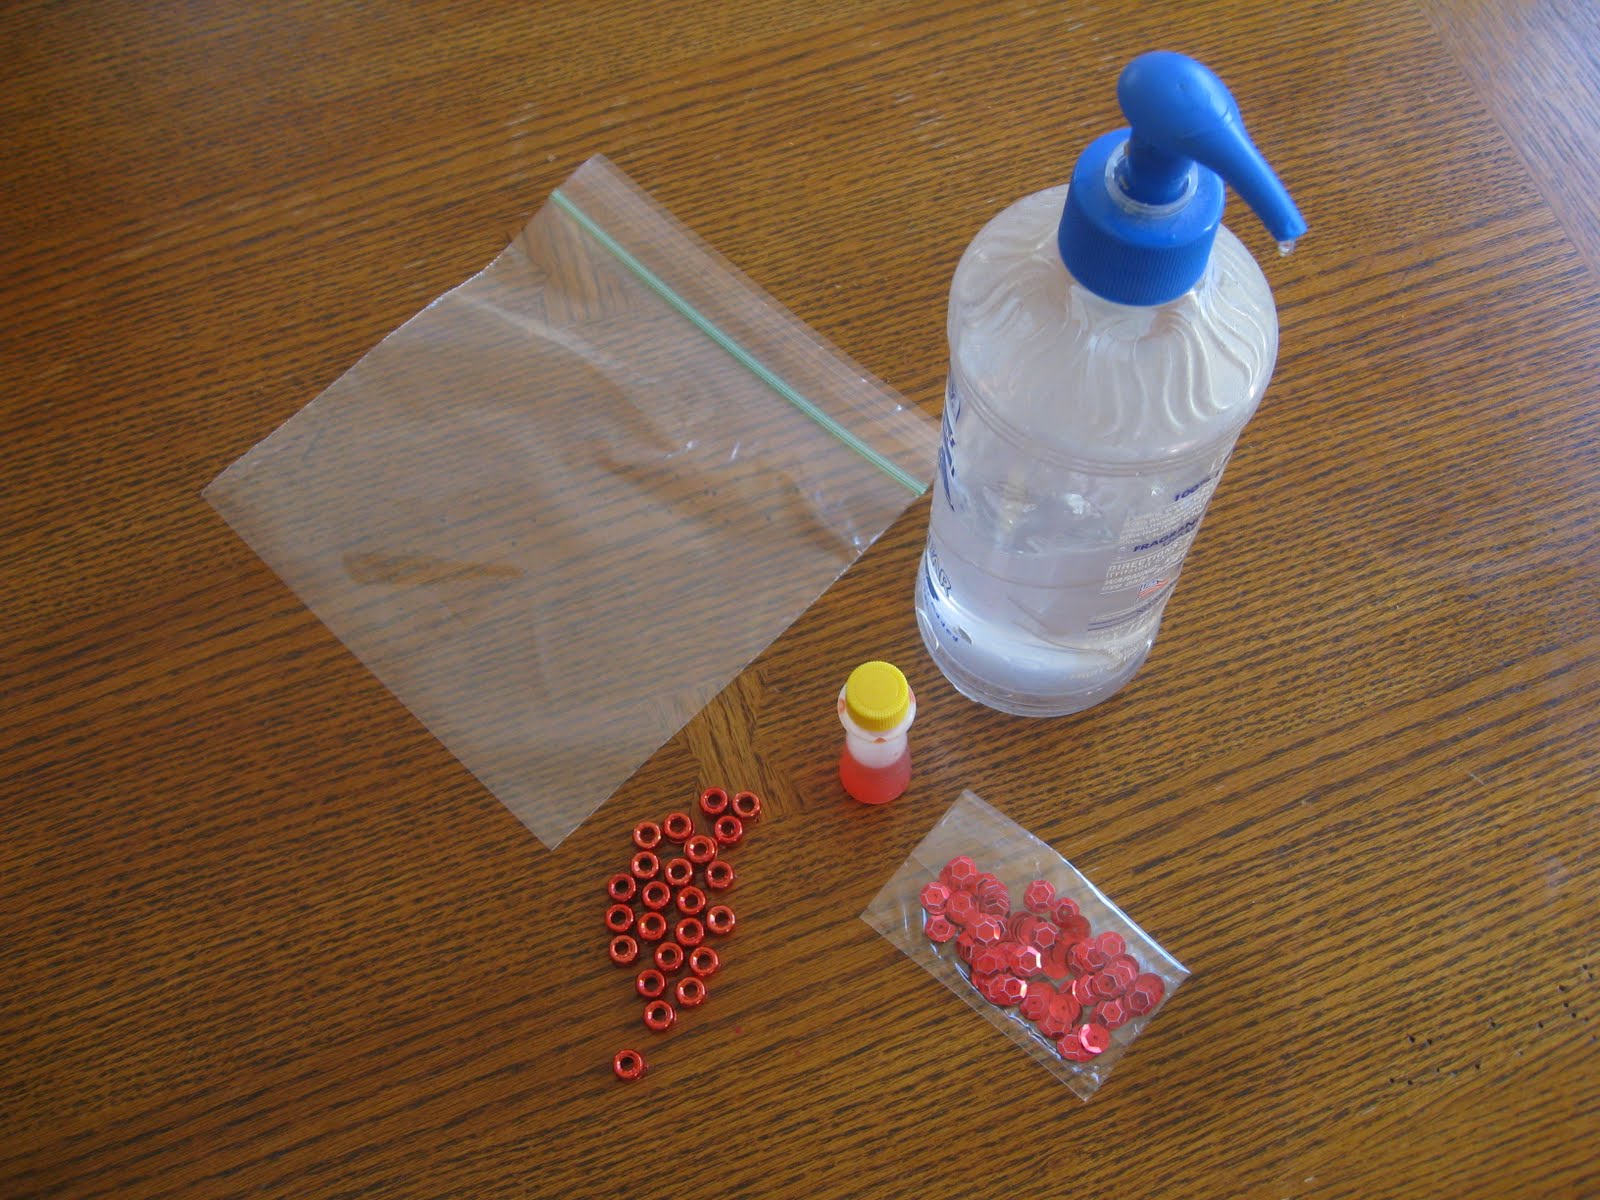
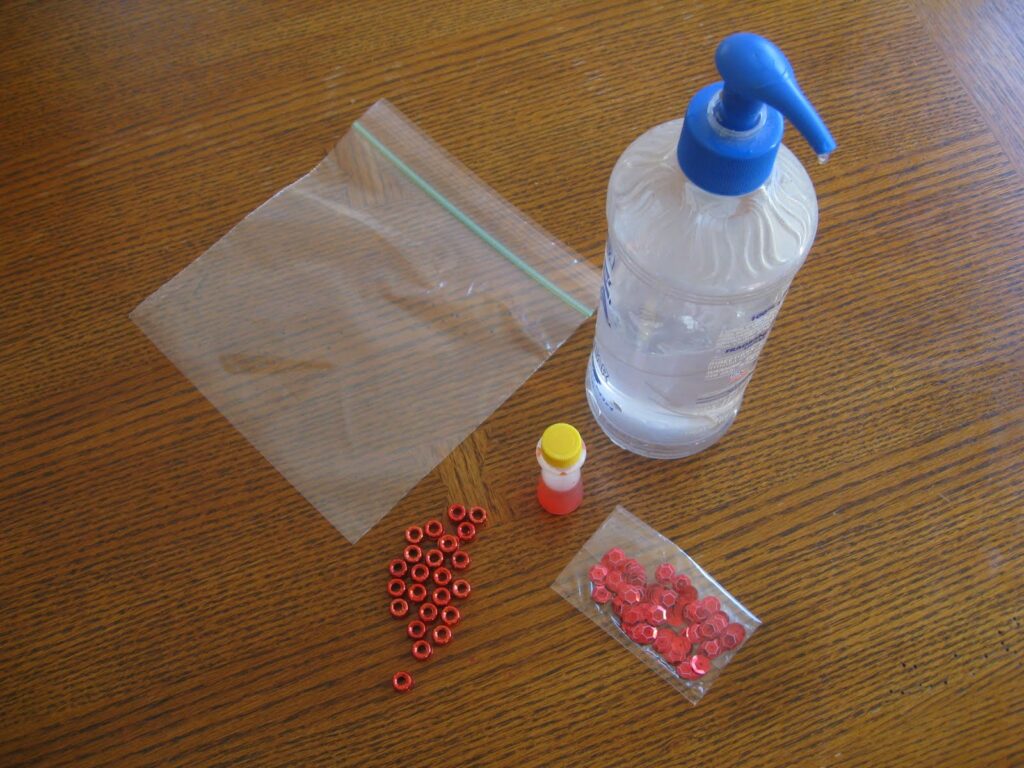
You’ll need just a few items for this mess free sensory activity:
  • Clear aloe vera (or hair gel)
  • Plastic sandwich bag
  • Food coloring
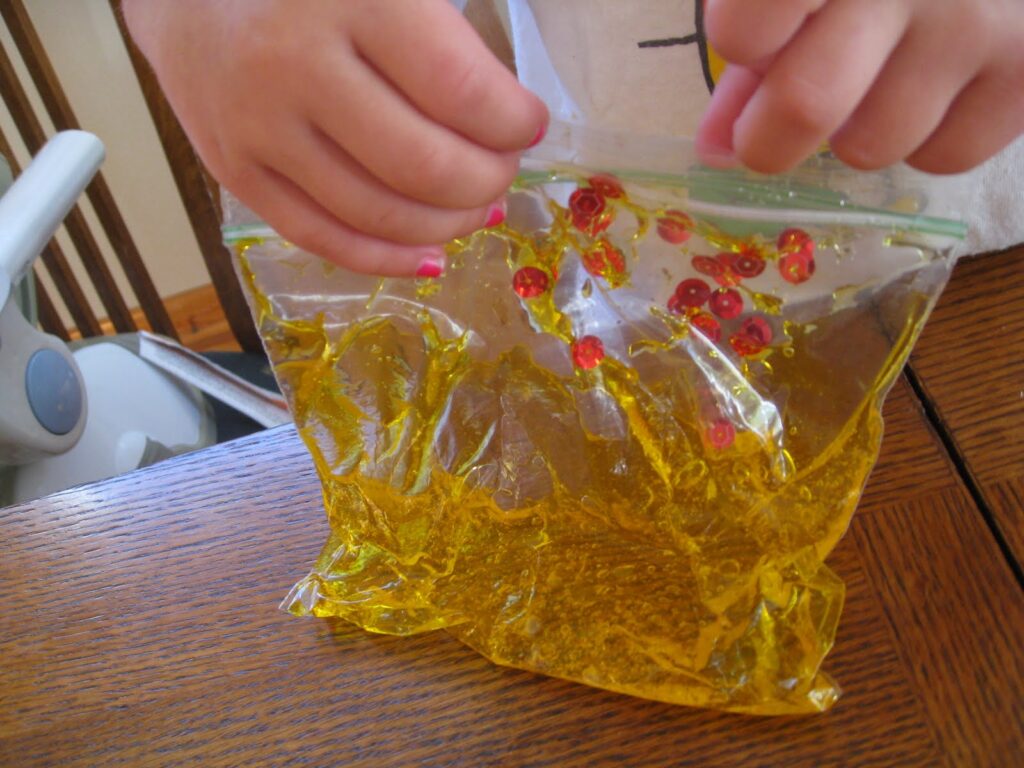
  • Mix ins like sequins or beads


This aloe vera had been sitting in a cupboard for years. YEARS!
 
 Put some Aloe into a baggie…maybe 10-15 squirts from the container. Put the aloe back into the cupboard for a few more years.
 
Add food coloring.
 
 
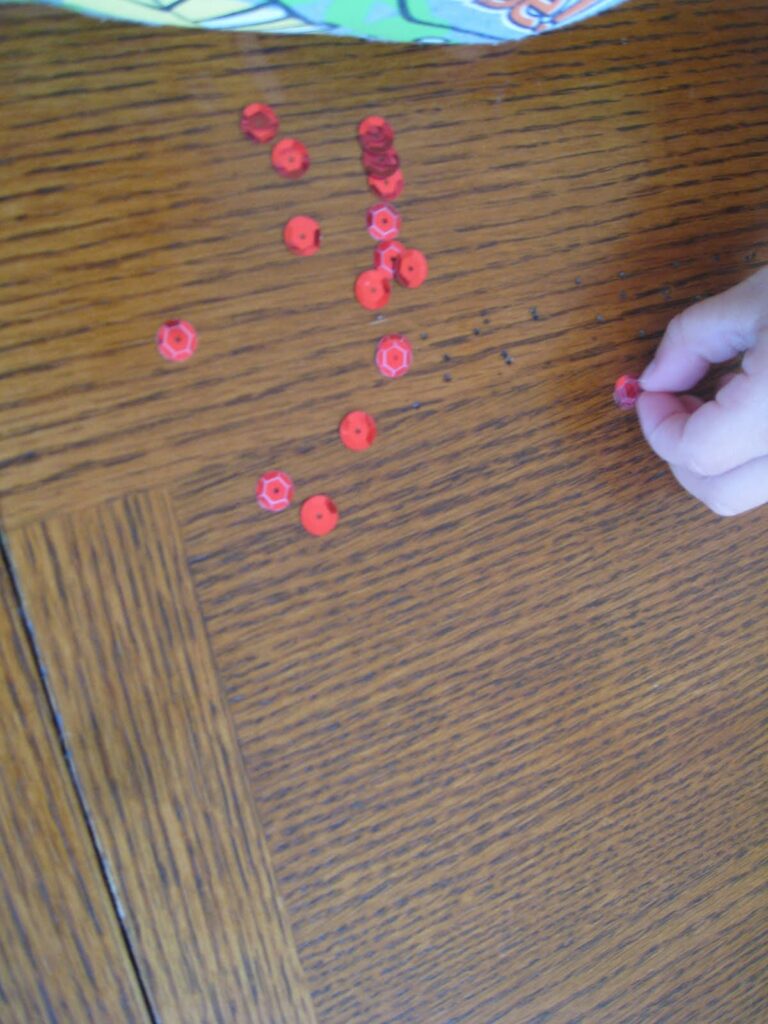
Add extra stuff. We put in red sequins and beads.
 
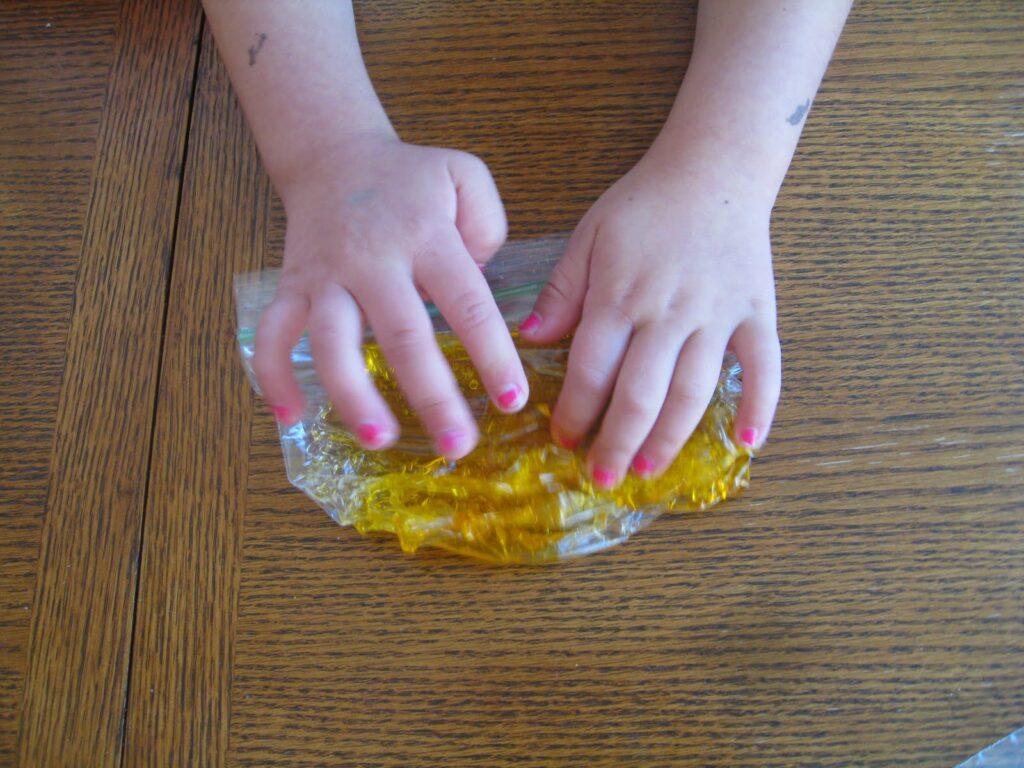
Check out that Neat Pincer Grasp!


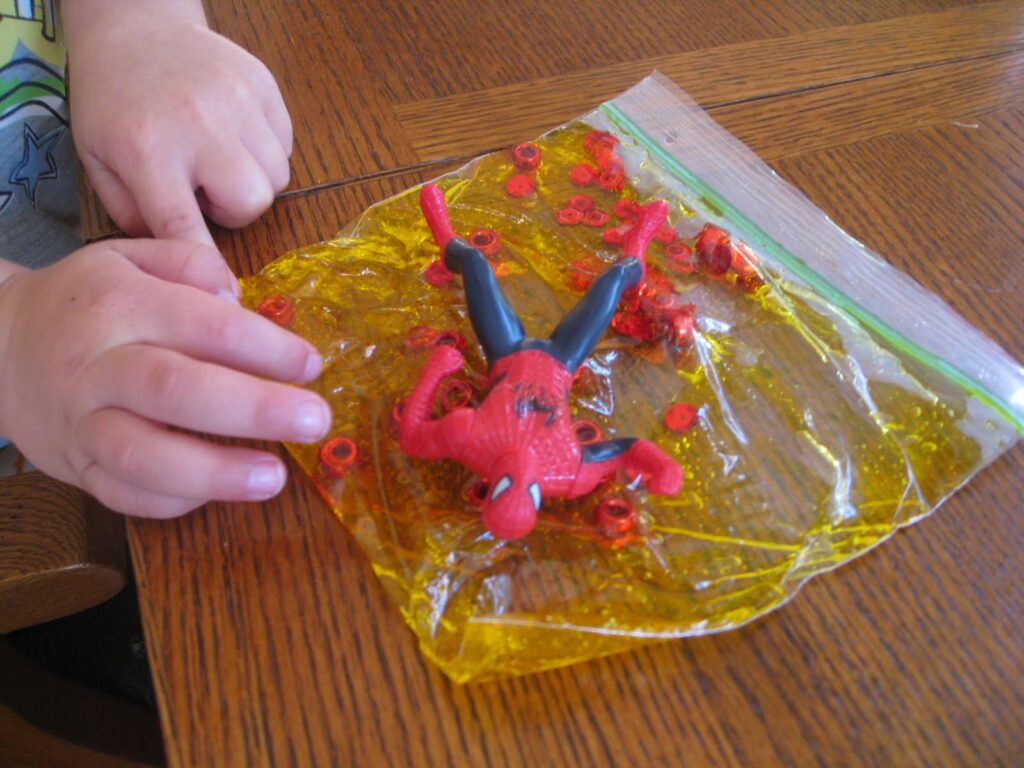
Invite Spider Man to play…


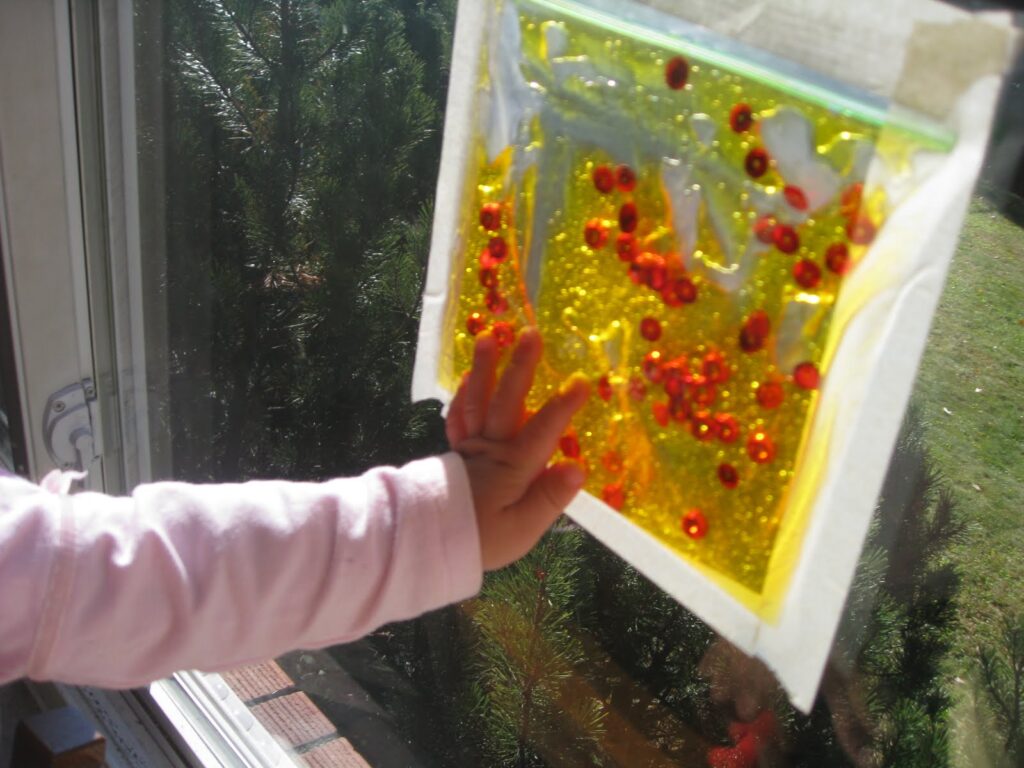
We taped it to the window to draw letters and move the little items around.
 
 
This activity supports a variety of sensory and motor skills, including Wrist extension, index finger isolationseparating sides of the hand…we’re working those fine motor skills!


Baby Girl loved checking it out!


Working on fine motor skills, visual perception, visual motor skills, sensory tolerance, handwriting, or scissor skills? Our Fine Motor Kits cover all of these areas and more.

Check out the seasonal Fine Motor Kits that kids love:

Or, grab one of our themed Fine Motor Kits to target skills with fun themes:

Want access to all of these kits…and more being added each month? Join The OT Toolbox Member’s Club!

Colleen Beck, OTR/L has been an occupational therapist since 2000, working in school-based, hand therapy, outpatient peds, EI, and SNF. Colleen created The OT Toolbox to inspire therapists, teachers, and parents with easy and fun tools to help children thrive. Read her story about going from an OT making $3/hour (after paying for kids’ childcare) to a full-time OT resource creator for millions of readers. Want to collaborate? Send an email to contact@theottoolbox.com.

Our Favorite Homemade Haluski Noodles Recipe

One of our favorite recipes to make with kids is homemade Haluski Noodles. I love that this traditional comfort food of our heritage is a favorite among my kids, and they are gaining more benefits, too: of family and tradition, combined with the learning and development that happens in the kitchen when cooking with kids!

Homemade Haluski Noodles

Close your eyes and breathe in the enticing aroma of butter sizzling in a skillet, perfectly caramelized onions, and the harmonious blend of tender, homemade haluski noodles and cabbage. These are the flavors that bring warmth and nostalgia to the table, courtesy of the beloved dish known as haluski.

In this blog post, we’re sharing the art of crafting haluski noodles from scratch—a tradition that celebrates simplicity, flavor, and the joy of homemade comfort food.

Creating haluski noodles from scratch is a labor of love, one that involves kneading dough with care and transforming it into delicate, pillowy noodles. (Great for functional heavy work for kids!)

Whether you’re a seasoned cook or a novice in the kitchen, you can easily make homemade noodles right on the counter top or you can turn the homemade dough through a haluski noodle maker…it’s an easy recipe that is worth the extra effort!

How to make homemade Haluski Noodles

I needed a yummy recipe.  Something that would be easy for her to reheat – something in one pot would be great.  Haluski and Sausage hit the mark, and I knew just what to do to make it extra delish – make the noodles from scratch!
 
Noodle Ingredients: (This will make more than enough noodles for your dish. If you’d like, you can save some and use them in soups or other pasta dishes for the week.)
  • 2 cups flour (and some extra for rolling out the dough)
  • 1 teaspoon salt
  • 4 eggs
  • 1 tablespoon oil
  • 1 tablespoon warm water
Haluski Ingredients:
  • One large onion
  • One head cabbage
  • One stick butter (more/less depending on how buttery you like your haluski)
  • Sausage or Kielbasa (I used Turkey Sausage)
 

Directions for Haluski Noodles:

 
  1. First put the dry ingredients in a large bowl and mix together.  
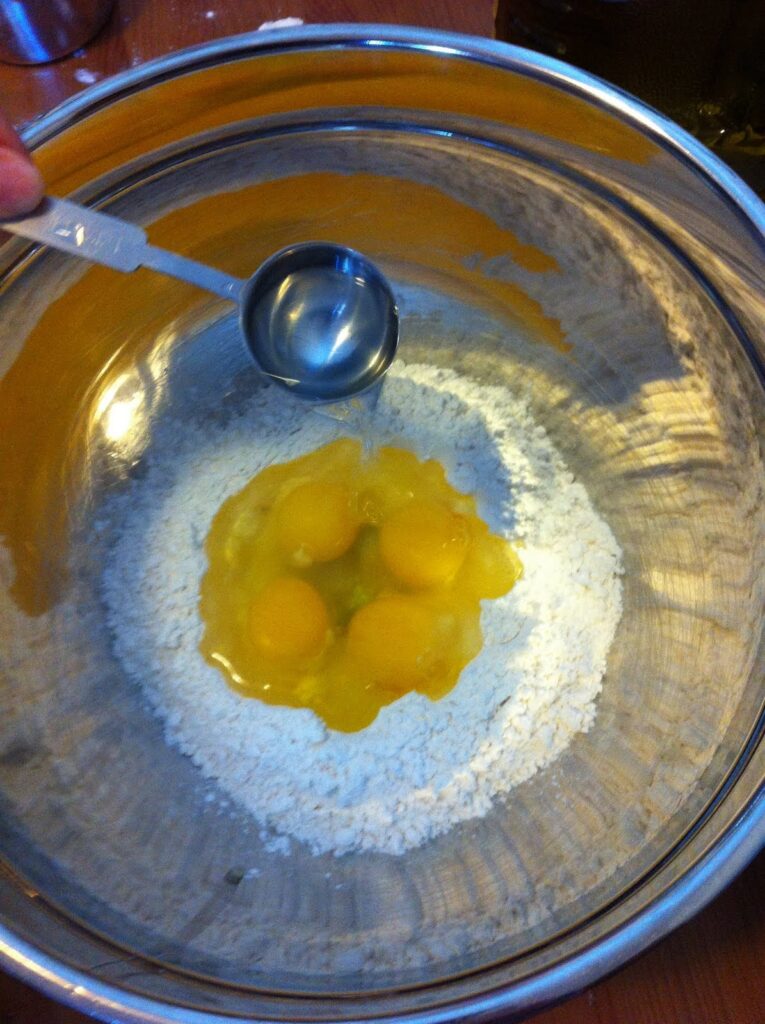
  2. Create a well in the center of the flour.  
  3. Crack the eggs into the well.
  4. Add the oil and water to the well.
 
add eggs to a well made in flour to prepare the homemade haluski noodles
 
5. Break each egg, and gently mix the wet ingredients together.  
6. Slowly mix the dry ingredients into the wet.  
7. Mix until well incorporated.  If your dough is sticking to the bowl, add more flour until it can form a ball.  
 
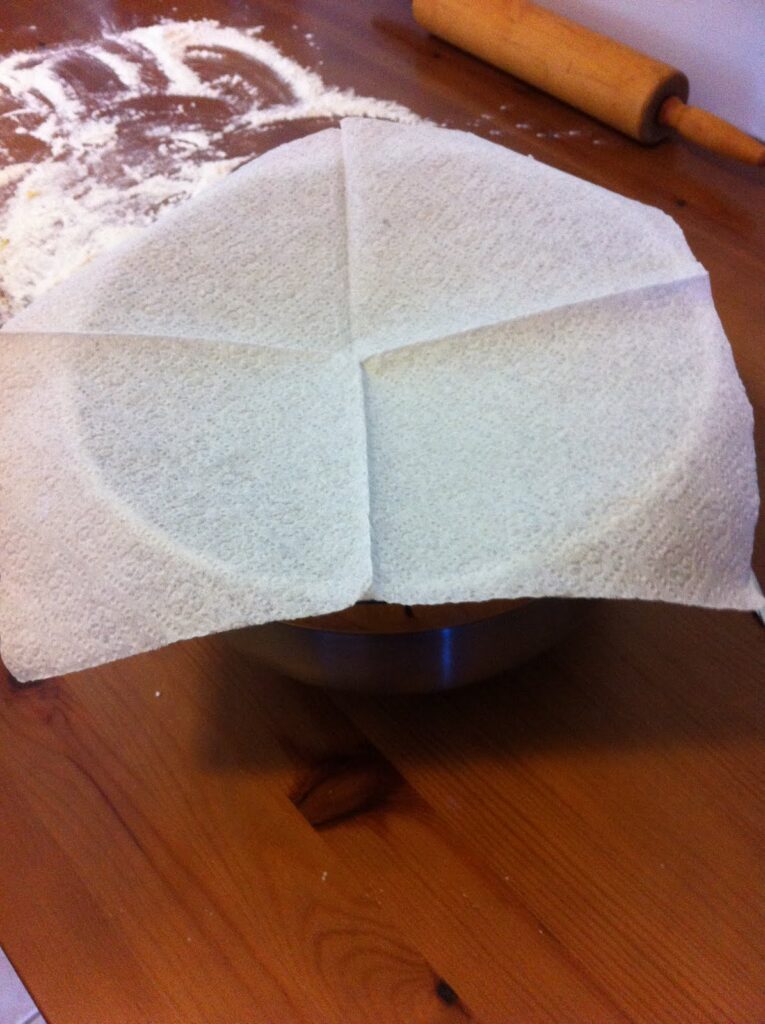
Let homemade dough rise
 
8. Let your dough sit in the bowl, covered with a paper towel, for 10 minutes.
 
spread flour on the table to roll out haluski noodles
 
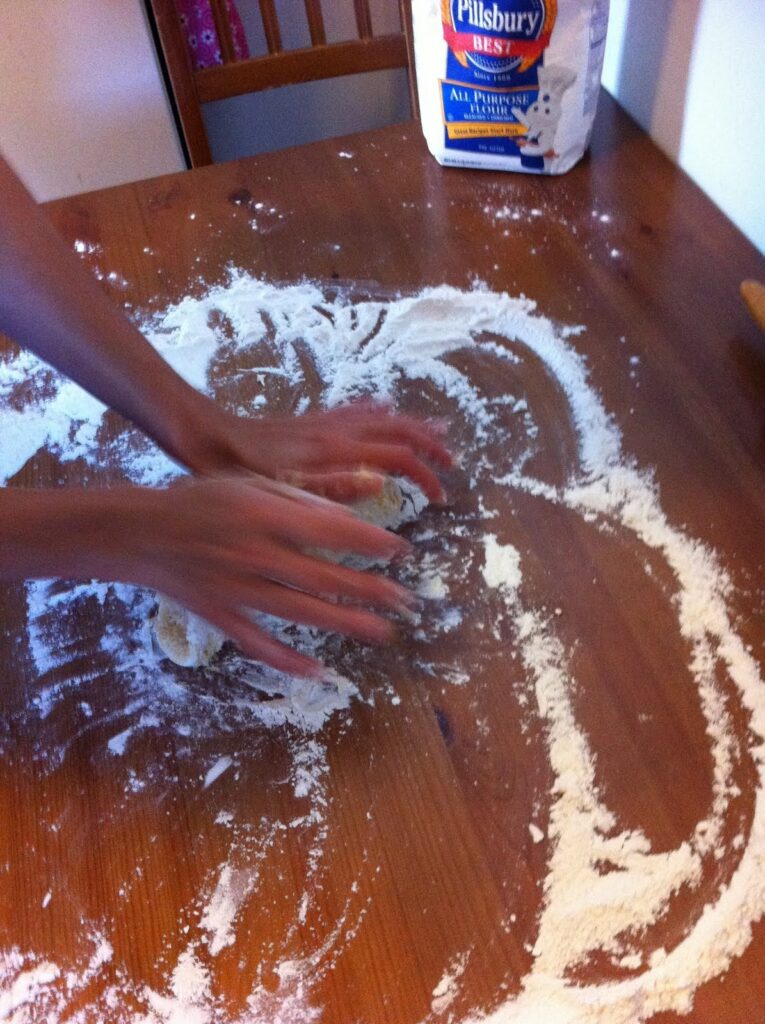
9. Generously flour the table. Dust the dough with flour also.  
10. Kneed the dough until it is still soft but no longer sticks to the table.  (You can add more flour during this process if it’s too sticky.)
 
 
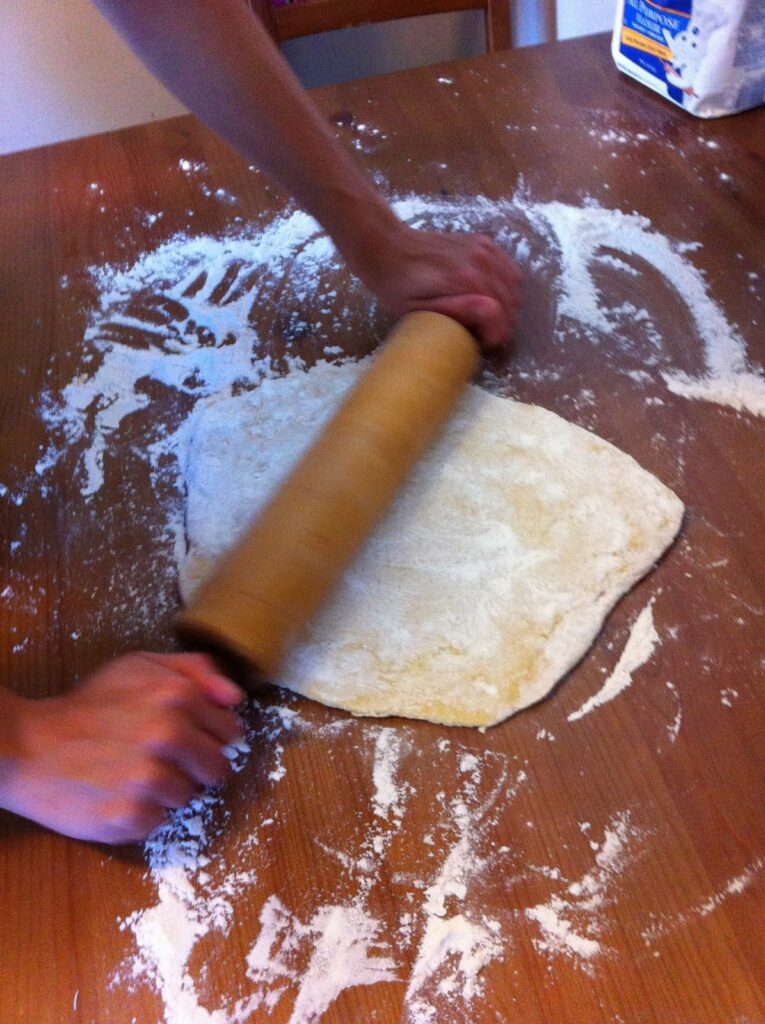
11. Flour the table and dough again so that it doesn’t stick while rolling it out.  
12. Roll the dough to your desired thickness.  These noodles plump up a little when you boil them, so roll it a bit thinner than desired.


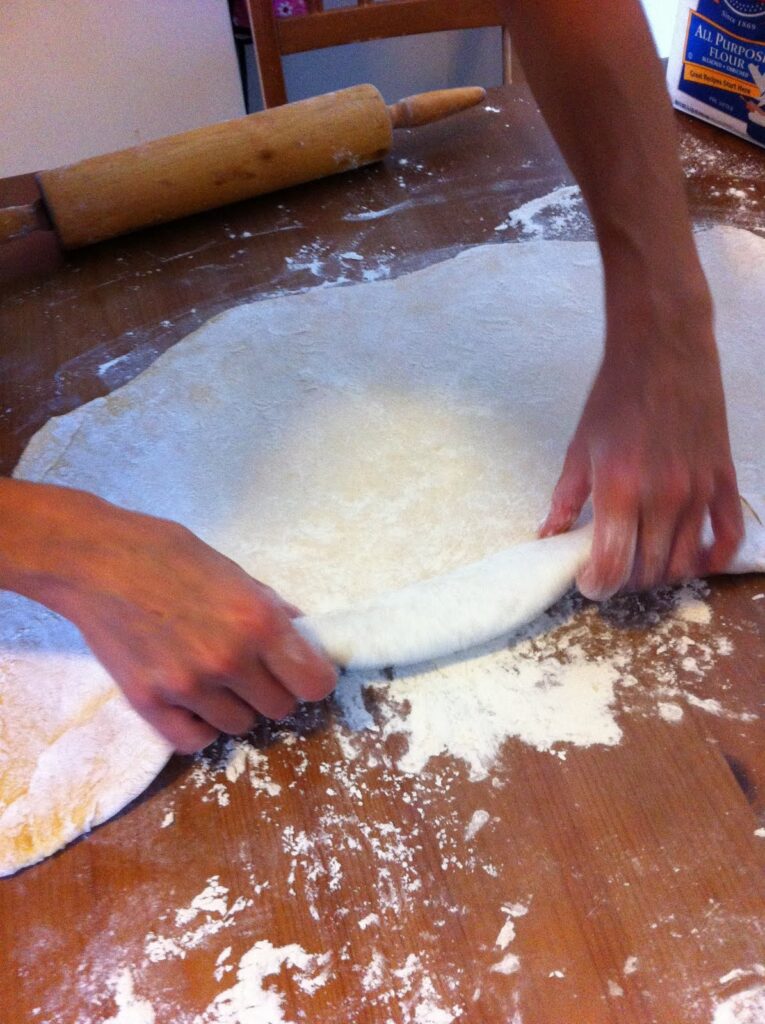
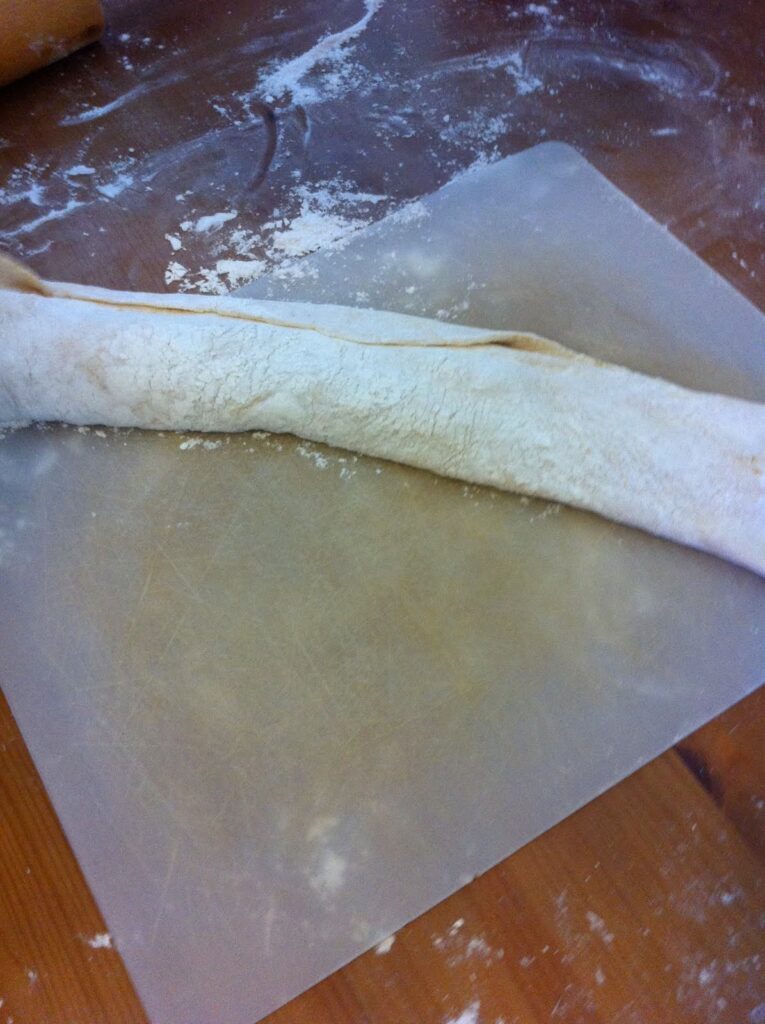
13. Roll the dough, jelly-roll style.  Make sure you do not roll it too tightly – you don’t want it to stick together.


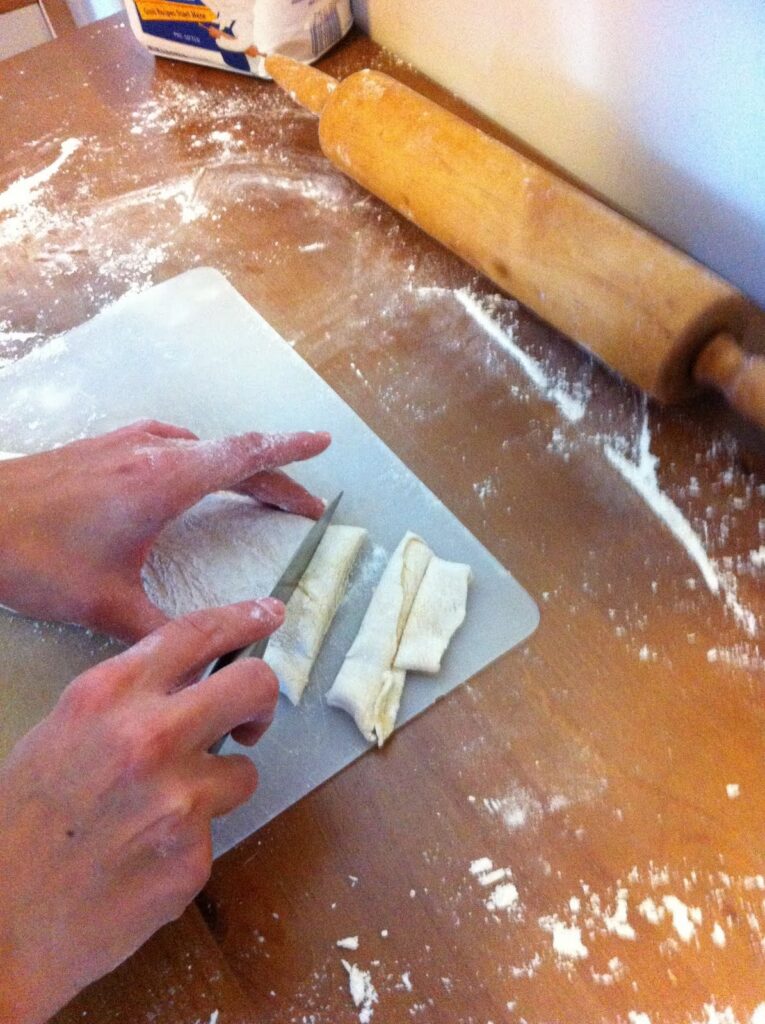
14. Cut the rolled dough into 1/4 pieces.  
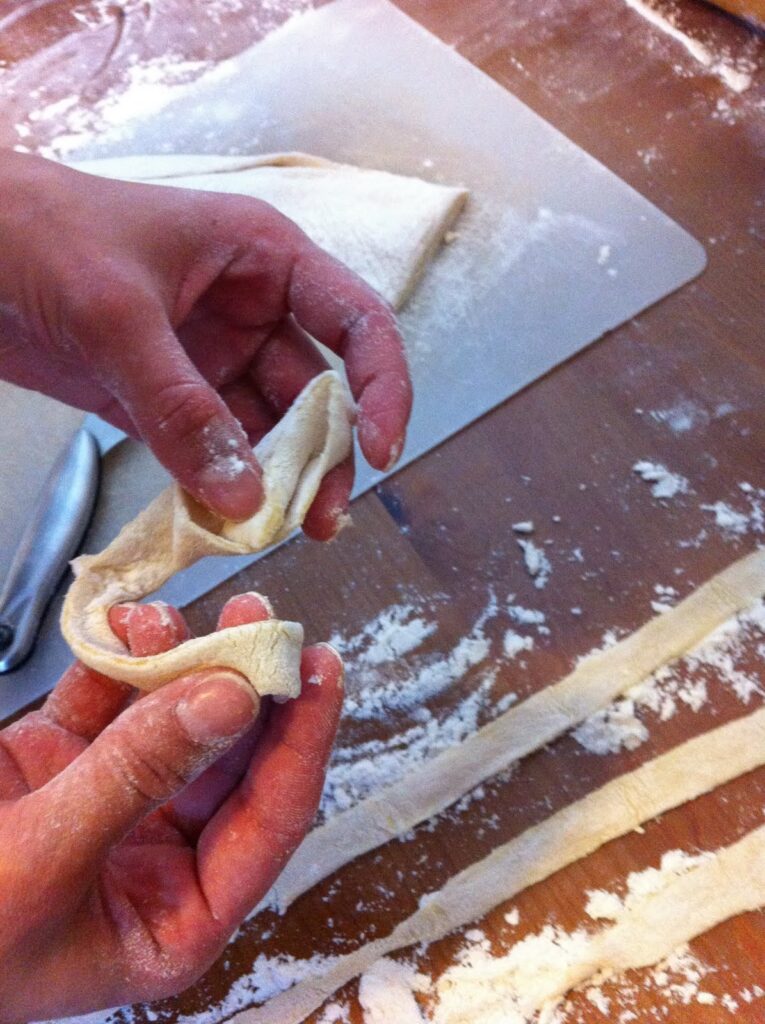
15. Unwrap the noodles as you go so that the dough doesn’t stick to itself.  
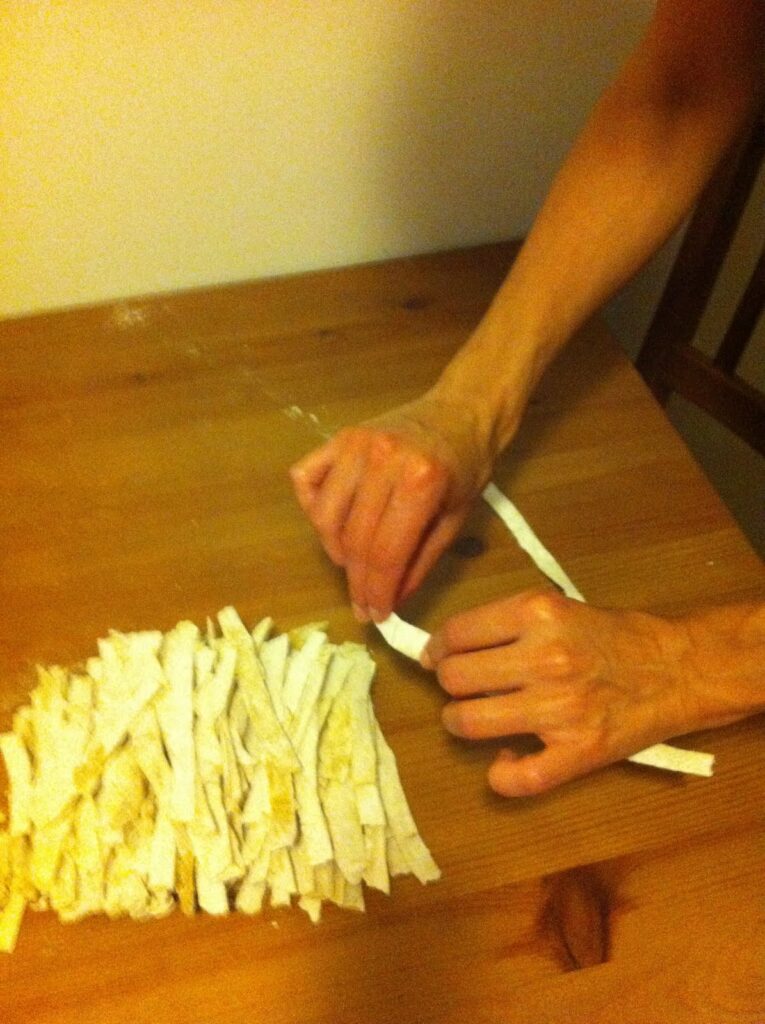
16. Lay the noodles out on your floured table.
 
 
You can cook your noodles right away, or you can let them sit until dried.  Cut your noodles to desired length before cooking.  If you dried them, you can break them by hand.
 
Cook them in boiling water, just like you would egg noodles.  You know they are done when they start floating to the top of the water.
 
Use a Noodle Maker to make the Haluski noodles– You can also create a thinner noodle if you would prefer thin Haluski Noodles. Once you have your dough made, cut it into small pieces. Then use the noodle maker: 
  1. Set up the noodle maker on the edge of a table. Attach the desired  fettuccine noodle attachment.

  2. Divide the dough: Cut the dough into smaller portions, as this will make it easier to work with. Dust each portion with flour to prevent sticking.

  3. Adjust the noodle maker settings: Most noodle makers have adjustable settings that control the thickness of the noodles. Set the desired thickness according to your preference.

  4. Begin the rolling process: Feed one portion of the dough through the noodle maker, starting at the widest setting. Crank the handle or turn on the machine, depending on the type of noodle maker you have, to roll the dough through the machine. As you roll the dough, gradually decrease the thickness settings to achieve the desired thickness for your noodles. This is a GREAT activity to involve kids in. It’s a bilateral coordination task that they will love!

  5. Cut the noodles: Once you have rolled out the dough, switch to the cutting attachment for the specific type of noodles you want. Pass the rolled dough through the cutting attachment, and the noodles will be formed as you turn the handle or operate the machine.

  6. Dust and separate the noodles: As the noodles come out of the machine, lightly dust them with flour to prevent sticking. Use your hands or a wooden dowel to gently separate and arrange the noodles. You can create nests of noodles or lay them flat on a baking sheet lined with parchment paper.

  7. Repeat the process: Continue the process with the remaining portions of dough until all the noodles are formed.

  8. Cook and enjoy: Bring a pot of salted water to a boil and cook the homemade noodles for a few minutes until they reach the desired tenderness. Drain the noodles and incorporate them into your favorite pasta dishes or sauces.


Directions for Haluski:

Use the haluski ingredients listed above and follow the directions below:


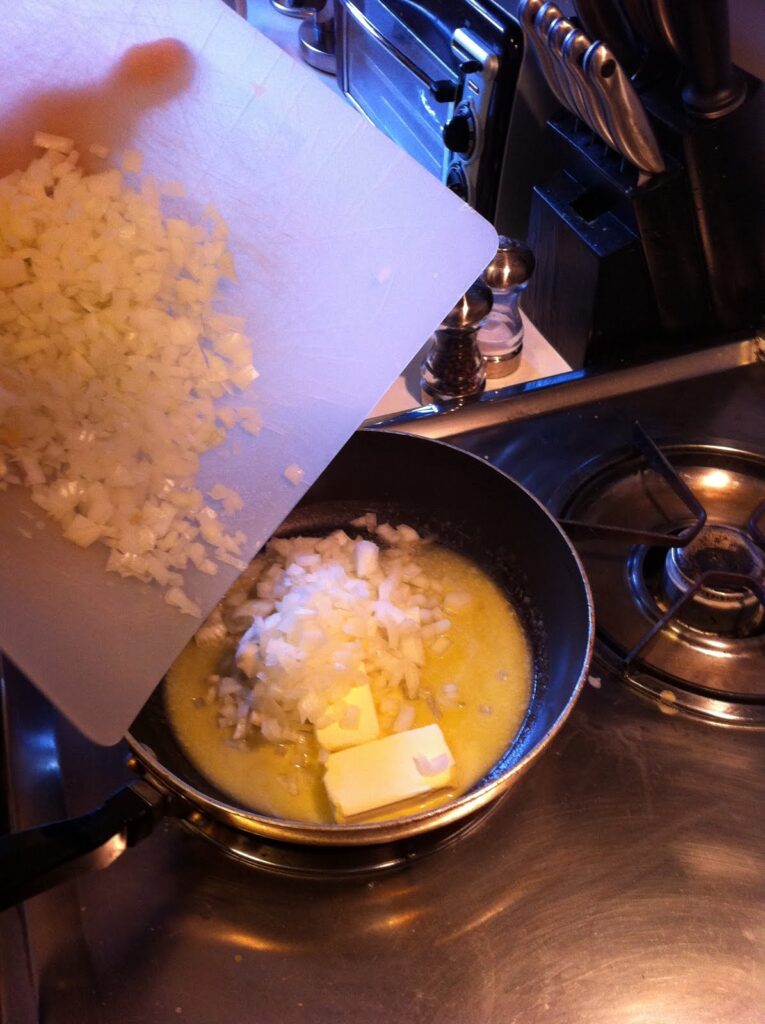
  1. While the noodles were boiling, I chopped the onion and melted the butter.  
  2. Sauté the onions in the butter until they are tender.
 
 
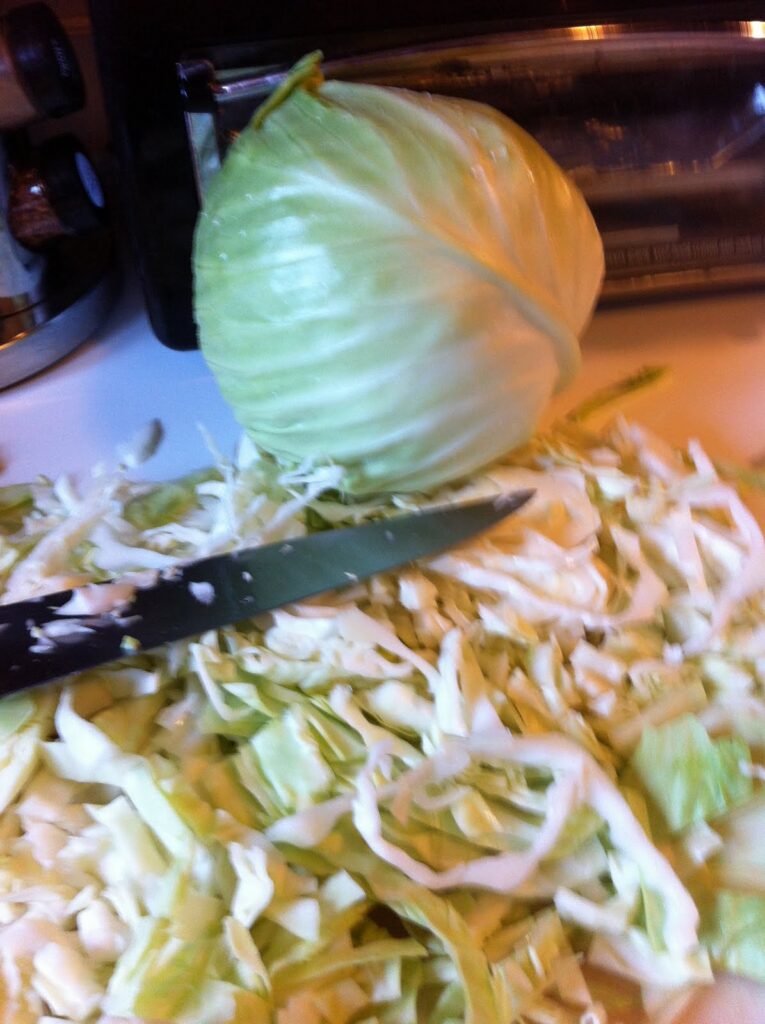
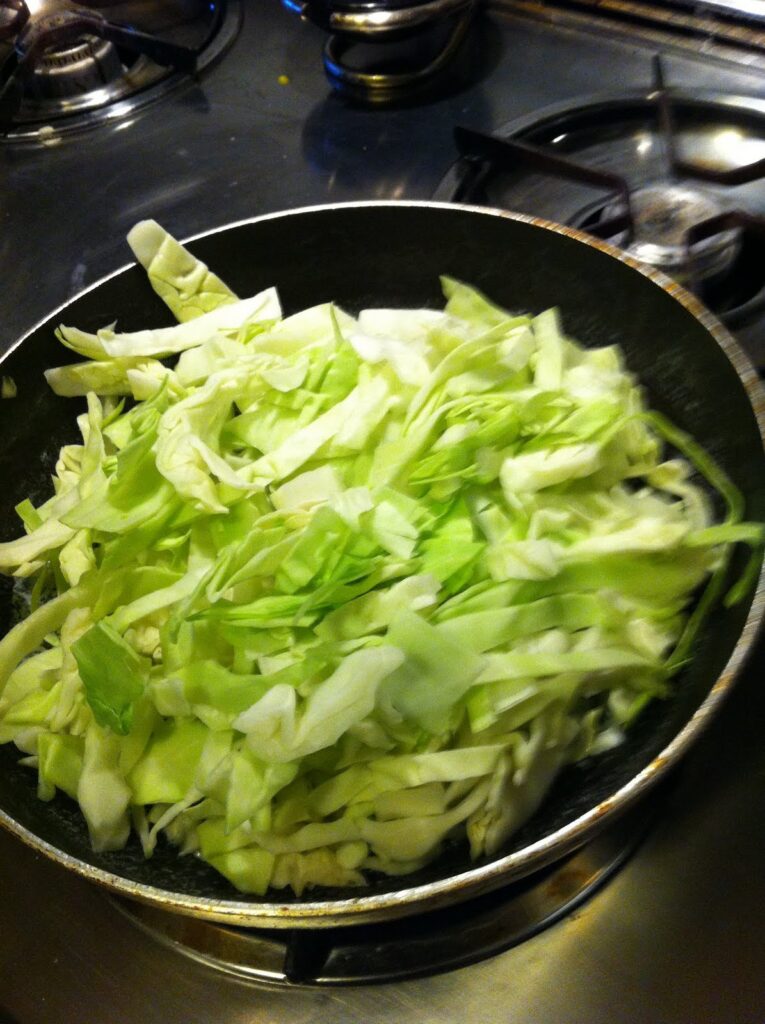
3. Chop the cabbage into 1/4 inch slices. If the slices are long, feel free to chop them in half.
 
 
4. Add the cabbage to the butter/onion mixture.  I had so much cabbage that I ended up transferring it all to a large pot.  
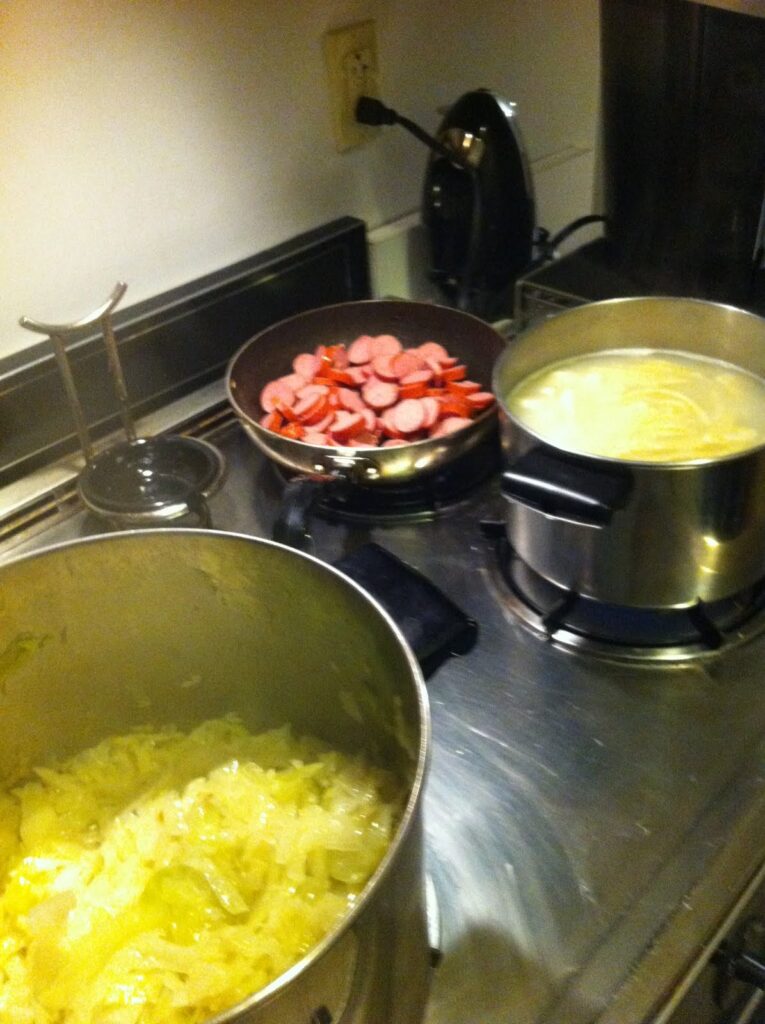
5. Cover the pot and cook the cabbage until it is tender; about 15 minutes, stirring often.
 
 
6. Slice up the sausage or kielbasa and cook it in a skillet until browned.  You could also substitute ham in this dish. To prepare the ham, cut the ham slice into small pieces. Brown them in a sauté pan on the stove top. 
 
7. When noodles are floating, cabbage is tender, and sausage is browned, mix all together into one delicious dish.
 
 
Eat it for dinner tonight or deliver it to a friend!


DIY wrapping paper

Kids can make their own DIY wrapping paper! 
Remember this tree from the Licorice Lagoon?
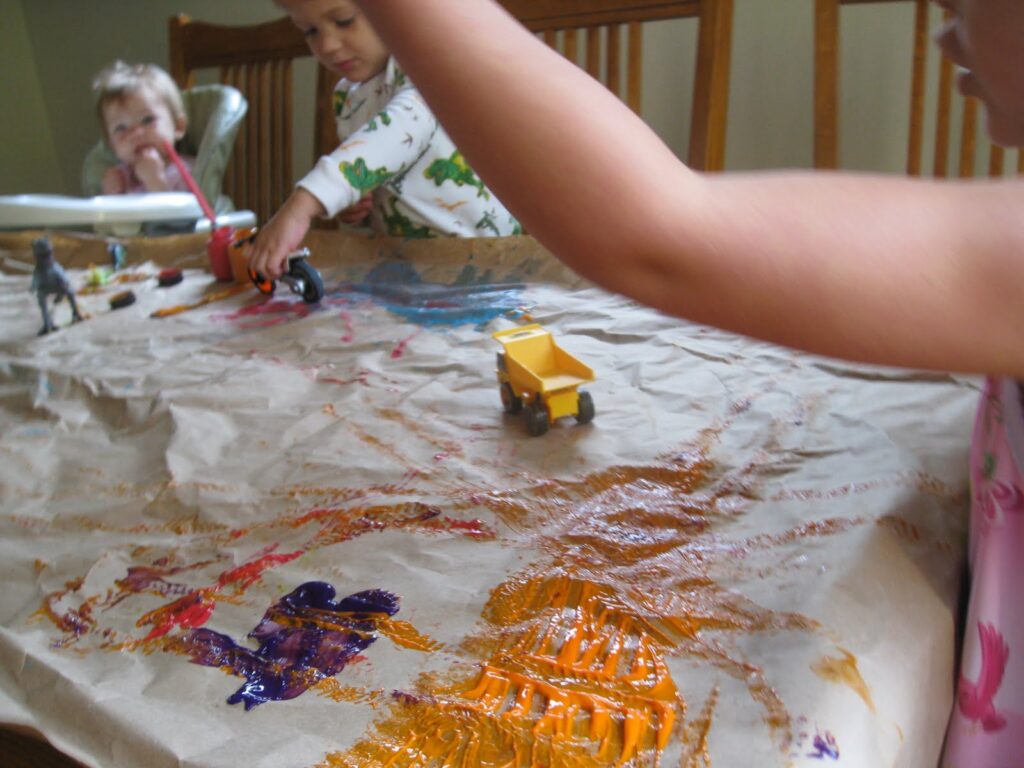
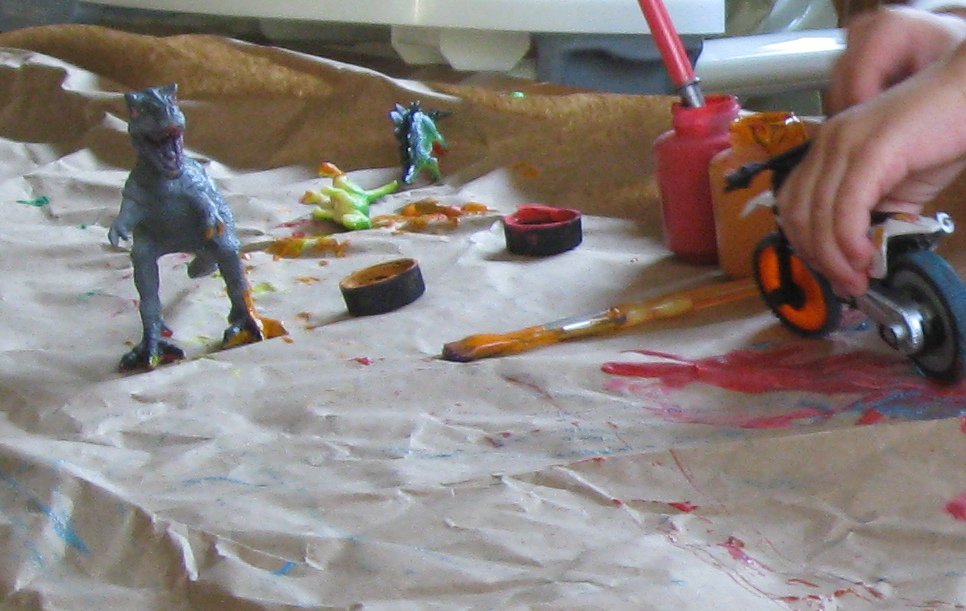
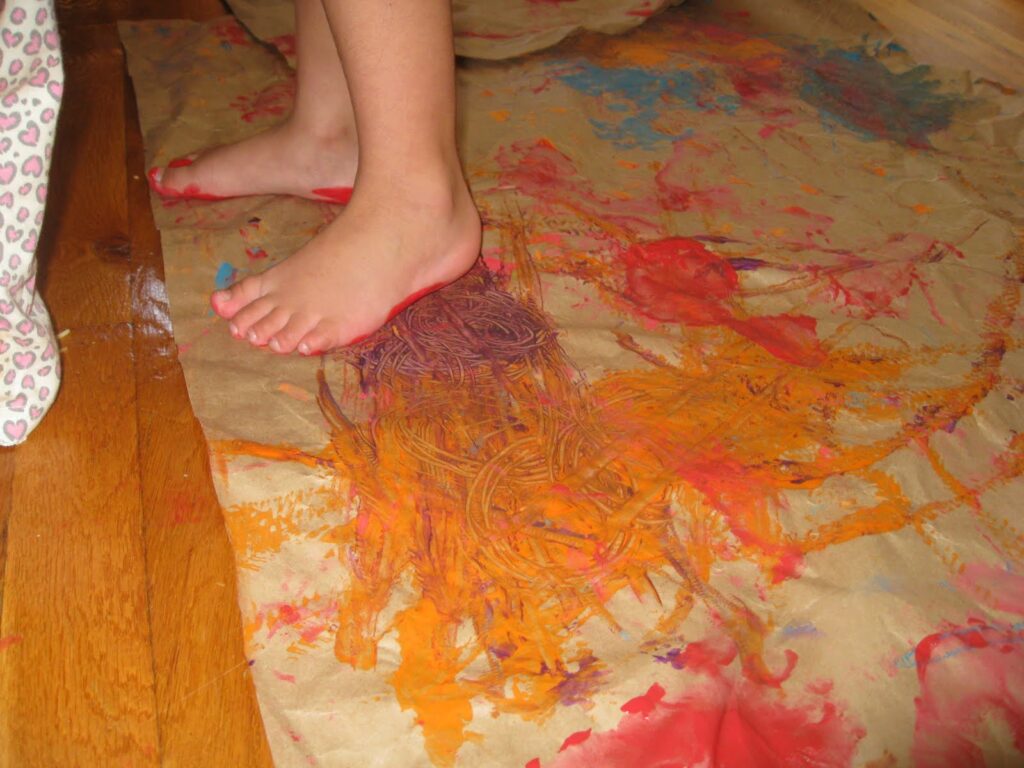
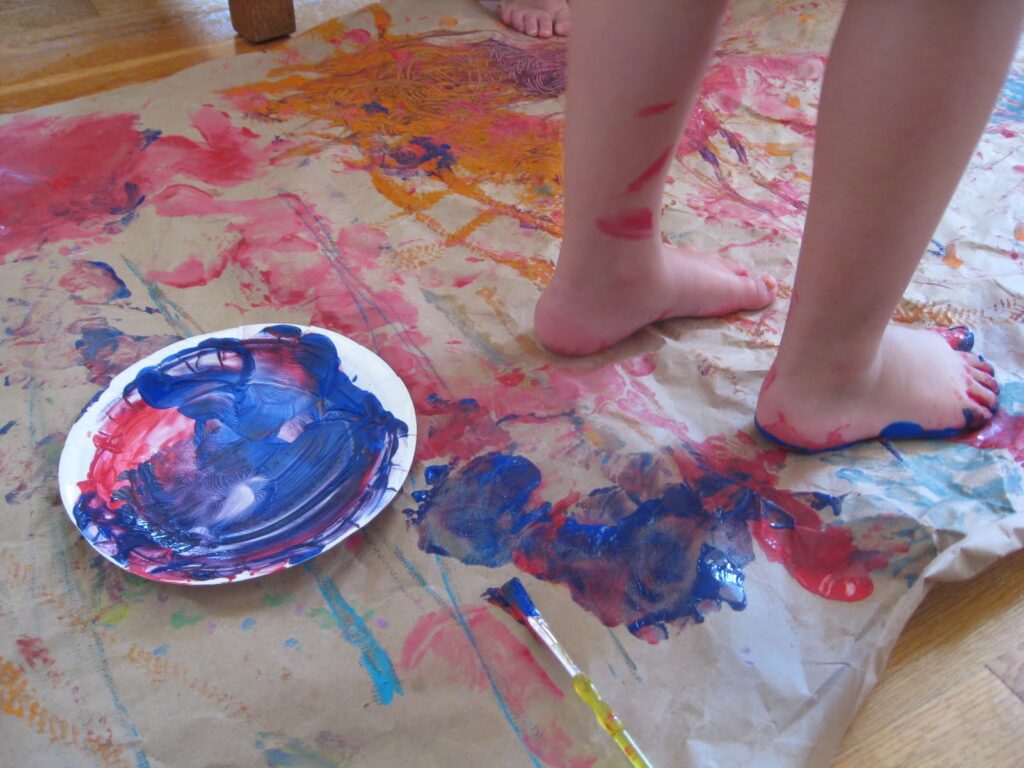
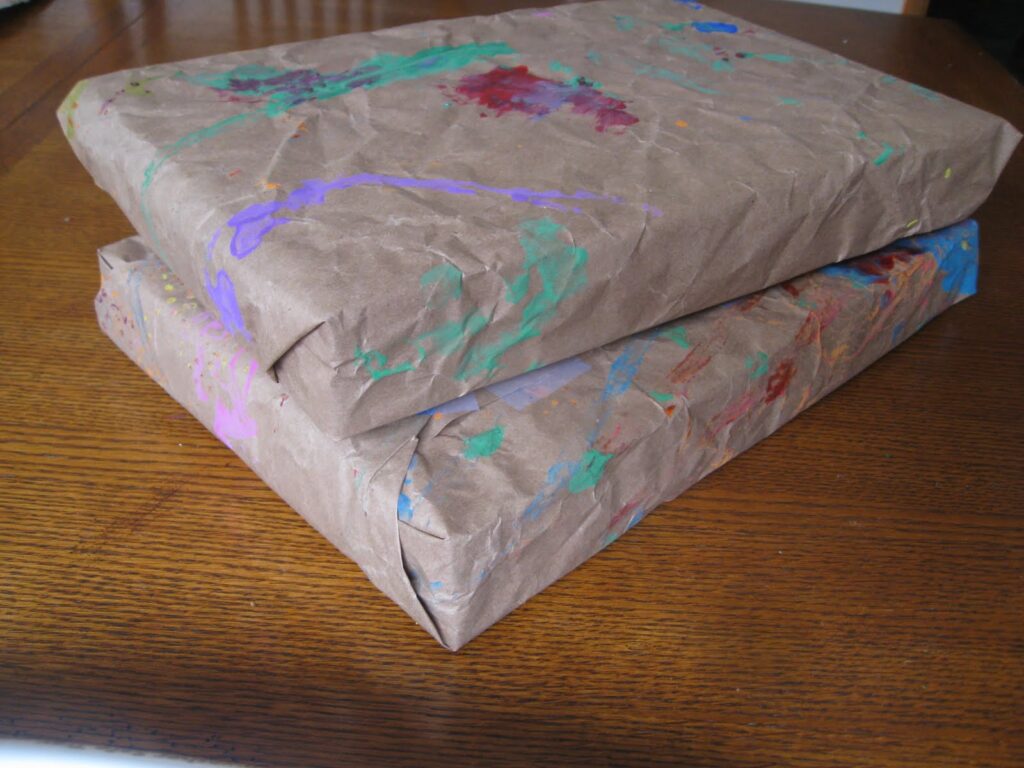
We used the kraft paper from the tree trunk for lots of painting fun! Cars and trucks drove tracks through paint mud puddles…
Dinosaurs left little foot print tracks…

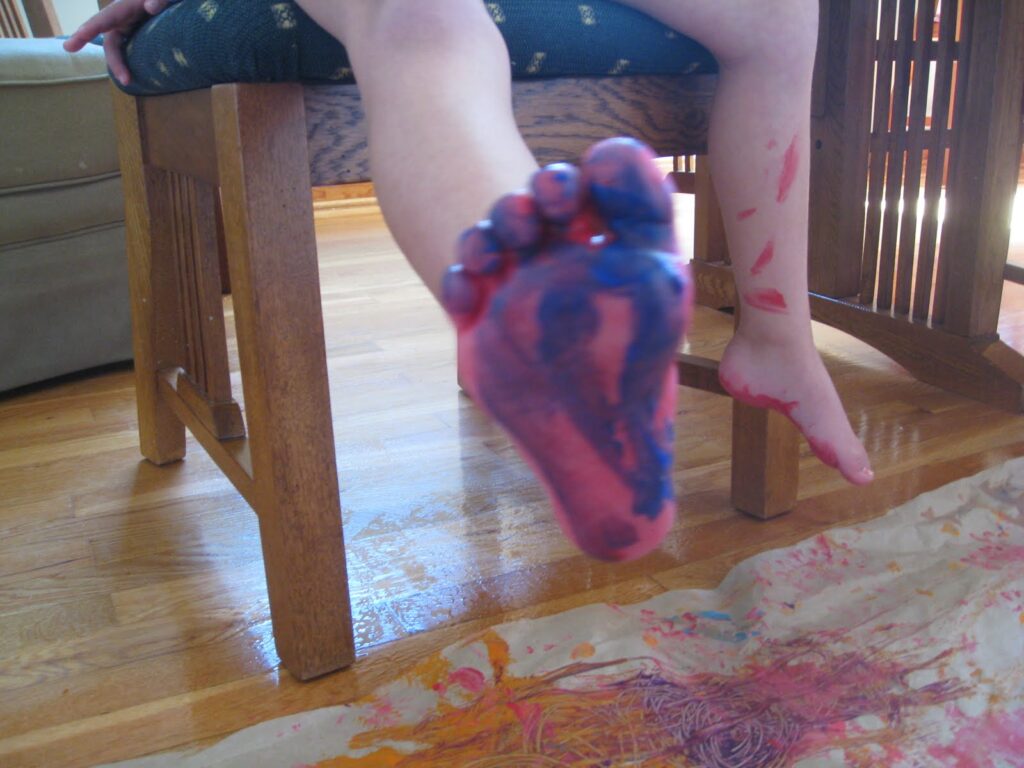
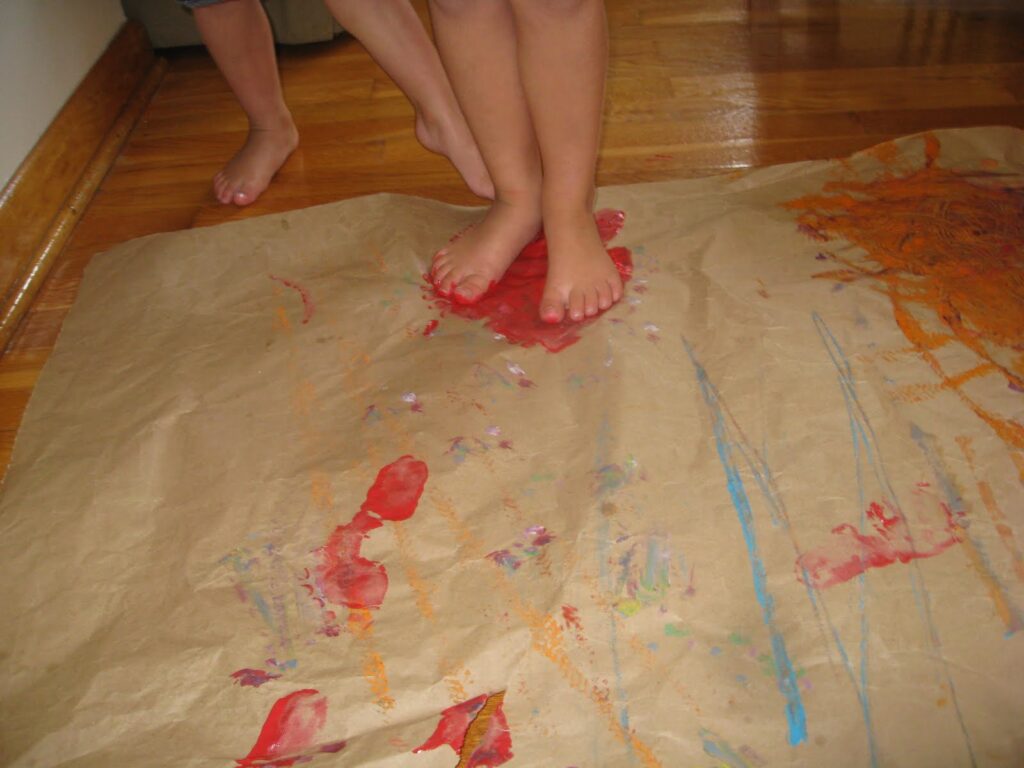
And we painted some piggy toes!

We used this paper to wrap some presents for friends with birthdays.
Happy Monday!
~Posted by Colleen

Breakfast Strata

Breakfast Strata
This is an easy breakfast meal that can be made the day ahead and baked in the morning. I love it because it is a major time saver, everyone else loves it because it tastes delicious!  I have made this on Christmas Eve last year and popped it in the oven on Christmas morning, so simple. 
Most of the ingredients I always have on hand…which makes it even better!  You can substitute any of the veggies and meat for what you have on hand or what you like best.
10 slices of white bread cubed
1cup mushrooms chopped
1 small green pepper chopped
1 small onion chopped
16 oz shredded cheddar cheese
1 ham steak cubed
8 eggs
2 cups milk
Spray a 9×13″ pan with non-stick spray
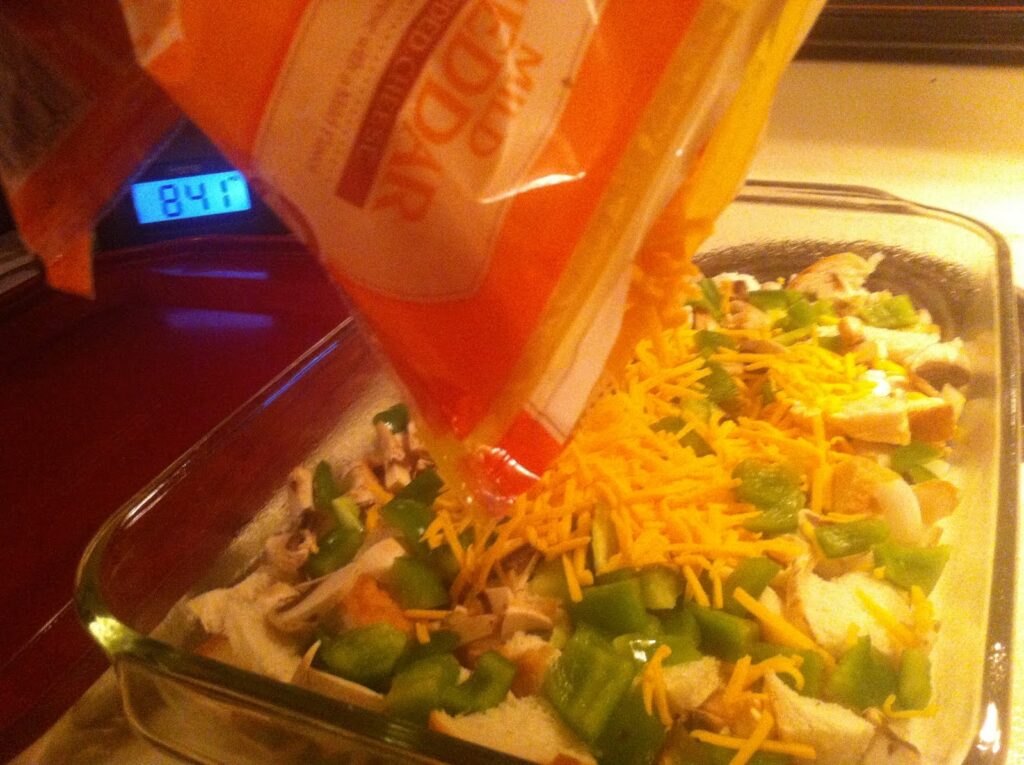
Place half of the cubed bread on the bottom of the pan
sprinkle with the veggies and then top with half of the cheese
Next, layer bread and ham and top with the remainder of the cheese.

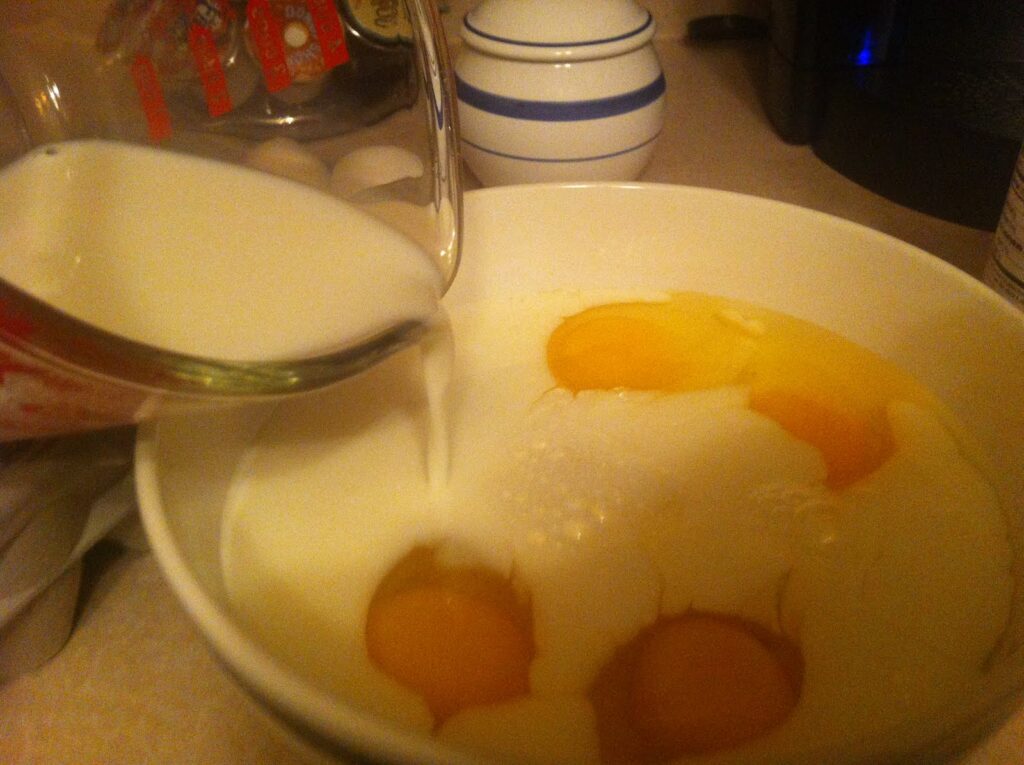
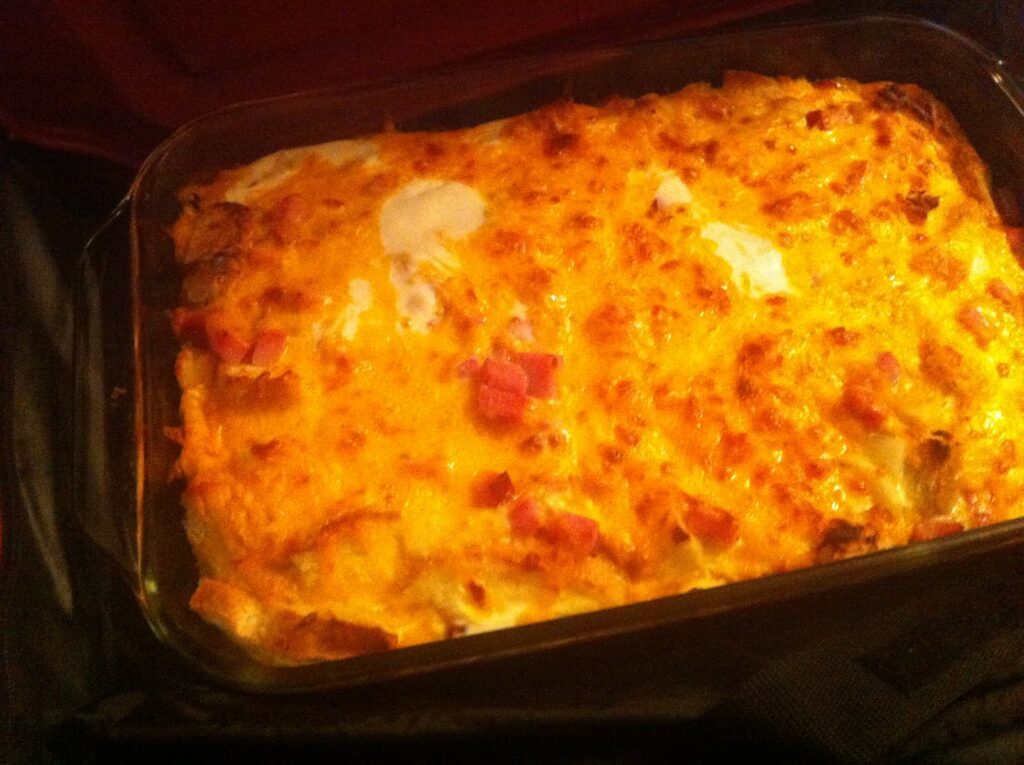
Mix the milk and eggs, make sure to whisk well.  I was in a hurry when I made this one and didn’t mix them as well as I should have. You can see in the final picture the white on top…that is egg white.


Pour the egg mixture over the cheese.  You can cover and refrigerate overnight.  Bake  covered  350 degrees for 35-40 minutes. I like to uncover and turn on the broiler for the last 5 minutes.  Smells like an omelet!
I didn’t get to taste the final product as my hubby took it to a football tailgate party for everyone to enjoy.  He said it was a hit! 
I got to stay home with the baby and enjoy some snuggles…and some yard sales with my sister.
 I won’t complain!
Hope you enjoy!
~Posted by Leanne