Learning colors

As parents, we are constantly amazed by the curiosity displayed by our toddlers. Every day is an opportunity for them to discover something new, and what better way to nurture their inquisitive minds than by introducing them to the vibrant world of colors? Learning colors is not only an engaging and exciting experience for toddlers, but it also plays a crucial role in their overall cognitive and sensory development.

Learning Colors

In this blog post, we invite you on a delightful journey to explore the captivating realm of colors alongside your curious toddler.

We will share a few creative activities about teaching colors to toddlers, but also share a wonderful experience with one of our own little ones!

Why Learning Colors Matters:

Colors are everywhere around us, from the blooming flowers in the garden to the vibrant pictures in storybooks. For toddlers, grasping the concept of colors is a significant milestone in their early development.

Understanding colors helps children enhance their visual discrimination skills, develop language and communication abilities, and stimulate their creativity.

Moreover, learning colors supports cognitive growth by promoting problem-solving skills, pattern recognition, and memory retention.

It also lays the foundation for more advanced concepts, such as color sorting, classifying, and categorizing objects based on their attributes.

Engaging Activities Learn Colors:

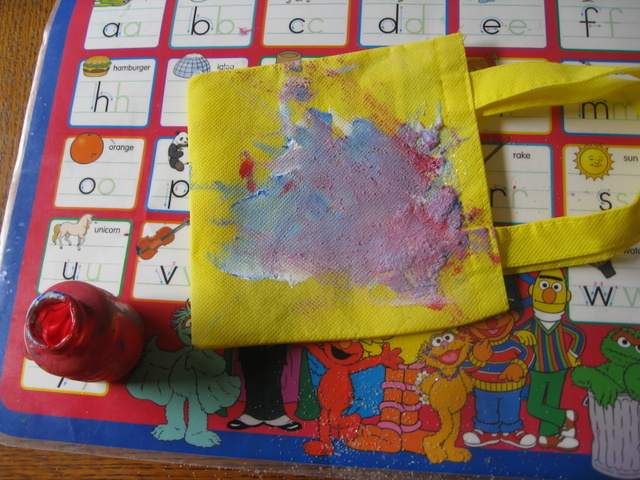
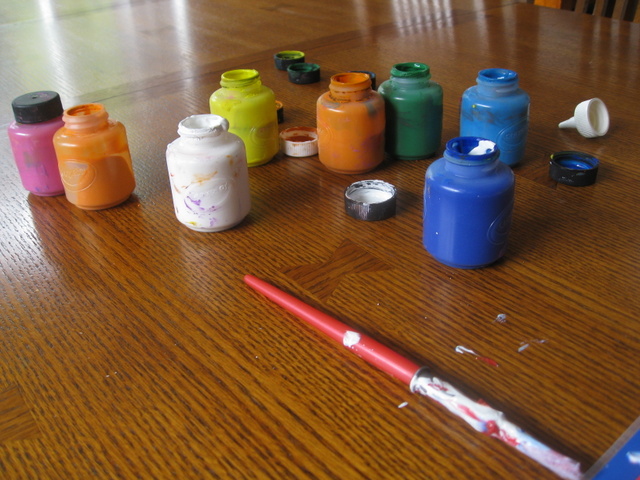
  1. Sensory Play: Encourage your toddler to explore colors through sensory activities like finger painting, playing with colored playdough, or sorting objects by color. These hands-on experiences not only stimulate their senses but also strengthen their fine motor skills.
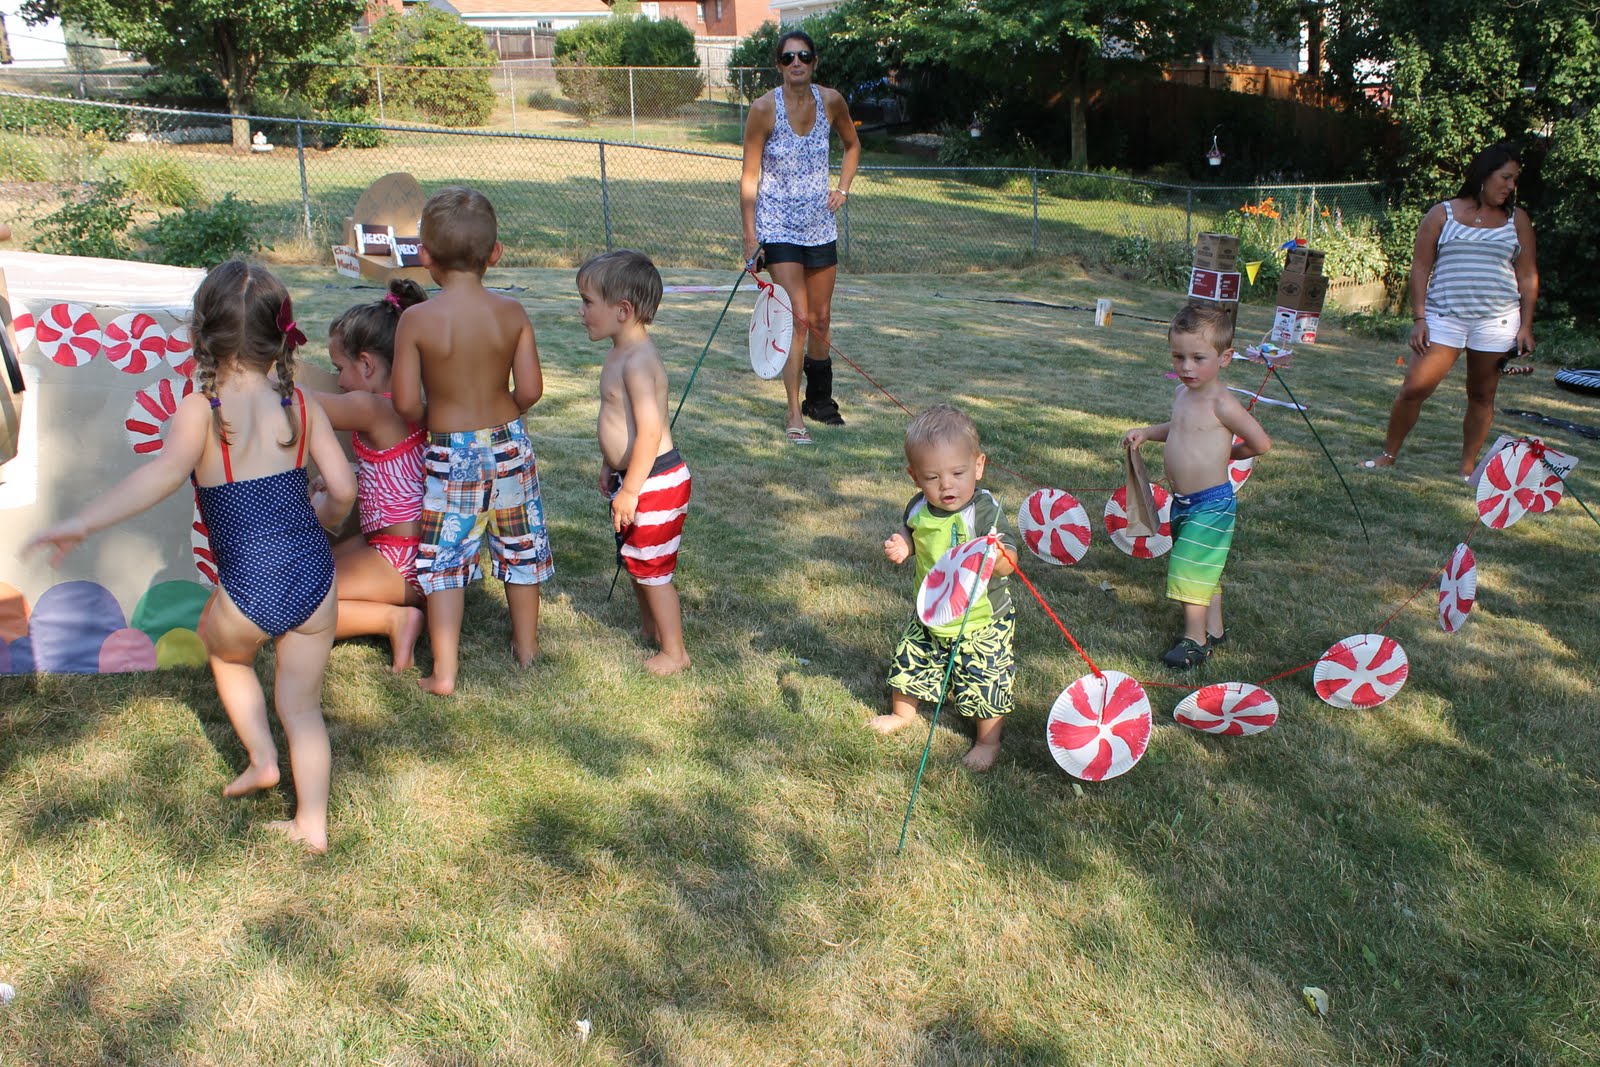
  2. Color Walks: Take your little one on a family nature walk with a color-themed adventure outdoors. Spot colorful flowers, birds, or vehicles and engage them in identifying and naming each color they encounter. This activity not only encourages outdoor exploration but also helps them make connections between colors and the real world.
  3. Color Sorting Games: Set up simple sorting games using colored blocks, buttons, or toys. Your child can enjoy sorting objects into different color groups, enhancing their cognitive abilities while having fun.
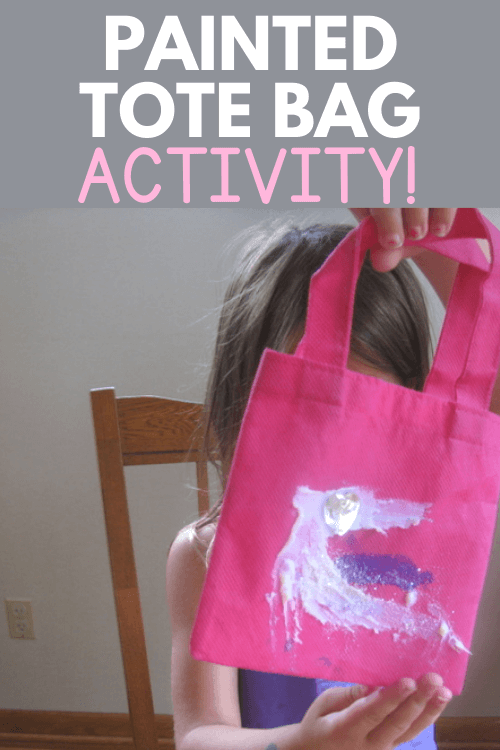
  4. Rainbow Crafts: Engage your toddler in crafting activities that revolve around creating rainbow crafts. Whether it’s using colored paper, finger paints, or even recycling old magazines, these crafts provide an opportunity for creative expression and reinforce color recognition. A simple crayon activity is perfect! Try these best crayons for toddlers.
  5. Colorful Story Time: Explore children’s books that focus on colors. Read aloud and discuss the different colors with your toddler, allowing them to associate specific colors with familiar objects or characters in the stories.

One Day when we Learned Colors…

A Little Sponge
 
Today I had my 16 month old all to myself and we had so much fun playing together.  We played outside, went for a walk, rode in his red car, and tried to play basketball, or “bunga ball” as he calls it.  Now is the time his brain is like a little sponge, absorbing it all.  


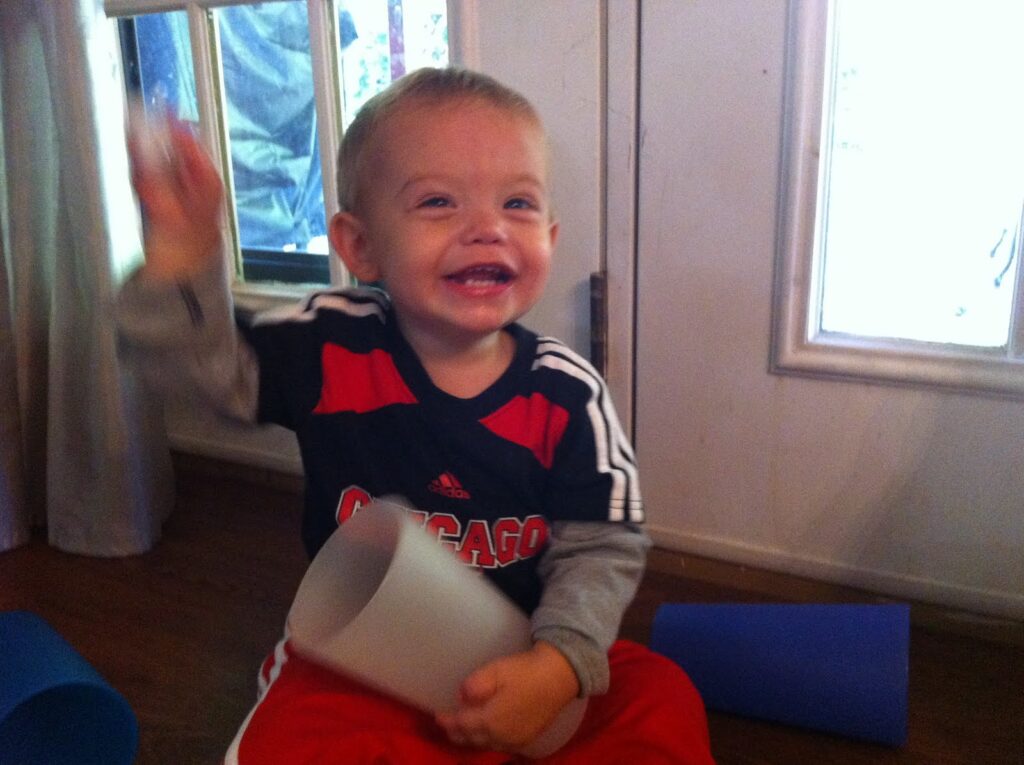
We invented a fun game that we named “Find the Binky”(he is a binky addict and any game involving finding the binky he enjoys…hehe).  


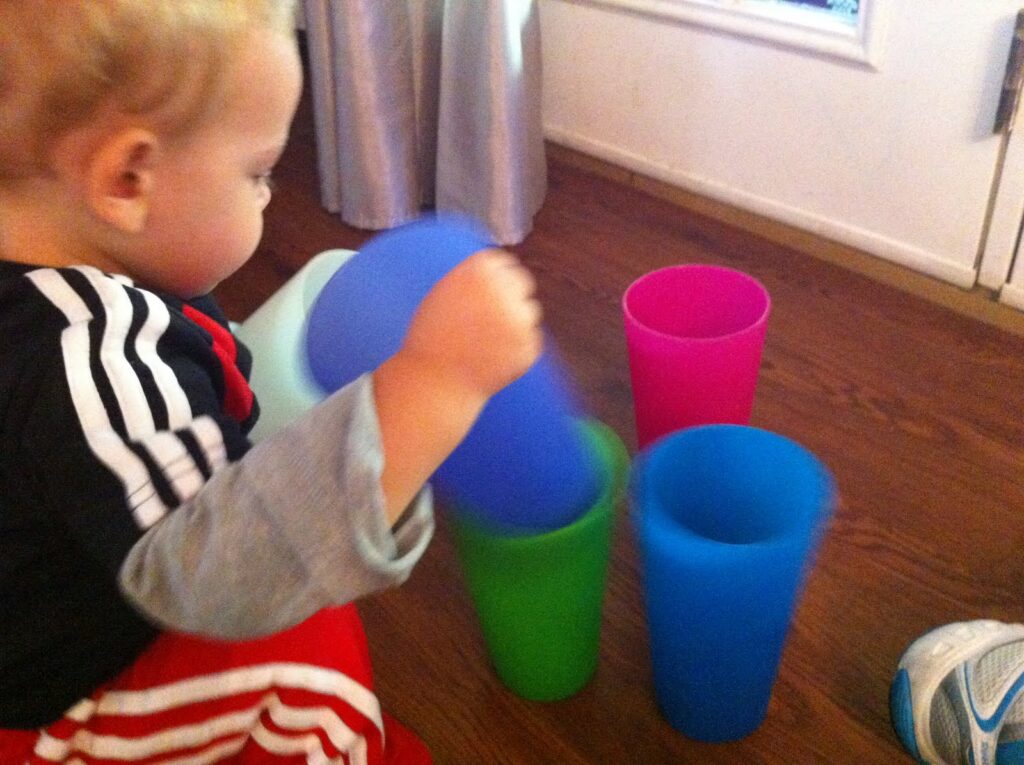
I pulled out these big plastic cups and separated them by color.  He would put the binky in a cup and I would say the color. 

He would try to repeat the color (or some word that kinda sounded like it).  Most of the time he was wrong and I would correct him.  He thought that was hilarious!  


At this age, he loves stacking things and knocking them down.


Found it!


Another fun thing to do is scream into the cups…this is a neat way to learn about sound and while holding the cup he feels the vibration. 


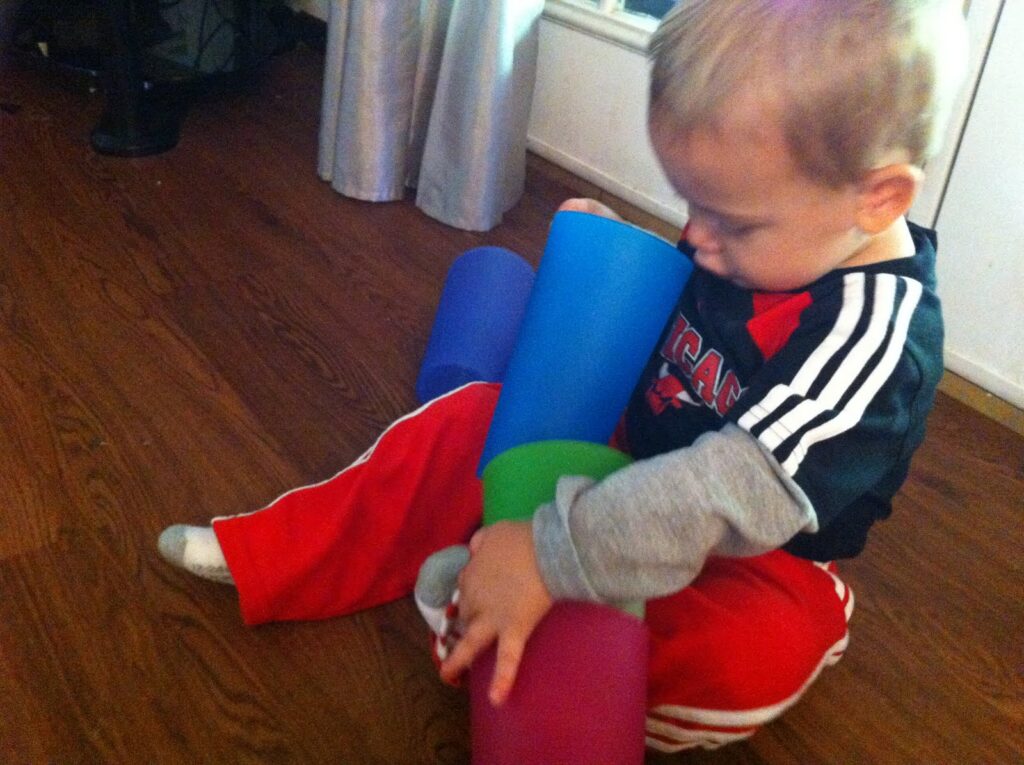
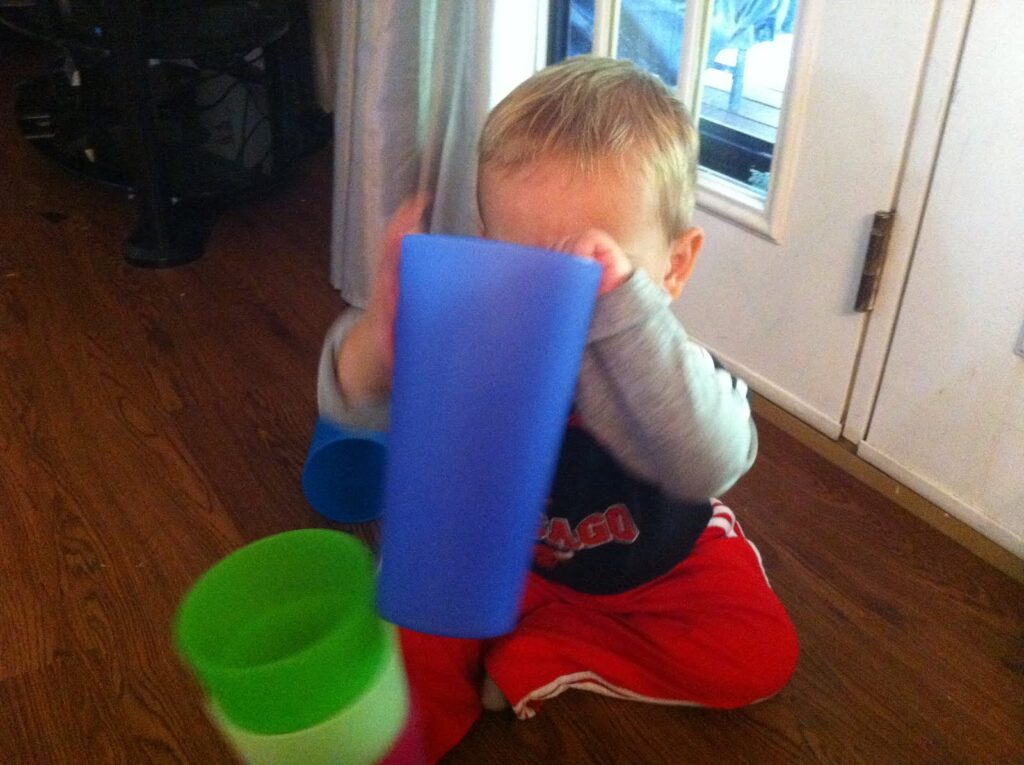
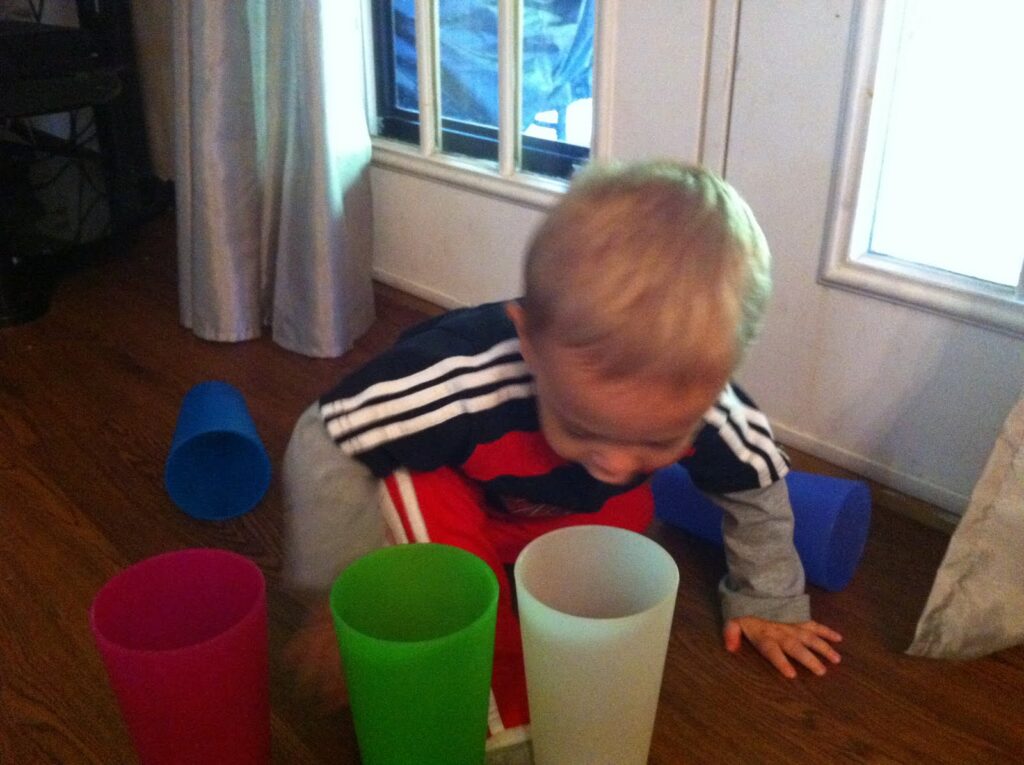
I later found him playing this game he made up by himself…he is such a boy.  He made a t-ball stand with the cup and was swinging at the soccer ball with another cup.  What a great imagination he has already.  I love watching him think.

 
And who doesn’t like to put things in the dog dish??? Along with this he says “yuck”…he knows exactly what he is doing and it is amazing.
 
I love this age! 


Growing Memories

The Dirt will wash away, but the Memories will last!
We spend a TON of time outside.  Lately, we’ve been playing a lot in our “mud pit” as Little Guy calls this part of our yard. We pull out the shovels, construction vehicles, and add in all kinds of extra things. 
It is so fun to see them explore and learn through sensory play. Kids learn not only about their senses, but learn about their world, all through sensory exploration. Getting messy adds great tactile integration.
We started with a little section of the yard with hard dirt and rocks and added some left over potting soil from planting earlier this year. The big kids took turns scooping dirt and adding acorns.

 Nothing says “summer” like bare toes in the dirt…
…School may be back in session, but we are still enjoying summer while this warm weather lasts 🙂

A little pattern learning with rocks and acorns…
My poor parsley plant needs a little love! It didn’t work out indoors, so it can’t hurt to try outside. We watered it and got some great mud to scoop…more sensory processing!

Playing on hands and knees with an extended wrist and tripod grasp to move those little rocks and trucks. All are important precursors to handwriting.
Little Guy said “Mom, this is my favorite thing ever to do”! How cool is it to hear that from such a simple play activity?!!?
An 11 month old can explore seashells. As always, keep close supervision to be sure none go in the mouth. Baby Girl played for a looong time with the seashells!

 We finished with some sorting play with the big kids. Baby Girl loves putting things into containers and taking them back out. This is such a great tool for language learning! 


Sorting, Patterns, Exploring, Language, Fine Motor work, Pre-Handwriting, Planting, Sensory Exploration…so many cool accomplishments today!
Go outside and play in the dirt!

Cars Candy Land Birthday Party

This summer we celebrated Big Sister’s 5th birthday and Little Guy’s 3rd birthday. Their birthdays are so close together, that we always do a joint party. I’m excited to share the details of this years party!
Big Sister is into playing CANDYLAND. We play it so much, that she knows all of the characters in each land and was asking about how we can incorporate them into her party. She was very excited for a life-size game in the back yard! 
Little Guy is waaaay into CARS. He was so excited when I started creating parts of his party…especially the HUGE cardboard Mater and Lightning McQueen (check them out below)!
So, how to combine CANDYLAND with CARS????

Here’s what I did…
The Candyland cake. 
 The Cars cake.

The entrance to the game. I drew this image after cutting the entrance. It was staked into the ground, so nice and sturdy. I had the kids line up as I explained that we would be visiting lands from Candyland and doing games and Cars activities at each land. I led the kids in a chant of “We love candy! We love candy!” as they crawled through the entrance and off to the first land


This was decoration along the path. The giant candies were Chinese take out containers wrapped in different colors of tissue paper. I used a rubber band on each side to make the tissue paper look like a candy wrapper. They are connected by a long piece of yarn running through each container. 
(we eat a lot of Chinese take out…)
The first land LOLLIPOP WOODS! These are balloons I had from a previous party, taped to wrapping paper tubes and paper towel cardboard tubes. The path was dollar store disposable table cloths cut into 12″x12″ squares and then taped to a plastic sheet. These were staked to the ground with garden stakes.

In Lollipop woods, I had the kids bat at a balloon with a tennis racket. After they hit the balloon, they got to pick a lollipop that was stuck into the ground and put it into their treat bag (dollar store Cars-themed brown lunch bags).


Marching off to the next land…CHOCOLATE MOUNTAIN!
These were a bunch of boxes I had either saved or gotten from Aldis. I simply stacked them up and drew a mountain image on a big sheet of cardboard. The Hershey bars were cardboard rectangles about 2 inches thick. I wrapped the edges in aluminum foil and sewed the felt letters onto brown pieces of felt. I already had all of the felt in my scrap box and had to stretch it a little to make it work. 


When the kids got to this land, I quickly scattered a bag of hershey kisses over the boxes and the ground. It was so hot (97 degrees!) that they melted reallllly fast. The kids put a bunch into their treat bags.
“We love Candy! We love Candy!” Off to ICE CREAM SLOPES…
The path up to this land changed from the Candyland squares into a road of cut garbage bags with masking tape lines. It only took two garbage bags to make enough road and they were positioned with garden stakes.
I got some free car themed boxes (oil, washer fluid, etc) from Advance Auto parts. These were zip tied together.

In this land, the kids got to pick an ice cream bean bag from the basket. ( I sewed these up from felt I bought for a dollar at a yard sale and filled with corn). Then they took their bean bag through an obstical course…hopping over peppermint sticks (wrapping paper tubes painted red and striped with masking tape), jumping through dollar store tire intertubes, then crawl up the playhouse,  & shoot their bean bag through the basket ball hoop. They put the bean bag into their treat bag.


Off to the next land~ Take PEPPERMINT PASS to get to the GINGERBREAD HOUSE!


This was a box that our new patio chairs came in earlier this summer. I hung onto it, and it ended up getting a little beat up around the top. It still worked, though. Big Sister had a blast helping me to decorate this (and most of the party, really)
Inside were beaded necklaces and a foam hat decorated with candy stickers. Kids could add those things to their bags or wear them.
Marching down the path to LICORICE LAGOON! 
This was at the opening of my garage. One project my kids and I had done earlier in the week was to dye coffee filters and make them into flowers.
These were attached to “vines” (strips of cardboard).
We marched into our basement which was transformed into a lagoon with a Licorice tree at the end.

I am so proud of this tree! (Please excuse the mess in the background) It was so easy…dollar store craft paper and streamers. I had the coconuts from a previous party. 


More vines and flowers. I hung stuffed animals that we had around the house all over the vines, hanging from the unfinished ceiling beams, and heating vents. The river was a strip of one of the dollar store table cloths leftover from cutting the path squares. When we got to the tree, the kids could pick a few licorice and put them into their bag.

Back outside for the end of the game and to see the CARS!!! These were not tough to make and I love how they turned out. I had gotten a new treadmill earlier in the year and saved the box. These boxes are huge…8feet x 4 feet and 2 feet tall! I used dollar store zip ties to make the front curve of McQueen, and attach oatmeal containers to the top of Mater’s hood. I had most of the paint already, just needed to pick up a little cherry red paint. 

The kids could get inside for photo ops and pretending to drive (steering wheel and gear shift with odometer were drawn on the inside). I had Cars tattoos from the dollar store here for the kids to put into their bags.

The Food…
I had so much fun planning and putting the food together. These are the cute things we had…

Spare tires
Construction cones to fill with fruit
Stop Lights
My cookies, decorated with lollipops, candies, Hershey kisses, Lightning McQueen, and Mater
The table, with ice cream cone balloons hanging from my light fixture.

It was a great party, and so much fun to plan and put together. I LOVE coming up with ways to pull the party theme together as inexpensively as possible. Most of the supplies needed for this party, I already had…or I got from the Dollar Tree. My kids helped with so many projects getting ready for their party. It was one craft after another for a while there! 


~Posted by Colleen

Pizza Dip

Delicious Pizza Dip
I made this dip for a Labor Day party and it was AMAZING!  I will be adding this to my recipe book and making it again. It smells like someone just baked a pizza in the kitchen…it is hot and bubbly and tastes like a warm gooey pizza.  You gotta try this!  Scoop it up with some bruchetta bread or crackers.
4 ounces cream cheese, room temperature

1/4 cup sour cream
1/4 cup mayonnaise
1/2 cup mozzarella, shredded/grated
1/4 cup parmigiano reggiano (parmesan), grated
1 cup tomato sauce
1/2 cup mozzarella, shredded/grated
1/4 cup parmigiano reggiano cheese shredded/grated
2 ounces pepperoni, chopped slices
2 tablespoons chopped green pepper
2 tablespoons black olives, sliced
1/2 tsp italian seasonings
Directions
  1. Mix the cream cheese, sour cream mayonnaise, mozzarella and parmigiano reggiano and spread it across the bottom of a pie plate.
  2. Spread the pizza sauce on top and sprinkle on the cheese, pepperoni, green pepper and olives.
  3. Bake in a preheated 350F oven until the sides are bubbling and the cheese cheese has melted and turned golden brown on top, about 20 minutes. 
~Posted by Leanne

Totebag Painting Idea

totebag painting

Many years ago, we had this totebag painting idea. Actually, we received small tote bags as a party favor and decided to decorate the tote bags. There are actually many ways to hand paint a tote bag, but this was a kids’ craft idea that we loved. We even used the totebags as travel sensory kits for a while.

totebag painting activity with kids

Totebag Painting Idea

Let’s get started with this totebag painting activity.

We went to a fun birthday party this past weekend, and got these little bags as part of the party favor. 

Little Guy brought his out today and was so sad that his bag was yellow and not his favorite color, RED.

I started to say, “Well, what can we do about this problem?”

Big Sister cut in and said “I know!!! We can PAINT them and GLUE STUFF to them!” This was a really creative painting idea that she came up with on her own, so we went with it!


This girl is SO my daughter!
 
totebag painting idea for kids
 
 Little Guy thought that was a pretty smart idea. So, we pulled out the paints, glue, glitter, sparkly hearts, and puffs.
 
Painted totebag using washable paint


crisis adverted…for now!
 

Tips for Making Hand Painted Tote Bags with Kids

Painting a tote bag can be a creative and fun sensory activity. It can get a little messy, but with some prep work, you can make this activity with kids and then use the bag to hold all kinds of fine motor items or sensory tools.

Here are some tips for making a hand painted tote bag:

  1. Choose the Right Tote Bag for Painting: Select a tote bag made of a material suitable for painting. Canvas bags are a popular choice as they provide a smooth surface for painting. You’ll want a tote bag that is a solid color. Smaller is a great size for younger kids. There are miniature tote bags on Amazon (affiliate link) which would be great for a therapy caseload or a classroom activity.

2. Add a Piece of Cardboard so the paint doesn’t bleed through the sides of the bag: Before starting to paint the tote bag, slide a piece of cardboard into the bag. This way, when you paint, it only ends up on one side of the bag. You can even paint one side and allow it to dry, then paint the other side.

When you have that piece of cardboard in the bag, you can even use it to prop up the bag to allow the paint to dry faster.

3. Select Paint to Paint the Tote Bag: We used washable paints because we knew we wouldn’t be washing our tote bags and my kids were very young at the time that we hand painted tote bags. You could use other types of paints, however, especially if you want to wash your bag at some point. Good paints to use are acrylic paints or fabric paint.

4. Prepare Your Workspace: Lay down a protective covering to prevent paint from spreading onto surfaces. Have all your materials organized and within reach to create a comfortable and accessible workspace. We just used a laminated placemat as our workspace, but you could place sheets of newspaper or plastic table cloths, too.

5. Plan Your Design: Before applying paint, sketch your design on the tote bag with a pencil. This will help you visualize the final product and make adjustments before committing with paint. For my kids, we just kind of painted, and that worked out great!

6. Use Appropriate Brushes: Select brushes of different sizes based on the details of your design. Larger brushes are ideal for broad strokes, while smaller brushes are better for intricate details.

If you are creating a hand painted tote bag with features like a child’s name, flowers, or other details, a finer brush would help. If you are using washable paints with a younger child, a sponge brush or even finger painting is fine, too.

7. Apply Thin Layers: Instead of applying a thick layer of paint, use thin layers to achieve a more even and professional-looking finish. Allow each layer to dry before adding the next.

8. Add Texture or Patterns: Experiment with adding texture or patterns to your design. You can use sponges, stencils, or even household items to create unique effects.

9. Seal the Design: Once your design is complete and fully dry, consider sealing it with fabric sealant or ironing it according to the paint manufacturer’s instructions. This helps ensure the longevity of your painted tote bag. We didn’t need to do this step because we just used washable paints.

What do you think? Will you make a painted tote bag in your therapy sessions, at home, or in the classroom?

Colleen Beck, OTR/L has been an occupational therapist since 2000, working in school-based, hand therapy, outpatient peds, EI, and SNF. Colleen created The OT Toolbox to inspire therapists, teachers, and parents with easy and fun tools to help children thrive. Read her story about going from an OT making $3/hour (after paying for kids’ childcare) to a full-time OT resource creator for millions of readers. Want to collaborate? Send an email to contact@theottoolbox.com.

Homemade Star Candy

I had a bunch of royal icing left over from making cookies and had an idea…

CANDY!!!


Baby Girl is having a First Birthday soon, with a Twinkle Twinkle Little Star party.  I thought I could use these candies for decorating the cake. This was so easy, I made these cute little star candies during regularly scheduled “quiet time/nap time”.
(I quote this because usually there are other activities going on during quiet time/nap time…like a little someone sitting at the top of the steps, kicking the wall…)
Any way, no walls were being pummeled by little feet today, so little stars it was!


the goods:
 I love Wilton gel food colors. It only takes the smallest little bit of color and a jar will last me forever.

 Cover your cookie sheet with wax paper. You could put the wax paper right on the counter-top, but putting on a cookie sheet makes it easy to move the whole thing out of little-arms-reach…Fill your icing bag royal icing, and go crazy drawing stars!

 Let them dry for a few hours and then pop em right off the wax paper. Store them in a sealed bag or container and they will keep up to 6 months.

I’m thinking a cake with blue icing and covered with little candy stars!
~Posted by Colleen

Four Cheese Garlic Bread

This four cheese garlic bread is such an easy addition to any dinner and it’s simple to throw together. Whether you are having lasagna or spaghetti, add a homemade garlic bread to the side. My kids adore this four cheese bread and you will too!

Four melty cheeses, garlic, and seasonings…
That’s a tasty side to lasagna!


FOUR CHEESE GARLIC BREAD

 
We made a big lasagna for dinner on Friday (and have been eating left-overs all weekend). I made my signature four cheese garlic bread.
 
The hubby always asks me to make this to go with our lasagna nights. It’s so easy and the perfect crunchy, cheesy, buttery addition to pasta! I don’t measure when I make stuff like this so, eyeball the ingredients. Let’s just add this, though…can you have too much butter and cheese on a garlic bread??? hmmm…good question!
 
Enough talk…let’s get cooking.
 
Ingredients:
Fresh loaf Italian bread, sliced in half
stick of butter (or half a stick if you’re making just half a loaf of garlic bread)
3-4 cloves of garlic, minced
paprika
parsley
Grated soft mozzarella
shredded cheddar
grated Parmesan
grated Romano
 
To make the FOUR CHEESE GARLIC BREAd
 
1. Melt the butter in microwave.
2. Pour the melted butter evenly over both sides of the sliced bread.
3. Spread minced garlic over butter.
4. Sprinkle generously with paprika and parsley.
5. Cover with cheeses.
6. Wrap the whole thing up in foil and pop into the oven along side your main dish. 7. Cook for about 15 minutes or so.
8. Slice it up and try not to burn your mouth by tasting too soon!


Monster Theme 1st Birthday Party

The Birthday Boy!  I can’t believe my baby is already one.  I wanted to share what I did for his first birthday party.


Outfit– I ordered the iron-on decal from Etsy and got the white tee-shirt from Walmart.
Birthday Banner– I created these Monster/Alien heads by cutting out circles from poster board from the dollar store and gluing antennas on the back.  I then taped on black and white pictures in chronological order by month.  I cut out circles from label stickers and wrote the month number below the picture..  My sister and I strung them with ribbon from the dollar store.

 Cupcakes and Smash Cake– I got the cupcake idea . I used Funfeti white cake mix from a box (would love to have time to make it from scratch, but I just don’t), and chocolate cake mix.  I used my little mini cupcake maker for the cupcake on top.  Found the cute liners at Big Lots (one of my favorite stores!) and picked up the icing from Aldi in the clearance section- it was originally pink and yellow, I added a little food coloring to make the perfect monstery green.  The candy eyes were from Michael’s and the DumDums and peach rings from the dollar store. 
The cake was just made in a round glass mixing bowl I had and I put dollops of icing all around and made a silly looking mouth.  I didn’t take much time doing this because we all know what is happening to this cake.


The Birthday Hat–  This I made out of stuff I already had laying around in my craft bin.  I cut out poster board and made it into a hat shape and glued it on the seam.  I then lined it with frayed tissue garland.  I glued this all around until it covered the poster board.  I then glued on buttons and cut out the same ribbon from the dollar store that I used to make the birthday banner.  Finally, I glued on a pompom on the top and some elastic on the bottom. 

 Snacks and treat bags– For the favors I made monster bags that the kids could fill with candy from a candy bar.  I got the bags at Michael’s in a pack of like 20 or something.  They were super cheap.  Then I glued on googly eyes that I already had and some fun pompoms to make them look silly.  I used a black sharpie to make a mouth. 

My favorite thing I did was make little monsters for all of the kids (thanks to the help of my sister Colleen).  We cut circles, squares and oblong shapes out of felt and fill them with crinkly papers (packaging from different things I bought that made crinkly noise when balled up).  We sewed them together with ribbon tag arms and legs and yarn hair.  I then used different color thread to make a mouth and sewed on button eyes.  They turned out so cute and I am so mad at myself that I didn’t take more pictures of them.  Each one was different and the kids had fun picking out their monster to take home.  I put them in a basket with a sign that read “Adopt a Monster”.
Overall, I thought the party was a huge success.  I had so much fun making everything and trying to spend as little money as possible without making it look like it!

 “The little monsters on the wall are waiting in line”- my 3 year old daughter, lol.

-Post by Leanne

Here we are world…

This is our first post as Sugar Aunts. We just want to share with the world what we are and what we do.  I am excited to be starting a blog with my sisters who are so creative and full of ideas. 

As a middle child I am always looking up to my big sister.  She is what every mom wishes she could be and what every sister should be.  My little sister is kind and generous, always lending a helping hand and also a great mom.  Who wouldn’t want to hang out with these amazing women??? 

Together we are three SISTERS, MOMs of six children, and WIVES.  We want to show off our skills in the kitchen, backyard, crafting, and just being us.