When you make crafts with kids, there is glue involved. We use glue sticks, glue in bottles, glitter glue, and a dried cereal/milk combination that turned glue on the surface of the dining room table. Just kidding about that part. Sometimes.
We wanted to share a decoupage glue that we use all the time in crafts and activities with the kids (And without the kids. A mamas gotta craft.) This DIY decoupage glue is easy and quick to mix up, and simple to use in all kinds of crafts with the kids. You’ll want to make up a bottle of this decoupage and keep on hand for all sorts of craftiness.
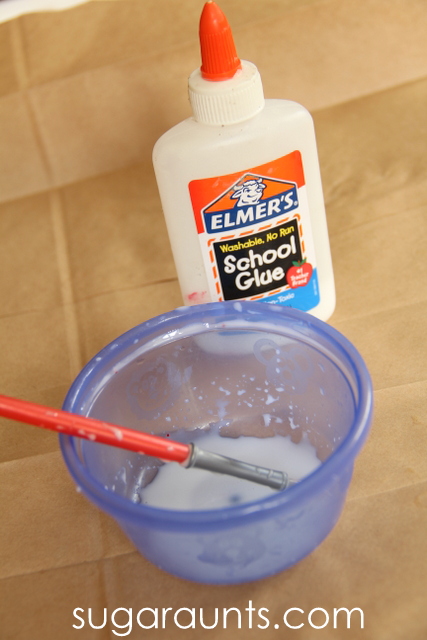
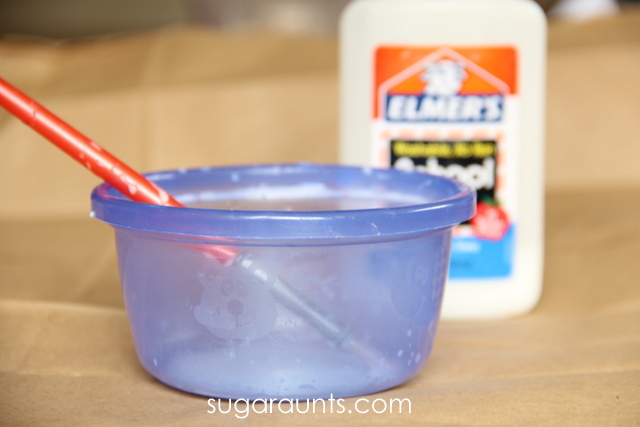
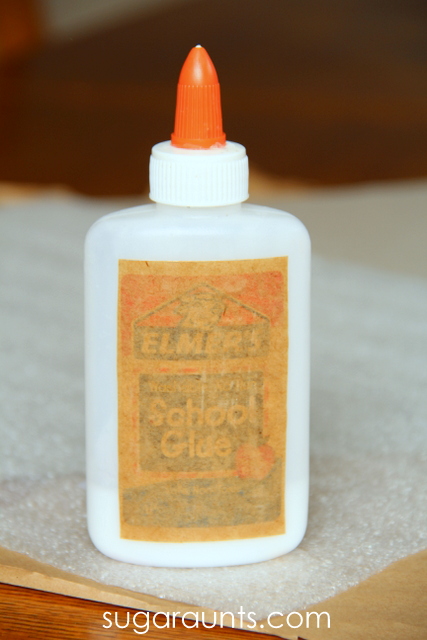
Start with regular glue. We used a bottle that was about half full. You’ll want to have enough room in the bottle or find a different container to store your decoupage. To make decoupage, add water to the glue at a ratio of 2:1. I just eyeballed the amount of glue in the bottle and added twice as much water.
Next, put the cap back on the bottle and shake it up. Use a paint brush to swipe the walls of the bottle clean and really get the glue mixed in with the water. Your decoupage is done!
How easy is that!?
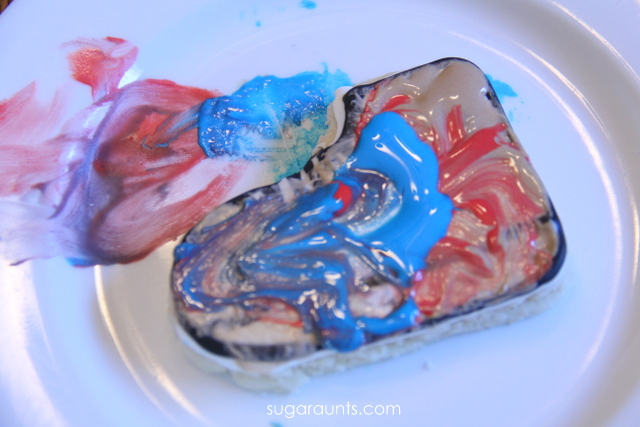
When you want to use the decoupage on projects, simply pour a little into a bowl and paint the glue onto your project with a paintbrush. This is a great way to craft with the kids. They love painting glue onto things. Maybe they just like painting. Or glue. Or making messes. Whatever combination of those things it is about crafts…the kids love.
I used our decoupage to paint on the label on our decoupage. Simply paint a thin layer of decoupage onto the bottle, place the label on, and paint a thin layer of decoupage over the top and around the edges of the paper.
We’ll soon be sharing lots of crafts and activities where we used our decoupage. Stay tuned!
We’ve been having so much fun lately making all sorts of play dough. There’s so much to do with play dough…from pretending, to working on fine motor skills…play dough is one of our favorite ways to play. And the fun ways to make play dough; Oh boy things can get crazy in the play dough workshop (aka my kitchen). We’ve mixed up dough with everything from crayons to cola.
This time, we were on a mission to create our very own Glow-In-The Dark play dough. This was fun!!
This little experiment turned into a fun adventure with the kids. We brainstormed all kinds of ways to turn our play dough into glowing dough. Little Guy’s idea of lightning bugs was thoughtful, but a little yucky. And cruel to glowing bugs. So where to start with making glowing dough?? We packed up the minivan and headed off to Target.
The sales clerk gave us the eyebrow when we said we needed anything that glowed. But this was a mission for creativity. We grabbed up glow in the dark stickers, duct tape, nail polish, and silly string.
We were looking for things that could be added to dough to make a glowing dough. While doughs that require a black light for luminosity are very cool, we don’t have a black light. And, lots of parents out there don’t have the budget for a black light, so glowing dough was the way to go for us.
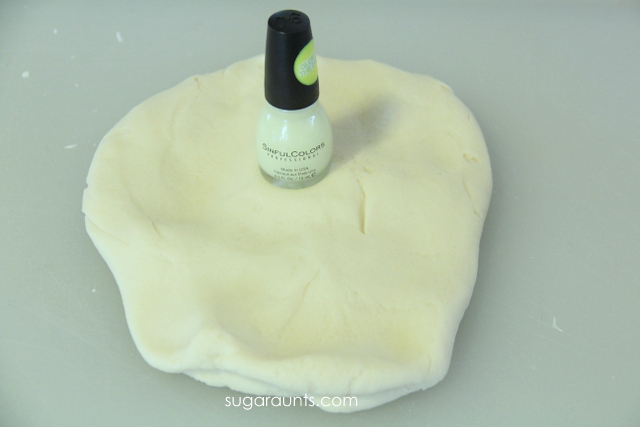
We started our experiments with the nail polish.
Please don’t make play dough with nail polish. Won’t glow. And the fumes, yikes! Round two.
Silly String Play Dough~
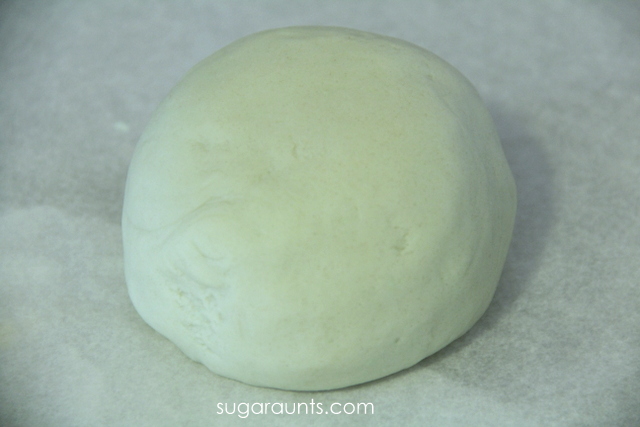
We started by mixing up a batch of our homemade play dough recipe with a small modification. We were out of cream of tarter, so I substituted a half cup of flour for the cream of tarter. I also cut the recipe in half. This is important for the glowing of the dough, as we only used one can of silly spray. More dough would require more silly string for a glowing shade. Our play dough ingredients were:
2 cups flour
3/4 cup salt
1 and half cup water
1 Tbsp oil
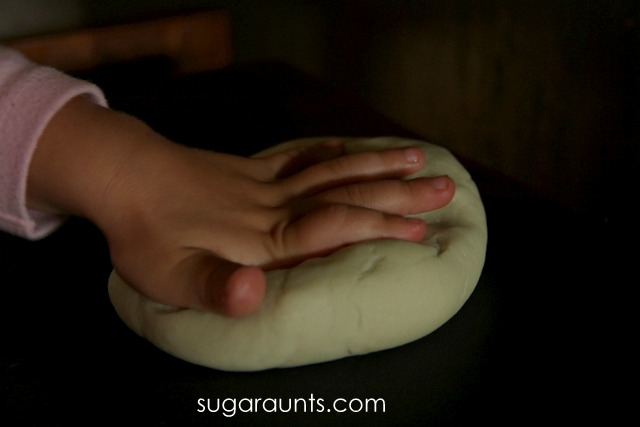
It’s important to note that different ingredients and temperatures/humidity will result in different play dough consistencies. The most important part of this dough recipe is the kneading. You’ll need to knead it a lot for smooth play dough. Repeat that: Need to knead. Need to knead. 😉 If your dough is too sticky, add more flour.
This is a no-cook dough. The warnings on the Silly String say to keep away from heat. I wan’t taking any chances with warm dough, so no-cook it was. Mix together the ingredients for the dough and knead, knead, knead. When you’ve got a nice play dough consistency, it’s time for the fun part. Silly String! (This link is not the brand we used, but should work. We used a bottle of 3 oz glow in the dark Silly String found at Target). Little Guy waited very patiently for this part. If patiently means reminding mom that we need to spray the silly string, then it was patiently. 😉
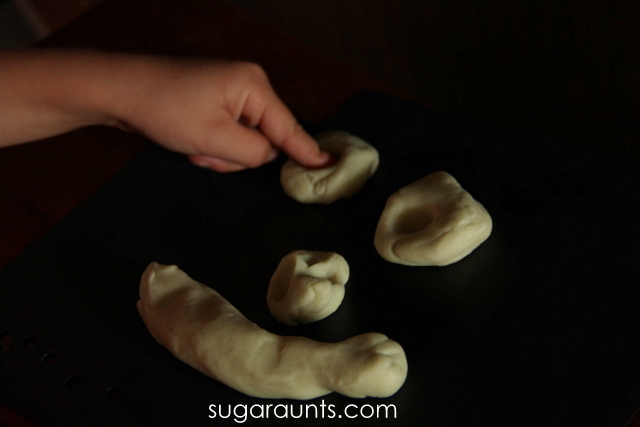
Spread the dough out on wax paper and spray! We sprayed to whole bottle onto the dough without any attempts to spray each other. Success.
Roll the dough edges into the center and mix in that silly string. we did not have any dying of skin with the silly string, but feel free to wear gloves if you like. The nice part about the silly string is the non-toxic notice on the side. Non-toxic=awesome.
We did not add any coloring to our dough. The greenish shade of the silly string dough was enough, but it would be fun to experiment and see what a bright green food coloring would do to the dough. You might want to add another bottle of silly string to your dough for a more vivid glowing dough. If you add more silly string, you’ll need to add more flour to take away the stickiness.
Once, mixed take that dough into a dark closet to check it out! I did notice that our dough was more vivid if we “charged” under a light first. This stuff was very cool! The kids were pretty impressed with the glowing dough.
NOTE~ The “glow” is not extremely strong. This dough would not be able light your way on a dark night. It will be visible in a dark room. It will not enable you to see across the room. It will glow enough to see. It will not turn your dark living room into a glow-in-the-dark disco party. It will last about 2 weeks in a sealed plastic bag or container, with “charging” to get the glow. It will not make a great flashlight on Halloween. It will be very fun to play with!
And when the dough gets stuck to the couch, you can now see it in the dark. Yay!
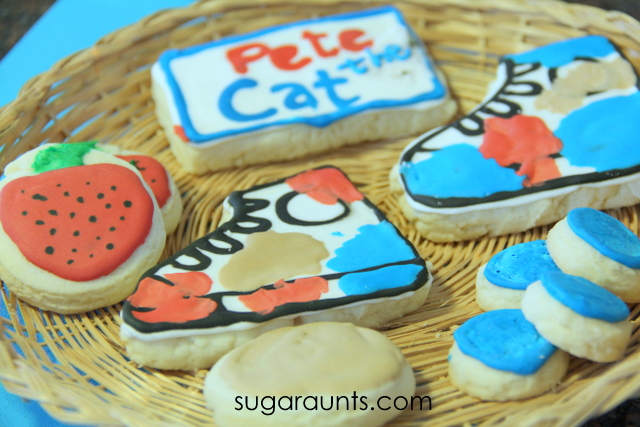
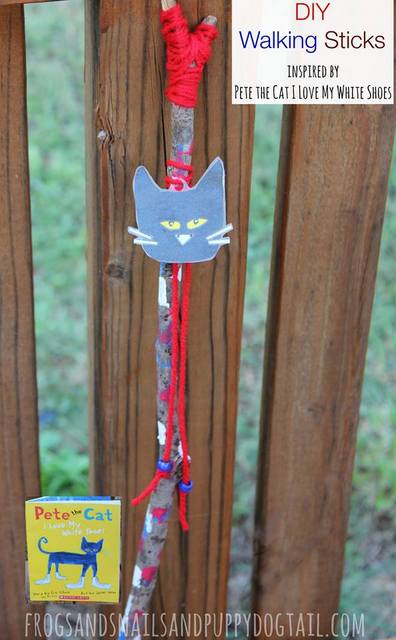
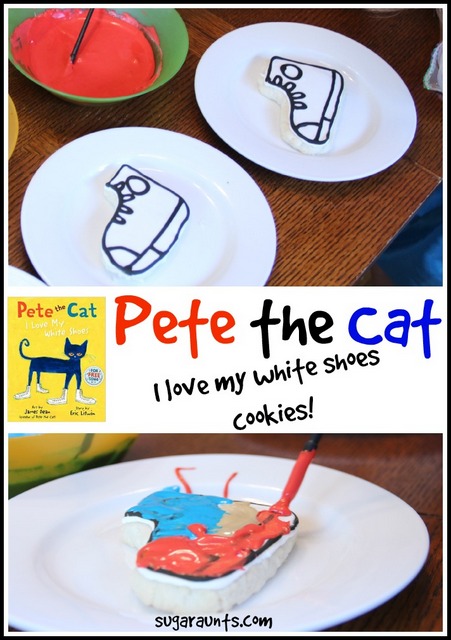
It is so much fun to explore children’s books through crafts and activities. This week in the Preschool Book Club, we’re baking up some sugar cookies to go along with the book, Pete the Cat I love My White Shoes, by Eric Litwin. This was such a FUN (and tasty) way to read and play with one of our favorite books.
But really, we have so many loved books, it’s hard to pick just a few favorites.
We definitely love our sugar cookies so combining Pete the Cat and cookies was a sure win in our house!
Pete the Cat I love My White Shoes Cookies
This post contains affiliate links.
There’s no cooler cat than Pete. What better way to celebrate this chill dude than a sugar high with the kids. I kid, I kid. All things in moderation. Or as Pete says, “It’s all good”.
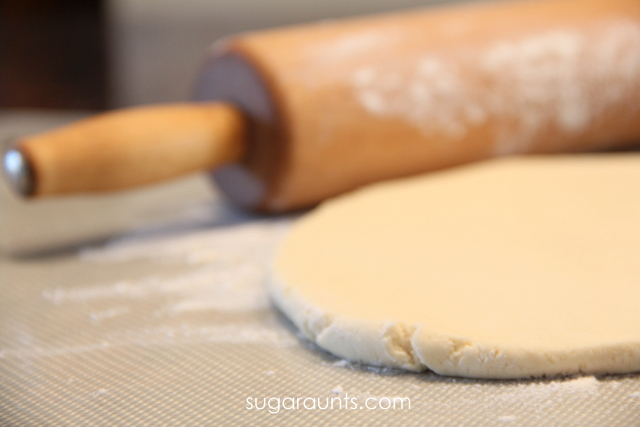
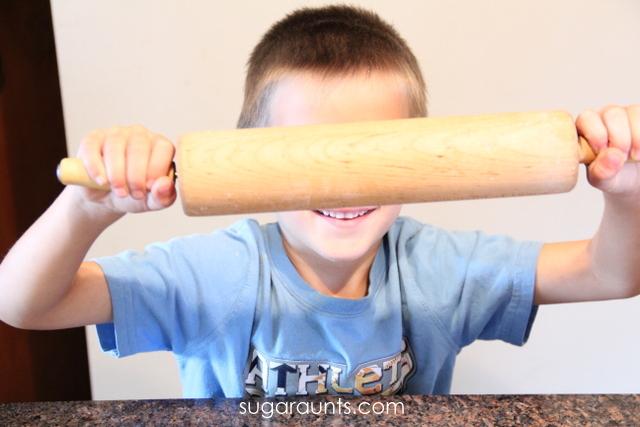
Mix up a batch of your favorite sugar cookies and get ready for some decorating fun with the kids.
I used a butter knife to cut shoe shapes from dough.
This Little Guy helped.
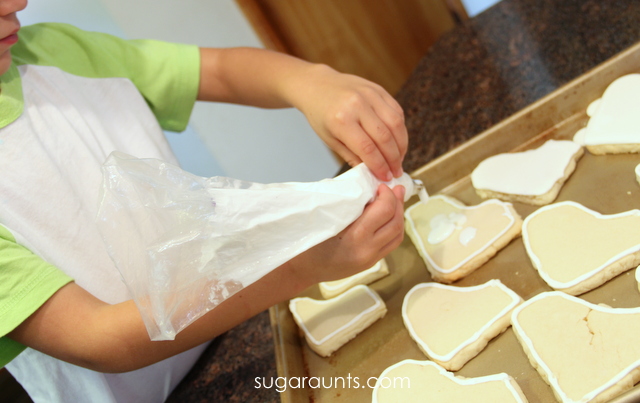
Once baked, the decorating began. With royal icing, you’ll need to let the outline dry for about ten minutes and then fill in with the background color.
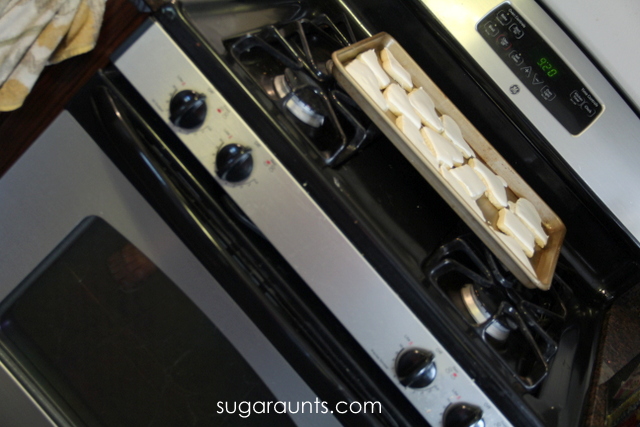
Make sure you put the tray of cookies up so little fingers can’t “taste test” the icing.
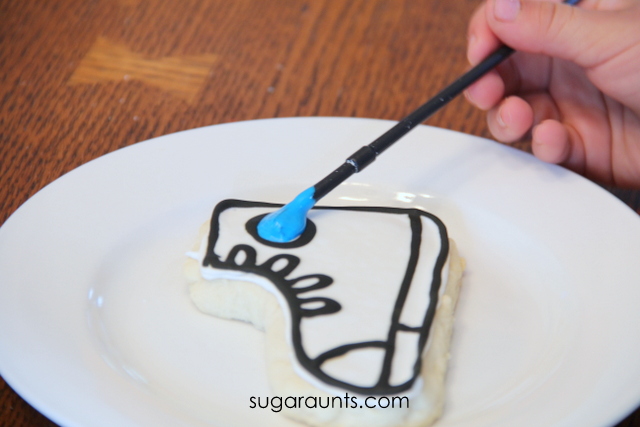
Once filled in, the base color needs to dry overnight. I added the black outline to the shoes at this point so it would be a flat outline, but if you want a raised edge, let the cookies dry before tracing with black.
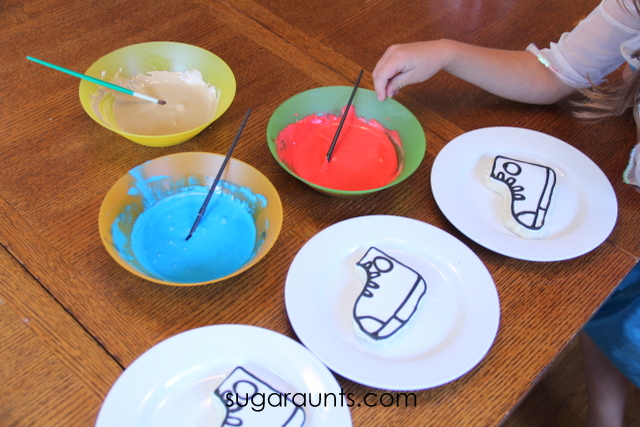
When you’re ready to decorate, mix up a few bowls of colored icing. We always use Wilton gel icing colors because they are so bold and last forever. Mix a little into a bowl of royal icing with a toothpick and stir.
Now the fun begins!
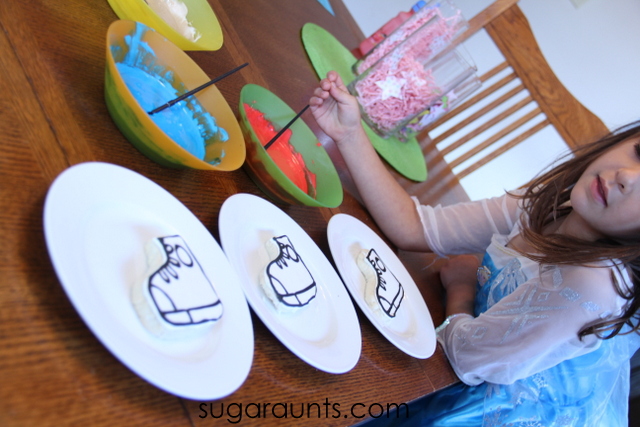
We were lucky enough to have Elsa with us for decorating.
We are STILL on a Frozen kick.
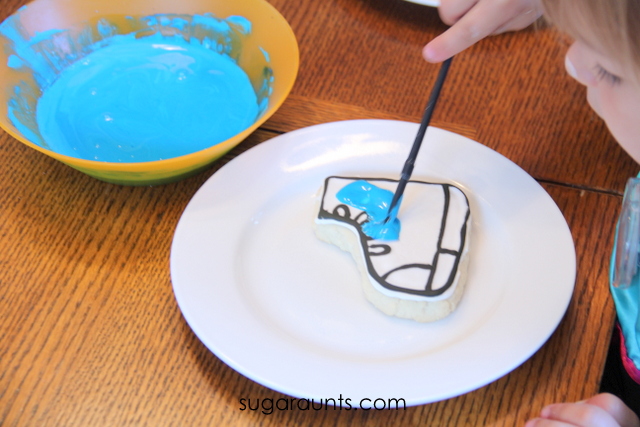
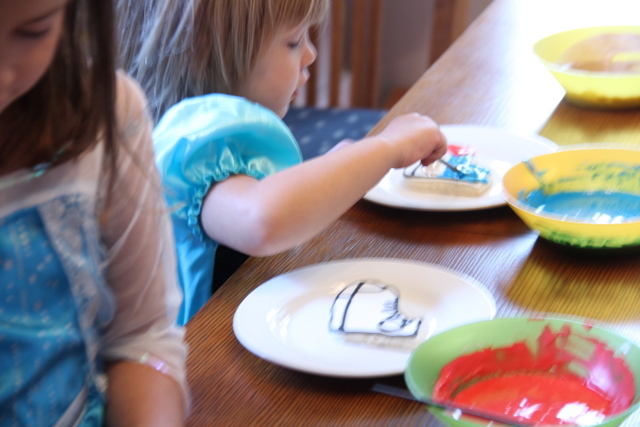
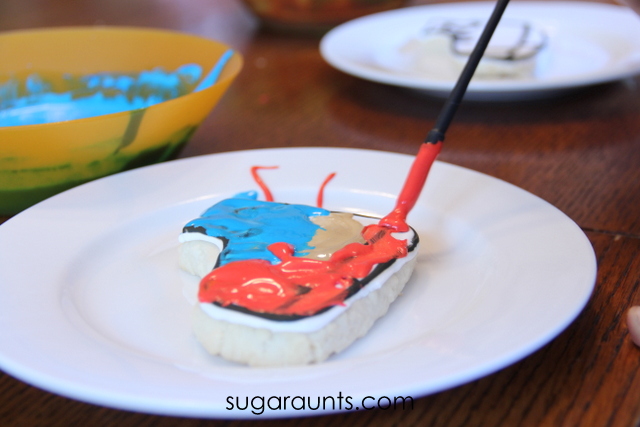
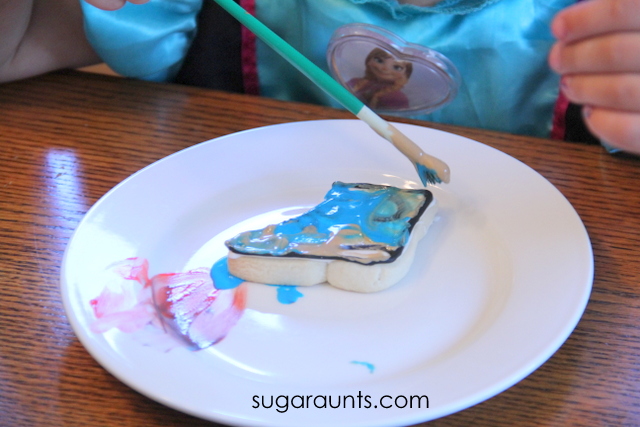
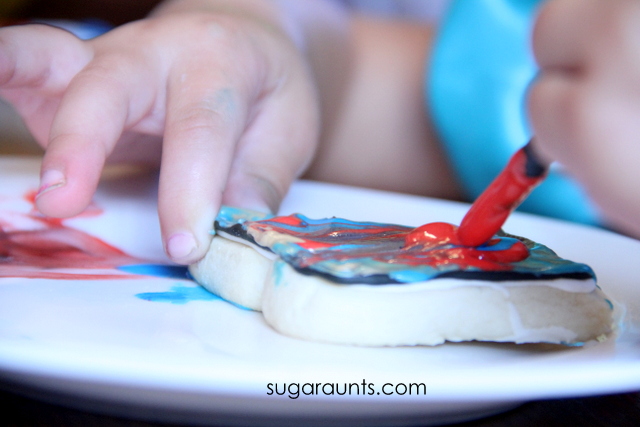
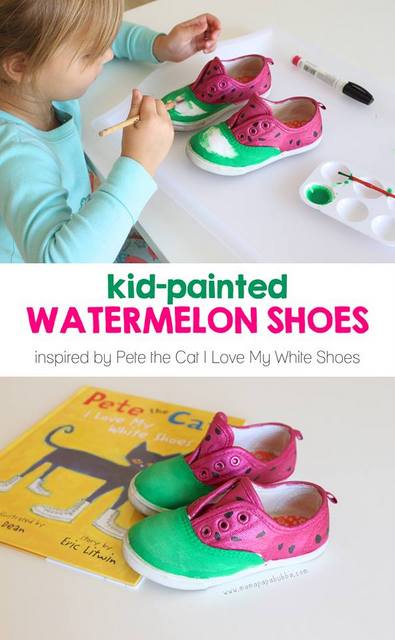
Oh, the concentration! I gave the kids new paint brushes and we painted our shoes!
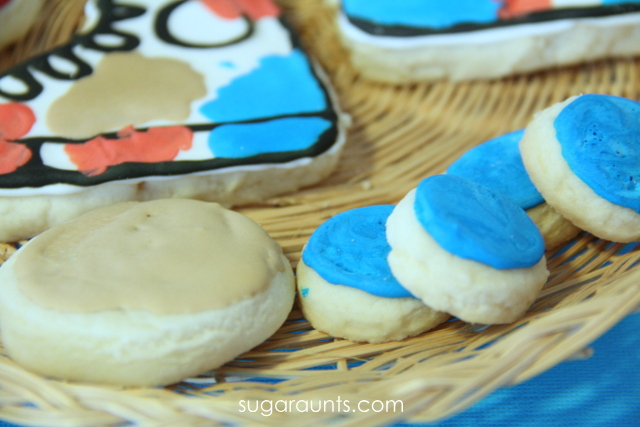
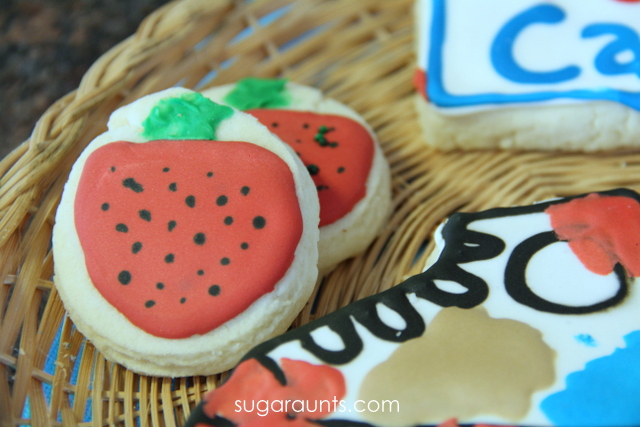
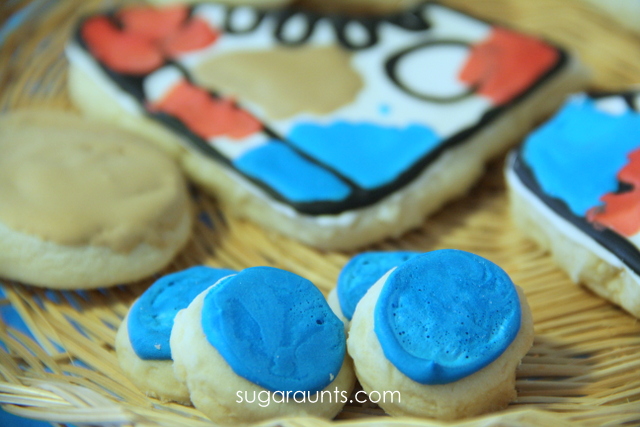
In the book, Pete is wearing his white shoes and walking along. He unfortunately comes upon a big pile of strawberries that he happens to step in. Pete, being the cool cat that he is, doesn’t fret. He goes with it and is pleased with the new shade of his shoes. A similar thing happens when Pete steps into a pile of blueberries and a mud puddle. To go along with Pete’s shoes in the book, we used red, blue, and brown icing.
It was pretty neat to see how each of the kids painted their shoes. It really matched their personalities!
{{Elsa’s little sister, Ana joined in the fun, too.}}
When we get a Pete the Cat book, we usually end up reading it so much that we can recite the book. While we painted, we said the lines.
Looking for some Halloween learning, play, crafts, and activities? This ghost craft is a fun one to do with the kids and makes a spooky yet kid-friendly Halloween decoration! Halloween is such a fun time of year for crafts and activities with the kids. Spiders and ghosts can be cute for the kids and not scary at all.
This hanging ghost craft uses something we love to craft with: recycled materials. Make a few of these ghosts and keep them hanging around your house. You’ll love the cuteness of these guys!
Hanging ghost craft for Halloween
This post contains affiliate links.
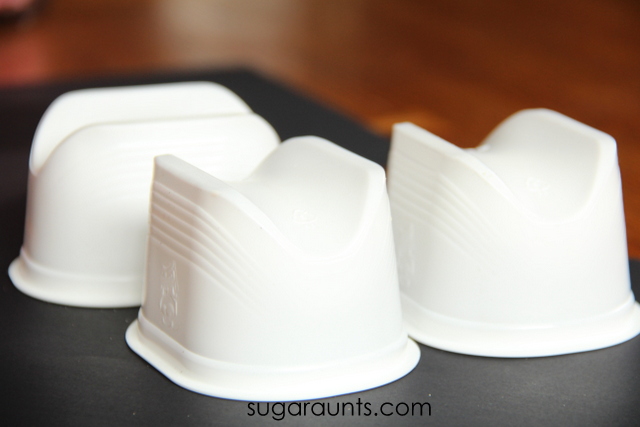
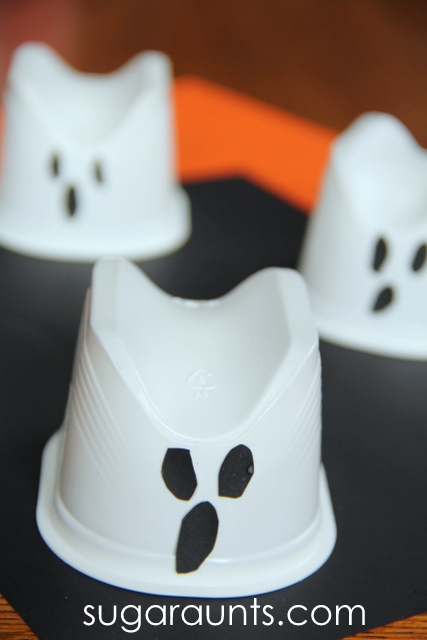
We started with some clean recycled containers. We used potato chip snack containers but you could use any smallish, white cups.
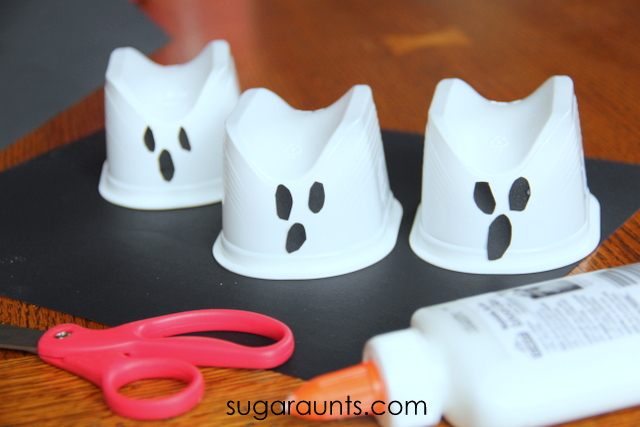
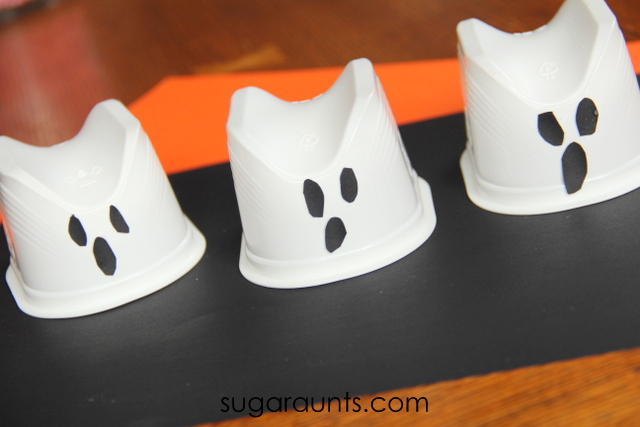
This craft is so easy to throw together. Cut oval shapes from black construction paper. Use a few dabs of glue to secure them in place for eyes and a mouth. These cute ghosts are done!
We used fishing line to hang the ghosts to the ceiling in our dining room. Just tape one end of the fishing line to the top of the ghost and the other to the ceiling. The kids loved seeing the ghosts hanging from our dining room each meal!
How cute are these friendly ghosts??
You’ll want to check out the other Halloween crafts and activities, perfect for kid-friendly Halloween party activities!
We visit our library at least weekly. Sometimes more. It helps that we live minutes from the building. And that we have a SUPER great library with awesome children’s librarians and programs galore for the kids. And, we just love checking out books. We have our favorites that we always pull from the shelves (Pete the Cat and the Berenstain Bears can almost always be found in our house) and we love checking out new titles, too. SO, our library bag is always overflowing. When we were checking out the links from this week’s Share It Saturday party, we saw a few fun book lists linked up. We had to check them out and share with you! This week is all about books!
Visit the links below for loads of fun, interesting, and unique books to check out this week at the library. Make sure you’ve got an extra large tote bag, because you and the kids are going to be hauling home a bunch of great books!
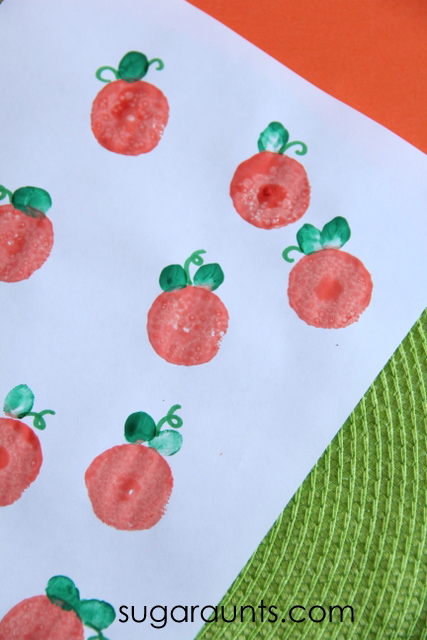
Many years ago (2014 was the original date of this pumpkin thumbprint craft!), we made a Halloween painting with thumbprint pumpkins. We actually included fingers too, and made the pumpkin patch painting with fingerprint pumpkins as well. This Halloween sensory activity was a fine motor powerhouse and one of our favorite Halloween occupational therapy activities. Let’s take a walk in the fingerprint pumpkin patch!
This pumpkin fingerprint craft can be modified for different goal areas.
Thumbprint Pumpkins
If you need a quick and easy Pumpkin activity or craft for the kids this Fall, then this thumbprint craft is a sure winner. We used a fine motor item from a previous post that you would never guess. Get ready for a blast from the past with this Halloween craft for the kids!
Our thumbprint pumpkins are a bit different than many of the thumbprint or fingerprint painting activities you might find this time of year.
While using your finger or thumb to press paint onto paper to make mini pumpkins is a great sensory activity, we wanted to offer pumpkin fingerprint options for the individual that may be tactile sensitive to fingerpaints. Read up on our blog post on tactile defensiveness for more information.
However, you could expand this activity to meet the needs of all individuals.
Let’s explain…
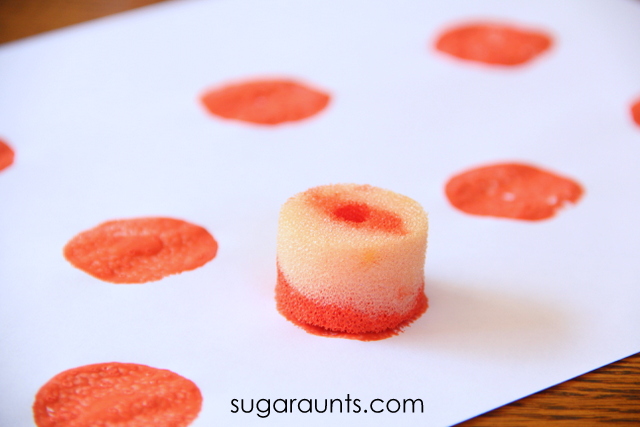
In the activity described below, we used a foam roller to press into paint and then onto the paper. This is a bit different than typical pumpkin fingerprint art. When you press the roller into paint and then onto the paper, you don’t get that messy sensory experience of finger print art.
Another benefit is cutting the foam material which is a scissor skills task, and working on force modulation by pressing down on the foam circle.
Pressing harder makes a bigger pumpkin stamp and pressing with less force makes a smaller pumpkin stamp.
However, there are SO many benefits to the way we used this activity…and you can definitely add the benefits of fingerprint art like we did to add details like the leaves of the pumpkins.
Why do a pumpkin fingerprint craft
Whether you use the modified version of this pumpkin thumbprint/pumpkin fingerprint art, or you press the fingers right into the paint and press them on the paper, there are so many benefits to using fingerprint art in building sensory motor skills.
Finger isolation– Pressing the fingers or thumb to make pumpkin fingerprint art supports finger isolation skills. You can target thumb isolation and mobility of the thumb joint or you can work toward individual finger isolation.
We cover this in more detail in our blog post on fingerprint art.
Separation of the sides of the hand– Separating the precision side of the hand from the power side of the hand supports fine motor work in using tools like scissors or writing with a pencil. With fingerprint art, pressing the fingers to the paper in isolation supports this skill by using the ulnar side of the hand in supporting the radial side of the hand. Fingerprint art where the pinkie and ring fingers are tucked into the palm while the pointer finger or thumb is used to press the paper, is when we see this in action.
Pumpkin Thumprint craft
This post contains affiliate links.
To make our pumpkin thumbprint craft, we needed just a few materials:
Did you use foam rollers back in the day? We practiced scissor skills with these and used them to make our pumpkin stamps this Fall. From curls to pumpkin prints…these rollers have come a long way!
I pulled out our orange paint and let Baby Girl stamp away.
She pressed the foam pieces down on the paper pretty hard. In fact, we weren’t even planning to make pumpkins, rather little circles. Buuuut, pressing pretty hard on these circles make the hole in the center of the roller fill in with paint. Perfect little pumpkins!
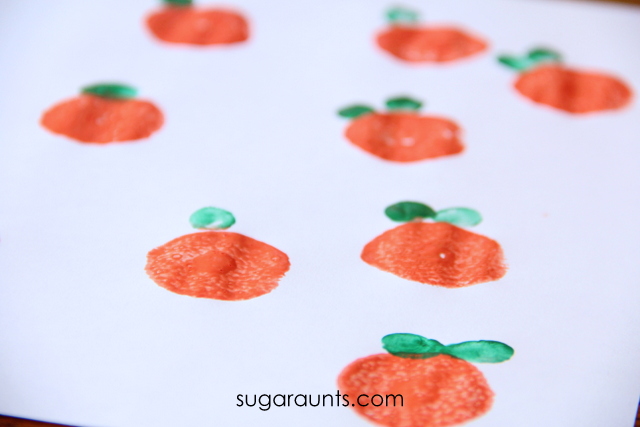
To make the leaves, we used green paint to stamp thumbprints. Baby Girl loved doing this part!
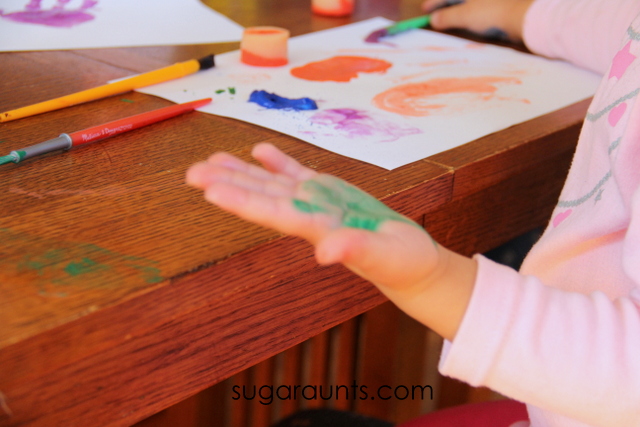
Every painting project evolves into hand painting. Of course.
Looking pretty cute!
I added a few curly ques to each of the pumpkins for vines.
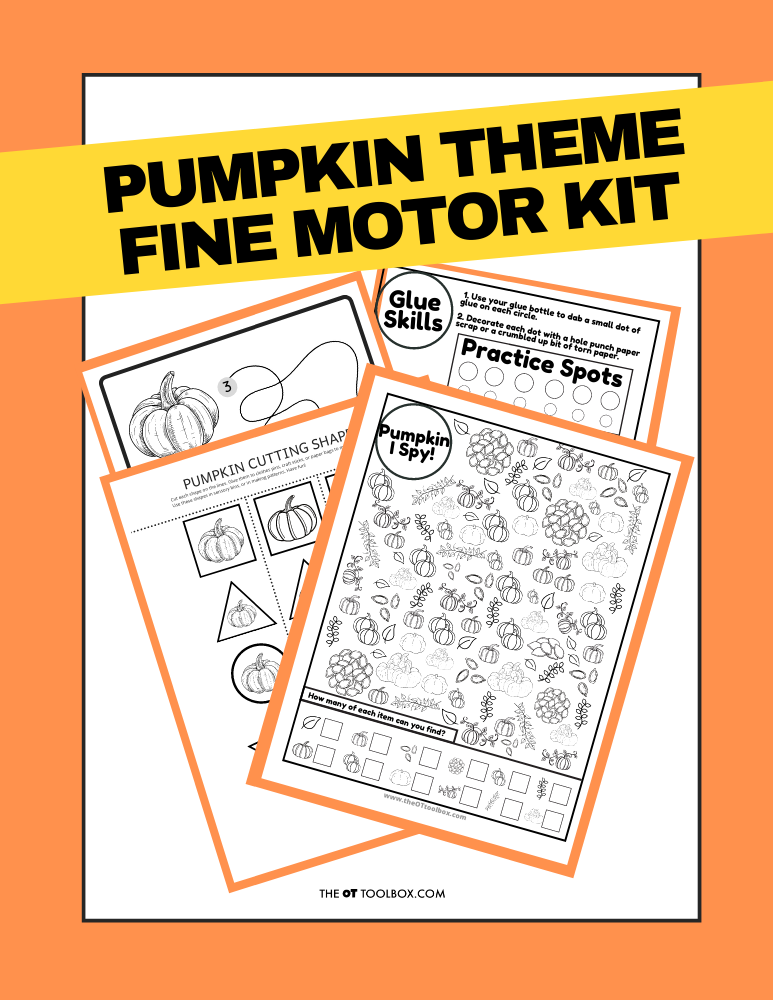
Grab the Pumpkin Fine Motor Kit for more coloring, cutting, and eye-hand coordination activities with a Pumpkin theme! It includes:
7 digital products that can be used any time of year- has a “pumpkins” theme
5 pumpkin scissor skills cutting strips
Pumpkin scissor skills shapes- use in sensory bins, math, sorting, pattern activities
2 pumpkin visual perception mazes with writing activity
Pumpkin “I Spy” sheet – color in the outline shapes to build pencil control and fine motor strength
Pumpkin Lacing cards – print, color, and hole punch to build bilateral coordination skills
2 Pumpkin theme handwriting pages – single and double rule bold lined paper for handwriting practice
Work on underlying fine motor and visual motor integration skills so you can help students excel in handwriting, learning, and motor skill development.
Colleen Beck, OTR/L has been an occupational therapist since 2000, working in school-based, hand therapy, outpatient peds, EI, and SNF. Colleen created The OT Toolbox to inspire therapists, teachers, and parents with easy and fun tools to help children thrive. Read her story about going from an OT making $3/hour (after paying for kids’ childcare) to a full-time OT resource creator for millions of readers. Want to collaborate? Send an email to contact@theottoolbox.com.


.jpg)