We love our Christmas play activities. We’ve even put together a 25 Days of Christmas play list of fun activities we’ve done in the past. This bottle cap Christmas Tree is fun to make and a cute Christmas craft that kids will love. And, bonus is that the recycled caps are free!
Christmas Tree Craft for Kids
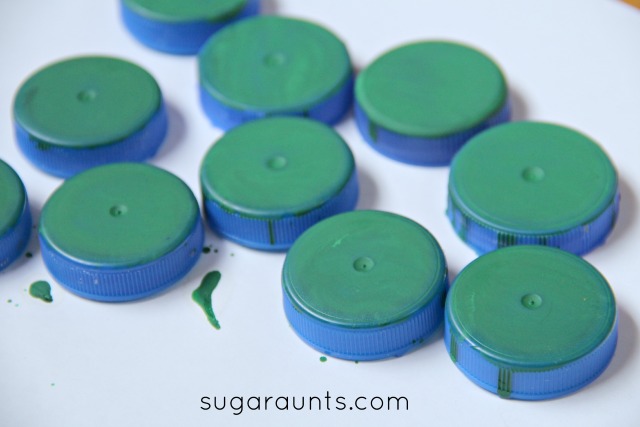
This post contains affiliate links. To make the Christmas Tree craft, you’ll need a few items: bottle caps (green, or use green acrylic paint) You will also need either brown and a yellow bottle cap, or brown and yellow acrylic paint glue tiny craft pom poms marker
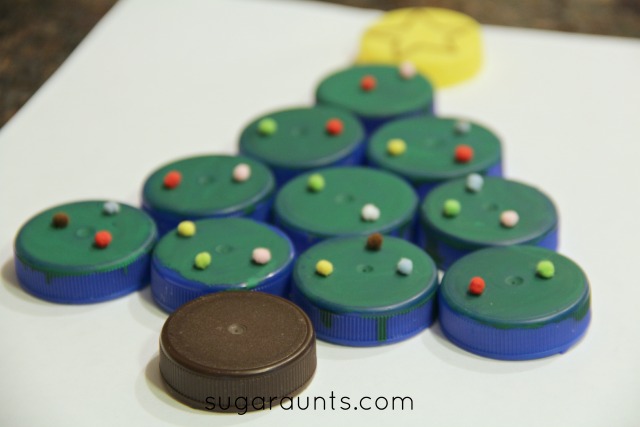
Arrange the lids in a tree shape to get an idea of how you want the tree to be on a page.
Use the acrylic paint to paint the tops green. If you’re starting with green bottle caps, you can skip this part.
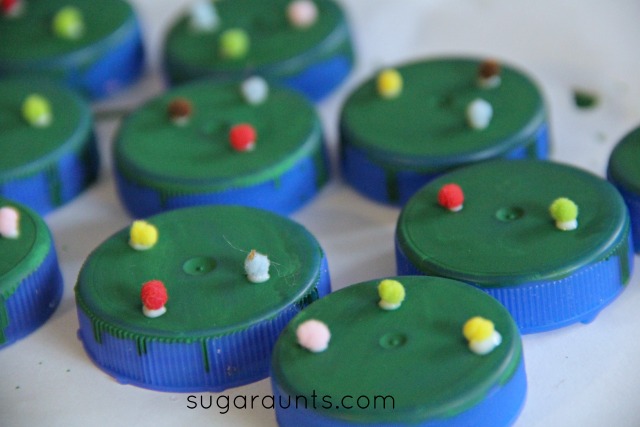
Dab a small amount of glue on the dried bottle caps. The crafting poms we used were very small and great for fine motor skills. A neat pincer grasp is needed to manipulate these itty bitty pom poms.
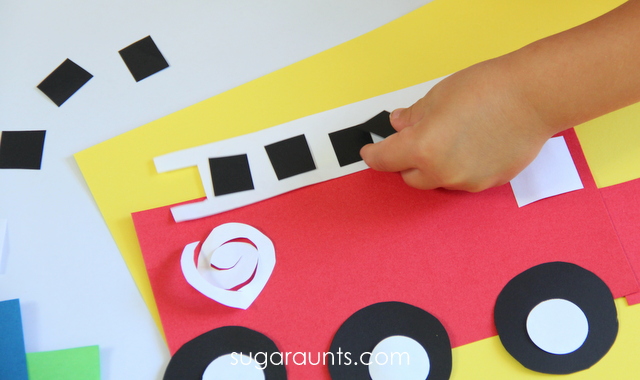
Glue the bottle caps into place on a piece of card stock or paper. We drew a star on the top yellow bottle cap. This is a fun puzzle for the kids, and a very cute craft for kids to create!
Christmas Handwriting Activities
Writing out that Christmas wish list is a difficult task that brings out tears instead of holiday excitement. I’ve got a solution for your kiddo with handwriting difficulties: a packet of modified paper for all of the Christmas handwriting tasks that come up each year. Use this handwriting pack to help kids who struggle with handwriting to participate in holiday traditions while even working on and developing their handwriting skills! Working on handwriting with kids this Christmas season? Grab your copy of the Christmas Modified Handwriting Packet. It’s got three types of adapted paper that kids can use to write letters to Santa, Thank You notes, holiday bucket lists and much more…all while working on handwriting skills in a motivating and fun way! Read more about the adapted Christmas Paper here.
We own a KidKraft Train Table with Trundle Drawers and wanted to review it’s versatility for creative play and learning. A train table is a key tool in therapy and learning in the home and classroom, to boost many skills. We love to come up with frugal ways to encourage development of the child. Using a train table is just one way to do this by using what you’ve got in the home as a multi-purpose item for therapy, play, learning, and exploration!
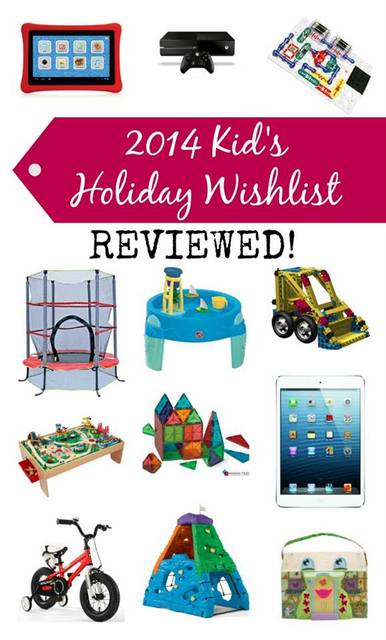
We’ve joined 31 other bloggers in a gift review blog hop to discover and explore more about each blogger’s must-have items.
This post contains affiliate links. See our full disclosure here.
We LOVE our KidKraft Train Table. With it’s trundle drawers, we have lots of storage for trains, pretend play animals, blocks, and even sensory play items. We use our train table almost every day in some type of play and wanted to review the KidKraft train table and share our fun ideas that make this big ticket item a great deal for versatile play for kids.
The KidKraft train table is the perfect size for play from all sides. Many train tables are on the smaller side, but this one is huge! It’s perfect for lots of kids to get at the pretend play fun from all sides. The table has a small lip to the edge to prevent trains from rolling over the sides of the table top. We’ve used this edge to contain not only trains, but marbles, water beads, art supplies, and beads. The train table is easy to assemble and move. We’ve moved our KidKraft Train Table around so many times and it is still very sturdy and in great shape.
Besides the trundle drawers for amazing storage (these drawers are HUGE!), our favorite feature is the reversable table surface. One side has a great landscaped scene with road, parking lot, water, and grassy area for pretend play with trains and cars. The other side of our surface is all white. This is perfect for creative play at it’s finest. Our model is older and it seems like the newer models may have a different color on the reversed side. It would be fun to paint one side of the surface with a solid color, or chalkboard paint, or attach a Lego surface for a DIY Lego table or glue a large sheet of felt to the surface for a DIY felt table. The height of the table is perfect for children to kneel, sit, or stand around. Adults can get right up to the table and sit on the floor with their legs under the table and stretched out, comfortable and ready for playing!
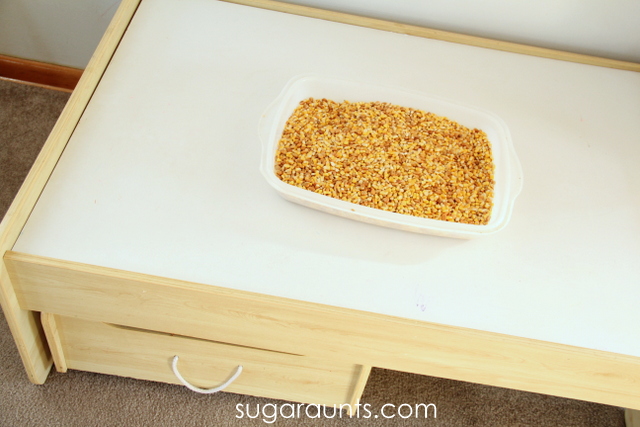
Use the train table for sensory play with water beads, magnetic letters, play dough activities, baby sensory play, or by creating a real-life “I Spy” game. One thing to note about our train table–the surface wipes down really well. I wouldn’t saturate it with gak or water in sensory play, but you could play with moon dough or other wipe-able sensory activities. I use spay-able cleanser or magic erasers to clean the white surface of our train table all the time.
Using a Train Table for a Craft Center:
The size and surface of the train table is perfect for kids crafts. The surface of this large table is perfect for spreading out supplies, craft activities, and even allowing friends to join in on crafty fun! We’ve used our train table in so many art creation activities.
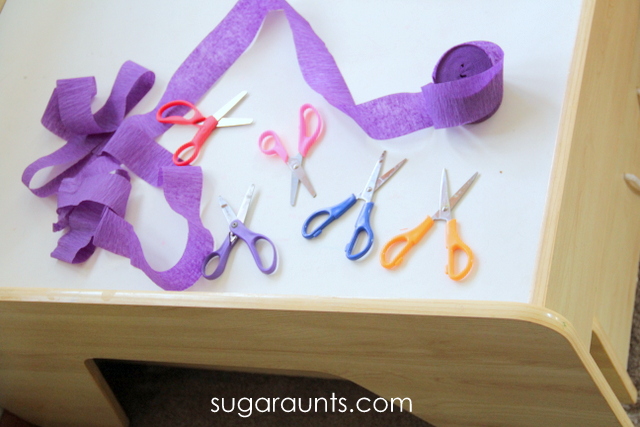
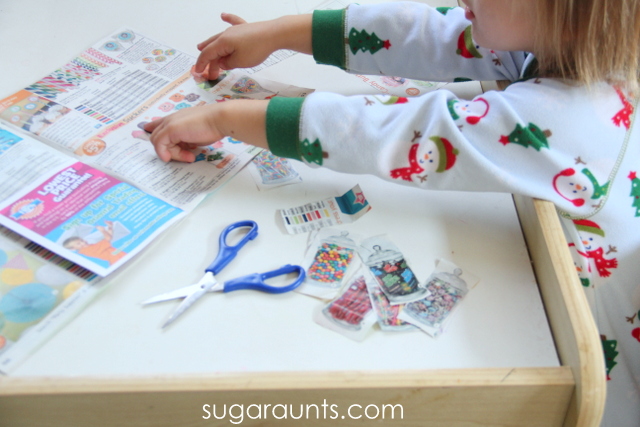
Using a Train Table for Fine Motor Development:
We love to spread out a bunch of magazines and a few pairs of scissors to get busy on scissor skill activities. This large area is a great way to create and play with fine motor activities while exploring many skill sets on the train table surface. Kids can gather around the sides of the train table and play with all kinds of fine motor activities, like in-hand manipulation play while being sure that the lip of the sides will not allow little pieces to flip over onto the floor.
Using a Train Table in Small World Imagination Play:
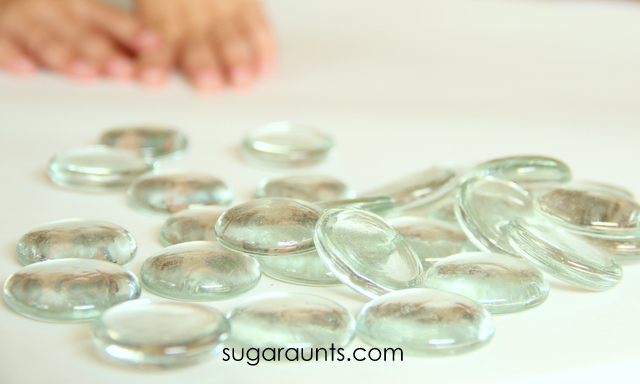
Oh, we definitely use our train table for trains, cars, and small world pretend play. Free imagination play is often times the most fun! Besides using just trains on the train table, pull in small worlds to encourage and develop language and imagination with play dough, or with pieces like glass gems, small plastic animals, rocks, or more. Your imagination is the limit! We use those giant trundle drawers for storing all of the pieces to imagination play.
We are so blessed. Our family, our health, our home, everything that we do and say each day is because of the blessings that we have been given. We are thankful all year long for all that we have been blessed with, but this time of year, it is especially appropriate to count and express gratitude for our blessings. The kids and I create a Thanksgiving Tree or Gratitude Garland each year to display everything that we are thankful for.
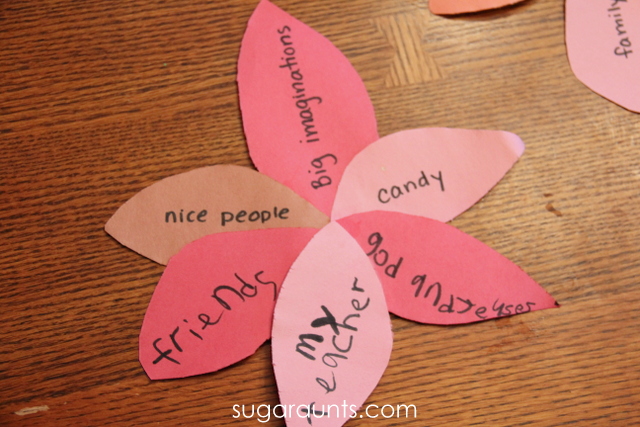
This year we made our gratitude leaves into a sun catcher flower craft. We can see our leaves an all of the blessings each day as we eat our meals together.
Gratitude Craft for Kids
This post contains affiliate links. See our full disclosure here.
I love to do a version of this activity with the kids each November as we gear up for the holiday season. Counting and writing out our blessings is a joyful way to head into Thanksgiving. The display is something we love to look at our display each day and the kids will ask, “what does that leaf say?” as we read through our gratitude leaves.
This year, we made a craft to display our blessings. I like to maintain the leaf theme each year with this activity.
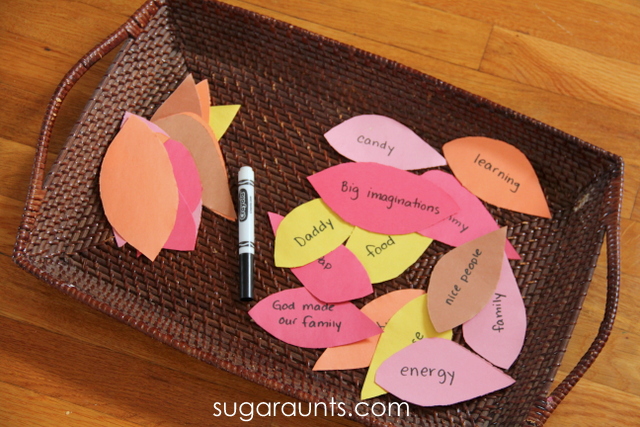
I set out a basket of leaves made from construction paper. This is super easy to throw together. Snip up a few simple leaf shapes and a black marker, and you’re good to go. Sit the kids down and start talking about gratitude.
These leaves crack me up! The gratitude for “big imaginations, energy, and nice people”?? There’s a lot of thankfulness in our house for candy and cheez-its.
We glued our leaves together to form a flower.
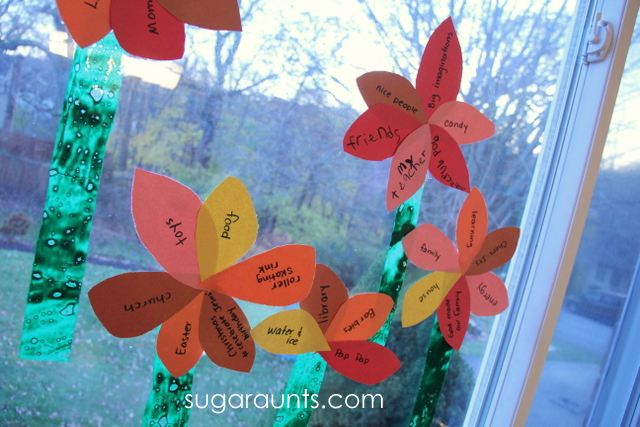
Make the sun catcher part of the flowers by painting a thin layer of green paint onto clear cellophane wrap. Be sure to smear the paint on nice and thin. Fold the cellophane over. You may need to let the sun catchers dry over night if too much paint is used. We were able to cut the stems right away without paint dripping from the sides.
Cut strips of the green sun catchers and hang the flowers on the window with tape.
Be sure to count blessings with the kids every day!
With the season of holidays beginning, this is the time of year to pull out bins from the attic, decorate the house, and renew holiday traditions. Families the world over celebrate Christmas in many different ways, with traditions unique to their families. It’s a joyful time of year and we wanted to celebrate the joy with ideas for traditions. Whether you have a special activity that you do with your family year after year or are seeking new traditions to begin, this is the place to find joy and celebrate the season!
Fine motor skills can be developed with so many tools that you have around your house. We love playing in creative ways to work on fine motor skills. The Share It Saturday features this week share great ways to work on fine motor skills with tools you can find around the house.
Tools for Fine Motor Skills
Work on scissor skills with a bunch of fun ideas from Living Montessori Now Use broken crayons (Planting Peas) to work on a more mature grasp on the crayons when coloring which will then encourage a tripod grasp on the pencil when writing. Something as simple as an eye-dropper can improve intrinsic muscle strength of the hand. This is so important for endurance in fine motor tasks like coloring.
Use stacking toys like Stackadoos (Frogs and Snails and Puppy Dog Tails) to work on precision, coordination, and opposition of the thumb to stack and build with graded movements