
Coming up with fun ideas for occupational therapy activities for interventions can easily become nerve-wracking! It’s easy to fall into a routine and use the same old cookie cutter activities in OT treatment sessions. Here, you will find a challenge designed to change that recipe for burnout! Below is a strategy to use out-of-the-box occupational therapy activities using free materials, or items you probably already have!
Occupational Therapy Activities
Below is a series I ran one October, in which I challenged myself to write 31 days of posts about my profession: Occupational Therapy! You will find 31 days of Occupational Therapy with free materials provides treatment activities, tips, tools, and ideas for many developmental, sensory, fine motor, gross motor, and visual perceptual areas.
I’ve bumped up the OT activities, though, to add more ideas to build fine motor skills or work on development, all with free items.
The best news is that these ideas are going to be creative fun that kids will love and (almost) all free. The therapeutic modalities that I’ve outlined will provide you will a resource for frugal treatment of many Occupational Therapy goal areas.
I strive to create crafts and activities that use mostly free items that are found around my home in the play and learning that we do here. 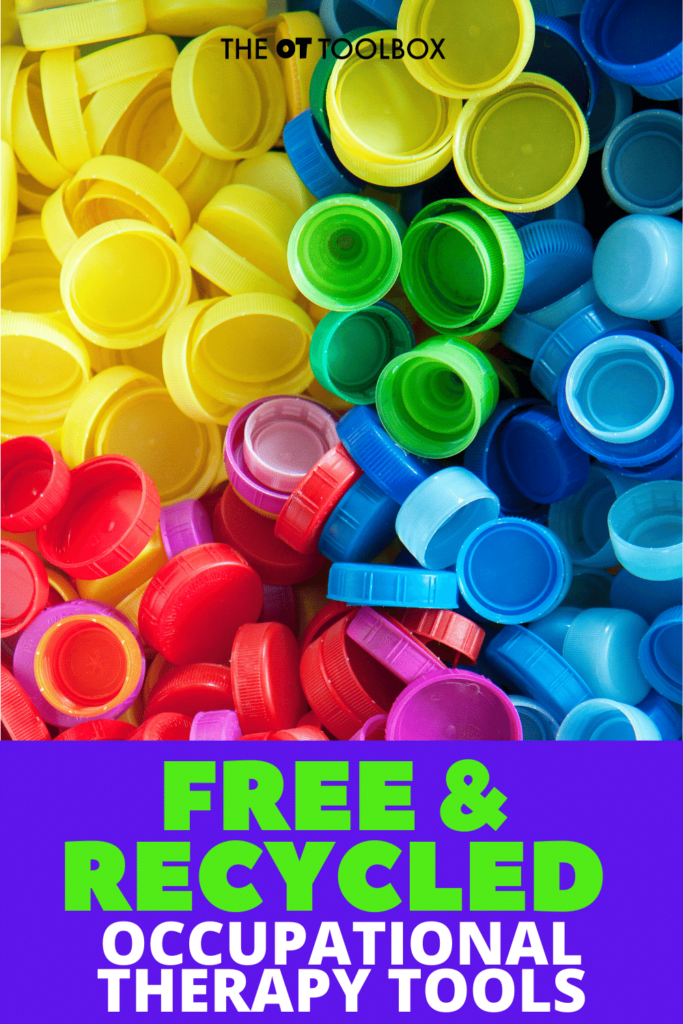
Occupational Therapy Activities with Free Materials
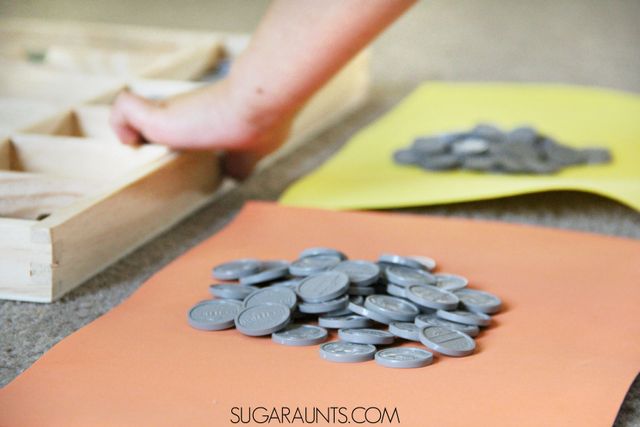
Scroll through the activities below for fun ways to work on development. But first, let’s discuss a few items you may want to have in your therapy toolbox. These are recycled items and household materials that can be used in various ways.
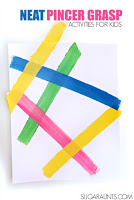
They are open-ended items to use in fine motor work, or in textured sensory play. Use the items to work on hand strength, scissor skills, motor planning, or other occupational therapy goal areas.
Here are some free and recycled items to stock your therapy toolbox:
- Cardboard
- Cupcake liners
- Sandpaper
- Cardstock
- Construction paper
- Tissue paper
- Index cards
- Cookie cutters
- Nuts and bolts
- Plastic sandwich bags
- Paper cups
- Newspaper
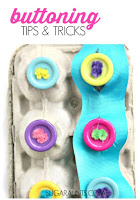
- Buttons
- Tape
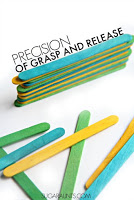
- Craft sticks (popsicle sticks)
- Craft pom poms or cotton balls
- Recycled egg carton
- Bread ties
- String
- Glue
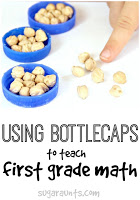
- Recycled bottle caps
- Cardboard tubes
- Rubber bands
- Small containers
- Crayons
- Recycled bottles
What would you add to this list?

If you’ve been to this blog before, you might know that I’m an Occupational Therapist by trade, and love sharing helpful tips, tools and strategies that meet a variety of needs. It’s my hope that this OT Challenge will be an idea-generator for you!
More Occupational Therapy Activities
A few more resources on the site may be helpful for you. Below are some of our free courses, printable packets, and email courses that can be used in your practice. Let me know if there is another topic you are looking for information on. I would love to help out!
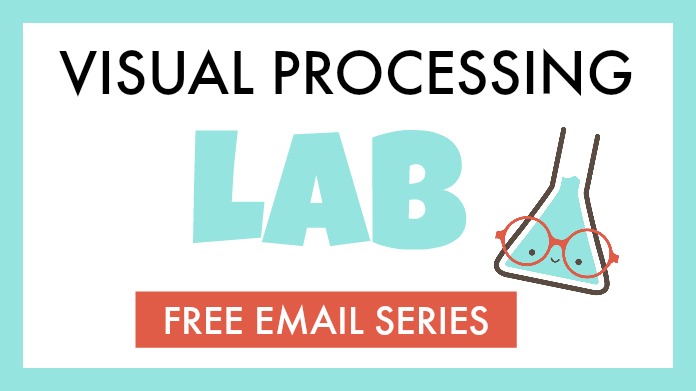
This Visual Processing Lab is an email series that delivers tons of content and information right into your email inbox. Expect to learn tons on visual perception, visual motor integration, and what that looks like in our kiddos who struggle with handwriting and eye-hand coordination. This email series is totally free! Join the lab here.
This Executive Function Mini-Course is a free email course on everything executive functioning. You will learn about executive functioning skills, how they develop, and what executive functioning challenges look like in our kids at home and at school. You’ll gain helpful tips that can be implemented right away. It’s a goldmine for any parent, teacher, or occupational therapist!
Take the Executive Function Mini-Course here.

Occupational Therapy Activity Ideas
In this Occupational Therapy with free materials series, you will find many of my favorite occupational therapy treatment activities for many developmental difficulties in pediatrics, all using items that you probably already have at home.
The nice thing about this series is that you don’t have to be receiving OT services or have a diagnosis of anything to benefit from these 31 days of tips and tools. Many, MANY kids out there are working on shoe tying. Or writing on the lines. Or many other developmental areas. All of the activities will be low-cost and inexpensive.
Here is a little video that we created based on this series. It’s my hope that the activities below hit on the needs you have on your caseload!
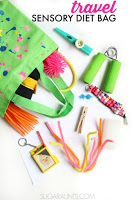
It is my hope that you will find the ideas shared here in the next 31 days to be helpful and and a valuable resource. AND, not only will the tricks and tips use mostly free or low-cost items, I will also have lists of my recommendations for toys and tools that can help with each area.
This is going to be a great month …but fun! Use these activities to guide interventions, using out-of-the-box ideas, while working on goal areas your clients need.
And now, without further ado:
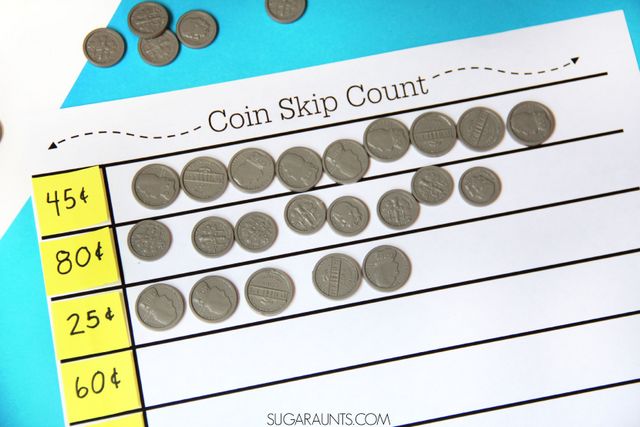
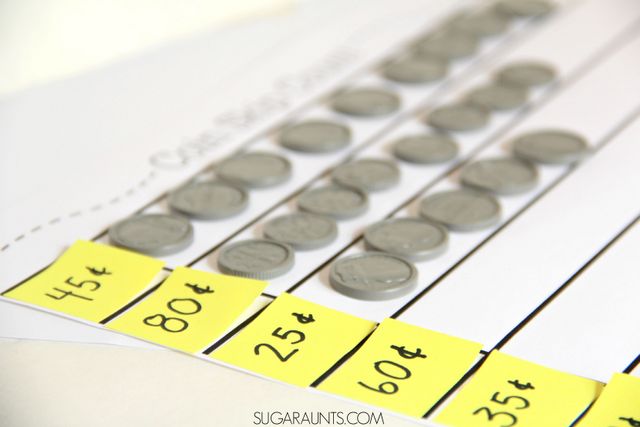
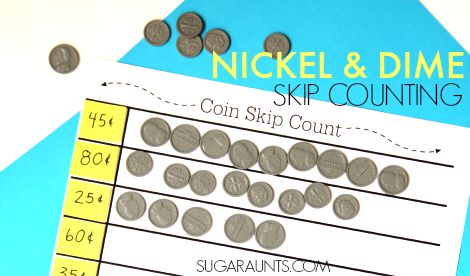
31 Days of Occupational Therapy with Free Materials

Day 2 Handwriting Spacing Tool and Spatial Awareness Tips and Tools
Day 3 Motivating Handwriting Activities for Reluctant Writers


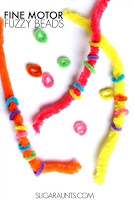

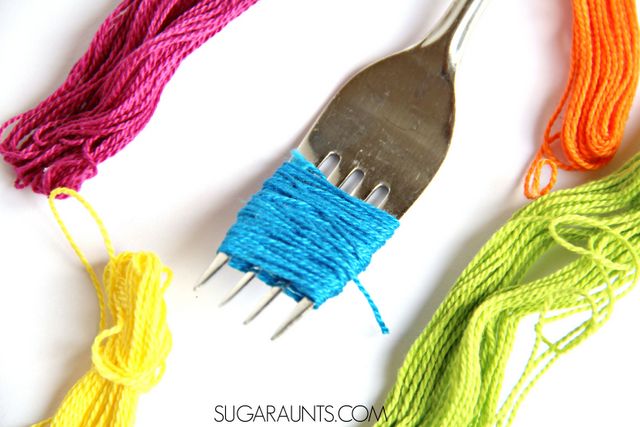
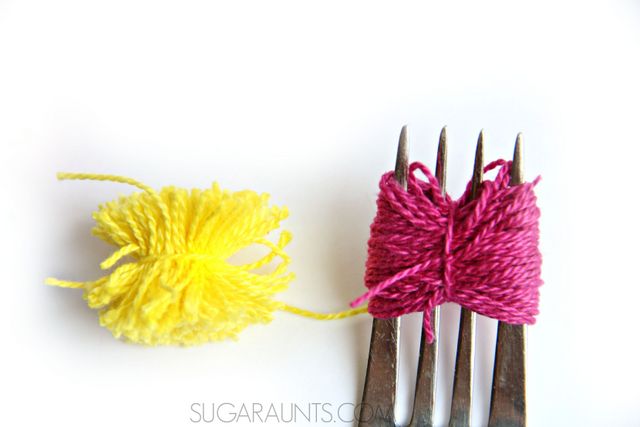
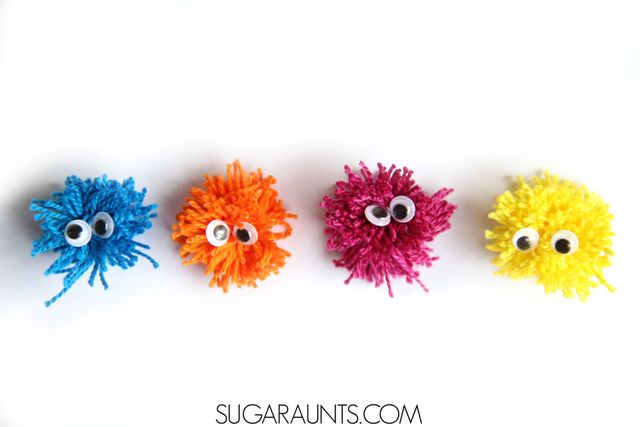
Day 14 Open Thumb Web Space Activities and Homemade Fuzzy Beads
Day 15 Dinosaur-Sized Sensory Feelings and Proprioceptive Activities
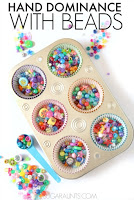

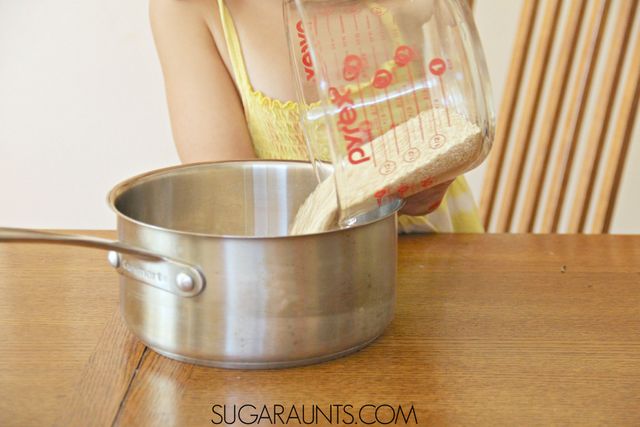
Day 18 Hand Dominance and Fine Motor with Scooping and Pouring
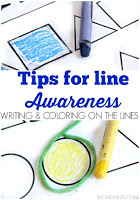
Day 21 Tips and Tricks for Writing and Coloring Within Lines

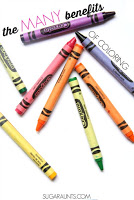
Day 22 The Benefits of Coloring
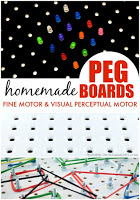
Day 24 Homemade Pegboard Activities


Even MORE great pages you where you will find tons of Occupational Therapy treatment ideas and info that can be incorporated into simple play at home, using frugal (mostly free) items that you already have: Sensory Play IdeasVisual Perceptual SkillsFine Motor Skills


Love these ideas shared in this series? Try some of these:
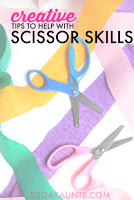
Occupational Therapy Activities for Scissor Skills
There are many scissor skills resources on the website. Some of our favorite ways to support use of scissors include:
- Crepe paper scissor practice
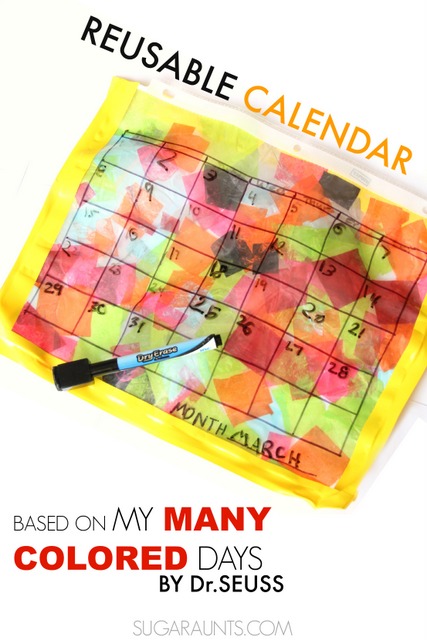
- Re-usable calendar craft
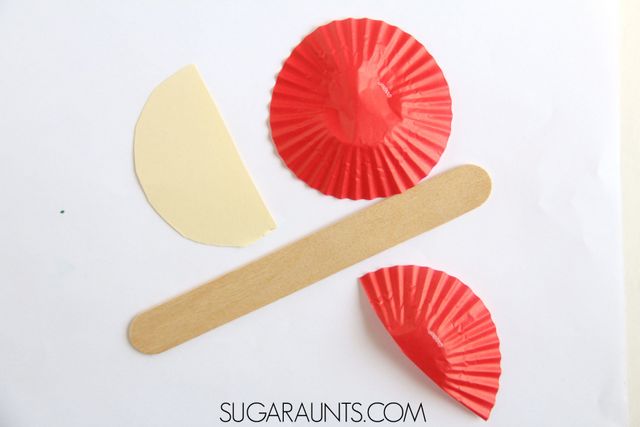
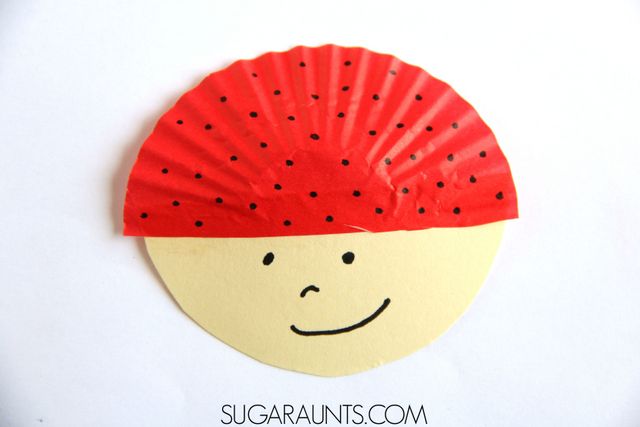
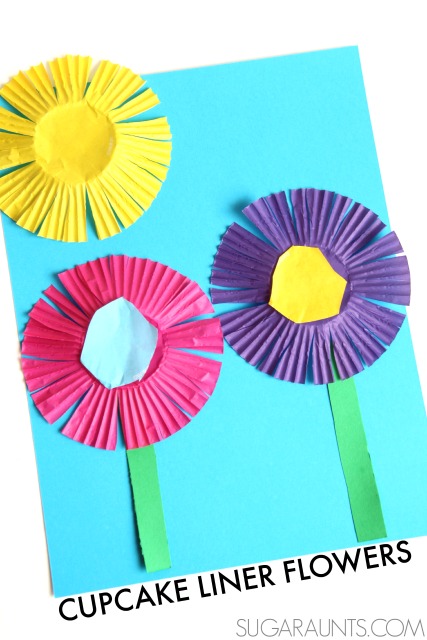
- Cupcake liner scissor skills craft
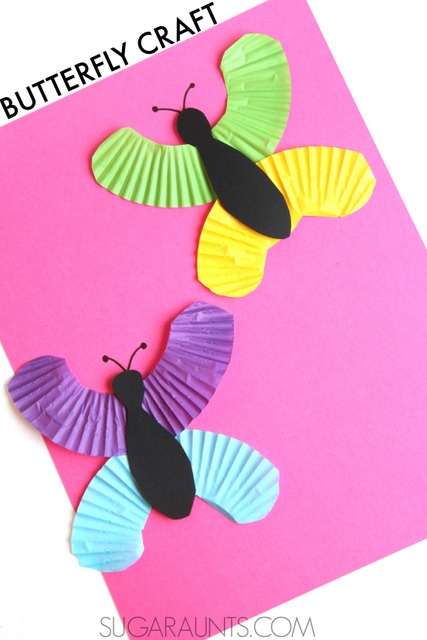
- Cupcake liner butterfly craft
Occupational Therapy Activities for Fine Motor Skills
Building fine motor skills in occupational therapy sessions occur typically in each therapy session. Here are more fun ways to build these essential skills:
Occupational Therapy Activities for Handwriting
We have many handwriting strategies here on the website. Some of our favorite ways to develop handwriting skills in OT include:
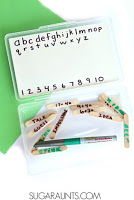
- DIY Dry Erase Board Handwriting Travel Kit
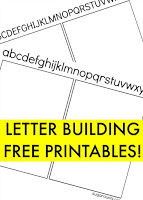
- Letter Building Printables
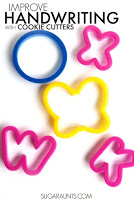
- Improve Handwriting with Cookie Cutters
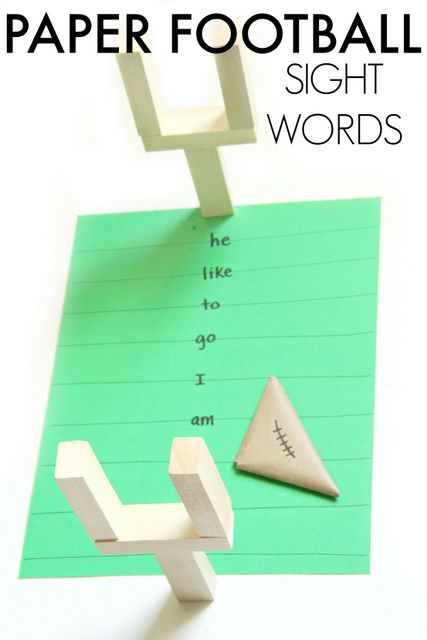
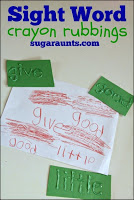
- Sight word crayon rubbing activity
Working on fine motor skills, visual perception, visual motor skills, sensory tolerance, handwriting, or scissor skills? Our Fine Motor Kits cover all of these areas and more.
Check out the seasonal Fine Motor Kits that kids love:


Or, grab one of our themed Fine Motor Kits to target skills with fun themes:
- Frogs Fine Motor Kit
- Unicorns Fine Motor Kit
- Vehicles Fine Motor Kit
- Apple Fine Motor Kit
- Back to School Kit
- Sports Fine Motor Kit
- Outer Space Fine Motor Kit
- Fairytale Fine Motor Kit
- Plus more in our shop!
Want access to all of these kits…and more being added each month? Join The OT Toolbox Member’s Club!

Colleen Beck, OTR/L has been an occupational therapist since 2000, working in school-based, hand therapy, outpatient peds, EI, and SNF. Colleen created The OT Toolbox to inspire therapists, teachers, and parents with easy and fun tools to help children thrive. Read her story about going from an OT making $3/hour (after paying for kids’ childcare) to a full-time OT resource creator for millions of readers. Want to collaborate? Send an email to contact@theottoolbox.com.