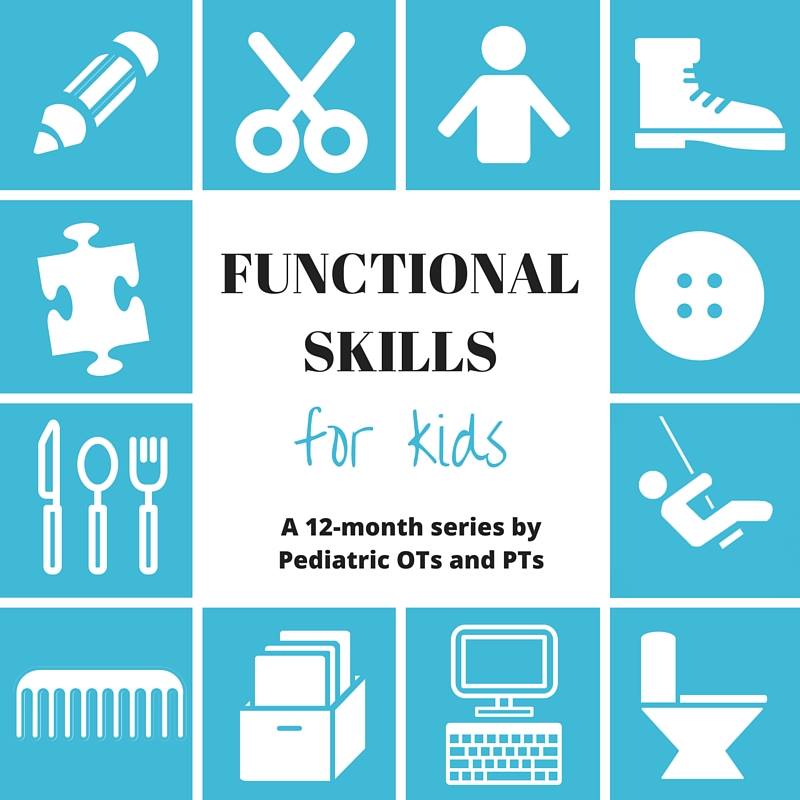
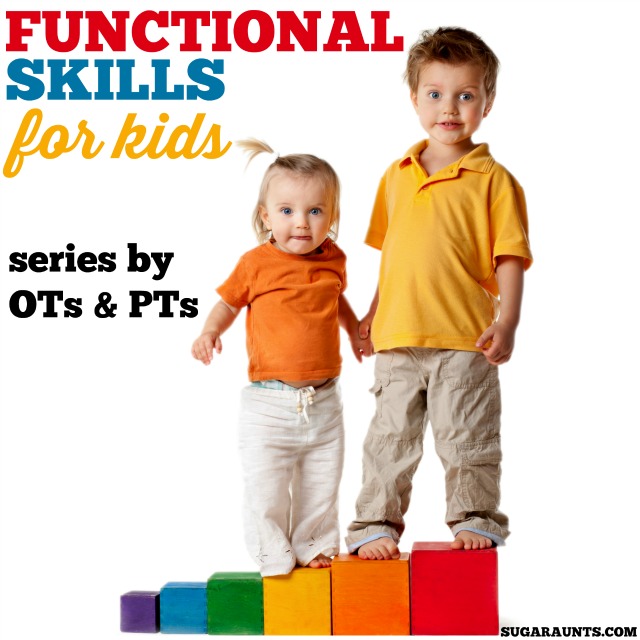
Welcome to the Functional Skills for Kids series! The Functional Skills for Kids series is a year-long project by top Occupational and Physical Therapist bloggers where we’ll be creating blog posts based on 12 functions of childhood. From Play to Toileting and School Functions to Mealtime, this is a comprehensive compilation of posts that will become a powerful resource. Each month the OT and PT blogging team will cover everything you need to know about one of the daily functions of a child.
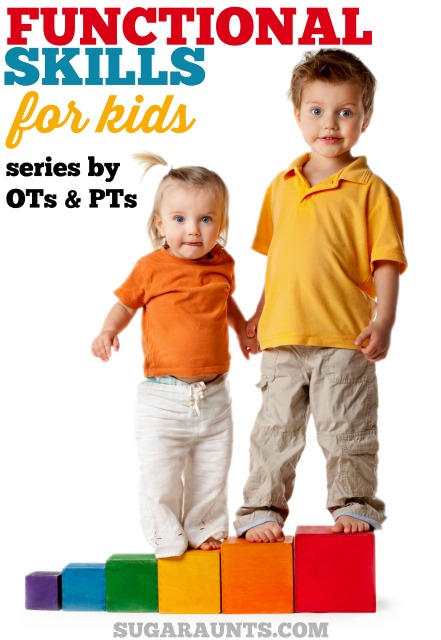

Childhood Functional Skills & Occupational Therapy and Physical Therapy
Have you ever wondered when your baby should begin to interact in play? Have you ever thought, “How can I help my child learn to dress themselves?” Are you looking for creative ways to work on scissor skills so your child can complete their homework? This series is for you!
This year-long series is for parents, teachers, therapists, and anyone who is looking for information about all the tasks a child routinely completes. You’ll see each childhood function broken down into development, fine motor considerations, gross motor considerations, sensory considerations, visual perceptual considerations, accommodations and modifications, creative ways to work on problem areas, and more.
Meet the Occupational Therapists and Physical Therapists on the Functional Skills for Kids Team:
(Follow each therapist on social media for developmental information, great ideas, and creative community!)
Colleen at The OT Toolbox | Facebook |Twitter | Pinterest
Cindy at Your Kids OT | Facebook | Pinterest
Jaime at Miss Jaime, O.T. | Facebook | Twitter | Pinterest
Heather at Growing Hands on Kids | Facebook | Twitter | Pinterest
Lauren and Claire at The Inspired Treehouse | Facebook | Twitter | Pinterest
Functional Skills of Childhood series begins January 2016!
Our first post where we dissect a function of childhood goes live in January and is Handwriting. Throughout the year, this page will be updated with all of the functions and you’ll be able to easily access the links from here.
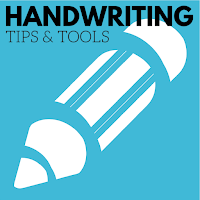

January | HANDWRITING
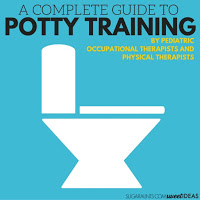
February | POTTY TRAINING
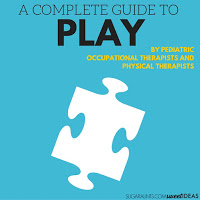
March | PLAY
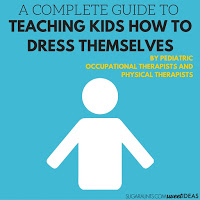
April | DRESSING
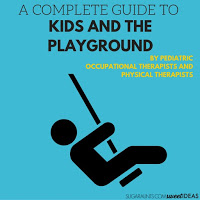
May | PLAYGROUND
June | SCISSOR SKILLS
July | COMMUNITY
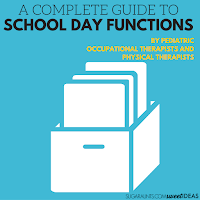
August | SCHOOL DAY FUNCTIONAL TASKS
This is going to be an fun series and I’m excited to share it with you!
You’ll love these resources on helping kids thrive in all aspects of theri occupational performance:
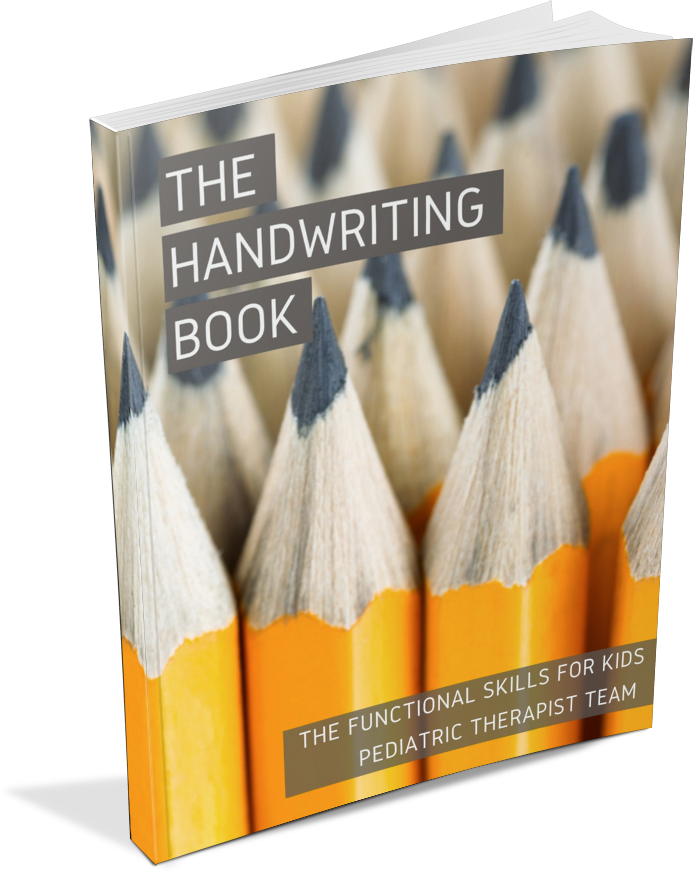
The Handwriting Book is a resource for meeting the needs of every individual when it comes to all aspects of handwriting
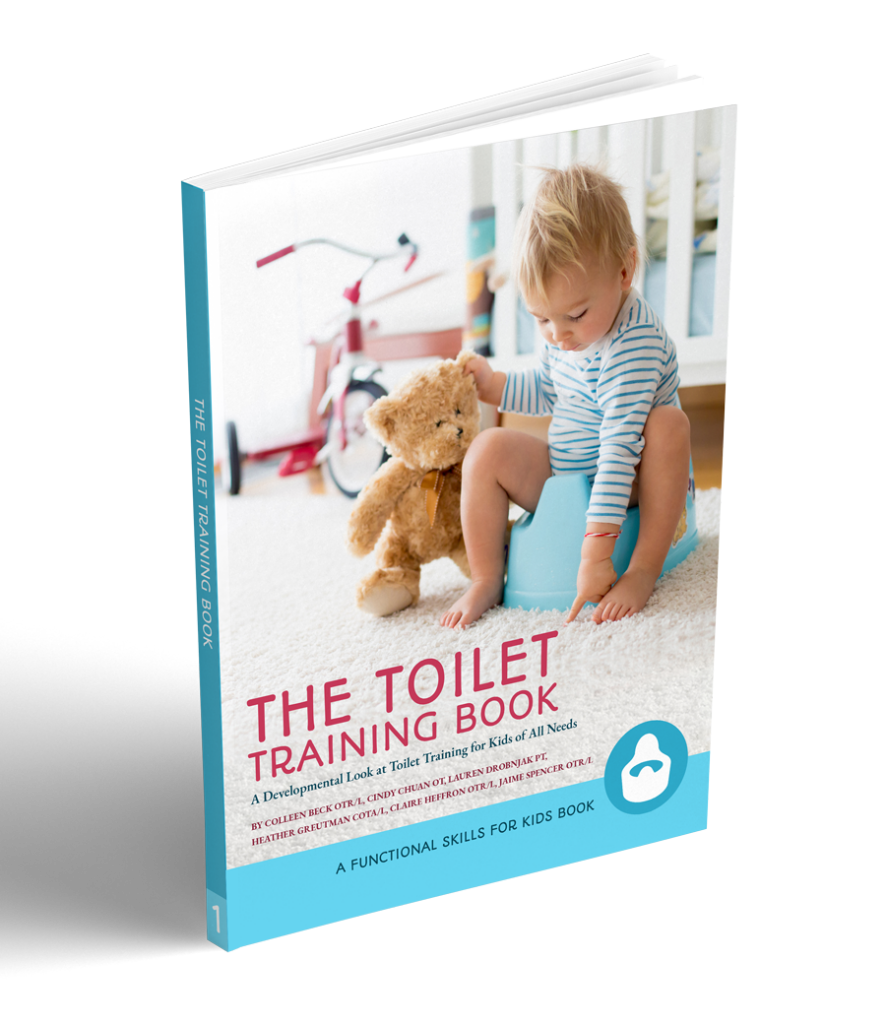
The Toilet Training Book is a developmental look at potty training from the perspectives of occupational therapy and physical therapy practitioners.
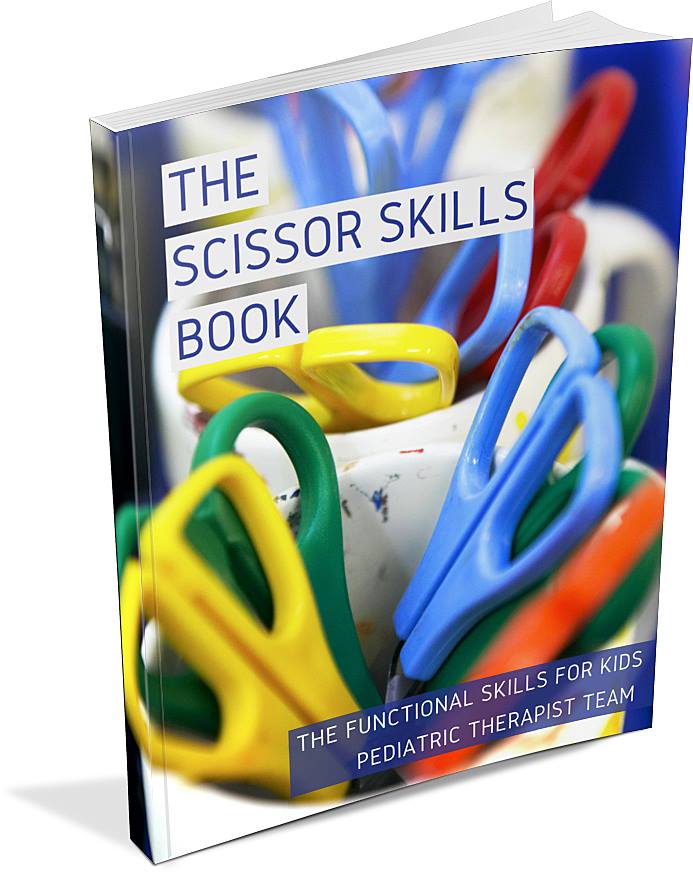
The Scissor Skills Book teaches all aspects of cutting with scissors, from form to function.


%20too!)