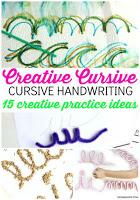
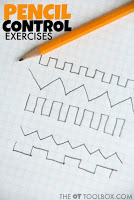
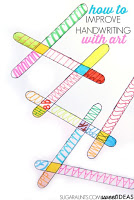
Cursive Writing Watercolor Resist Activity

Today, we’re taking a break from the mechanics of cursive writing to share a quick and fun way to practice cursive letters, pre-cursive lines, or cursive connections. 

Use this cursive handwriting activity to help kids work on individual letters or the areas of cursive that need a little more practice in a beautiful and process art manner! 


This activity is part of our 31 day series on how to teach cursive writing. You’ll want to check out all of the posts we’ve shared so far this month in order to gather a better understanding of aspects of cursive handwriting that are needed for legibility and function. 

These pieces include the rhythm of cursive, speed of cursive writing, cursive slant, cursive letter connectors, and so many more areas that make up functional cursive handwriting. 

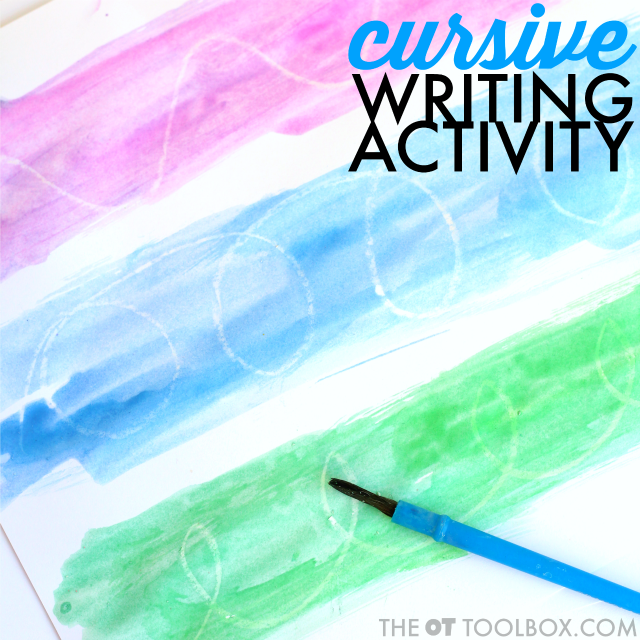
Try this watercolor resist activity to practice cursive handwriting including letter formation, cursive writing lines, and pre-cursive lines.

Cursive Writing Watercolor Resist Activity


Affiliate links are included in this post. 

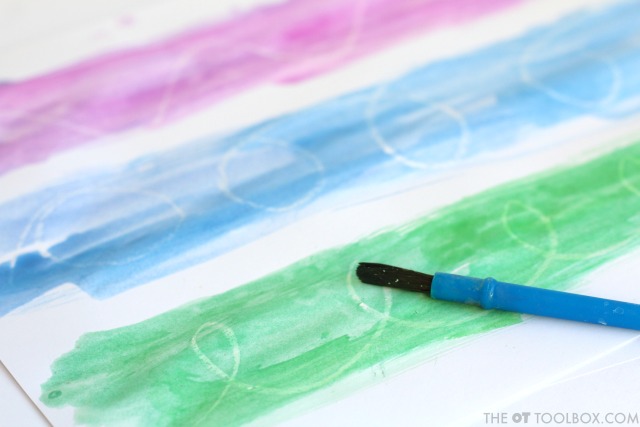
Use this watercolor resist activity to practice individual letters or portions of letters including pre-cursive writing lines. 

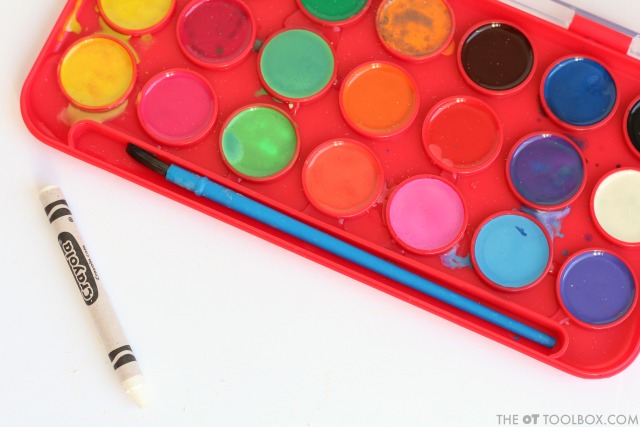
Start with a white crayon. Some children may benefit from a small crayon piece. Simply break the crayon into a piece. Read more about cursive writing and pencil grasp.

Next, ask students to write cursive letters with the white crayon on white paper. Watercolor paper works best for this activity. 

Students can really practice the motor plan and visual memory needed for letter formation with this watercolor resist activity. They will be able to slightly see the lines they have created with the white crayon, but will not be able to completely see each line or errors in re-trace. 

Then, use the watercolors to create strips of color for each line of cursive letters or cursive pre-writing lines

Try adding light pencil lines for the baseline for each row of lines or cursive letters. 

Try this watercolor resist activity to practice cursive handwriting including letter formation, cursive writing lines, and pre-cursive lines.

More advanced students can practice cursive letter combinations and connectors by writing lists of spelling words or even a secret message in cursive. 

Make it colorful and fun to practice cursive writing without the worksheets!
Try this watercolor resist activity to practice cursive handwriting including letter formation, cursive writing lines, and pre-cursive lines.

Here are more creative cursive practice activities:


Tips for Teaching Cursive in the Classroom

In current classrooms, it can be difficult to find time for cursive instruction. There has been more and more debates about the need to teach cursive. Other schools combine cursive instruction with morning work or with classes such as cursive such as spelling. 
The tips below can be helpful in teaching cursive in the classroom despite common struggles such as limited time or resources.


Try these tips and tricks for teaching cursive in the classroom


Tips for Teaching Cursive in the Classroom


One issue that can interfere with proper cursive instruction is a lack of specific cursive curriculum. Students may not be instructed with specific directions for each letter formation. Rather they are allowed to copy from overhead work or write creatively using cursive letters guides or visuals. 

When kids are taught cursive by copying forms alone, many times letter formation is a big issue. 

These incorrect movements become habits that are progressively more and more difficult to adjust and correct. As students are required to write more quickly or with more words per sentence or paragraph page cursive can become even more difficult to read overall.


Schools are also are limited in time allowed for cursive instruction. 


There are ways to instruct cursive handwriting in curriculum so that proper cursive training occurs and kids don’t become frustrated or utilize creative formation patterns.


Common concerns with cursive instruction in the classroom


Many times teachers allow students to write spelling words in print followed by cursive. When they do this they are expecting proper spelling in the printed form but perhaps not the cursive form. This seems like an awkward practice session for kids who don’t know the pattern the movement strokes of cursive letters. 

Rather than instructing the student in cursive letter formation they are allowing students to continue on with poor motor plans for letter formation resulting in an accurate spelling.


Another common issue is that there may not be a schoolwide or districtwide hand writing model in place. As a result some some classes in the school or district may teach cursive at a different rate or while using different verbal prompts then another classroom. 

These students then move onto upper grades at different cursive abilities. Upper classes may require cursive handwriting in reports or journal pages knowing that some kids from a particular school or even classroom were not instructed in the same manner as another student who attended the same school district.


In the earlier grades at the second and third grade level it’s important that time is set aside specifically for cursive handwriting instruction rather than combining it with classes such as spelling. 

In this way students are able to learn specific cursive exercises, pencil control expert motions, and letter formation using verbal prompts.

Here are strategies to help with common handwriting problems such as line awareness, spatial awareness, sizing, and more.


Tips for classroom cursive handwriting instruction


Cursive writing can be taught to the whole classroom at one time, using a consistent cursive lesson plan. This allows for practicing the motions of letters in the air, on paper, and with use of consistent verbal cues and visual prompts. 

Initial instruction can include large motor motions using consistent verbal cues for each letter as it is taught. In the classroom instruction, a teacher can demonstrate sequence of motions including height, retrace, connections, and spacing.


Student’s written work should be checked individually. They should be done as the child is writing with verbal and visual prompts to correct letter formation as indicated. It is very risky to instruct entire class without checking for proper mechanics as these in accuracies can lead to poor motor planning of letter formation.


Try this cursive activity in the classroom:


Modified from a Handwriting Without Tears program, “Come On Up” is one strategy to teach cursive handwriting in a group setting. Students can work on cursive writing as a group learning and practicing what they have learned already. This is a good way to go over previous learn learn letters.


Come On Up group cursive writing activity

Play the game, Come on Up to help students learn and practice cursive letter formation.

The teacher can write cursive letters of the alphabet on the chalkboard or SmartBoard. Assign students a letter of the alphabet. As the instructor writes a letter, she should call out the letter and say, “Come on Up letter…” 

The student assigned to that letter can come to the front of the classroom, trace over the letter on the board, and then write their letter right underneath it. 

This is a good way to practice while boosting self-confidence with cursive formation. The entire class practices letters and can help each other with formation if needed. 

Getting up and moving in the classroom is a great way to sneak in movement during learning. Students can shuffle letter so that they are able to practice other letters of the alphabet.

Try these tips and tricks for teaching cursive in the classroom

More strategies to help with cursive writing instruction:
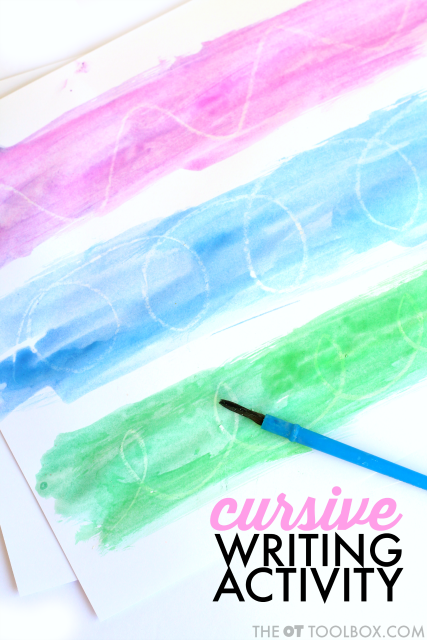


How to Teach Cursive Writing Speed

When students are learning cursive, it’s common for slow formation to occur. Here are ways to help students write with increased speed in cursive writing and tips to help improve functional cursive.

This is part of our 31 day series on how to teach cursive writing.

Use these strategies to help kids improve cursive writing speed for increased cursive writing function.


Writing in cursive is complex! Students need to really focus on letter formation, pencil control, and retrace of lines when writing in cursive. On top of all that, there is the line awareness, spatial awareness, and size awareness needed for written work. This is a lot to remember! 

Speed of cursive writing does come with practice through. For the student who has learned all of the cursive letters, cursive speed is the next step in functional writing.

Students eventually should focus on speed in cursive writing. Legible handwriting is the overall goal, and students must eventually develop the speed and accuracy for legible and functional writing. 

This is particularly important when students are asked to write more quickly or to copy notes and the older grades cursive writing is needed at a faster pace.


Speed in cursive writing


Use the strategies below to work on speed in cursive writing. These strategies should only use be used by students who have mastered letter formation and retrace in a legible and functional manner.


  • Ask students to work on timed cursive writing. Start with just cursive exercises (Use the cursive exercise ideas below). Timed cursive can also be done with a sentence or list of words like spelling words.

  • Cursive exercises- Use a timer and ask students to complete a worksheet of cursive writing or a single page of cursive exercises like waves and connected T’s, loops, or bumps, students can be timed on completion with accuracy.
  • Timed letter count- Turn on a timer and ask students to write cursive words. Written work can be strings of letters, words, or sentences as student’s copy from a model placed on their desk. Students can write as much as they are able in the given time. When the timer goes off, students can stop and count the number of words or individual letters they were able to write. Repeat this exercise each day, marking down number of words.

  • Eventually work on short words such as sight words or commonly used words. They can copy a strand of these words with timed tests.

Timed cursive exercise tips


If at anytime during time to work letter formation suffers, go back and work on proper letter formation with consistent verbal cues.


Exercises in speed are necessary to help students develop more function in their pursuit of writing. As children age, they are required to write faster and for longer periods to take notes. Speeding up exercises can help writers find flow of their personal style.


When students start to speed up in a writing, many times you will see modifications of formation in letters. Overtime these modifications become automatic as the motor plan becomes consistent through practice. 

When students are required to form those combinations of letters again and again, unique letter formation between letters become automatic and comfortable. 

It’s important to ensure a quality of handwriting so that the student is able to look back over their notes read what they’ve written. Many times, kids scribble down homework assignments or notes and then can’t read them later. This isn’t functional writing and speed should slow down.


Students who write too slowly in cursive will benefit from increased practice and back attrition. Overtime the speed will increase as the the motor plan of letters becomes more automatic.


Use these strategies to help kids improve cursive writing speed for increased cursive writing function.

Assessment of writing speed

One assessment that can be used to assess speed of handwriting is the DASH. The Detailed Assessment of Speed of Handwriting (DASH), and the Detailed Assessment of Speed of Handwriting 17+ (DASH 17+) are standardised tests. The DASH is a reliable tool to assess  handwriting speed against the norms expected for a child’s age.

Speed of cursive writing is important for rhythm and function in cursive. Need to work on some other areas of cursive, try these ideas:
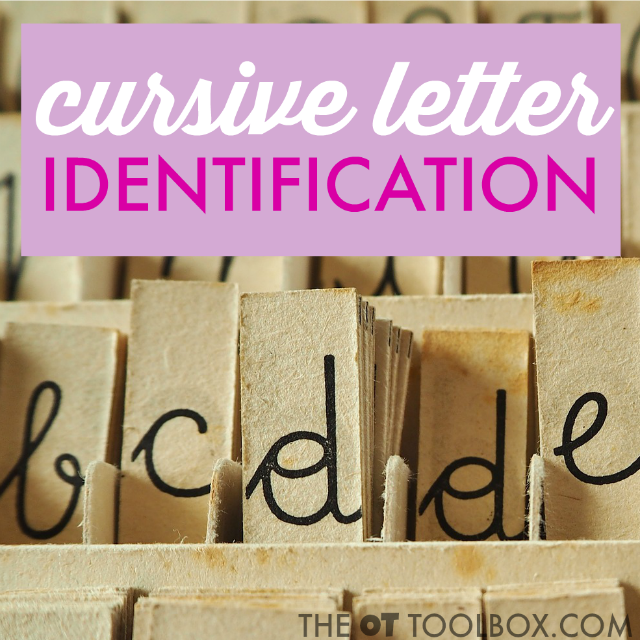


MORE Creative Cursive Practice Ideas

If you’ve been following our series on how to teach cursive, then you now have a lot of cursive writing techniques and tips under your toolbelt. Today, you’ll find creative cursive practice ideas here on The OT Toolbox. These are fun ways to practice cursive writing so that handwriting time is fun and not boring! Use some of the creative painting activities to work on cursive letters, too.
 
This post is part of our series on how to teach cursive writing. Check them all out for tips, strategies, and tools for teaching cursive.
 
One of the posts in this series included creative ways to practice cursive writing using the senses. Today’s ideas are different mediums to write on including various types of paper or other writing surfaces. These are fun ways to practice cursive letter formation.
 
Creative ways for kids to work on cursive writing including letter formation.


Creative Cursive Practice Ideas

 
Affiliate links are included in this post.
 
Try writing these creative writing ideas for practicing cursive letter formation, re-trace, rhythm, and speed of writing.


Write on recycled newspaper.
 
Write on graph paper.
 
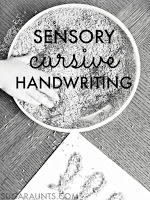
Fill a tray with sand. Add a small amount of water and flatten the sand. Students can write with their finger or a stick in the sand.
 
Write on cardboard.
 
Write on paper bags.
 
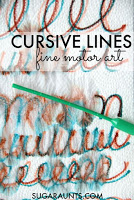
Write on paper towels. Drip water to watch the marks blend. 
 
Write on wallpaper scraps. 
 
Write on envelopes.
 
 
Write on cardboard tubes.
 
Write on a plastic tablecloth using permanent markers. 
 
Write on leaves.
 
Write on tape.
 
 
Write on poster board.
 
Write on recycled floor tiles with a dry erase marker.


Use sandpaper under paper for practice.


Use a writing tray filled with a variety of mediums such as beans, rice, corn, sand, paint, cornmeal etc. 


Practice letter formation on a chalkboard using a wet paint brush.


Practice letter formation using a feather on their hand.


Practice letter formation in the finger paints.


Cover the desk with a material such as shaving cream or putting to practice cursive writing.


Use glue to write cursive letters. Create crayon rubbings.


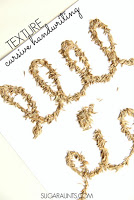
Make textured cursive letters with glue and sprinkle with glitter or colored sand with them dry. Students can touch and feel letters.
Creative ways for kids to work on cursive writing including letter formation.

Need more ideas to practice cursive writing? Try these ideas: 

Creative ways for kids to work on cursive writing including letter formation.

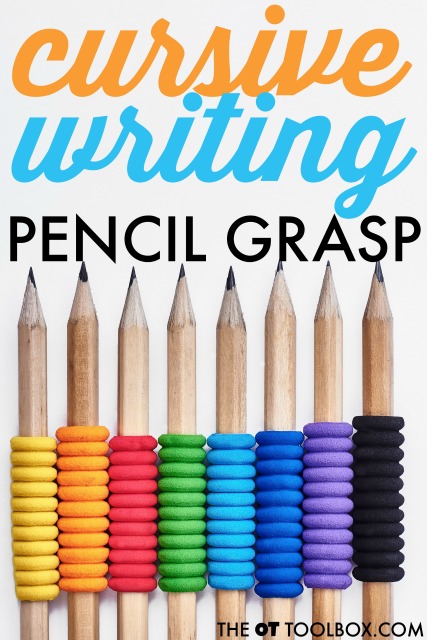
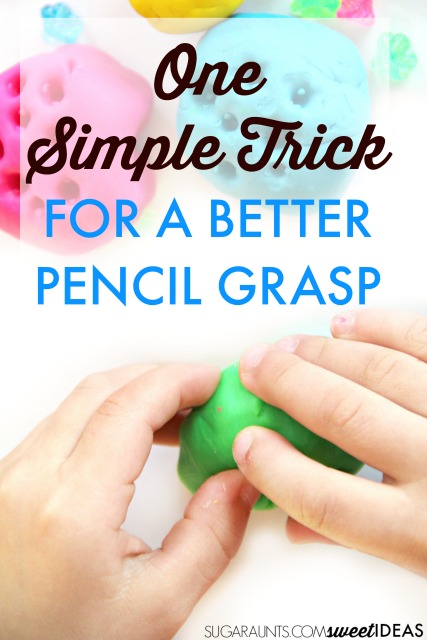
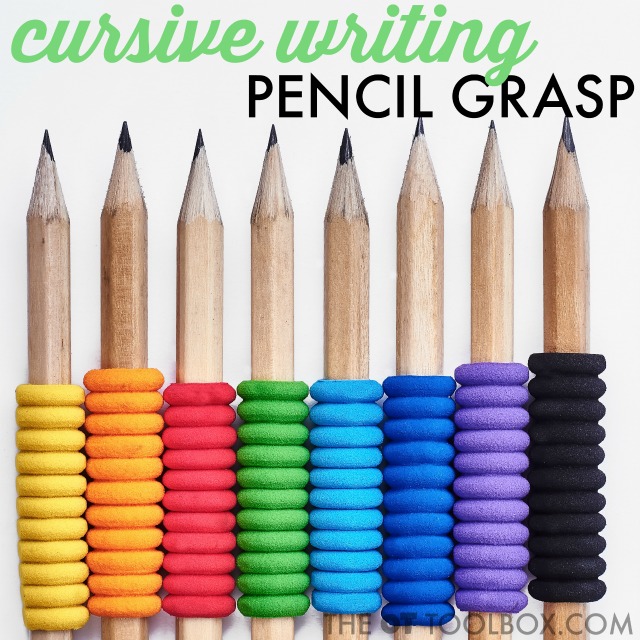
Cursive Writing Pencil Grasp

Pencil grasp…it’s a quandary for many children! When it comes to cursive handwriting, pencil grasp can be an antagonist that interferes with legibility, rhythm, flow, speed, and formation of cursive letters. Read on for more information on promoting a functional grasp for use in cursive writing.
 
When we write with a pencil in cursive it’s really no different than holding a pencil for printed handwriting work. It is important to note that cursive writing requires fluid motion. 
 
This cursive handwriting post is part of our 31 day series on cursive handwriting
 
Use these handwriting tricks and tips to help kids with a cursive writing pencil grasp and to write with legible cursive writing style using a functional grasp on the pencil.


Cursive Writing Pencil Grasp

 
The fluid motion of a pencil is very important for letter formations and for connectors between letters. If the pencil is being held too rigidly, then the writing will be slow and inefficient. Pencil strokes may present as jagged or with difficulty retracing over lines. 
 
This can result and limit legibility.


When the pencil is moved in written work, movements should come from the distal joints of the hand rather than at the wrist, elbow, or shoulder. 
 
The pencil is controlled by the MCP joint PIP joint and DIP joints of the fingers and the CMC joint MCP joint and IP joint of the thumb. 
 
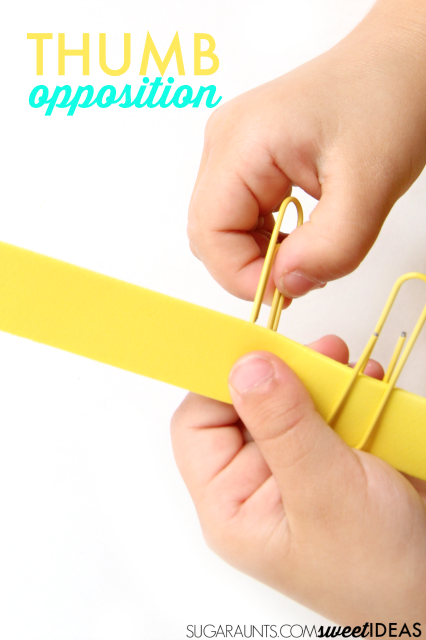
Read more about the joints of the thumb and their involvement in creating an open thumb web space for an efficient and functional pencil grasp.
  
When these joints are the primary movers and stabilizers in holding and writing with a pencil, it is possible to manipulate the pencil in all motions needed to form and connect cursive letters.
 
One of the best tools for addressing pencil grasp needs is to strengthen, strengthen, strengthen! Use these fine motor activities to improve pencil grasp to make it fun.
 

Extended Wrist in Pencil Grasp

When writing with the distal joints of the fingers and thumb, the pencil is able to move fluidly with just an extra slightly extended rest. An extended wrist puts the hand into a more functional tendon placement for movement.


Pencil grasp in cursive writing


Now to determine if the fingers are moving correctly with a functional pencil grasp, try this exercise. 
 
Hold a pencil in your fingers and rest your wrist on the paper. Use the pencil to make small curves and circles with only using the fingers and thumb. Pencil strokes should be fluid and controlled. The motions should occur within the hand. 
 
Here is an activity to develop and strengthen distal finger control needed for handwriting.


Thumb wrap grasp and cursive writing


A common pencil grasp is a thumb wrap grasp. This is a way to hold the pencil presenting with  the thumb wrapped around the pencil. In the thumb wrap grasp, the thumb is stabilizing the pencil. 
 
This grasp occurs with a closed some webspace and decreased motion using the fingertips and thumb. 
 
This pencil grasp can be inefficient for cursive handwriting because of cramped muscles and limited motion of the pencil. In these cases, it’s not a functional grasp pattern. However, for many children, this grasp can be functional in that individuals are able to write legible cursive writing.
 
There is research indicating that kinetic differences resulting from thumb position seemed to have no bearing on speed and legibility. 


Flexed wrist in cursive writing


If a student is observed with a flexed wrist in either printed or cursive writing an observer may note that handwriting is not as functional or legible as it may be. 
 
This is because the intrinsic muscles of the hand are in an inefficient pattern resulting in less range of motion when writing and moving a pencil.
 
Additionally, increased stress can also result in carpal tunnel compression when used over and over again by those who write a lot. 
 
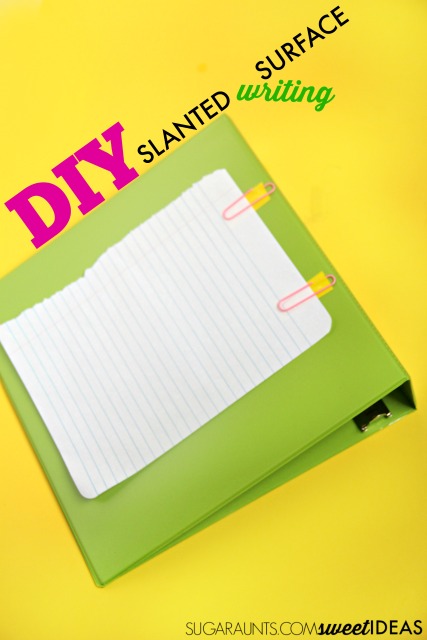
Use a DIY slanted surface to promote an extended wrist in handwriting.


Pencil grasp issues and cursive writing

Most kids learn cursive writing beginning in second grade. At this stage, it is often quite difficult to change a pencil grasp. Grasps are very ingrained at second grade but can be accommodated with a pencil grasp. After grade four, it is very difficult to change a grasp pattern.
 

Key takeaways on pencil grasp and cursive handwriting:

Focus on a functional grasp!
 
Use fine motor activities to address pencil grasp needs.
 
References
Heidi Schwellnus, Heather Carnahan, Azadeh Kushki, Helene Polatajko, Cheryl Missiuna, Tom Chau; Writing Forces Associated With Four Pencil Grasp Patterns in Grade 4 Children. Am J Occup Ther 2013;67(2):218-227. doi: 10.5014/ajot.2013.005538.
 
Read more about pencil grasp and grasp patterns:
 
 
Use these handwriting tricks and tips to help kids with a cursive writing pencil grasp and to write with legible cursive writing style using a functional grasp on the pencil.

How to Teach Kids to Identify Cursive Letters

Teaching kids to write in cursive can be difficult. When kids see a lot of different letters once, it can be hard for them to pick out individual letters as they read. For kids who are just learning letters, cursive writing looks like a stream of loops and bumps. This is especially true when students are asked to copy a word or several letters after they’ve learned a handful of letters. 
 
This activity on teaching kids to identify cursive letters is part of our 31 day series on how to teach cursive handwriting. Be sure to check out all of the articles in the series. There is a lot of great information on cursive writing to be found and shared!
Use this cursive handwriting activity to help kids learn to write cursive letters and identify cursive letters.


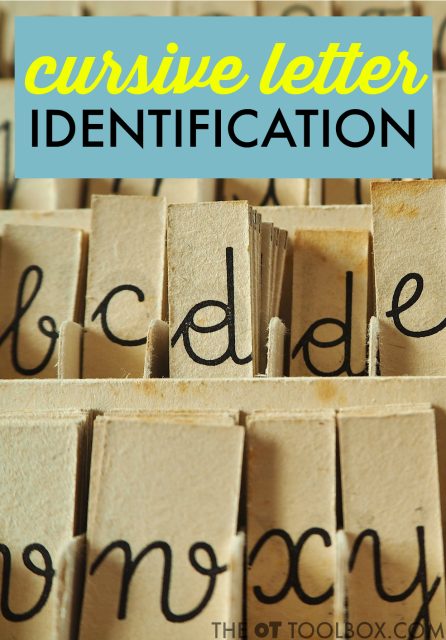
Cursive letter identification Activity


Children who struggle with visual discrimination can really find cursive letter identification a challenge. Pulling those letters from a strand of letters can really be difficult for a child who is not able to discriminate between a cursive letter “n” and a cursive letter “m”.
 
That’s why today on the OT toolbox you’ll see the cursive letter identification activity below. This is an easy way for kids who are just learning cursive letters to identify different person letters individually. 
 
Use the cursive letter identification activity to help kids visually scan and identify cursive letters. This is a great way for new cursive writers to learn to read and identify letters in a stream of written work. 


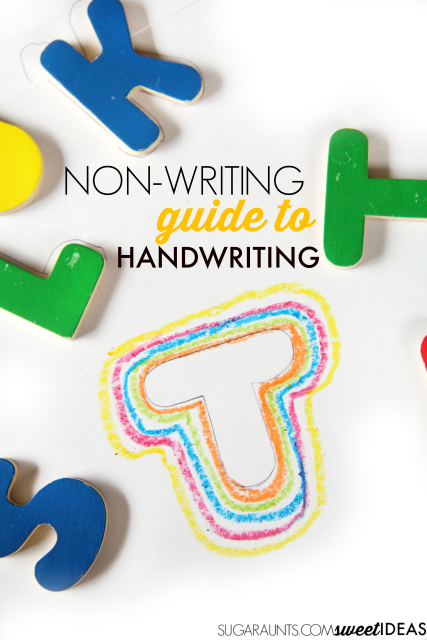
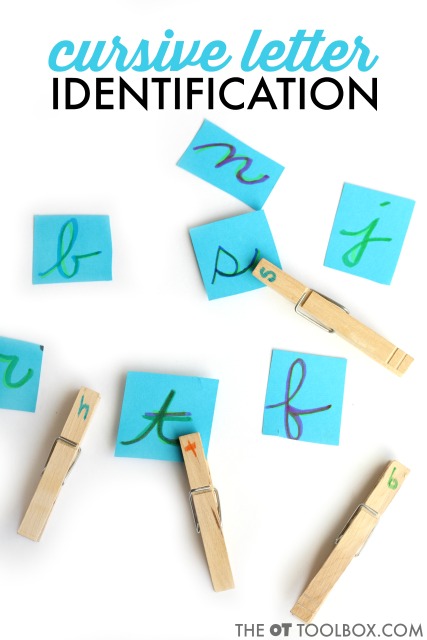
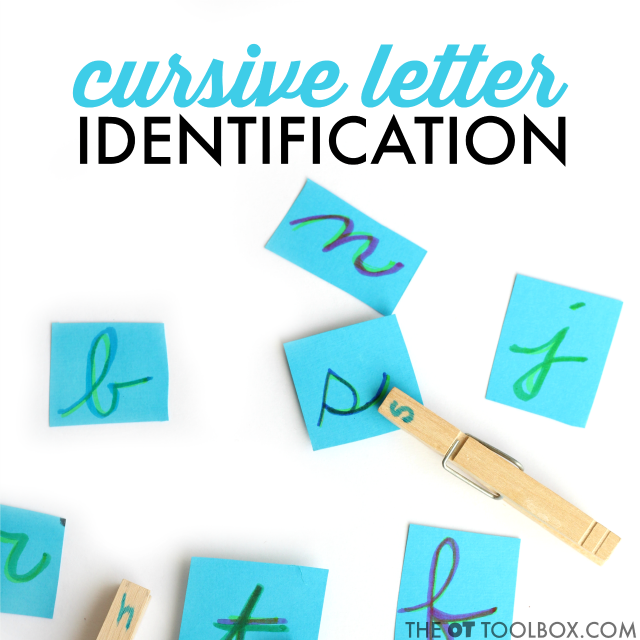
Help kids learn the difference between cursive letters by asking them to first, write out cursive letters on small scraps of paper. They can trace over the letters several times in various colors like in this rainbow writing activity or color changing marker activity.
 
Then, use clothespins that have been marked with printed letters to match the cursive letters.
 
Visually scanning for the correct letter addresses several visual perceptual skills, including visual discrimination, figure ground, visual attention, and form constancy.
 
Use this cursive handwriting activity to help kids learn to write cursive letters and identify cursive letters.
This type of activity can help kids identify small differences that make a big difference when it comes to cursive letters. When they see the difference between the “b” and the letter “l” in matching activities, students can become more cognizant of the individual letter differences between like letters when copying from a model or strings of letters in practice.


The same is true for letters of different sizes such as lowercase letter “e” and lowercase “l” when kids see the difference in height they can recognize that difference and be more able to form the letters accurately on paper when writing. 
 
If these two letters are a challenge for students to differentiate, add lines to the paper scraps. You can even cut a line of wide rule paper to use as the scrap squares.
 
Use this cursive handwriting activity to help kids learn to write cursive letters and identify cursive letters.


Looking for more ways to help kids learn cursive handwriting? check out these ideas that we’ve done on The OT Toolbox in the past.
Use this cursive handwriting activity to help kids learn to write cursive letters and identify cursive letters.
 

Cursive Writing Slant

A unique feature of cursive writing is the slant of letters. Typically cursive writing slant towards the right. 

This cursive handwriting post is part of our 31 day series on cursive handwriting

Use these tricks to help address cursive letter slant when teaching kids to write in cursive.

While slant of cursive writing may not be a huge deal when it comes to overall legibility, the biggest area to address and correct is consistent slant direction. 

If all of the letters are leaning in one direction, it helps with the overall legibility of the written piece. If there is a variety of pencil stroke directions or inconsistent pencil stroke slants then legibility is affected.


Cursive writing slant


First, it’s important to note that cursive handwriting traditionally does have a slanted position. The tilted angle of the paper enables slanted letters. However, slanted writing is not a MUST for cursive. 

The Handwriting Without Tears program teaches and promotes an upright position of letters on the page. Another cursive handwriting program that does not promote a slanted font includes the Spalding font.

As explained in our left-handed cursive post, students who write with their left hand will struggle to write with a slanted cursive style and will naturally write with a more upright formation of letters. 


How to Teach Cursive Slant

There is some evidence (although from an old source) indicating a progression of slanted printed work to cursive slant as helpful in the progression toward slanted cursive writing. 

However, additional changes in font of printed work may be difficult for the child with visual perceptual or visual motor skills. 

The article mentioned above indicates that the progression of from printed work to cursive is made easier with a slanted print step.


Inconsistent cursive letter slant in handwriting

If letters are leaning in all directions legibility is affected. There may be several reasons for these this to occur.


Pencil control is one issue that interferes with cursive slant. Letter formation inconsistencies mixing styles of writing a letter formation can affect slant as well.


Fluidity and tension in holding the pencil can result in slanted letters and consistencies.


Connectors between letters can affect slant. This happens when one letter is not connected correctly to the next or inefficiently connect to the next.

Tips related to cursive writing and slant of letters:

  • Slanted handwriting font is not necessary. 

  • Focus first on letter formation, then fluency including rhythm and speed of handwriting. 


Use these tricks to help address cursive letter slant when teaching kids to write in cursive.

Enstrom, E. (1966). In Second Grade Handwriting: The Acceptance of Slant Print. Elementary English, 43(4), 409-412. Retrieved from http://www.jstor.org/stable/41387583

Quotes About Goals

As therapists, we focus a lot on goals. We write goals that are measurable, meaningful, and obtainable. They are short-term and they have quantifiable. Goals need to be finite and clear and assessable by measurable data. Therapists deal with and monitor goals every day! 
Related to the topic of goals is this breaking down goals activity that helps children achieve a growth mindset when it comes to goal setting.

 
Therapists can sometimes need to remind clients about the need for meaningful goals that guide intervention. They may need reminders that the data-driven goals are what steer treatment toward function, independence, and progress. 
 
The quotes below are related to goals. They may be words to inspire others or to promote the profession. Share these images on social media (link back here, please) and allow the goals that we write to be more than just words. They are an articulation of betterment. They are a guide and an outline for what matters for our clients.
 

Quotes About Goals

Focus on your goals, not your fear. Focus like a laser beam on your goals. -Roy T. Bennett Quote about goals, perfect for the occupational therapist who writes and monitors goals every day!
Focus on your goals, not your fear. Focus like a laser beam on your goals. -Roy T. Bennett
Reach high, for the stars are hidden in you. Dream deep, for every dream precedes the goal. -Rabindranath Tagore quote
Reach high, for the stars are hidden in you. Dream deep, for every dream precedes the goal. -Rabindranath Tagore
Obstacles are things a person sees when he takes his eyes off his goal. -E. Joseph Cossman quote about goals for occupational therapists
Obstacles are things a person sees when he takes his eyes off his goal. -E. Joseph Cossman
Know what you want, work to get it, then value it once you have it. - Nora Roberts quote about goals for occupational therapists
Know what you want, work to get it, then value it once you have it. – Nora Roberts
Goals are the road maps that guide you to your destination. Cultivate the habit of setting clearly-defined goals; they are the road maps that guide you to your destination. -Roy T. Bennett
Life always begins with one step outside your comfort zone. -Shannon L. Alder quote about goals for occupational therapists
Life always begins with one step outside your comfort zone. -Shannon L. Alder

Cursive Writing Rhythm

When we write in cursive, the pencil moves across the page in smooth and fluid motions from letter to letter and at an even pace. But what happens when the pencil is not moving smoothly. What happens if the pencil strokes are scratchy or letters vary in width. What happens when the pencil stops mid-letter or there is stopping and starting within the words. This cursive writing rhythm allows us to move from these scratchy, bumpy, and uneven letters to fluid and functional movements. This is cursive writing rhythm. 


This cursive handwriting post is part of the 31 day series on cursive handwriting that is occurring here at The OT Toolbox. 

Use these handwriting strategies to help kids who are learning to write in cursive work on the rhythm and flow of cursive writing including pencil control, motor plan, with smooth cursive writing strokes and legibility in written work.


Cursive Writing Rhythm


The rhythm of cursive handwriting doesn’t happen automatically or overnight. It’s an ability that occurs with practice and with maturity. A student who is just learning cursive letters won’t have rhythm in their written work, but it is a goal that can be achieved with practice. Rhythm and fluid cursive writing occurs over time.

Formation of individual letters is just one part of cursive writing. Another piece is the rhythm of pencil strokes. 

Using a pattern of consistent pencil strokes makes letters recognizable. Without that pattern and rhythm, writing can turn into scribbling very quickly. 

The rhythm that it takes for cursive writing is what makes letters legible and helps with overall appearance. A person may be able to read their own “chicken scratch” cursive writing but another person is not used to that technique will not be able to read it at all. 

What is the difference in these two extremes? It’s the rhythm of the pencil with as it as you write in cursive. 

Rhythm can change when people write in cursive. When you’re writing very quickly, pencil strokes look different than when you take your time for a letter or note. The rhythm of a doctor signature on a prescription looks quite different then probably a signature on a thank you note to a grandparent.


People in general have different rhythm when they write. This is what gives some individuals a forward slant and others a backwards slant. Some writers use a loopy cursive font and others still, a scratchy style of writing. 

Use these handwriting strategies to help kids who are learning to write in cursive work on the rhythm and flow of cursive writing including pencil control, motor plan, with smooth cursive writing strokes and legibility in written work.

How to improve cursive writing rhythm


How can you work on rhythm of cursive writing? 

It’s easy with simple exercises of a series of lines and sweeps. Working on small letters and tall letters in a pattern of three letters across the page can help to establish a pattern of pencil movement. 

Try combining small lines with big lines. 

Try combining the curves of lowercase “t” and “p” in a series. 

Try joining together letters like lowercase “t” and “a” to mix pencil stroke movements. These different exercises teach you the movement pattern of arches including the starting point, stopping points, and retrace.


Activities to improve rhythm and fluidity in cursive writing


Exercises with tracing worksheets can help with pencil control and fluidity when in cursive writing. However there is an natural movement that each individual uses in their own motor plan to form curves and changes in direction.

Ask kids to make their own scribble on a piece of paper. Then allow them to use a highlighter or colored pencil or marker to trace over there scribble. This natural tracing over scribbles that are self drawn, is more likely to match motor plans as it’s natural for this individual.

Try completing the activities described above to help with rhythm of cursive writing. 

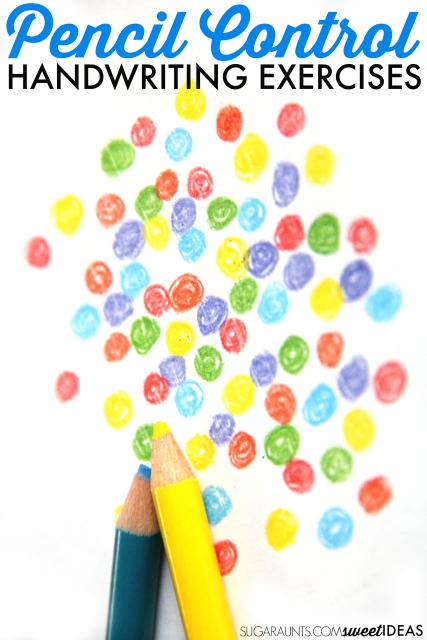
Here are a few more activities that can help with pencil control and motor planning in handwriting: Try these pencil control handwriting exercises to work on writing in lines with the small muscles of the hands for more accuracy with lines, legibility, and speed when writing.Work on handwriting with crayons using these easy precision of pencil control exercises. Kids love these ideas to work on fine motor skills and develop neat handwriting.!