If you’ve ever found yourself with a stack of empty Amazon boxes, then this DIY cardboard bricks project is for you. We made giant cardboard blocks many years ago and the creativity that resulted was enormous! As a pediatric occupational therapist, I love to recommend toys that support development. Block activities and building bricks are always on therapy toy lists. So, when my own kids were involved with the creating process to actually make these cardboard blocks, we took the skill-building of fine motor blocks to a whole new level. Let’s take a look at how to make cardboard bricks and various ways to play with them.
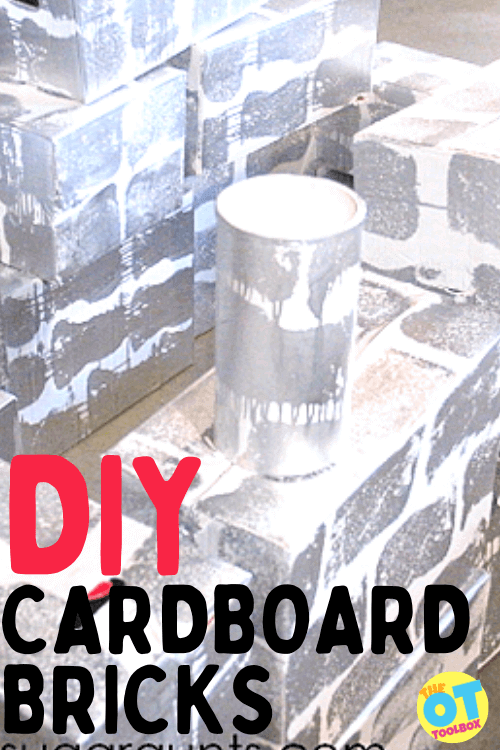
DIY Cardboard Bricks
When it comes to children’s imagination, there are certain toys that inspire creativity…building blocks are one of those creative toys!
And, you’ve probably seen large cardboard blocks in toy stores or as an option. But did you ever stop to think about the developmental benefits of playing with large cardboard building blocks?
Skills developed by playing with Cardboard Blocks
There are so many skills that are developed in the young child by playing with just this one type of toy:
- Gross motor skills
- Fine motor skill
- Balance
- Body awareness
- Postural control
- Hand eye coordination
- Crossing midline
- Bilateral coordination
- Sensory input: Proprioception and vestibular input
- Spatial skills
- Cause and effect
- Motor planning
- Confidence
- Executive functioning skills: planning, prioritization, task completion, problem solving, attention, focus, working memory
- Visual motor skills: eye-hand coordination, form constancy, visual figure-ground, visual scanning, visual attention, visual memory
You can see by looking at that list of areas of development, why pediatric therapists have blocks on their list of toy recommendations!
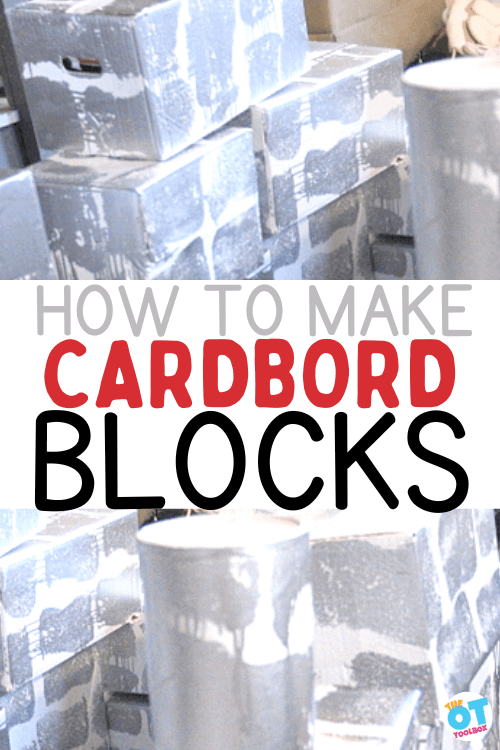
How to make DIY Cardboard Bricks
Now that we know the benefits of playing with cardboard block toys, let’s break down the steps to make your own DIY cardboard bricks!
These big clocks are very easy to make, and it’s a creative painting activity you may want to get the kids involved with.
MATERIALS:
(Amazon affiliate links included below)
- Upcycled boxes of different sizes
- paint roller brush
- White paint (Or use white wrapping paper)
- tarp
- large bone sponge
- silver paint
We used silver paint to create a fairy tale type of cardboard brick, but you could use red paint to create a brick house type of building brick.
1. Save boxes of various sizes- First, save a collection of cardboard boxes. When collecting boxes to upcycle, think about durable cardboard building blocks because these toys will be used over and over again by children. They will get beat up!
Some ideas for boxes that make great DIY bricks include:
- Diaper boxes
- Amazon delivery boxes
- Tissue boxes
- Cardboard tubes (paper towel tube or cardboard toilet paper roll)
- Cardboard oatmeal cylinders
- Empty cereal boxes
- Any rectangle, square, or cylinder shaped box!
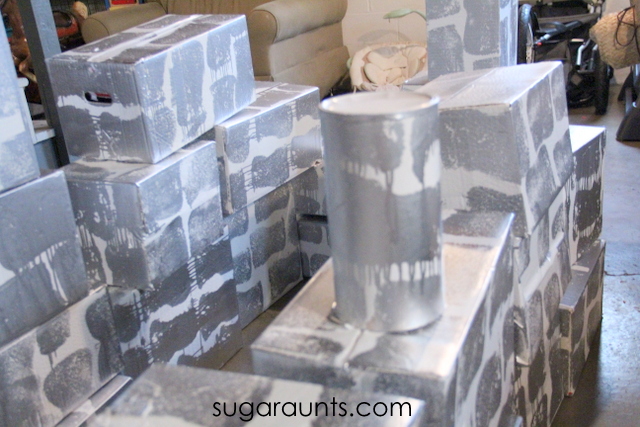
I started by gathering up a bunch of cardboard boxes. Between a couple of sisters and sisters-in-law, I had enough diaper boxes to make this giant stack. (There are a lot of cousins in diapers around these parts).
Next, it’s time to turn those boxes into giant cardboard building blocks.
Amazon affiliate links are included below.
2. Paint the boxes- I used left over white wall paint to cover all of the diapers. This was a quick job with a paint roller brush. Lay the boxes out on a large tarp in the yard and paint the top and two sides. When the paint has dried, rotate the boxes and paint the other three sides.
As an alternative to painting, you could also wrap the boxes in white wrapping paper. Rolls of white paper are available at many dollar stores. Or, you can sometimes grab holiday wrapping paper on clearance after holidays, as a very inexpensive option. Just wrap them up like a package.
3. Add details to the big blocks- Once the white paint has dried, use a large bone sponge dipped in a tray of silver paint. Dab the sponge shape onto the white boxes to make “bricks” of the castle walls. Our silver paint dripped a TON at first. Once I got the hang of how much paint to use on the sponge, it went much better. Too much paint, and you’ll have lots of drips.
If you opt to wrap the blocks up in white paper over painting, you can draw on details like vines. Stamp the white wrapping paper with grey paint using the sponge.
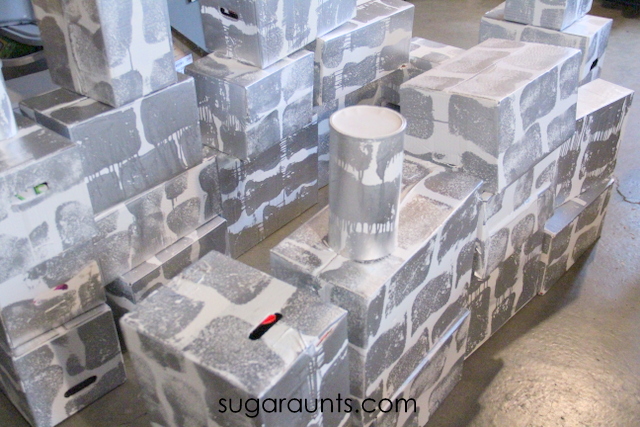
4. Start playing- After the blocks are created, it’s time for the fun part: building with the giant blocks!
Your young construction workers and little architects will love the creative options to stack the cardboard bricks, create walls, towers, and houses. Then, talk about cause and effect when the block towers inevitably fall down.
These DIY toys are a great addition to playtime!
Use the bricks with toddlers, preschoolers, and older kids too. I personally would love a small calm down space to support self-regulation in young learners, too.
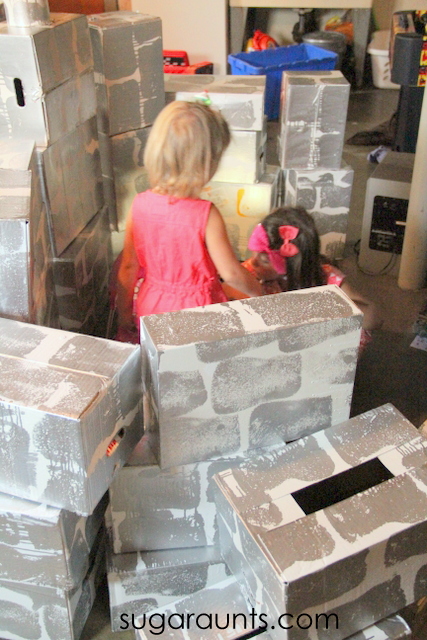
DIY GIANT BUILDING BOCKS
These castle blocks were used at the party for princesses and knights. We’ve been using them ever since in daily play in our basement. We even have a booby trap set up by Little Guy right now.
One of the activities we had planned for the kids were these giant castle blocks made from diaper boxes. These were fun for the cousins to play with, imagine with, build, knock down, and build again! I hope this DIY cardboard brick idea is an inspiration to you!

Colleen Beck, OTR/L has been an occupational therapist since 2000, working in school-based, hand therapy, outpatient peds, EI, and SNF. Colleen created The OT Toolbox to inspire therapists, teachers, and parents with easy and fun tools to help children thrive. Read her story about going from an OT making $3/hour (after paying for kids’ childcare) to a full-time OT resource creator for millions of readers. Want to collaborate? Send an email to contact@theottoolbox.com.

