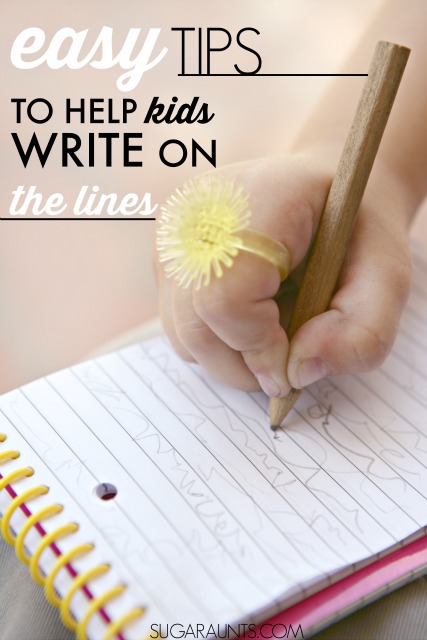
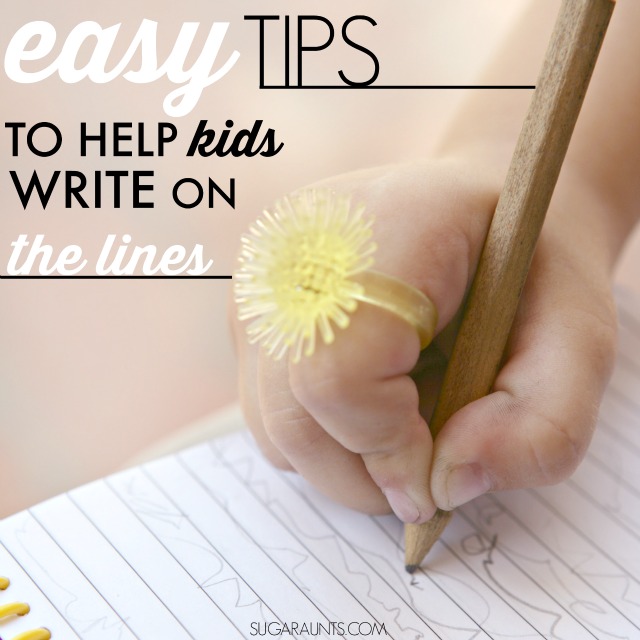
Today’s blog post is all about helping kids with writing on the lines (and coloring in the lines!) You know those pesky places we are told to write and color to keep our papers neat and legible. As adults, it’s typically an automatic thing to write on the lines. But for kids who are just learning to write on lines, write longer strings of letters, and sit in one place when what they really feel like doing is wiggling and singing at the top of their lungs…writing on lines is HARD! I’ve got easy tips to help with writing on lines until it becomes more of, “Oh, so the letters are always that tall and have to rest ON the lines!” automatic writing.
Tips and Ways to Help Kids Write on the Lines
We’ve all been there. You start filling out a form and misjudge the amount of space you have to fill in the info and you run out of space. Then you start writing in the area above the line to try to get all of the important stuff in there. Then, you notice that your form looks more like a Kindergarten kiddo who’s just started writing on lined worksheets. The letters sort of float in places and sink down below the lines in others. It happens. And when a child is introduced to letter formation, letter size, and lines, it can get a little messy. But, sometimes poor handwriting will extend beyond the kindergarten years and small-spaced-forms. Kids with visual perceptual difficulties will have even more frustration as they try to keep their letters neat and on the lines.
Some typical handwriting problems you might see include:
- Floating letters
- Letters sinking down below the lines
- Letters written in all the same sizes.
- Letters with various size (a lower case letter is the same size as an upper case letter).
So how can you work on these areas with your kids? And, how can you help your child write on the lines in fun and stress-free ways? Raise your hand if you’ve got a kiddo who despises writing. Try some of the ideas below for creative help in the line writing area.
Handwriting Tips: Writing on the Lines
(Affiliate links are included in this post.)
- Highlight the line with a marker. A bright color can be a visual cue of where to write. Letters should rest on the line. You can start with a nice thick and brightly colored highlighter like this one
and move to a thinner pen like these ones
. Sometimes the visual cue of that bright line is enough to keep letters placed correctly.
- What if the bright fluorescent color is too much for your child? Or if your kiddo needs a bolder line with more contrast? Try underlining the writing lines with a black marker. This is also a great way to keep coloring in the lines. Simply outline the shape with a black marker for a visual prompt.
- Match the size of your child’s writing with the size of the lined paper. Most Kindergarten aged kids are given a bottom base line for worksheets and one inch lined paper for handwriting practice. This size typically continues throughout first grade. Second graders are typically required to write their letters one space tall and gradually work down to 3/8 inch sized paper in grades 4 and 5. Typically, kids develop more accurate fine motor skills and improved dexterity in pencil control so the smaller size is appropriate for smaller handwriting.
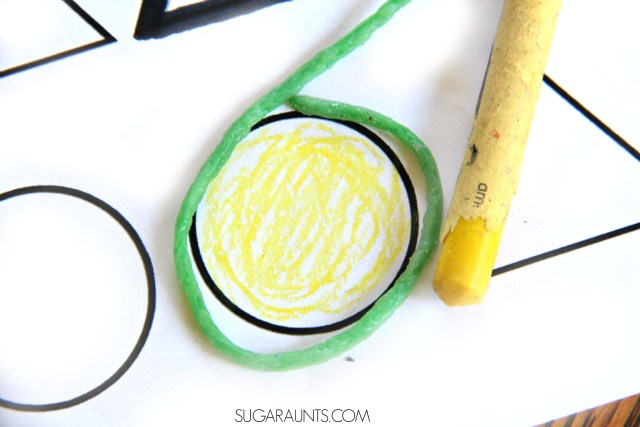
Move and bend those borders.
- Use a tactile border like WIKKI STIX
. This works for coloring and handwriting tasks by providing a movable, physical border.
- For children learning to form letters and working on letters sized one inch and two spaces high, create names for the lines. You can use “dirt” for letters containing tails (y, j, g), grass for for the midline (a, e, o, r), and sky for tall letters (t, f, l). Use the terms consistently and when working on letter formation. You can say, “Letter t starts up in the sky and drops down to the grass. But it doesn’t go into the dirt!”)
- Draw pictures of these terms on the lines. Draw grass and clouds at the start of the lined paper. Other ideas are shoe line/belt line/hat line, or basement/first floor/upstairs lines.
- Try Raised Lines Paper
or make your own using glue. Simply trace the lines with glue and allow it to dry. The dry glue provides a nice tactile reminder of where to stop writing or coloring.
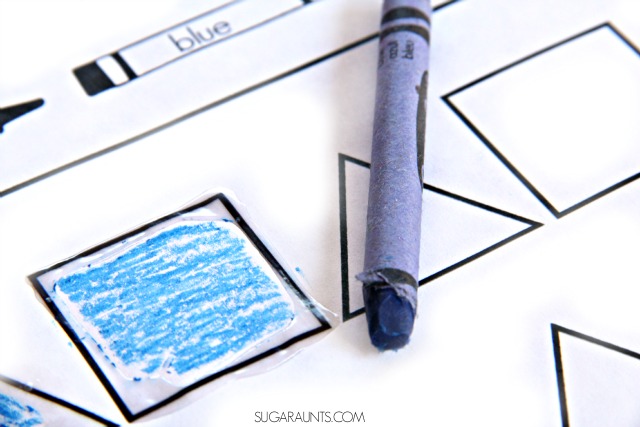
Raised lines with dry glue. It’s easy and fun. Try it!
- Create a less obtrusive tactile guide by tracing the writing lines with a Serrated Tracing Wheel
.
- For kids that show a great deal of difficulty with writing in a given space, use a stencil made from a thing cardboard like a recycled cereal box. Cut out a rectangle and place it over the given writing space. This will help to remove distractions of the rest of the page and proved a designated space to write within.
Love this post? Share it!
Looking for more handwriting tips and tools? You will find a bunch over on our Handwriting Pinterest board. We’ve also go these ideas you will love:
What is Visual Spacing
Visual Tracking Tips and Tools
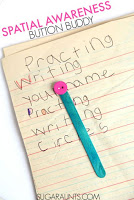
Handwriting Spacing Tool and Spatial Awareness Tips and Tools
New Feature...DOWNLOAD THIS POST AS A PDF! CLICK HERE




2 thoughts on “Easy Tips to Help Kids Write On the Lines”
I’m new to your blog and this was the first post I read. Thank you!!
I have a question – HOW do I teach my kids to slow down when writing?
I’m not sure where you’re getting your info, but great topic. I needs to spend some time learning much more or understanding more. Thanks for magnificent info I was looking for this info for my mission.|
Comments are closed.