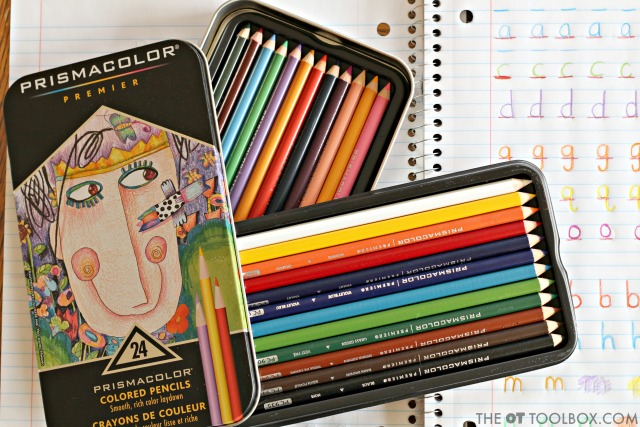
Handwriting practice doesn’t need to be boring! This handwriting activity uses colored pencils with bright and vivid colors to make a colorful activity that seems more like a game than working on handwriting skills like letter formation and pencil pressure.
If you’ve been following The OT Toolbox for long, then you know that creative handwriting activities are some of our favorite (and most popular) topics on the website.
We love to share fun ways to work on the areas that make up handwriting skill, like size awareness, spatial awareness, letter formation, pencil control, pencil pressure, and speed.
These are just some of the subareas that go into legible and functional handwriting, but each makes a big difference when it comes to self-confidence in the child who is learning to write with ease.
When you practice handwriting skills in a fun way using out of the box tools (like colored pencils), handwriting practice can boost the child’s skill and confidence so they are more likely to carryover individual skills into writing tasks.
Teaching kids handwriting at home can be a struggle for many children, but taking the time to make handwriting efforts fun and creative can really pay off. Self-confidence in handwriting shows in legibility and ease of written work, enabling students to complete classroom assignments while focusing on the task at hand and not how neat of sloppy their handwriting is.
That’s why we’re excited to share this handwriting activity that uses colored pencils to boost handwriting challenges like letter formation, pencil control, and pencil pressure!
Handwriting Activity Using Colored Pencils
This is a good way to introduce pencil control when it comes to line awareness. The soft core of the colored pencils also helps with creating a bright pencil stroke that really shows up when shading. This made a nice impact on a pencil pressure activity. You can check out all three of these handwriting activity ideas below in more detail.
This post contains affiliate links.
Handwriting Activity to Improve Letter Formation Using Colored Pencils
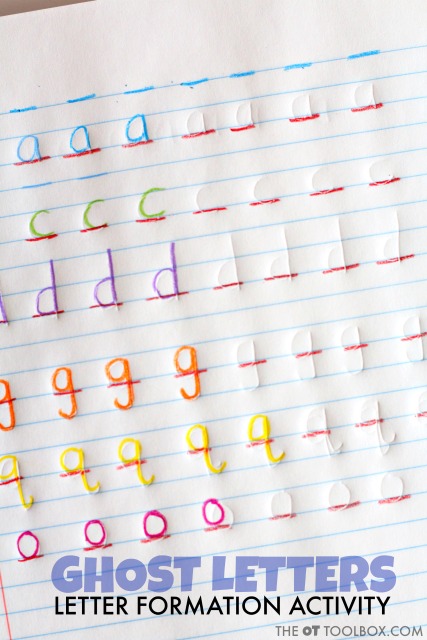
The first handwriting activity that we did was a letter formation task. When kids are learning to write letters, it can be easy to form letters in reverse. This is particularly true with commonly reversed letters like ‘b’ and ‘d’, ‘g’ and ‘q’.
When kids are learning letters, it can be helpful to break handwriting instruction up into teaching the various letter families. We’ve discussed cursive letter families here on the site before, but the printed letters are not much different.
There are groups of letters that contain the same pencil strokes, starting lines, and “parts” that allow letters to be divided up into letter families. For example, the letters b, h, m, n, p, and r all have a downward pencil stroke followed by a re-trace back up and a curve over to form the “bump” of the letter.
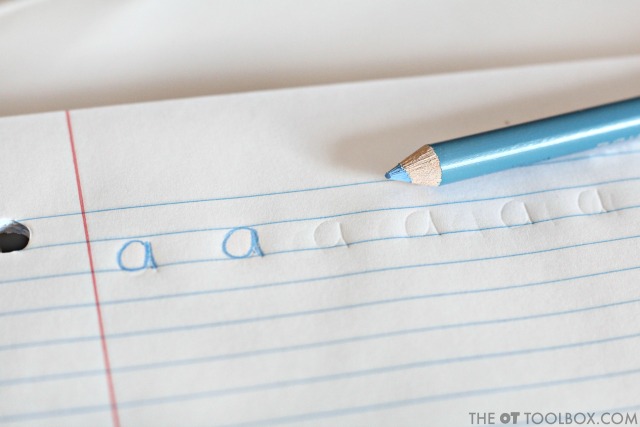
To address letter formation in our handwriting activity, we used a spiral notebook pad. First, I made sure the pages were lined up and then I used a ballpoint pen to write a letter by pressing down very hard. When the top notebook page was turned, I showed my kids how the impression of the letter was intact on the page underneath.
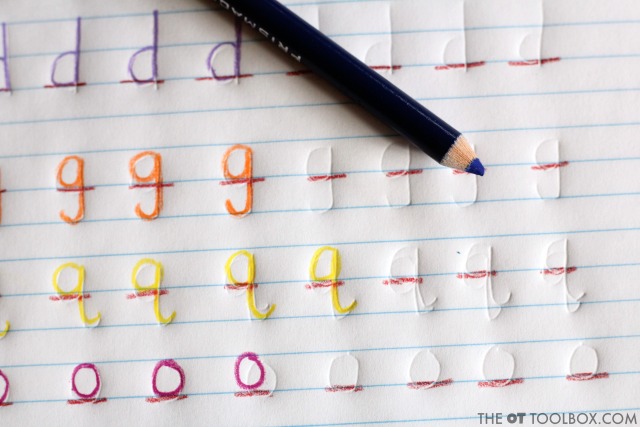
We then used our colored pencils to write the letter on the “ghost letter”. It was fun to feel the letter on the page and then to use the faint guide as a tool for letter formation. To illustrate letter formation and letter families, I grouped specific letters together in a group on the notebook page.
Watch the video below to see how these pencil activities using colored pencils can be used to work on pencil control, pencil pressure, and other handwriting challenges:
Handwriting Activity to Improve Pencil Pressure Using Colored Pencils
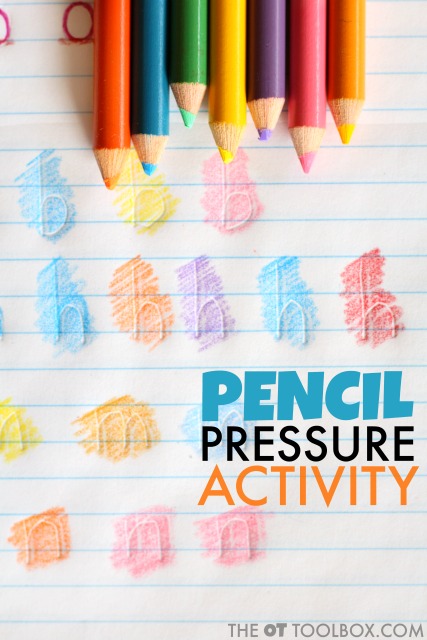
Our second handwriting activity used those same Ghost Letters to address pencil pressure. Pencil pressure is a big topic when it comes to legibility of written work. If a child presses too hard, the paper can tear, letters can become smudged, it’s hard to erase completely, and legibility suffers.
If a child presses too lightly on the pencil, words can be written so lightly that it’s impossible to read. There are many reasons why a child may utilize too much or too little pressure on the pencil. You can read all about these underlying reasons for poor pencil pressure here.
To teach kids about pencil pressure, use the Ghost Letter technique of writing letters on a notebook page. When they turn the page of the notebook, they shouldn’t be able to see the Ghost Letter on the second page. If they do, they are using too much pencil pressure and are pressing too hard on the pencil. If they don’t see the Ghost Letter, they are using a lighter amount of pressure on the pencil.
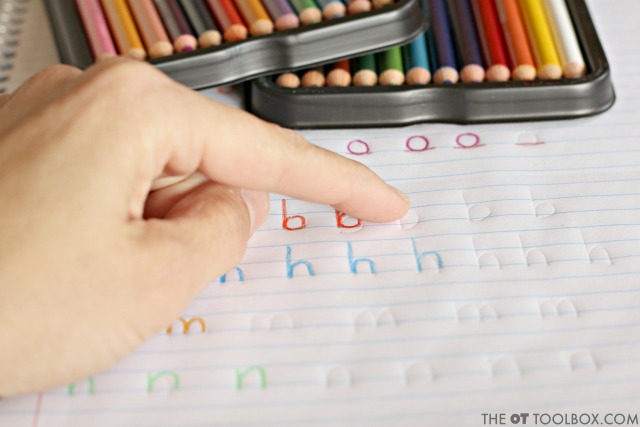
We illustrated this by using our colored pencils to shade on the Ghost Letters that appeared on the second page of the notebook. The bright colors of the soft core colored pencils allowed for a bright color while enabling the Ghost Letter to show through.
You can also ask students to write the letters on the top page of the notebook to see if their letters show through to the following page. Typically, a child who writes with heavy pencil pressure will have letters showing through on the second page even when using a pencil (as opposed to a ballpoint pen).
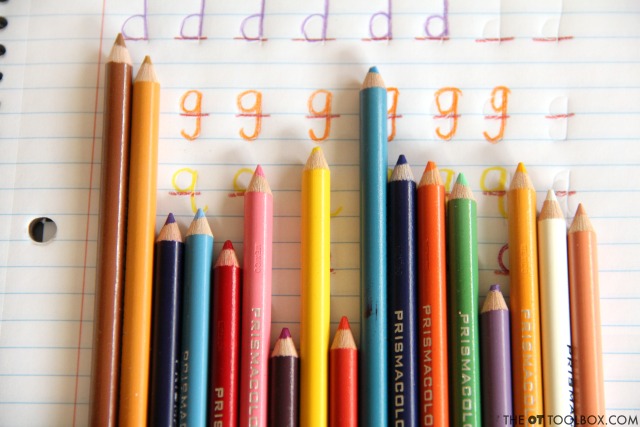
*Note: This activity addresses only heavy pencil pressure. If a child is pressing too lightly on the pencil and writes with a light pencil pressure, the Ghost Letters will not show through on the second page of the notebook.
You can also address pencil pressure using colored pencils when shading. Instruct kids to shade darker or lighter and match an example color. This helps them to understand how hard to press when they recreate the same shade.
Handwriting Activity to Improve Pencil Control Using Colored Pencils
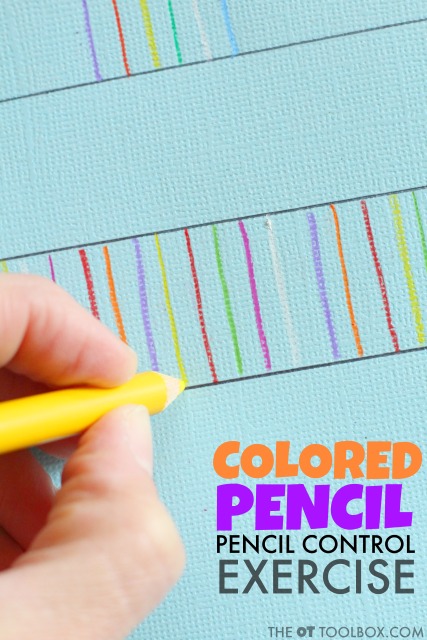
One final activity that uses colored pencils is one that can improve pencil control. Pencil control is needed to make the pencil start at the top line and stop at the baseline without overshooting line approximations. Pencil control requires use of visual motor skills.
One way to practice line use and pencil control is by completing pencil exercises like this one:
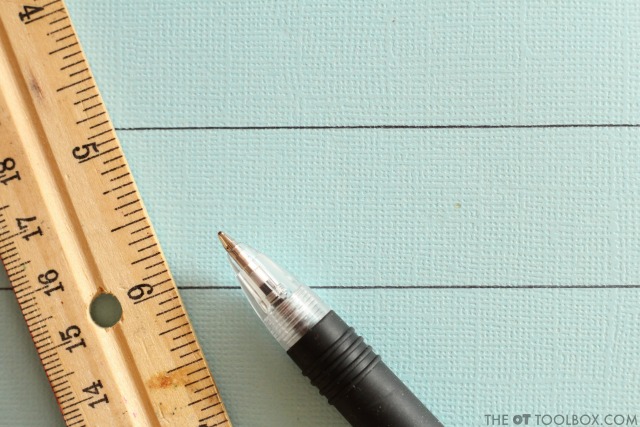
Use a ruler to draw one inch spaces on a piece of paper. Using the colored pencils, ask students to draw random lines connecting the top and bottom lines.
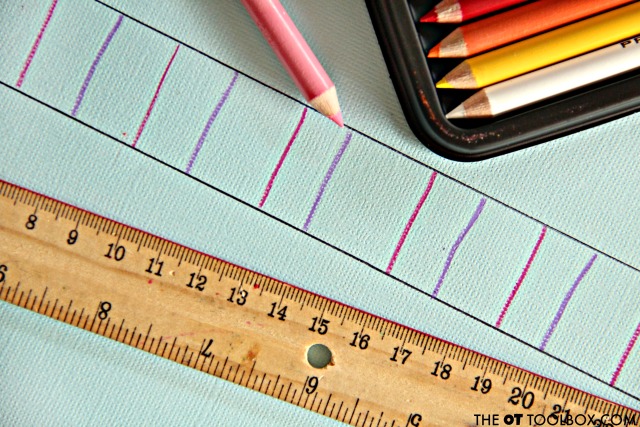
Students can use a single color to form several lines spaced randomly within the writing area. They can then switch colors to add additional colored lines. Continue to draw lines, focusing on starting on the top line and stopping on the bottom line.
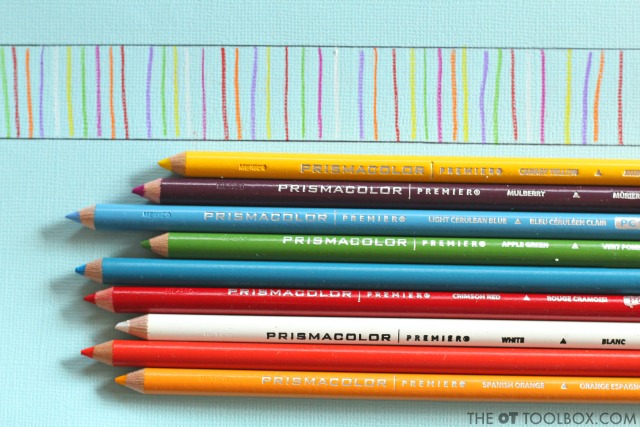
The soft core of the colored pencils allows for a slower pencil stroke. This can help with accuracy.
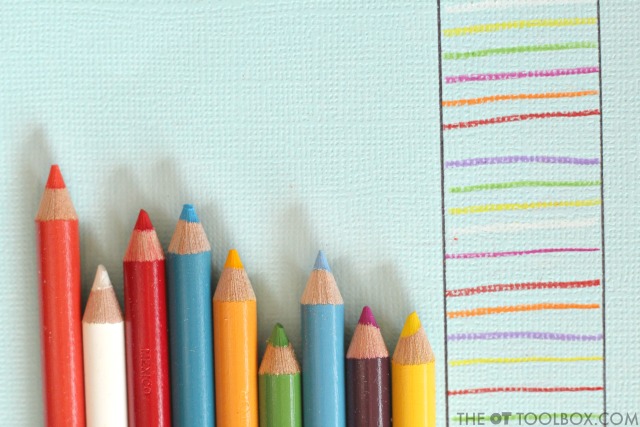
Add another component to this handwriting activity by drawing vertical lines so that students practice left to right pencil strokes while focusing on pencil control.
All of the activities that we did with our colored pencils were a big hit resulting from the bright and colorful selection of colored pencils in the set.
There’s just something about opening up a fresh set of colored pencils!
