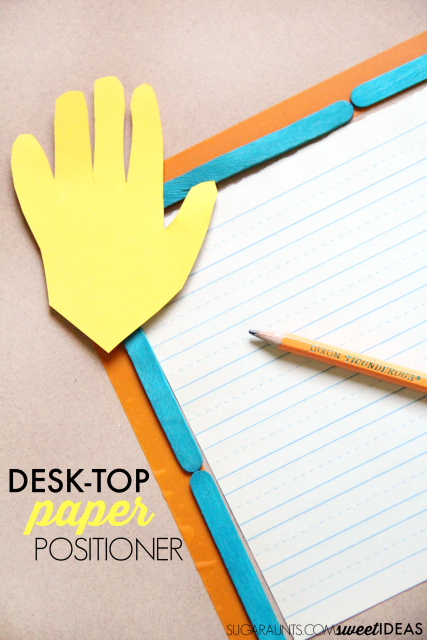
One way to encourage legibility with handwriting and ease of written work is to address paper placement and paper positioning on the desk. Sometimes, kids have difficulty with placing the paper on the desk and might hold it very close to the edge of the desk, off to one side of the desk, or in an awkward placement. When writing, holding the paper in place with the non-dominant hand at the corner of the paper can help with stabilization and pencil control. This desk-top paper positioner will help kids with paper placement when writing.
Paper Position When Writing at a Desk
You can easily create a desk-top paper positioner for every child in the classroom or at home on a writing surface. You’ll need just a few materials to create this paper placement tool:
This post contains affiliate links.
Glue or Tape
First, use the cardstock to trace and cut out your child’s handprint. This will be used for the child’s helper hand, so trace the non-dominant hand. Cut out the hand shape.
Next, use the washi tape to create a paper placement boarder on the desk. This will be a visual cue for paper positioning when writing. Some kids can use just this visual cue. Others may need a physical cue as well. For those children, you can glue onto the washi tape, a strip of craft sticks. These will allow the paper to be pushed right up against the positioner.
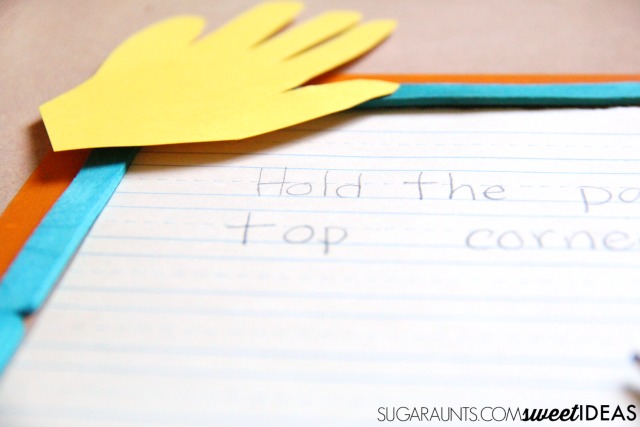
Finally, glue or tape the handprint onto the upper corner of the positioner. If you are using craft sticks on your paper positioner, the handprint can be glued to the craft sticks, creating a slot for the paper to slide into at the corner. If you are only using the washi tape as a visual cue for paper placement, make a tape donut and tape the handprint to the washi tape.

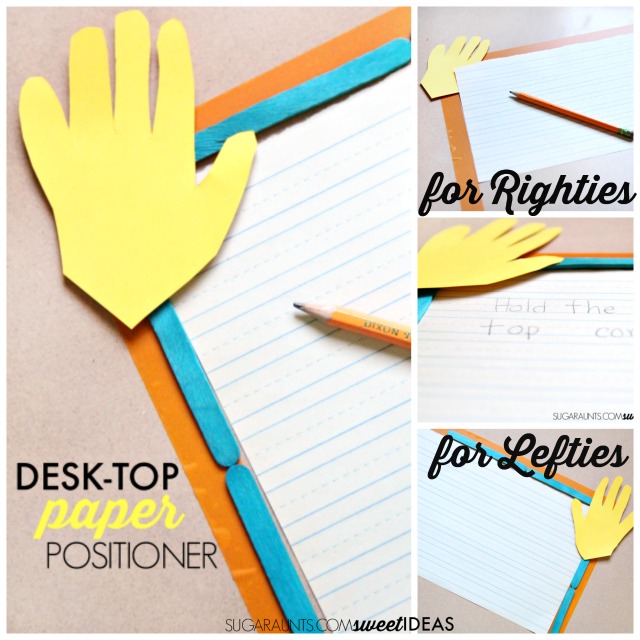
This is a positioner that can be made for right handed kids or left handed kids. Simply position the washi tape to the left diagonal or right diagonal depending on the handedness of the child.
A few tips about handedness and paper placement when writing:
- Kids who write with their right hand should position the paper to the left diagonal. The top of the paper should be positioned toward the left top corner of the desk.
- Left handed students should position the paper toward the right diagonal. The top of the paper should be positioned toward the top right corner of the desk.
- Positioning the paper at a diagonal allows for a better pull down stroke with letter formation and enables the child to create letters from top to bottom more easily. It also promotes a neutral wrist and comfortable elbow positioning.
- The paper should be positioned at a 25-35 degree angle, either to the left or to the right.
- Paper should be placed at the midline.

Be sure to check out all of the easy handwriting tips in this month’s series and stop back often to see them all.
You’ll also want to join the Sweet Ideas for Handwriting Practice Facebook group for more handwriting tips and tools.


