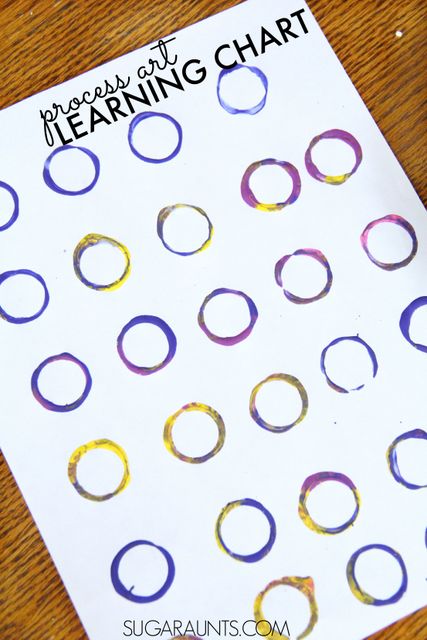
Using things you have around the home is a great way to play, create, and learn. We made these learning charts using something that might just get thrown away: a food pouch bottle cap! Make your own learning worksheets for improving pencil control, counting, letters, ordering, handwriting, fine motor skills, line awareness, and so many more ideas.
This post contains affiliate links. We are posting this idea as part of our month-long Learning with Free Materials series where we provide 31 days of learning using free or almost free materials in homeschooling or school-based extension learning like homework. This post is part of the 31 Days of Homeschooling Tips as we blog along with other bloggers with learning at home tips and tools.
Worksheets don’t need to be boring and printed off of the computer. Use a cap from squeezable food pouches as a stamper to make a creative and process-art based worksheet for math, literacy, science documenting, handwriting, and so many more ideas.
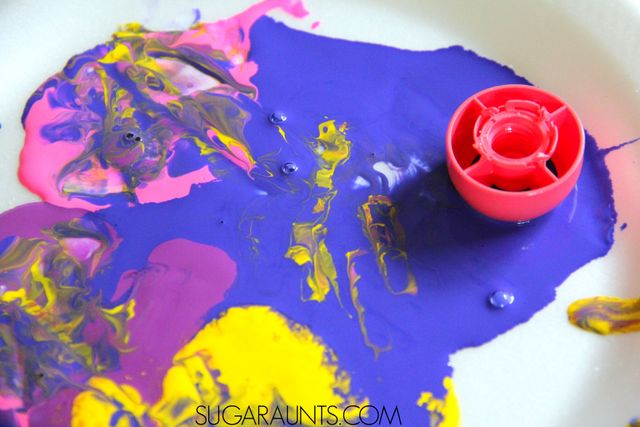
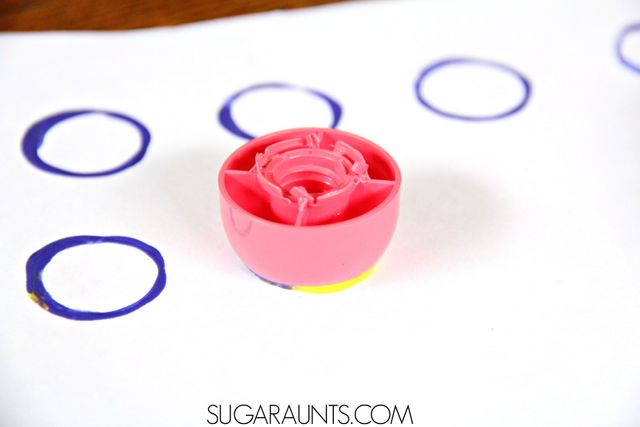
Using your favorite paint (this is mine !), pour paint into a paper plate or bowl. Use the top part of the pouch cap to stamp circles onto paper. You can stamp in rows and columns, in a line down the page, or all over in a circle process art creation.
We used paint that was swirled together from a different project to get a pretty, color-mixing effect. These aren’t your average worksheets!
Let the paint dry and then you are ready to get to work.
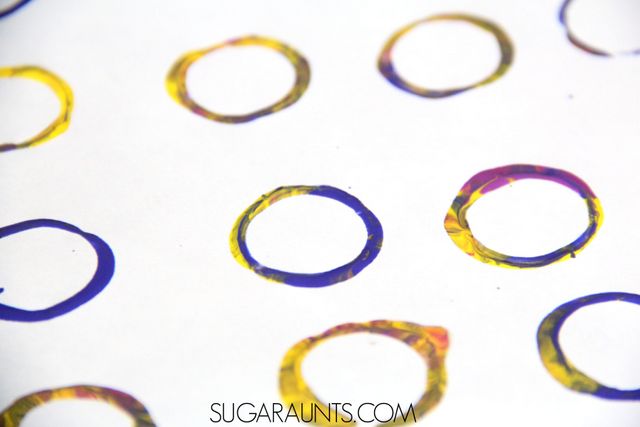
Using your homemade worksheets:
There are so many ways to use these.
- My three year old used a Paint Dauber
to fill in the circles. You could color match the circles to the paint dauber color for color identification. Filling in the circles is a good hand-eye coordination activity for children. Get creative with your circles and make letters, numbers, shapes and pictures for preschool-aged kids. Filling in the circles is a great fine motor activity.
- Write the letters of the alphabet in the cap circles. They are a small size which will encourage appropriate letter formation and line awareness without using the restraints of lined paper.
- For hands-on math and hand-eye coordination, fill in the circles with Cheerios or other cereal.
- Use a pencil and make an “x” in each circle. Be careful not to go over the paint lines! This is a fabulous pencil control activity and great for line awareness. We did something like this idea in our DIY Christmas worksheets post.
- Use the pouch cap to make a column of circles going down the page. Circles on the left side of the page will make a great check mark area for lists. Circles down the right side can be a writing space for math questions or multiple choice questions. Kids can fill their number or letter answer into the circle.
- Use the pouch caps to make fill in the blank pages for spelling or sight word practice. Simply make the appropriate number of circles in a line and kids can fill in their spelling words. This idea can be modified for any subject. Science, history, math, English-language arts, and more all have terms that children need to learn and use. Write out sentences and have the child fill in the circles with the answer.
- Make a hundreds chart. Fill in the circles with numbers or small items.
- Make a tens chart for Kindergarten aged kids to practice counting small items with one-to-one correspondence.
How would you use these DIY worksheets? There are so many possibilities! Tell us in the comments below or on our facebook page!
Love it? Pin it! And while you’re there, follow us on our Pinterest page for so many creative learning ideas.
New Feature...DOWNLOAD THIS POST AS A PDF! CLICK HERE

