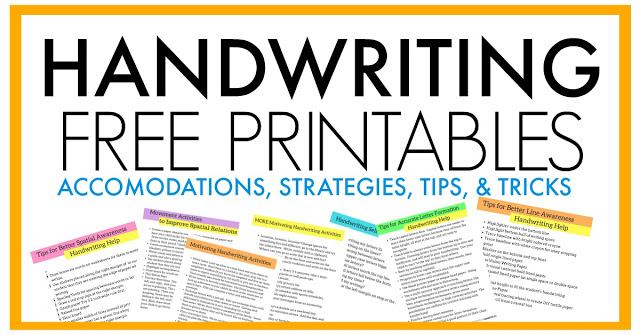
This blog post is DAY 1 in our Free Handwriting Handouts series. Here, you’ll find all of the information you need to educate others on letter formation. To access the free printable letter formation handout (and all of the other handwriting handouts in this series), be sure to sign up for the Occupational Therapy Handwriting Handouts where you will receive tons of resources and information related to occupational therapy handwriting interventions and handwriting instruction for helping children write legibly.
Use this informative handout in addition to our letter formation worksheets and hands-on activities to target legible writing.
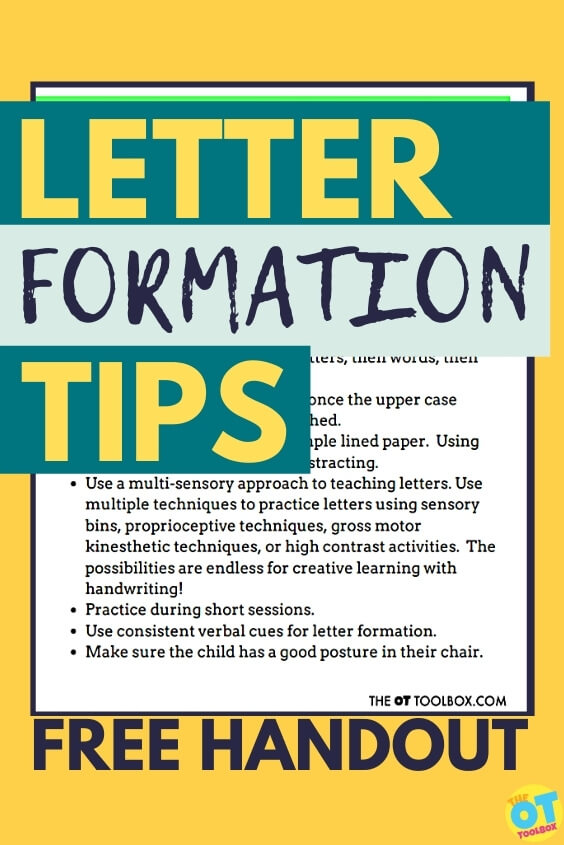
You’ll also find many resources and writing strategies related to writing letters accurately and legibly on our letter formation resource page.
Letter Formation Handout
Letter formation can be a great challenge for children of all ages. Beginning with pre-writing strokes, preschoolers
Sometimes, when teaching kids how to make letters, it is helpful to add creative and different methods to the good old fashioned, paper and pencil letter making practice. Here are some creative ways to work on letter formation using the senses:
Foam Strip Letter Formation
Letter Formation Resistive Surface
Sensory Letter Formation
You can find all of our handwriting posts here.
Now, let’s move onto the details on letter formation. We’re going to cover a few concepts: tracing letters, letter formation development,
Tracing Letters
Tracing has it’s time and place. And like all things (especially chocolate chip cookies in my case), moderation is key.
Tracing letters is not an ideal format for teaching letter formation and here’s why: When children trace letters, they can become overly focused on the immediate line strokes under their pencil. It’s harder to create a motor plan for the letter in it’s entirety.
Also, tracing letters can set kids up for establishing a poor motor plan for letter formation. This is especially true if children are given a tracing worksheet with no cues or prompts to start letters at the top and to form letters in proper formation sequence. Often times, you’ll see children start letters at the bottom when tracing, or segmentally, jumping from piece to piece of the letter. This can be a recipe for disaster!
However, practicing letter tracing can be a good activity, too.
Tips for Tracing letters
When the child is tracing the letters over and over again, they become more efficient at planning out and executing the movements needed to make a letter accurately. This activity is great for a new writer because they are given a confined space to practice a letter, visual cues, and verbal prompts.
To make the most of tracing, be sure to ensure the child is tracing letters correctly. You’ll want to watch for a few things and show the child the correct way to trace if they are forming the letter incorrectly.
- Make sure they trace starting at the top
- Make sure the child retraces lines when appropriate
- Make sure they form the letter in correct sequence (don’t picking their pencil up to trace the last part of the letter first, for example)
Tracing Letter Strategies
Some ways to effectively use tracing as a method for working on letter formation:
- Write the letter in highlighted lines and ask the child to trace in a different colored marker to get a color-changing effect. This marker rainbow writing activity is one great example.
- Use a tracing font that has numbers and arrows so kids know where to start and how to sequence the letter formation. These A-Z letter formation worksheets are a great resource for teaching letter formation of upper case and lower case letters segmentally to establish a motor plan. They are great for sensory handwriting techniques, too.
- Use this letter construction method to work on forming letters correctly.
Letter formation development
So often, handwriting is impacted by fine motor development and resulting endurance, strength, and therefore pencil grasp. Read here about fine motor skills.
Try this quick tip to address fine motor skills:
- Provide tons of opportunities that open up the thumb web space. Many times, children with poor handwriting have their thumb squashed up against the pencil, the pointer finger wrapped around the pencil, or the thumb wrapped or tucked against the pencil.
- Try to encourage your student or child to open up the space around the pencil. Read more about an open thumb web space and find a lot of creative activities to address this need HERE.
- Pencil grasp isn’t a make-or-break deal when it comes to letter formation. Read this resource on things an OT wants you to know about pencil grasp and handwriting.
One final note: While functional handwriting is key, letters need to be formed in a manner that is readable and mostly accurate. By that I mean sometimes we need to follow the “beggars can’t be choosers” mindset. If a child is struggling with composing written work, building sentences, and putting their thoughts on paper, then a functional style of letter formation can be A-OK.
Need more Handwriting Help? If you landed here and want in on the full Handwriting Handouts series (and access 6 free handwriting resources for legible written work, head to Handwriting Occupational Therapy Tips and Tricks to sign up.

Colleen Beck, OTR/L has been an occupational therapist since 2000, working in school-based, hand therapy, outpatient peds, EI, and SNF. Colleen created The OT Toolbox to inspire therapists, teachers, and parents with easy and fun tools to help children thrive. Read her story about going from an OT making $3/hour (after paying for kids’ childcare) to a full-time OT resource creator for millions of readers. Want to collaborate? Send an email to contact@theottoolbox.com.

