Teaching correct letter formation is an essential part of helping children develop legible handwriting and writing fluency. This post includes letter formation activities that support handwriting development, along with interventions tailored for children who need extra support. The strategies in this post are based on an occupational therapy approach to letter formation and include tools like the Handwriting Without Tears letter order. You’ll also find fun letter formation activities and guidance on teaching correct letter formation to improve writing skills through structured, purposeful practice. If you’re looking for effective letter formation intervention or tips on how to teach letter formation, this guide offers practical ideas you can use right away.
As a pediatric occupational therapist with over 25 years of experience, I’ve worked with countless children to build the foundational skills needed for confident and functional handwriting. Correctly writing letters is one topic that comes up over and over again!
If there is one thing for sure, teaching letter formation to kids can be tricky. There’s a lot of reasons why writing letters is tricky for kids. We’ll cover all of the reasons why the letter formation aspect of handwriting can be so difficult below. Be sure to check out all of the letter formation activities here. You’ll find pediatric occupational therapy activities to use in OT interventions, as well as activities to teach letters that use a hands-on and sensory approach to learning letters. You’ll also find resources on letter order, and information on teaching letters based on child development.
Newly added to the site is a library of letter formation worksheets. These resources can be paired with the hands-on activities listed below.
Letter Formation
Handwriting, as we know, is an incredibly complex process. There is a lot that goes into handwriting, and letter formation is just one piece of the puzzle.
- Letter formation refers to several aspects of writing a letter of the alphabet: placement of the pencil when writing a letter (starting at the correct spot, as in top or bottom of the writing space).
- Moving the pencil in the correct direction to make parts of the letter.
- Placing the parts of the letter in the appropriate spots (intersecting lines or joined pencil strokes)
- Utilizing visual discrimination skills in awareness of letter differences, including upper and lower case letters, and the lines needed for letter formation.
Why is letter formation important?
When letters are not formed correctly, handwriting suffers. You will see handwriting problems when letter formation isn’t a focus. Letter formation problems lead to poor handwriting that is sloppy and hard to read. Let’s break down common poor handwriting issues. We’ll go over how learning proper letter formation can impact legibility.
Writing Letters Incorrectly– A big piece of letter formation is learning correctly from the get-go. When a child learns an incorrect letter formation strategy, that can be hard to correct without practice. You might see kids pick up a pencil and trace letters, but they are segmentally forming the letters. They are marking lines in the incorrect order, pushing the pencil when they should be pulling the pencil, or starting at the bottom rather than the top.
Kids that are handed letter formation worksheets without prompts, cues, models, and correct formation practice, will many times, trace or copy letters using segmented lines that start at incorrect places, and that can be a hard habit to break.
Forming Letters from Bottom to Top– There’s not a letter in the alphabet that starts at the baseline and ends on the top line. When we write, we start at the top and move the pencil to the base line, or below the baseline.
When kids start the letters at the bottom, they will run into legibility and efficiency issues. It’s harder to move the pencil on to the next letter with the bottom-to-top formation. And, when kids then need to keep up in writing tasks, (beginning as soon as first grade as they copy words and sentences from a model), they will lose the legibility piece.
Segmental Letter Formation– Letters are formed with a specific order. Capital A starts at the top line and slants down and to the left. Then, you jump back to the top starting point and slant down and to the right. Then, you jump to the middle line and go across toward the right. Sometimes, children start forming letters segmentally, so that they draw part of the letter, like the first slant of the A and then mark the middle line before marking the second slant.
There is a reason for the specific order of the lines when forming letters. Kids that are handed handwriting worksheets without specific directions for proper letter formation will create their own motor plan for making letters that might not be correct. This can be hard to “break” without practice. Segmental letter formation can lead to sloppy handwriting further down the road and trouble with handwriting efficiency.
Trouble with Diagonal Lines– Many times, you see young students write letters with diagonal lines that are not quite diagonal. Letters like A, K, M, N, R, V, W, X, Y, Z and lowercase letters k, v, w, x, y, z all have diagonal lines. That slanted line is actually one of the later pre-writing strokes to form. So, when you see preschool, pre-K, and kindergarten writing letters, it’s simply too soon developmentally. Sure, some kids will be fine and learn to write letters at this age, but many others will struggle down the road with handwriting, reading, and learning. Here is some important information about pre-writing lines. Notice the age that kids typically develop the ability to form the lines of the pre-writing forms. It’s much later than preschool, pre-K, and even kindergarten!
The problem is that with the fast-paced classroom curriculum, sometimes this early educational periods are the only time that children are truly taught proper letter writing. In most cases, they are simply “reviewing” letter formation in first grade. Kids then have established a poor letter formation without the opportunity to practice when their fine motor skills, hands, and visual motor skills are ready.
Letter formation and occupational therapy
Occupational therapists are often called into screen for or assess a student when they have letter formation issues, along with other aspects of handwriting: poor placement on the lines, an inefficient pencil grasp, visual perceptual skills problems reflected in learning or slow, awkward handwriting.
By working on letter formation, therapists can help kids with therapeutic practice and strategies in OT that address underlying issues like visual perceptual issues, visual motor concerns, fine motor needs, or gross motor, core stabilities issues.
Other common letter formation issues that occupational therapists address:
- Forming the letter within the borders of the line or given writing space
- Marking the pencil lines in the right direction (without reversal)
- Speed of writing (student can’t keep up with age-appropriate writing demands
- Poor legibility
How to work on letter formation
To work on letter formation, teaching the alphabet in a specific order is key! In fact, teaching kids to write in alphabetical order simply isn’t developmental. Here’s the thing: think about the letters of the alphabet. The specific pencil strokes go in so many different directions! You’ve got letters that start at the top followed by a letter that pulls the pencil in toward the hand, followed by letters that have diagonals and jump/hop moves, changes in direction. If you teach kids to write letters in alphabetical order, kids will use so many different movements.
Why NOT teach letters in an order that makes sense?
Occupational therapists focus on development. We focus on building skills in an order that makes sense according to a child’s typically developing progression. And when there are delays or non-typical development, we know what to work on next. We know where to focus efforts on accommodating for specific skills. We can then help kids achieve age-appropriate goals so that they can be more independent and accomplish tasks that are appropriate for their age.
Order to Teach Letters
Let’s get specific about the best order to teach writing letters. Notice I mentioned “writing letters”. Here’s the thing: letter recognition should be taught in a specific order. Letter sounds should be taught in a specific order. Awareness of upper case and lower case can be taught in a different order.
Some preschools teach a letter of the week approach and teach sounds and awareness in alphabetical order.
Many schools follow a writing curriculum that teaches letters in a specific order determined by that curriculum.
Here is the occupational therapists’ take on the best order to teach letters:
Letter order matters– Teaching letter formation in a specific order based on development is essential for pencil control, motor planning, eye-hand coordination, efficiency (writing speed), and accuracy (placement of letters on the lines). Why does letter order matter? Let’s talk about that…
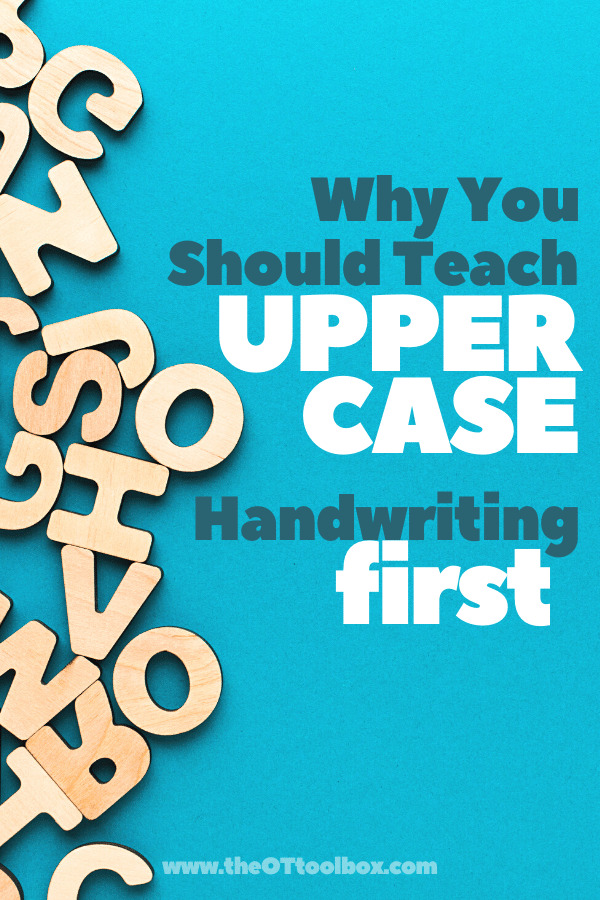
Teach uppercase letter writing first– This is important: Start with upper case letters when teaching kids to write letters. Now, this might go against what some teachers have been taught. This might be a conversation for debate among educators. But, hear me out; When kids are taught to write upper case letters first, they are learning letters in an order that makes sense developmentally. Here are reasons to teach uppercase letter formation before lowercase letter formation:
- Uppercase letters all start at the top line and go to the bottom line. This makes it easier for kids to know where their pencil marks start. There is no middle line to worry about with most upper case letters. There are only a few uppercase letters that contain a middle line component, and it is never the starting point of the pencil when forming that letter. Upper case letters that contain a middle line portion include: A, B, E, F, G, H, K, P, R, S, Y.
2. Another reason to start with uppercase letters is that there is little opportunity to reverse upper case letters. With the lowercase letters, there are (and will be) reversals of letters b, d, g, q, and others. By starting with the uppercase letters, kids can learn the motor plan needed for formation without the error of reversals to contend with.
3. Still another reason to teach upper case letter formation before lower case letters is that many of the uppercase letters transfer to the same lowercase letter in a similar motor plan. The only difference being that the letters are smaller. Uppercase letters that transition to a same or similar motor plan for lowercase letters include: C, K, O, P, S, T, U, V, W, X, Y, Z.
4. Still one MORE reason to start by teaching formation of uppercase letters before lowercase letters is the starting points. Kids can easily know where to start uppercase letters because there are only two places where the pencil starts for uppercase letters. The pencil mark starts at either the top left corner or the top middle space. Lowercase letters start in seven different starting points (a, b, e, f, i, l, m)
Top left corner starters: B, D, E, F, H, K, L, M, N, P, R, T, U, V, W, X, Y, Z
Top middle starters: C, G, I, J, O, Q, S
Therapists recommend teaching kids to write the upper case letters before the lowercase letters for developmental reasons, but kids should be taught that there are corresponding upper/lowercase letters. This awareness is necessary, too! We are just talking about actually teaching the letter formation here.
Consider development– Letters have curves, back strokes, hopping lines, diagonals, curves…there is a lot to consider just with letter formation, and not considering letter size and spatial awareness. Asking kids to form diagonal lines before they are ready is simply too difficult. When we consider that children are developmentally able to form strait lines down and horizontal lines across before other diagonals, we set them up for success in handwriting. Here is a free PDF explaining developmental progression of pre-writing strokes. These pre-writing strokes are the very lines and pencil strokes that make up letters.
Teach letters in sets- Taking what we know about pre-writing lines, development of fine motor skills and visual motor skill development, we can use that knowledge to teach children letters in a way that make sense. Start by teaching letters that contain the same pencil strokes, such as all vertical and horizontal lines. Then, move on to letters that contain curved lines, finally, teach letters that contain diagonals. Then, teach formation of lowercase letters. Make the letter formation easy for kids by building off what they practice.
Here is the order that I teach letters in handwriting
This letter order focuses on teaching handwriting based on development. The order is loosely based on Handwriting Without Tears (Learning without Tears) order for teaching letter formation, but I like to break down that list into smaller groups, and build letter formation concepts off previously learned motor planning. The Learning Without Tears program teaches students about frog jump letters, or letters that move the pencil and then jump to a different spot. That is a great visual and verbal cue for students to use. However, I like to focus on developmental strokes as a priority: those vertical and horizontal lines that transfer to different letters.
For example, teaching upper case F before E considers that the child has practiced a motor plan for the parts of a letter F (vertical line down, hop back to top, short line across the top, hop to middle line, short line across the middle. Then, to make the uppercase E, the child needs to replicate that same motor plan but add only a line at the baseline.
This order to teach letters is one that I’ve used throughout my career as a pediatric occupational therapist:
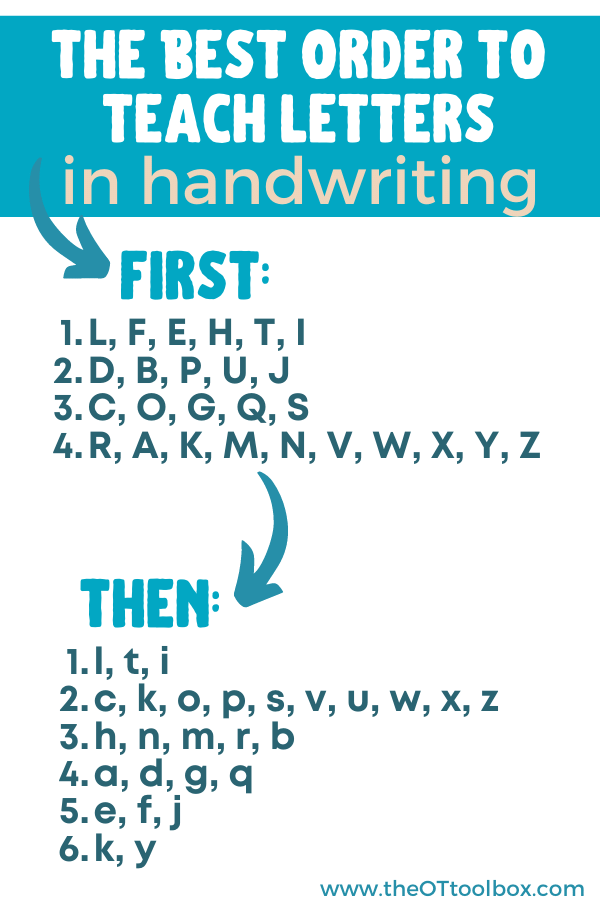
- Group together strait line uppercase letters first: L, F, E, H, T, I
With this order, I teach strait line letters that start in the upper left hand corner first, followed by strait line letters that start in the top-middle. This progression transfers nicely to other groups of letters that all start at the top-middle…)
2. Next, teach strait line/curved letters: D, B, P, U, J
These letters contain a curved portion that transitions nicely to the next group of letters. Including J in this group segues into the next group.
3. Third, teach the curved line uppercase letters: C, O, G, Q, S
These letters all start at the top-middle. This allows kids to think about moving their pencil in a push fashion, as they move the pencil in a different direction compared to previous letters. For right-handed writers, the pencil will now move away from the palm. For left-handed writers, the pencil will now move toward the palm. This group transitions nicely to the next set, the diagonals, which challenge pencil strokes by another different motor planning pattern.
4. Fourth, teach diagonal line letters: R, A, K, M, N, V, W, X, Y, Z
Teaching the diagonals last allows for more progression on those developmental strokes that we talked about previously.

Next, teach lowercase letters in this order:
- Teach formation of strait line lowercase letters: l, t, i
2. Next, teach formation of letters that are the same as their uppercase letters: c, k, o, p, s, v, u, w, x, z
3. Next, teach formation of strait line/bump lowercase letters: h, n, m, r, b
This set uses strait lines and transitions well to the next group, which are curved line, magic c letters.
4. Fourth, teach formation of curved lowercase letters: a, d, g, q
Teaching this set of letters focuses on the “magic c” that forms the letters. Here, I review letter c and show how it is part of the other letters.
5. Teach formation of the tricky start letters: e, f, j
These letters are commonly used, but start in a tricky place and challenge the movement of the pencil.
6. Finally, teach formation of diagonal lowercase letters: k, y
Lowercase letters are broken down into smaller groups, so that focus can be done on placement on the lines, and spatial awareness. These variants are another reason why starting with uppercase letters first is easier for children to progress. How many different line combinations there are for lowercase letters compared to their uppercase companions!?
There are many different ways that letters could be grouped together effectively in teaching letter formation. The key is to use the terminology that works based on the individual child’s needs and skills and then use it consistently.
Current research on letter formation
Current research shows us the importance of proper letter formation and practicing handwriting skills for carryover and legibility.
This paper on interventions for letter formation covers strategies for those with intellectual challenges. The study looked at the use of direct instruction with visual and verbal modeling for how to write each letter, with feedback and correction during practice.
Important to the teaching and follow-through of letter formation instruction is the awareness of letters. This study addressed how to teach letter knowledge to impact writing skills, specifically the knowledge of the names, sounds, and symbols of the letters of the alphabet or alphabetic knowledge as an essential building block for learning to read and write.
The study used brief, explicit letter formation lessons included strategies such as multi-sensory writing strategies (see below in this article for more ideas).
• using a transparency and marker to trace over the letter as it is identified in enlarged print
from children’s books
• writing the letters on small white boards as the teacher dictates
• producing the letter form with clay, pipe cleaners, wiki sticks
These appropriately brief lessons also allow time for students to participate in additional meaningful literacy and content area experiences.
These multisensory letter formation strategies can include letter formation practice, and alphabet knowledge instruction through the use of multiple distributed instructional cycles. The study describes one letter a week learning is not enough practice and that young children will not sufficiently learn and use the alphabet letters from 1 week-long exposure to each letter or from only one complete cycle through the alphabet.
Rather, children learn letter formation best through frequent exposure and
repetition to the letters.
Finally, the paper describes the use of flexible instruction of letters with extra focus on letters that are problematic for students to learn often due to less frequent exposure or use in oral or written language. Rather than spending equal time on teaching each letter, more time and instruction is spent teaching certain letters or letter groups.
Determining the time and focus needed to teach letters, the following factors should be taken into consideration: Letters that require more time spent on teaching letter formation include:
(1) Letters located at the beginning and end of the alphabet are learned more easily than letters in the middle of the alphabet.
(2) If a letter’s shape or form is distinctive from other letter shapes or
forms, then letter discrimination is easier for young students than when letter forms or shapes share similar distinctive features.
(4) Differential rates of exposure to the letters, such as the letters found in a student’s own name or alphabet letters that occur more frequently in children’s
books and in printed materials in the child’s environment, can also render the acquisition of letter knowledge more or less difficult for young learners
H. (2015). Handwriting in early childhood education: Current research and future implications. Journal of Early Childhood Literacy, 15(1), 97-118. Engel, C., Lillie, K., Zurawski, S
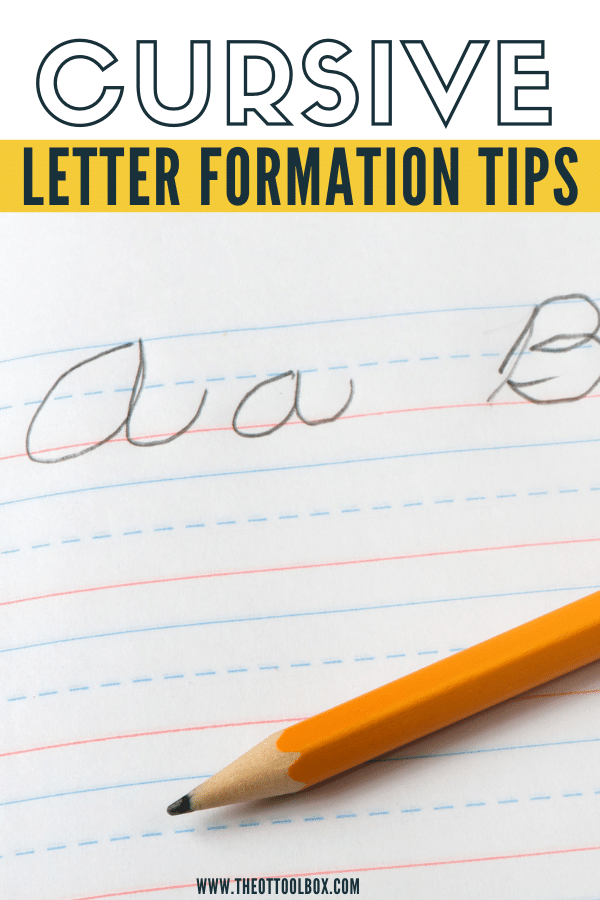
Cursive letter Formation
When teaching children to write cursive letters, forming lines correctly is important for carryover and legibility. You’ll find many of our cursive handwriting resources in one place under How to teach cursive handwriting. Other important techniques for cursive letter formation include these strategies:
Cursive Letter order
Teaching cursive letter formation requires a different order to teach letters. Check out this resource for cursive letter order based on pencil control and establishing a motor plan for smooth cursive lines. You can print off a PDF of the cursive letter order, too.
Letter Formation Activities
Here, you’ll find creative ways to teach handwriting and how to write letters in creative ways. These are writing tips to teach letters as part of a handwriting curriculum based on an individualized approach to handwriting. We’ve shared a lot of fun handwriting activities here on the blog. Check out some of our favorites!
Here are more tips for teaching kids to write. This is a good read because we talk about why starting letters at the top is important as well as the developmental benefit of teaching upper case letters before teaching lowercase letters. So often, we see kids learn uppercase and lowercase letters at the same time. In actuality, kids are developmentally capable of learning upper case letters first due to the consistent starting point (upper case letters all start at the top!). Read more about this by clicking the link above.
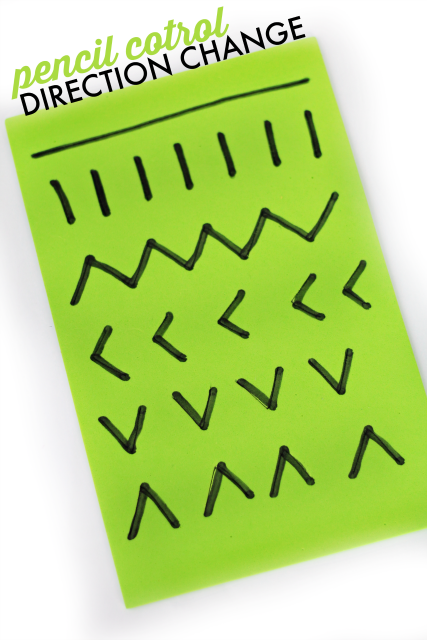

Handwriting strategies that improve pencil control, specifically changes in direction improve legibility. This quick activity can help kids work on the pencil control needed for writing letters. Printed letters have many direction changes. Controlled pencil strokes can be a big help in legible handwriting.
These fun handwriting activities don’t involve a pencil. For some kids, writing is a hassle and they absolutely HATE to write. Those kiddos will love these writing activities.
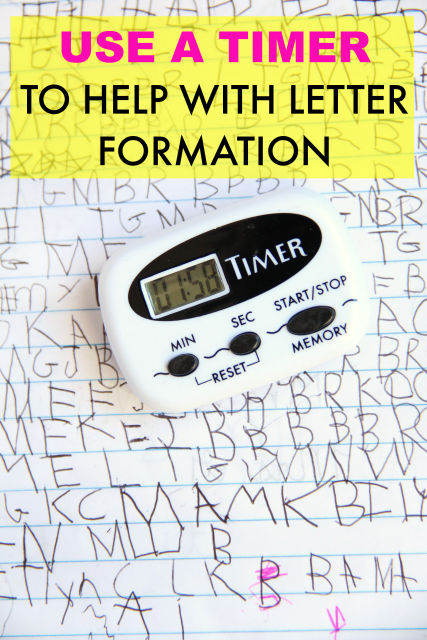
Use a timer to work on letter formation, while focusing on specific details such as line accuracy.
Use the tips in our handwriting club to work on letter formation, placement, and accuracy along with the fun of a group.
Multi Sensory Letter Formation
Kids can practice letter formation by sliding a sheet of paper into a plastic gallon-sized bag and having kids write on top of letters with colored dry erase markers. Use a small bit of paper towel to erase the letters in the correct formation for another practice run.
Finger tracing in letter formation
Many of the handwriting activities below offer the opportunity for practicing letter formation using finger tracing. The techniques can be used in sensory bins, in sensory bags, on sandpaper, or on textured surfaces.
Finger tracing is a great strategy for early writers, for teaching pre-writing lines and shapes in preschool and toddler years, and for encouraging carryover of diagonal lines, jumping lines, and curves needed for form letters.
Try a few of these finger tracing techniques to incorporate the tactile system into letter formation:
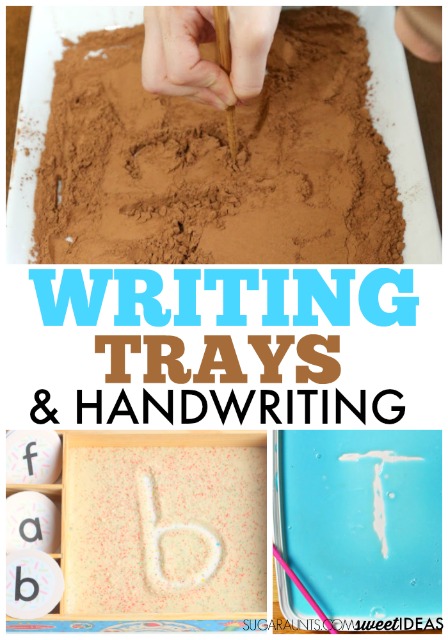
- Trace letters in a sensory bin using dry rice, sand, or shaving cream
- Finger trace letters on sandpaper
- Finger trace letters using a sensory bag (details to make this tool below)
- Start with air writing letters
- Draw a letter on the palm of the child’s hand. The student then needs to finger draw the same letter on the palm of their hand.
- Finger trace letters on one another’s back
- Draw letters with glue on paper. Students can finger trace the dry glue letters.
Multi-sensory handwriting strategies use the senses and kinesthetic feedback to help kids form a motor plan to form letters. Multi-sensory writing includes sensory writing trays, writing in shaving cream, forming letters with play dough. And that’s just the beginning.
Try these messy, sensory writing ideas:
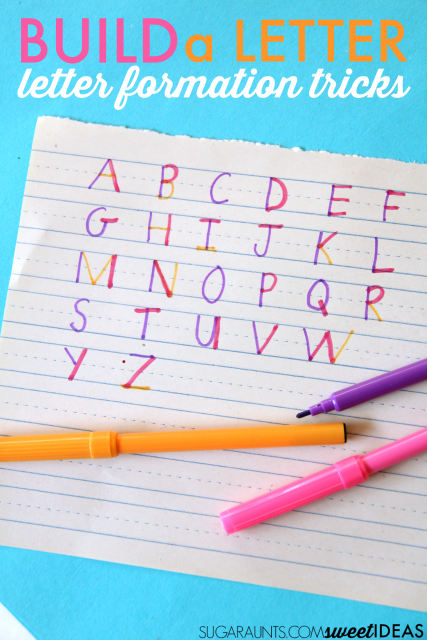

- We talked above about teaching handwriting in letters groups because kids can build a motor plan for sets of letters. Using markers to work on these similar pencil strokes is a food way to establish this skill and carry over formation of those sets of letters.
2. Fill a low tray such as the lid of a food storage container with dish soap and ask students to write letters using their index finger. This is a great fine motor activity as well as a multi-sensory strategy for writing.
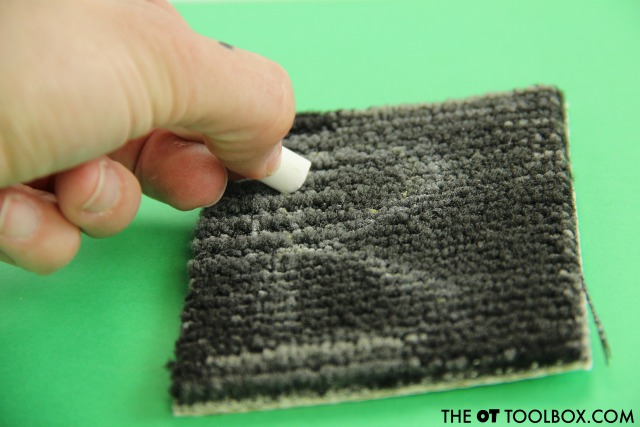
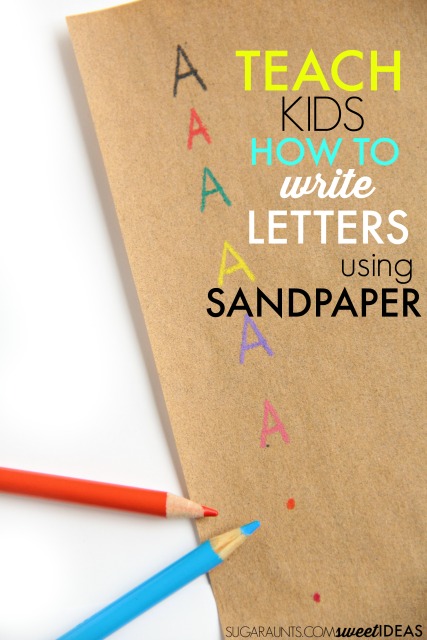
3. Offering a resistive surface provides kinesthetic feedback when learning letters. Use a sheet of sandpaper under paper to work on letter formation of the alphabet, especially when practicing high-frequency letters or letters that are commonly reversed.
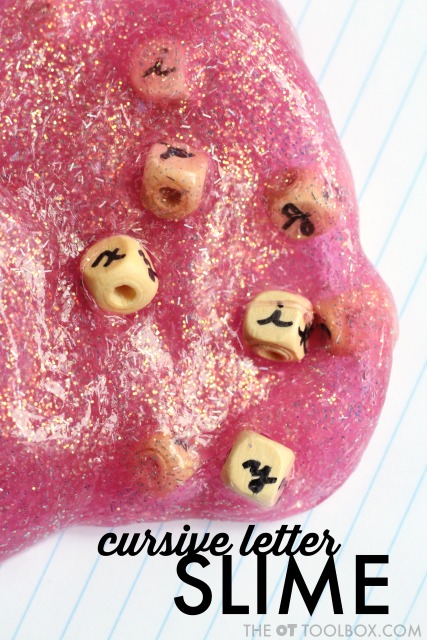

4. Slime and Letter Beads- Work on letter formation using slime and letter beads! Kids can find the beads and then practice writing that letter.
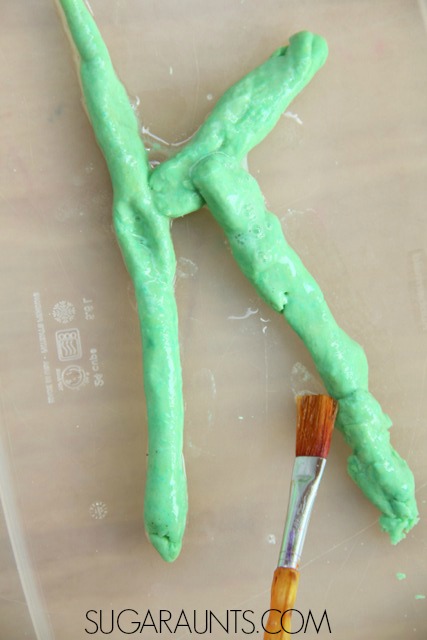
5. This fizzy sensory letter activity uses DIY baking soda play dough and a chemical reaction to work on letters that kids will love. Form the letters with dough and then paint them with vinegar in correct formation to practice while enjoying the sensory feedback.
6. Letter cookie cutters are a great way to practice letter formation.
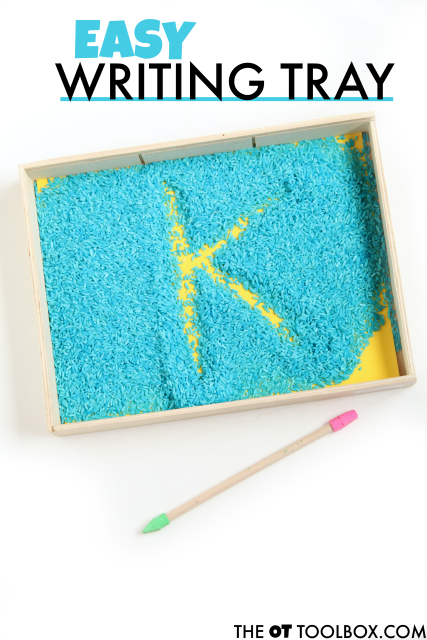
7. Here is an easy writing tray using only colored rice and a colorful background. Kids can work on finger isolation and separation of the sides of the hand by working letters with their index finger.
8. Be sure to check out all of these writing tray ideas, too.
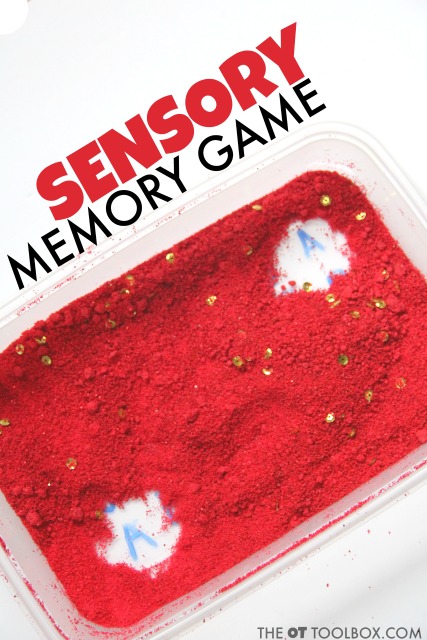
9. Create a sensory memory game that also allows kids to trace letters on the bottom of the tray. It’s a fun way to practice letters with tactile feedback.
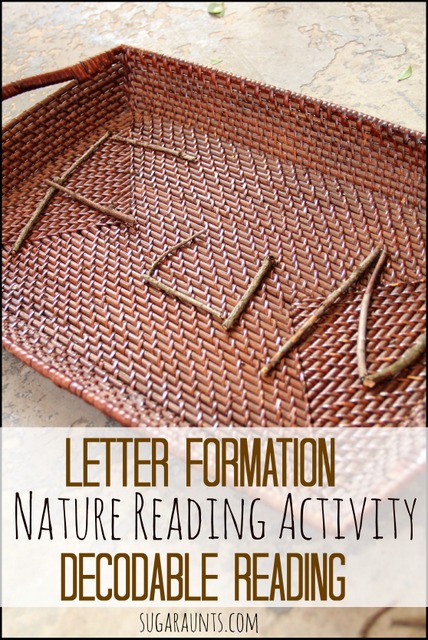

10. Take letter learning outdoors with this nature letter formation activity. It’s a hands-on approach to forming letters.
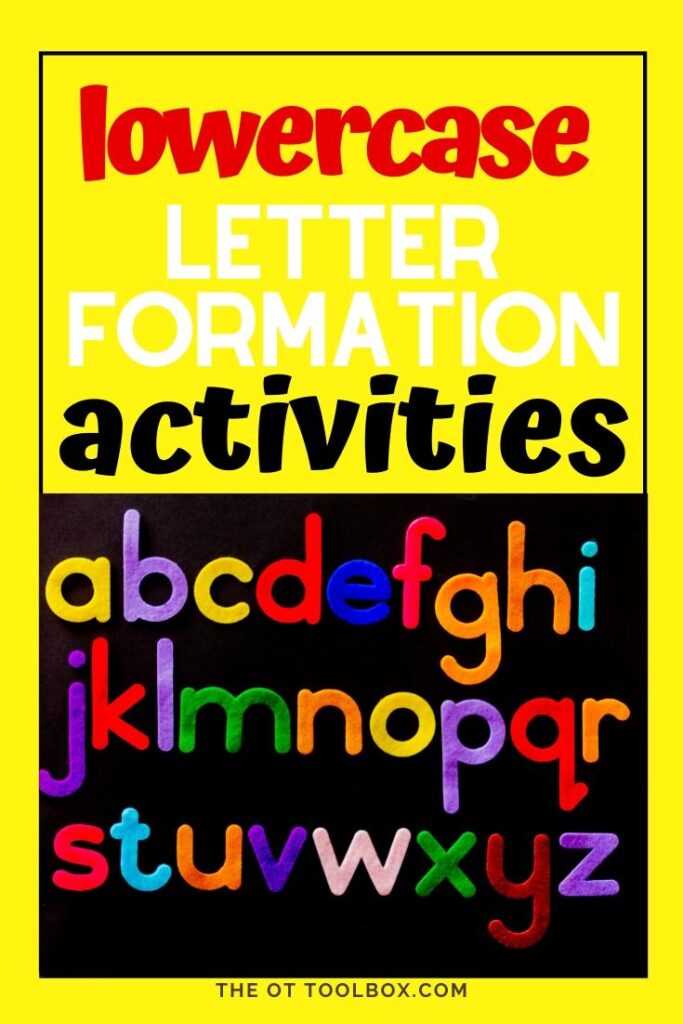
11. Use these approaches to forming lowercase letters.
12. These easy tips to teach kids how to write use fun and easy sensory activities that teach alphabet letter formation.
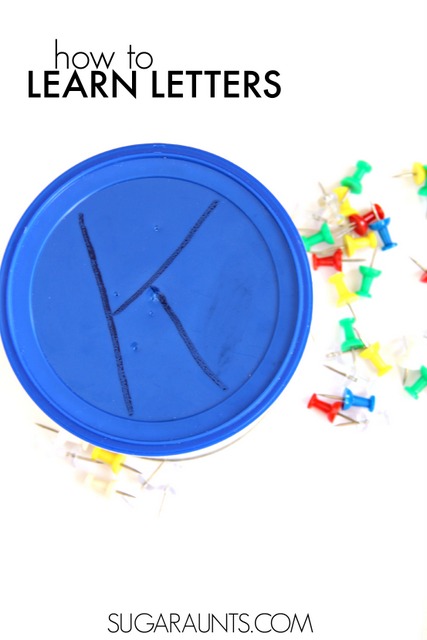
13. Teach letters with resistive feedback using pushpins and a recycled container.
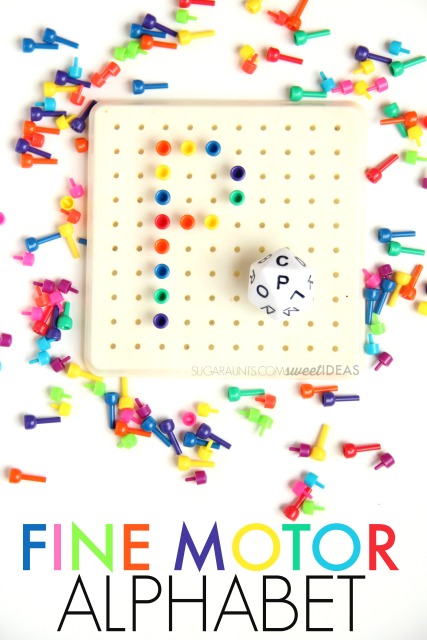
14. Another hands-on approach with fine motor work is this pegboard letter activity.
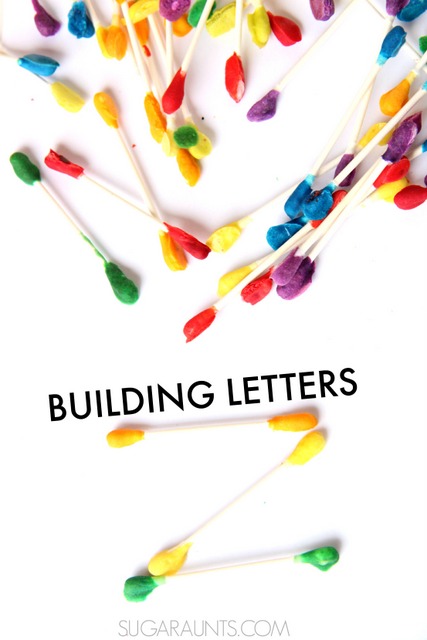
15. Cotton Swab Letters– Use cotton swabs with colorful sensory additions to work on letter formation.
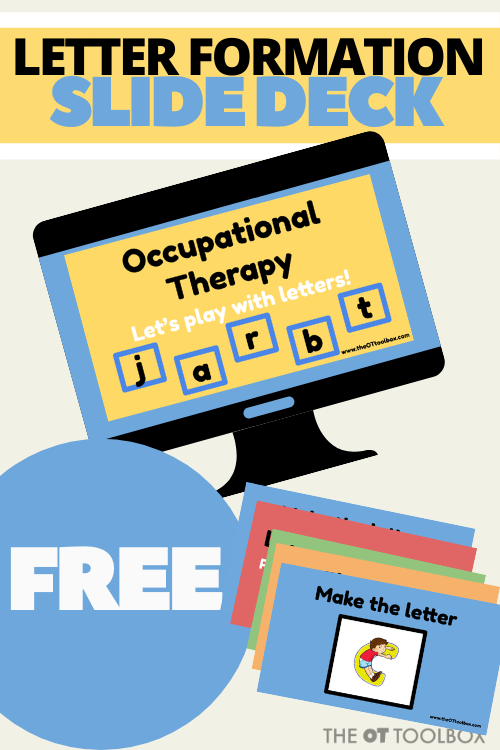
16. Teach letters in teletherapy with this interactive occupational therapy slide deck that helps kids with letter formation through gross motor, fine motor, and sensory activities.
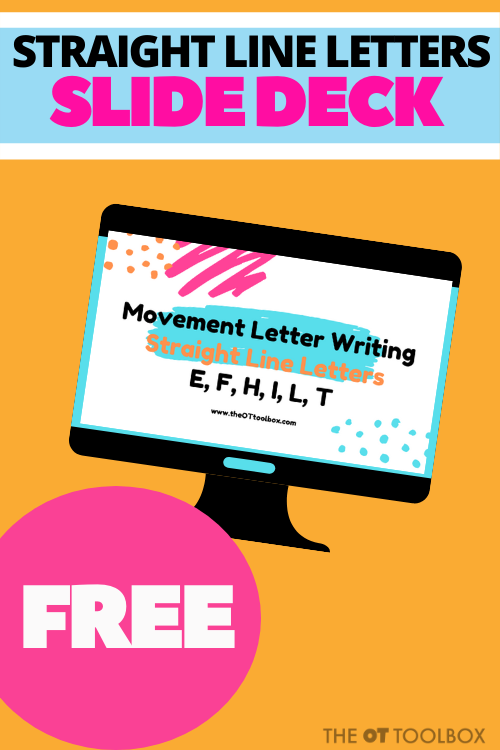
17. Use this occupational therapy slide deck to work on strait line letters with kids. Use the slides as an outline for occupational therapy interventions in therapy sessions, while working on letter formation.
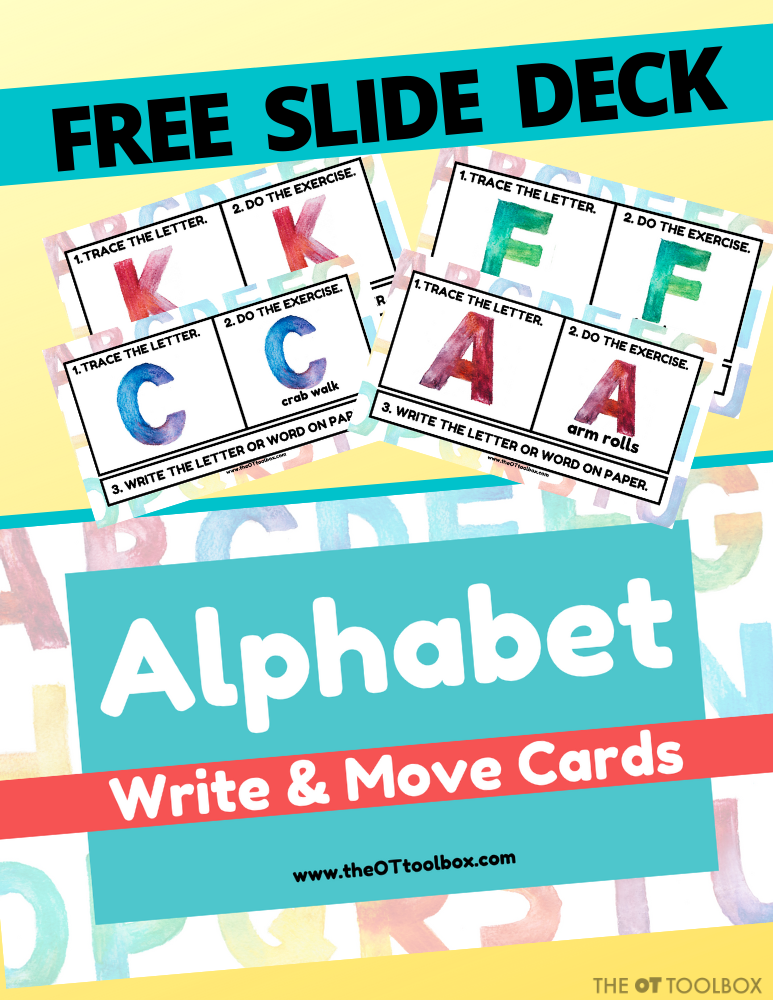
18. Our alphabet exercise slide deck offers kids a chance to move with letter-themed gross motor exercises AND work on letter formation by moving the interactive portion of these free Google slide deck. This OT resource is perfect for virtual therapy sessions.
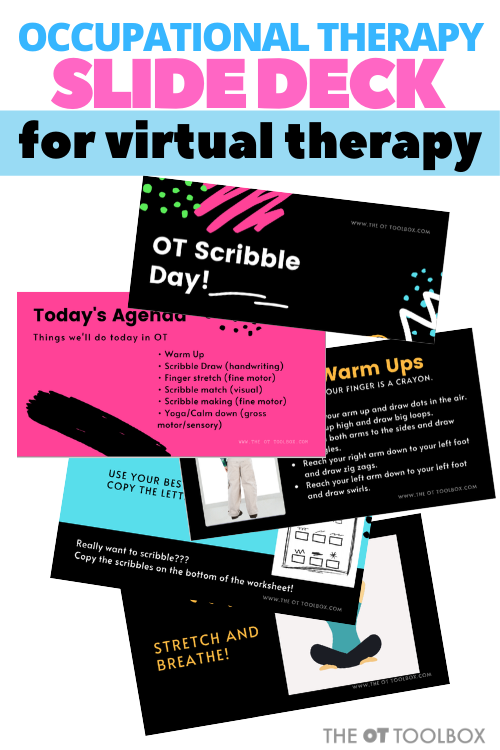
19. This Scribble Day OT slide deck is perfect for a fun occupational therapy teletherapy session. Work through the slides and address letter formation as well as other areas including fine and gross motor activities, motor planning, and more.
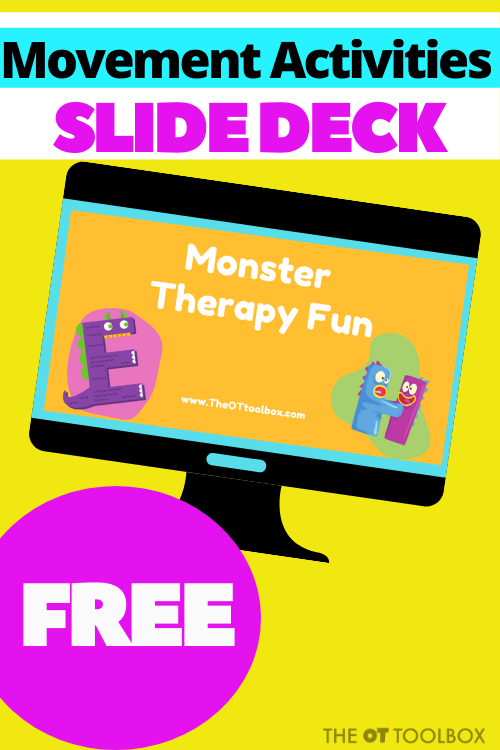
20. These monster theme slides are great for occupational therapy sessions because they use a fun theme to work on letter formation as well as other underlying areas that impact handwriting.
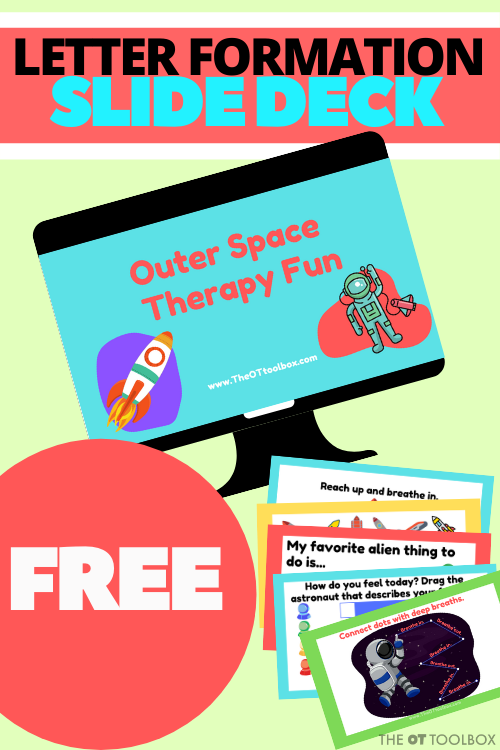
21. Use this space theme OT slide deck to work on letter formation using interactive slides that help kids by adding movement in a digital format. Perfect for occupational therapy virtual sessions.
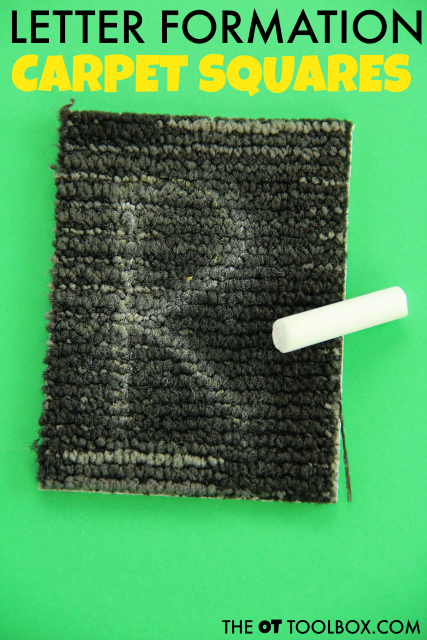
22. Another way to work on the motor planning needed for handwriting is to use various mediums for writing, such as carpet squares. We used small carpet fragments and chalk to write letters.
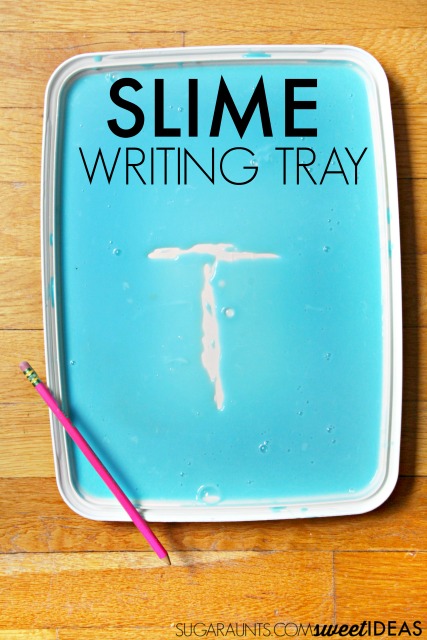
23. Slime Writing Tray- Kids that like playing with slime will love “writing” in it! Fill a low tray with watered-down slime. We used the eraser end of a pencil to form letters but you could use a fingertip too. It’s a sensory writing activity that kids can’t resist!
24. This handwriting trick uses a foam sheet to work on pencil pressure when writing letters, but it offers a great tactile feedback through the hands that allow kids to build a motor plan when working on letter formation. This is a great way to use sensory input to help kids with learning to write letters.
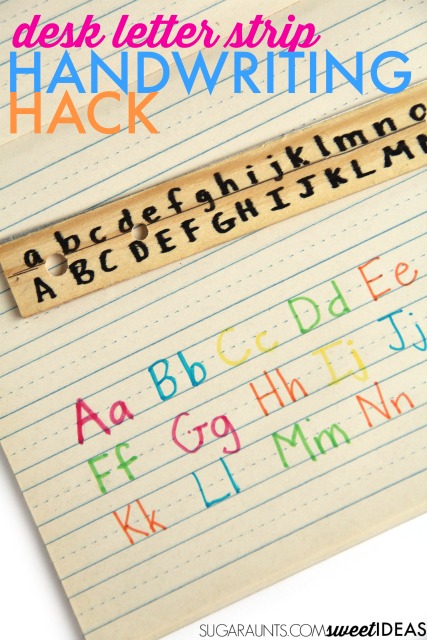

25. Kids often benefit from a visual cue when it comes to letter formation, especially with letters that are commonly reversed. This DIY letter strip is great because it sits right on the student’s desk and can be close to the writing task, requiring less visual shift, and less opportunities for the student to lose visual attention as a result of visual perceptual or visual motor concerns.
26. Visual spatial relations impact handwriting because letter formation depends on placement between lines, letter sizing, and accuracy of letter formation in a given space. This resource will give you tips and strategies to impact visual spatial skills in a way that makes a huge difference in legibility of written work.
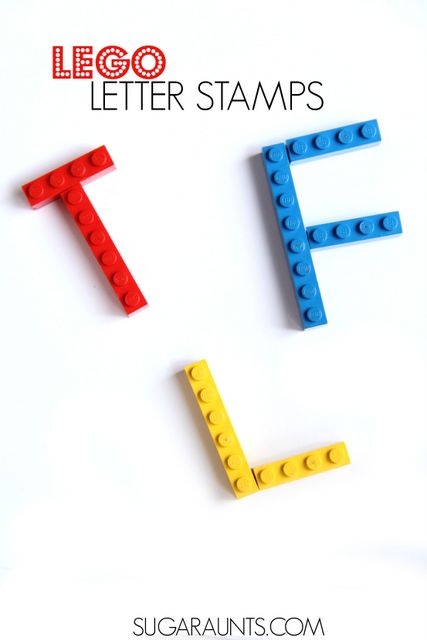
27. These LEGO letter stamps are a fantastically sensory and motor activity that allows kids to focus on letter parts that make up each letter while working on fine motor work in a way that is fun and builds accuracy with letter accuracy and awareness. A GREAT warm-up activity to handwriting!

28. Adding gross motor, motor planning, coordination, bilateral coordination, and crossing midline activities to letter learning is priceless! These letter exercises combine movement with letter awareness and learning. Use these letter exercises as a warm-up or cooldown to therapy sessions. Or, use them as a classroom or home learning brain break activity!
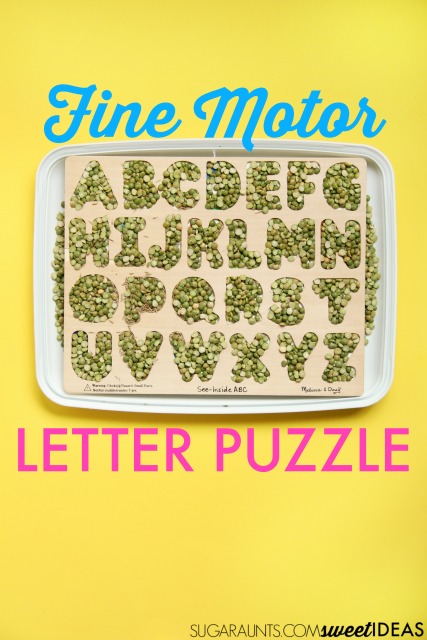
29. This letter puzzle activity builds fine motor skills which is essential for pencil control, hand strength, and dexterity needed for manipulating a pencil so kids can accurately form letters. This activity is a powerful sensory and motor activity designed to help kids with letter formation and accuracy.
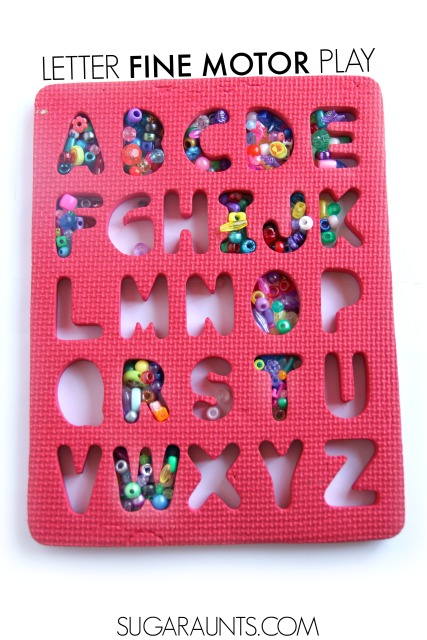
30. Another amazing fine motor activity for building pencil control and coordination, this in-hand manipulation bead and puzzle activity allows kids to partner letter formation with fine motor skills.
33. High-Contrast Letter Formation– Use used coffee grounds for a high-contrast writing tray that works on letter formation. This is a great activity for practicing commonly reversed letters.
34. Letter Formation Resistive Surface– Use a recycled material to work on letter formation with a resistive surface, so that kids gain a motor plan for letter formation.
35. Tracing Letters: Letter Formation Handwriting Practice with Chalk– Use sidewalk chalk and outdoor movement activity to work on letter formation with a rainbow writing activity.
36. Here are more sensory writing activities that cover a variety of sensory strategies.
37. Use this color-changing writing activity to work on letter formation.
38. Sensory Letter Formation Practice– Practice letter formation with a mess-free sensory activity that provides feedback while helping kids develop a motor plan for letter formation.
39. Tracing Lines with a DIY Light Box– Tracing letters has it’s time and place! Using a DIY light box and materials found in the home, kids can work on letter formation and accuracy of pencil control.
40. Letter formation manipulatives for the light table– Explore parts of letters with sensory manipulatives.
41. Nature letter formation activity– Get outdoors to work on letter formation and handwriting.
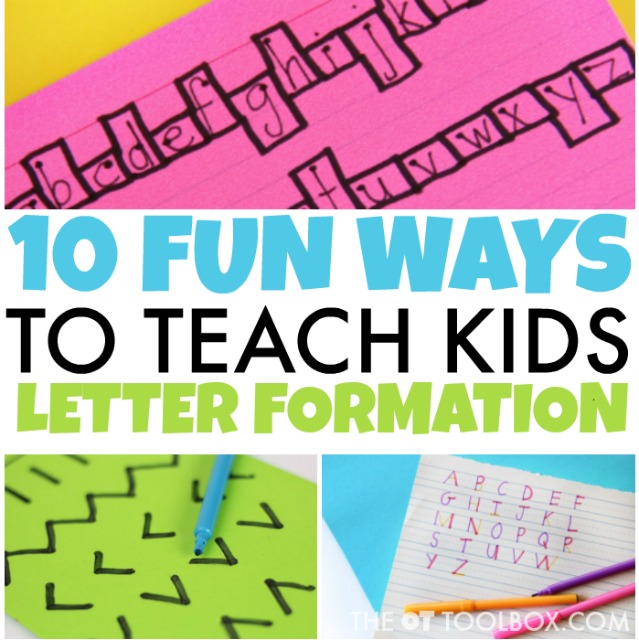
42. These 10 fun ways to teach letter formation are creative ways to work on writing letters, using various strategies including kinesthetic learning, multi-sensory strategies, and visual prompts.
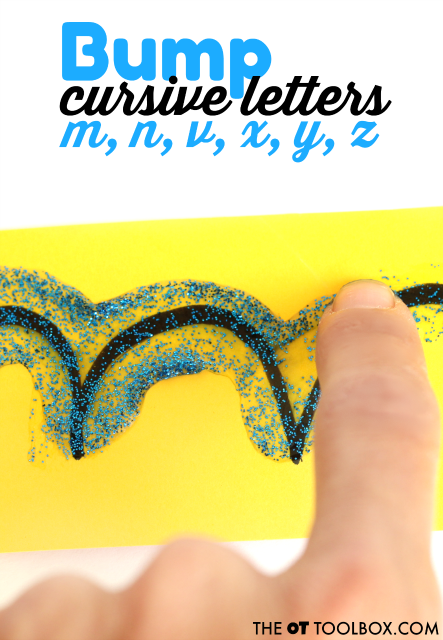
43. Cursive writing doesn’t mean copying the same letter over and over again. Practice cursive writing strokes with this glitter glue multi-sensory writing strategy for teaching the bumps and re-trace needed for cursive letters.
Letter formation with practice
While sensory motor letter formation is a key component, research tells us that therapeutic practive is essential to learning letter formation. This is the way that therapists use skilled interventions to work on letter formation: by offering strategies, accommodations based on individual needs of the child, verbal and physical prompts based on skilled analysis, and a just right challenge to build skills while offerning an oppourtunity to practice writing letters.
Below, you will fine practice activities that can be used to practice letter formation.
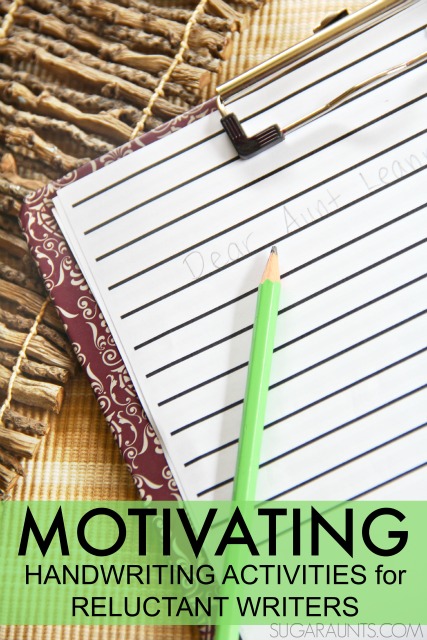
- Use these motivating handwriting practice activities to work on letter formation using therapeutic practice, so kids get time to write and learn letter formation with trials that build accuracy in letter formation. These activities are designed to be meaningful and motivating.
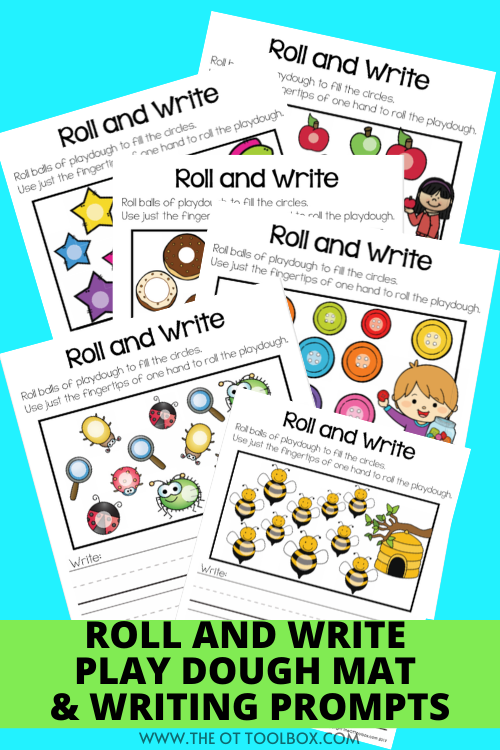
- These Roll and Write Play Dough Mat Writing Prompts combine fine motor work with handwriting. Kids will love these writing prompt sheets that allow them to work on letter formation with therapeutic practice time so that they can carryover the skills they’ve learned. The play dough mat portion offers a great warm up for the hands so they are ready to write and move that pencil.
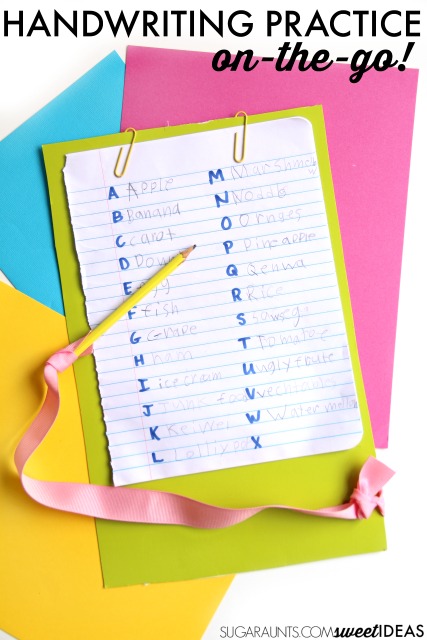
- Practice is essential if letter formation is going to “stick”! These tips for practicing handwriting are fun and list format so it’s easy for kids to write a quick list while practicing essential letter formation skills.
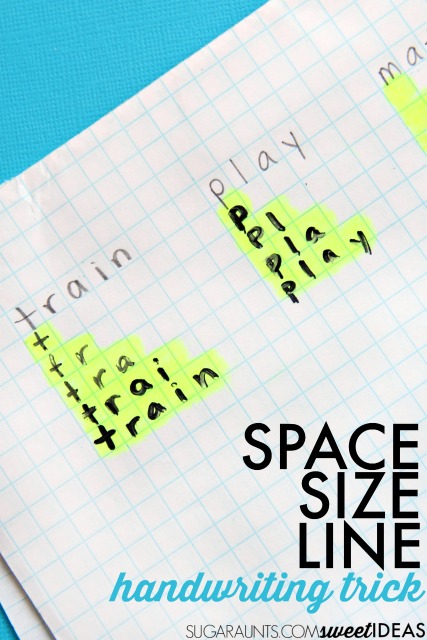
4. Use graph paper to teach spacing and letter placement. Letter formation requires accurate placement within a given area on the page and graph paper helps kids to practice this placement so they can carry the skill over to paper of all types.
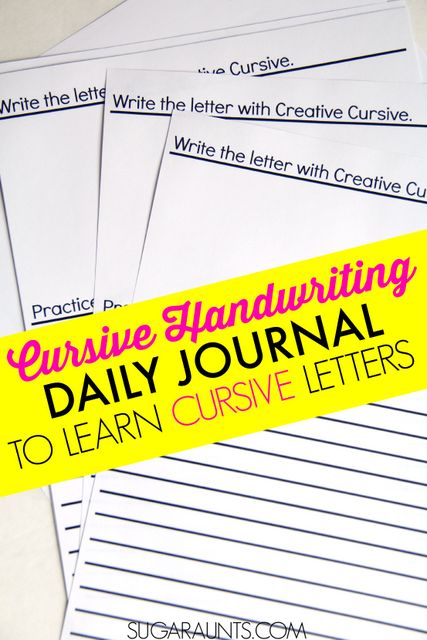
5. Practicing letters doesn’t need to be boring. Use a creative writing journal that combines creative letter drawing and formation using materials like yarn, play dough, wikki sticks, etc. Kids can practice writing on the lines. This journal was designed for cursive letter formation but could be used with printed letters as well.
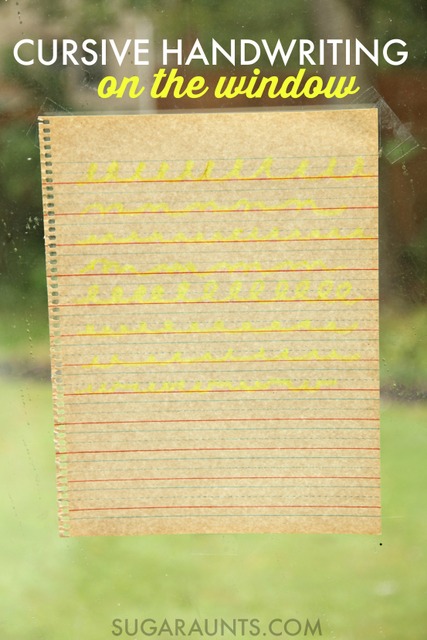
6. Write on the window using regular notebook paper for a movement-based letter writing activity that practices formation and accuracy while focusing on the motor components of the shoulder, forearm, and wrist.
Cursive letter formation
You will find tons of creative writing activities designed around teaching cursive here on this website. Cursive letter formation ideas can use all of the handwriting strategies and tips listed above, but you can focus on the smooth writing strokes, retracing lines, and connecting lines that cursive requires with some out-of-the box activities.
Check out some of the cursive letter formation ideas below:
- How to teach cursive handwriting– START HERE for a step-by-step guide to teaching cursive. You’ll find everything you need in one place, or check out the list below…
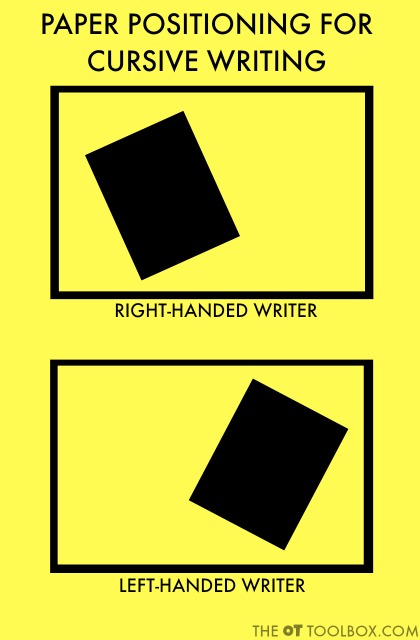
2. Positioning When Writing in Cursive– Positioning in handwriting is SO important. In fact, positioning is the place to start when it comes to teaching kids to write letters.
3. Cursive Writing Lesson Plan– Work on cursive writing with a planned, set of strategies.

4. Gross Motor Cursive Exercises– Kids can work on bilateral coordination, crossing midline, and motor planning skills so they are able to hold their paper while writing, use smooth writing strokes, and form letters.
5. Pre-Cursive Activities– Handwriting doesn’t need to be boring! Use these fun cursive lines to work on smooth pencil strokes, while introducing loops, curves, and swoops.
6. Cursive Letter Formation: Wave Letters– Cursive letters can be grouped into sets so kids can work on specific letters that contain similar pencil strokes. The “wave” letters are one cursive letter family to start with.


7. Creative Ways to Practice Cursive
8. Cursive Writing Self-Assessment
9. Conquering Cursive Letter Connectors
10. Left-handed Cursive Writing Tips and Tricks
13. How to Teach Cursive Letter Identification
14. Pencil Grasp in Cursive Writing
15. MORE Creative Ways to Practice Cursive Writing


16. How to Teach Cursive Writing Speed
17. Tips for Teaching Cursive in the Classroom
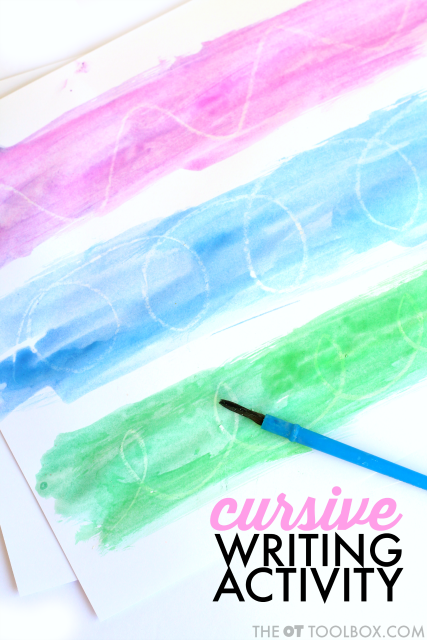
18. Cursive Pre-Writing Lines Watercolor Resist Activity
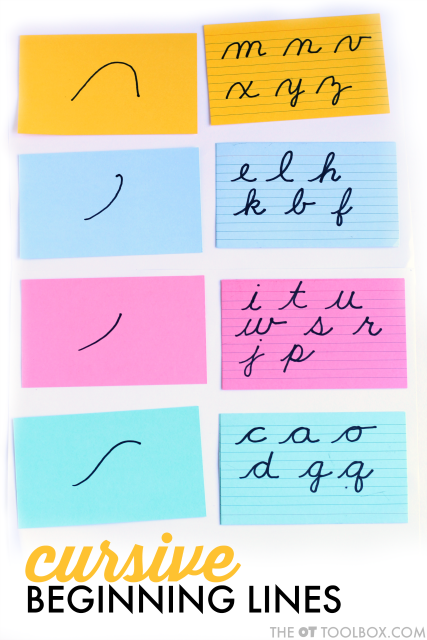
19. Cursive Writing Starting Lines
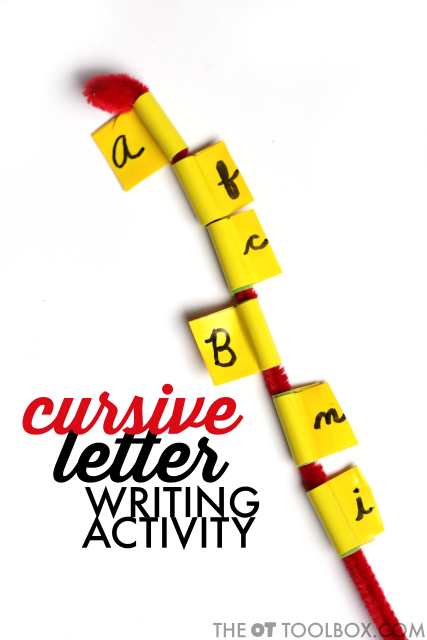
20. Cursive Letter Writing Activity
21. Diagnosing Cursive Problems with a Cursive Handwriting Assessment Checklist

22. Cursive Writing Tips and Cursive Certificate of Completion
23. Free Cursive Letter Flashcards
24. Cursive Letter Formation: Bump Letters
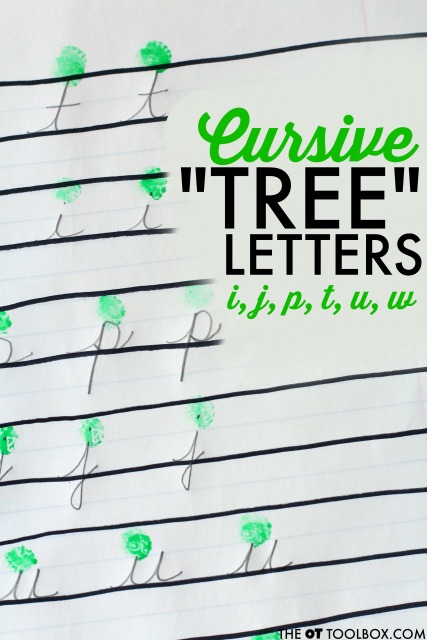

25. Cursive Letter Formation: Tree Letters
26. DIY Cursive Activity Beads
28. Uppercase Cursive Letter Guide
29. The Research on Cursive Writing
31. How to Teach Cursive Tow Rope Letter
32. Some cursive letters require re-tracing back over the lines. If those lines are sloppy, the letter can look illegible, Try this strategy for teaching re-trace in forming cursive letters c, d, a, g, o, and q. Using a dry erase marker to work on letter formation can be used with any cursive letter or printed letters too.
Letter Formation in Occupational Therapy
We wanted to add more information and resources on letter formation, from the perspective of an experienced occupational therapist working on this area every school day.
Letter formation is the bane of my existence as an occupational therapist. For such an important skill, there is not nearly enough teaching going on. In pre-k teachers teach all about the letters including tracing and copying. In kindergarten, kids take this newly acquired knowledge and turn it into writing words and sentences. The piece that is missing is the dedicated instruction and practice on actual letter formation.
How many times have you seen teachers checking to make sure that all 26 of their students have just formed the letter “a” as instructed? This is not very feasible with so many students at once. In addition, there are many students who need the verbal and visual instruction instilled 100 times before they commit it to memory. Then there are the students who have already learned to write the letter “n” with just a hump or the letter “l” from the bottom. You know it takes three days to form a habit and three months to break it (with conscious effort)?
Are you starting to see the uphill battle for both teachers and therapists? Letter formation is important not only for legible writing, but writing fluency, speed, and accuracy.
I just got three new middle school students who are currently receiving direct OT for handwriting. What? I am not going to undo seven years of bad handwriting habits. Nor am I going to make much of a difference with my weekly visits and pencil grips.

If you are a school based occupational therapist or OTA, then you definitely have said or heard the OT soapbox about handwriting…kids being forced to write too young then they are developmentally ready for, and they are pushed to write sentences when they should being taught pre-writing lines and letters. Below is a concise way to say this to your team, educators, and families…
What Matters Most with Letter Formation?
The bottom line? Start early. Get into the preschools to teach prewriting strokes, grasping patterns, finger strengthening, and fine motor exercises.
Step away from the ipad and use physical manipulatives instead for hands-on play and sensory exploration. I can not stress enough the importance of early intervention and education. You can not possibly re-educate all 600 students in your elementary school. What you CAN DO is to educate the teachers, parents, care staff, and students as a group.
The OT Toolbox is full of resources to help you teach letter formation. I made 26 blog posts last year highlighting how to teach each letter of the alphabet. Take a look at the letter a for example. I found so many cute letter formation rhymes and poems for teaching letter formation, as well as great exercises and handwriting games.
Everyone is buzzing about the addition of artificial intelligence or AI. This is great technology, but can not replace direct intervention and education. I still love worksheets, stickers, drippy glue, theraputty, and crayons. AI does not offer that. An Ipad is a motivating tool, but again does not replace things the kids can touch. Either use it in moderation, using a stylus, or not at all. Believe me, these kids have enough time glued to their technology without adding any more.
Message for Parents about Letter Formation
A lot of times we see kids in OT who have poor handwriting skills and OT is viewed as the “cure”. We all have heard the words “handwriting teacher” at one time or another, right?
Here is a message to relay to parents about letter formation and how to support their child.
Message for Parents:
It’s important to teach your child handwriting skills when they are developmentally ready, focusing on building the fine motor and visual motor skills needed for good handwriting. In preschool, this means practicing things like holding a pencil correctly, strengthening their fingers, and learning basic shapes and strokes that will later help with writing letters. Hands-on play, using physical toys instead of screens, is key to developing these skills. By starting early and working together, we can help your child build a strong foundation for handwriting, making it easier for them to learn and succeed later on.
Message for Educators about Letter Formation
Similarly, we have received OT referrals like the middle school example above. Here is a concise message you can share with educators and the administration team.
Message for Educators:
While meeting curriculum requirements is essential, it’s important to recognize that handwriting skills develop best when aligned with a child’s developmental readiness. Incorporating dedicated instruction on fine motor and visual motor skills early on…such as teaching proper pencil grasp, prewriting strokes, and finger strengthening exercises. This can significantly improve handwriting outcomes. Integrating hands-on play and sensory activities into your lessons can help reinforce these skills in a way that supports your curriculum goals. By focusing on these foundational skills in preschool and kindergarten, we can set students up for success, reducing the need for intensive re-teaching later on.
More Letter Formation Strategies
If you are unsure about early intervention, go back to what I said about habit formation. Only three days to create a habit and three months of direct intervention to stop it. Those middle schoolers I mentioned, are not going to be able to relearn their letter formation at this stage. Their teachers will have to accept “just legible” handwriting, accommodations, or typing instead. I will say there are handwriting accommodations that can help these older students:
- Make sure there is lined paper or writing lines rather than large boxes. If the paper is not lined, these (affiliate link) handy line stampers are very cool!
- Encourage students to skip lines in their notebooks for clearer handwriting
- Make typing an available option – decide if you need to add predictive text or talk to text
- Use graph paper to line up math problems or correctly size/space words
- Ask a second person to check for legibility. I can often decipher a student’s handwriting whereas another teacher can not
- Students can take notes with a voice recorder, then transcribe later
- Encourage teachers to slow down when dictating notes, or having students copy from the board. Students who rush are more likely to have illegible handwriting.
Make letter formation fun! Here are some fun ways to work on letter formation that makes it seem a lot less like hard work:
- Practice writing on dry erase boards with mini markers – use lined boards.
- Try practice writing in a writing tray using different mediums such as shaving cream, sand, salt, pudding, etc.
- Use different writing tools. Not everyone responds to a pencil or crayon.
- Creative Handwriting Practice.
- Use a tray to contain your items for writing practice
- Write in large chalk on the driveway.
- Use Wikki Stix to create letters, then have students trace them with their fingers.
- Try writing on a student’s back with your finger or a stylus and have them guess the letter.
- Teach students to form the letters with their bodies. Multiple students can work together.
- Use a theme that is relatable to get students motivated. I once used Star Wars characters to help with letter recognition and formation.
Get back to basics. Skip the fancy videos, apps, and programs in favor of manipulatives and hands-on activities. I am not against technology, I just feel there is too much of it in our educational system.
Free Letter Formation Worksheets
Want to put the occupational therapy interventions and tips that you’ve read here into practice, so kids learn letters based on development, motor skills, and motivating activities?
Enter your email address below to grab the FREE handwriting resource for handwriting resources to use in working on letter formation with kids. You’ll find uppercase and lowercase letter writing worksheets, as well as a list of extension ideas so you can use these worksheets with sensory activities, and take letter formation from dull and boring rote practice, to meaningful, motivating, and fun!
Add your email below and these free handwriting worksheets will arrive in your inbox shortly!
Next, let’s cover some frequently asked questions related to letter formation…
What does letter formation mean?
Letter formation refers to the ability to form letters with the correct size, shape, and placement on the page. It involves understanding the starting point, sequence of strokes, and direction of movement when writing each letter. This skill is foundational for developing legible and efficient handwriting, and it plays a key role in a child’s ability to complete written tasks in school and daily life.
Is there a correct way to form letters?
There is a correct way to form letters, though it may vary slightly depending on the handwriting program used. Programs like Handwriting Without Tears provide consistent, developmentally appropriate sequences to help children build muscle memory and fluency during writing.
What is poor letter formation?
Poor letter formation may present as letters that are reversed, rotated, inconsistent in size, misaligned, or formed with inefficient stroke sequences. These difficulties can make handwriting slower, more tiring, and harder to read. Children with poor letter formation may also avoid writing tasks or become frustrated during written work.
How to correct letter formation?
To correct letter formation, occupational therapists use strategies such as multi-sensory writing tools (chalk, sand, textured surfaces), visual models, and verbal cues to reinforce the proper sequence of movements. The goal of correcting letter formation is not only neat handwriting but also developing automaticity so the child can focus on the content of what they’re writing rather than the mechanics.
Does dyslexia affect letter formation?
This is a question that comes up a lot, and especially when occupational therapy is supporting dyslexia needs.
Dyslexia is a language-based learning difference that primarily affects skills related to reading, spelling, and decoding. However, it can also influence early letter formation, particularly as children learn to associate letters with sounds. A child with dyslexia may struggle to recall the proper stroke order, reverse similar-looking letters (such as b and d), or experience confusion when matching sounds to symbols. These challenges can make letter formation inconsistent and effortful. Dyslexia can also impact how letters are perceived visually under stress or fatigue, making them appear flipped or out of sequence. While dyslexia is not a motor disorder, the cognitive load of language-based tasks can indirectly affect writing fluency.
The Dyslexia Checklist can help occupational therapists assist their clients in identifying warning signs of dyslexia.
Does dyslexia affect numbers or just letters?
Some individuals with dyslexia may also experience difficulty with number formation and sequencing, though this varies case by case.
What are three warning signs of dyslexia?
Early signs of dyslexia can include difficulty learning letter names, recognizing rhyming patterns, and recalling letter sounds. These are skills typically emerging in preschool and early elementary years when we are working on letter formation. Children may also show signs of slow, effortful reading, frequent guessing at words, or trouble remembering sight words.
What can be mistaken for dyslexia?
Dyslexia may be mistaken for other conditions such as ADHD, developmental delays, or anxiety, especially when difficulties with attention, frustration tolerance, or task avoidance are present. If you suspect dyslexia, a comprehensive evaluation by a psychologist or reading specialist can provide clarity. Recognizing the signs early can lead to timely support and intervention that helps the child succeed with both reading and writing.
Case Study: Supporting a First Grader with Letter Reversals
As a pediatric occupational therapist with over 25 years of experience, I’ve worked with many children struggling with letter formation, but one case stands out. I worked with a first-grade student (we will call this child L.) who was bright, enthusiastic, and eager to write, but consistently reversed letters like “b” and “d,” “p” and “q,” and occasionally even numbers. L wrote with writing that was neat in terms of spacing and size, but the reversals made his work difficult to read and caused him a lot of frustration during spelling and writing assignments.
In our OT sessions, we focused on building L’s visual memory and motor planning through multi-sensory strategies. We used a letter formation routine that emphasized consistent verbal cues (e.g., “start at the top, down to the belly, bump to the right” for lowercase b) and incorporated tactile input using chalkboards, sand trays, and finger tracing.
I also introduced handwriting books that followed the Handwriting Without Tears letter order, helping L. develop automaticity without cognitive overload. We practiced letter sorting games that helped L. visually discriminate between similar-looking letters.
Over the course of a few months, L’s confidence grew. L. began to self-correct reversals and even created their own “b and d reminder card” using a bed-shaped visual (a strategy we co-created in a session). By the end of first grade, L. had reduced reversals significantly and was independently writing with improved fluency and accuracy. What stood out most wasn’t just the change in L’s handwriting. It was the pride L. felt when reading their own writing out loud without confusion. This case reminded me that small, consistent supports can lead to meaningful change in a child’s writing journey.
One last thing on writing letters…
Letter formation is such an important part of helping kids become confident, successful writers, and it can actually be fun to work on! I hope that the creative, hands-on ideas in this post are helpful to help kids learn how to form letters the right way, without all the frustration. If you’re supporting a child who’s learning to write, this post is packed with helpful tips and resources you can start using right away.

Colleen Beck, OTR/L has been an occupational therapist since 2000, working in school-based, hand therapy, outpatient peds, EI, and SNF. Colleen created The OT Toolbox to inspire therapists, teachers, and parents with easy and fun tools to help children thrive. Read her story about going from an OT making $3/hour (after paying for kids’ childcare) to a full-time OT resource creator for millions of readers. Want to collaborate? Send an email to contact@theottoolbox.com.
