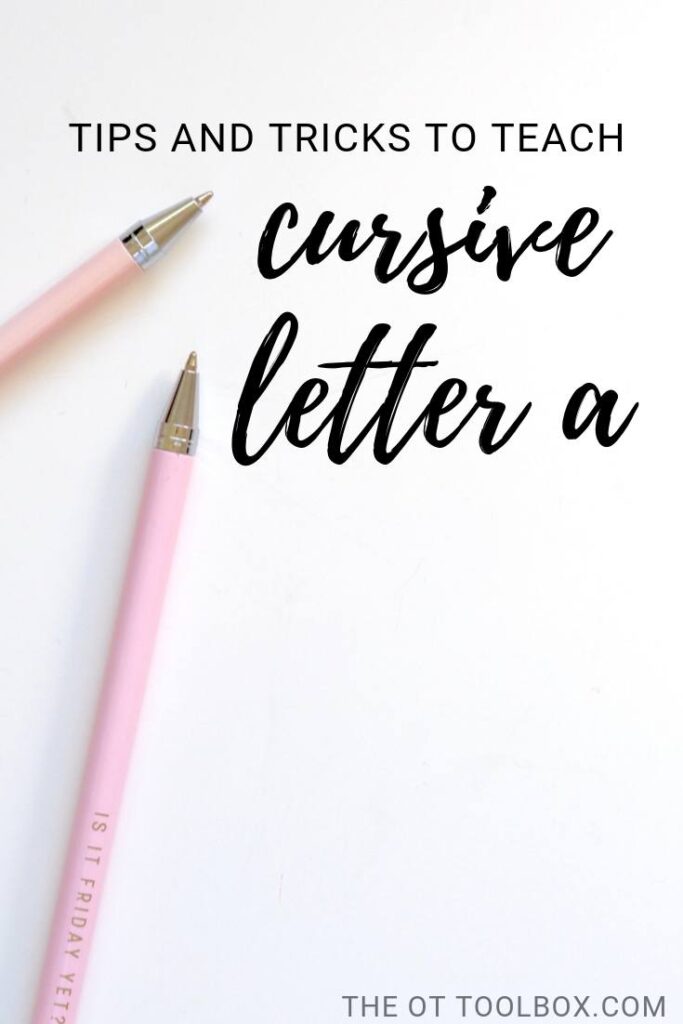
If you are teaching kids to write in cursive handwriting, these tips on how to write cursive a will help with a starter letter that supports the development of cursive writing skills. Writing letter a in cursive might seem like a good place to start when teaching cursive writing (after all, it’s the beginning of the alphabet!), but actually, you’ll want to start developmentally by teaching cursive letters in a sequential order.
How to Write Cursive a
Teaching cursive handwriting is a challenge for many parents and teachers. Taking it step-by-step is key. Here, you will find strategies for how to write cursive letter a. Many times, there is not a specific curriculum that schools use and teachers need to scramble for resources and THEN fit handwriting time into an already jam packed day.
That’s why here at The OT Toolbox, you will find cursive writing tools that can be easily added into a school day. So, if you are wondering how to teach cursive writing, then you are in luck, because we have specific tips and tricks to teach cursive letters a-z.
Here you will find tricks and tips to write cursive a…in fun ways!
Lowercase cursive letter a is one of the wave letters. The letters c, a, d, g, q, and o make up these letters that contain similar letter strokes. That’s why when children are taught to write in cursive, these letters are typically grouped together. We talked about how cursive letters are related and grouped into cursive letter families.
Teaching cursive letters in groups helps with letter formation, including the motor plan to form similar letters. When kids can practice cursive with a sensory approach to writing letters, they engage multiple senses along with the motor movements to form each letter. Grouping them into like letters makes the learning easier.
a in Cursive…where to start?
Start by reviewing how to form cursive c.
Start by reviewing and practicing cursive letter c. Cursive letter c (and cursive a) is a wave letter. Starting with some pencil strokes and multi-sensory practice of the wave formation is a good place to begin. Try some multi-sensory approaches to build motor planning for forming cursive a.
Hold a small crafting pom pom or cotton ball in the thumb, pointer finger, and middle finger. This positions the hand into a tripod grasp and “wakes up” the muscles for writing.
Holding the cotton ball, students can use whole arm motions to “draw” an imaginary wave in the air. Encourage them to be sure to re-trace the wave so it has a big curved portion at the top or crest of the wave. Here is more information on teaching wave letters.
By re-tracing that wave back down to the bottom, they can see the letter “c” or the beginning part of a letter a forming.
One tip to get that line really formed with re-trace is to tell kids that they want the wave to be great for surfing under. If the wave is fat at the bottom, it’s not a surfing wave. We want to see a wave that is ready to fall over and crash so a surfer can surf right along the inside of the wave.
Making a string of cursive c’s or a wave with several waves together is a good exercise.
Next, turn cursive c into a cursive a.
Once that curved c is reviewed, and the students are tracing back over their wave lines so the curve looks like a single line, it’s time to turn lowercase c into lowercase a.
Teach cursive a by telling students to form a cursive c that looks like a wave ready to crash over.
Their pencil should trace back over the wave line and move along the baseline. The pencil should move straight up to the top of the wave and pause where the wave is just about to tip over.
Next, the pencil should trace strait back down to the bottom line of the paper. Then, the pencil can move along the baseline to connect to the next letter. Here are tips to teach cursive letter connections.
Here are those cursive writing directions listed out:
- Write a cursive c with the top of the wave ready to crash.
- Move the pencil along the baseline and up to touch the tip of the wave.
- Pull the pencil strait down to the baseline.
- Curve away to connect.
Poor Formation of cursive a?
What happens when the cursive a (or other writing in cursive) falls flat? There can be some troubleshooting to do when it comes to writing in cursive. Here are some problems you might see whth letter a.
- The lines curving up to the top of the lowercase a aren’t touching- Remind the student to trace back over the curve of their magic c. Review how to make the curve of a letter c.
- The “wave” looks to wide- A gaping wave can make the letter a look sloppy. Teach students to trace back over the curve of the along the same line. Try using rainbow writing for this method.
- The up line to touch the top of the a is slanted. The a looks
Read here to find more tips to teach each cursive letter.
Practice cursive a with multi-sensory approaches to teaching letters
- Use the pom pom/cotton ball large motor method described above
- Practice the wave curves (focus on those thin, ready to break waves!) on the palm of the hand, by “writing” with the pointer finger
- Rainbow write with crayons, markers, or chalk
- Paint water onto construction paper
- Try some of the sensory writing strategies described in this free creative cursive writing journal
The Handwriting Book covers everything you need to know about handwriting, guided by development and focused on function. This digital resource is is the ultimate resource for tips, strategies, suggestions, and information to support handwriting development in kids.
The Handwriting Book breaks down the functional skill of handwriting into developmental areas. These include developmental progression of pre-writing strokes, fine motor skills, gross motor development, sensory considerations, and visual perceptual skills. Each section includes strategies and tips to improve these underlying areas.
- Strategies to address letter and number formation and reversals
- Ideas for combining handwriting and play
- Activities to practice handwriting skills at home
- Tips and strategies for the reluctant writer
- Tips to improve pencil grip
- Tips for sizing, spacing, and alignment with overall improved legibility
Click here to grab your copy of The Handwriting Book today.

Colleen Beck, OTR/L has been an occupational therapist since 2000, working in school-based, hand therapy, outpatient peds, EI, and SNF. Colleen created The OT Toolbox to inspire therapists, teachers, and parents with easy and fun tools to help children thrive. Read her story about going from an OT making $3/hour (after paying for kids’ childcare) to a full-time OT resource creator for millions of readers. Want to collaborate? Send an email to contact@theottoolbox.com.


