Last week, I posted a picture of a sensory writing tray on our Instagram channel. You might have seen it. It was a sensory tray designed to teach handwriting, letter formation, and early literacy skills (letter identification) with a sensory bin. That sensory writing activity has been on the “to-do” list to share with you for some time. Today, I’ve got it all lined up and ready to go for you! Read on for a writing tray that teaches handwriting AND so many other essential skills!
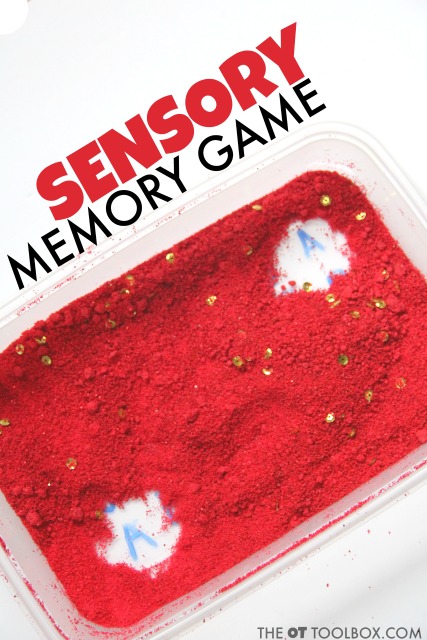
Sensory Writing Tray Activity
Before I go any further, I wanted to touch base on a sensory writing activity. This sensory activity is designed to teach certain skills such as letter formation and letter identification needed for handwriting through the tactile sense. Using the senses and movement in handwriting is an aspect of kinesthetic learning which can be quite beneficial to so many students.
This particular handwriting activity helps kids with various underlying skills that play a part in handwriting as well. By manipulating the sensory medium in the writing tray, kids get to experience and build skills needed for handwriting. These include: bilateral coordination, use of the dominant and assisting hands, visual discrimination, form constancy, visual scanning, visual memory, visual closure, eye-hand coordination, visual motor integration, and fine motor skills (finger isolation, separation of the sides of the hand, in-hand manipulation, arch development, and others).
Writing Tray to Teach Handwriting
Using a writing trays for handwriting are such a hands-on approach to teaching writing. Kids really love to get their hands in a sensory medium and play…while working on the skills they need to learn letters. Manipulating sensory materials to write letters can be used in teaching letter formation in a way that gets the kids engaged and excited about handwriting.
We’ve shared quite a few writing trays here on The OT Toolbox:
Making a quick Writing tray with dyed rice is so easy with a pack of rice, some food coloring, and a plastic baggie. The best thing is that you can use that dyed rice over and over again for sensory play.
Here’s another easy writing tray using dyed rice. So easy, all you need is the rice and a low bin.
I don’t know about you, but I go through A LOT of coffee grounds. Use those old coffee grounds to practice writing with a writing tray with coffee grounds. This is another biodegradable sensory activity. When you’re finished with writing practice, use the grounds in a sensory garden.
Dyed salt is a great medium for using in writing trays. It’s easy to manipulate and is so versatile. Use caution with young children that may put things or materials in their mouths. Always use caution and best judgement with each individual child. This writing tray with dyed salt was a great way to work on bilateral coordination and symmetrical movements with a visual motor component.
We actually used grass seed to work on letter formation by gluing the seeds down, but part of the fun was making a writing tray with grass seed. It’s a really inexpensive way to work on letter formation and others skills. Then, use the seed to plant a patch of grass in the yard.
It’s kind of slowed down around here, but there was a time when the slime craze hit our house full-force. We used some of that slime to make a slime writing tray. So fun…and totally worth the clean-up!
Some writing trays can have the letters and words actually in the bin, like our sight word writing tray. It was another easy writing tray to throw together. In fact, that writing tray inspired the sensory writing activity that we are sharing today…
WRITing Tray to Teach Letters
We used just a few items to create this sensory writing tray:
- Plastic casserole dish (glass would work to!
- Marker, paper, tape
- Dyed salt (We recycled the dried salt from this sensory activity.)
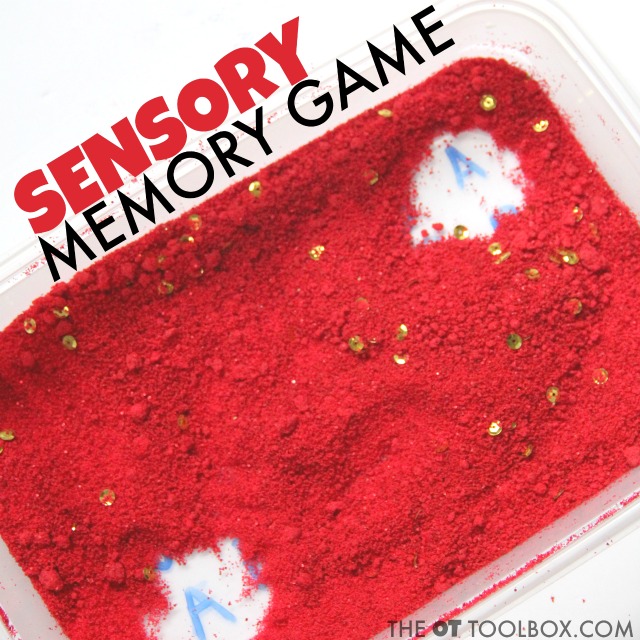
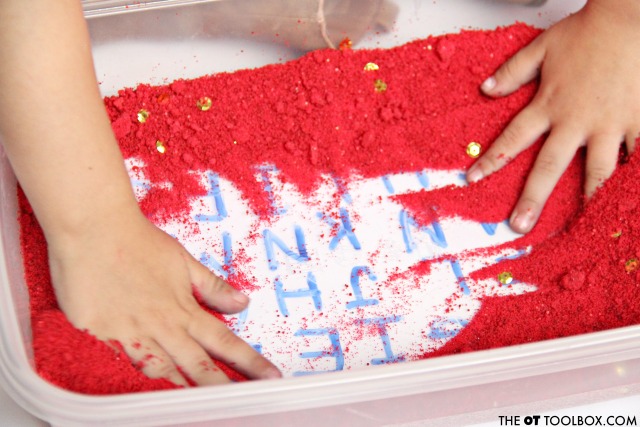
To set-up the sensory bin, use the marker to write letters in random order on the paper. You can write them in alphabetical order, but we wanted to work on a few visual perceptual skills such as visual scanning and visual memory by placing the letters in random order.
Tape the paper to the bottom of the tray (outside). You want the letters to show through the bottom of the dish from the inside. Another option would be to place the paper right into the bottom on the dish, but we wanted the salt and base of the dish to provide a contrast in temperature with this tactile sensory activity.
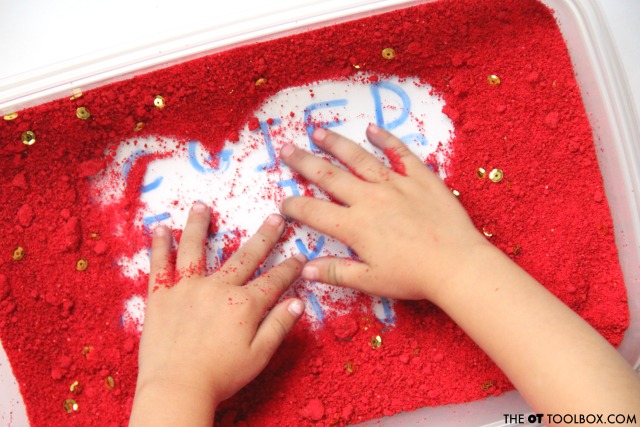
You can make each letter of the alphabet, or make several of the same letter to work on letter matching, memory skills, and form constancy. Use upper case or lower case, or even numbers. This sensory bin is so versatile and the sky is the limit!
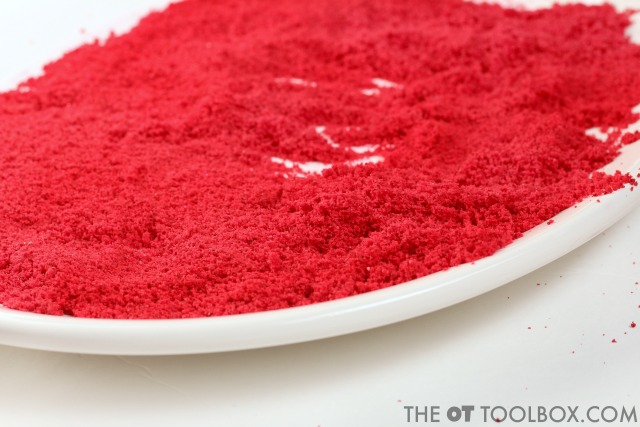
Pour in dyed salt or your sensory writing tray medium.
Ask the child to start looking for letters. When they find the letter, they can trace the lines to “write
the letter with their index finger. We even played a memory game by searching for matching letters hiding under the salt.
Visual Skills in Handwriting
For this sensory writing tray, we made this handwriting tray in a style that actually worked on a wider variety of skill areas beyond simply copying letters from a form. In fact, there are so many skill areas being addressed with a single writing tray idea:
- Visual discrimination
- Form constancy
- Visual Closure
- Eye-Hand coordination
- Visual Memory
- Visual Motor Skills
FIne Motor Skills in Handwritng
When writing, kids need a lot of fine motor skills. In this writing tray activity, we work on several of those skills:
- In-hand manipulation
- Arch development
- Separation of the sides of the hand
- Finger isolation
Sensory Memory Game
Turn the sensory tray into a sensory memory game by writing sets of letters. Kids can take turns uncovering letters to “find each letter of a set. Match two upper case letters or two lower case letters. Or, match upper and lower case letters in a letter memory game that kids will love!
