Today we are looking at Grasp Patterns, or the aspect of fine motor skills that involves the physical placement of the fingers on items we use to complete daily tasks. We will explore the types of grasp patterns (lateral key, hook, cylindrical, pincer, etc.) and offer activities to support development of each grasp pattern.
These various types of grasp patterns are important to understand when using finger strength exercises to build grasp and pinch strength in fine motor tasks.
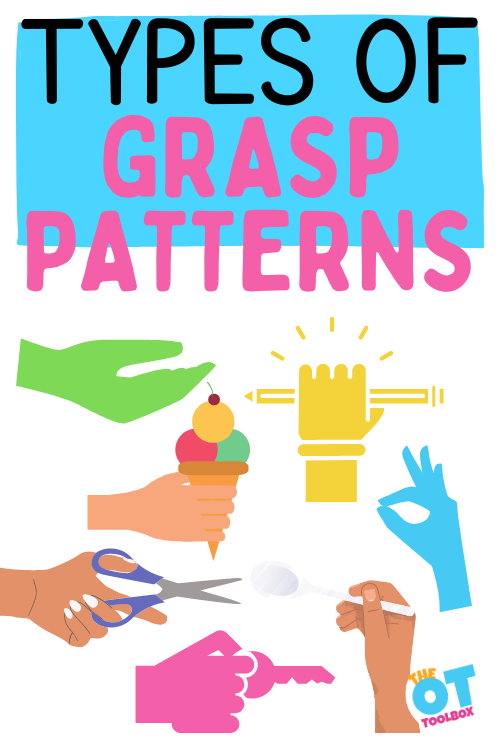
Grasp Patterns
A grasp pattern refers to the motor positioning of the hand on a utensil, or the specific type of grip used by the fingers and thumb to hold and manipulate objects. Variances in patterns of grasp promote refined coordination in motor skills, or finger dexterity.
Various grasp patterns are needed to:
- Hold objects like pencils, paint brushes, or crayons
- Hold and manipulate a toothbrush
- Squeeze a bottle of toothpaste
- Hold and turn a doorknob
- Hold and use a key
- Turn a page in a book
- Hold an ice cream cone or a hairbrush
- Hold something round like a small ball
In this post we will take a look at the developmental grasp patterns that we use for fine motor skills.
why do we notice grasp patterns?
Occupational therapy practitioners tend to spot atypical grasp patterns from a mile away. Apparently I am acutely aware of the different grasp patterns and look for them. I was having dinner with a friend and her four year old son a few nights ago. I was discretely checking out his grasp pattern. Or so I thought. When she caught me looking, I confessed that I was looking at his grasp pattern, she said, “I know”. Luckily for me, he had a nice grasp pattern, so I did not have to go down that rabbit hole.
The reason I am aware of grasping patterns and notice them, is the amount of dysfunction I see.
Kids are being pushed too fast to develop grasping patterns that they are not ready for. This is one of the issues that comes up with pushing preschoolers to write. With the use of technology, you’ll also see a switch from previous grasp patterns into those that use stronger muscles in the hands caused by overuse of the muscles needed to hold cell phones and swipe on screens. Check out symptoms of too much screen time for more information.
Each grasp pattern develops at a certain age. Find out what activities you can do to support these developing grasp patterns.
development of grasp patterns in infancy
When babies are born, they do not notice their hands. Primitive reflexes drive grasp patterns at this stage.
They have a palmar reflex, in which their fingers curl around something (usually a parent’s finger) placed in their palms. This reflex becomes integrated around four months old, and is replaced by volitional behavior, meaning the child has to intentionally initiate the action.
palmar grasp pattern
Around four months old, the child holds an object against the palm, as their fingers curl around it. The thumb does not yet oppose the fingers. This is a crude palmar grasp. Babies grasp large objects, often when placed in their hands.
At six to eight months the thumb starts helping in the palmar grasp pattern. The child holds an object against the palm but is now supported by fingers around the top and the thumb on the side. The radial (thumb) side of the hand is known as the precision side, meaning this grasp pattern is now more precise than before. This is called a radial palmar grasp.
radial digital grasp pattern
Around eight to twelve months the radial digital grasp pattern emerges. When using a radial digital grasp, you hold an object between the fingers and opposed thumb. The fingers are now strong and coordinated enough to hold an object without exterior stabilization from the palm.
pincer grasp
Pincer grasp is the next grasp pattern. About ten months an immature pincer grasp begins to emerge. Babies are beginning to use isolated fingers and the opposed thumb to grasp an object.
Around the twelve month mark, babies demonstrate a more refined pincer grasp pattern. You hold an small object between the thumb and first finger. This is the time when babies are working on feeding themselves with dry cereal and finger foods. While this is definitely a messy stage, finger feeding is a great way to boost your baby’s independence!
Finger isolation begins to happen during this time. Baby learns to point or poke their finger into something.
raking grasp
Around the time that the the child develops a pincer grasp, they also use a raking grasp. This is where the child sweeps all fingers to pick up an object. Babies often get frustrated at this stage because they get little bits of food stuck in the palm of their hand, and have not yet learned to move it out to their fingertips. The whole hand ends up in the mouth at this stage. Keep providing opportunities for practice.
One way to decrease the raking grasp is to provide small objects one at a time, or far apart from each other. Young children us raking to grasp many objects at once, like a large pile of cereal.
Grasp Patterns and Motor Control
Now that babies have the basic ability to reach for and grab and object, the grasp pattern becomes more refined, with the development of hand-eye coordination. This will allow your child to manipulate objects, play with toys, open and close things, and eventually use tools.
Pencil grasp development is one direction the grasp pattern takes as the child learns to hold and use tools (crayons, markers, scissors). A pencil or crayon grasp introduces a new set of challenges, because now purposeful movement is required to manipulate the tool.
The key to an effective, functional pencil grasp is one that allows for dynamic finger movements (to move the pencil around to write), slight wrist extension, and appropriate force modulation so the hand does not become fatigued during writing tasks.
gross grasp pattern
This motor control starts with a Gross grasp. The gross grasp pattern is used when squeezing all of the fingers shut around an object, like when holding the handle of a suitcase.
Gross grasp is important in tasks like holding a cup, spoon, hairbrush, or tube of toothpaste. To do these activities, you need to squeeze your whole hand shut and maintain endurance to complete the activity.
Development of the hand arch and thumb web space is important for these functional skills and gross grasp plays a part.
Initially, at around 12-18 months, children typically rely on a palmar or gross grasp, similar to when grasping toys. This is also referred to as a fisted grasp, because it appears as if the child is holding the crayon in the middle of their fist.
The gross grasp is also known as the cylindrical grasp, or the palmar supinate. It is a fisted grasp with the thumb wrapped at the top of the writing utensil. This is usually accompanied by scribbling. This is considered a primitive grasp. This grasp does not involve finger movements to color, instead relying on less precise movements at the elbow and shoulder joints.
Allow your child to manipulate large tools such as (Amazon affiliate link) chunky crayons. These can be egg shaped, or small chubby crayons. It is too early to be introducing regular crayons, markers, and pencils at this point. To do so leads to poor grasping patterns and compensation strategies.
A power grasp is a variation of the gross grasp that emerges later. This is used when heavy or forceful grasp is needed, such as using a hammer. The thumb helps
to stabilize the shaft of the tool rather than opposing the fingers.
other variations of the gross grasp pattern
In the gross grasp, or power grasp patterns, strength is required and involves holding an object between partially flexed fingers and the palm while the thumb opposed or adducts in order to provide pressure against the fingers.
- Hook grasp – the fingers hook around an object with or without the assistance of the thumb. This is usually a smaller diameter object. An example of this is gripping the handle of a shopping cart, holding a bucket by the handle, or carrying a briefcase.
- Spherical grasp – the fingers spread open wide to grasp a circular object such as a ball or an apple.
- Conoid grasp – this grasp is used to hold cone shaped objects such as an ice cream cone. The thumb and fingers oppose to hold a cone shaped object with the apex of the cone at the ulnar side of the palm. The ring and little fingers provide extra control and stability at the smaller end of the cone.
- Lumbrical grip – this grasp is used to grasp an object with all five fingers without curling around it. Examples of this are holding playing cards, or grasping a large book.
variations of the Precision grasp pattern
In addition to power grasp patterns (gross grasp, or the power grip) , we also have precision grasp patterns. These prehension grasp patterns typically describe the object that is being grasped, or the finger placements on an object.
While the pincer grasp is a great grasping pattern for holding small objects, it is not the only type of pinch grasp we use.
- Lateral Pinch (Key pinch) – The lateral pinch is also known as a Key Pinch, or Key Grip. This is because you can picture the positioning of the fingers and thumb as they would be to hold a key between the pad of your thumb and the lateral side of your pointer finger. While the pincer grasp is finger tip to tip, the lateral pinch uses the side of the index finger to push against the thumb. We see the lateral pinch while holding a key in a lock to turn it, pulling up pants, or tearing paper. Here are some clothespin pinch exercises to improve the different types of pincer grasp patterns.
- Three Jaw Chuck – this is also known as the palmar pinch. The thumb opposes against the tips of the first and second fingers to secure a small object. This is often used to pick up and hold objects that are slightly large for a pincer grasp, such as chess pieces, or building blocks.
- Tip Pinch – this is more refined than the simple pincer grasp. The pincer grasp usually uses the pads of the finger tips, where the tip pinch grasps the object closer to the tips of the fingers. This can be used to pick up tiny objects such as pulling a pin out of a pin cushion.
We have a video showing these different types of grasp patterns. Check out how we used clothes pins to support strengthening and development of these different pinch types (If you can’t view the video, check it out on The OT Toolbox YouTube channel):
development of writing grasp patterns
Before a child can hold a writing tool with a dynamic tripod grasp, they go through several stages in order to be able to use this functional grasp. This is due to the development of the arches of the hand, the musculature of the hand, and bone formation.
- Digital pronate grasp pattern – this grasp emerges around two to three years of age. The fingers are now pointed down towards the bottom of the writing utensil, however, all the fingers are being used along with a lot of whole arm movements. This is also a common grasp for self-feeding with utensils.
- Five finger grasp – all of the fingers are involved in holding the writing utensil here, which may continue to limit dynamic finger movements. It marks the first turn toward a neutral wrist position (no longer pronated) and begins to appear similar to a functional grasp. Typically all of the fingers are touching the pencil, but closer to the end of the fingers than the palm. Often children get “stuck” in this grasping pattern, unable (or unwilling) to move to the next stage.
- Around four to five years old, a static quadrupod grasp develops. Static means that the fingers still do not actively move, instead writing motions are driven by the wrist, elbow, and shoulder joints. Quadrupod refers to the four fingers that are involved (index, middle, ring + thumb). Children begin to show separation of the digits of the hand as the pinky finger is not actively engaged in grasping the writing utensil. Learners often maintain this grasping pattern into adulthood.
the start of the tripod grasp pattern
- At the same time as the static quadrupod, or shortly after, a static tripod grasp may emerge. Some learners do not use a quadrupod grasp, but move right into a tripod grasping pattern. They hold the writing utensils crudely and use the whole pads of their fingers on the writing utensil. There also may still be some wrist range of motion and forearm movement to move the pencil, with the fingers not moving (static). The static tripod grasp is a 3 finger grasp, two fingers pinching the writing utensil and the 3rd (middle) finger tucked to the side of the pencil, forming a tripod. The 4th and 5th fingers are usually static next to these fingers and do not tuck into the palm of the hand yet.
- Separation of the sides of the hand– This motor skill is where we see precision skills with stability offered through the base of the hand. Paperclips are the perfect small item to hold in the palm of the hand, engaging the ulnar side of the hand, while encouraging movement and precision with the pointer finger, middle finger, and thumb. This skill is so important for fine motor precision in tasks like pencil grasp and managing clothing fasteners or tying shoe laces.
- Finally around ages five to six, a dynamic tripod grasp emerges. Dynamic means that the fingers are now actively moving the writing utensil to produce written strokes. This helps prevent fatigue and increase legibility during writing tasks. Tripod refers to the 3 fingers involved (index, middle + thumb), while the ring and pinky finger are now separated and tucked into the palm. Here is a great post on activities to work on developing a tripod grasp.
- In-hand manipulation– Paperclips can be used as a manipulative item for transferring from the palm to the fingertips or vice versa. This is an essential skill needed in pencil grasp and other functional tasks.
tips and activities to improve grasp pattern
While development of grasp pattern seems to come naturally to some children, others need a little help along the way. Providing activities and toys to help promote good development is a great way for all children to learn.
- Offer tiny items for your child to practice picking up. If you are fearful of children playing with tiny objects, you can use food items such as sprinkles, cereal pieces, raisins, dried fruit, tiny pieces of cookies, or small cooked macaroni/rice
- Placing small toys in an ice cube tray to encourage use of a pincer grasp
- Coloring with broken crayons to encourage use of a tripod grasp
- Have children hold a small pompom or coin in their fourth and fifth digits to promote a tripod grasp pattern
- Practice writing or coloring on a vertical surface to promote wrist extension and dynamic finger movements
- Engage in tactile play to help with mapping the hand
- Playdough is always a great activity for helping to build grasping skills
- Strengthen finger and arm muscles. Some fun activities include using squirt bottles, doing wheelbarrow or animal walks, playing with Legos, and squeezing resistive putty
- Life skills are great tasks to build grasping patterns. Working on fasteners, grooming, cooking, self feeding are functional activities that work on grasping patterns. You can initiate play using household items for inexpensive skill-building or therapy at home.
- Kitchen tools make great activities to develop grasp patterns. Check out our post on cooking and fine motor skills to get started. Get out the tongs, pincers, measuring cups, small containers to open/close, bottles for pouring, spoons, potato peeler, cracking eggs, a can opener, etc. This can be done in pretend play, or during a cooking task. Something as simple as muffins can use several tools.
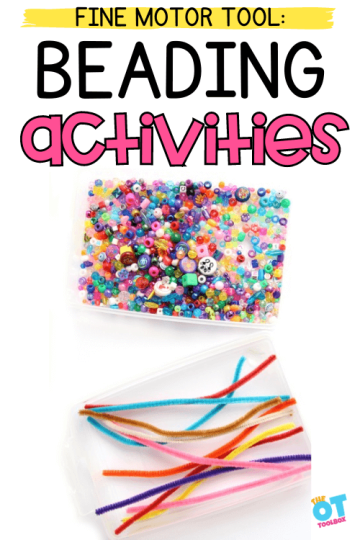
- Bead activities
- Pom pom activities
- Paperclip activities
- Activities using just a deck of playing cards
- Activities using just craft pom poms or cotton balls
- Clean out the junk drawer – you would be amazed how many items are in the junk drawer that can be used to strengthen fine motor skills. Use buttons, coins, pieces of paper, stickers, string, chip clips, or whatever you can find
- Create a fine motor toolkit – head to the dollar store and pick up some needed items to make your own toolkit. This can include blocks, beads, cut up sponges, scissors, stickers, playdough, putty, string, paper, and anything else you see. Put all of these items in a shoebox or clear tote. We love putting together occupational therapy toolkits. You could also try some of our printable, digital toolkits, like our back-to-school toolkit.
- Use crayons to gain all of The Benefits of Coloring
- Set up a bin rotation system – have fine motor stations or small pencil boxes with different fine motor activities in them. Students can rotate through the bins as they master them.
the key to developing great fine motor skills
“Don’t wait for the right opportunity: create it.” — George Bernard Shaw
Create opportunities for children to learn and grow. This does not mean buying all of the latest toys and gadgets, or parking your kid in front of an Ipad. Provide the materials, and guidance needed for success.
It is much better to build the skills a child needs, than to spend months and years undoing the damage.
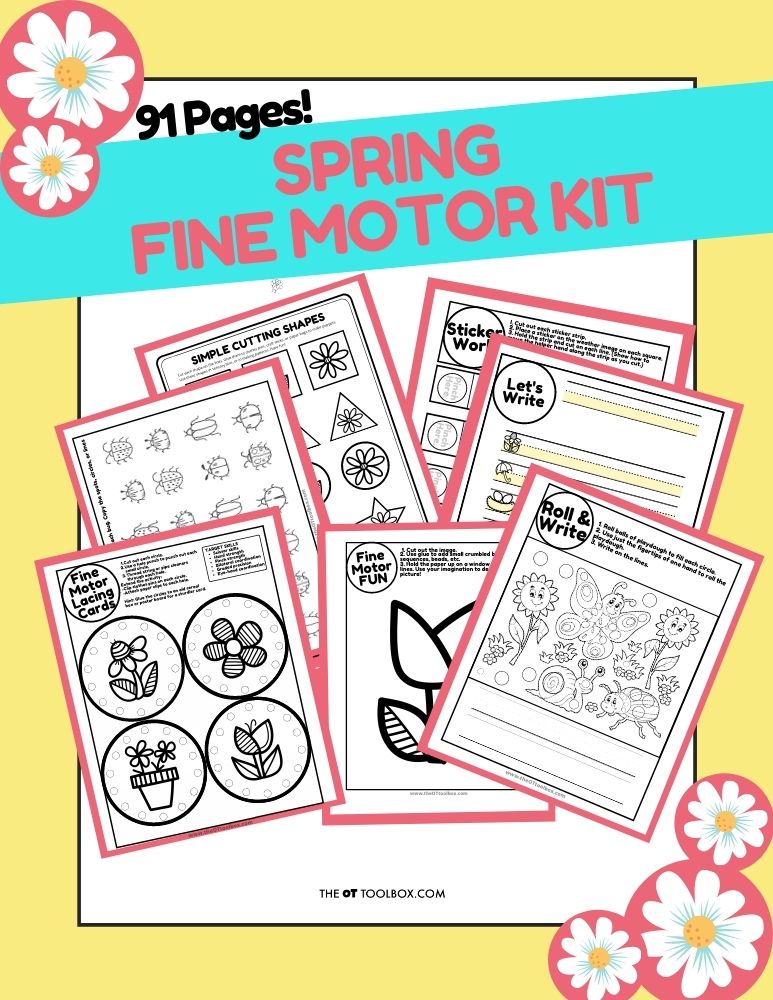
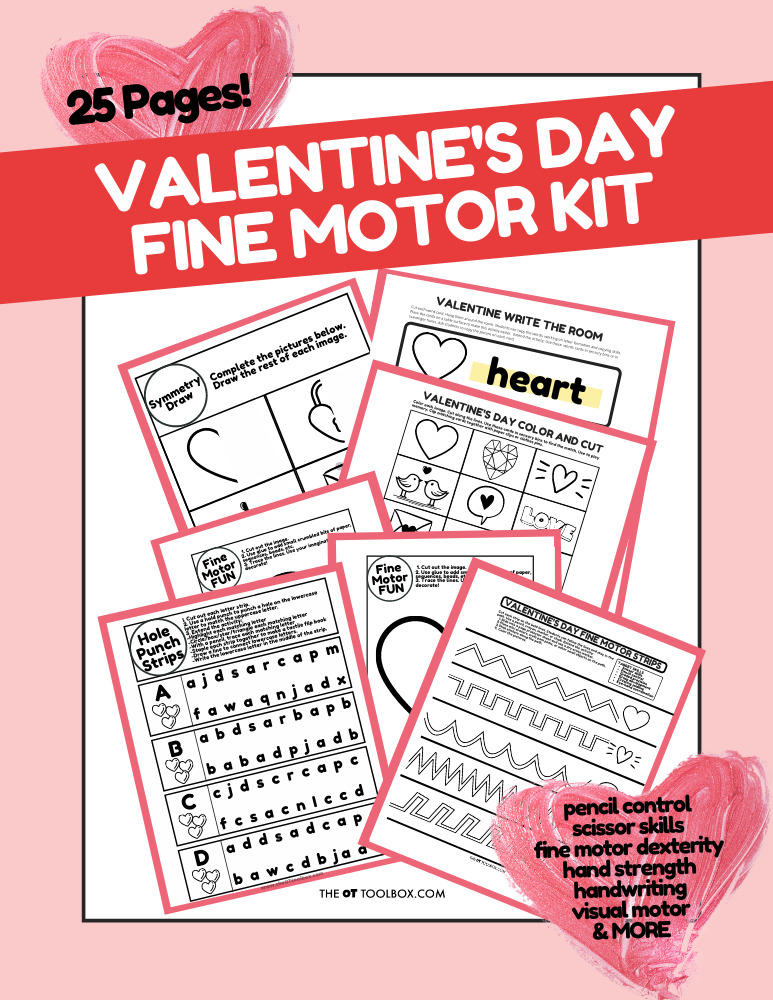
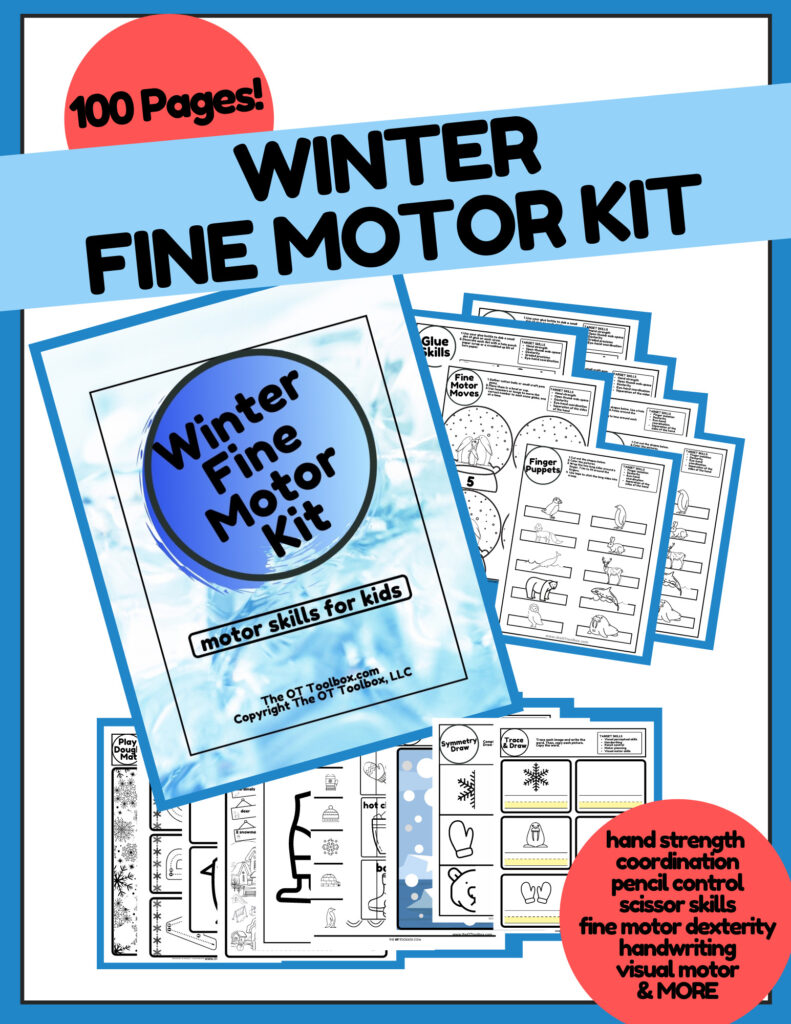
Working on fine motor skills, visual perception, visual motor skills, sensory tolerance, handwriting, or scissor skills? Our Fine Motor Kits cover all of these areas and more.
Check out the seasonal Fine Motor Kits that kids love:
Or, grab one of our themed Fine Motor Kits to target skills with fun themes:
- Frogs Fine Motor Kit
- Unicorns Fine Motor Kit
- Vehicles Fine Motor Kit
- Apple Fine Motor Kit
- Back to School Kit
- Sports Fine Motor Kit
- Outer Space Fine Motor Kit
- Fairytale Fine Motor Kit
- Plus more in our shop!
Want access to all of these kits…and more being added each month? Join The OT Toolbox Member’s Club!

Victoria Wood, OTR/L is a contributor to The OT Toolbox and has been providing Occupational Therapy treatment in pediatrics for more than 25 years. She has practiced in hospital settings (inpatient, outpatient, NICU, PICU), school systems, and outpatient clinics in several states. She has treated hundreds of children with various sensory processing dysfunction in the areas of behavior, gross/fine motor skills, social skills and self-care. Ms. Wood has also been a featured speaker at seminars, webinars, and school staff development training. She is the author of Seeing your Home and Community with Sensory Eyes.

