This blog post on how to make a sensory bottle is an old one on the website. It was originally written February 21, 2015 and we updated it April 11, 2024. All this time later, the fact is that sensory bottles continue to be a valuable self regulation and calming tool for kids to use to calm down.
We love to play with sensory bottles. They are an amazingly simple way to explore, calm, and investigate. If you are looking for a sensory play idea that is mess-free and can be used as a learning tool as well as a therapy tool, then sensory bottles are the way to go.

What is a sensory bottle?
Why do Sensory Bottles Work?
One question that comes up a lot is how do sensory bottles work? How does a sensory bottle or sensory jar calm down a child, especially when they are in a fight or flight state? It has to do with the proprioceptive input paired with visual gaze.
Let’s break this down…
A sensory bottle is a common tool used to support sensory processing needs that impact behaviors and emotions. This type of tool is key when it comes to sensory dysregulation and meltdowns or regulation needs. We call this a sensory coping strategy.
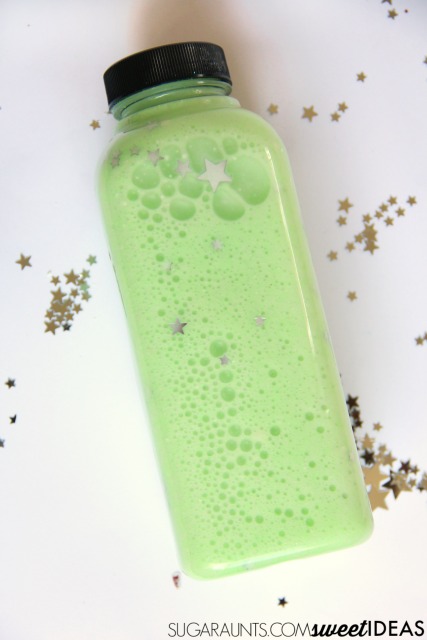
The jar or container has weight to it, offering heavy work, when held and shaken or information to the proprioceptive sensory system. Then, along with that input, the jar has a visually enticing “thing” inside, which might be sand slowly moving through objects, water and oil moving slowly up and down the bottle, or other item that catches the eyes.
Sensory Bottle and Polyvagal Theory
The polyvagal theory is a newer area of study (at least since this blog post was originally written back in 2015!), but the concepts have always been there. The polyvagal theory says that there is a relationship between eye gaze, autonomic reactions, and cognitive performance. This article explains more about a research review related to polyvagal theory.
The key here is to get the eyes into a gazing state. By that I mean the eyes should dilate as if staring off into the horizon or even something that is just 20 feet away. Did you ever sit on a beach and stare off at the horizon with a huge sense of calm and peace? Or have you ever looked off at a mountain pass and felt regulated? This is horizon gazing and we can use that calming strategy when using a sensory bottle as a calming tool.
When you gaze off into a distance without really focusing on something, the pupils are converging. The cool thing is that you don’t need a horizon or something really far way for this to happen. You can just stare at the sensory bottle without really looking and focusing on any one thing. This can be especially helpful to blunt norepinephrine.
When we see these materials move within the bottle, we hold a gaze…AND feel the weight of the bottle…and add deep breathing exercises, this is where we get the calming state!
We cover a lot about sensory strategies, including vision and interoception here on The OT Toolbox. This is important because of the role of the limbic system, the vestibular system, proprioceptive system, and overall sensory processing systems in functional tasks.
A sensory bottle is a valuable support tool for these areas. They also serve as a hand-held mindfulness activities and can be added to a child’s “Regulation Toolbox.”
When we use a sensory bottle in therapy sessions, we are focusing on the coping strategy that is used in conjunction with an emotions check in and feelings check in to support self awareness. It’s a self regulation activity that we love because you can use a variety of materials and kids can help make them.
Because of this, sensory bottles make a great addition to a budget sensory room in the school environment, or a calm down corner at home.
How to make a sensory bottle
It’s not difficult to make a sensory bottle. Basically, you’ll use materials you already have on hand.
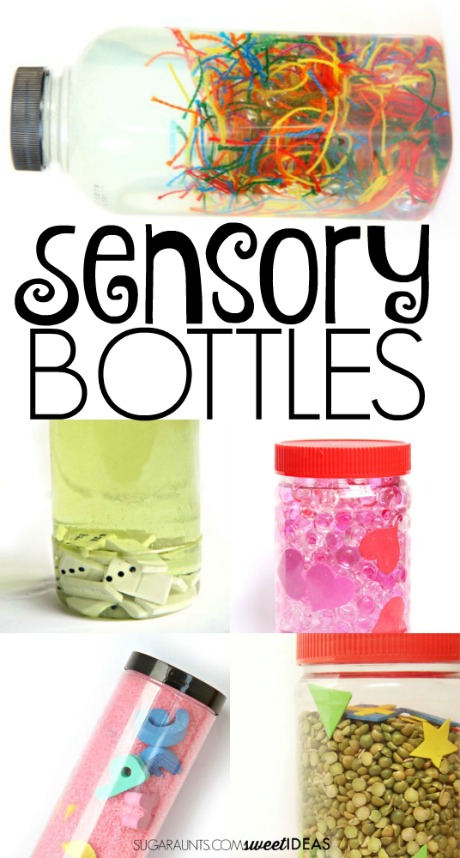
- Liquid sensory bottles
- Dry materials sensory bottles
- toys
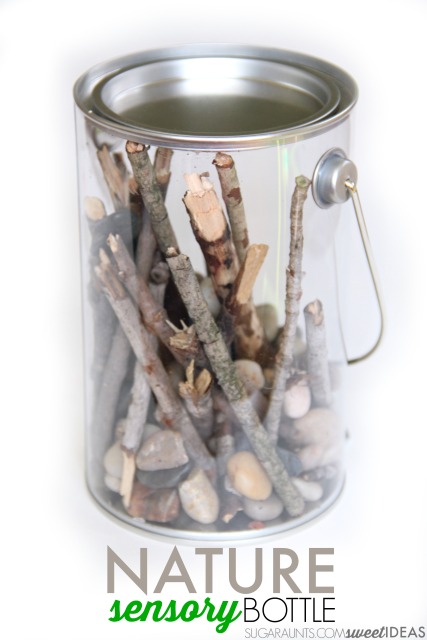
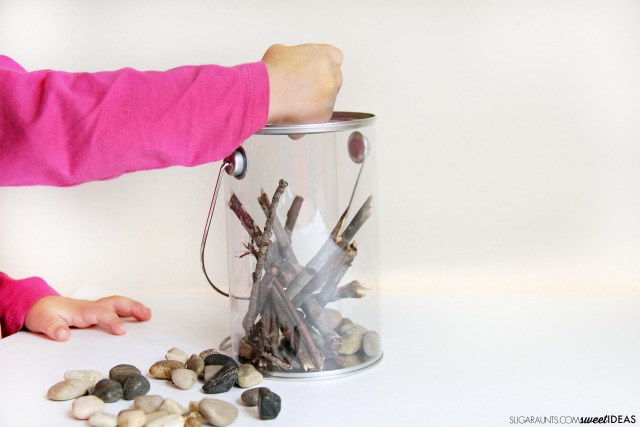
- nature (acorns/leaves/flowers/sticks/rocks…)
- beads
- feathers
- glitter
- paper clips
- pipe cleaners
- crafting pom poms
- rice
- dry pasta
- colored sand
- quinoa
- beans
- spit peas
- toys
- bath salts
- sand
- feathers
- beads
- paper
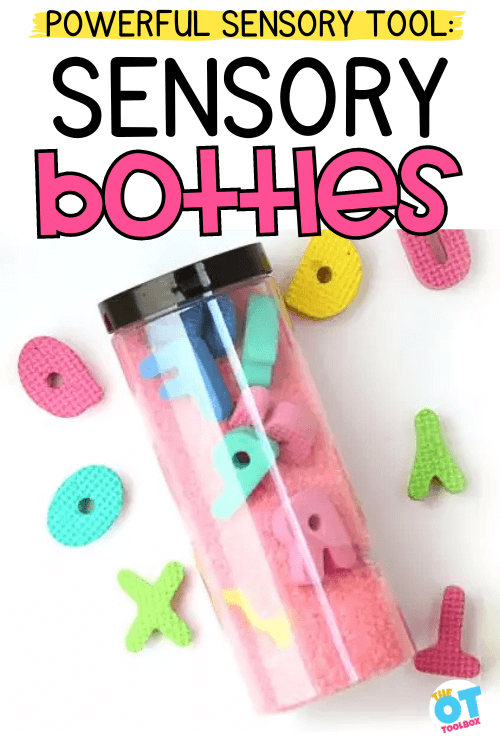
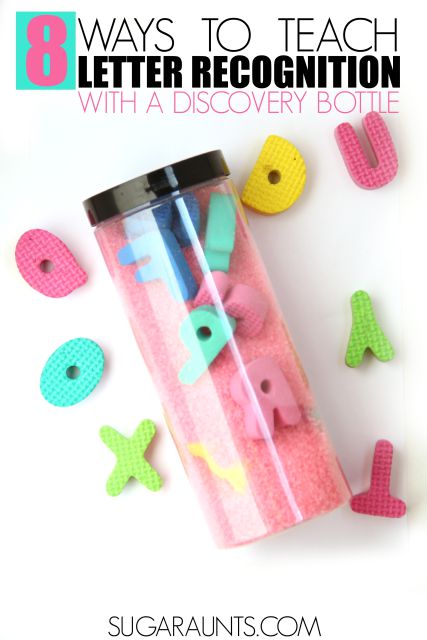
You can also add a learning component by dropping in:- Letters
- Numbers
- Sight Words
- foam letters and numbers
- dominoes
- foam craft sheets (cut into shapes)
- magnets.
After you add the items you want into the container, add a bit of glue to the lid and secure it onto the bottle. Allow the glue to dry before you use the bottle.
We’ve used sensory jars and bottles as a sensory tool many times. Along with crayon play dough, they are one of our favorite ways to to get proprioceptive input through play.
Sensory Bottle Ideas
Some of our favorite sensory bottle ideas include ones that we had as much fun making as we did playing with!
If you are looking for more creative sensory ideas, then you will love our favorite sensory bottle ideas:
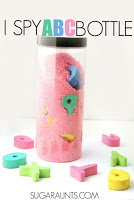
- Alphabet Discovery Bottle
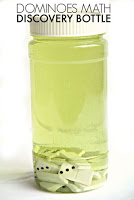
- Math Dominoes Discovery Sensory Bottle
- Teach Kids How to Button The Fun Way
- DIY 3 Ingredient Kinetic Sand Recipe
- Simple sensory jar
- Split Pea Christmas Sensory Bottle
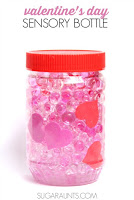
- Valentines Day Sensory Bottle with Waterbeads
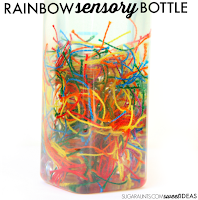
- Friendship Thread Rainbow Sensory Bottle
- Baby Safe Waterbeads Sensory Play
- Waterbead Sensory Box
- Creative Scissor Activities for Kids
- Sight Words Sensory Jar
- Math Sensory Bottle
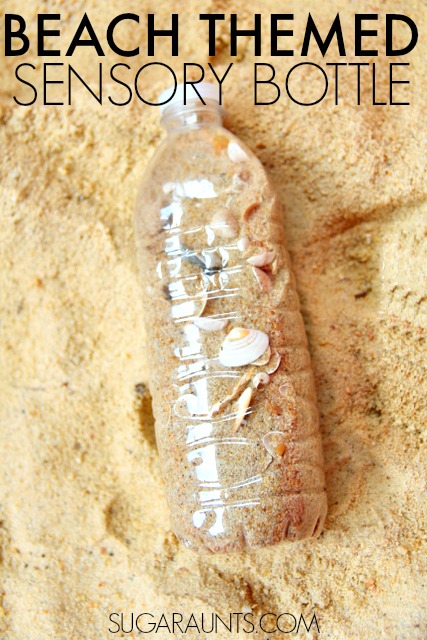
- Sand Sensory Bottle
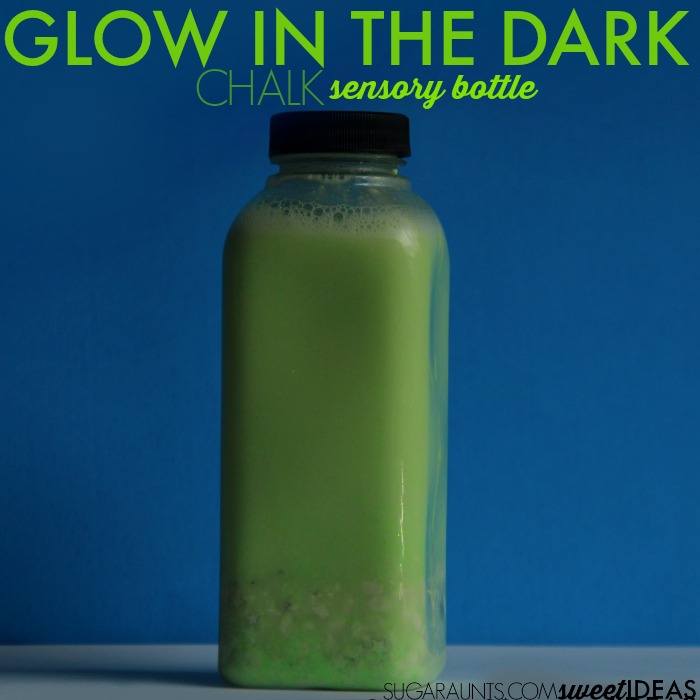
- Glow in the Dark Sensory Bottle
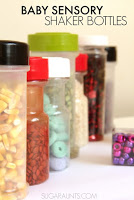
- Baby Shaker Sensory Bottle
Check out the baby sensory exploration bottles we made in this video below:
Have you ever made a sensory bottle? What did you add?

Colleen Beck, OTR/L has been an occupational therapist since 2000, working in school-based, hand therapy, outpatient peds, EI, and SNF. Colleen created The OT Toolbox to inspire therapists, teachers, and parents with easy and fun tools to help children thrive. Read her story about going from an OT making $3/hour (after paying for kids’ childcare) to a full-time OT resource creator for millions of readers. Want to collaborate? Send an email to contact@theottoolbox.com.


