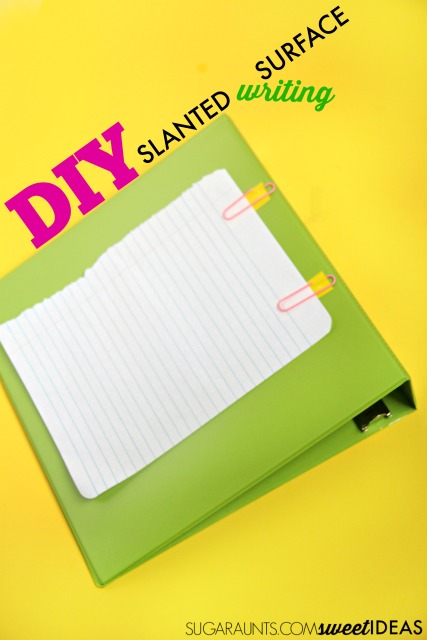
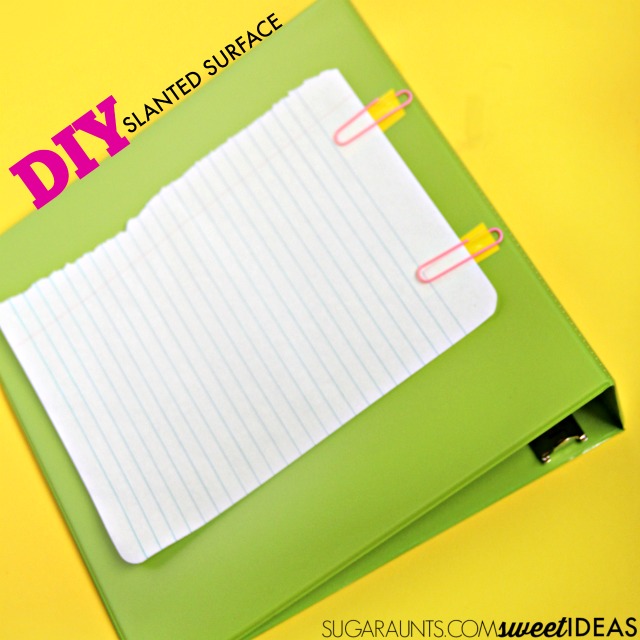
One quick tip for improving handwriting is to use a sloped surface or an angle board. Writing on an angle is beneficial for many reasons. Today, I’ve got a run-down of why writing on a slant board or sloped surface is beneficial for kids who are working on thier handwriting, as well as an easy DIY sloped board that can be easily used in the classroom or at home. Take it along to appointments for homework, too! This easy DIY sloped writing surface shouldn’t cost you more than a few dollars to make and is a secret tool for improving handwriting, especially if you already have some of the items.
This activity is part of our month-long handwriting series where we are sharing creative and easy ways to address common handwriting issues in our 30 Easy Quick Fixes for Better Handwriting series.
Why Use a Angled Writing Surface When Working on Handwriting?
This post contains affiliate links.
There are several reasons why writing on an angled surface is beneficial for kids:
Wrist Extension– Writing with an extended wrist puts the hand into a functional position and allows the hand to pull the radial digits into opposition. The angled surface forces the wrist and hand into tenodesis, which is a commonly used passive hand grasp pattern for individuals with C6 level quadriplegia or other physical deficits. Using the slanted surface for an individual who has typical range of motion neural pathways benefit by the pulling of the fingers into a flexed position. In order to hold and grasp the pencil, an individual needs to maintain radial digit opposition to the thumb but may present with increased force on the pencil due to this positioning.
Posture– Placing paper on an angled surface brings the paper and pencil closer to the child. They automatically assume an more upright posture in the chair prompted by raised shoulder girdle. This and a raised neck posture can help with breathing and allow the child to become more alert in classroom writing tasks. By bringing the paper up closer to the child, they raise their neck and head up into a better position.
Visual Processing and Learning– This is an interesting article sharing information about research showing there is improved learning when near point visual activities like reading and writing are done in proper conditions. The article also describes research that shows work done on a sloped surface of 20-23 degrees with appropriate elbow positioning will position the eyes into an optimal distance from the working surface.
Improved Motor Control– By positioning the wrist on a slanted surface, the forearm is used in manipulating the pencil, giving more motor control in moving the pencil to form letters. Motor control in handwriting is needed to stop on lines, form letters appropriately, and to help with writing speed.
Paper positioning- using both hands together in a writing task can be overwhelming for the child with bilateral coordination difficulties. A sloped surface with a paper attachment can be an easy way to keep paper attached while the child concentrates on letter formation.
Copying Skills– Copying written work from a chalkboard or overhead can be quite difficult for some students with visual processing concerns. Using a slant board is one tool that can be used in the classroom. The upright posture and less movement of the head and eyes that need to shift to visually scan from the desk to the wall can help with copying when a slant board is used.
amzn_assoc_placement = “adunit0”;
amzn_assoc_search_bar = “true”;
amzn_assoc_tracking_id = “sugaun-20”;
amzn_assoc_ad_mode = “manual”;
amzn_assoc_ad_type = “smart”;
amzn_assoc_marketplace = “amazon”;
amzn_assoc_region = “US”;
amzn_assoc_title = “My Amazon Picks”;
amzn_assoc_linkid = “f75b311bac75929d62204941aac83de4”;
amzn_assoc_asins = “B01BZI4C04,B008N3I0VW,B01BTZKSBU,B006LN5NHU”;
How to make a DIY Slant Board
This DIY version of a slant board is very easy to make. With commercial slant boards being very expensive, it can be difficult to fill a classroom with slant boards (or even find money in the budget for one student!).
You will need just a few items to make your own version:
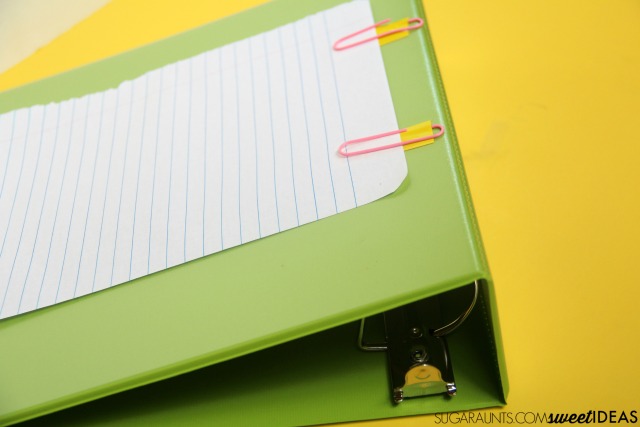
Cut a two pieces of electrical tape and stick it to one side of the inside of the paper clips. To make this easier, slightly bend the paper clip and slide the tape in. You can then bend the paper clip back to a flat position. Stick the tape and paper clip to the binder.
Repeat with the other paper clip and tape. You can use the angled surface as is or you can attach a pencil with the piece of string. Just tie one end to the eraser end of the pencil and the other end to one of the rings inside the binder.
Watch the how-to HERE:
One final note:
Be sure to tie the string to the same side as the child is dominant. If they write with their right hand, tie the string to the right most ring in the binder. If they are left handed, tie it to the left most ring.


