Selection Strategies
First, a few tips for starting a sensory diet:
Once sensory diet strategies are developed, it’s important to present them to the child in a clear manner. This will ensure carryover and success.
There are many ways to set up a sensory diets scheduled activities. Each child may prefer an entirely different strategy for organizing sensory activities in their individualized sensory diet. The child who responds well to visual schedules in their classroom may use a picture schedule for their sensory diet.
A schedule of sensory activities based on specific needs is an important part of a sensory diet and a sensory lifestyle.
Scheduling sensory diet activities is important for carryover and use of appropriate sensory activities throughout the day and not after sensory overload or sensory seeking behaviors has occurred. Sensory diet strategies can help prevent or address a sensory meltdown, so it’s good to have the information and tools you need ahead of time and to better understand what causes a sensory meltdown and how to help.
Sensory Diet Scheduling Strategies
1.Picture Schedule- Take photos of sensory activities. Print them out and laminate them. The photos can be added to a pocket in the front of each sensory bin or container. When the child takes out that activity, they can place the photo in a bowl or stick it to a wall planner using Velcro.
2. Clip Schedule- Use clothes pins to clip onto a schedule list of activities. When the child chooses a specific sensory activity, they can clip next to the words on their list.
3. Use PECS (Picture Exchange Communication System) or other pictures of sensory activities to create a keychain flip booklet of sensory diet activities.
4. Create strips of paper with sensory diet activities written out on strips of paper. Laminate the strips for sturdiness. Attach a self-sticking Velcro tab to the back of the laminated strip. The schedule of activities can then be attached to a felt board or schedule board with Velcro tabs. Once the activity is performed, the child can drop the strips into a cup. For a more durable system, use foam craft sticks or wooden craft sticks.
5. Create a sensory diet binder using page protectors. Children can mark off activities with a dry erase marker.
6. Visual Supports- Dry erase boards, Velcro board, flip picture schedule, felt boards are all ideas. Use visual supports in the simplest way possible with reduced visual distractions. A single color is best. Meeting the needs of the child is essential as well.
7. “First, Then” Strategy- Children with sensory processing challenges, particularly those on the Autism spectrum struggle with excessive instructions. It is hard for them to pull out the important words from a paragraph of instructions. Simplifying directions is key for these children. The “First, Then” strategy breaks down tasks into the simplest form. This is an effective mechanism for challenging behaviors and transitions.
8. Keychain schedule- Create a schedule that can go with the child. These can be clipped to belt loops, jackets, binders, necklaces, or backpacks. The options are limitless with a keychain schedule system. Use whatever strategy works best with the child. Some ideas are picture schedules, First/Then strategy, or even a dry erase schedule with words. A reward at the end of the schedule is a great reinforcer for children.
9. Special Interest Schedulers- Using the interests of the child as a motivator and as a scheduler can have great results. For the child who is interested in vehicles, they can attach a “wheel” onto a picture of a monster truck when each task is completed. The sky is the limit when it comes to using special interests in the form of schedules.
10. Apps and Technology- For some children, the use of a screen is the motivating tool that can help kids transition through their day. Special interests can be used in this manner as well. There are apps that utilize a form of the “First/Then” strategy combined with special interests such as characters like Sponge Bob.
11. Communication Center- Sensory diet activities can be created with visual images or words and made into magnets that are stuck to the refrigerator. Other ideas for a sensory diet center include a dry erase board or laminated paper that is used at a student’s desk in the classroom or on the dining room table at home.
More sensory diet resources
Sensory Diet Activities for the Classroom
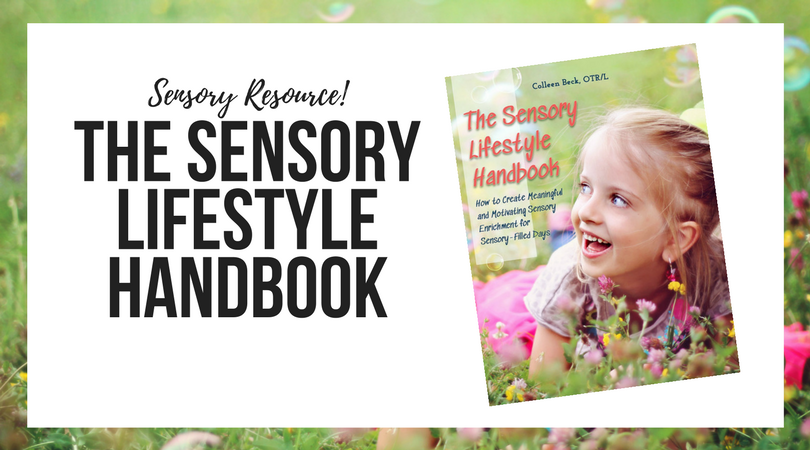
Looking for more resources on how to set up and create a sensory diet? The Sensory Lifestyle Handbook walks you through sensory diet creation, set-up, and carry through. Not only that, but the book helps you take a sensory diet and weave it into a sensory lifestyle that supports the needs of a child with sensory processing challenges and the whole family.
