When students learn new cursive letters, it can be very helpful to have a consistent pattern of instruction. A cursive writing lesson plan can include consistent activities that are used with each letter as it’s learned. Students can then know what to expect and can benefit from different learning tools to ensure motor planning of letter formation. This strategy is helpful when teaching kids how to write in cursive.

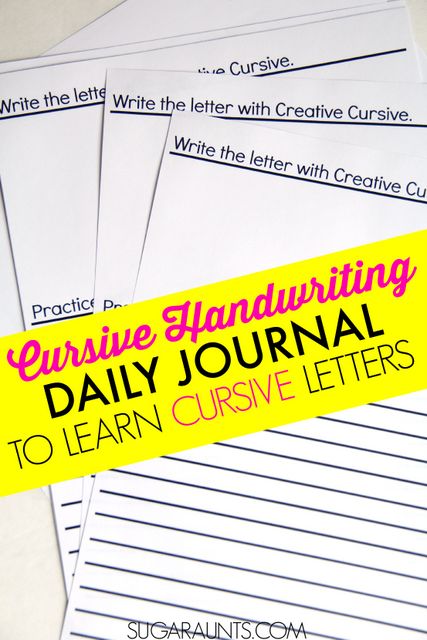
Cursive Writing Lesson Plan
This plan of activities can be used for each letter of the alphabet as it’s taught.
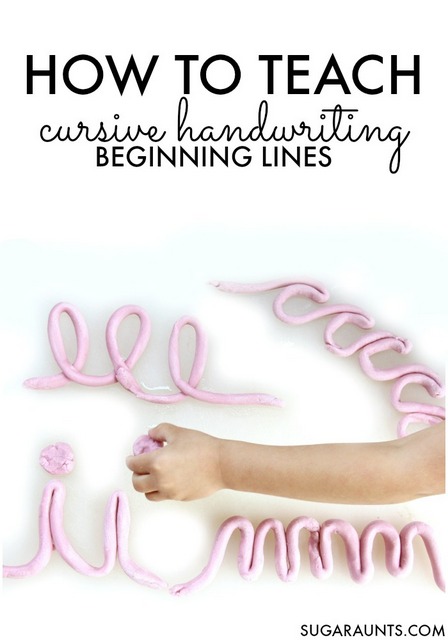
1.) Gross Motor Warm-Up
2.) Show and Describe- The teacher, therapist, or parent can write a model of the letter and use the simple verbal prompts needed for each stroke of the letter. This can be repeated several times and as needed throughout the cursive writing lesson.
3.) Air Write and Say- The instructor should stand in front of the student/s with their back to the student/s. They can use their whole arm to write the letter in the air, using consistent verbal cues for each stroke of the letter. After showing the students how to write the letter in the air, the class/student should write the letter in the air. They can say the verbal cues out loud. Repeat air writing as needed. Gross motor cursive handwriting practice can help with the overall direction of letters and the view of the letter in the mind’s eye of a child…helping with formation skills and carryover.
4.) Eyes Closed Air Write- Students can form the letter in the air while their eyes are closed. Students should say aloud, the verbal prompts for each stroke of the letter. When students write with their eyes closed, accurate formation is not essential, however the student will visualize the letter in their mind’s eye while practicing the verbal cues for each stroke of the letter, building carryover of verbal cues.
5.) Finger Trace and Say- Students can trace the cursive letter on paper, using their index finger to trace a model. Students should say aloud, the verbal cues for each stroke of the letter.
6.) Pencil Trace and Say- Students should trace the lines of the letter using gray scale letters so that they can see their pencil strokes. The verbal prompts for each stroke of the letter should be said aloud.
7.) Pencil Trace- Students can trace the letter without saying the verbal cues.
8.) Write and Say- Students can write letters without tracing while saying the verbal cues for each stroke of the cursive letter. Students should have a visual cue on each line of the paper and should write each letter no more than three times after each visual model.
9.) Write- Students can write the letter without saying verbal cues out loud. They should continue with the visual model, and writing each practice letter no more than three times between visual models.
TIP FOR TEACHING CURSIVE:
Try teaching groups of letters together in clusters according to the components that make up that letter’s formation. Read more about cursive letter families and this strategy.
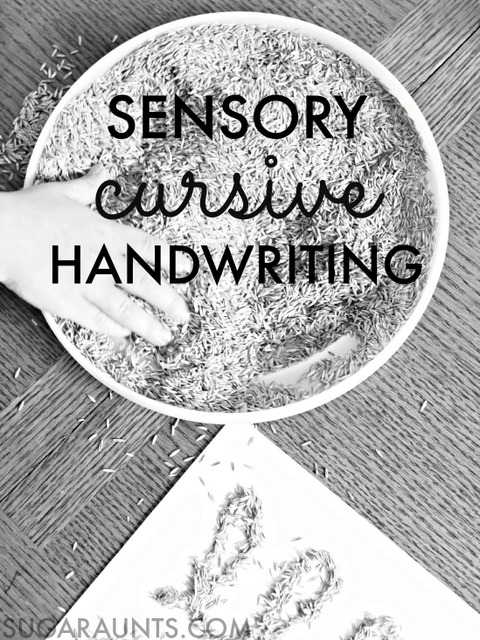
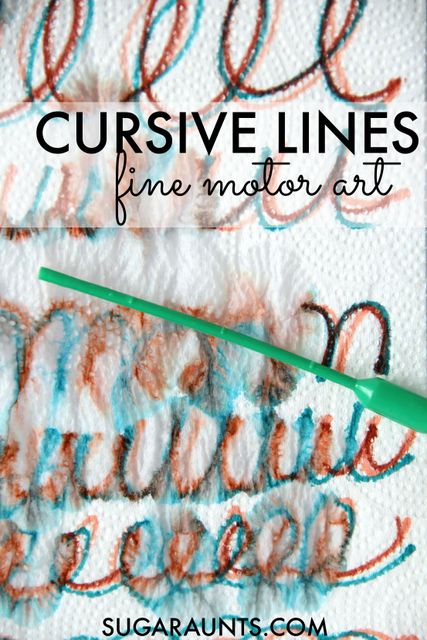
Once cursive letters have been taught, it can be helpful to practice them in creative ways using multiple senses. There are many ways to practice cursive letter formation. Try some of the ideas below.