This finger painting fireworks craft is a great July craft for toddlers that can be used to celebrate the Fourth of July with toddlers and preschoolers! Add this one to our favorite creative painting ideas!
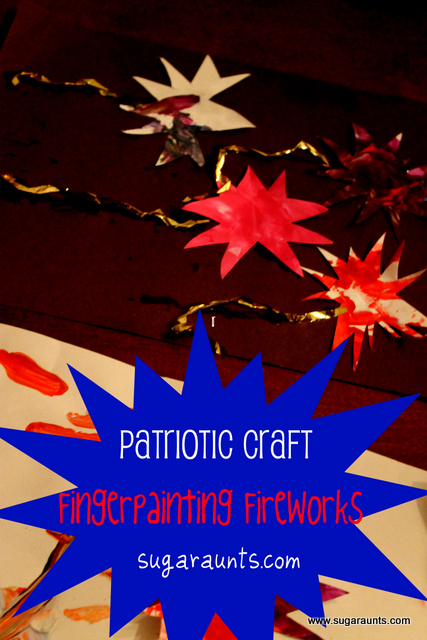
Finger Paint Fireworks
This weekend I had 5 kids (ages 1, 2, 3, 4, and 5) and I had to think of something to keep them all busy. Finger painting is a fun craft for kids all ages, the babies love feeling the different texture of paint on their fingers and playing with the paintbrushes. I pulled out the paper and let them go to town with the washable finger paints!
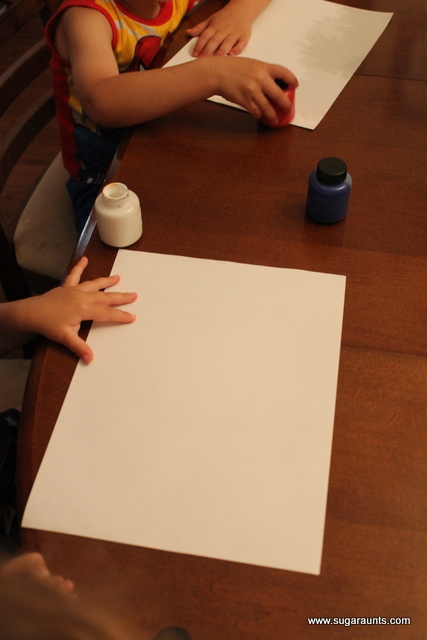
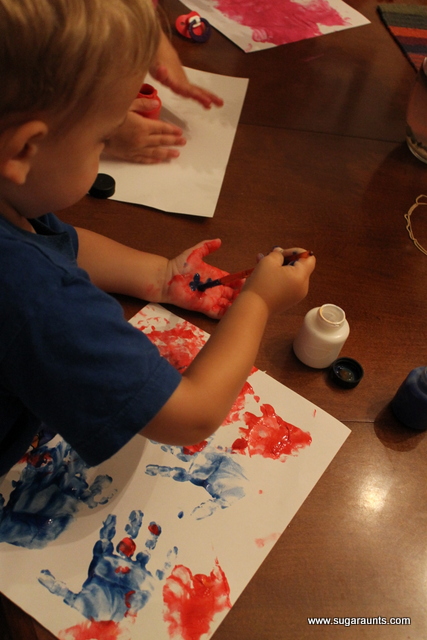
I helped my little guy (2) make hand prints in red and blue.

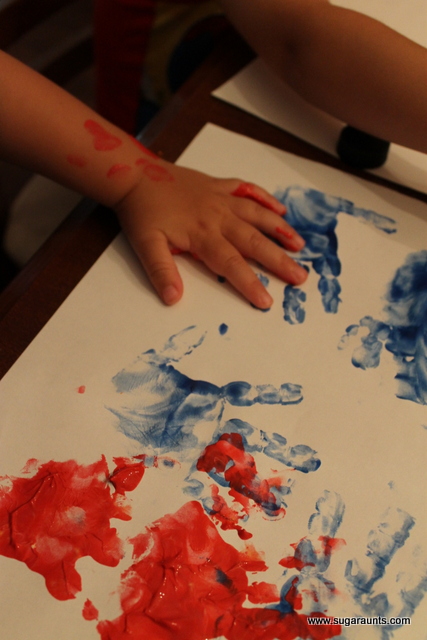
The big kids enjoyed mixing colors while my 2 year old enjoyed painting his hand…and mixing colors in the paint jars…ughh. I think every color is now brown.

This project kept the kids busy for about 30 minutes, enough time for me to put away the dishes and wipe down the table 🙂

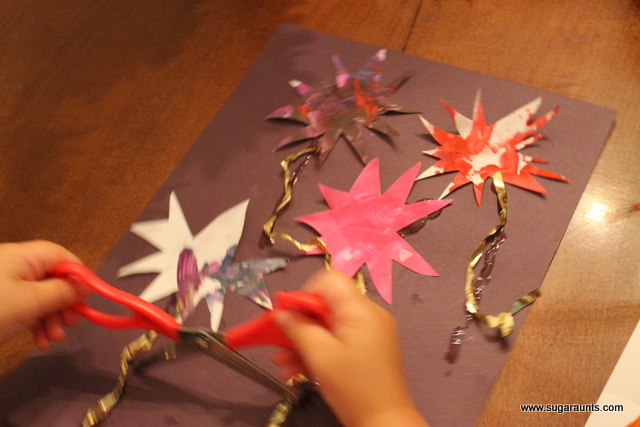
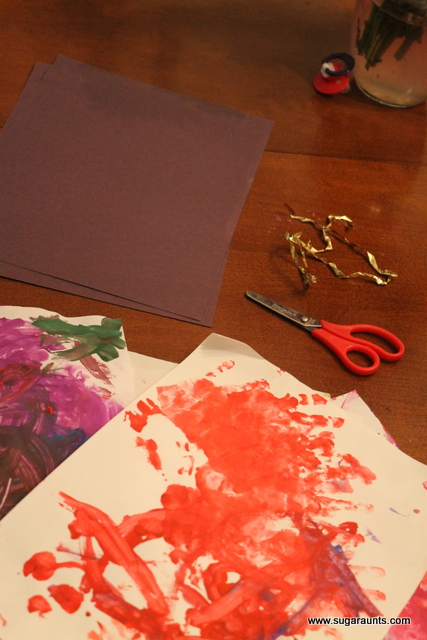
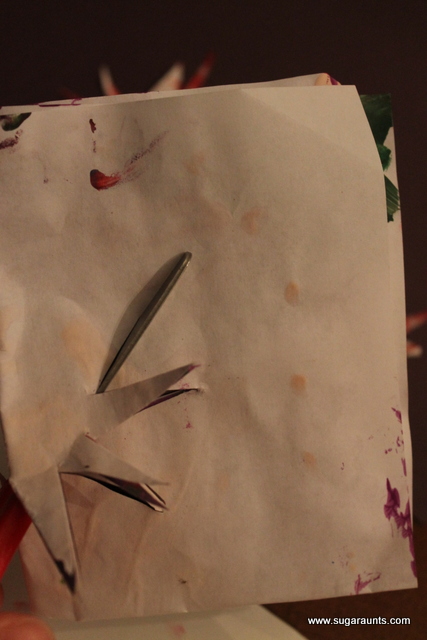
Once the paint was dry we gathered up some black construction paper, gold tinsel from a gift bag and scissors. I folded the paper into a small square and helped the older kids cut out fireworks.
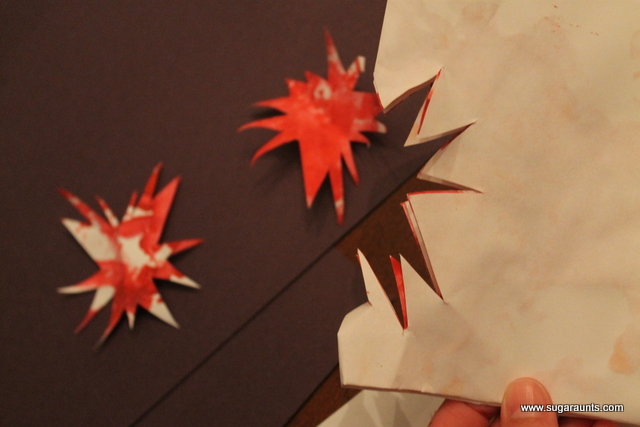
We glued the fireworks onto the paper and made the tinsel stream down from the fireworks. We talked a little about the 4th of July and I told my daughter it was the country’s birthday. The best part was hearing
my daughter recite the Pledge of Allegiance (so cute)!