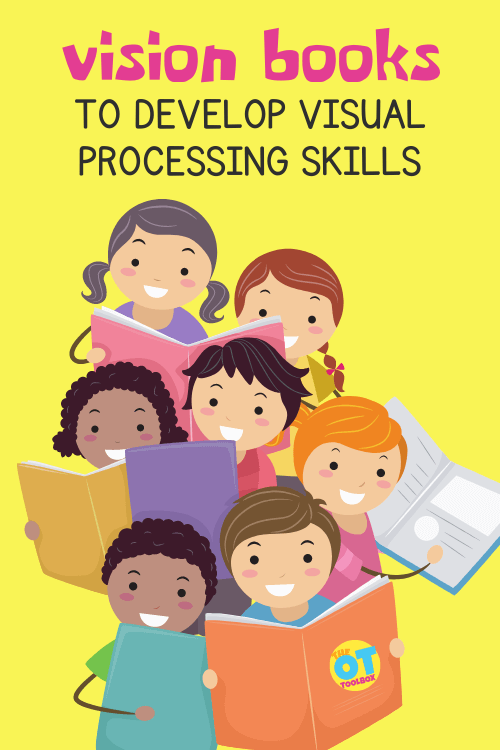
In this post, I have highlighted references to vision books that can specifically be used in therapy interventions to support the development of visual processing skills. These are the Top 9 Books for addressing vision concerns, that might be incorporated into visual therapy, or occupational therapy activities. Each of these visual skill building books covers aspects of visual perception, visual processing, and visual motor skills.
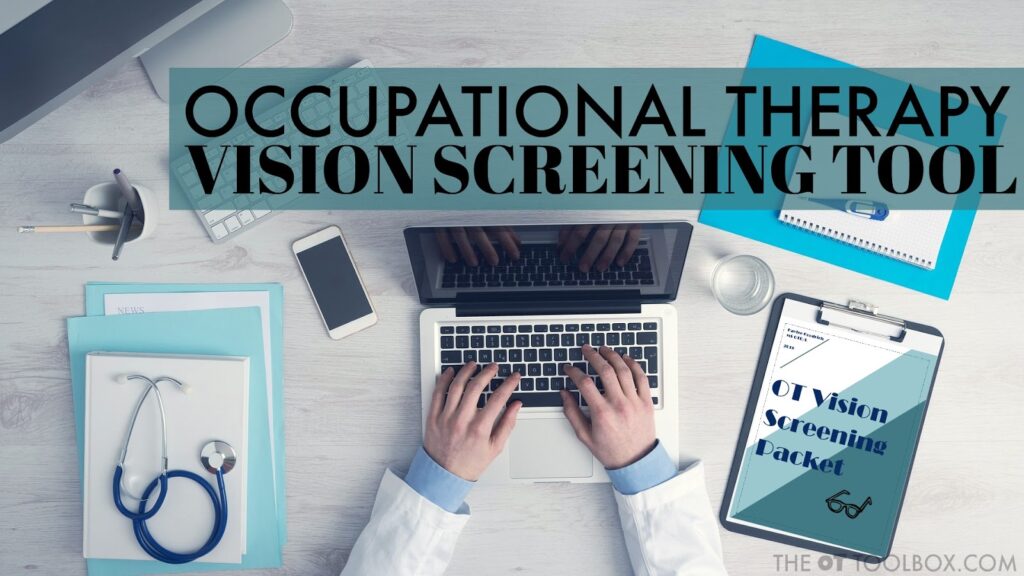
Start by reading, “Visual Problems or Attention” to help decipher the cause of visual processing difficulties.
After reading Visual Problems or Attention, check out the Visual Screening Packet available on the OT Toolbox to further assist in diagnoses and treatment.
For more information on vision skills, check out this post from the OT Toolbox archives.
Vision Books
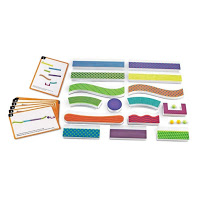
Looking for books on vision, visual motor integration and visual perceptual skills? Check out the list of books below that are chock full of information and treatment ideas!
Many of these books have reproducible pages, or can be laminated/placed into plastic sleeves to be reused.
The list of vision books below are linked to Amazon affiliate links for ease of searching, however they can be also found by googling the titles.
Vision therapy books can be helpful tools for supporting visual skill development in children, especially when used as part of a guided therapy plan. From an occupational therapy point of view, many classroom and daily tasks depend on how well the eyes work together with the body and brain.
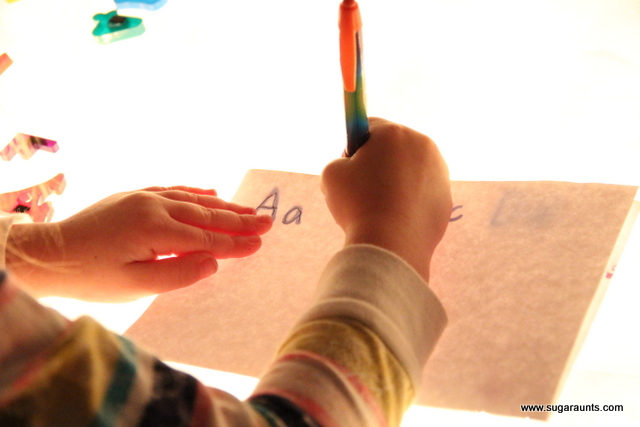
Skills such as visual tracking, visual scanning, visual discrimination, eye-hand coordination, and visual attention all play a role in reading, writing, copying from the board, completing worksheets, and participating in play. Vision therapy books may offer structured activities that help children practice these skills in a way that feels more like play than work.
Vision workbooks for kids often include mazes, hidden pictures, matching activities, tracing paths, figure-ground tasks, dot-to-dot pages, and visual memory challenges. These activities can support the visual perceptual and visual motor skills children use during functional tasks. For example, a child who has difficulty finding information on a busy worksheet may benefit from figure-ground activities.
A child who loses their place when reading or copying may need practice with visual tracking and scanning. When these workbook activities are selected carefully, they can help build the underlying skills needed for school participation.
It is important to understand that vision workbooks for kids are not the same as a full vision evaluation or individualized vision therapy provided by a developmental optometrist or other qualified professional. However, they can be a valuable supplement for occupational therapy sessions, home programs, classroom centers, or therapy carryover activities. Occupational therapy practitioners often use vision-based activities to support functional performance, especially when visual motor integration, handwriting, reading readiness, cutting, drawing, or copying tasks are impacted.
Visual motor workbooks are another related resource that can be useful for children who need practice coordinating what they see with how they move their hands. These workbooks may include tracing lines, copying shapes, completing patterns, drawing forms, and following pencil paths. These tasks support skills that are important for handwriting, coloring, scissor use, puzzles, construction play, and written assignments. For many children, visual motor practice helps make school tasks feel less overwhelming because they are strengthening the connection between visual information and motor output.
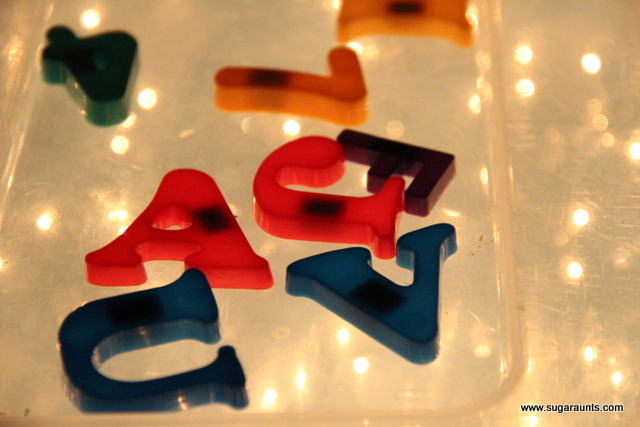
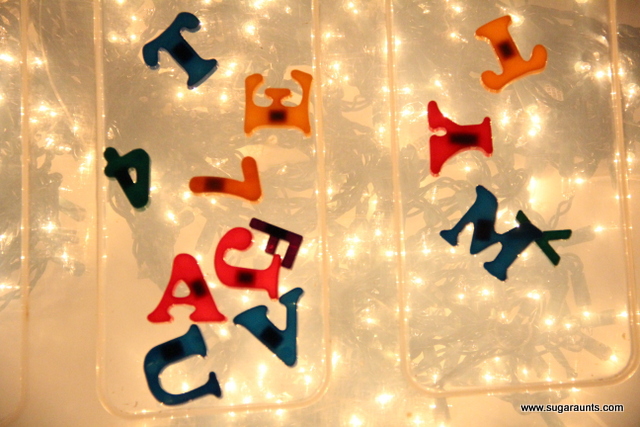
Visual perception workbooks for kids can also support important school readiness and academic skills. Visual perception refers to the brain’s ability to interpret and make sense of what the eyes see. This includes noticing differences, recognizing shapes and letters, understanding spatial relationships, remembering visual information, and finding objects in a busy background. These skills are used when children identify letters, line up math problems, read charts, organize materials, complete puzzles, and navigate the classroom environment.
Parents, teachers, and therapists may look for vision activities for kids when a child has difficulty copying from the board, tracking across a page, spacing words, forming letters, completing puzzles, or finding items in a cluttered space. These challenges may be related to visual motor skills, visual perceptual skills, attention, executive functioning, or ocular motor control. Using vision therapy activities, visual tracking worksheets, and visual perception games can provide structured practice while also supporting confidence and participation in everyday routines.
For occupational therapy, the goal of using vision workbooks, visual motor worksheets, or visual perception activities is not just to complete a page. The goal is to help the child use visual information more effectively during meaningful tasks. This might include writing on the lines, copying a sentence, finding a homework folder, reading across a page, catching a ball, or completing a craft. When vision activities are connected to function, children are more likely to carry over these skills into school, play, and daily life.
We have resources here on The OT Toolbox that are perfect for supporting kids who need vision therapy support and the areas addressed when receiving vision therapy services. When working in the school system, I’ve personally had students on caseload who also receive vision therapy services, both in the school setting, and outside of the school setting. This is part of serving the whole child. We are all part of a team who works with kids. We collaborate with the whole team. So when we work alongside vision therapists, then we have some overlap, because of how integrated visual processing is in functional tasks.
We also talk about the behaviors, or actions, that we see in functional tasks related to vision.
Vision books to check out are:
- Fixing My Gaze by Susan R. Barry
- The Mind’s Eye by Oliver Sacks
- Envisioning a Bright Future by Patricia S. Lemer
- Seeing Through New Eyes by Melvin Kaplan
- Attention and Memory Training by Dr. Ray Gottleib
- Jillian’s Story: How Vision Therapy Changed My Daughters Life by Jillian Benoit
- Reflexes, Learning And Behavior by Sally Goddard
- The Well Balanced Child: Movement and Early Learning by Sally Goddard Blythe
- Visual/Spatial Portals to Thinking, Feeling and Movement by Serena Wieder Ph.D. & Harry Wachs O.D
- Do It! The Parent’s & Teacher’s Action Guide to Creating Successful Students and Confident Kids by Dr. Lynn Hellerstein
- Seeing Through New Eyes: Changing the Lives of Children with Autism, Asperger Syndrome and other Developmental Disabilities through Vision Therapy by Dr. Melvin Kaplan,
Books for Visual Tracking, Visual Scanning, and Gaze
There are resources to support specific visual skills. These can pinpoint specific visual needs like visual tracking or visual scanning. If you use a maze workbook or a dollar store wordsearch workbook, you can use the pages in a variety of different ways to target these skills.
Related is the visual figure ground piece, which can be addressed with I Spy books or Find the Difference activities. This skill allows us to pull visual information from a busy background, and track that visual input.
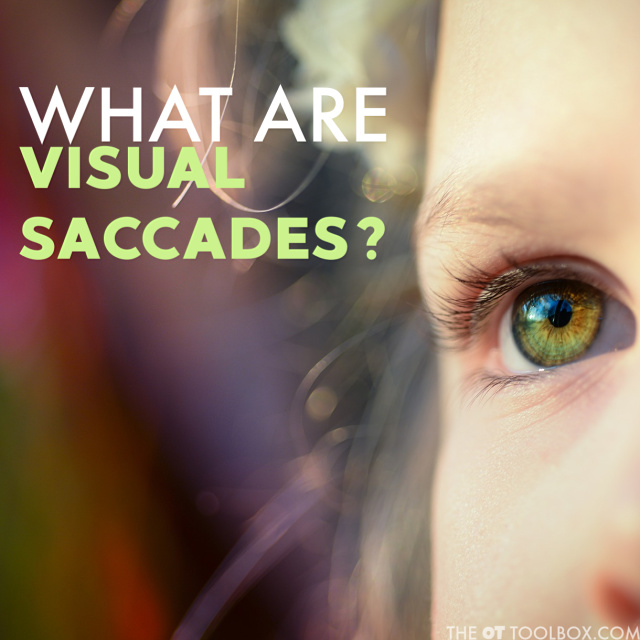
Visual tracking exercises can include vision therapy activities that improve areas such as visual saccades or smooth visual pursuit.
For example, you can use a maze to track as the pencil or marker moves through the maze.
I also like to compete a maze using a permanent marker that shows through the paper. Then, place the maze page into a page protector sheet. Then trace along the completed maze with a dry erase marker or a finger.
Use a wordsearch to scan for specific letters in a word search and highlight or circle the letters as you come to them on the page.
Vision Book: Eyegames
The list of vision books below are linked to Amazon affiliate links for ease of searching, however they can be also found by googling the titles.
An OT and Optometrist Offer Activities to Enhance Vision! (affiliate link) By Lois Hickman and Rebecca Hutchins is an easy and fun vison book with games and exercises for developing visual skills.
This vision book is an easy read about vision deficits, and how they impact function. It has a checklist of red flags to be on the lookout for. There are also loads of great therapy activities to target each skill deficit. Activities are geared for a variety of function levels, along with easy task gradation. Activities are designed to be completed in the home, clinic, or school settings.
Vision Book for Visual Tracking Exercises
Visual Perception, Visual Discrimination & Visual Tracking Exercises for Better Reading, Writing and Focus (affiliate link)
The next set of vision books are created by Bridgette Sharp, and Bridgette O’Neil. These books make for a great set of tools to have in your bag.
The Visual Tracking Exercises Book is a beginner book for developing tracking skills. As a bonus, you can use this with learners who are working on left/right awareness as well. Worksheets are varied with numbers, shapes, patterns, color, and black and white fonts, to help keep things interesting.
Vision Book for Scanning Skills
Advanced Visual Scanning Exercises (affiliate link)
As it says in the title, this visual perception book is for your advanced learners who are continuing to work on strengthening their eye muscles, gearing up for chapter book reading, and increased desk work. Patterns become more complex, and are in black and white only.
It can be helpful to read more on what is visual scanning and check out the red flags section and then use this vision book if needed.
Visual Scanning Exercises for Young Students (affiliate link)
This visual scanning beginner book has a variety of simple grid patterns with large colorful pictures for younger children, beginning learners, pre-readers, and children who are behind in reading readiness due to tracking and scanning issues. The images are large, colorful, and have plenty of variety to keep them engaged in therapy.
Vision Books, Visual Scanning for Students (affiliate link)
This Ready to Scan vision book is for more advanced scanners, or for kids/learners who are skipping lines when reading or copying. It’s a great resource for building endurance and eye muscle strength. As a bonus, use the patterns for reversal training and directionality!
BIG BOOK: Beginners, Intermediate & Advanced Visual Scanning Exercises (affiliate link)
Like it’s title says, this book has something for everyone. This is a great place to start your toolbox for visual skills. Patterns work through a progression, starting with large images, moving onto smaller images. They present a variety of pictures and geometric shapes, both in color and black/white. This book is a great place to create home programs with and homework from each session.
Vision Book for Visual Tracking
Vision books, Visual Tracking Exercises with 100 High Frequency Sight Words (affiliate link)
If you’re looking to change it up from geometric patterns and pictures, this book is a great option. The book consists of a variety of exercises using sight words. Use the pages to work on discrimination and word shape training as well.
Start by reading up on what visual tracking is and then go from there with this vision workbook.
Visual Skills Book for Reversals
Letter reversals are related to vision skills. You’ll want to start by reading more on p and q reversals or b and d reversals. Others who write letters backwards can benefit as well.
The visual skills book, Brain Training for Reversals, is a brain training vision book consists of exercises specifically for reversals of b-d-p-q. Exercises range in complexity to address all skill levels. These brain training worksheets can also be used for scanning, to practice reading, and directionality. You can also use these worksheets similar to an eye spy game, by having the child look for all of one letter.
Visual Discrimination Book
Visual discrimination is a visual skill that impacts reading, writing, math, comprehension, and learning.
The Visual Discrimination book is great for grades 2-8 and focuses on finding patterns and solving problems through the use of colorful geometric patterns and images. This is great for critical thinking skills, along with working on spot the difference (visual disclination) tasks.
Book 9 is a higher level book, so save it for your older, more high functioning learners, or adult learners who are working at this reading level.
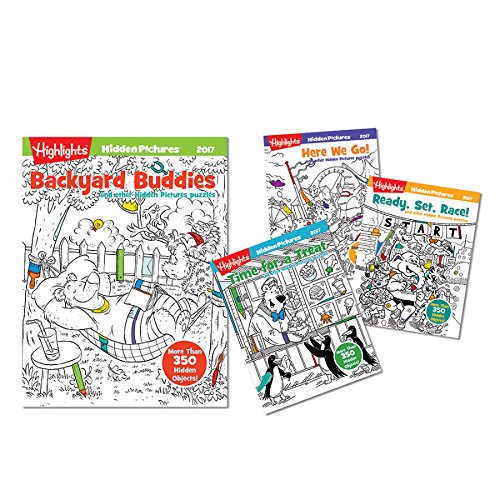
Spot the Difference Vision Books
Another great resource are “spot the difference” books! (affiliate link) There are hundreds of spot the difference books to choose from. These books not only address visual discrimination, but can also be used to work on following directions, scanning, item location in a busy environment, and general visual processing skills.
The OT Toolbox is offering a FREE visual perception packet to download and use with your learners.
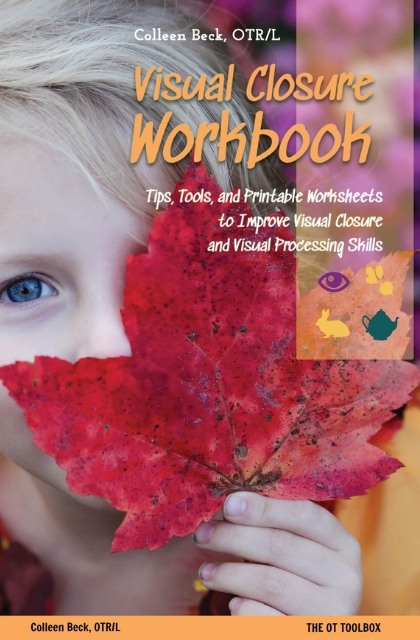
Visual Closure Book
The Visual Closure Workbook is a 65 page digital file designed to impact visual perceptual skills for reading comprehension and efficiency, and the ability to visualize a complete image or feature when given incomplete or partial information.
Visual closure skills are essential for reading with fluency. It’s necessary for written work to happen without concentrating on each letter’s lines and curves. Visual Closure allows us to comprehend words and letters without actively assessing each line.
Challenges with puzzles, identifying sight words, copying in handwriting, math tasks, and other reading or writing activities require visual closure skills.
This workbook includes:
- Information on visual closure and visual processing
- Red Flags Indicating a Visual Closure Problem
- 15 ways to use the workbook and strategies
- More Visual Closure Activities (use these tactics to grade the visual closure activities to meet individual needs, challenge, users, and support the development of skills)
- Workbook – Level 1
- Workbook – Level 2
- Workbook – Level 3
This workbook is designed to provide background information on visual closure as a tool for understanding this visual perceptual skill. It’s a guide for advocating for common visual closure difficulties through the included screening tool broken down as “red flags”.
NOTE* The term, “learner” is used throughout this post for readability and inclusion. The previous information is relevant for students, patients, clients, preschoolers, kids/children of all ages and stages, or whomever could benefit from these resources.

Contributor: Kaylee is a pediatric occupational therapist with a bachelors in Health Science from Syracuse University at Utica College, and a Masters in Occupational Therapy from Utica College. Kaylee has been working with children with special needs for 8 years, and practicing occupational therapy for 4 years, primarily in a private clinic, but has home health experience as well. Kaylee has a passion for working with the areas of feeding, visual development, and motor integration.