There are so many ways to include multisensory play in teaching colors to children. Here, you’ll find hands-on, creative ways to teach colors of the rainbow using play that helps kids develop skills, move, and grow. Use these color activities in preschool or to teach toddlers colors. It’s a fun way to develop visual discrimination skills in young children.
Teaching colors and coloring goes hand-in-hand. Our resource on the best crayons for toddlers is a huge help, especially when deciding on the type of crayon to use at the age of teaching colors to toddlers and young children.
I’m including color activities for kindergarten and school-aged children, as well, because this color themes can be used in therapy activities or to help kids develop handwriting, or visual motor skills in the older grades. There is a lot of fun, hands-on activities listed here that help children learn colors and explore through play!
Teaching Colors to Toddlers
Toddler play and development is all about the hands-on exploration of the world. We have a lot of toddler activities designed to develop motor skills and learning here on the website that you’ll want to check out.
To teach colors to toddlers, it’s all about making things fun. These toddler activities will get you started with hands-on development activities.
So many color activities in the toddler years involve sorting colors, identifying colors, and pointing out colors. All of these activities lay the building blocks for visual discrimination that kids will use in reading and writing down the road.
Try these activities for teaching colors to toddlers:
Toddler Color Sorting with Toys– This activity uses toys and items that are found around the home, making the color identification part of every day life. You can use items that the child uses and sees every day.
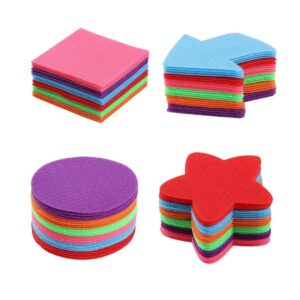
Teach Color Sorting Activity– This simple color sorting activity is great for families that have a preschooler and a toddler. The preschooler can cut foam sheets and work on scissor skills and then both the preschooler and toddler can sort the paper scraps by color. This is a nice activity that allows siblings to work together to learn concepts and grow skills together.
Color Sort Busy Bag– Toddlers love to drop items into containers, and put things into buckets, bins, and bags…and then take them back out again. It’s all part of the learning process! This color sorting busy bag gives toddlers colored craft sticks or dyed lollipop sticks and has them sort by color. It’s a great activity for developing fine motor skills and coordination, too.
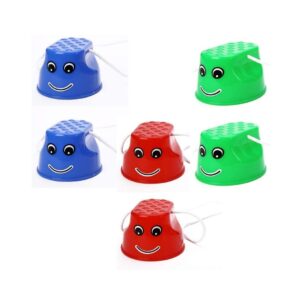
Cup Sorting for Toddlers– This color sorting activity uses items in the home, like plastic toddler cups! There is just something about toddlers playing in the kitchen with baby-safe items…and this one builds pre-literacy and pre-math skills that they will use long down the road…through play!
Talk about colors– Pointing out colors during play, conversation, in reading books, and going for walks…there are so many ways to teach colors to babies and toddlers through everyday conversation. It’s as simple as saying, “look at that blue flower” to add descriptive terms to kids.
Color with painting– Incorporate all of the colors of the rainbow in multisensory activities from a young age. These art play activities incorporates colors into play and learning through art with toddlers.
Teach colors with a ball pit– Use ball pit balls in a baby pool. You can bring a baby pool indoors as a baby ball pit to teach colors. Here are other ball pit activities that can be used to teach colors.
Teaching Colors in Preschool
In the preschool stage, learning occurs through play! These color learning activities are designed to promote learning through hands-on exploration, because those are the ways that learning “sticks”…when hands are busy and developing motor skills that they will later need for holding and writing with a pencil. Let’s look at some ways to teach colors in the preschool years:
Color by Letter Worksheets– These are great for the preschool age because they are getting the exposure to letters in uppercase and lowercase format but not through writing. the coloring builds hand strength and fine motor skills needed in kindergarten and beyond.
Teaching Shapes and Colors with Rainbow Rocks by Fun-A-Day- This activity is fun because it uses the heavy weight of rocks to teach colors and shapes. But, kids are also strengthening their hands and gaining motor feedback about objects as they explore colors and other discriminating factors like weight and size.
Color and shape sorting– This preschool color sorting activity gives kids fine motor experiences with wikki stix. Ask preschoolers to copy the shapes, too for extra fine motor skill building and visual motor integration.
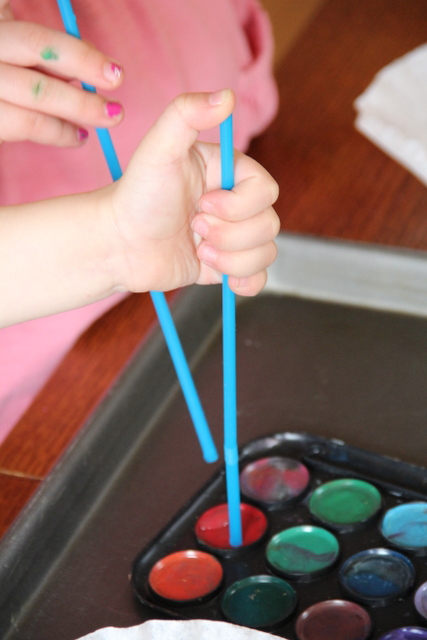
Fine Motor Color Sort– Grab an old spice container or cheese container, and some straws. This color sorting activity lays the groundwork for fine motor skill development and math skills. Kids can count the straws as they drop into the container and work on sorting colors while developing open thumb web space, separation of the sides of the hand and arch strength.
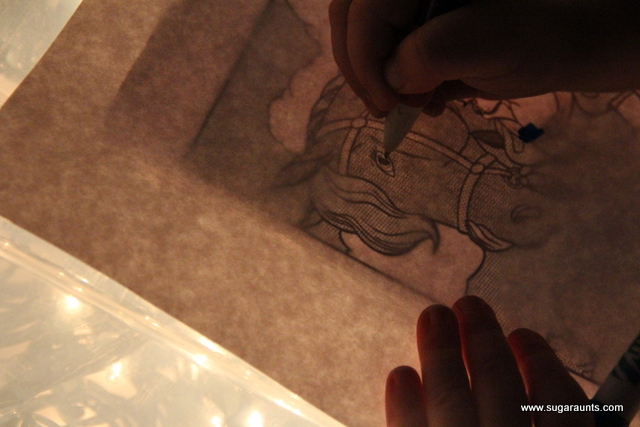
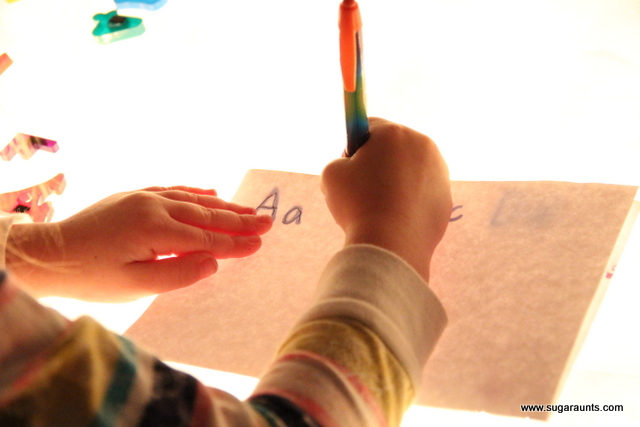
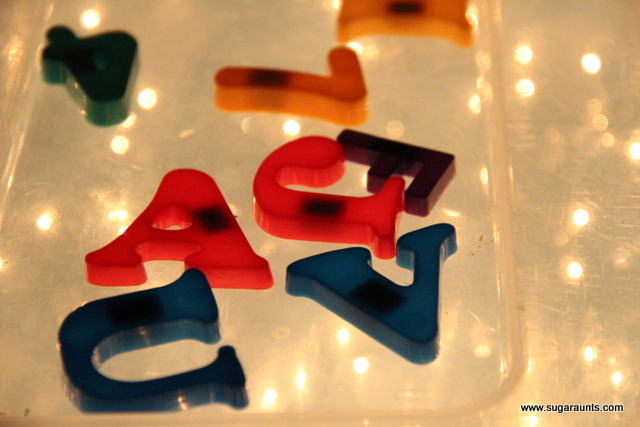
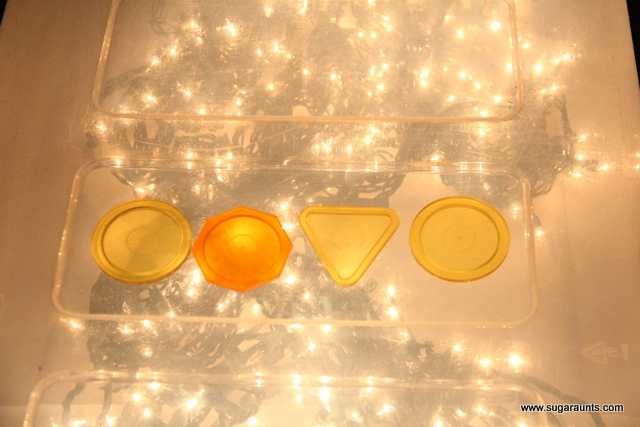
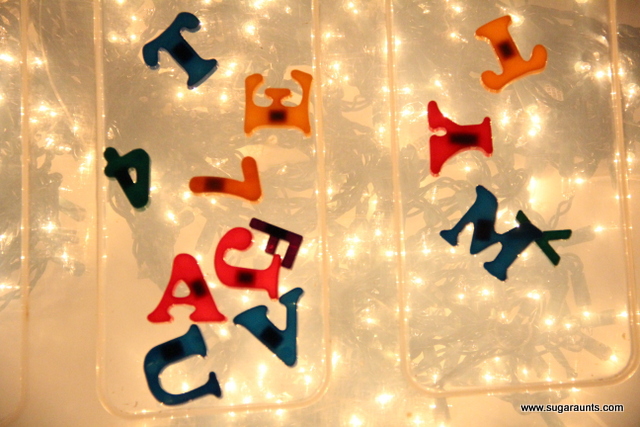
Color Matching Water Bin– This color learning activity is a sensory motor activity that also teaches letters. It’s perfect for preschool and kindergarten or even older grades as kids are immersed in multi- sensory learning with letters and pre-reading skills.
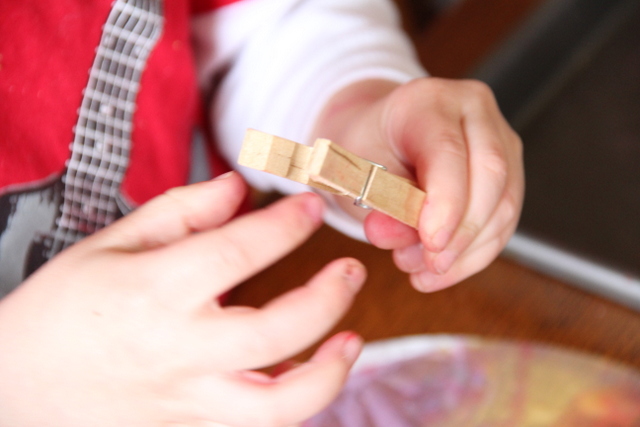
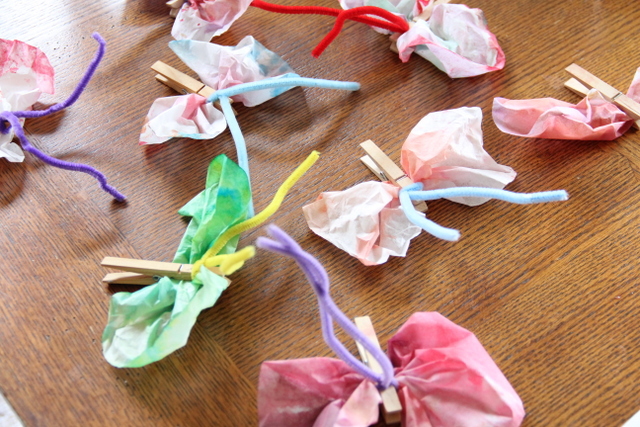
Clothespin Color Match– Children will love this fine motor activity that builds hand strength in a big way.
Bear Sees Colors Book and Activity– We used a snack to explore colors with a beloved preschool book. This is multisensory learning at its finest.
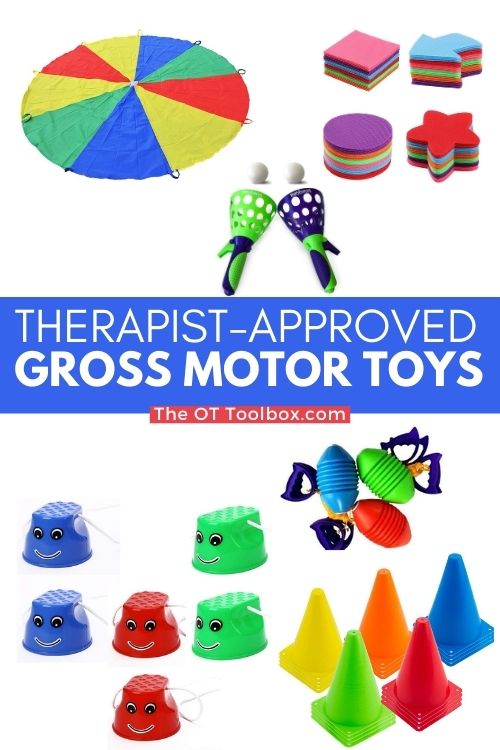
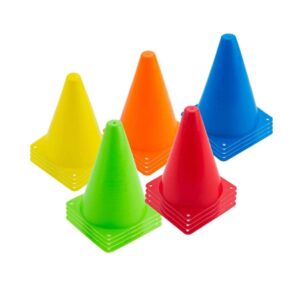
Gross Motor Color Games– There are many ways to explore and teach colors using games. Try some of these to add movement and play into learning colors at the preschool level:
- Color I Spy- Call out a color and kids can run to touch something that is that color. Add variations of movement by asking kids to skip, hop, leap, crawl, or bear walk to touch the colors.
- Color Simon Says- Call out directions based on clothing colors that kids are wearing. Add as many variations of movement and auditory challenges. This is a great activity for building working memory skills in preschoolers.
- Color Tag- Kids can play tag and when they tag another player, they need to say a color for that person to go to. Another variation is having the players who are tagged run to a color that the tagger calls out.
Kindergarten Color Activities
At the kindergarten level, children are moving beyond basic color naming and into more advanced use of color in learning. At this stage of development, most children can consistently identify and name common colors, and they begin to understand how color relates to academic tasks such as sorting, categorizing, and following multi-step directions.
From a developmental perspective, kindergarteners are refining:
- Color discrimination (noticing subtle differences between shades)
- Conceptual understanding (recognizing that objects can be different colors)
- Language use (describing and comparing colors)
- Application of color knowledge in structured tasks
Color learning at this stage supports reading readiness, math concepts, and classroom participation. Children are often expected to follow directions such as “circle the green object” or “underline the word in red,” which requires both recognition and functional use of color.
Kindergarten Color Activities
- Color-coded math sorting (by shape and color)
- Graphing objects by color
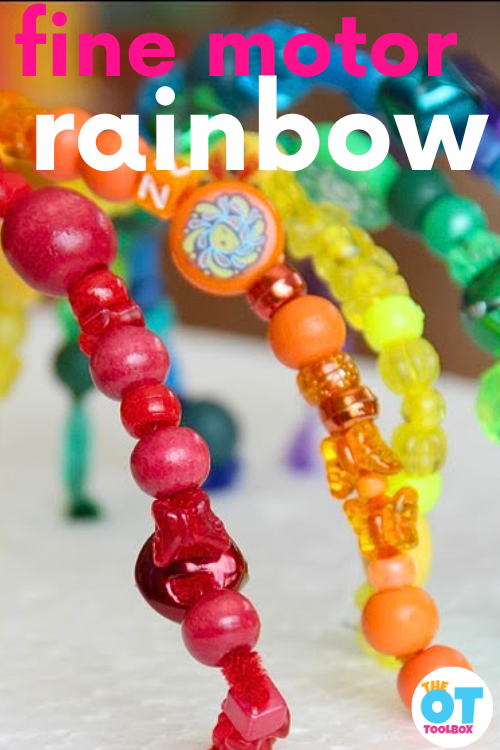
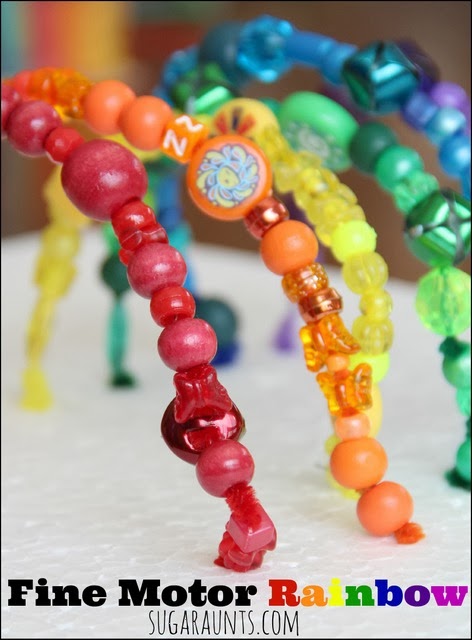
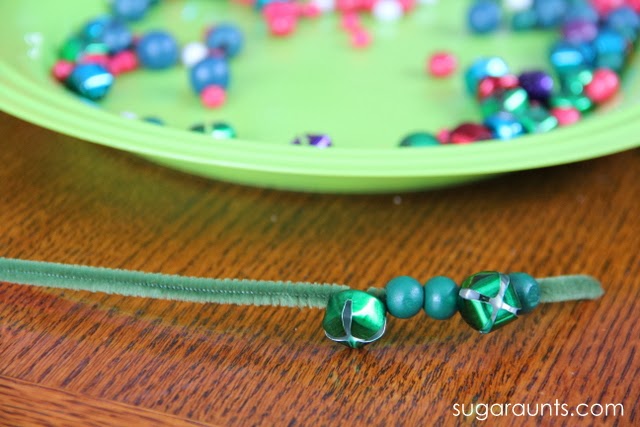
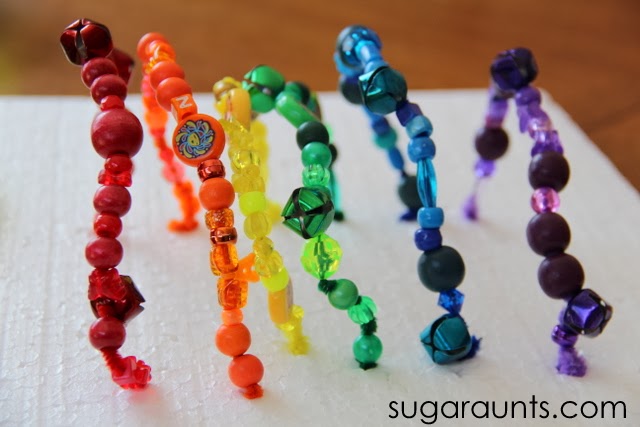
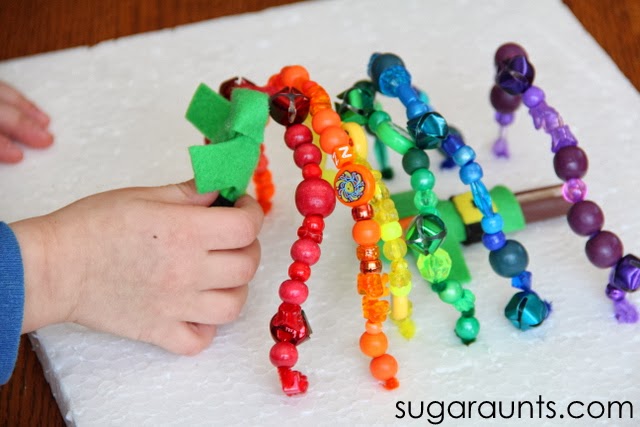
- Color pattern creation with blocks or beads
- Following multi-step directions using color cues
- Color scavenger hunts with written checklists
- Color mixing experiments with paints
- Sorting classroom objects into colored bins
- Color-coded center activities
- Matching shades and gradients
- Color word recognition and labeling
- Highlighting sight words by color
- Directed drawing using specific colors
- Color-coded obstacle courses
- Using colored manipulatives for math problems
- Sorting and categorizing by multiple attributes (color + size)
Teach Colors in Kindergarten and older grades
Once children are school-aged, teaching colors doesn’t end. In the school years, children explore color mixing, learning about primary colors, and more. Look at all of these color experiences that kids learn during the school years:
- Spelling color names
- Learning Primary Colors
- Learning secondary colors
- Color mixing
- Color theory
- Color wheel
- Complimentary colors
Preschool Color Activities
Teaching colors in preschool is a huge part of the curriculum.
Teaching Colors to Preschoolers
In preschool, children are just beginning to develop the ability to recognize and name colors. This stage is focused on exposure, repetition, and meaningful interaction with color in everyday activities.
Developmentally, preschoolers are building:
- Visual perception skills (noticing differences in color)
- Early language development (learning color names)
- Attention and memory (recalling color information)
- Concept formation (understanding color as a property)
At this stage, children may recognize a color before they can name it. They also commonly confuse similar colors or use color names inconsistently. This is a normal part of development.
Why Teaching Colors Matters in Preschool
Teaching colors in preschool supports:
- Early communication skills
- Following simple directions
- Participation in play and routines
- Preparation for academic tasks
Color learning is most effective when it is embedded in play and daily experiences rather than taught in isolation.
How to Teach Colors to Preschoolers
- Use repetition in daily routines (e.g., “Here is your blue cup”)
- Focus on one or two colors at a time
- Pair colors with familiar objects
- Use hands-on, sensory-based activities
- Keep learning playful and engaging
- Color sorting with large objects
- Matching colored blocks or toys
- Simple color scavenger hunts
- Finger painting with one or two colors
- Color matching with stickers
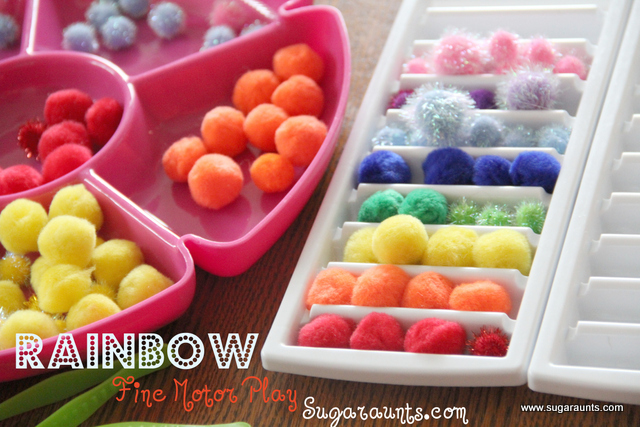
- Sorting pom-poms by color
- Matching colored cups and objects
- Color-themed sensory bins
- Color hop games (jump to the color called out)
- Matching colored shapes
- Using dot markers for color matching
- Sorting crayons by color
- Color I Spy activities
- Matching colored puzzle pieces
- Rolling and matching colored balls
Try some of these color activities for older children:
Color I Spy free therapy slide deck- This color themed scavenger hunt will get kids up and moving, using the items they have in their home as they work on visual perceptual skills, handwriting, and more. Kids can visually scan around their home to match the colors on the slide deck. Then, there is a handwriting component. This is a great slide deck for anyone working on handwriting skills with kids, virtually.
Color Exercises– Use gross motor exercises and stretches as well as fine motor exercises to get kids moving while working on SO many skill areas: bilateral coordination, motor planning, strengthening, core strength, precision, dexterity, visual motor skills…
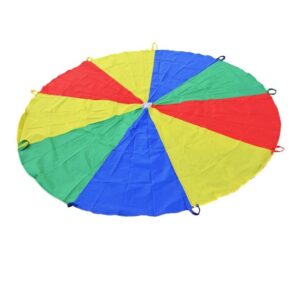
Rainbow Deep Breathing Exercise– This free printable PDF is super popular. There’s a reason why: kids love the deep breathing activity and We love the mindfulness, coping skills, calming, and regulation benefits. Great for all ages.
Rainbow Binoculars Craft– Kids can use paper towel tubes in a craft that helps them look for and identify colors. Use these rainbow binoculars in visual scanning, visual discrimination, visual figure-ground, and other perceptual skills.
Colored pencils activities– All you need is a couple of colored pencils (or substitute with a regular pencil if that’s all you’ve got on hand) to work on pencil control, line awareness, pencil pressure, and letter formation.
Benefits of coloring with crayons– Just grab a box of crayons and build so many fine motor and visual motor skills.
Make crayon play dough– Explore colors with heavy work input through the hands and arms using all the colors of the rainbow. This crayon play dough recipe is a popular sensory recipe here on the website.
Key Differences Between Preschool and Kindergarten Color Learning
- Preschool focuses on exposure, recognition, and early naming
- Kindergarten focuses on consistency, application, and use in academic tasks
Understanding this progression helps ensure that activities are developmentally appropriate and support functional skill development.
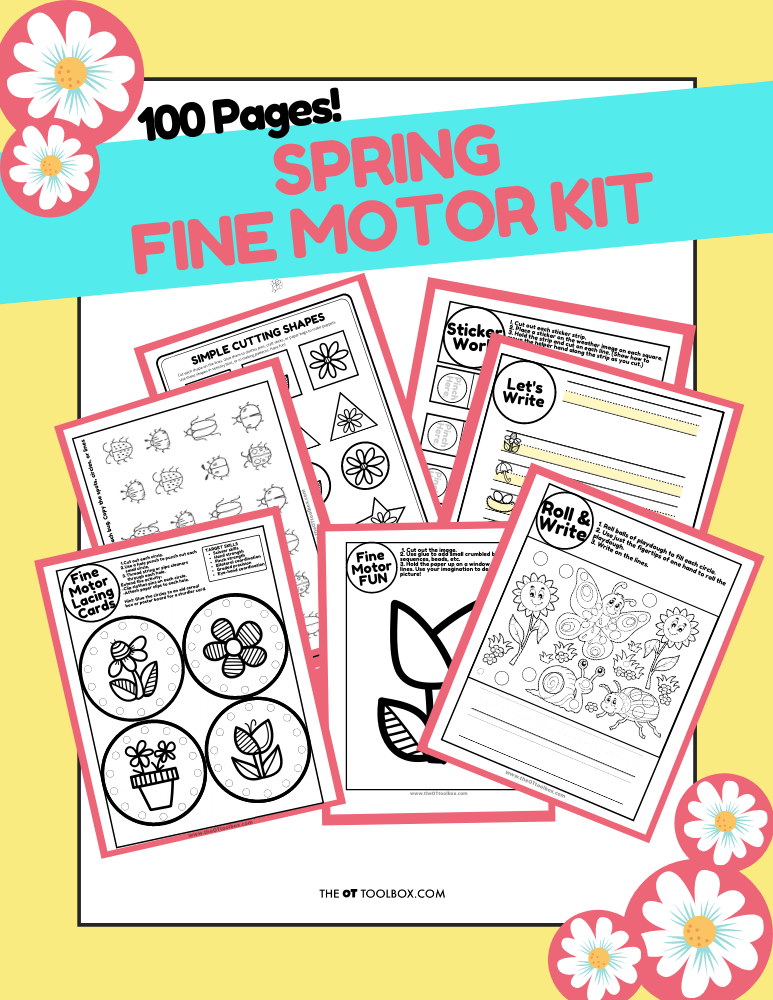
One activity book we love is our Colors Handwriting Kit:

Rainbow Handwriting Kit– This resource pack includes handwriting sheets, write the room cards, color worksheets, visual motor activities, and so much more. The handwriting kit includes:
- Write the Room, Color Names: Lowercase Letters
- Write the Room, Color Names: Uppercase Letters
- Write the Room, Color Names: Cursive Writing
- Copy/Draw/Color/Cut Color Worksheets
- Colors Roll & Write Page
- Color Names Letter Size Puzzle Pages
- Flip and Fill A-Z Letter Pages
- Colors Pre-Writing Lines Pencil Control Mazes
- This handwriting kit now includes a bonus pack of pencil control worksheets, 1-10 fine motor clip cards, visual discrimination maze for directionality, handwriting sheets, and working memory/direction following sheet! Valued at $5, this bonus kit triples the goal areas you can work on in each therapy session or home program.

Colleen Beck, OTR/L has been an occupational therapist since 2000, working in school-based, hand therapy, outpatient peds, EI, and SNF. Colleen created The OT Toolbox to inspire therapists, teachers, and parents with easy and fun tools to help children thrive. Read her story about going from an OT making $3/hour (after paying for kids’ childcare) to a full-time OT resource creator for millions of readers. Want to collaborate? Send an email to contact@theottoolbox.com.