This play dough recipe without Cream of Tartar is one of our favorite playdough recipes because it omits cream of tartar, so the dough ingredients are commonly found in the home.
If you’ve been following this site over the years, you’ve seen many of our play dough recipes, one of them being this play dough recipe without cream of tartar. This easy play dough recipe is one that kids can help to make, and to use in occupational therapy interventions. Read more on how play dough benefits child development, and making the play dough is half of the fun!
Homemade Play Dough without cream of tartar
Homemade play dough is a childhood staple. When kids are part of the playdough making process, they are active in the kitchen and can incorporate many executive functioning tasks as well as other skill-building.
But most homemade play dough recipes include cream of tartar as an ingredient. However, purchasing this ingredient is just expensive, and there really aren’t many common uses for cream of tartar except in the playdough recipes.
So, we decided to do some experimentation and come up with a play dough recipe that omits cream of tartar.
Our recipe uses a common ingredent that is inexpensive, but also can be used in other kitchen recipes. So, when you purchase this ingredient, you can use it for other recipes as well, making the purchase a good buying decision.
So? What is our substitute for cream of tartar in homemade playdough?
Lemon juice!
Lemon juice makes a great substitute for cream of tartar in homemade play dough recipes because it’s an easy to find ingredient in most stores and you can use it in so many other recipes. Plus, the lemon juice adds pliability to the play dough just like cream of tartar does.
why is play dough good for child development
Over the years, we’ve used many ingredients to make play dough as a sensory tool. These are all wonderful ways to incorporate various sensory input through sensory play.
One of our most popular playdough recipes is our crayon play dough recipe. But other homemade dough recipes you’ll love include:
- Glitter Glue Salt Dough recipe
- Salt Dough recipe with orange zest to add scent
- Magic Foaming Sensory Dough
- Almond Salt Dough
- Crayon Floam Dough
All of these various doughs offer sensory experiences through play, using different scents and textures. We’ve strived to create sensory tools through easily accessible and inexpensive materials, mainly using ingredients that are on hand in the kitchen.
When sensory and fine motor play is easily accessible, kids develop skills!
And, playdough is a great tool for developing math skills, too.
Making homemade play dough is a great occupational therapy activity for the clinic, school-based session, or a home recommendation to carryover skills in a family time activity.
Play dough and hand strength
Play dough is a fantastic easy and inexpensive tool to work on hand strength and pinch strength. We previously covered over 30 ways to improve fine motor skills with play dough.
These are great ways to use playdough can be used as a warm up activity or to incorporate palm strengthening exercises into therapy through play.
Another aspect of homemade playdough and fine motor skills includes the mixing and kneading aspects. Pouring, scooping, stirring, and kneading are all very functional tasks that
Whether you are developing fine motor skills, addressing cognitive skills like direction following, or incorporating sensory play into occupational therapy interventions, a simple homemade play dough is the way to go. Play dough has many benefits and there are many ways to use a simple dough recipe into therapy.
Playing with playdough improves fine motor skills such as:
- Pinch strength
- Eye-hand coordination
- Intrinsic muscle strengthening
- Separation of the sides of the hand
- Pincer grasp
- Opposition
- Tripod grasp
- Wrist extension
- Bilateral coordination
All of this occurs through play!
Try these fine motor activities using play dough:
- This homemade play dough recipe is great for easy play dough activities like our play dough snakes.
- Match colored paper clips with play dough. This is a great pincer grasp, tripod grasp, and separation of the sides of the hand activity.
- Improve thumb opposition and address a thumb wrap pencil grasp using play dough and beads in this thumb IP joint activity.
- Explore all of the fine motor play dough activities.
Grab our free play dough mats available here on the website (or log into your Member’s Club dashboard to grab these in an instant download).
- Free Space Play Dough Mat
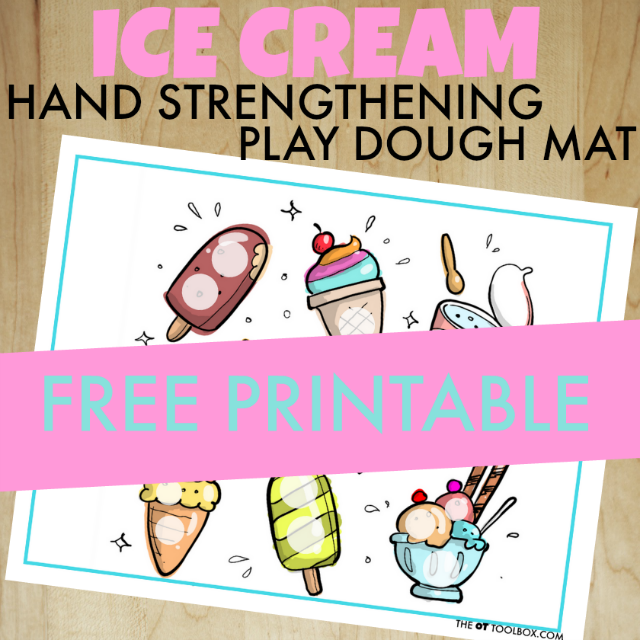
- Free Ice Cream Play Dough Mat
- Free Bird Play Dough Mat
- Free Toys Play Dough Mat
- Free Astronaut Play Dough Mat
- Free City Skyline Play Dough Mat
- Free Simple Intrinsic Strength Play Dough Mat
play dough and cognitive development
Play dough can be a great cognitive skill tool, too.
Play dough is a multi-step task. It involves following a recipe, following directions, planning, prioritization, impulse control, working memory, and other executive functioning skills.
Play dough is a great way to develop executive functioning skills while cooking.
Kids can work on safety skills while working in the kitchen to prepare this recipe. There is the heat of the play dough after cooking, and stove safety to consider.
Some users would benefit from using a stove to make the playdough and others may benefit by using an electric skillet in place of the stove.
So, let’s get to the recipe making with our play dough recipe (without cream of tartar)!
Playdough without cream of tartar
To make this playdough without cream of tartar, first gather your ingredients, cooking items, and get started. This is a great play dough recipe to make with kids!
You’ll need just a few ingredients in this playdough recipe withoug Cream of Tartar:
- 3 cups flour
- 1 and 1/2 cup salt
- 3 and 1/4 cup water
- 3 Tbsp oil
- 3 Tbsp lemon juice
- food coloring
How to make playdough without cream of tartar:
- Mix the flour and salt in a bowl, using a fork to stir. Add the water, oil, and lemon juice and stir until the dough pulls together. Move the wet playdough lump to a sauce pan and cook over low heat for 3-4 minutes until the dough forms.
2. Plop the dough onto a clean surface and knead for a few minutes.
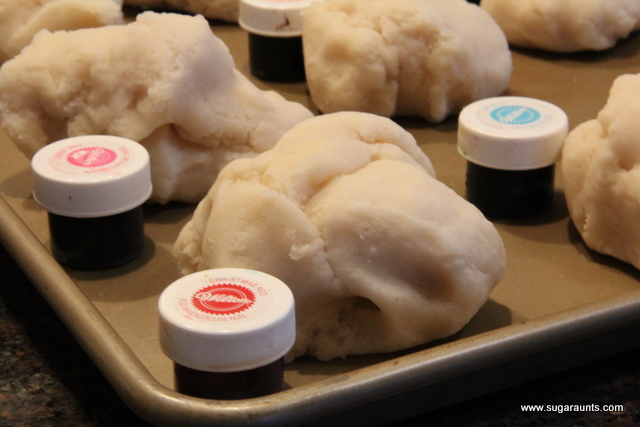
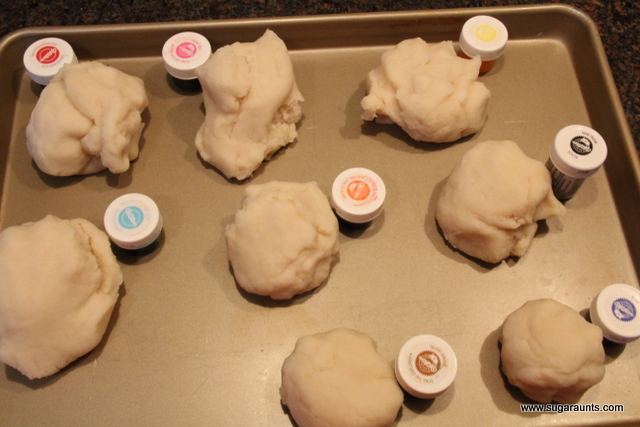
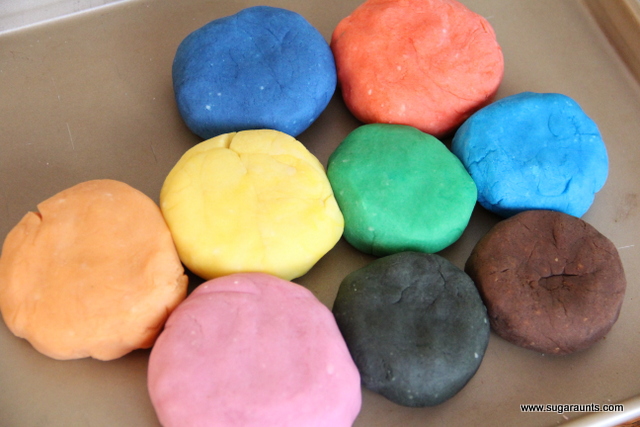
3. Separate the play dough into portions and add food coloring. Knead the dough to mix the food coloring. If you are making just one color of play dough, you can add the food coloring to the dough before cooking.
Many times, we want a variety of play dough colors, though, so mixing the food coloring in after the dough has been cooked is one way to get several colors of play dough.
4. Remember that the dough will be very hot to the touch after cooking. Use a dishtowel to mix the baggie so the color is absorbed throughout the dough.
5. Keep the homemade play dough in covered containers/sealed plastic bags. Dough does not need to be refrigerated.
Playdough with cream of tartar
If you do have a jar of cream of tartar, use this play dough recipe:
- 3 cups flour
- 1 and 1/2 cup salt
- 3 and 1/4 cup water
- 3 Tbsp oil
- 2 Tbsp cream of tartar
- food coloring
The same cooking process listed above can be used to make this dough recipe, using cream of tartar instead of lemon juice.
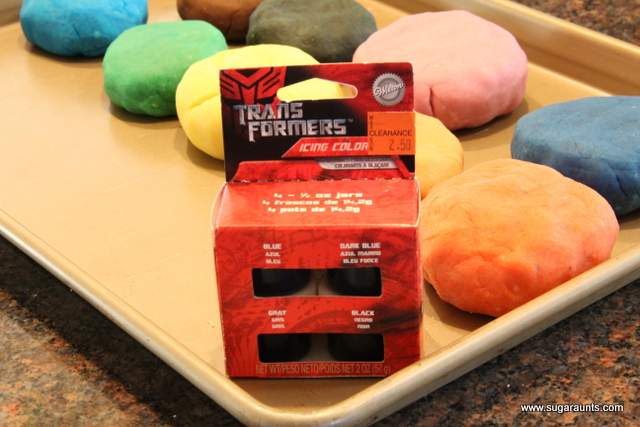
How to get Vivid Colors in Homemade PlayDough
Want the secret to really bold and vivid colors? Use (Amazon affiliate link) Wilton’s gel food coloring. I have a bunch of these that I use for my cookies, and Big Sister had fun picking out the colors she wanted to mix up.
A lot of times, you can find these color sets on clearance (plus add coupons) for a Great discount!
Little Guy had SO MUCH FUN playing with little straw pieces in the red play dough. What a great
Fine Motor Activity for a three year old
This easy safe play dough recipe is great for toddlers and preschoolers, but also younger if closely watching young children.
We used the play dough recipe above, and some cut straw pieces to create a toddler-friendly play dough activity that builds fine motor skills.
Cut the straws into pieces. You can get preschoolers involved with this part of the activity for a scissor skills task.
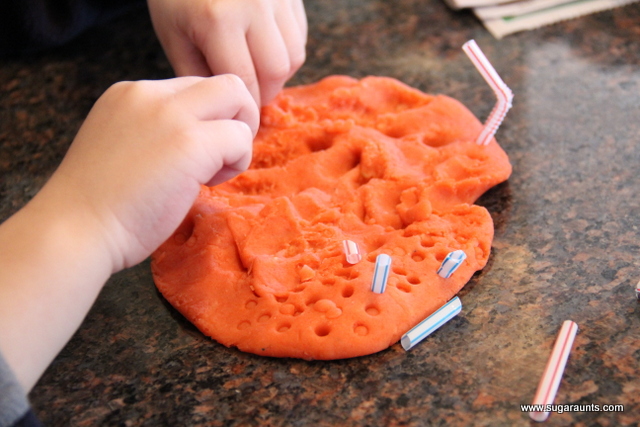
Then, show your toddler how to poke the straws into the play dough.
He played with this one for a long time…hiding the straw bits in the dough, poking circles, bending the bendable part of the straw… So much fun!

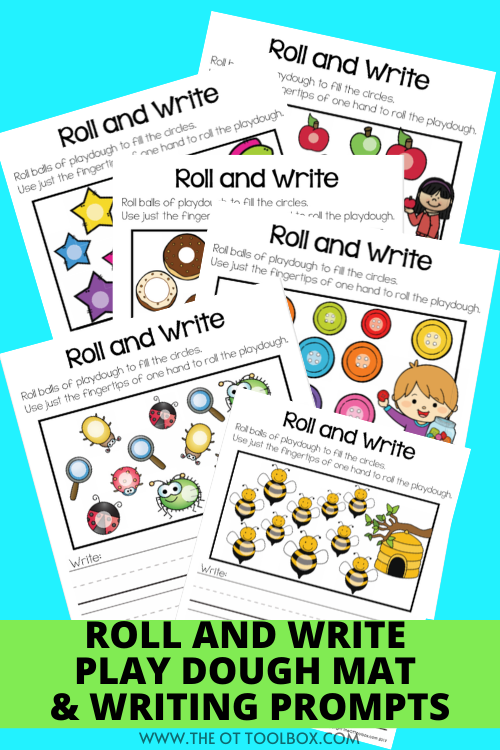
Playdough Play Mats
Use this easy playdough recipe (without cream of tartar) with our playdough mats to add play dough as a handwriting warm-up and then incorporate handwriting skills!

Colleen Beck, OTR/L has been an occupational therapist since 2000, working in school-based, hand therapy, outpatient peds, EI, and SNF. Colleen created The OT Toolbox to inspire therapists, teachers, and parents with easy and fun tools to help children thrive. Read her story about going from an OT making $3/hour (after paying for kids’ childcare) to a full-time OT resource creator for millions of readers. Want to collaborate? Send an email to contact@theottoolbox.com.
