This is the first post in a series of Christmas-themed play ideas. It’s a season of rushing, big family meals, travel, shopping, wrapping…It’s easy to forget the real reason for this season.
Seeing my kid’s excitement for Christmas this year is so much fun! So contagious!
We wanted to come up with a gift for our readers for Christmas, and thought it would be appropriate to present you with loads of fun play ideas. One for each of the days leading up to Christmas…so you can slow down, enjoy this precious time with your children, and play!
This first Christmas play idea was a simple recipe for making homemade playdoh with a twist.
Scented Snowman Playdoh!
Take your basic ingredients, but instead of water, use scented TEA. I used Comfort time tea to promote the relaxing and soothing scent of chamomile.
1 cup flour
1/2 cup salt
2 tsp Cream of Tartar
2 Tbsp oil
1 cup of hot tea (any scent)–or you could use water instead of tea
Mix the dry ingredients together in a saucepan. Add the rest of the ingredients and stir over medium heat. Keep stirring until the mixture pulls together. Add more flour if it seems too gummy. When it forms a ball (like playdoh consistency), dump it out onto a cutting board or other clean surface. Let the dough cool, and then knead for a few minutes.
At this point, I mixed in glitter to make our snow playdoh. Little Guy loved helping with this part.
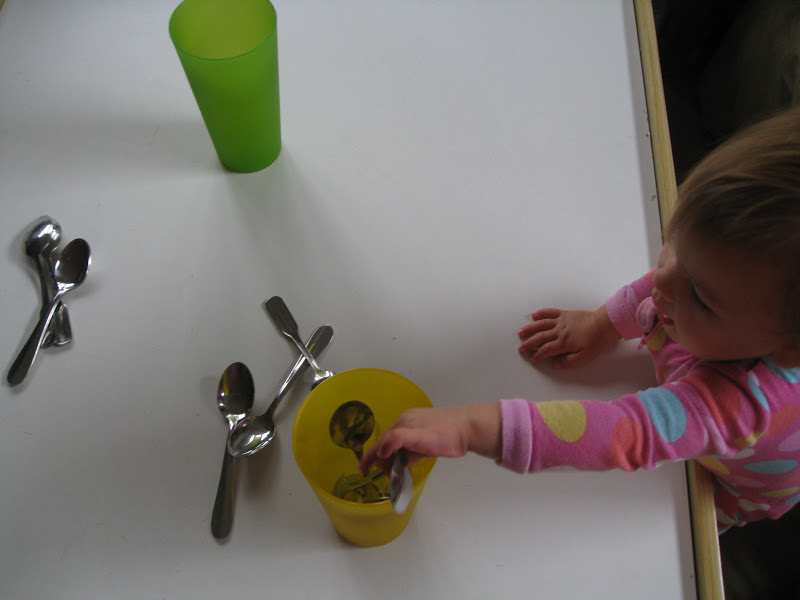
This is the play invitation that I set up for Big Sister and Little Guy…
snow playdoh, snowman cookie cutters, glass gems, black beads, brown pipe cleaners, orange plastic lacing cord cut into little bits, and white fuzz balls.
Of course the construction vehicles had to move some snow.
This was a play invitation I set up one day for Big Sister and Little Guy.
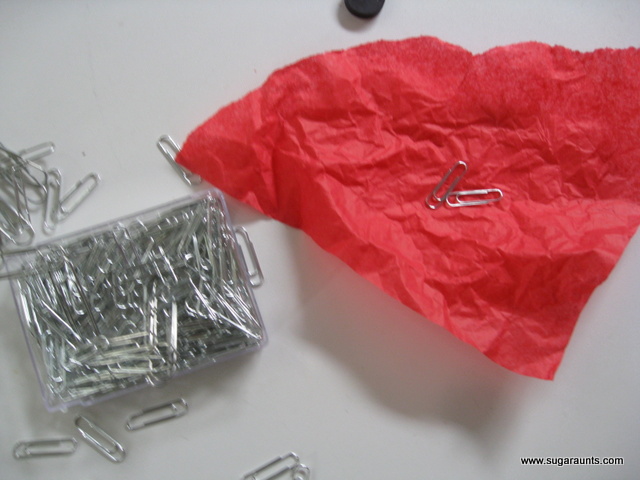
Paper clips, magnets, tissue paper, and the corn bin.
((The Babies were sleeping…tooooo many hazards with this one!))
The Big Kids had fun exploring with the magnets.
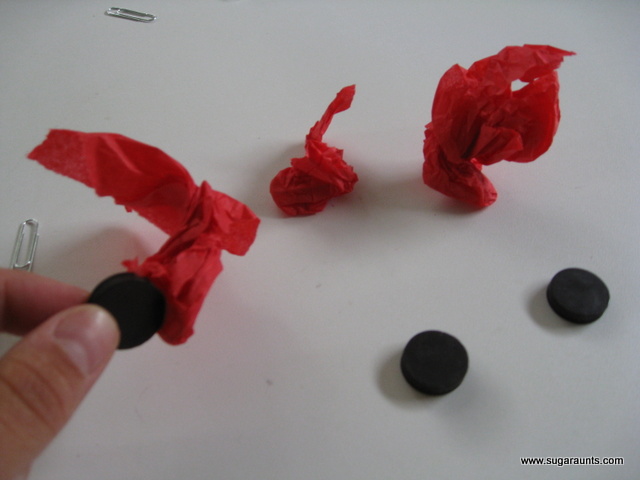
We tore the tissue paper into small squares (Tearing paper into little bits works on those small muscles in the hands). Put a couple of paper clips into the tissue paper.
And crumble it up into a ball
We were calling them “apples”.
Only requiring a small stretch of the imagination 🙂
Big Sister and Little Guy went on an Apple Hunt, raking the magnets through the corn to grab up the apples.
It felt pretty neat on the hands to rake through the corn…a great sensory play activity!
This was a fun activity we did before Thanksgiving. I wanted to get this posted before the holiday, but never got the chance. I love this play idea because not only does it address so many areas
(letter formation, fine motor skills, visual scanning, color learning…),
but it can be done any time of year…
Just use different stickers!
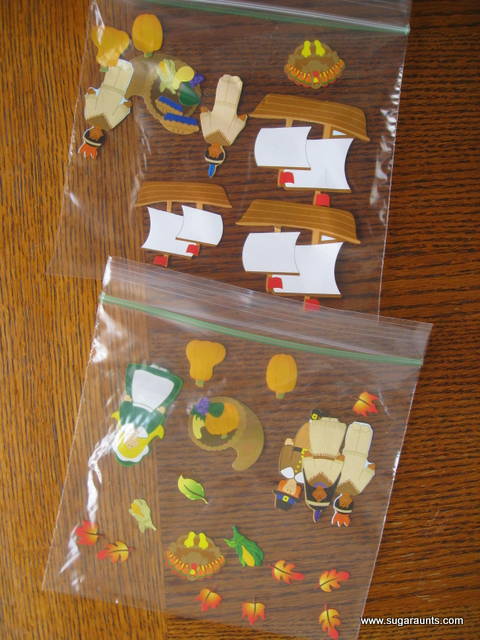
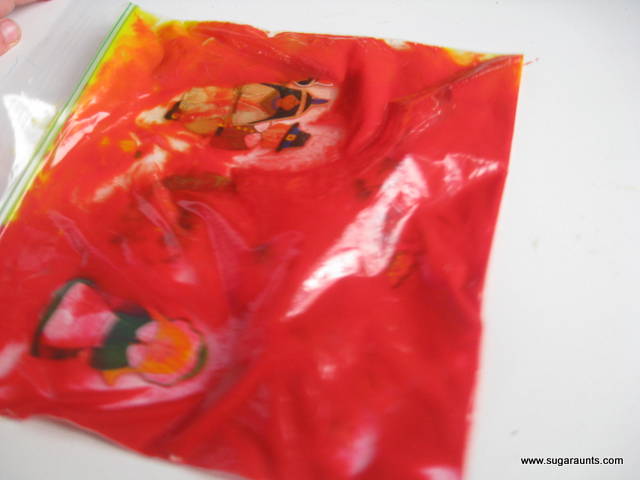
Start by sticking stickers to the inside of a plastic, seal-able bag.
I used a sandwich bag, but you could definitely go with a larger size to engage bigger muscle groups when drawing the in the paint.
Squirt paint into the bag and seal shut with as little air pockets as possible in the bag.
This is the play set up that I had waiting for the kids.
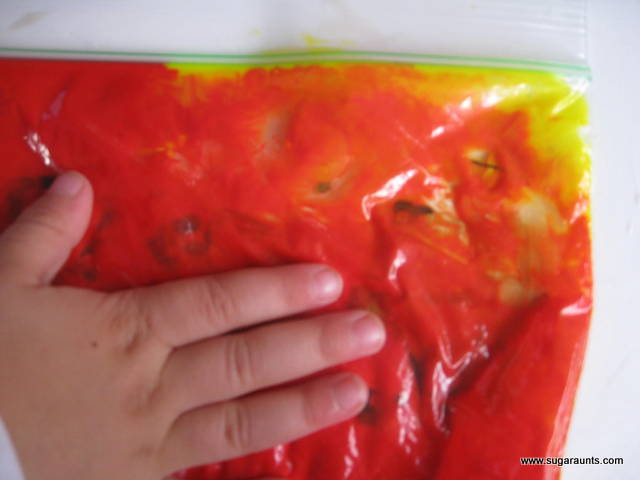
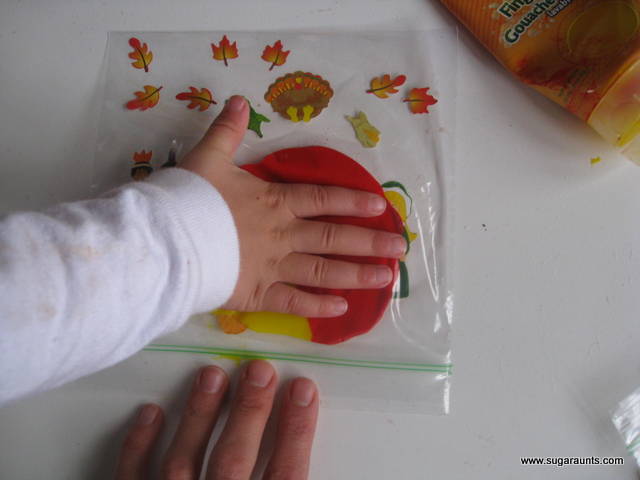
They mixed the colors together using their whole hand.
“Smash it like a pancake, Mom!”
A child pushing weight through their hand is really working their shoulder stabilization. Shoulder stabilization exercises work on the stability and strength of the shoulder girdle.. Strengthening the shoulder girdle is necessary for performing small motor activities of all kinds.
When a child has poor strength of the large muscles of the shoulder joint, they are unable to control the small movements needed for things like handwriting, coloring, cutting, shoe tying, threading beads…
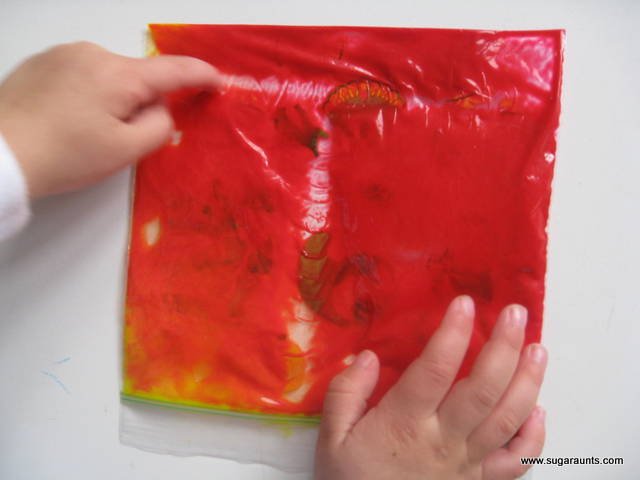
This is a good exercise to wake up the muscles in the whole arm. Have them push the paint around…
smashing it like a pancake…
smearing it around
(mess free)
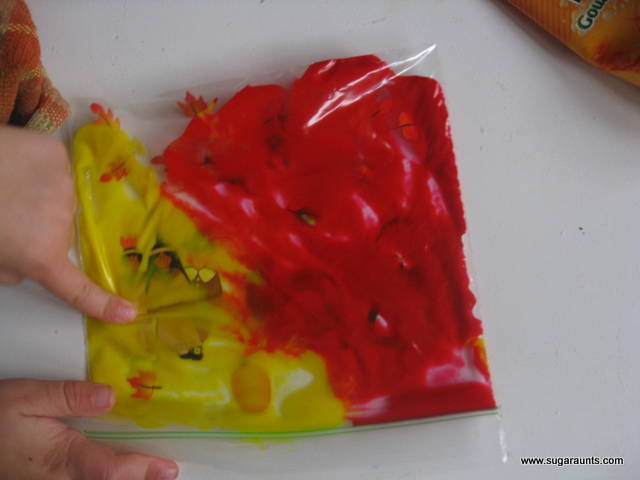
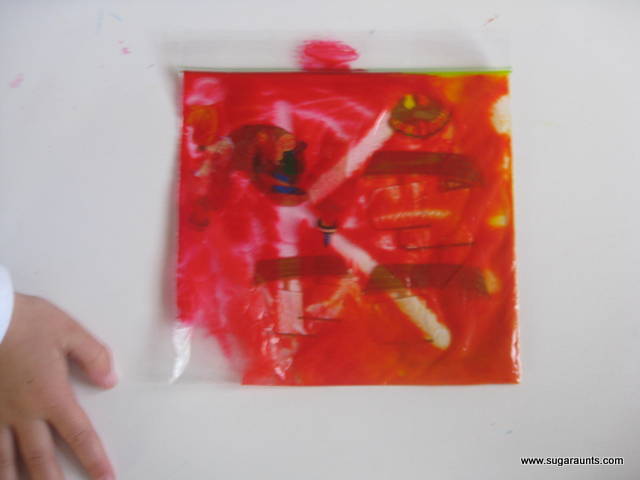
We talked about the colors. Red and Yellow make Orange. Little Guy is getting pretty good at telling me what color combinations make.
After the paint is good and mixed, you can have the kiddos try to find the stickers. Pushing the paint aside is great isolation of the index finger, it separates the two sides of the hand, and strengthens those little muscles in their hands.
Babies move all of their fingers together at the same time. Then, as they develop their fine motor skills, they are able to move their fingers one at a time with better accuracy. Isolating the movements of individual fingers is needed for typing on the keyboard, shoe tying…
Playing peek a boo with the Pilgrims and Native Americans…
Scanning with the eyes to seek and find the stickers.
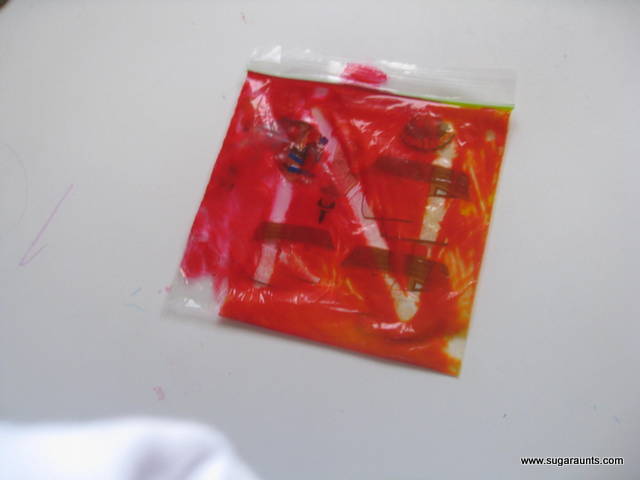
Big Sister loved this whole activity. She loved making letters in the paint and showing Little Guy all the letters in his name.
Little Guy traced some letters. Check out the other hand stabilizing the baggie…
(Just like holding the paper with the non-dominant hand when writing!)
This one was so much fun for all ages…the 5 year old beginner hand-writer, the 3 year old pre-writer, and the one year old who loves touching all things squishy 🙂
We will definitely be doing this one again. Got some Christmas stickers all ready to go!
Today we have a fun messy play idea to do with kids: making 3D Drip Paint! This creative painting idea is an old one on the blog, but it’s a fun and creative way to explore the tactile sense with creative expression. Plus, occupational therapy practitioners know the value of activities that drive interest, and this one is sure to do just that! Check out all of the other ways drip paint can target development in kids, too!
You’ll want to check out some of our other sensory paint ideas too!
Drip Paint with kids
Engaging in messy sensory activities, such as making homemade drip paint with your kids, may seem daunting at first, but rest assured that it is a valuable experience for their development.
Messy paint like drip paint offers sensory touch which plays a huge part in sensory experiences, sensory tolerance and challenging behaviors (the actions we see) as a result of difficulties regulating tactile sensory input.
These messy activities provide a unique opportunity for children to explore their senses, enhance their creativity, and foster important skills. When children immerse themselves in tactile experiences like drip painting, they engage their fine motor skills as they grip brushes, squeeze bottles, and control the flow of paint.
The sensory stimulation supports their cognitive development, helping them understand cause and effect as they observe how paint drips and spreads.
Not only that, but occupational therapy providers love to try fun and engaging activities to support skill development when working with their clients and patients, (and students in the school-based setting).
Activities like making a batch of drip paint with kids supports so many areas that can be targeted and graded (made easier or harder depending on the needs of the child).
Some of the ways drip paint can be used to foster skills includes:
So, embrace the messiness and enjoy the countless benefits that come along with it – it’s not just about the end result, but also the wonderful journey of growth and development that messy sensory activities provide for your children.
how to make drip paint
This is an easy activity that will keep the kids busy indoors during the cold weather. We were trying to make watercolor paints with a bit of a twist. We added some salt to make it sparkle and added a little more vinegar and baking soda to make it drip.
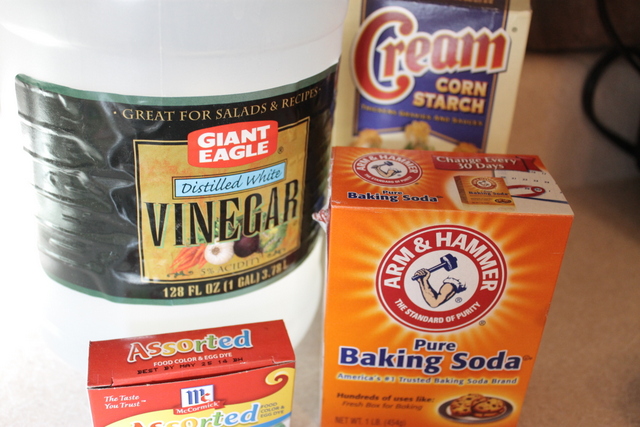
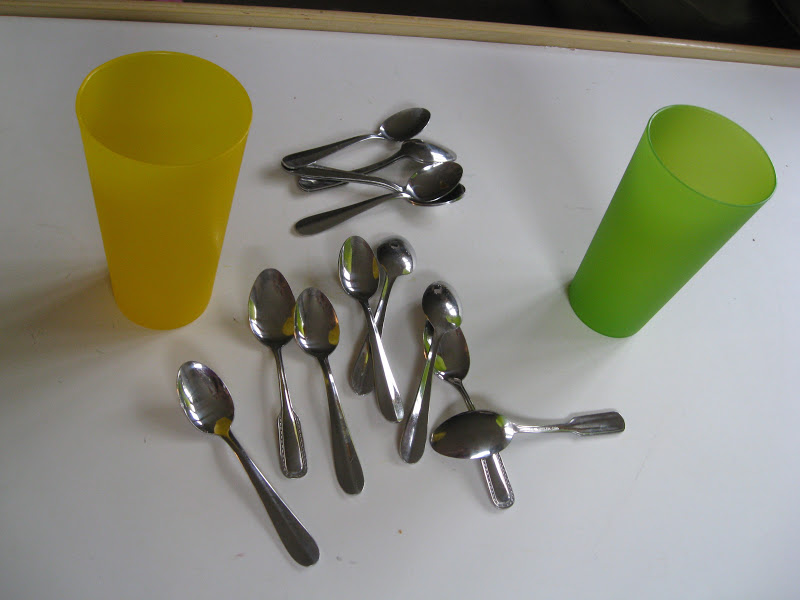
The starting ingredients are:
3T baking soda
3T corn starch
3 T vinegar
a few teaspoons of salt (not in the picture above)
food coloring
You can adjust the ingredients to your liking…adding more corn starch makes it thicker…adding more vinegar will make it thinner…not sure what adding more baking soda does…just makes it fun to watch it bubble!
It was like a science experiment…my daughter found it a little stinky!
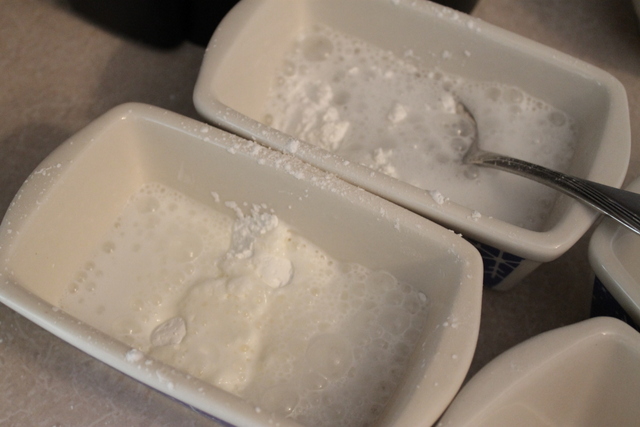
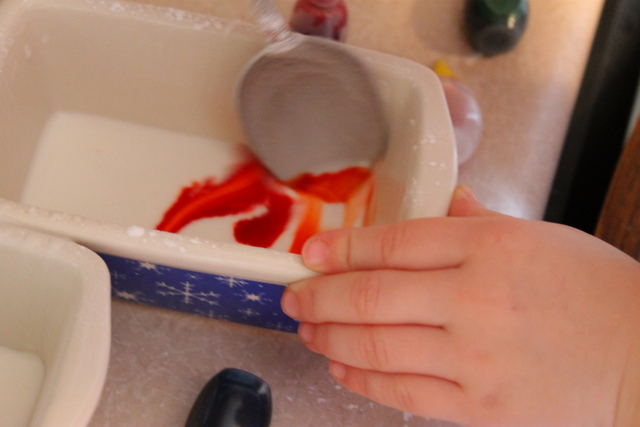
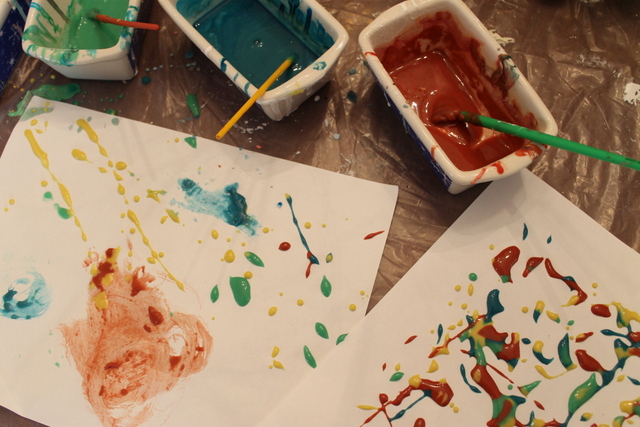
To make the 3D Drip Paint
Mix all the ingredients together. We used 4 separate containers to make red, yellow, green, and blue. My daughter had fun mixing the colors and watching them turn from one color into another. On the paper we made orange, purple and brown.
2. Make sure you line your table with plastic.
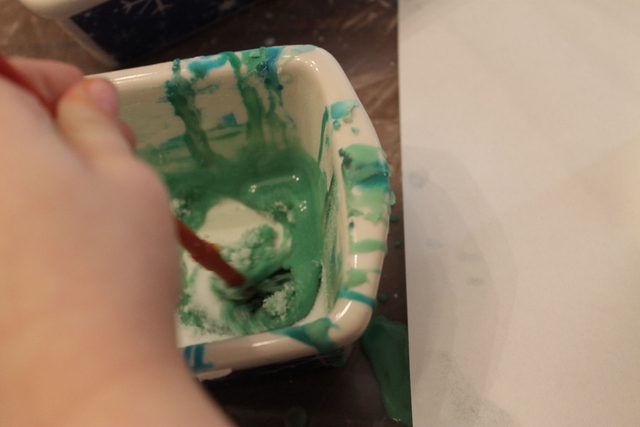
3. At first the paint was a little runny so we added a little more corn starch.
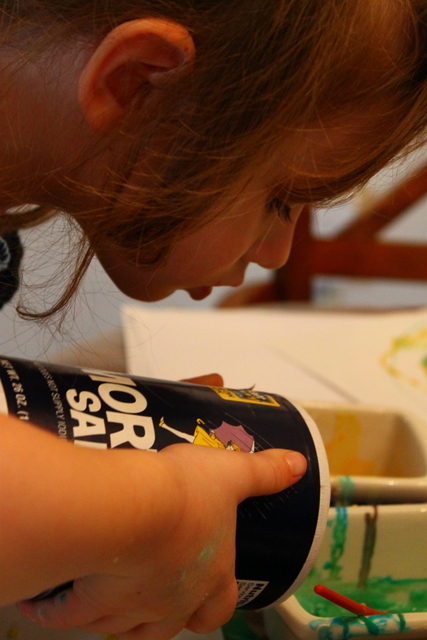
4. Then we decided to add a little salt. Just be careful that no one eats it and keep it away from the animals.
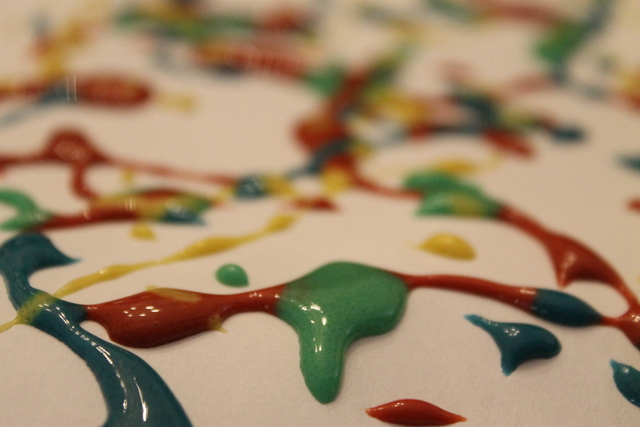
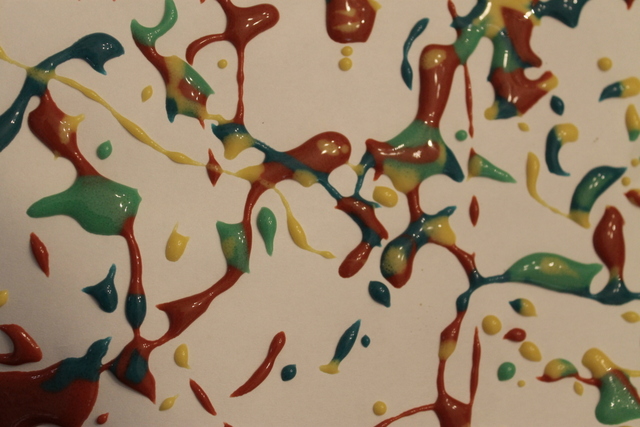
It turned into a beautiful mess!
The paint was perfect for dripping onto paper and making 3D art. Once dry, the kids had fun peeling the paint off of the paper. We hung the picture on the window and it turned into a really neat sun catcher.
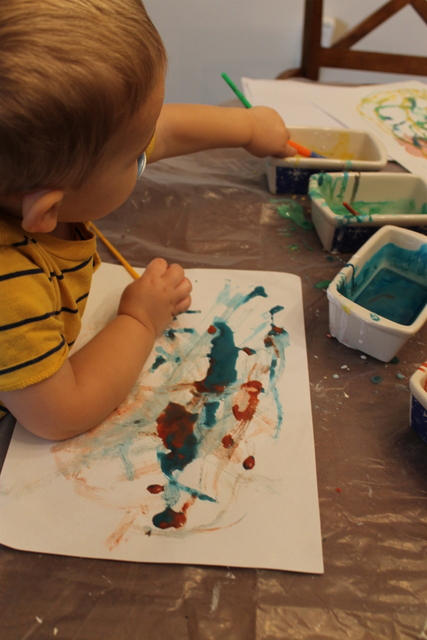
Even the little guy got in on this one.
He found the drips to be pretty amazing!
This was a fun activity that we will do again. Once you let the paint sit for a little while in the containers, they harden and can be used again and again…just add a little vinegar to the paint and it will thin out again.
To keep up with FTC regulations, we offer the following disclosure policy:
Affiliate links: We apply Amazon affiliate links and other affiliates into blog posts where appropriate to the post. This means that purchases made through the links on this blog will make us money. We only link products if they are appropriate to the activity or craft. This in no way affects our opinions or ideas.
Products Reviews and Giveaways: Occasionally, we receive products or materials from companies for review, use, or giveaway. This does not affect our opinions in any way.
Sponsored Posts: We accept sponsored posts in exchange for compensation. All opinions are our own.
Ads: We promote ads from Google AdSense and other advertising networks in exchange for a small percentage of money.
Privacy: We do not share your personal information with third parties. You can turn off use of cookies by changing your specific browser settings. We are not responsible for republished material from this bog onto other websites/blogs.
Disclosure Policy: This policy is valid from 20 November 2012 This blog is a collaborative blog written by a group of individuals. This blog accepts forms of cash advertising, sponsorship, paid insertions or other forms of compensation. This blog abides by word of mouth marketing standards. We believe in honesty of relationship, opinion and identity. The compensation received may influence the advertising content, topics or posts made in this blog. That content, advertising space or post will be clearly identified as paid or sponsored content. The owner(s) of this blog is compensated to provide opinion on products, services, websites and various other topics. Even though the owner(s) of this blog receives compensation for our posts or advertisements, we always give our honest opinions, findings, beliefs, or experiences on those topics or products. The views and opinions expressed on this blog are purely the bloggers’ own. Any product claim, statistic, quote or other representation about a product or service should be verified with the manufacturer, provider or party in question. This blog does not contain any content which might present a conflict of interest.
To get your own policy, go to disclosure.org
As aways, we thank you for your support and community here at Sugar Aunts.
This is a fun project that I helped my daughter create. She has been having some dreams that wake her up crying in the middle of the night. One night she told me she had a dream that she was in a pet store and a penguin picked her up, then an alligator chomped her arm!
We thought a “dream catcher” would help catch those dreams before they get to her and she can dream about the things she wants to…like flying unicorns with sparkle princess’.
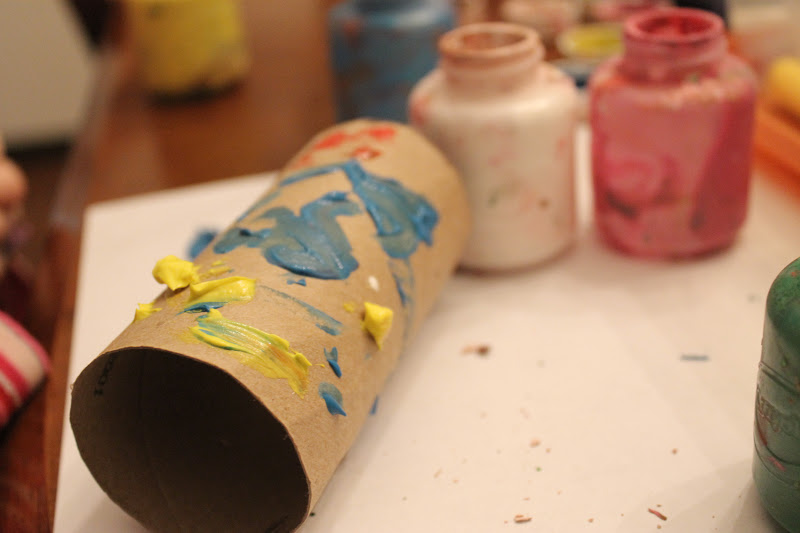
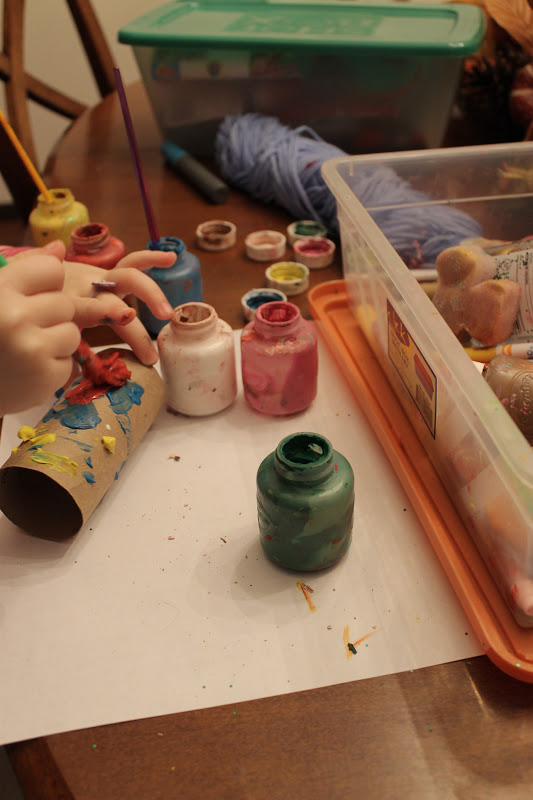
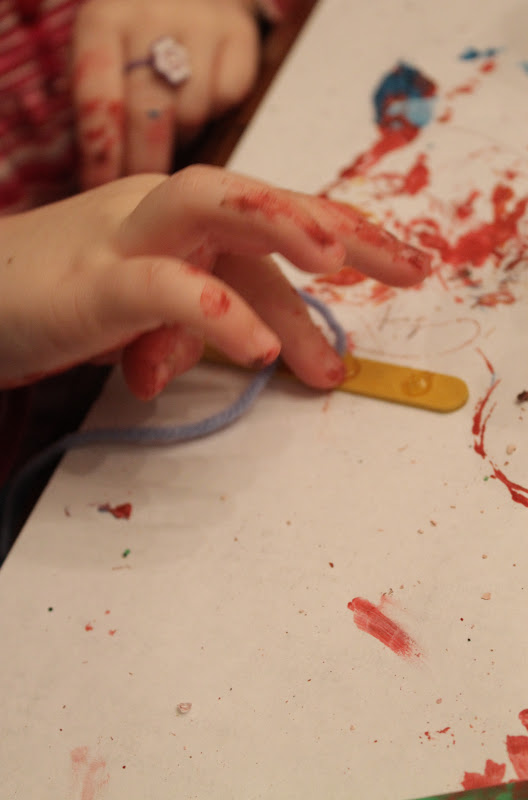
We started out with an empty toilet paper roll, add some fun colors with paint, add a little sparkle with puffy paint and glitter…
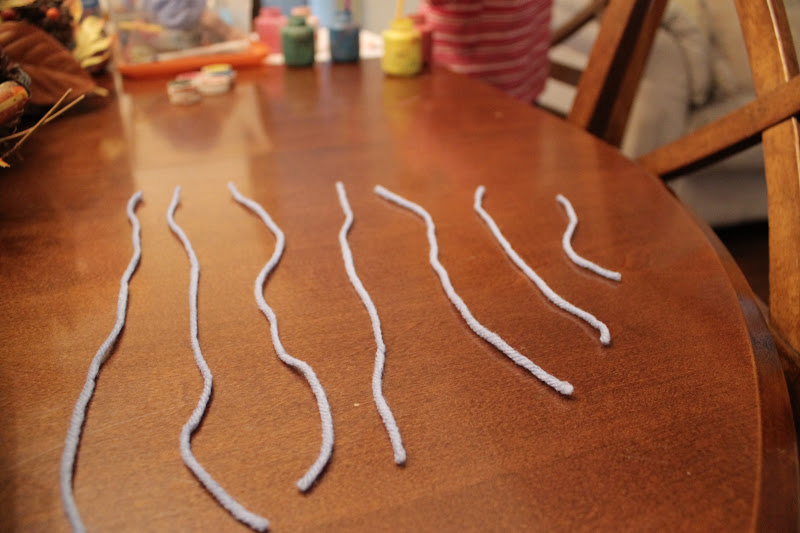
Cut some yarn at different sizes…
Line them up from biggest to smallest (this was a fun challenge)…
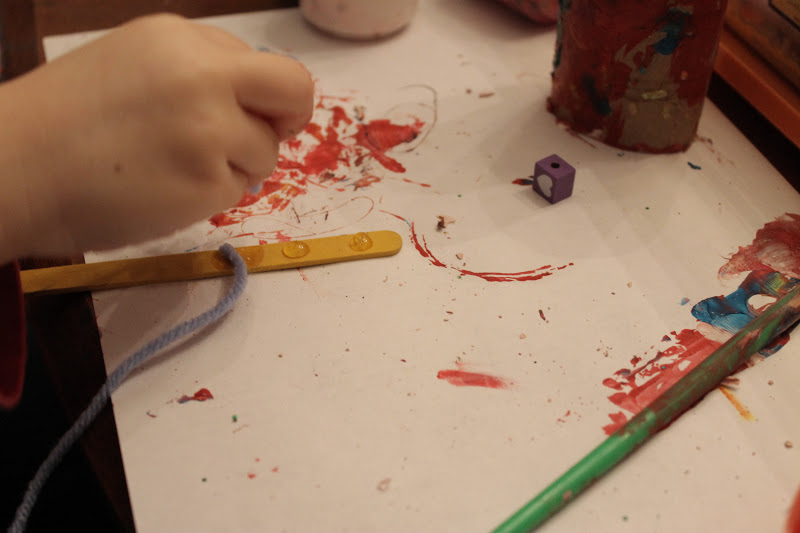
Glue the yarn to a Popsicle stick…
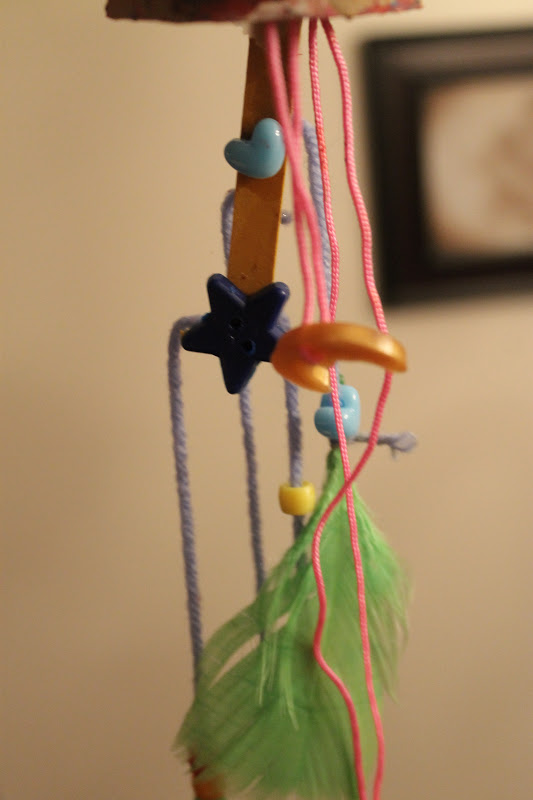
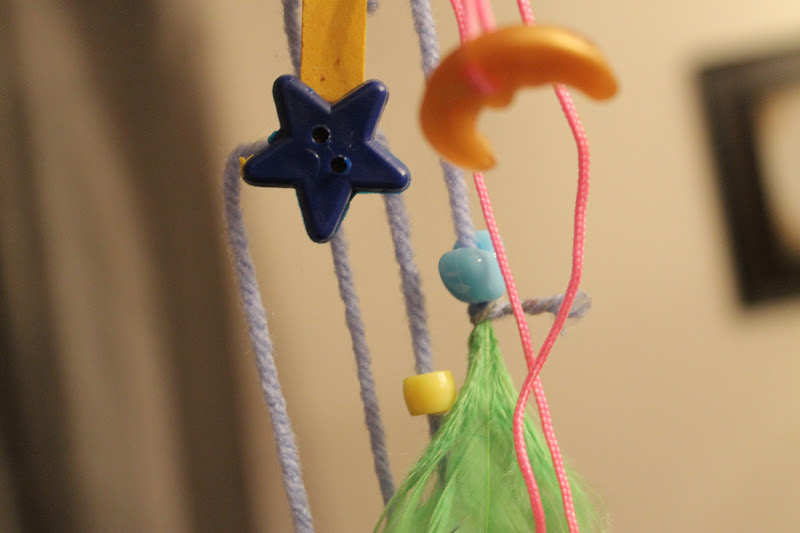
String some beads and glue on some buttons…add a feather or two…
Add a little crepe paper and TA-DA! We have a dream catcher! I loved listening to my daughter explain how the dreams come down. She said they come from God through the toilet paper hole and sprinkle around with the beads and buttons and come out the other end and into her brain.
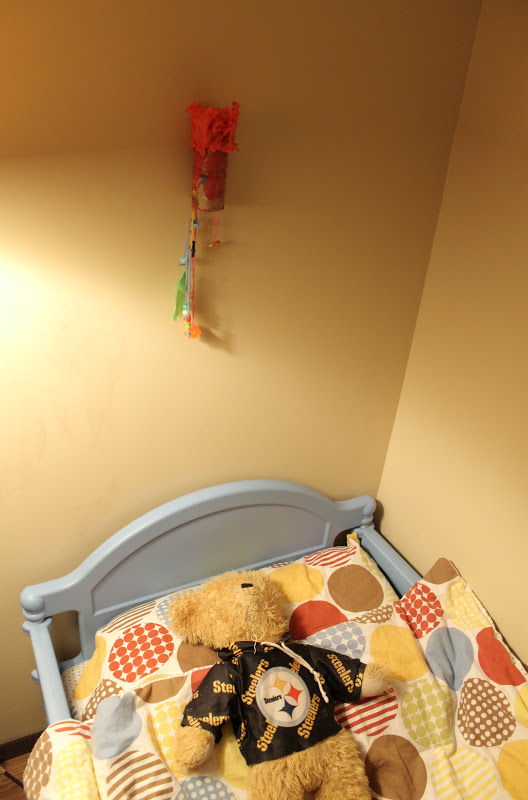
The final product.
Even Steeler Teddy thought it was pretty cool!
Gotta love a 4 year old imagination!
Let’s hope for some happy dreams…she used it last night and woke up exclaiming, “It worked Mom, it really worked!”
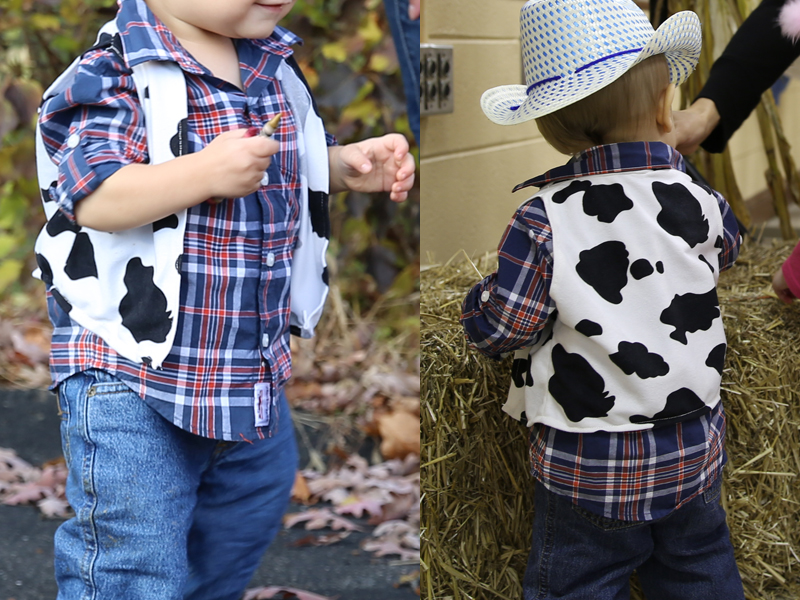
Our Baby Boy needed a cowboy outfit to wear to his birthday hoedown and a DIY Woody vest was the perfect addition. A baby cowboy costume is just too cute! I wanted to keep it simple and tasteful. I already had a pair of jeans, a plaid shirt, and a cowboy hat in Baby Boy’s closet. But his outfit needed a little something to make it extra special – he was the birthday boy after all! So, I made him a vest out of cow-print fabric. For more baby play ideas, check out our fun ideas!
Here are more of our party ideas to check out as well.
baby cowboy costume
I want everyone to know I am NOT a seamstress – by any means. This cowboy vest was not perfect. It had wobbly seams, and the fabric pieces did not perfectly line up….OK that’s not even the worst of it.
To be honest, the final vest was actually my second attempt at the project. I may have accidentally sewn together the arm holes on the first vest. Like I said, I’m no seamstress!
That being said, the final product still looked cute. No one at the party was examining my sewing (as far as I know.) And remember, I made this vest for a kid who still likes eating dirt – perfect seams are not one of his top priorities.
So here’s how I did it.
How to make a baby cowboy costume
The key to a baby cowboy costume is to use items that are comfortable like jean leggings, or jeans and a shirt that the baby is already used to wearing. Add a pair of baby sized cowboy boots or booties and you’re all set. The only thing to add is a cowboy hat and a cowboy vest.
I couldn’t find a free pattern for a vest, so I traced a suit vest that Baby Boy wore to a wedding. I wanted to get the general shape of a vest, but I made my vest longer than the suit vest.
If you don’t have a vest in your kid’s closet, you could just trace a t-shirt and then cut it down the front to turn it into a vest. Just trace it a couple inches wider than the shirt to give enough fabric to create the two extra seams in the front.
I gave myself a one inch margin around the vest when I was tracing. This gave me enough space to sew the seams, and it helped to make sure I wasn’t making the vest too tight.
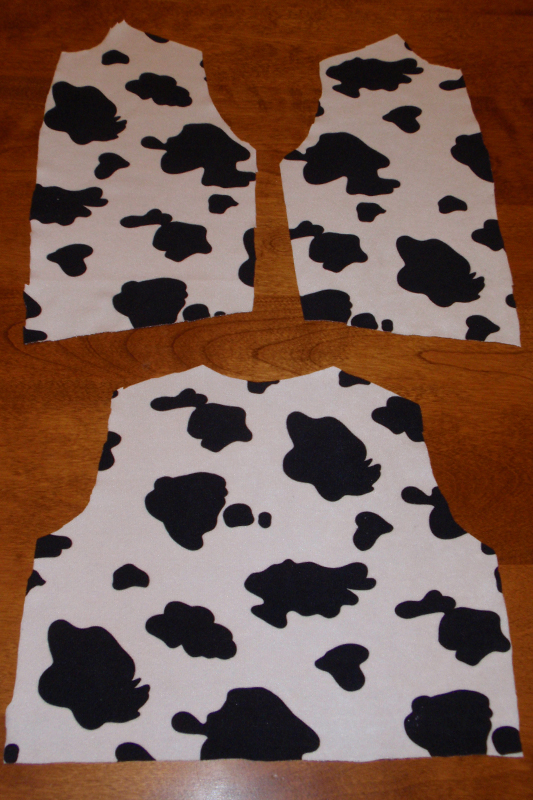
I then cut out each of the pieces of the vest.
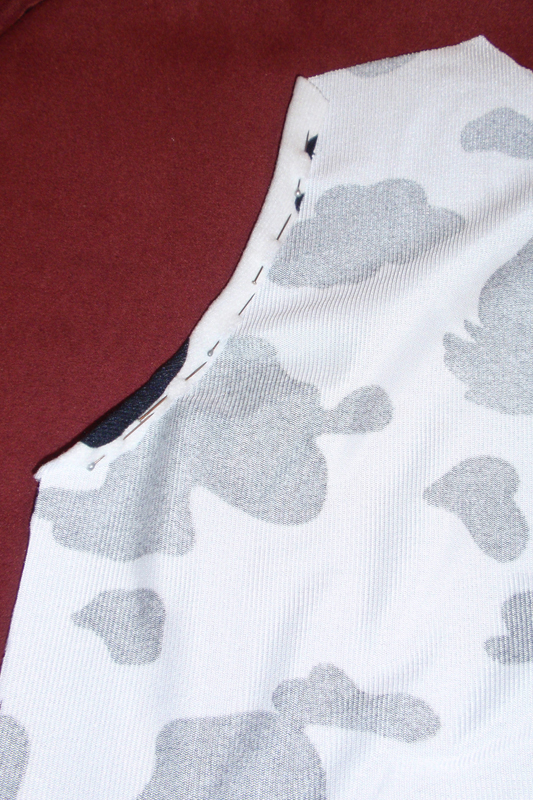
I pinned down the material along the arm holes (of both the front and back panels) and sewed those seams first. I tried to make the seams about a 1/2 inch.
I then did the same to the neck hole of the front and back panel. The neck area was definitely the most difficult part.
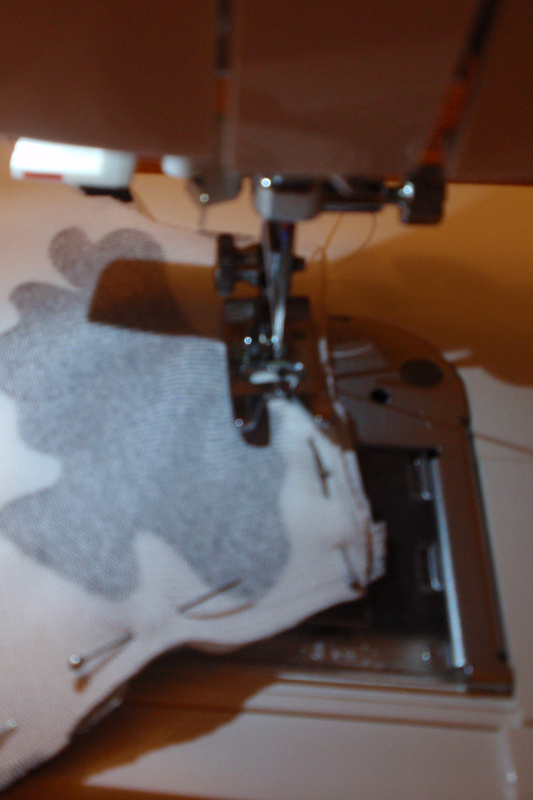
Then, I pinned the front and back panels together while they were still inside out. I sewed them together along the side and shoulder seam.
I don’t know how a “real” sewer would do this, but I took the pins out as the machine got close to the pins because they were getting in my way.
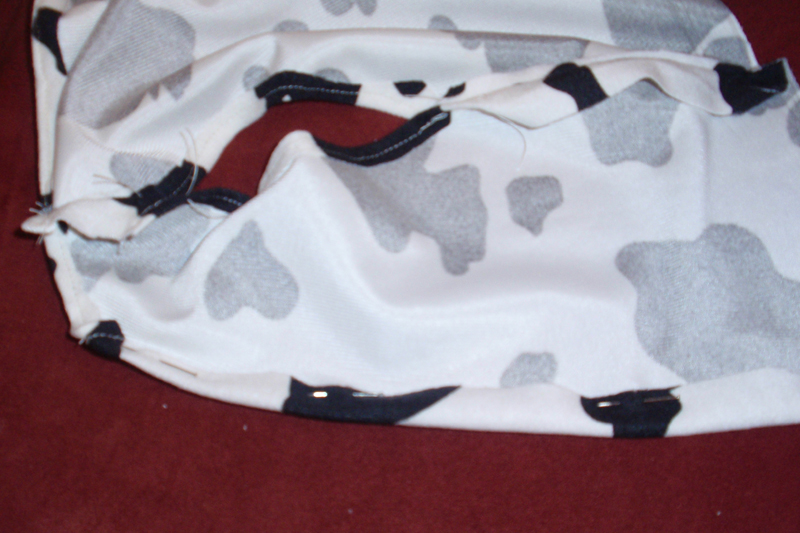
The picture below shows the front panel attached to the back panel. I then pinned down the front seams (also shown in this picture) and sewed those.
The last seam to be sewn was the bottom seam.
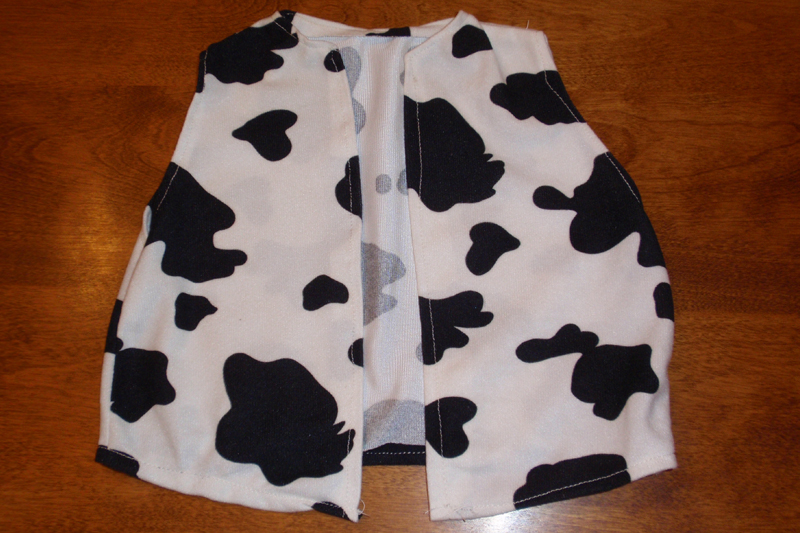
Take a look at the final baby cowboy costume project:
Making this vest actually didn’t take me too long. It would have taken even less time if I hadn’t accidentally sewn the arm holes together during my first go at it.
I think the moral of this blog is don’t be afraid to do some simple sewing. Take a look at how something is sewn together, trace it, and try your best to put the pieces together. If you’re making it for a child, they wont notice the imperfections. Cute babies can work any outfit!
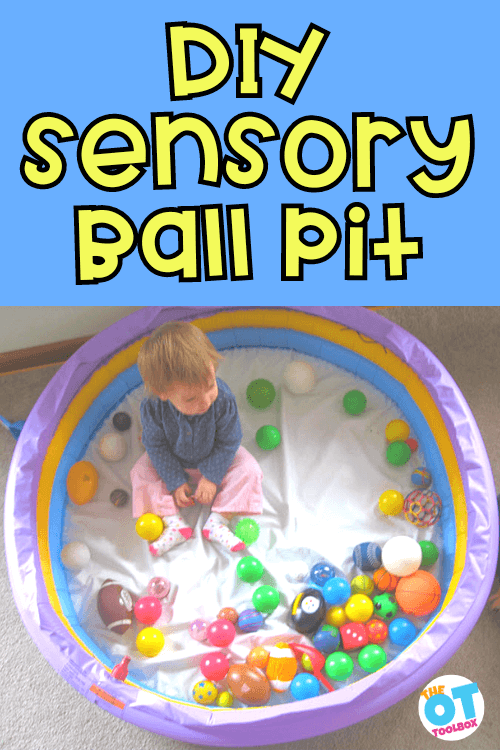
Using an inflatable pool as a sensory room DIY ball pit for sensory play is one of our favorite ball pit activities for toddlers and babies. In this blog post, we’ll cover why and how a baby pool sensory space is so much fun.
If you have little ones in the home, you know that baby toys can quickly take over the home. That’s where this baby play area in the living room comes in. We used a baby pool right in the living room for a kiddie pool ball pit. It was a fun way to create a baby play area without taking over the whole house. We could keep our ball pit balls contained (slightly).
If you’ve ever wanted to set up a calm down corner or even a sensory room, then having an inexpensive way to create a calming ball pit is ideal. That’s where this Sensory room DIY ball pit comes in!
You could use this baby pool ball pit idea in the home, in a mobile therapy practice, in an occupational therapy clinic, or other space. For young children, a great calming tool that supports learning, social participation, and school tasks is a space to chill like a ball pit.
A DIY ball pit using an inexpensive material like a baby pool can be a great sensory strategy to support emotional regulation needs in children. It’s a place to calm or re-organize.
Sometimes the easiest way to bring some fun into the day is to just switch things up!
Bring something unexpected into play.
You should have heard the cheers and excitement when I pulled the baby pool up from the garage and into the living room!
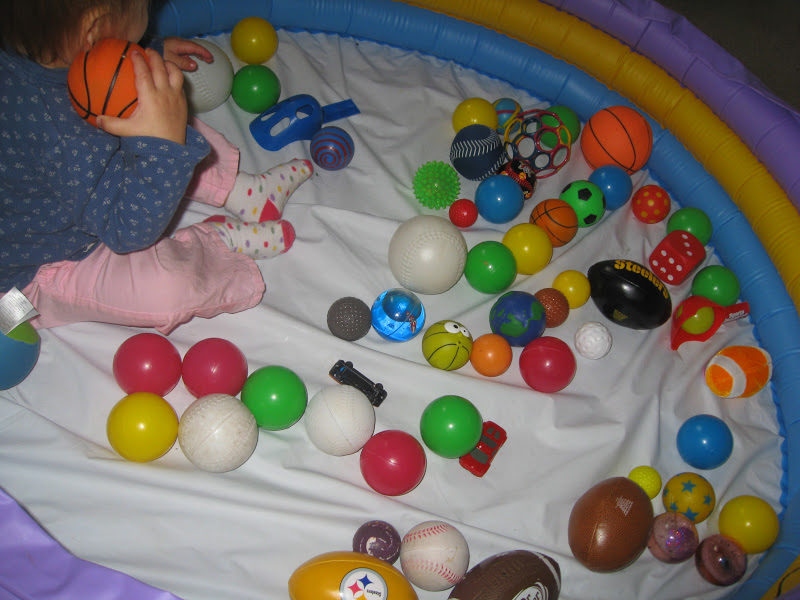
All you need is two items:
An inflatable baby pool
Plastic ball pit balls
You could use a hard shell baby pool as well, but it’s nice to deflate the baby pool and put away the DIY ball pit occasionally!
Everyone immediately climbed in.
And out.
And in…
It’s that easy to provide an instant boredom buster!
Looking for more INDOOR play ideas? We love simple yet effective baby play activities designed to promote development, cognitive skills, learning, and baby brain building.
Or check out any of the ideas under the Kid Play tab above!
Colleen Beck, OTR/L has been an occupational therapist since 2000, working in school-based, hand therapy, outpatient peds, EI, and SNF. Colleen created The OT Toolbox to inspire therapists, teachers, and parents with easy and fun tools to help children thrive. Read her story about going from an OT making $3/hour (after paying for kids’ childcare) to a full-time OT resource creator for millions of readers. Want to collaborate? Send an email to contact@theottoolbox.com.


