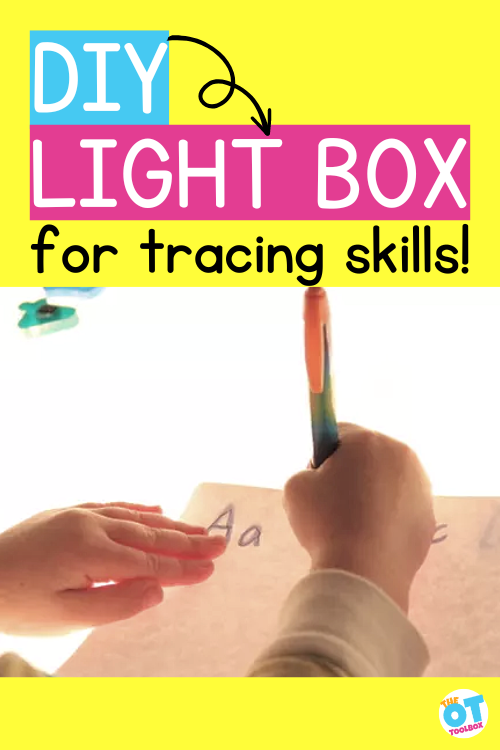
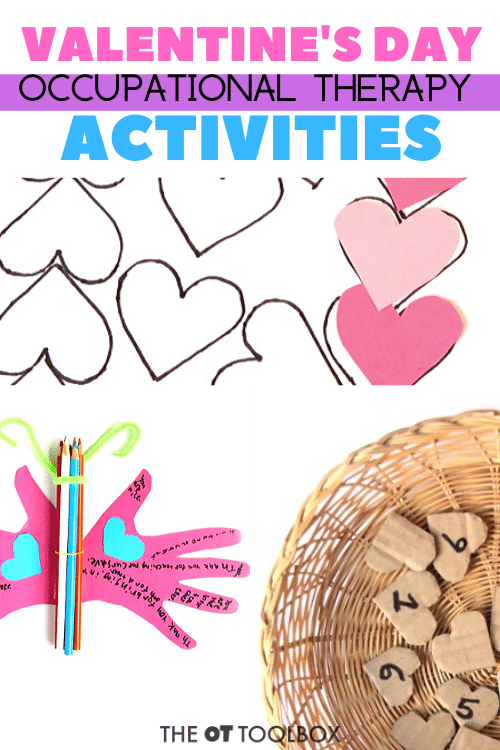
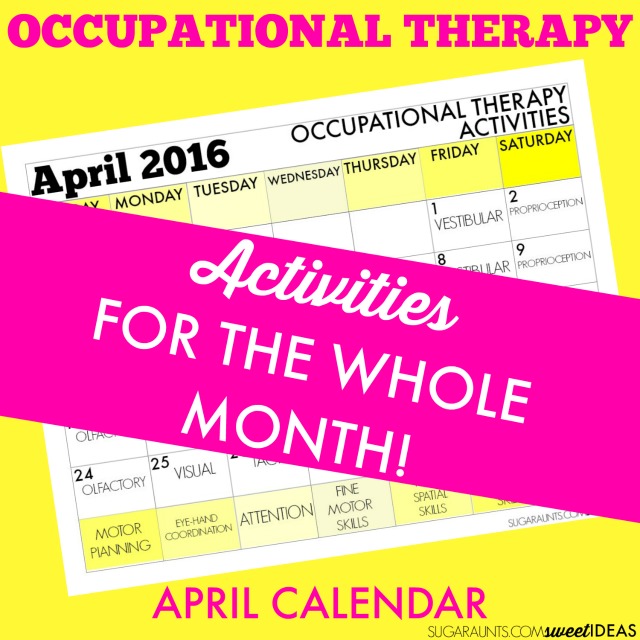
If you are looking for OT activities for the month, then you are in luck with this April occupational therapy calendar! April is occupational therapy month and here, you’ll find an Occupational Therapy calendar for your therapy planning.
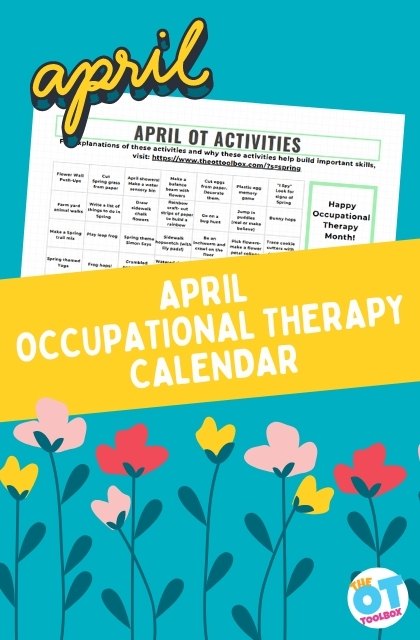
April Occupational Therapy Calendar
Not only will you find a great calendar of activities for OT sessions, but we’ve included other therapy ideas and activities for OT month, and all of Spring!
I have a HUGE resource for you that will carry you throughout the rest of Spring with treatment ideas and activities that are designed to meet the needs of many common goal areas. This resource is perfect for planning a month or a season of therapeutic activities for kids.
If you’ve seen the last few months’ calendars (Check them out, if you missed them: January, February, & March), then you will see that this month’s calendar is just a bit different.
Other Spring-related activities that will go well with this activities calendar include:
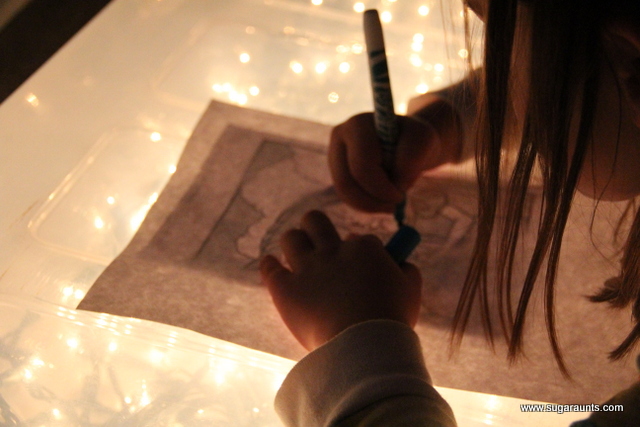
- Spring play dough and handwriting worksheets– integrate strength, coordination, positioning, and motor planning skills.
- Spring Handwriting Cootie Catcher– add bilateral coordination skills, eye-hand coordination, motor planning and more.
- Spring Sensory Stations- add movement and mindfulness with a Spring theme.
I’ve found that I completely love coming up with themed activities that are designed to address many needs of children receiving (or who need to receive) Occupational Therapy services. I’m enjoying this monthly calendar so much that I decided to take it a bit further.
For April’s calendar, I decided to provide MORE ideas, more ways to develop necessary skills, and more ways to cover many more systems of development.
This month’s calendar is essentially going to rock your OT kiddo’s socks!
Activities based on the Pyramid of Learning
This month, I’ve decided to create a huge resource for your OT treatment activity ideas.
Each month’s calendar is such a valuable resource of OT ideas, and this month is no different, except that it has a TON more ideas to address many areas of deficits that typically present in kids receiving OT services. I’ve got Spring themed activities that can be modified to meet the needs of your child.

Each activity in this month’s OT calendar takes into account, the Williams and Shellenberger Pyramid of Learning.
The activities are designed so that they allow for proper sensory experiences in order to adjust for the child’s needs and presenting areas of difficulty.
Based on the Pyramid of Learning, the activities are designed to meet the foundations of sensory needs in order to work on higher tasks that present as difficulties in functional skills.
The pyramid uses a triangle illustration to depict the central nervous system at the base of sensory systems as a support and underlying tier to sensory motor skills, perceptual motor skills, and cognition.
Using the visual of the pyramid of learning in activity development, we can see how integration of the sensory systems as a part of the CNS impact development, functioning, and intellect.
Let’s take a closer look at the pyramid of learning before exploring how the activities in our April calendar cover these areas.
Base of the Pyramid of Learning
The base of the pyramid is the Central Nervous System. Above that is the second tier, which identifies the body’s sensory systems. These systems include:
- Tactile (touch)
- Vestibular (balance)
- Proprioception (knowing where their bodies are in space)
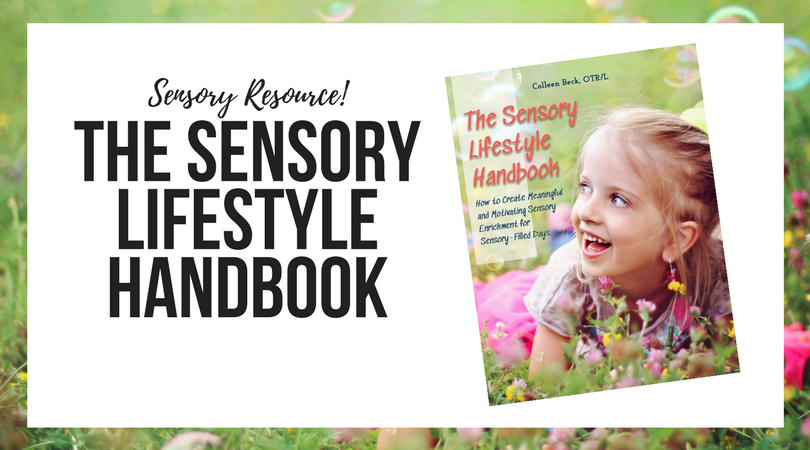
Note that these three are at the base of they other sensory systems. This is an important concept covered in our book, Sensory Lifestyle Handbook.
Then comes the other sensory systems:
- Olfactory (smell)
- Visual (vision)
- Auditory (hearing)
- Gustatory (taste)
Sensory Motor Development Tier of the Pyramid of Learning
Next is the sensory motor development level. This area includes body awareness, reflex maturity, sensory screening abilities, postural stability, bilateral integration, motor planning.
These areas of development are closely related to the sensory systems. They are also essential to functional participation in essentially every functional task we perform throughout the day.
Note that there are three areas of sensory motor development on the base of this tier:
- Postural security (confidence in maintaining certain postures to prevent falling)
- Awareness of two sides of the body (bilateral integration)
- Motor planning (ability to plan their movement)
Then, above those three areas are three more areas of sensory motor development. This relationship is also discussed in our book, The Sensory Lifestyle Handbook.
- Body scheme (body awareness through movement)
- Reflex maturity (having developed reflexes, for safety purposes)
- Ability to screen input (knowing what sensory experiences are important to pay more attention to)
Perceptual Motor Development Tier of the Pyramid of Learning
Above the sensory motor level is the perceptual motor development tier. Perceptual motor skills rely and build on sensory motor abilities. These skill areas are smaller and more distally presented in relation to the internal systems. While built heavily on the sensory systems and motor abilities, these areas allow us to take in information about the world around us. It allows us to use that information to move and perceive what is happening in our world.
This connection is essential to function and occupational performance.
This is easy to conceptualize when you think about the areas that make up this level:
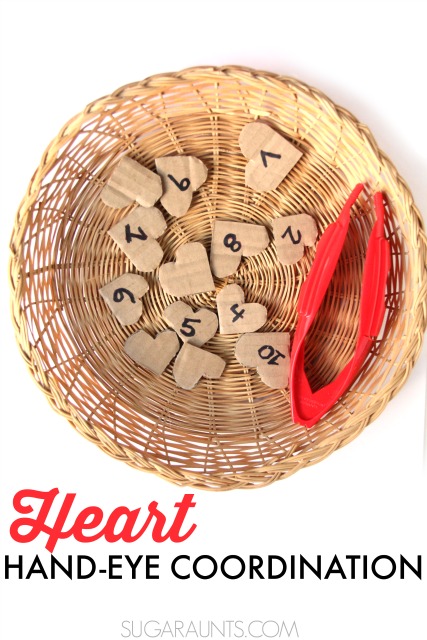
- Eye-hand coordination (when they use what they see to guide the movement of their hands)
- Ocular motor control (locating and fixating on something in their environment)
- Postural adjustment (adjusting their posture to maintain balance)
Then above those three areas of motor control areas are three additional perceptual motor skill areas of development:
- Auditory language skills (hearing and speaking appropriately)
- Visual-spatial perception (identifying what is seen in space)
- Attention center functions (maintaining attention to tasks)
Cognition Intellect Tier on the Pyramid of Learning
At the top of the pyramid of learning stands the cognition or intellect tier. This area begins with daily living skills and behaviour at the base of the top tier, followed by academic learning.
- Daily living activities (such as eating, toileting, bathing)
- Behavior
- Academic learning
What does the pyramid of learning tell us?
The very clear visual graphic of a pyramid shows us exactly how cognitive and learning abilities are based on sensory, motor, and perceptual development. These underlying areas are essential to functioning, behaviors, or the way we act and behave in any given situation, and learning.
In order to move and participate in functional tasks, development in bilateral coordination, motor planning, and vision, proprioception, and tactile systems is necessary. In order to learn, auditory language development, oculomotor skills, the ability to screen input, and vestibular, visual, auditory, and proprioceptive input is necessary.
Every functional task could be filtered down to identify underlying areas that impact one’s ability to perform specific tasks. And the entire pyramid builds upon itself, so that each task includes all of the skills and developmental areas under it as a whole pyramid.
April Activities Based on Underlying Skill Areas
And what I like best about this month’s calendar, is that the activities can be adapted in several different ways so that the resource calendar can be used over and over again in coming months.
You’ll find many ideas in our Spring occupational therapy activities post.
When you combine the calendar with the Spring Occupational Therapy Activities booklet, you’ll discover many ways to add movement, sensory movement, perceptual movement, and learning to Spring-themed activities.
In fact, there are 109 activities in this book using all of the combinations of activities.
This month’s calendar is a little different that the last few calendars. I’m including a schedule of sensory activities but it does not include specifics to perform each day’s task.
You’ll need the Spring Occupational Therapy Activities ebook in order to complete each day’s activity. You will be guided through sensory activities that meet many different goal areas.
This ebook will carry you through the next few months as you work on each task and it’s breakdown of variant activities. It’s all included in the ebook:
Get your guide to the this Spring’s Occupational Therapy activities today! Use it all Spring long as you go through each task outlined in the book.
You will be able to grab the printable calendar by entering your email address into the form at the bottom of this post.
- Subscribe to our newsletter and grab your April calendar. It’s free!
- Buy the Spring Occupational Therapy Activities ebook.
- Play your way through the next few months with Spring-y activities that are broken down into several different goal areas.
April Occupational Therapy Activities for Home Carryover
The month of April is a meaningful time to highlight the occupational therapy profession and the impact it has on helping individuals participate in everyday life. Recognized by the American Occupational Therapy Association (AOTA), this month celebrates how occupational therapy practitioners support people in building skills for independent lives through engagement in meaningful daily activities.
For parents and caregivers, April is the perfect opportunity to bring occupational therapy activities into the home. Simple, intentional activities can reinforce skills children are working on in therapy sessions and help support carryover in real-life situations.
Why Home Carryover Matters in Occupational Therapy
One of the most important parts of occupational therapy is helping children apply skills outside of therapy sessions. Practicing activities at home allows children to build consistency, confidence, and independence in natural environments.
Occupational therapy activities at home can support:
- Fine motor skills (writing, cutting, dressing)
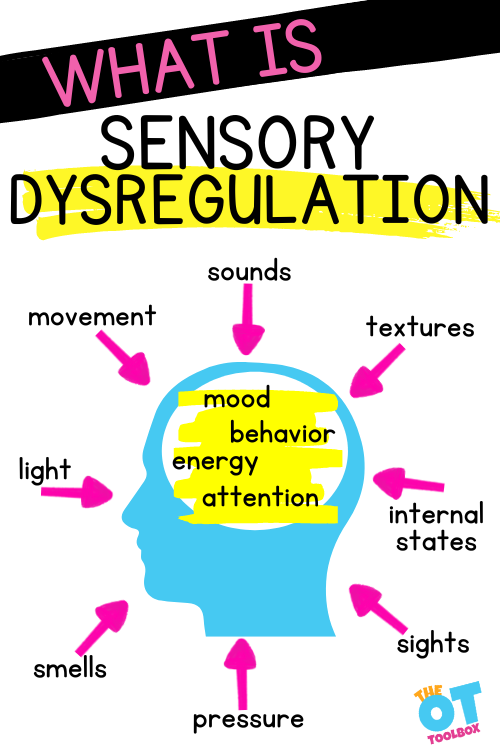
- Sensory processing and regulation
- Coordination and motor planning
- Executive functioning and routines
When families are involved, children are more likely to generalize skills into their daily routines.
Easy Occupational Therapy Activities to Try at Home
Here are simple, effective activities families can use to support development at home:
Fine Motor Activities
- Use tongs or clothespins during snack time
- Practice buttoning, zipping, and dressing skills
- Build with small blocks or beads
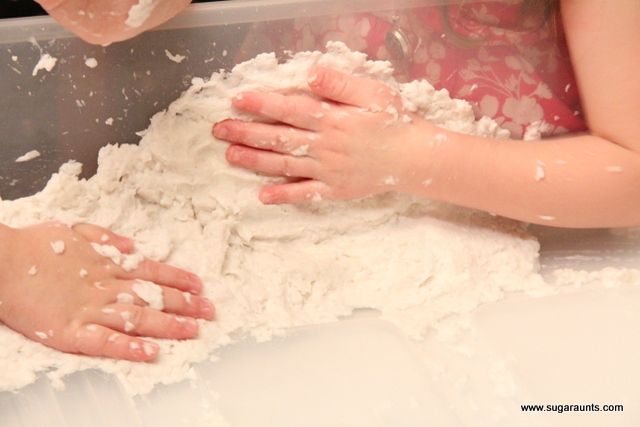
Sensory Activities
- Create sensory bins with rice, beans, or sand
- Use movement breaks like jumping or animal walks
- Try calming strategies like deep breathing or heavy work
Daily Living Skills
- Help set the table
- Practice pouring drinks or preparing snacks
- Organize toys or personal items
These types of activities naturally support the goals addressed in occupational therapy sessions.
Celebrating Occupational Therapy in April
Throughout April, the occupational therapy community celebrates the work of therapists, assistants, and families who support participation and independence. Events such as the AOTA annual conference and professional gatherings like an expo highlight new ideas, research, and strategies that support best practices in the field.
The work of occupational therapy extends far beyond the clinic. It impacts homes, schools, and communities every day.
Sharing Occupational Therapy Ideas on Social Media
April is also a great time to share ideas and inspiration on social media. Parents, teachers, and therapists can highlight meaningful activities, success stories, and simple strategies that support development.
Using hashtags like:
- #occupationaltherapy
- #OTmonth
- #OTactivities
- #pediatricOT
can help connect with others and spread awareness about the value of occupational therapy.
Supporting Caregivers and Families
Occupational therapy is most effective when it includes collaboration with caregivers. By sharing simple activities and strategies, therapists empower families to support their child’s development in everyday routines.
Even small changes, like adding a fine motor task during play or incorporating movement into transitions, can have a big impact over time.
Bringing OT Into Everyday Life
The goal of occupational therapy is to help children participate fully in their daily lives. By incorporating simple activities at home, families can support skill development in a natural, meaningful way.
April is the perfect time to reflect on how occupational therapy supports growth, independence, and participation, and to take small steps toward building those skills every day.

Colleen Beck, OTR/L has been an occupational therapist since 2000, working in school-based, hand therapy, outpatient peds, EI, and SNF. Colleen created The OT Toolbox to inspire therapists, teachers, and parents with easy and fun tools to help children thrive. Read her story about going from an OT making $3/hour (after paying for kids’ childcare) to a full-time OT resource creator for millions of readers. Want to collaborate? Send an email to contact@theottoolbox.com.