DIY Tambourine Craft

Want to make a recycled tambourine? We’ve got you covered with our plate tambourine craft from years ago. We used recycled clear plates for a colorful tambourine that the kids loved!

We made these clear DIY tambourines as a baby sensory toy that was a big hit with all of the kids. The clear plastic plates made sensory play fun with a visual and auditory aspect.  Using recycled materials in craft and play is one of our favorite ways to create! We also recommend making a bottle xylophone for more colorful and beautiful music!


Clear tambourines for music and baby sensory play
 

Recycled Tambourine Craft

 
How to make DIY recycled tambourines for music and toddler sensory play…
 
You’ll need just a few items to make a plate tambourine:
  1. Clear recycled plates 
  2. Hot glue
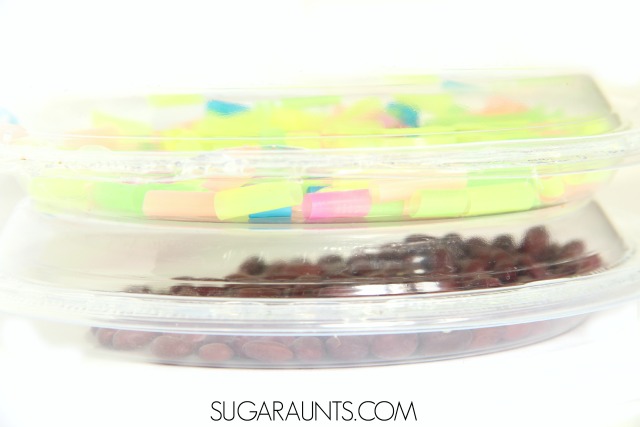
  3. Items to add inside the tambourines. Ideas include dry beans, dry corn, dry split peas, dry rice, or cut up pieces of straws.
 
 
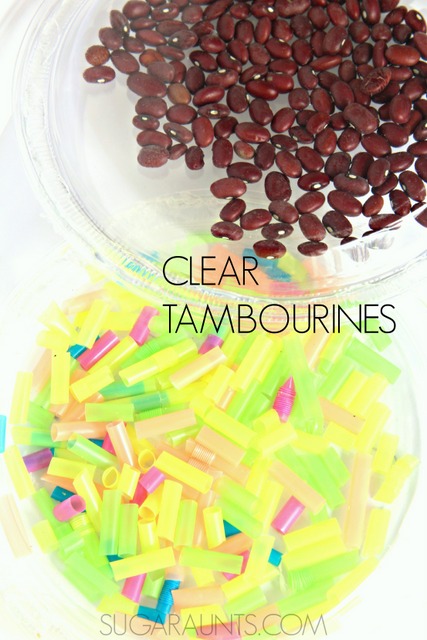
This is an easy DIY project that kids of all ages will love.  Use recycled clear plastic plates, a hot glue gun, and filler.  We used red beans and cut straws to fill our tambourines.  
 
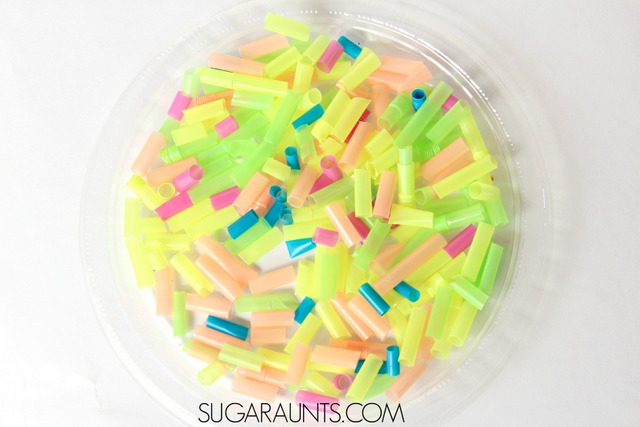
I wanted bright and bold colors for our clear tambourines.  Other fillers might include: dried split peas, chick peas, black beans, or beads.


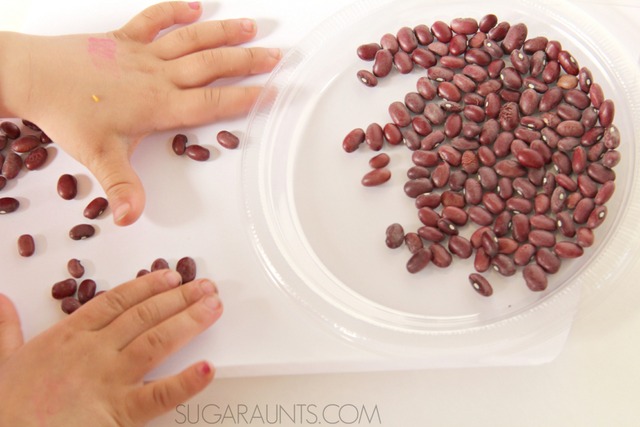
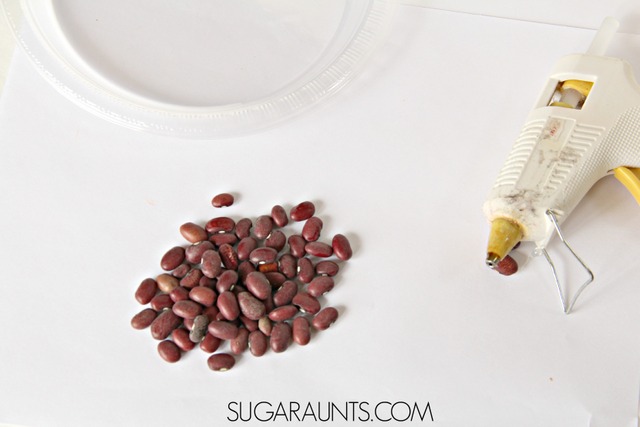
Fill one of the plates with the beans.  Little Sister loved helping with this part.


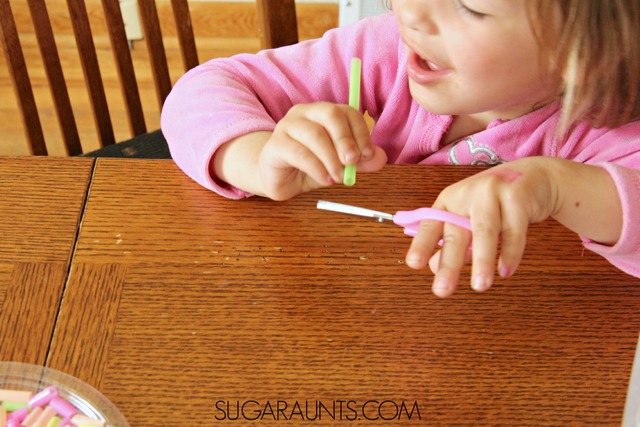
She helped me by cutting colorful straws into small pieces.  She loved watching the bits of straws shoot across the table as she snipped each one.  What a great scissor activity for preschoolers!


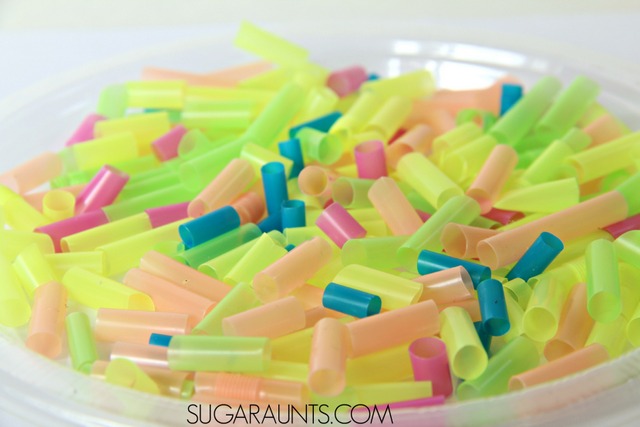
These brightly colored straws make great tambourine filler.


Use the hot glue gun to spread glue along the whole edge of the lip of one plate.  Be sure to put the hot glue on the plate that is filled with filler.  Then place the empty plate on top of the hot glue.  Don’t try to flip the full plate onto the empty plate.  You’ll end up with spilled beans and hot glue burns.  Don’t ask how I know this 😉
 
Firmly press the whole outside edges together until the glue hardens.


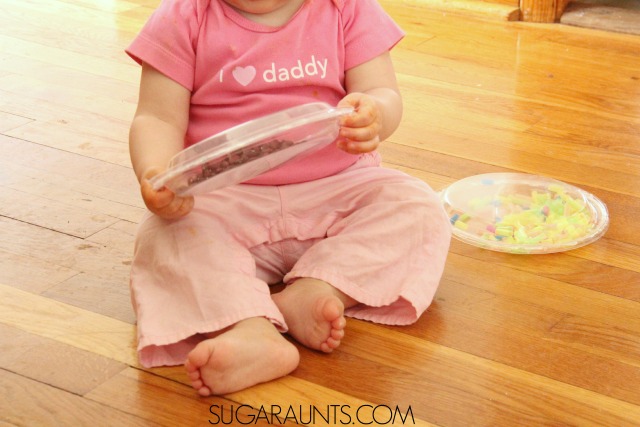
Baby loves these clear tambourines for shaking sensory play!


Other DIY instruments that we loved include:

Lowercase Letter Formation Baked Cotton Swabs

Have you ever made baked cotton balls?  Today we’re sharing one of our newest creative play ideas with baked cotton swabs!  These are a colorful manipulative for learning and fine motor play.  Today we’re sharing how we made baked cotton swabs and using them in a Kindergarten Preparation busy bag to build letters.  This is something you definitely need to make.  You and the kids will love it!
Building letters with baked cotton swabs

How to make baked cotton swabs for sensory play:

 
(This post contains affiliate links.)
Start with a batch of Cotton Swabs and food coloring.  Just like making baked cotton balls, you want to mix together flour and water in a 1:1 ratio.  I scooped a bit of the flour/water mixture into a water bottle ice cube tray.
Add a few drops of food coloring to each section.  
Dip the cotton swabs into the mixture and place on a sheet of aluminum foil.  Continue to dip all of the cotton swabs.  Position the aluminum foil on a baking sheet and place in the oven.
Baked Cotton swabs for sensory play, learning, and loose part play
 
Bake at 350 degrees F for 10-15 minutes.  Keep a close eye on the cotton swabs.  You’ll want to make sure the stick part of the swabs don’t start to turn brown.  Pull the cookie sheet out of the oven and let cool.
 
Now you are ready to play!

Getting Ready for Kindergarten: Writing Letters

 
So how can you use your baked cotton swabs in play and learning?  We used them to build letters, numbers, shapes, and pictures.  Kids can match and identify colors.  Use the cotton swabs to count, sort, and pattern.  Work on visual memory by coping shapes and asking your child to recreate letters, numbers, and shapes.  
 
All of these activities are a great way to prepare children for Kindergarten.  When a child goes off to kindergarten, they are often times presented with handwriting and letter formation for the first time.  You can work on a little Kindergarten prep work with making letters at home in a fun way.  Use the cotton swabs to make letters with your child, and then have them create letters on their own.  
 

Letter formation Busy Bag

letter-building-letter-formation-free-printable


We created a free printable for you to use as a busy bag activity using the baked cotton swabs.  Children can copy and build letters with the cotton swabs using an upper case and lower case letter form.  

 Build letters with cotton swabs, dyed lollipop sticks, play dough, pipe cleaners, string, or other manipulatives.
Just for our newsletter subscribers, we’re offering our FREE upper case and lower case letter builder printable.  

Use these printables to work on letter formation with your little ones.  An adult can write the letter on the left side and kids can trace the letter.  Use manipulatives to build the letters.  Print off the sheets as many times as you need: one for each letter or laminate the sheets and use them over and over again for all of the letters.  (If you laminate the sheets, you can use a white board marker to work on writing letters over and over again.