Colleen Beck, OTR/L is a pediatric occupational therapist and the owner and author of The OT Toolbox website. She manages all of The OT Toolbox social media accounts and runs the popular newsletter.
Read about Colleen's experience and career as an occupational therapist, including how The OT Toolbox began on our About The OT Toolbox page: https://www.theottoolbox.com/about-us/
Colleen created The OT Toolbox in 2011 and since then has written thousands of blog posts designed to support therapy providers, educators, parents, counselors, admin, and caregivers in promoting the healthy development of kids.
Check out Colleen's blog posts below:
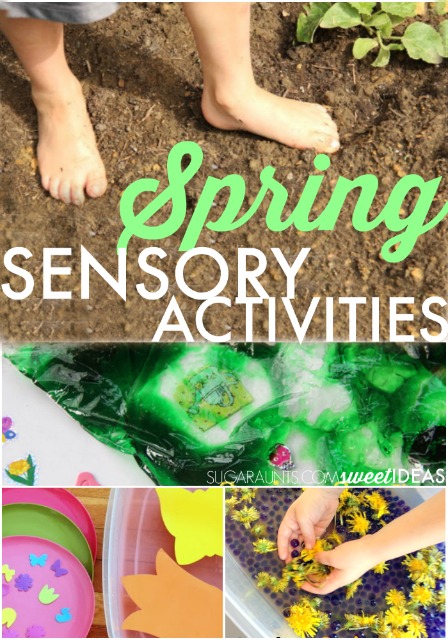
Spring is in the air and simple sensory activities make play time memorable. I wanted to share a place where all of our Spring sensory activities could be found in one place. These are easy ways to play while addressing sensory needs with tactile sensory play. Getting messy in the dirt or exploring the scents of the season will bring sensory play to the basics. And what mom doesn’t like to hear about simple play ideas that build skills? Here are some of our favorite sensory ways to play this season:
This post contains affiliate links.
Simple Spring Sensory Activities
This Easy Spring Water Sensory Bin will help with eye-hand coordination while adding a scented sensory experience. It’s easy set-up and easy clean-up, too!
This Spring Sensory Bag is mess-free and addresses visual percepetual skills like scanning, eye-hand coordination, and proprioception. We created our sensory bag with a bug theme, but this is an activity that can be modified to many different areas.
A Dandelion Sensory Bin is an easy way to explore texture and the sense of touch. It’s an easy set-up sensory activity that is sure to build memories. My kids are still talking about this activity from last Spring.
Grow a Sensory Garden and touch all of the senses as you create your garden. The best thing about a sensory garden is that it is a sensory goldmine that lasts throughout the summer and fall, too!
Get MORE Spring sensory activities with our Spring Occupational Therapy ebook. It’s loaded with easy sensory ideas and will keep your kids playing with the senses all season long!
I love to add a fine motor spin to learning activities. When it comes to teaching kids to write letters, knowing correct formation (and the order of making lines in writing a letter) is so important for handwriting legibility and eventually speed of written work.
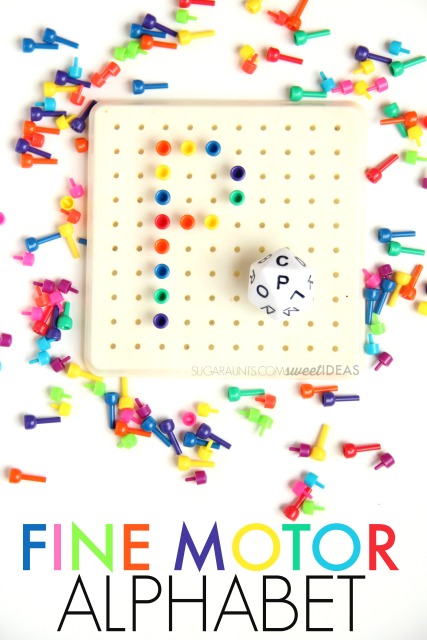
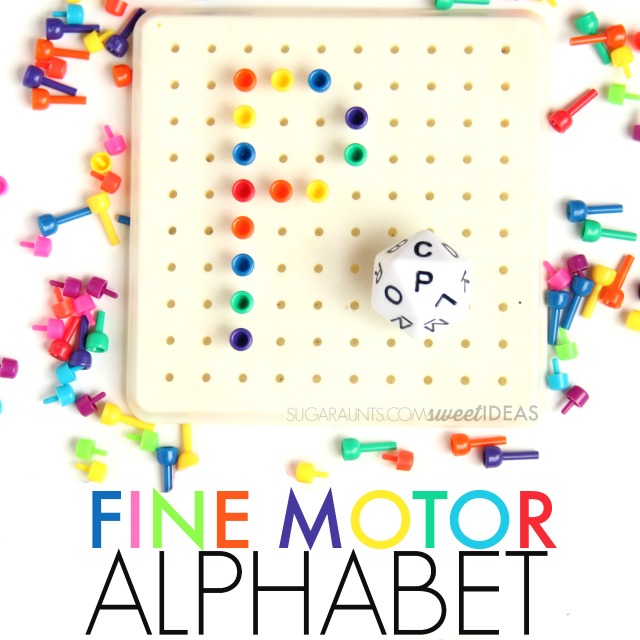
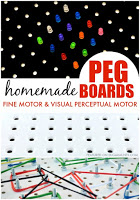
This fine motor peg board activity incorporates eye-hand coordination and tripod grasp to manipulate pegs in order to build letter formation skills, and using a dice, which adds a power in-hand manipulation component to the activity…with a bit of fun mixed in. Overall, this was a fun activity that all four of my kiddos loved!
Fine Motor Alphabet Letter Formation Activity with Dice and a Peg Board
This post contains affiliate links.
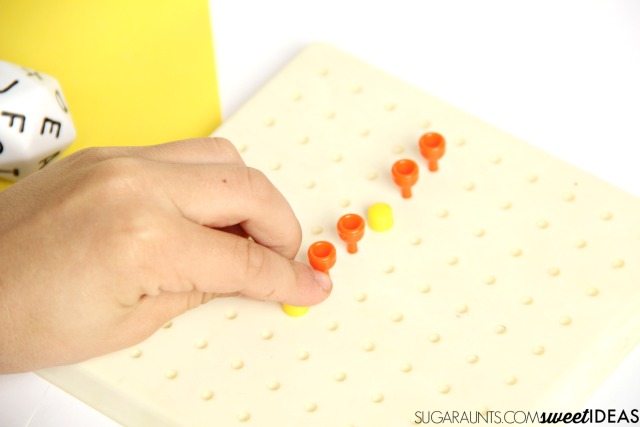
To make the letters in this activity, I pulled out one of may favorite tools from my Occupational Therapy bag: My trusty pegboard and small pegs. The pegs are small enough to encourage a tripod grasp allow for in-hand manipulation, and removing the pegs works on intrinsic strength and arch development of the hand. We used the pegs and the alphabet dice from our Scattergories game (you can get just the dice here.) to work on forming letters with correct lines.
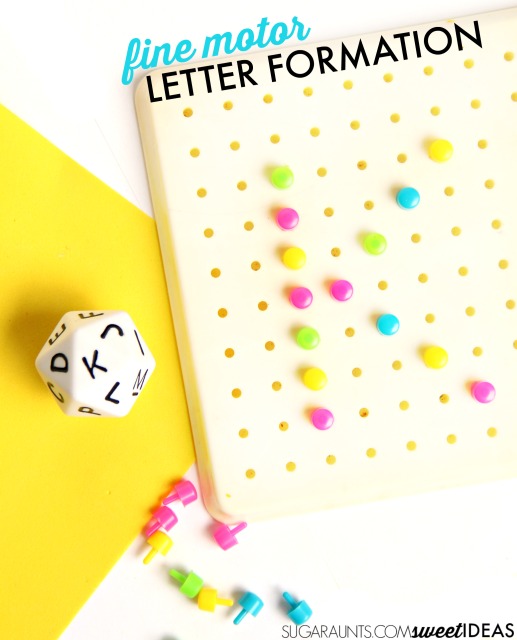
I had my kids take turns at this activity. They rolled the dice and then used the pegs to form the letters. I gave just a few verbal cues to show them how to make the curved lines of certain letters like “G” or “C”. To make this activity easier, you can draw a letter on a piece of paper that is cut to fit the pegboard. Kids can press the letters through the paper and into the holes of the peg board.
Fine Motor Skills When Playing with a Peg Board
Using a peg board works on so many fine motor skills. I’ve shared a ton of info on this before. A basic break down of the fine motor benefits of playing with a peg board:
The bonus for this activity is the fine motor benefit to rolling a dice. Cupping the palm to roll and release the dice encourages fine motor skills necessary for many functional tasks:
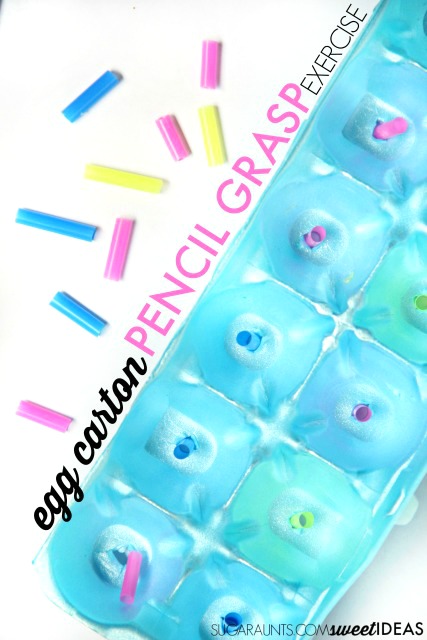
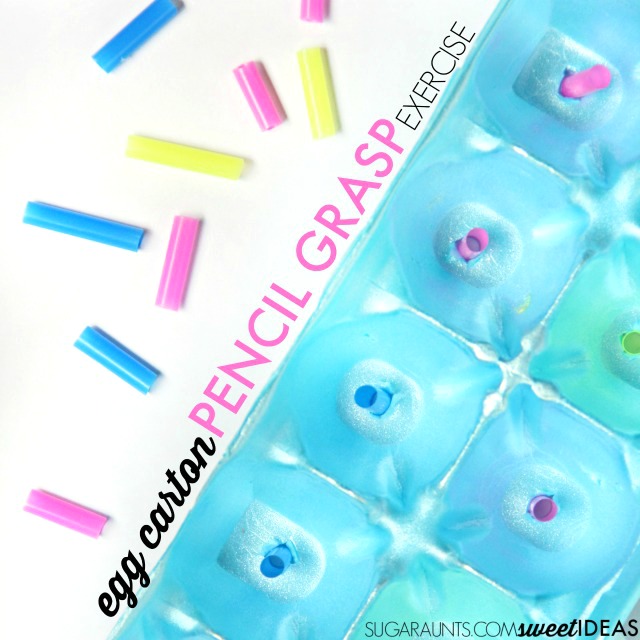
This hand strengthening activity with an egg carton is an easy way to use a recycled egg carton to work on fine motor skills, hand strength, pincer grasp, tripod grasp development, intrinsic hand strength, eye-hand coordination, and other fine motor hand strength skills.
Fine Motor Activity with an Egg Carton
Recently, I shared how intrinsic muscle strength benefits handwriting and specifically a functional grasp on the pencil. Today, I’ve got a super easy way to work on endurance with the lumbrical muscles that are used in maintaining a nice pencil grasp.
This will enable a child to write at appropriate speeds and lengths of time without fatiguing and allow a child to color in a picture without stopping because their hands are tired.
The bonus to today’s activity is that the strengthening tool is very easy to re-create and (almost) completely free.
This would be an awesome compliment to our recent 31 Days of Occupational Therapy activities using Free or Almost Free Materials!
Intrinsic Muscles of the Hands Lumbricals Strengthening Exercise
This is a great finger strength exercise…and it only uses an egg carton and straws. The reason it’s such a great strength activity has to do with the lumbrical muscles in the hand.
This post contains affiliate links.
For this activity, we used a recycled egg carton, a wooden skewer (Amazon affiliate links), and cut pieces of straws.
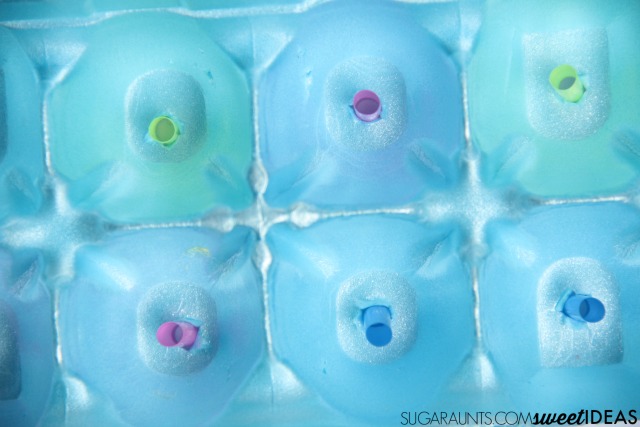
Use the top of the egg carton and poke holes using the wooden skewer. Wiggle the skewer until the holes are larger. Cut the straws into one inch sized pieces, and you are ready to go!
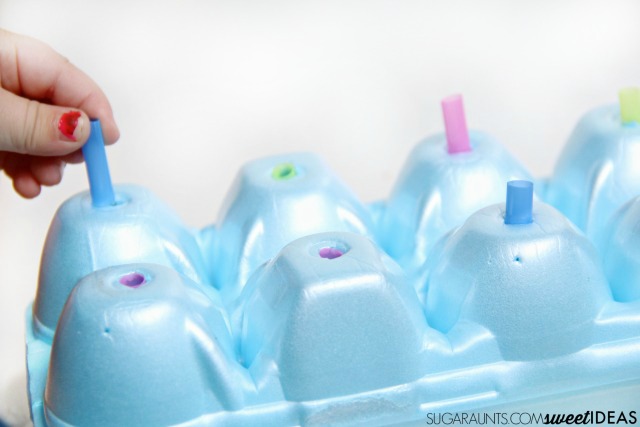
Show your kiddo how to poke the straw pieces into the holes. We used both sides of the egg carton, but using the inside of the egg carton sections especially works on the lumbrical muscles in the hand.
Holding the small straw sections requires a tripod grasp and when the child is required to push the straw through the hole in the section of the egg carton, they are positioning their hand in an Intrinsic Plus Position.
Ask your child to hold several straw pieces in their hand at once to address in-hand manipulation. This skill is needed to manipulate the pencil and rotate the pencil during handwriting tasks.
We cut off the lid of our egg carton for this activity. It was a good way to work on bilateral hand coordination which is necessary for holding the paper and pencil with two different hands during a hand writing task.
Once the straws are partially in the holes of the egg carton, your child can press them the rest of the way through the hole, utilizing finger isolation. Then, turn the egg carton over and use a tripod grasp to pull the straws the rest of the way through the holes.
Read about how and why this is great for handwriting here.
Need another activity with an egg carton?
Looking for more ways to recycle an egg carton? Try these:
Score Fine Motor Tools and resources and help kids build the skills they need to thrive!
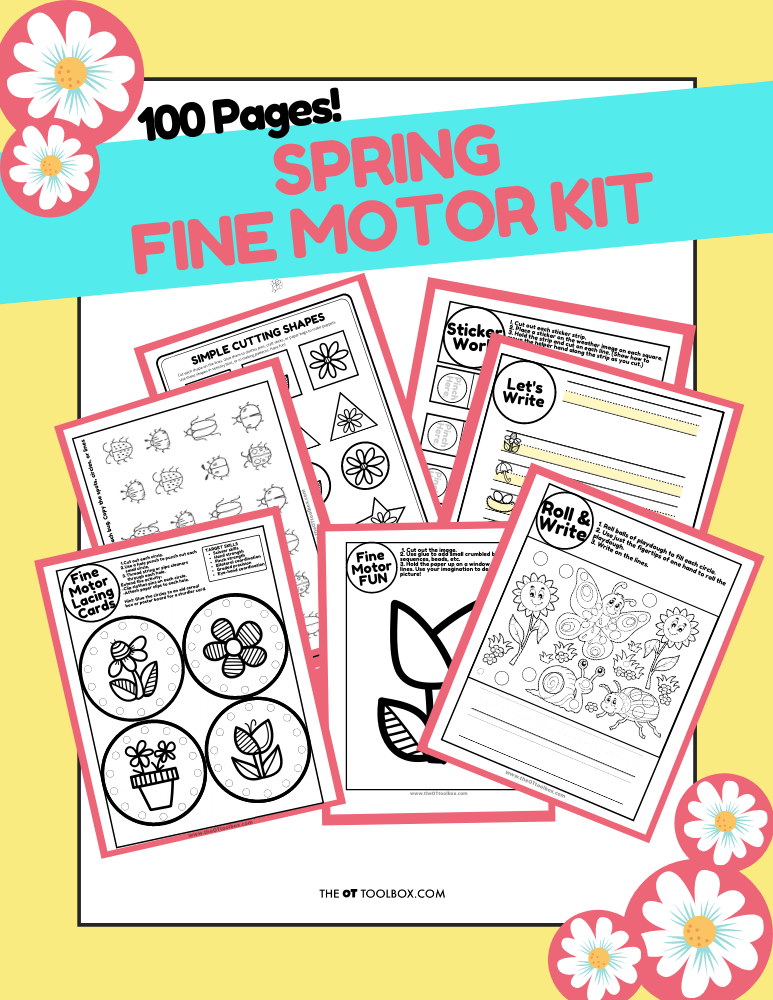
Developing hand strength, dexterity, dexterity, precision skills, and eye-hand coordination skills that kids need for holding and writing with a pencil, coloring, and manipulating small objects in every day task doesn’t need to be difficult. The Spring Fine Motor Kit includes 100 pages of fine motor activities, worksheets, crafts, and more:
Colleen Beck, OTR/L has been an occupational therapist since 2000, working in school-based, hand therapy, outpatient peds, EI, and SNF. Colleen created The OT Toolbox to inspire therapists, teachers, and parents with easy and fun tools to help children thrive. Read her story about going from an OT making $3/hour (after paying for kids’ childcare) to a full-time OT resource creator for millions of readers. Want to collaborate? Send an email to contact@theottoolbox.com.
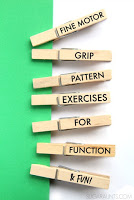
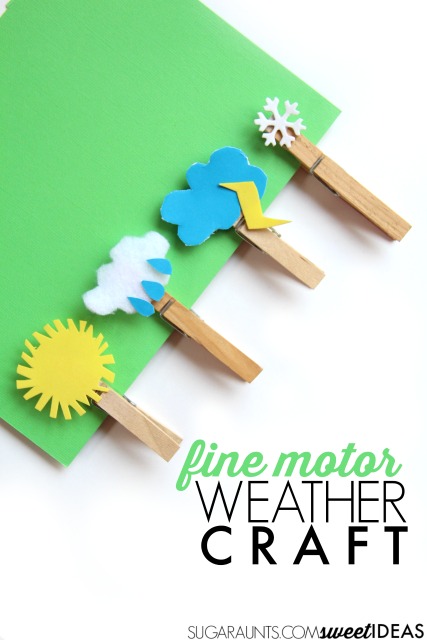
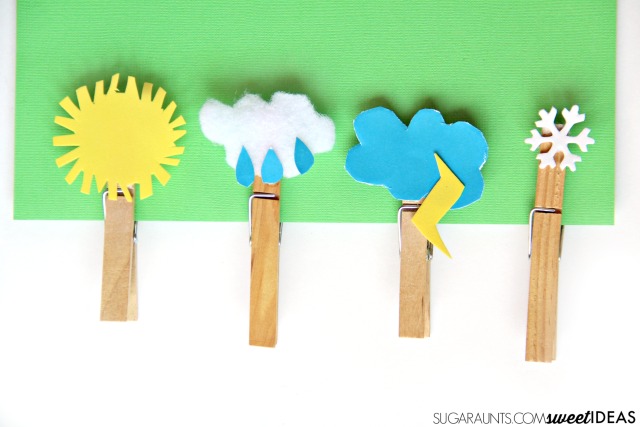
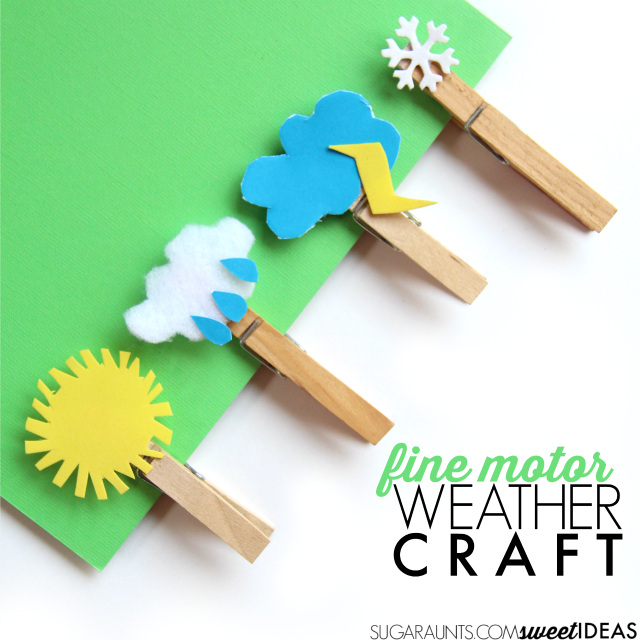
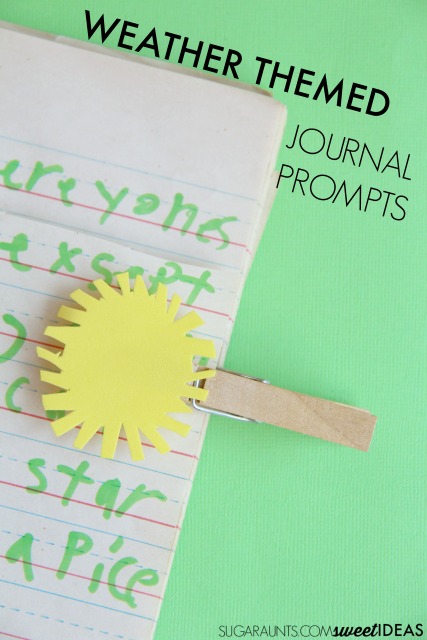
This fine motor weather craft is a fun way to work on a few fine motor skills while encouraging creative writing and handwriting, too! We’ve talked about pinch grip strength and clothes pins before and this craft is a fun way to extend those strengthening skills. I love to add a bit of strengthening and proprioceptive input before a handwriting task, so these clothes pins fit the bill before a weather themed handwriting task! Warm up the hands with a few pinch exercises and then work on handwriting skills during a creative writing or journal topic about weather!
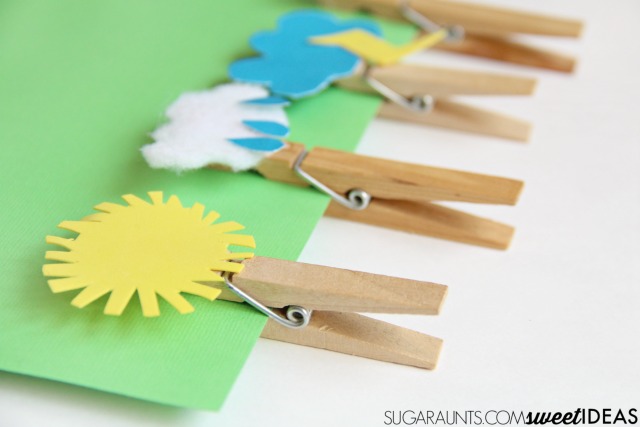
Cut the weather shapes from the materials and glue to the clothes pins. For the sun, cut a circle and cut rays. For the cloud, cut a cloud shape from the fleece and raindrops from the blue card stock. For the thunderstorm, cut a cloud shape from the blue card stock and a lightning bolt from the yellow craft foam. For the snowflake, simply glue the foam shape on the clothes pin.
Weather Themed Writing Creative Journal Prompts
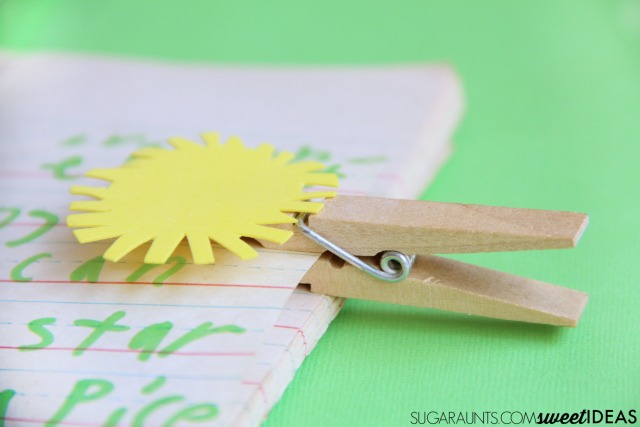
We used these weather clothes pin crafts in a creative writing assignment. Have your child choose a clothes pin and clip it to their notebook or top of their paper. They can use the weather type to brainstorm creative journal topics based on the weather. For example, if they choose the sun, they could write about activities they like to do in the sun, their favorite thing about sunny weather, or their favorite memory from a sunny day. I ask my second grader to write like she’s been instructed at school: One topic sentence, three supporting sentences, and a closing statement.
Fine Motor Warm Up before Handwriting
Using the clothes pins as a fine motor warm up is a great way to build strength and “wake up” the muscles needed to write. Let me know if you try this activity at home. I would love to hear about it!
Looking for more weather themed activities? Try these:
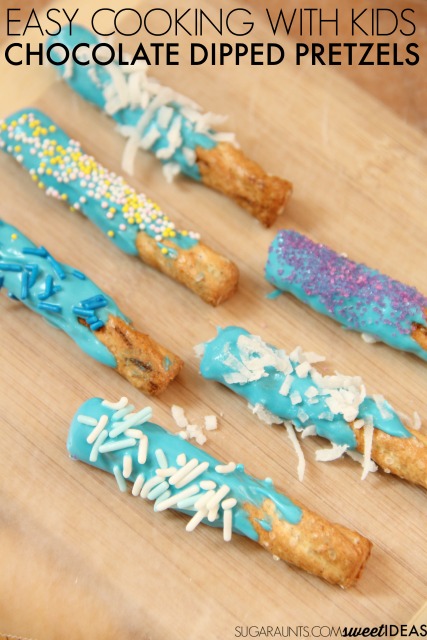
My kids love to cook. They come running when I say it’s time to help me cook. When melted chocolate is involved, they come running just a little faster. Who am I kidding? They come running at full speed when chocolate is involved.
We made these easy chocolate dipped mini pretzels one day when I had a niece and nephew over for the day. (I’m totally going for the Best Aunt award, here. Chocolate covered pretzels? I’ve got this!)
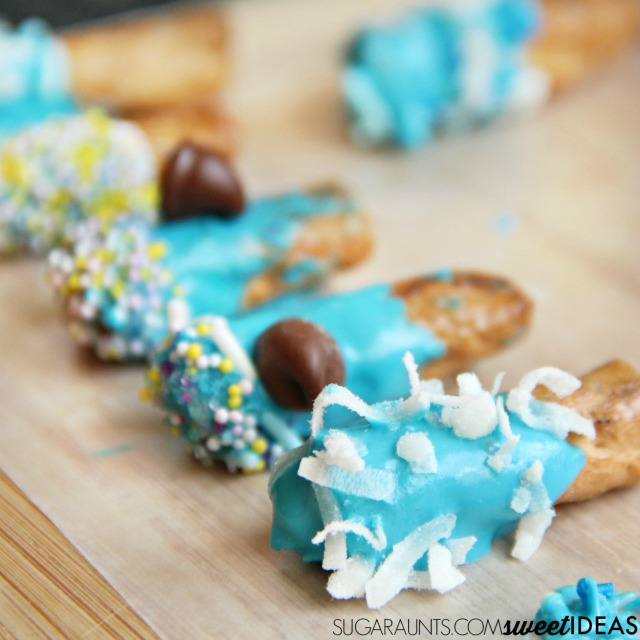
Sometimes, it’s nice to have a little treat, but a mom wants to keep the sugar intake on the low side. We made these mini pretzel rods for a bite size chocolate-y treat that would be perfect for parties or special events.
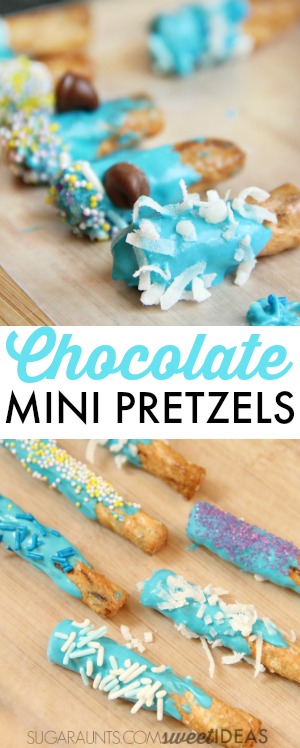
Mini Chocolate Covered Pretzel Bites
This post contains affiliate links.
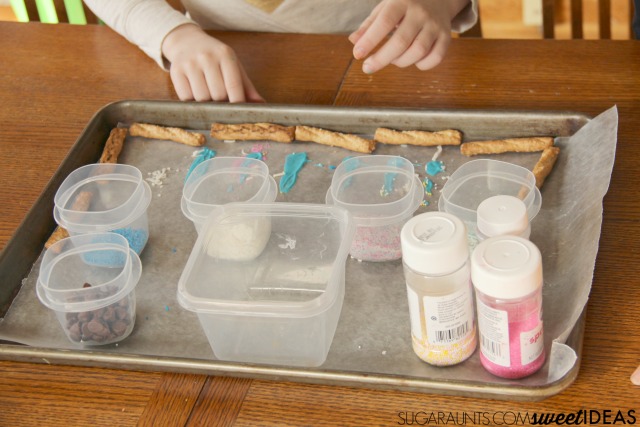
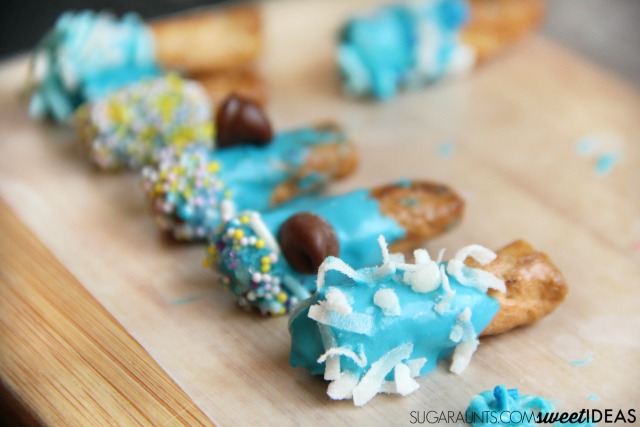
You’ll need just a few ingredients for this recipe: Mini pretzel rods Chocolate melts Sprinkles, dried coconut, chocolate chips, nuts, or what ever you’ve got in the house.
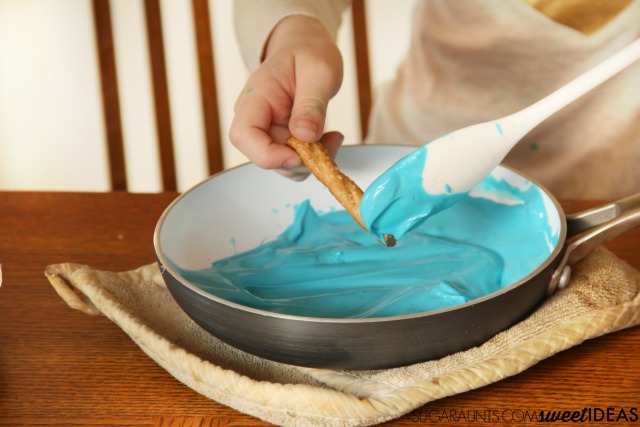
This recipe is easy enough to make with kids without a huge mess. Melt the chocolate melts over the stove top. This is a job for an adult or an older child.
Using a spoon, drag the melted chocolate over the mini pretzel rods. Place them on a sheet of wax paper. For easy, use a lipped tray like a jelly roll pan. This will contain the mess and keep sprinkles and toppings from rolling on the floor.
Pour sprinkles into small rubbermaid containers. This is a great way to incorporate fine motor skills into the cooking process. Kids can pinch or scoop the coverings on the melted chocolate.
HINT: Use larger containers for dumping sprinkles over the pretzel rods. We also used halves of the mini pretzels for an even smaller treat. These pretzel bites were perfect for a small snack!
Stop by and see what the other bloggers in the Kids in the Kitchen blogging team have cooked up:
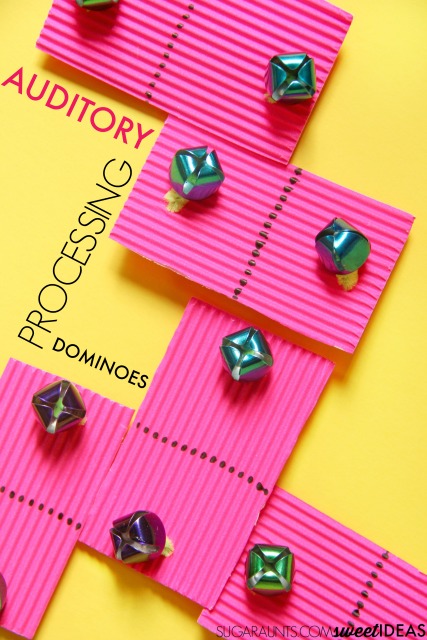
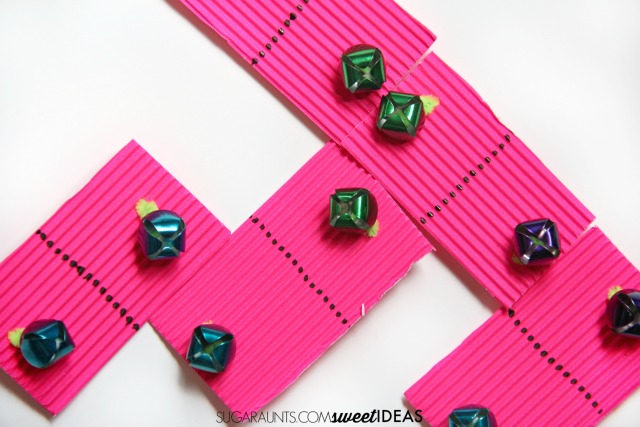
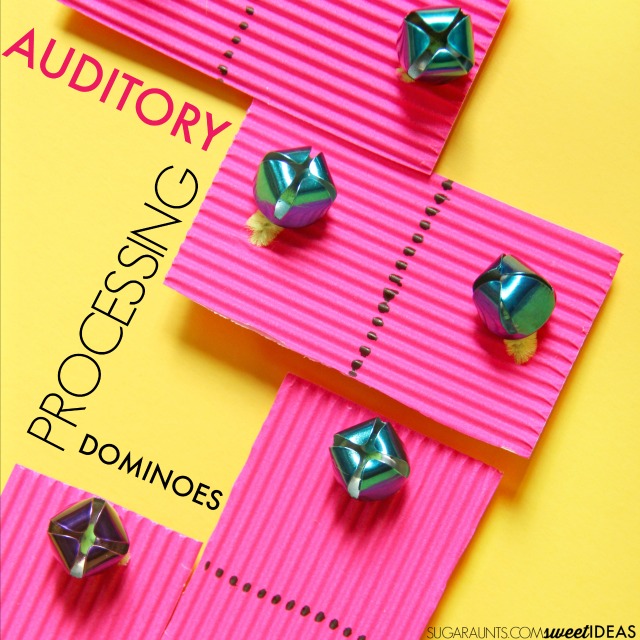
When I saw the theme for this week’s Learning with Manipulatives series was dominoes, I was excited. My kids love playing with dominoes! They love dominoes of all kinds, from craft stick dominoes to our math sensory bottle that had slowly sinking dominoes. I had a few different learning activities in mind…but then I couldn’t find our dominoes! Not to worry, I threw together these DIY bell dominoes that were perfect for color matching with an auditory processing twist.
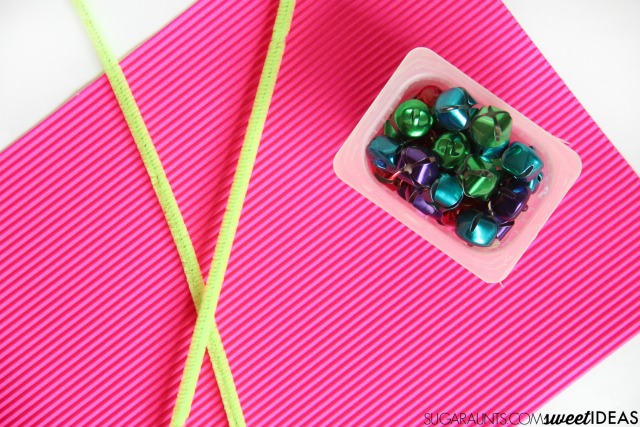
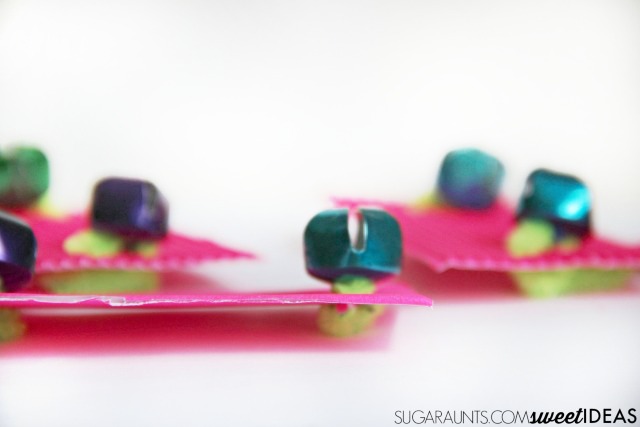
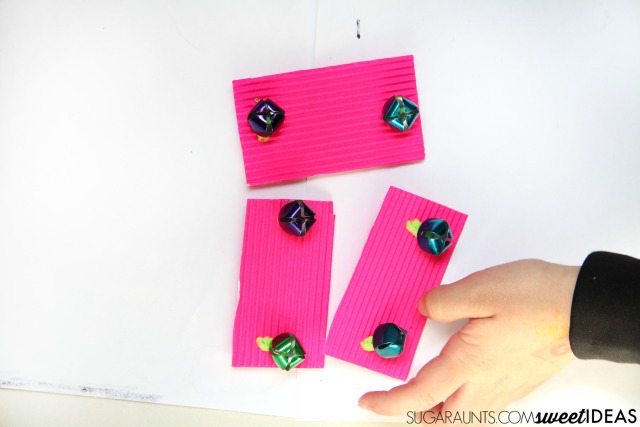
Cut rectangles from the sheet of corrugated cardboard. Using the wire in the pipe cleaner, poke a hole in one end of the rectangle. Thread the bell onto the pipe cleaner. Bend the pipe cleaner over and poke it through the cardboard again. Gently twist the ends of the pipe cleaner together and snip the long end of the pipe cleaner. Repeat on the other end of the domino.
I used random colored bells to create dominoes that were perfect for color matching. My preschooler loved this game and we played several rounds, just working on color matching.
Auditory Processing Activity with Bell Dominoes
Many children demonstrate auditory processing difficulties. Difficulties with processing the sounds around them, in classrooms, and in conversation can present in many different ways. I came up with simple ways to use these DIY dominoes to address auditory processing problems in fun and game-like ways.
Auditory Processing Listening Activities
Play the bell dominoes game and ask your child to close their eyes when it is not their turn. They need to listen for the sound of the bells and tell with it is their turn by saying when the bells have stopped. Listening for the bells’ sounds addresses auditory attending.
Play from further distances by having the child cross the room after they’ve taken their turn. They need to listen to hear when the bell has stopped before coming back to take their turn. This addresses auditory attending and auditory discrimination.
Play with various background noises.
When playing, take turns tapping out patterns before placing the domino in it’s place in the game.
Grade these games by rolling a dice and assigning a number on the dice with a colored bell.
Want to see more ways to play and learn with dominoes? Try these:
Play is work of the child. Through play, a child learns about the world around him. He learns communication skills, problem solving, builds fine and gross motor development, enhances social interactions, and develops the skills needed for independence in all aspects of growth.
This month in the Functional Skills for Kids series, myself and nine other Occupational and Physical Therapists have teamed up to share everything play. This is an ultimate guide to development, progression of skills, environmental aspects, modification of play, and how play is used as a therapeutic tool.
You can see previous Functional Skills for Kids series here.
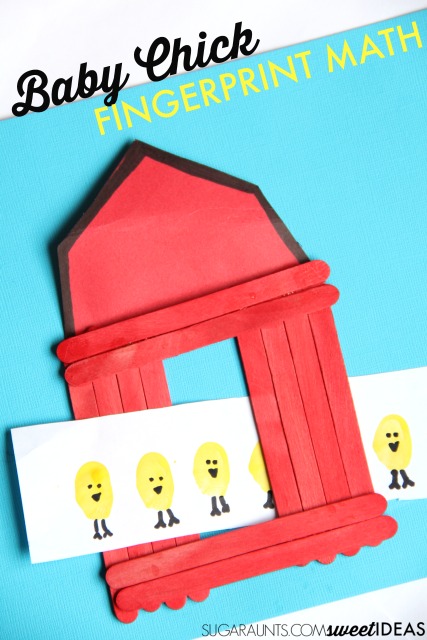
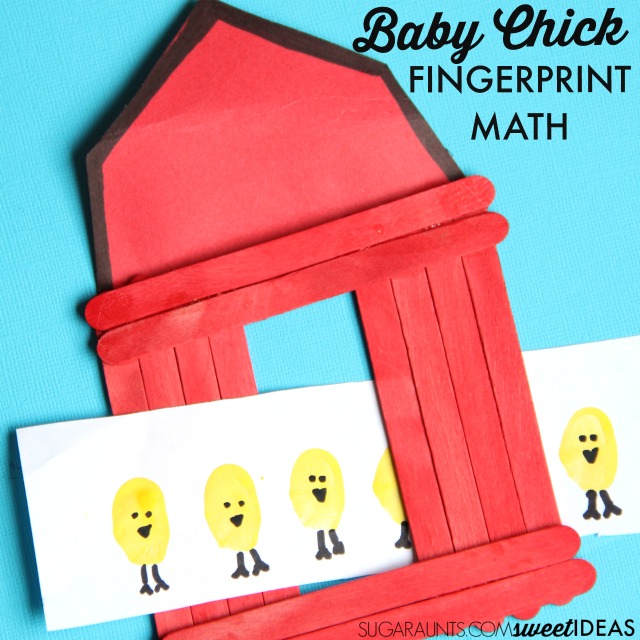
Making math concepts fun with hands-on learning is one of my favorite things to do with my kids. This Farm themed math activity is one way I worked on a few math concepts with my Kindergarten kiddo. He’s just started bringing home worksheets about counting items, adding a few more, and counting total number. We made baby chick fingerprint art and used it to work on early addition math skills. This was such a fun hands-on math activity, that my second grader (and preschooler) loved it too!
Be sure to read through our name practice for kindergarten as this activity supports development of many skills needed for handwriting and other fine motor tasks in the kindergarten age.
Farm Themed Math Math Activity
This post contains affiliate links.
That big red barn in our math activity was a leftover from our Big Red Barn craft from last year. It made the perfect tool for our math activity today! To make a barn of your own, follow the directions here. (It’s easy, I promise!)
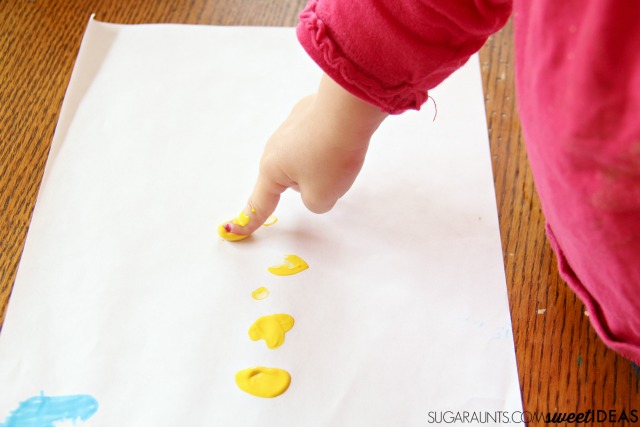
Dip fingers into the yellow paint. Create rows of yellow fingerprints. Let the pain dry and then add details to the baby chicks. Next, cut the rows of chicks into strips.
Now, get ready to practice some farm math!
I showed my kids how to pull the strips of paper through the barn door. I told him things like, “Three baby chicks walked through the barn door. Two more joined them. How many are there in all?”
It was a fun counting activity to figure out beginning math sentences to put together numbers. We made this activity work for my second grader by adding more strips of chicks to the barn so she could add up to 20.
I am a second round Kindergarten mom. My daughter went through Kindergarten and is now rocking second grade and my son is now plowing through his first school experience that involves desks and erasers. (Oh to go back to those preschool rooms that lack desks and erasers!)
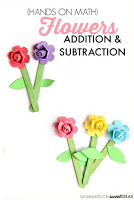
As a second time Kindergarten mom, I know a little bit about what is coming next in the curriculum and how to make homework fun. This Spring Flower activity was a fun way to introduce composing and decomposing numbers, and introduce addition with a flower theme.
Spring Flower Kindergarten Addition and Subtraction Math Activity
The foam flowers have a sticky back. Simply peel the sticker back and place it on the top of a green craft stick. Cut the foam craft sheet into small leaves. Glue them onto the craft stick.
Kindergarten Math with Hands-On Addition and Subtraction
To practice and introduce math skills in kindergarten, this hands-on math activity is great for little learners. I showed my son how to count out a group of flowers. We placed them together in a bunch. I told my son, “Here are two flowers. Three more grow. How many are there all together?”
He was able to count out the total number of flowers. I then asked him how he could take apart (or decompose) a certain number of flowers. If he had 6 flowers in a bunch, he could “pick” three and be left with three.
This super easy math activity is a fun way to build so many math and pre-algebraic skills that are a base for many years to come
Here are some of my favorite ways to play our way through Kindergarten: