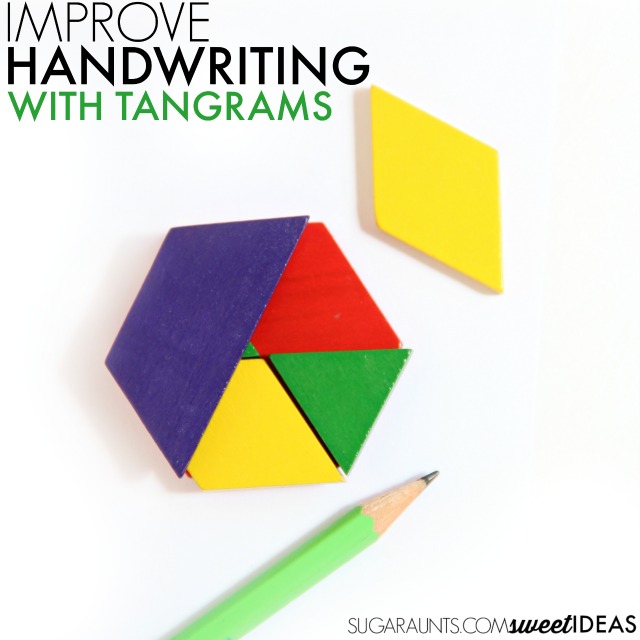
Tangrams and Visual Perception in Handwriting

I kind of love to share tricks for improving handwriting.  There are so many “parts” to written work. There’s fine motor dexterity, pencil grasp, strength, endurance, visual perceptual skills, cognitive skills among other parts to handwriting.  You can see more about these topics on our Handwriting page.  One big way to develop the skills needed in written work is to address visual perception.
 
Kids love to play.  It’s in their soul.  Play is the primary occupation of a child and so it only makes sense to work on functional skills like handwriting though play.  Practicing writing over and over again sounds pretty boring to me and I can bet that any kiddo will agree.  Today’s activities are designed to work on the visual perceptual skills needed for handwriting using tangrams.
 
Get ready to play and build your way to neater handwriting!
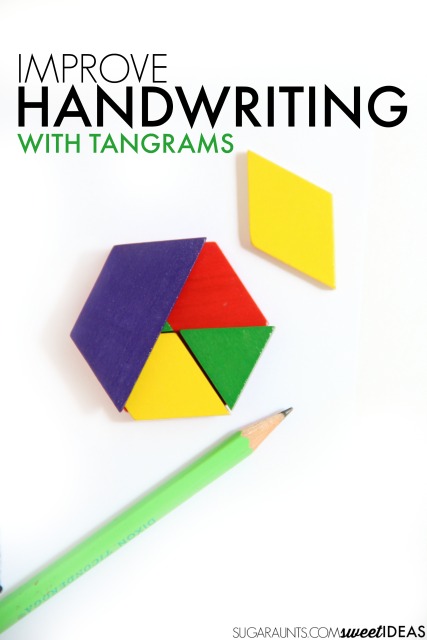
Work on handwriting skills using tangrams to address the visual perception skills needed for written work.

This post contains affiliate links.


Visual Perception and Tangram Activities

 
If you’re looking for fun ways to work on handwriting, these activities are the way to go.  I’ve come up with creative puzzles, drawing activities, and building challenges that will work on all of the skills needed for improving line awareness, letter formation, and neatness in written work.  
 
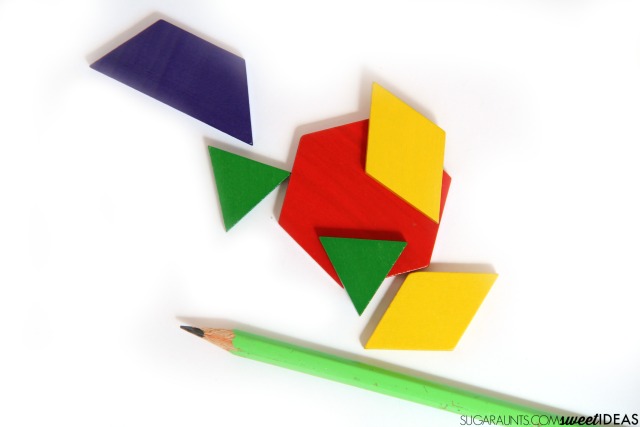
Our Melissa and Dough tangram set is used a lot in our house.  It’s a great open-ended toy that doubles as a therapy tool for building skills such as eye-hand coordination.  
 
RELATED IDEA: Try DIY Sponge Tangrams for these hands-on learning activities. 
 
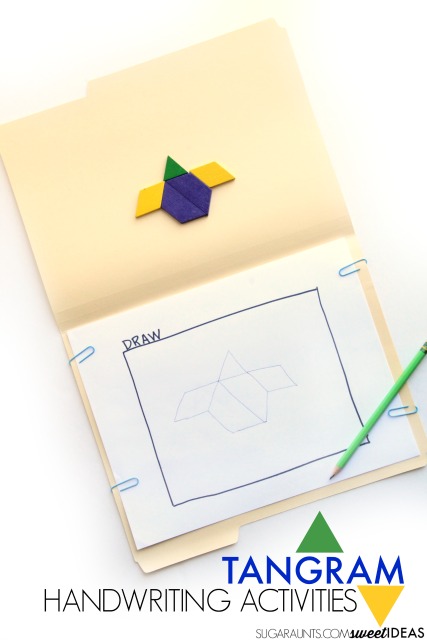
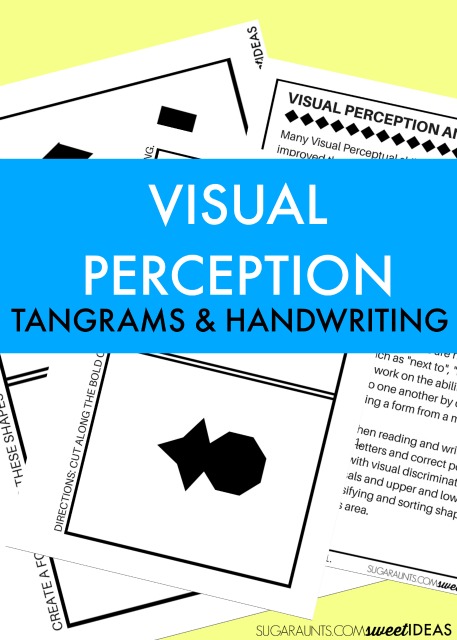
We created these file folder activities using the tangrams and came up with activities that will work on all of the areas of written work.  Building skills like Position in Space and Visual Discrimination are important when it comes to improving neatness in written work.  
 
Work on handwriting skills using tangrams to address the visual perception skills needed for written work.
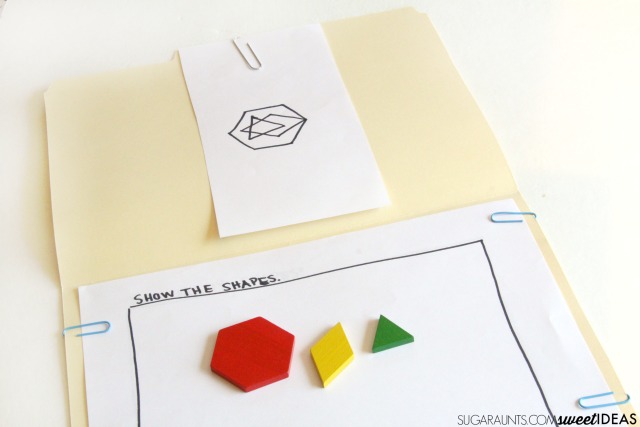
We printed off some worksheets and attached them to a file folder with paper clips.  I set out the tangram shapes and showed my kindergartner and preschooler how to copy the forms.  While they built shapes, they were developing and refining skills like Eye-Hand Coordination and Sequential Memory.  
 
Work on handwriting skills using tangrams to address the visual perception skills needed for written work.
We set up a few different activities using the file folder station.  It’s a nice activities because all of the pages can be attached to the same file folder using the paper clips.  The pages can be rotated out and more complex sheets added in.  When you’re done, simply close the file folder and slip it away with the tangram box to play another day. 
 
Work on handwriting skills using tangrams to address the visual perception skills needed for written work.

Visual Perceptual Skills and Handwriting

This activity workbook has information on all of the visual perceptual areas necessary for written work: 
  • Visual Spatial Relations
  • Visual Discrimination
  • Visual Figure Ground
  • Form Constancy
  • Visual Memory
  • Eye-Hand Coordination
  • Sequential Memory
  • Visual Closure
Work on handwriting skills using tangrams to address the visual perception skills needed for written work.
 
It’s available in our Shop for $6.
 
All printable sheets in the workbook were created with design creation tools (The handdrawn examples in the images in this post are just a mock-up for a visual example of the activity.)
Work on handwriting skills using tangrams to address the visual perception skills needed for written work.Work on handwriting skills using tangrams to address the visual perception skills needed for written work.
Work on handwriting skills using tangrams to address the visual perception skills needed for written work.

Looking for more ways to learn and play with Tangrams?  Try these:

 
Work on handwriting skills using tangrams to address the visual perception skills needed for written work.

Improve Handwriting with Art

There are some kids out there who absolutely HATE handwriting.  Let me re-phase that.  There are a ton of kids who completely despise to their core the act of working neat handwriting, pencil grasp, slowing down so people can read their words, and writing on the lines.  A ton.  I’ve worked with many (many!) kids like this.  I’ve recommended fun activities to about a zillion parents and teachers of these kiddos.  It just isn’t fun and it is work for them.  Poor handwriting can result from so many factors: fine motor development, motor planning, visual perceptual skills, and attention, are just a few of the areas that interfere with neatness in written work.  


So how do you possibly get through to build those areas up when the child is resistant to pick up a pencil and copy written work? 


You make it completely NOT handwriting practice.


I’ve got a super creative way to sneak in skills like pencil control, line awareness, spatial awareness, and letter formation.  And kids won’t realize they are building their ability to write on lines, space between words, and form letters the correct size.  And it all uses art!


Work on handwriting skills like line awareness, letter formation, pencil control, spatial awareness, and bilateral coordination with tangle art!


Work on Handwriting with Tangle Art


Affiliate links are present in this blog post. 


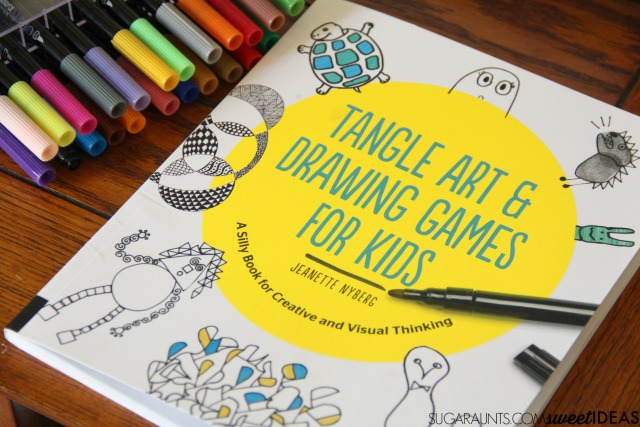
I was lucky enough to snag a copy of my friend Jeanette’s new art book, Tangle Art Drawing Games for Kids: A Silly Book for Creative and Visual Thinking.  This book is completely creative with easy and fun ways to get arty.  I flipped through the book and loved every single project.  They are no-prep art ideas that require only a pen and paper for most of the ideas.  You could do every project in the book and then go back to the beginning and re-do them all and still be inspired to create new and fun art.  


Seriously, the new favorrite book in our house is Tangle Art Drawing Games for Kids: A Silly Book for Creative and Visual Thinking!


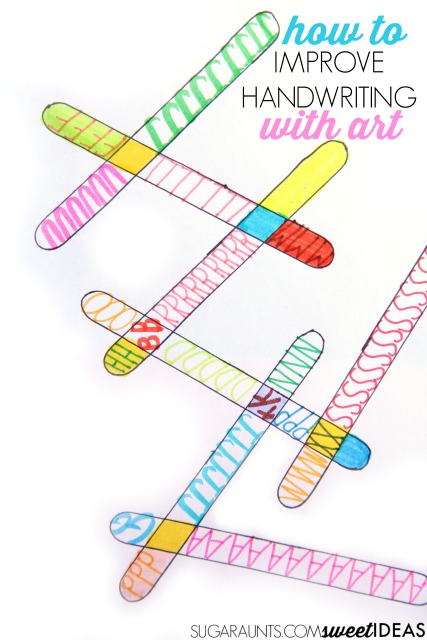
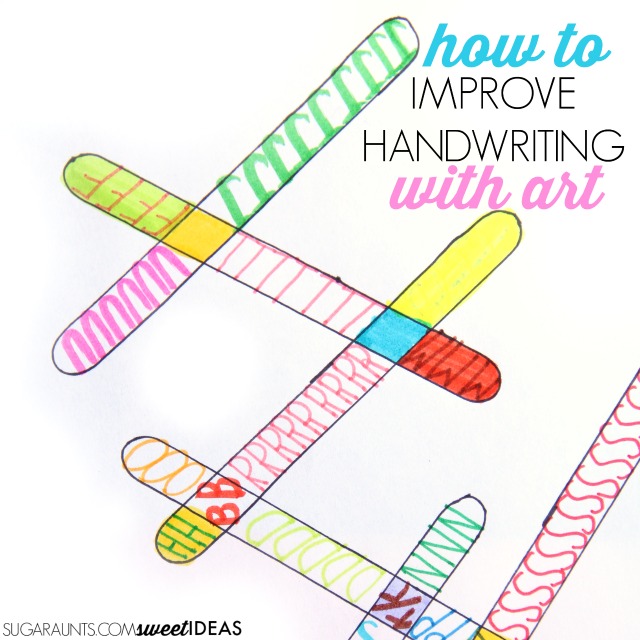
One project in the book drew me in when i saw it.   Ice pop stick tangle art is the perfect workout to build the skills needed for neatness in handwriting while creating fun art.  

We followed the directions in the book to make shapes using craft sticks.  Just tracing the craft sticks is a great way to work on bilateral coordination.  When a child writes, it is essential that they hold the paper with their non-dominant hand.  Then need to stabilize the paper in order for the pencil to glide across the page.  


Just try writing without holding the pencil and you will notice a difference in neatness.  This small task is often one that slides when kids loose attention in a handwriting task.  You might see them slouch over at their desk and write without holding the paper.  


Tracing those craft sticks is a nice way to physically attend to the bilateral coordination needed in handwriting tasks. 


We used both the jumbo-sized craft sticks and the regular size to build more pencil control.  Use a sharpie marker to get a thicker line for building line awareness. 


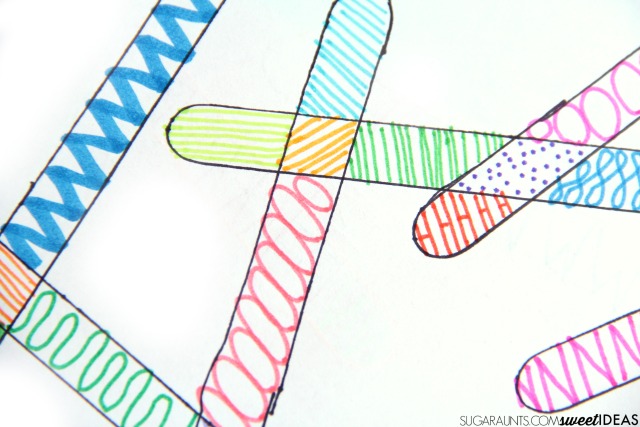
After you’ve got your shapes on the paper, hand over a bunch of brightly colored fine point markers.  You can do some tangle art that is described in Tangle Art Drawing Games for Kids: A Silly Book for Creative and Visual Thinking or you can make letters and numbers in the craft stick shapes. Try adding color to a section and then make shapes and letters in the color.  


It is fun for kids to make hidden messages in the shapes by spelling out a name or word with all of the letters.


Work on handwriting skills like line awareness, letter formation, pencil control, spatial awareness, and bilateral coordination with tangle art!

If your kiddo is VERY anti-letters, try working on spatial awareness and pencil control by practicing the writing strokes needed for letter formation.  Instruct them to make counter clockwise circles close to one another, diagonal lines, horizontal and vertical lines, and mountain shapes.  


Encourage them to use those fine point markers to write very closely spaced lines.  We also tried a few cursive line formations.  


Work on handwriting skills like line awareness, letter formation, pencil control, spatial awareness, and bilateral coordination with tangle art!

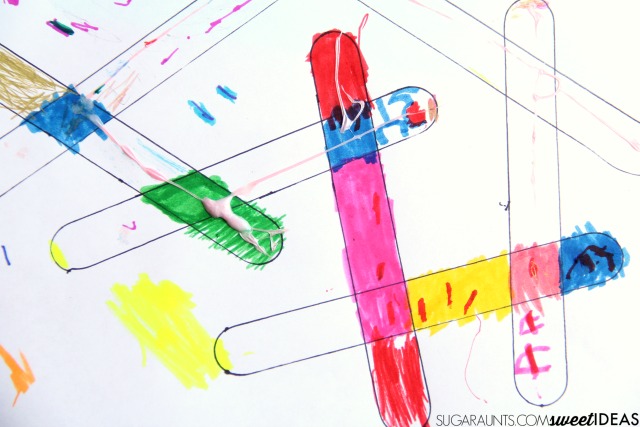
For the younger crowd, this activity is great for pre-writing skills, too.  Coloring in the shapes encourages the motor skills needed to move the pencil in handwriting.  


Work on handwriting skills like line awareness, letter formation, pencil control, spatial awareness, and bilateral coordination with tangle art!

Now go off and make art while working on handwriting!  Don’t forget to grab your copy of  Tangle Art Drawing Games for Kids: A Silly Book for Creative and Visual Thinking!  You will love it!!

Work on handwriting skills like line awareness, letter formation, pencil control, spatial awareness, and bilateral coordination with tangle art!

Visual Closure Activity Bugs Theme

Free Visual closure worksheets
There is a lot that goes into reading and writing.  One of the skills that makes up the ability to read words and form letters in handwriting tasks with fluency is visual closure.  Visual Closure is the ability of the eyes to visualize a complete image or object when only a portion is seen.  A child can see just part of a letter or number when reading and recognize how to write that figure.  They can read a word or sentence without focusing on each letter and how it is made.  Visual Closure is an essential skill for reading with fluency.  It’s necessary for written work to happen without concentrating on each letter’s lines and curves. Visual Closure allows us to comprehend words and letters without actively assessing each line. 
 
Children with difficulties in visual closure may have trouble completing mazes, puzzles, or worksheets.  They might have difficulty identifying items that are partially obscured by other items, such as finding a serving spoon hidden in a draw full of items.  They might have difficulty with spelling or math tasks or concepts.
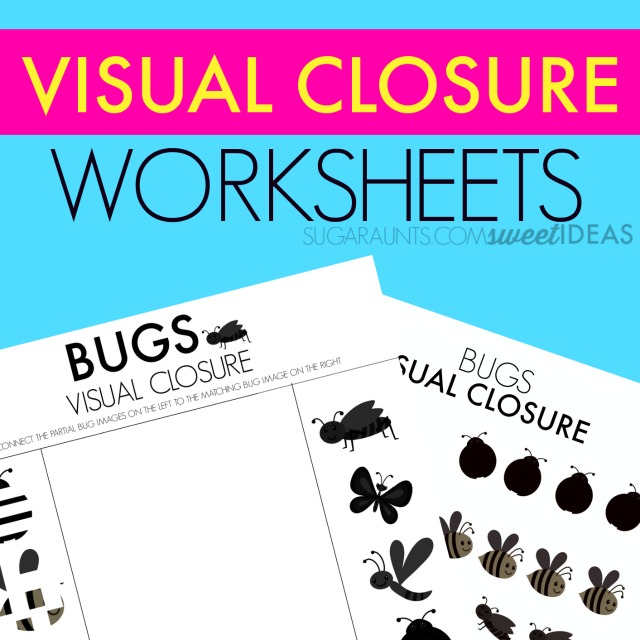
Free visual closure worksheets with a bug theme.

Visual Closure Worksheets

This post contains affiliate links.
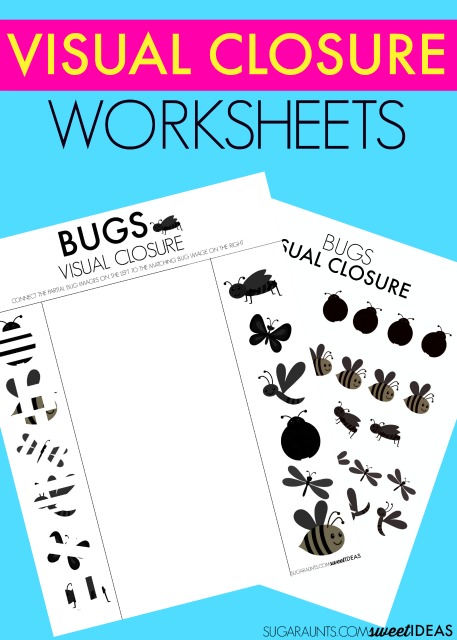
These visual closure worksheets can help work on the skills needed to develop visual closure.  You can get these worksheets as a FREE resource if you join our newsletter subscriber list.  These worksheets and tons others are included in our subscriber-only library.
Free visual closure worksheets with a bug theme.
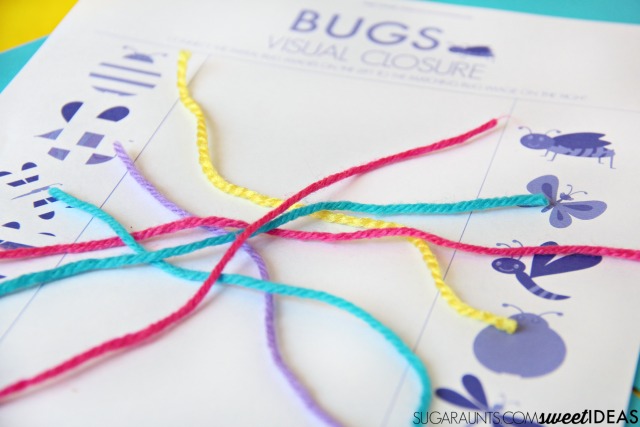
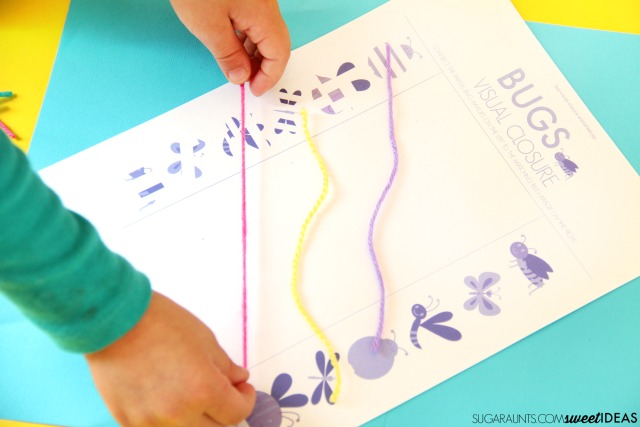
To use these visual closure worksheets:  Match up the bug on the left with the bug on the right.  We used yarn to complete the match so that we could re-use this sheet.  You could also laminate these to re-use.  
 
For the second worksheet, match up the broken bug image with the rotated bugs.  Have your child circle the bug that matches the broken bug exactly.  
Free visual closure worksheets with a bug theme.

Looking for more bug activities?  Try these:

Free visual closure worksheets with a bug theme.
 
Looking for more visual perception activities for kids? Try these: 

Create your own race track

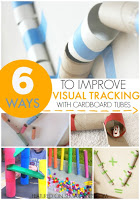
                                  Visual Tracking with Cardboard Tubes

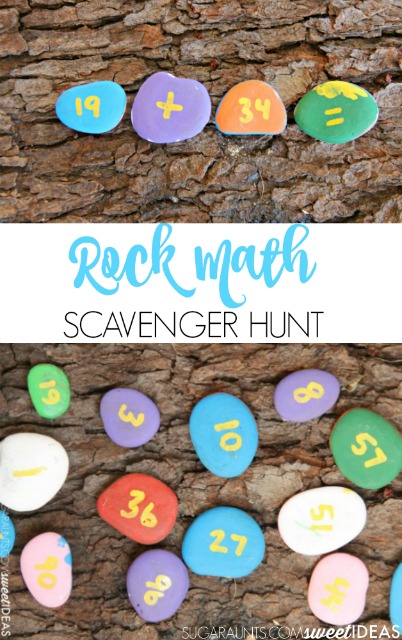
Second Grade Math Outdoor Learning Idea

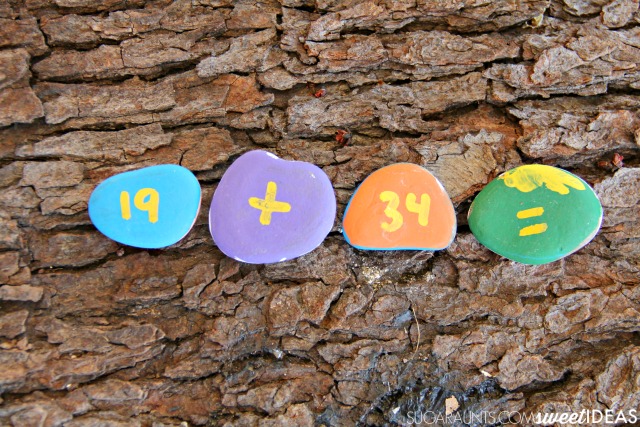
There is nothing like learning in the great outdoors.  The breeze in your hair, the birds tweeting, and bugs getting involved in the outdoor classroom.  Learning outside with the kids is a fun twist on the everyday math homework!  We love to spend time outdoors.  And, I love to sneak learning activities into our play.  This Math Scavenger Hunt idea was a fun way to practice second grade math concepts like adding and subtracting two digit numbers.  Our math rocks made this move and learn activity extra fun.
 
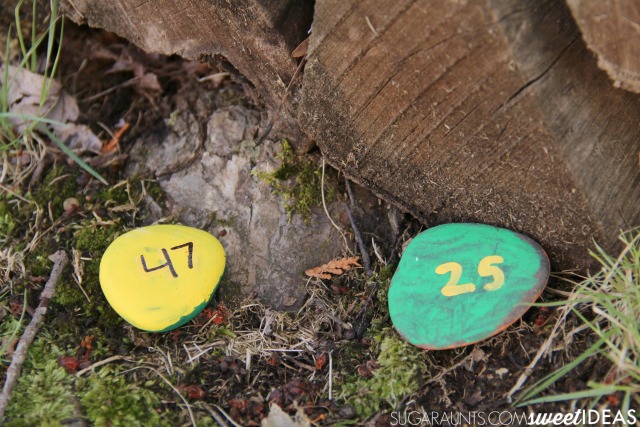
We’ve shared quite a few outdoor learning activities on the blog before.  The favorite in our back yard was this pre-reading literacy activity.  We even used a few of the same hiding places for today’s math activity.
 
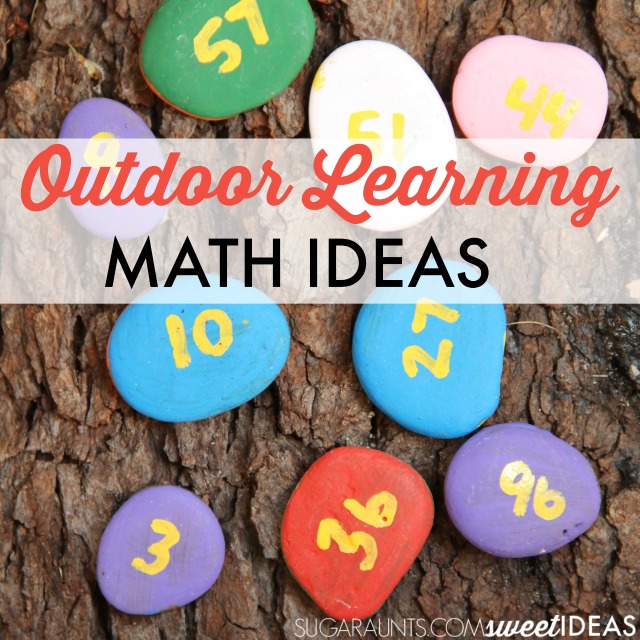
Outdoor learning math ideas and creative movement activity using rocks for second grade math addition and subtraction ideas.

Outdoor Math Activity for Kids

 
This post contains affiliate links.
 
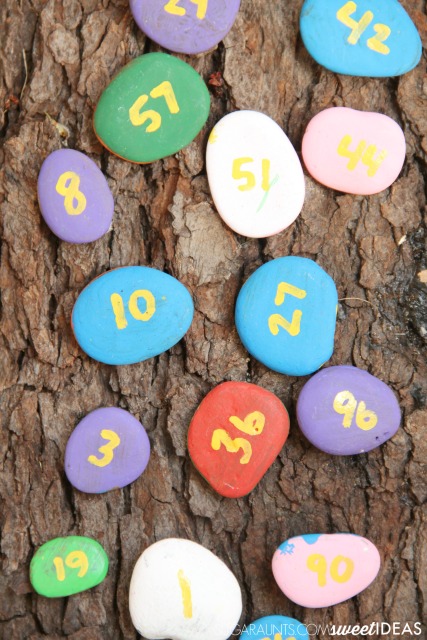
To start with, we used rocks to create math manipulatives.  These pebbles were collected from a trip to our camp this past summer and painting them was a fun way to recall summer memories.  You can use rocks of any size or shape for this activity.  Just be sure to use acrylic paint so that the color doesn’t flake off of the rock’s surface.  I love this brand of acrylic paints for it’s price! We painted both sides of the rocks in different colors.  You can paint your rocks all one color or mix it up a bit.  We went for the colorful approach.  For the numbers, I used a paint marker.  Be sure to allow the paint to dry before writing on the numbers.
 
When the paints have all dried, you are ready to take these math rocks outside for learning and play!
 
Outdoor learning math ideas and creative movement activity using rocks for second grade math addition and subtraction ideas.

Outdoor Learning Math Ideas

 
We played a few different games with our math rocks.
 
Outdoor learning math ideas and creative movement activity using rocks for second grade math addition and subtraction ideas.
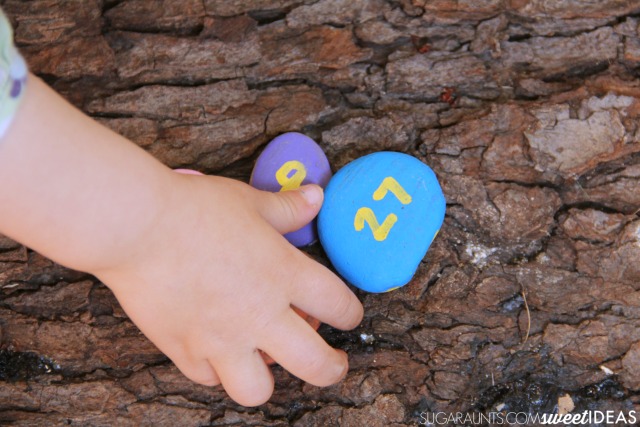
  • I hid a bunch of the rocks in a small area of our yard.  I had my second grader search for two rocks at a time.  When she brought them back, I asked her to add or subtract the numbers.
  • We used specific numbers in a small area of the yard.  I named a large number and had her find two rocks that added up to that number.  (We have enough rocks that we were able to number them 0-100 using both sides of the rocks, so this worked out easily.)
  • Using smaller numbers, I showed her two numbers.  She had to go off and look for the missing number in a math subtraction equation. 
Outdoor learning math ideas and creative movement activity using rocks for second grade math addition and subtraction ideas.
How would you use these math rocks to play?
 
Looking for more outdoor learning ideas? Try some of these:

Nests Nature Hunt for Kids from Still Playing School


Outside Arrays for Multiplication Practice from Line Upon Line Learning


Sidewalk Chalk Outdoor Math Game from Look! We’re Learning!


Gardening For Math Time from Preschool Powol Packets


Tree Unit Study and Science Experiment from Schooling a Monkey

Outdoor learning math ideas and creative movement activity using rocks for second grade math addition and subtraction ideas.

Soap Play Dough Recipe

We signed up for another year of the 12 months of Sensory Dough series with a few other bloggers and have been having so much fun coming up with creative play dough recipes.  If you missed some of our other recent sensory dough recipes, you’ll want to catch up on the sensory fun: Proprioception Sensory DoughPaprika Natural Spice Dough, and Edible Pixy Stix Candy Dough  were tons of fun.  

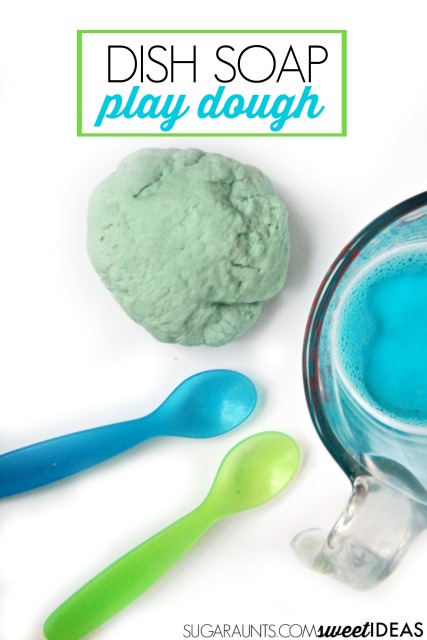
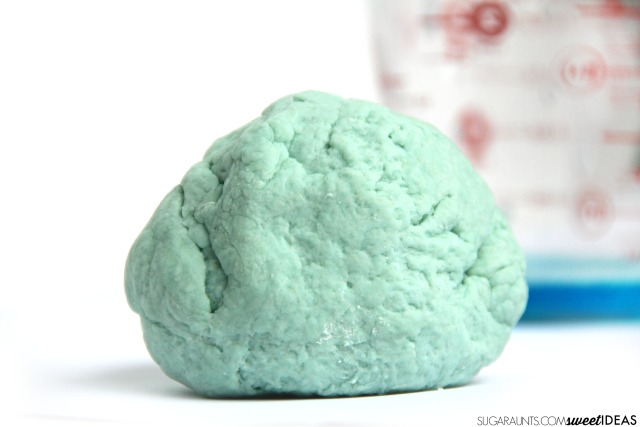
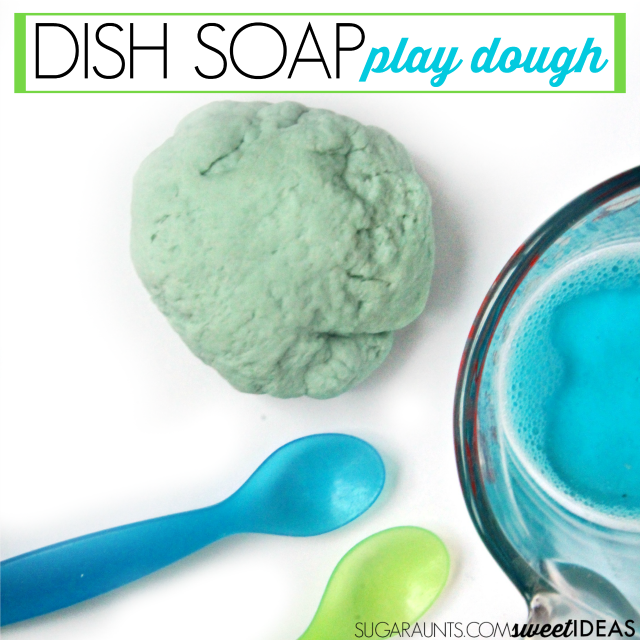
Today’s homemade play dough recipe is definitely not edible but it does use ingredients you probably have in your home: Soap Play Dough is very soft, smells great, and is fun to mix up!
Make sensory play dough using liquid dish soap for a soft sensory play dough recipe that the kids will love!

Homemade Soap Play Dough Recipe


This post contains affiliate links. 

You’ll need just a few ingredients to whip up a batch of soap dough:
1/2 cup Liquid Dish Soap (We used the blue type.  I’m not sure if other colors of liquid dish soap would work in this recipe.  If you try it, let us know!)
1 cup Flour
1 teaspoon Cream of Tartar (I LOVE this bulk container for making play dough.  The ingredient really makes most play dough recipes softer and longer lasting.  You can’t always find Cream of Tartar in stores so this bulk buy is awesome to have in the house!)

Make sensory play dough using liquid dish soap for a soft sensory play dough recipe that the kids will love!

To make the Soap Play Dough Recipe

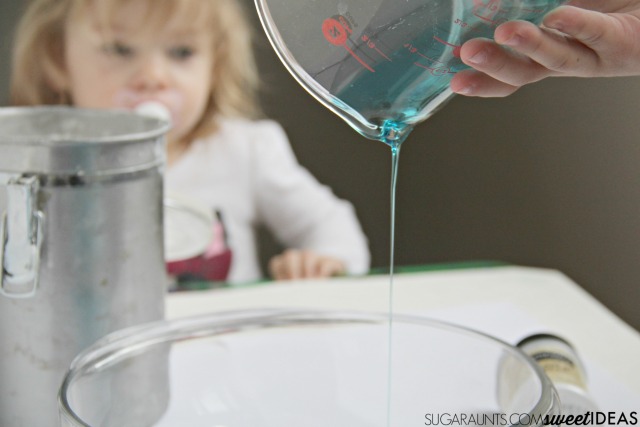
Grab a large glass mixing bowl and pour in the dish soap.  We used a glass measuring cup to measure out the soap and the grooved lip of the measuring cup made pouring the liquid soap so much easier.  My toddler was mesmerized by the falling dish soap! 

Make sensory play dough using liquid dish soap for a soft sensory play dough recipe that the kids will love!
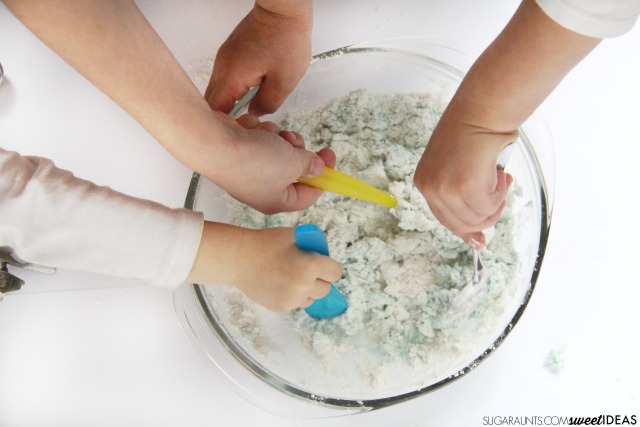
Stir in the flour and cream of tartar.  Use spoons to get the mixture stirred at first, but then you’ll want to get your hands in there to really mix the ingredients.  Plop the play dough out onto a floured surface and knead, knead, knead!  

Kneading play dough is a great way to incorporate proprioception into a play dough activity.  It really applies pressure through the arms and up into the shoulder girdle.  You can add more flour at this point if the dough is too sticky.  Just be aware that the nature of this dough allows for some stickiness. The soap adds a bit of stick to the play dough, but it sure does smell great!

Make sensory play dough using liquid dish soap for a soft sensory play dough recipe that the kids will love!
Get the kids in on the play and have fun with your soap dough! 

Store this play dough overnight in a sealed container.  It will be more sticky the next day, but you can knead in a bit of flour or just work the dough a little bit.  It will be softer the next day, too.

Try these soap dough recipes from our blogging friends:
Bath Time Play Dough | Sugar, Spice & Glitter
Super Squishy DIY Soap Dough | Natural Beach Living
Easy Soap Dough Play Recipe | Frogs and Snails and Puppy Dog Tail

Make sensory play dough using liquid dish soap for a soft sensory play dough recipe that the kids will love!
Love this idea? Share it on Facebook!
If you liked this post, you will love to check out more of our favorite sensory dough recipes:

                         Fizzy Soda Dough

In Hand Manipulation Letter Puzzle Activity

This puzzle activity is a great in hand manipulation activity that develops letter recognition, fine motor skills, and other pre-literacy and fine motor development!


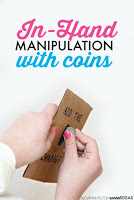
Kids just have no clue about the technical terms for the fine motor development that they go through.  And that is normal and completely ok.  Parents typically don’t even know what exactly is happening when their child picks up a handful of coins and as they squirrel them away in their chubby little palm before dropping them one by one into a piggy bank.  All that matters is that the child is manipulating items, working their fine motor development, and having fun.


In-hand manipulation activities are a great way to boost fine motor skills needed for tasks like managing clothing fasteners, using a pencil when writing, manipulating items like coins or beads, and more. 


This in-hand manipulation activity meets the fun expectation and works on so many fine motor skills. We practiced letter identification and made the activity work for my Toddler, too. 

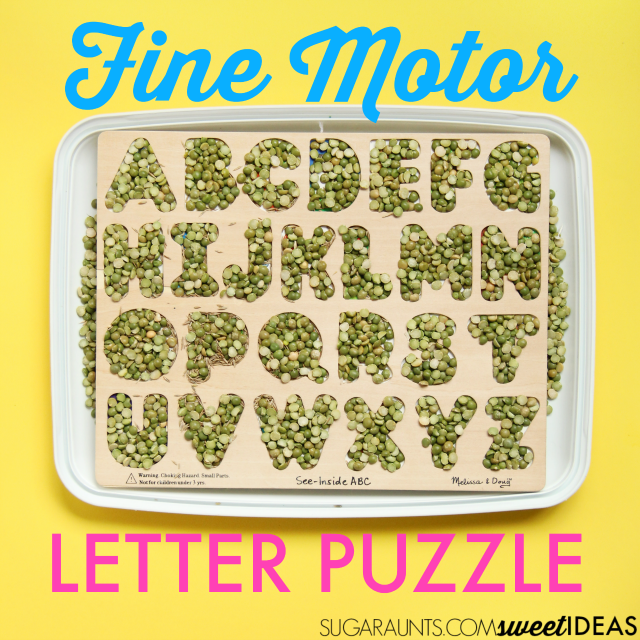
Work on fine motor skills like in-hand manipulation with a wooden letter puzzle.  You can do this with any puzzle and work on things like letter identification, letter formation, numbers, animals, or shapes. Perfect for preschool or toddler activities.

In-hand Manipulation Activity with Puzzles

This post contains affiliate links. 


We came up with a similar idea a few months back. It worked for today’s activity with a slight twist. In-hand manipulation is a powerful fine motor skill that that kids use for tasks like manipulating a pencil in writing activities, managing buttons and zippers, manipulating shoe laces, and holding and managing small items such as coins or beads.  You can read much more about in-hand manipulation here.  


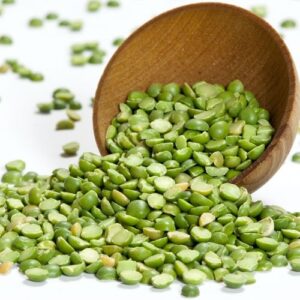
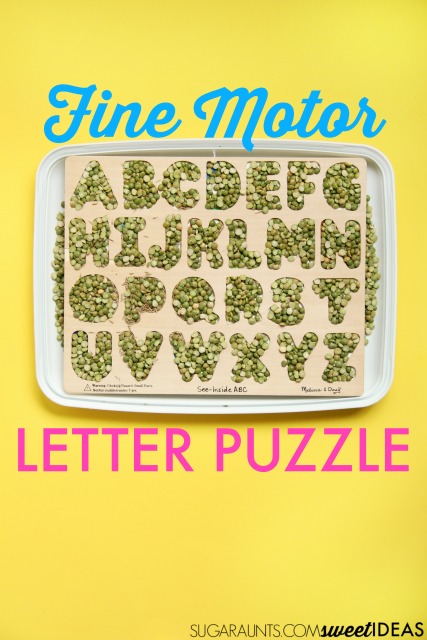
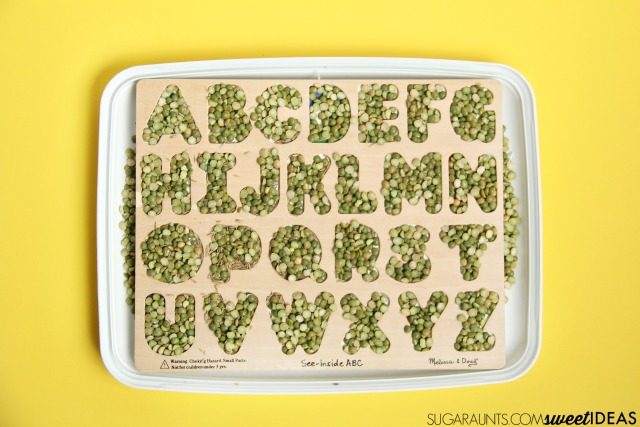
To use puzzles in a fine motor activity like this one, you’ll need a small item such as dry split peas.  Dry beans or field corn would also work for this type of activity.  You’ll also need a wooden puzzle with edges. 

Use dry peas in sensory play or fine motor activities.


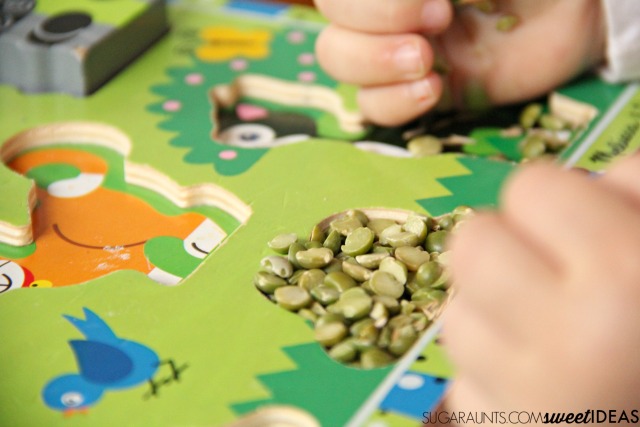
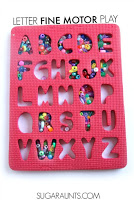
For today’s activity, we used a Melissa and Doug wooden See Inside puzzle. This was perfect for our activity because the pictures hidden behind the split peas played peek-a-boo with us as we added the peas.  My preschooler worked on her in-hand manipulation skills to fill up the letters by naming the letters and filling the letter space in proper-ish letter formation.  I tried to show her how to fill in the letters with dry peas in the same order she would use to write the letter.  This worked for most of the letters.  If you are working on letter formation with your little one, show them how to fill in the top of the letters as they sprinkle in the beans or peas a little at a time.

Work on fine motor skills like in-hand manipulation with a wooden letter puzzle.  You can do this with any puzzle and work on things like letter identification, letter formation, numbers, animals, or shapes. Perfect for preschool or toddler activities.


An upper and lower case letter puzzle would be great for older kids who are working on forming lower case letters. 

Work on fine motor skills like in-hand manipulation with a wooden letter puzzle.  You can do this with any puzzle and work on things like letter identification, letter formation, numbers, animals, or shapes. Perfect for preschool or toddler activities.


Work on fine motor skills like in-hand manipulation with a wooden letter puzzle.  You can do this with any puzzle and work on things like letter identification, letter formation, numbers, animals, or shapes. Perfect for preschool or toddler activities.

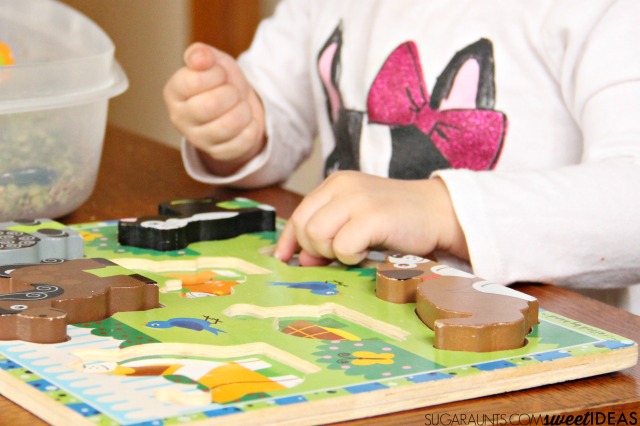
We did end up doing the same activity with my Toddler’s chunky pets animal puzzle. This graded activity was great for her in-hand manipulation development too and she got to work on animal identification and animal sounds as she filled up each animal space in the puzzle. 

Work on fine motor skills like in-hand manipulation with a wooden letter puzzle.  You can do this with any puzzle and work on things like letter identification, letter formation, numbers, animals, or shapes. Perfect for preschool or toddler activities.

Are you working on in-hand manipulation for functional skill development?  Here are a few more creative ideas that you will love: 


Improve Pencil Control and Handwriting with Crayons

This is a quick and easy way to build the skills needed for improving handwriting through more controlled pencil strokes.  Pencil control is something we’ve covered in depth before. Kids can pick up a pencil and write quickly with scratchy letter formation or press too hard to form very dark letters.  

We covered the best crayons for toddlers (and other ages) in a recent blog post that addresses the developmental benefits of various types of crayons. This can be a great starting point to help kids progress with underlying skills such as hand strength as well as the functional output; coloring, based on developmental levels and age.

They can miss lines and form letters in various sizes or write letters on top of one another.  There are many (MANY) various reasons for each of these handwriting concerns.  From inefficient fine motor strength, to visual perceptual difficulties, to proprioception needs…handwriting is a complex task!  

Sometimes, the issue with poor handwriting is the child’s lack of pencil control.  They might over-extend lines and need to improve precision in handwriting.  


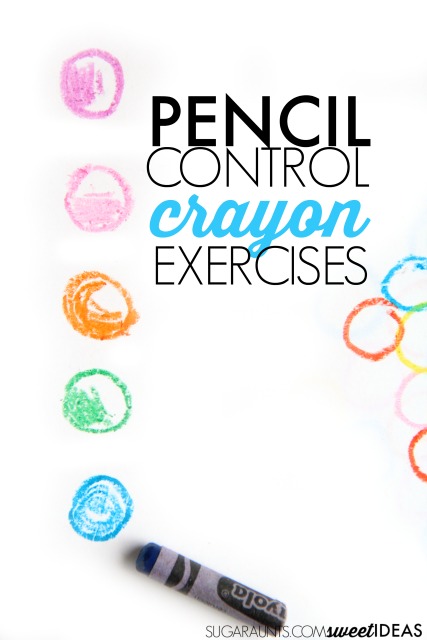
These easy crayon exercises are one way to work on pencil control.  We’ve shared a similar activity recently using colored pencils and smaller circles that worked on precision of pencil movements.  Today’s crayon exercises are just a little different and designed to build the motor movements of letter formation.

Work on handwriting with crayons using these easy precision of pencil control exercises. Kids love these ideas to work on fine motor skills and develop neat handwriting.!


Pencil Control Exercises with Crayons


This post contains affiliate links.


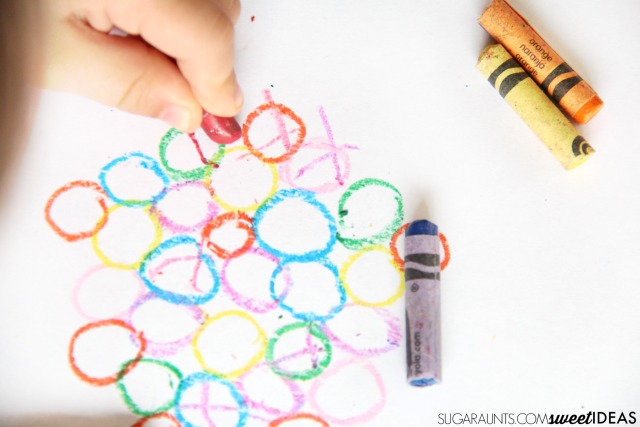
For the first activity, simply draw 1/2 inch circles with various colors of crayons.  Make the circles touch.  Kids can draw an “x” inside the colors.  I gave the instruction to keep the “x” inside the lines and use a different color than the color of the circle.  This direction allows the child to slow down as they check the color and gives them a chance to become more aware of the lines of the circles.  

Work on handwriting with crayons using these easy precision of pencil control exercises. Kids love these ideas to work on fine motor skills and develop neat handwriting.!

We also used small pieces of crayons for this activity.  Using small pieces of crayons is a great way to build the muscles needed for coloring and writing with controlled moments.  I touched on the benefits of coloring a bit here.


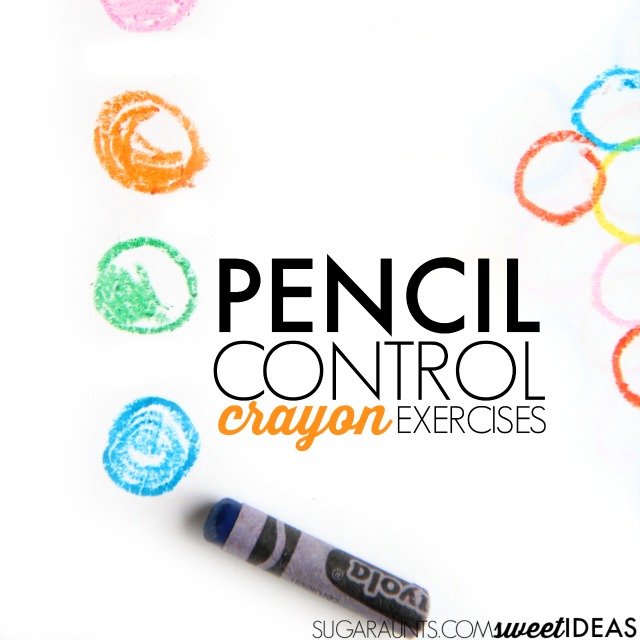
Another quick pencil control exercise is coloring in 1/2 inch circles.  For this exercise, ask your child to color the circles in specific ways.  Show them how to color some circles with various crayon strokes.  Coloring small areas with vertical crayon strokes, horizontal strokes, semi circle motions, diagonal lines, and circular crayon strokes mimics the lines of letter formation.  Coloring the semi circles within the circle’s boundaries promotes the curved lines of letters like “c” and “a”.  Be sure to show them how to start at the top for each circle and retrace their lines until most of the circle is filled in.  


Here are a few more ideas that you can incorporate to improve pencil control. In the video below, we used colored pencils. Do these exercises with crayons, colored pencils, markers, chalk or anything!


Try this activity before a handwriting task to warm up the hands.  

Work on handwriting with crayons using these easy precision of pencil control exercises. Kids love these ideas to work on fine motor skills and develop neat handwriting.!
 
Love this idea? Share it on Facebook!
 

MORE handwriting ideas you will love:

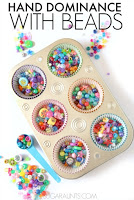
 Scooping and pouring fine motor and hand dominance with beads

Easy Fruit Salad After School Snack

This is a sponsored post written by me on behalf of Cool Whip. All opinions are 100% mine.


“Can we have a snack?”


It’s the first thing my kids say as soon as they walk in the door.  Every day, every Monday through Friday.  The backpacks hit the floor and the shoes are kicked into the corner,  
And the bellies are hungry.

It’s a daily occurrence to hear those words.  But first, my kids jump off of the bus steps and we take a slow stroll down our hill.  It’s one of my favorite times of day.  The other kids on the street run off down the hill and run into their houses.  But we take it slow.

We talk about the school day.  We chat about what happened at lunch time.  One of the four kids fall.  


(Almost always, someone falls.  The hill from the bus stop to our house is a challenge in gravity. And the hill is winning year-long challenge!)

As we walk, we talk about what happened at recess and a funny joke that someone told when the teacher was talking to someone at the classroom door.  We talk about the day and everything that happened.  It is a calm before the storm of walking into our house.

And as soon as we get home, it’s all about the snack.  When my one year old started asking for a snack with her cute little runny nose and wild hair, I realized how it’s become a daily occurrence. These kiddos have had a long day and are HUNGRY.

Usually, I grab a couple of pieces of fruit and some crackers to fill those hungry bellies.  I throw it all on a plate and it’s on to homework and running around in the yard.

But sometimes, I like to step it up just a notch.

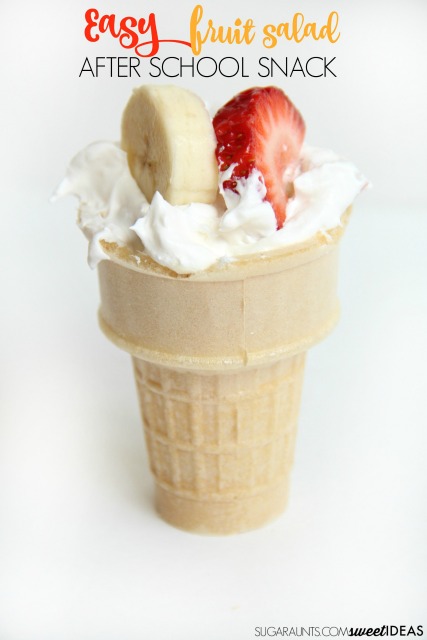
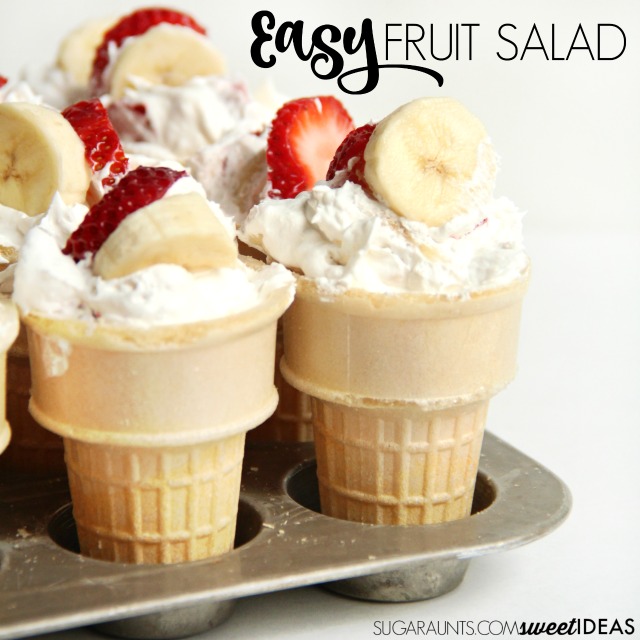
Fruit salad in an ice cream cone snack for kids

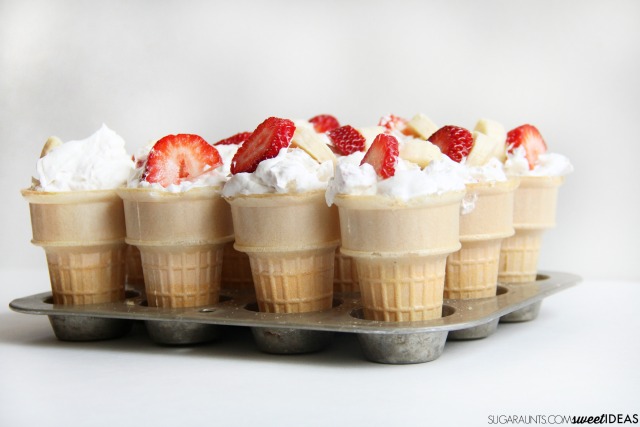
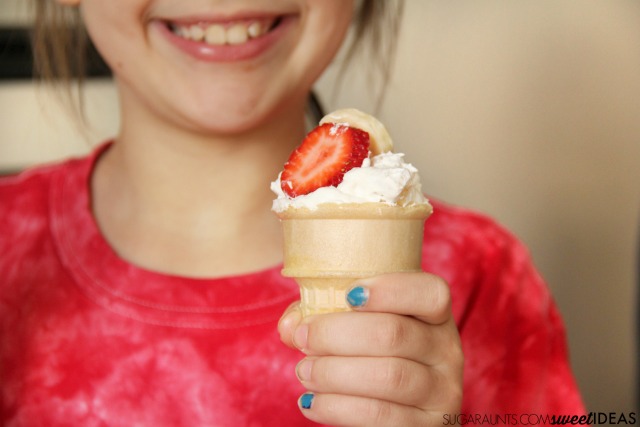
I have a secret for you.  Kids LOVE ice cream cones.  When you fill it with something completely non-ice cream, they go bonkers.  When you fill it with fruit and Cool Whip, they forget all about falling down on the walk from the school bus and the homework that is to follow snack time!

We made this easy fruit salad and filled an ice cream cone for an after school snack that was a complete hit.

Easy Fruit Salad After School Snack

This fruit salad is very quick to throw together.  You’ll need just a few ingredients:
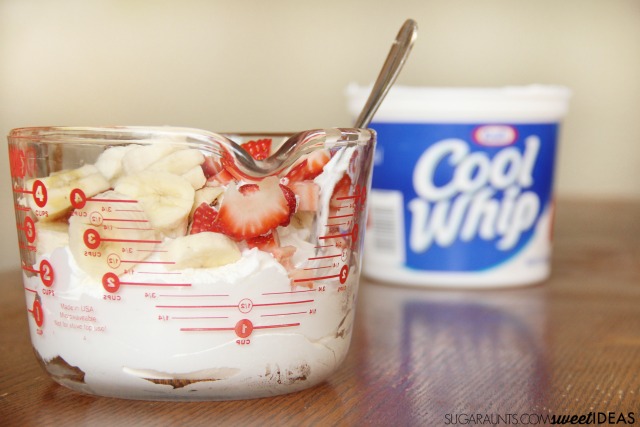
2 Cups Cool Whip
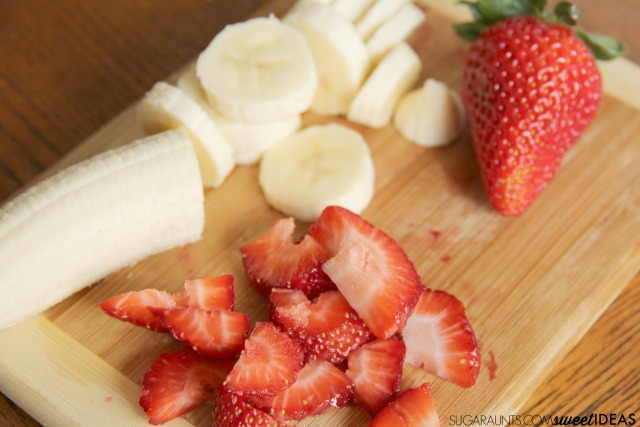
2 Bananas, sliced
5-6 Large Strawberries, chopped
Ice Cream Cones

To make the fruit salad, combine the Cool Whip and fruit.  We used strawberries and bananas, but you can add any fruit combinations.  Berries would make a nice addition to this snack and the red, white, and blue of blueberries/strawberries/Cool Whip would be perfect for 4th of July parties with kids.

Fruit salad in an ice cream cone snack for kids

Fruit salad in an ice cream cone snack for kids

Fruit salad in an ice cream cone snack for kids

Fruit salad in an ice cream cone snack for kids

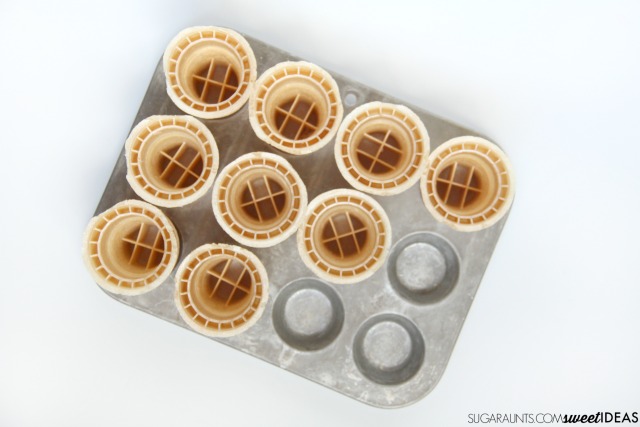
Once the fruit salad is done, simply scoop it into ice cream cones.  Place the cones in a mini muffin pan to make this job easier.  Pop the whole tray into the freezer for a cool treat.  After about 20 minutes, the fruit salad cones will be hardened and ready for hungry kids!

Fruit salad in an ice cream cone snack for kids

After our daily after school snack, we move on to homework.  Our sweet chats about the day are over and it’s on to the rush of getting homework done and dinner on the table.  But the kids will remember this snack for a long time to come!

Fruit salad in an ice cream cone snack for kids

Love this idea?  Share it on Facebook!

Tell me, what after school snacks do you like to make for your kids?

Visit Sponsors Site

Animal Cracker Oral Motor Exercise

Do your kids like to snack constantly?  Mine are allllllways hungry.  Always.  So, when I pulled out this Animal Cracker Oral Motor activity that we designed to address oral motor sensory processing, they were just a bit excited. Make that completely-jumping-and-cheering-excited.  Anything that involves play and food makes the Best Thing of the Day column.  It’s an oral motor exercise that kids will love. Why? Because it’s an out-of-the box way to work on oral motor skills for tasks like drinking from a straw, lip closure for safety when feeding, and sensory benefits of an oral motor activity.


We used animal crackers and a couple of straws to provide calming oral input.  This was an easy way to add in an oral motor strengthening exercise, too. Here is some information on development of oral motor skills

Oral sensory processing oral motor activity that is perfect for sensory input like proprioception for calming activities and self regulation activities as well as oral motor exercises for weak cheek mussels or weak lip closure and tongue protrusion.

Oral MOTOR EXERCISE


This post contains affiliate links.

Problems with oral motor skills can be an indication with feeding. That seems pretty obvious, right? But when there truly is a problem with oral motor skills and feeding, real issues can result. That’s why we wanted to cover a few big issues along with this oral motor activity. Be sure to check out that link to read more about the vast area of skills that make up oral motor processing and how it impacts feeding and other areas.

Sensory processing allows us to take in information from our environment and process it appropriately.  Typically, we adjust to sensory input and adjust appropriately.  Sensory input to a person’s mouth is no exception.  We must process movement of the tongue, textures of food, adjust to drinking liquids, monitor and adjust the force required to bite and chew, and move our mouth/lips/tongue in order to speak.  


When there is a difficulty with oral sensory processing, a child might drool excessively, chew on their shirt or hair, have difficulty eating certain foods, have trouble moving their tongue to swallow all of their food, show difficulty removing all of the food from a utensil, be unable to use a straw, refuse certain food textures or tastes, or have trouble with articulation in speech.


Children with proprioceptive sensory needs may present as benefiting from calming, resistive activities.  Sucking from a straw is one activity that involves the oral input and is typically effective in calming a overactive child.  

Oral sensory processing oral motor activity that is perfect for sensory input like proprioception for calming activities and self regulation activities as well as oral motor exercises for weak cheek mussels or weak lip closure and tongue protrusion.

Oral Motor Exercise

First, a quick disclosure: Be sure to provide direct observation during this activity. Use judgement in deciding if this oral motor activity is right for the child or not. This activity and all others on this website are not intended as interventions. This is for educational purposes only. Consult your physician or medical professional when oral motor interventions and assessment is needed. The OT Toolbox is not liable for any action on your part. Your reading this website and webpage indicates your understanding.

For this calming activity, we used just a few items.  Some brightly colored straws were the perfect tool for adding proprioceptive input to the mouth.  I love the bright straws for their high contrast and tendency to draw the eyes toward the mid-line.  When we added the learning portion to this activity, attention and precision were important so the bright colors helped.


You can find many fun oral sensory activities out there that involve blowing as a sensory processing activity.  The one that we did used straw sucking as a way to add proprioceptive input.  When a child sucks on a straw, their lips are forced to close while their cheek muscles tighten  and the tongue retracts.  This activity would be beneficial to a child who needs to build strength and endurance of the cheeks and muscles or a child who demonstrates tongue protrusion.

Oral sensory processing oral motor activity that is perfect for sensory input like proprioception for calming activities and self regulation activities as well as oral motor exercises for weak cheek mussels or weak lip closure and tongue protrusion.

With the straw, I had my preschooler suck in order to pick up an animal cracker.  She placed the straw flush on the cracker and sucked in order to pick the cracker off of the table.  This was a real workout for her!  She was able to figure out that turning the animal cracker over so that she placed the straw against it’s back side made the task easier.  Sucking the animal cracker up off the table in order to move it provided a lot of calming proprioceptive input.  

Oral sensory processing oral motor activity that is perfect for sensory input like proprioception for calming activities and self regulation activities as well as oral motor exercises for weak cheek mussels or weak lip closure and tongue protrusion.

To grade this activity down (to make it easier for kids who are building their oral motor musculature and can not yet pick up the animal cracker), try smaller/lightweight crackers like Annie’s Homegrown Bunny crackers.  These were much easier to move with the straw yet still provided sensory feedback to the mouth. 

Oral sensory processing oral motor activity that is perfect for sensory input like proprioception for calming activities and self regulation activities as well as oral motor exercises for weak cheek mussels or weak lip closure and tongue protrusion.

To add a bit of learning and motor planning to this activity, I provided a few small shape containers to the table.  Ours were from a local dollar store, but these shape sorter shapes would work perfectly for addressing shape discrimination and actually comes in more options than the shapes that we talked about with our containers.  We use these containers as lunch box compartments but the bright colors and shapes made a great shape recognition activity for her.  She is working on identifying a triangle and rectangle and often times gets the two shapes mixed up.  When she was doing this activity however, she was able to move the animal crackers and bunny crackers to the right shapes.  


We practiced a bunch or rounds with this activity, because she loved it so much!  

Oral sensory processing oral motor activity that is perfect for sensory input like proprioception for calming activities and self regulation activities as well as oral motor exercises for weak cheek mussels or weak lip closure and tongue protrusion.
 

You’ll love these other oral motor activities:

Plastic egg Boats

Oral Motor Road Trip Sensory Breaks

Easter Bunny Oral Processing Activity