Colleen Beck, OTR/L is a pediatric occupational therapist and the owner and author of The OT Toolbox website. She manages all of The OT Toolbox social media accounts and runs the popular newsletter.
Read about Colleen's experience and career as an occupational therapist, including how The OT Toolbox began on our About The OT Toolbox page: https://www.theottoolbox.com/about-us/
Colleen created The OT Toolbox in 2011 and since then has written thousands of blog posts designed to support therapy providers, educators, parents, counselors, admin, and caregivers in promoting the healthy development of kids.
Check out Colleen's blog posts below:
I am a second round Kindergarten mom. My daughter went through Kindergarten and is now rocking second grade and my son is now plowing through his first school experience that involves desks and erasers. (Oh to go back to those preschool rooms that lack desks and erasers!)
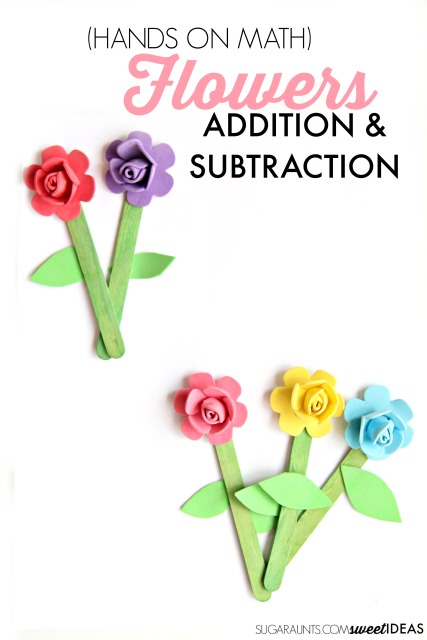
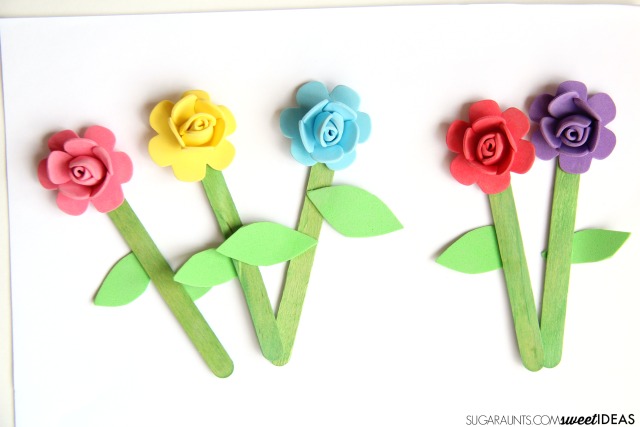
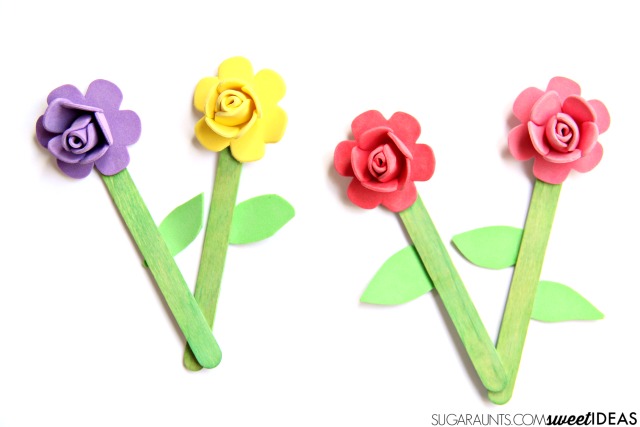
As a second time Kindergarten mom, I know a little bit about what is coming next in the curriculum and how to make homework fun. This Spring Flower activity was a fun way to introduce composing and decomposing numbers, and introduce addition with a flower theme.
Spring Flower Kindergarten Addition and Subtraction Math Activity
The foam flowers have a sticky back. Simply peel the sticker back and place it on the top of a green craft stick. Cut the foam craft sheet into small leaves. Glue them onto the craft stick.
Kindergarten Math with Hands-On Addition and Subtraction
To practice and introduce math skills in kindergarten, this hands-on math activity is great for little learners. I showed my son how to count out a group of flowers. We placed them together in a bunch. I told my son, “Here are two flowers. Three more grow. How many are there all together?”
He was able to count out the total number of flowers. I then asked him how he could take apart (or decompose) a certain number of flowers. If he had 6 flowers in a bunch, he could “pick” three and be left with three.
This super easy math activity is a fun way to build so many math and pre-algebraic skills that are a base for many years to come
Here are some of my favorite ways to play our way through Kindergarten:
Here we used a small manipulative to teach the difference between am and pm. Am and pm activities are great for helping kids to understand time and management of time. Much like this rock clock activity, the use of small manipulatives helps to build skills such as eye-hand coordination through play. It’s another activity to teach time to kids that uses fun and imaginative play!
Am PM Activity for Kids
I stepped on one again.
A little plastic toy that seems innocent enough, but it’s actually much like stepping on a hot knife. Aka a LEGO.
Only after you’re limping from the wounds of stepping on it, this cute little plastic toy just smiles back at you.
Shopkins.
If your house is like mine, you’ve got a zillion Shopkins in tins, in plastic sorting containers, and escaping onto the floor only to stab innocent passing feet in the night. They are little pieces of pink plastic figures that are…a little strange…and your kids know ever single name and every single one they own.
So, how do you battle the never-ending Shopkins fad? If you can’t beat ’em (Because they sure are beating up my feet!), then you join ’em!
We used our Shopkins in a learning activity to practice time telling skills, including differentiating between AM and PM.
am pm activities, am pm for kids, am pm sorting acivity, am pm visual
AM PT Sorting Activity
In this activity, we used small toys to sort between am and pm activities. The AM/PM visual was a great way to get buy-in for our kids. They LOVE Shopkins. But you could use any small figures in this same activity.
This post contains affiliate links.
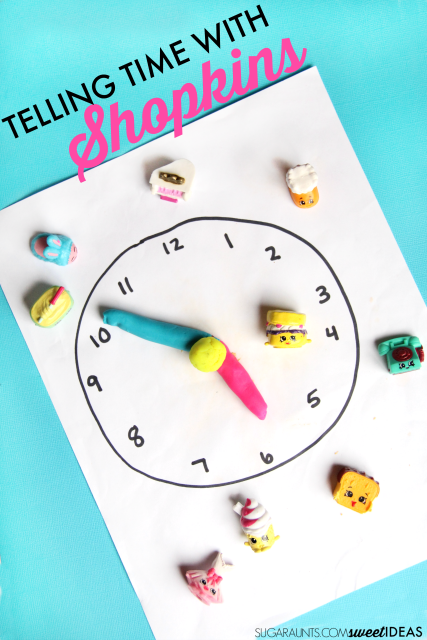
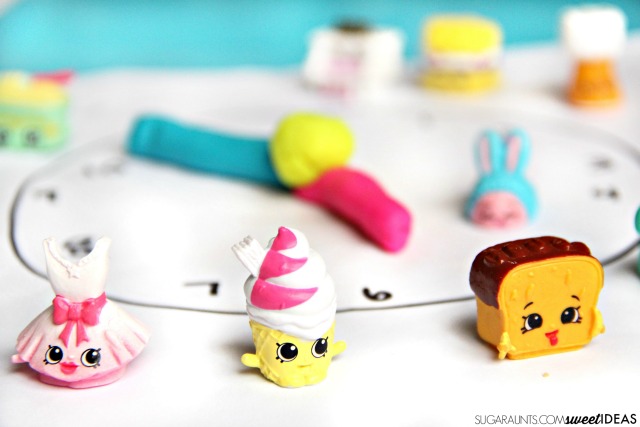
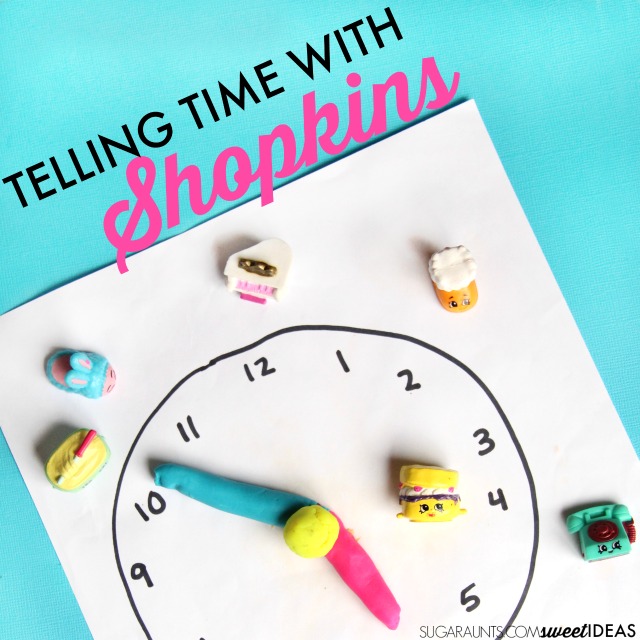
For this activity, we used our (Amazon affiliate link) Shopkins on a hand drawn clock. I pulled out a few colors of play dough to use as movable clock hands.
As we moved the hands around the clock to different positions, I had my daughter tell me the ways to read the clock. We used both hours (10:15) and words (a quarter after ten) to describe the time.
We then added the Shopkins to the activity. I had my daughter grab one of the Shopkins. I moved the hands around the clock to a new time and then asked my daughter to tell me if the Shopkin would be used in the am or the pm.
Depending on the position of the clock hands, a Shopkin could be used in an AM or PM activity: A toast Shopkin would be used at 8:15 AM and not 8:15 PM. The Slippers Shopkin would be used at 11:45 PM and not 11:45 PM. The cake Shopkin would be used at 2:30 PM and not 2:30 AM.
My daughter had fun coming up with different scenarios with all of the Shopkins.
We got a lot of time telling practice and the cute little plastic toys stayed safely on the table and off of the floor where they could cause me any more foot injuries!
Learning with Small Toys
Mini-figures like Shopkins or small animal toys are great manipulatives for learning concepts.
With small toys like mini-figures, children get the buy-in and motivation to play with preferred toys and characters.
However, there is the fine motor benefit happening too. Children can play with small toys and incorporate fine motor development such as:
Eye-hand coordination
Precision
Graded grasp
Pincer grasp
Separation of the sides of the hand
Eye-hand coordination
Wrist development
By placing the small toys onto a specific spot they develop motor and precision skills that can be carried over to functional tasks…not to mention the play factor!
A final note on AM PM activities
When kids are confident with time concepts such as AM and PM and the passage of time, they are more confident in time management and other executive functioning skills. Read more about using a timer in handwriting and timed tasks to encourage time management during a functional task.
Do you have Shopkins all over your house, too? Let me know if you use Shopkins in a time telling activity like this one! I would love to hear about it.
Colleen Beck, OTR/L has been an occupational therapist since 2000, working in school-based, hand therapy, outpatient peds, EI, and SNF. Colleen created The OT Toolbox to inspire therapists, teachers, and parents with easy and fun tools to help children thrive. Read her story about going from an OT making $3/hour (after paying for kids’ childcare) to a full-time OT resource creator for millions of readers. Want to collaborate? Send an email to contact@theottoolbox.com.
I wanted to share a resource we’ve had on the website for many years. It’s a simple intrinsic hand strengthening play dough mat. We use this printable play dough mat to build strong pinch and grip strength by targeting the intrinsic muscles of the hands. Intrinsic muscle strength is needed for endurance and dexterity in the hands, so it’s a major factor in fine motor skills.
Check out our other free play dough mats that we have on the website for more tools for hand strength.
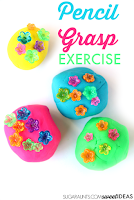
The intrinsic muscles are the ones within the hands. Rolling balls of play dough works on the intrinsic muscles and builds the development of a tripod grasp, improves arch development of the palm, and encourages use of the skilled side of the hand.
I share a lot of play dough activities. We also have a lot of play dough recipes here on the site. When we get kids involved in making play dough, they are building hand strength and endurance in pinch and grasp, so it’s a win-win. Because, after one makes a batch of playdough, then they must play! And, when we play with play dough, we are building stronger hands. OT professionals love this therapy material! And then there are all of the fine motor activities that go along with the play dough. A blogging friend suggested I do something with 365 days of play dough. I’ve got enough ideas that I could share one a day with you and still not be done!
Intrinsic Hand Strength with Play Dough
Play-Doh isn’t just for fun; it’s a fantastic tool to help your child’s hand strength and fine motor skills. And, that’s why we as occupational therapy providers love it!
By rolling small balls of Play-Doh, kids work on their intrinsic grasp and muscle strength, and they don’t ever realize it. This activity boosts their pinch strength and dexterity. It’s simple yet effective. Just have them use their fingertips on a Play-Doh mat. It’s a playful way to enhance their hand’s intrinsic muscle strength, vital for everyday tasks and their overall development.
Play-Doh is a fantastic tool for your child’s hand strength development. While they roll small balls of Play-Doh, they’re working on intrinsic strengthening of the hand.
We’ve created a simple play dough mat to support this skill. By rolling play dough balls into different sizes with just their finger tips, kids build that strength and dexterity.
These hand intrinsic exercises are crucial for building intrinsic muscle strength in their hands. As they engage in these intrinsic hand muscle exercises, you’ll notice improvements in their grasp, pinch strength, and overall dexterity. It’s a fun, engaging way to support their fine motor skill development.
Play dough is awesome.
It’s awesome for building intrinsic muscle strength. It’s awesome for working gross motor muscle strength. It’s awesome for proprioception to the hands. It’s awesome for working on handwriting, scissor skills, and pencil grasp. It’s a great treatment tool in Occupational Therapy clinics and it’s a great manipulative in learning activities.
Do you (and your kids) love play dough as much as we do?
I’ve got a creative way to build the intrinsic muscles of the hands using play dough and a play dough mat. This play mat is designed to work on the muscles needed for a functional pencil grasp and endurance in maintaining that grasp. It’s designed to work on the dexterity needed for coloring without fatigue. And it’s designed to be fun for little ones who need to work on these areas.
Be sure to check out this article on how to use emotions playdough mats to support fine motor strength and emotional self regulation.
This post contains affiliate links.
Here are more resources for strengthening the intrinsic muscles of the hands:
How to Use a Play Dough Mat for Intrinsic Hand Strength
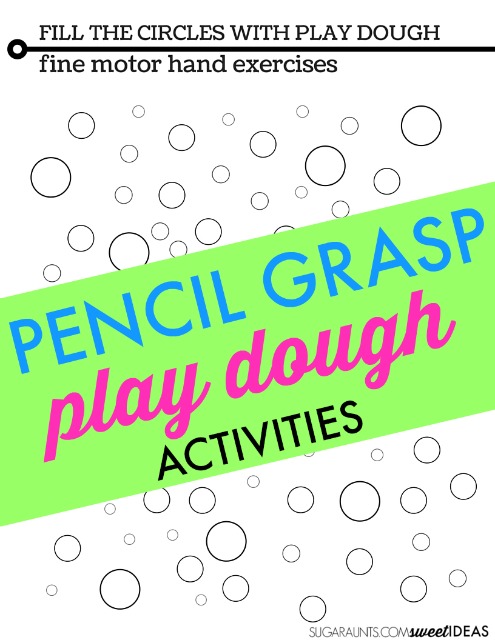
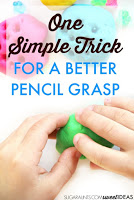
To use this play dough mat, you’ll first laminate the paper or slip it into a sheet protector sleeve. Then, show your child how to fill the circles with play dough by rolling small balls of play dough with the thumb, pointer finger, and middle finger.
There are different sizes of circles on the mat, requiring the child to roll small or large play dough balls. This encourages more reined intrinsic muscle use.
You can use the mat in several ways:
Allow the child to fill the circles with play dough with random colors.
Assign different sized circles to different colors of play dough. This provides a visual scanning component to the activity.
Write numbers or letters in the circles, providing a visual scanning and letter order cognitive component.
The main point is to use those fingertips to roll the play dough into small balls. By encouraging an open thumb webspace and fingers extended at the PIP and DIP joints, with a flexed MCP joints, the intrinsic muscles are are in action.
If you want to see this positioning, place your hand into a “duck bill” shape where the thumb and the tips of the fingertips are touching like a duck opening and closing it’s bill. This is the intrinsic muscles at work.
Free Play Dough Mat for Building Hand Strength
This play mat is available for FREE only for our Play Dough is Awesome newsletter group. (This is a different email list than our regular subscribers. If you’re on our subscriber list, you’ll still need to sign up for this one to receive the play dough freebies coming your way!)
Have fun!
Colleen Beck, OTR/L has been an occupational therapist since 2000, working in school-based, hand therapy, outpatient peds, EI, and SNF. Colleen created The OT Toolbox to inspire therapists, teachers, and parents with easy and fun tools to help children thrive. Read her story about going from an OT making $3/hour (after paying for kids’ childcare) to a full-time OT resource creator for millions of readers. Want to collaborate? Send an email to contact@theottoolbox.com.
Working on fine motor skills, visual perception, visual motor skills, sensory tolerance, handwriting, or scissor skills? Our Fine Motor Kits cover all of these areas and more.
Check out the seasonal Fine Motor Kits that kids love:
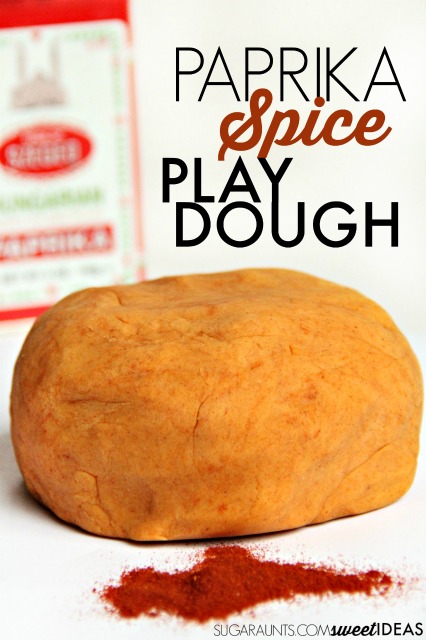
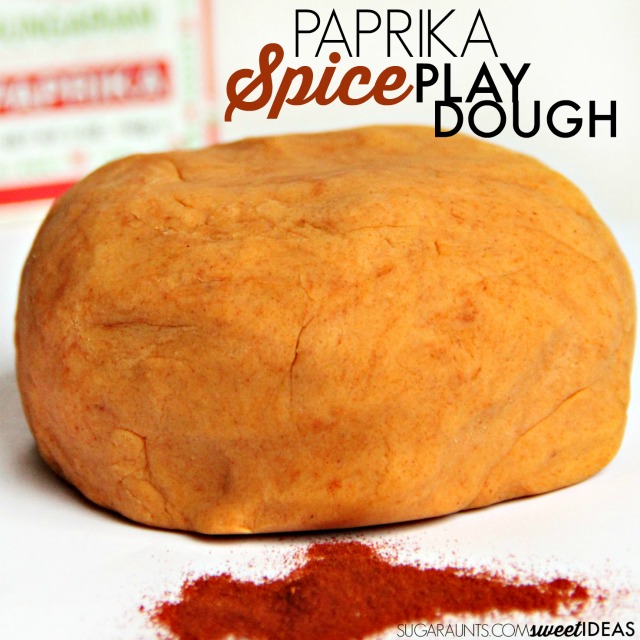
This month’s sensory dough is all about the natural ingredients. We made this paprika spice play dough one rainy afternoon and can’t get enough of the rich scent while playing. We used a basic stove-top recipe that uses all natural ingredients (except for the processed white flour) and was a fun experiment in natural sensory play dough!
Paprika Natural Play Dough Recipe
This post contains affiliate links.
This recipe is easy to make, using a basic (and classic) stove top recipe.
1 cup flour 1/2 cup salt 1 cup water 2 Tbsp oil 2 tsp Cream of Tartar 2-3 Tbsp Paprika
On the stove top, heat all of the ingredients, mixing constantly When the dough pulls together, turn it out on a floured surface. Knead the dough until smooth.
Now play!
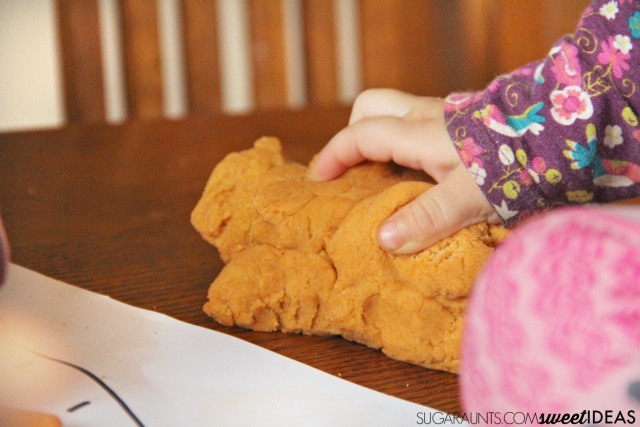
We used this dough in a few different play activities. My Toddler loved this dough and I’m happy knowing that if she tastes a bit, it doesn’t have all of the extra ingredients that store bought dough has.
Have you made Natural Play Dough? What kind?
Stop by and see the other Natural Play Dough recipes from the Sensory Dough blogging team:
Natural Play Dough with Natural Dye | Lemon Lime Adventures
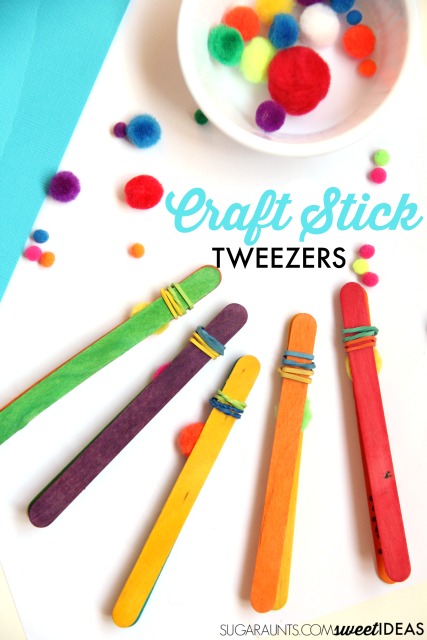
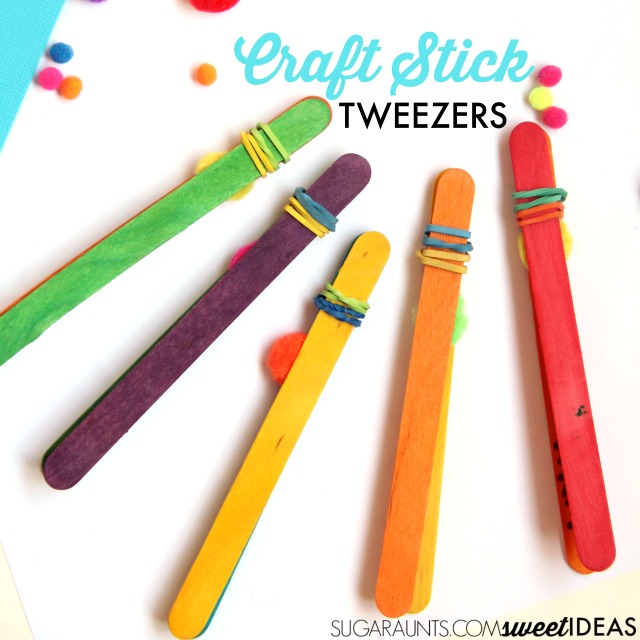
I have a fun DIY for you! These craft stick tweezers are easy to create and a workout for finger muscles. We made them in a rainbow of colors and you can use them for color sorting while working on the fine motor skills needed for handwriting and small motor tasks like managing clothing fasteners.
How Do Using Tweezers Help With Handwriting?
You might know that I love to share easy, manageable tips on how to help kids with handwriting and pencil grasp. Recently I shared a quick tip on strengthening the lumbrical muscles for more effective pencil grasp and endurance in handwriting. Today, I’ve got an extension on that activity, using tweezers.
So how do tweezers help with pencil grasp and handwriting?
When a child uses tweezers to pick up small objects (using an appropriate grasp on the tweezers, of course!) they are building the skills needed for a tripod grasp. A functional pencil grasp includes the thumb and the first and third fingers or the thumb and the first, second, third, and fourth fingers. These grasps allow a child to move and advance the paper with small motions at an appropriate speed for writing legibly.
Using tweezers is a great way to build the muscles needed for these grasps on the pencil. When using a pair of tweezers to work on pencil grasp, be sure to position the tweezers as if it were a pencil. Encourage the child to bend the tip of their thumb to build the thenar muscles of the thumb, while ensuring an open web space. The resistance of squeezing tweezers develops the arches of the hands which are needed for a curved palm while holding a pencil. An extended wrist provides the most functional position for writing or tweezer-ing.
DIY Craft Stick Tweezers
Full disclosure: Affiliate links are included in this post.
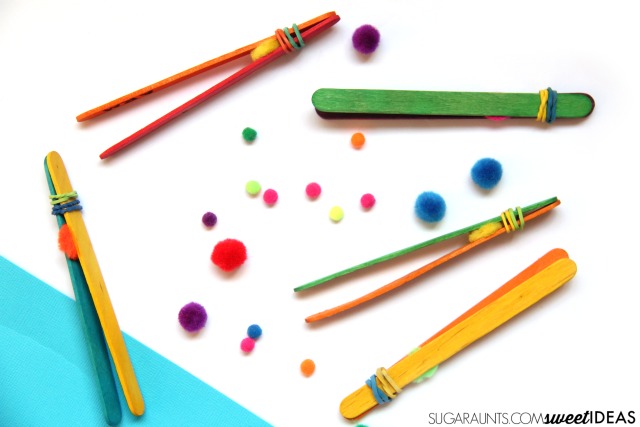
To make the tweezers, stack two craft sticks together and position the pom pom in between at one end. Add two rubber bands to the end of the tweezers.
A larger crafting pom pom will make the tweezers wider at the opening. This will increase the amount of distance needed for grasping small items. This is a great way to grade the activity.
Watch this video to see the full how-to:
Now get to building those hand muscles!
Additional benefits to using tweezers in fine motor tasks:
Visual Scanning Peripheral Vision Hand-Eye Coordination Development of the Skilled side of the hand Stabilization of the ulnar (or power) side of the hand
Love this idea? SHARE it on Facebook!
Looking for more ways to build the hand muscles for an improved pencil grasp? Try these:
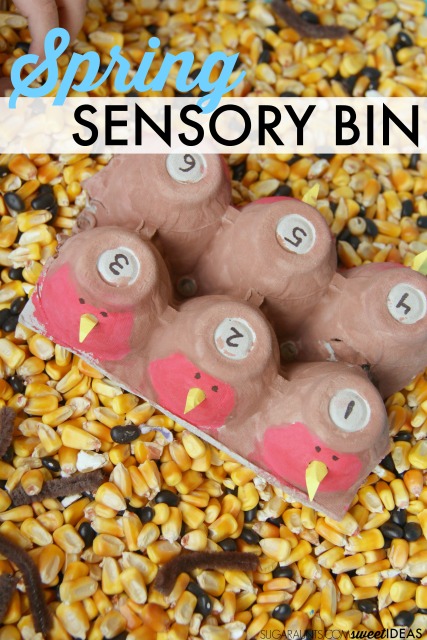
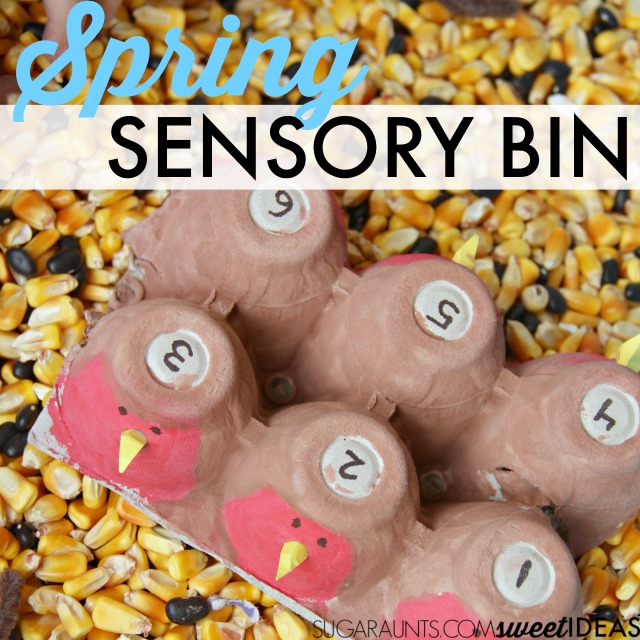
Spring is in the air! We’ve been lucky to have a few days of warmer weather and have been outside playing the hours away. Of course we had to create our first outdoor sensory bin of the season! This Spring Robin Sensory Bin is sure to get you in the mood for Spring. We used a few items that you might have seen before on the blog and put together a quick and easy bin for sensory play. Because nothing says Spring like minimal prep!
This post contains affiliate links.
Spring Sensory Bin Idea
So, last year we made these egg carton robins. They are back and made the perfect addition for our Spring sensory bin. I kept it simple and added only a field corn and black bean filler. You could use any of our sensory bin filler ideas.
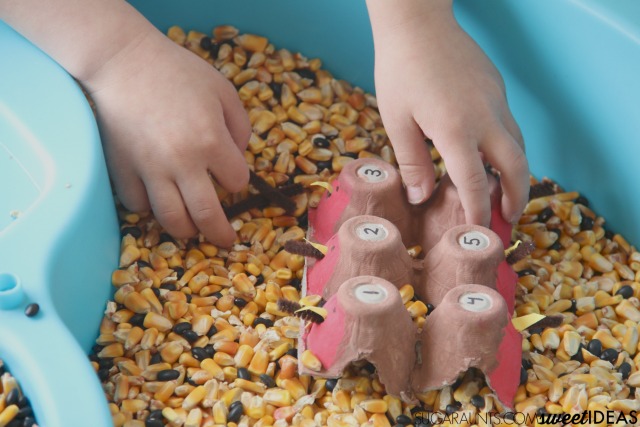
We have a big bin of this stuff ready to go for sensory play. It’s a great tactile sensory material that little hands love to dig through. I poured it all into our water table so both of my girls could play easily in the bin. The height is perfect for my one year old.
To make the robins, follow these directions. Be sure to make the worms, because we used them in the sensory bin today. I hid a few in the field corn and placed the rest on the top of the sensory bin. My four year old had fun burying the worms and then scooping up big piles of corn to find them. She practiced a few preschool math concepts like one-to-one correspondence by counting out the worms. She put them one by one into the separate robins on the egg carton. My 1 year old had fun just playing in the field corn. This was a great sensory experience for her!
Having our sensory bin outside on a warm spring day was so much fun and a great way to kick off Spring!
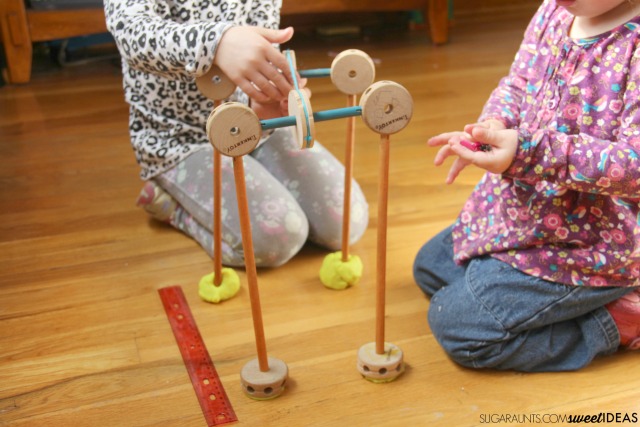
This week in our Early Learning series, we’re covering STEM. Science, Technology, Engineering, and Math are all over the place these days. And there is good reason, we love this occupational therapy toy, too. STEM learning is present in classrooms, summer camps, after-school programs, and even library programs. As a benefit, STEM fine motor activities build coordination and hand strength. Today, I’m sharing classic STEM. This is the STEM of my childhood and one that I’m so excited to share with my kids: Tinker Toys!
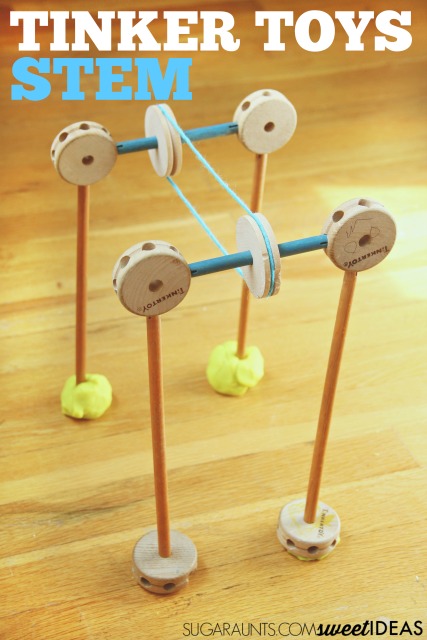
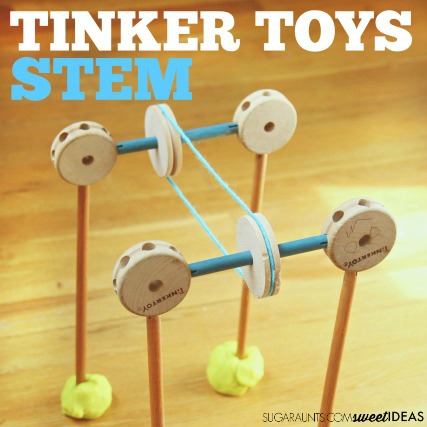
We used the classic toy, Tinker Toys with STEM concepts to create a Tinker Toy pulley. Now, this was fun!
Tinker Toys STEM project: Build a Pulley
This post contains affiliate links.
We were lucky enough to find a set of Tinker Toys at a garage sale but they are available here. Our set is a little beat up (And it even has original container from years gone by!) but it worked for building a pulley system. This was a hit with my kids as we discovered and explored all four parts of STEM education:
Science with Tinker Toys– We talked about the physics behind a pulley system, including the load and the effort required to make the pulley work. Our pulley was designed to pull a string along a strait path to carry a load from one point to another. We talked about energy with our pulley.
Technology with Tinker Toys– I’ve read that the technology portion of STEM learning can relate to any product made that meets a need or want, including items like a pencil or a chair. Our technology was the machine (the pulley) that could transport items from one place to another. We created a machine to do a job.
Engineering with Tinker Toys– Tinker Toys might be one of the most classic engineering toys there is. Children of all ages have used these building toys to create whatever their imagination could dream up. We were able to engineer a pulley system with trial and error to find the right height, length, and support for our pulley. After trial and error, we determined that our pulley needed a better base of support. To adjust for lack of width in the base, we added play dough to hold the legs in place.
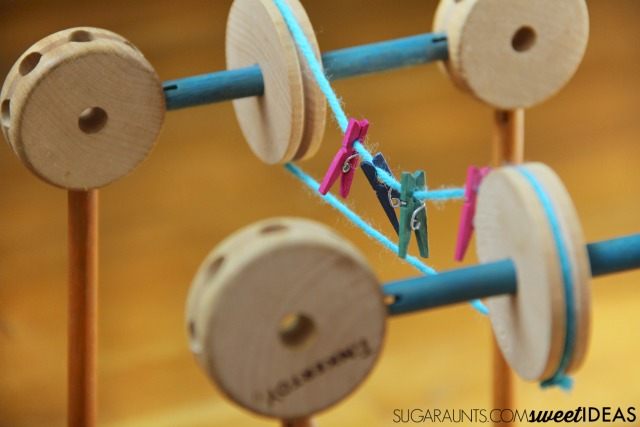
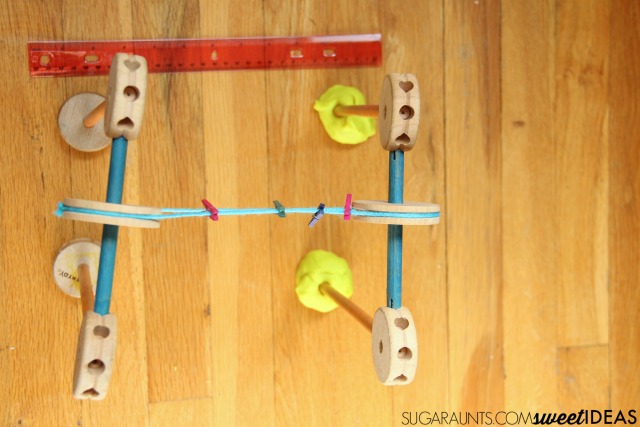
Math with Tinker Toys– For our pulley, we tried different lengths of string. We measured the lengths and decided on the best length to pull clothes pins from one point to anther. We then added more clothes pins and noted how much the string drooped when we added more pins. We then had to adjust the distance of the pulley legs to accommodate the weight. What a great way to combine math and engineering in this “tinkering” STEM activity!
NOTE: Our clothes pins were multi-colored but I’m not able to find that exact item anymore. You are able to purchase individual colors of clothes pins, here.
Looking for more STEM activities for kids? Try these:
Handwriting legibility and hand strength are closely tied. You might say they go hand-in-hand. (I had to go there!)
This easy fine motor tong activity is designed to build some of the muscles needed for managing a pencil. The intrinsic muscles are the muscles in the hand that define the arches of the hands, bend the knuckles, and oppose with the thumbs.
Among these muscles are a group called the lumbricals. The lumbrical muscles have a job to bend (flex) the MCP joints and extend (straighten) the PIP and DIP joints. When the lumbricals are in action, the hand might look like it is holding a plate with the big knuckles bent and the fingers extended.
Lumbrical Muscles of the Hands and Handwriting
This post contains affiliate links.
The lumbrical muscles of the hands are important in handwriting. They are used to hold the pencil in a functional grasp. Advancing the pencil in an upward motion using the joints of the fingers require strength and endurance of the lumbrical muscles. Forming letters like upstrokes in cursive letters and the re-trace of letters like a, d, g, h, m, n, p, q, r, u, v, and w require upward pencil strokes.
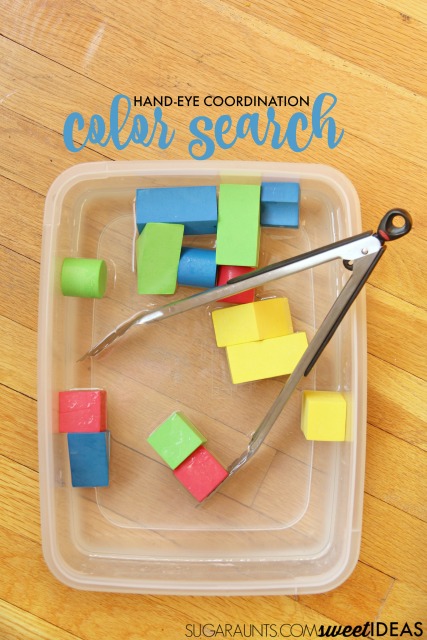
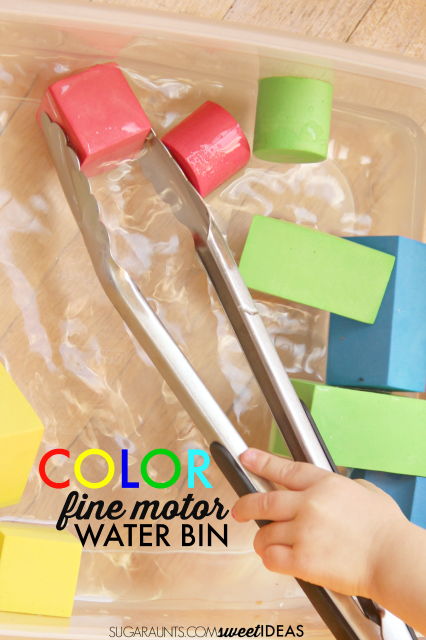
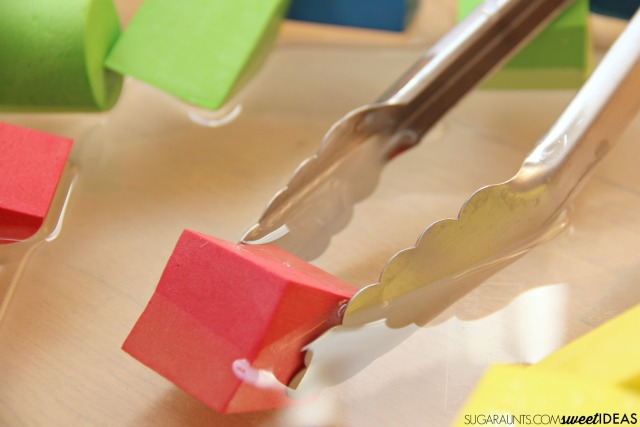
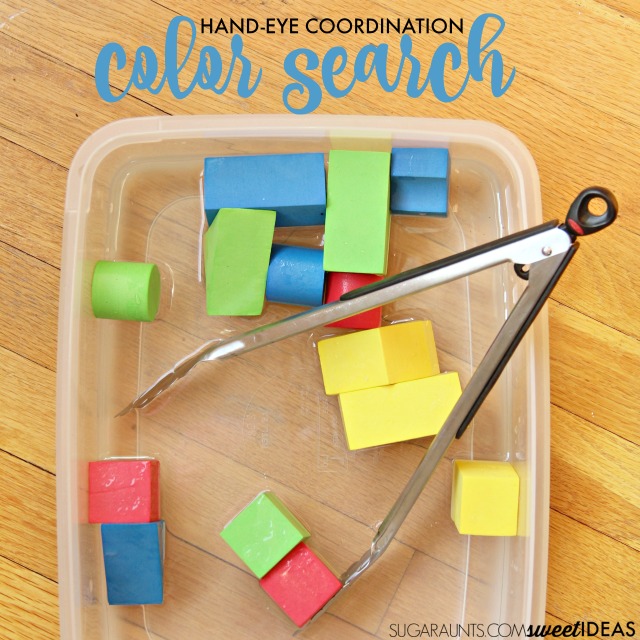
A quick and easy way to develop and strengthen the lumbricals is a tong activity like this one. Use a large kitchen tong utensil to grasp items. We used this kitchen tong, but any large tong would work for this strengthening activity. Foam blocks are a nice size and make a great hand-eye coordination exercise for children with the tongs. Fill a bin with water and add in the foam blocks. Ask your child to grab the blocks as you call out colors for a color identification activity.
It is important to notice the position of your child’s hand on the tongs in activities like this one. You want to see a slightly extended wrist and tongs UNDER the hand to work on lumbrical muscle strength. This is different than a task geared toward building precision and thumb intrinsic muscle strength.
More intrinsic muscles needed in handwriting
The muscles used in handwriting can be broken up into two actions.
The muscles:
flexor digiti minimi, abductor digiti minimi and opponens pollicis & digiti minimi are referred to as the hypothenar muscles work to stabilize the ulnar side of the hand during handwriting.
The muscles:
abductor pollicis brevis, flexor pollicis brevis, and opponens pollicis work to rotate the thumb for manipulation of the pencil.
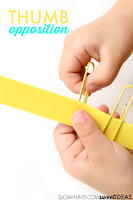
Adductor pollicis strengthens thumb opposition.
Looking for more ways to use tongs and fine motor tools in learning? Try these:
Colleen Beck, OTR/L has been an occupational therapist since 2000, working in school-based, hand therapy, outpatient peds, EI, and SNF. Colleen created The OT Toolbox to inspire therapists, teachers, and parents with easy and fun tools to help children thrive. Read her story about going from an OT making $3/hour (after paying for kids’ childcare) to a full-time OT resource creator for millions of readers. Want to collaborate? Send an email to contact@theottoolbox.com.
Looking for a fine motor activity that uses the small motor movements of the hands needed for skills like beading, handwriting, and managing clothing fasteners? Sometimes, it can be difficult to get a kiddo to work on those areas when the very task you need to strengthen is one that is difficult to do.
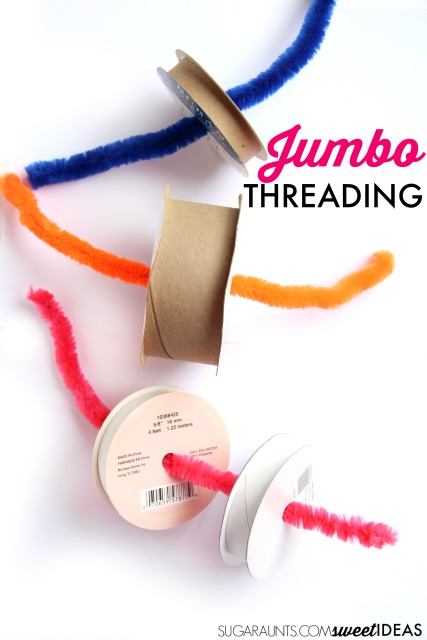
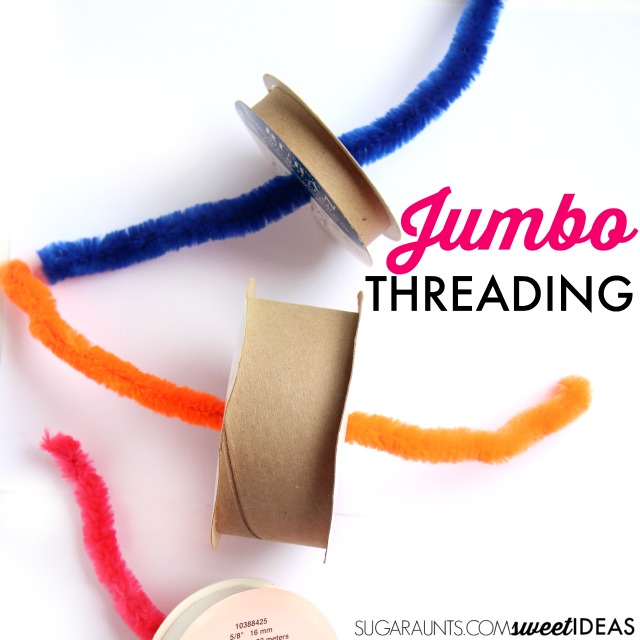
Sometimes an activity that is a little bit different is the very thing needed for kids who need to work on fine motor skills. This jumbo threading activity uses cardboard ribbon spools (and we do love our recycled crafts!) and can help with fine motor skill development in a big way.
Large Fine Motor Threading Activity
Using small beads to thread on string or pipe cleaners is an excellent way to build pincer grasp, tripod grasp, bilateral coordination, hand-eye coordination, and in-hand manipulation. But if if is hard for a child to do these tasks, they may not want to participate in small beading as much as their parent, therapist, or teacher may like. These cardboard ribbon spools are a fun way to build the skills needed for fine motor tasks, in a different way.
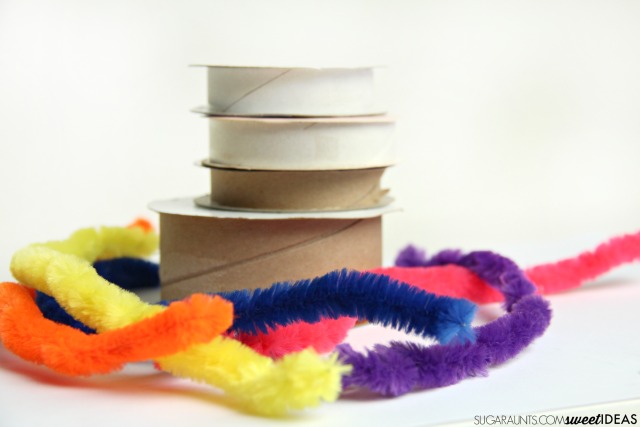
This is an easy busy bag type of activity for kids. Set them up with a tray of spools and pipe cleaners while mom grabs a cup of coffee. OR, for the Occupational Therapists in the crowd, this makes a nice multi-purpose activity for the OT treatment bag.
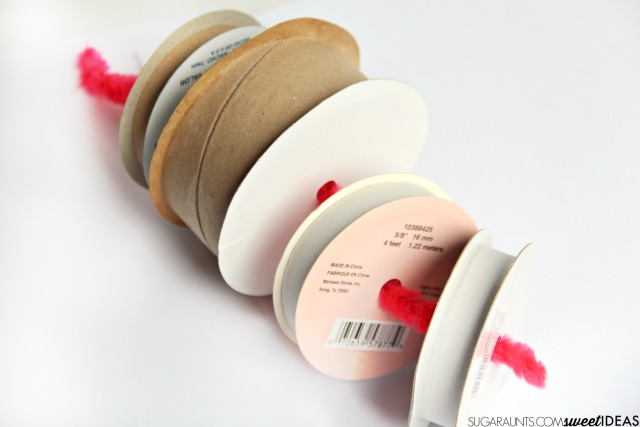
Simply show your kiddo how to thread the large pipe cleaners onto the cardboard spools. Using different sizes of spools requires different motor movements of the hands, but using several sizes promote graded grasp patterns. Threading the pipe cleaners into the center of the spools allows the child to thread with a tripod grasp on a larger scale. Children can hold the spools with their non-dominant helper hand in a whole hand grasp.
Add more skills to this threading task by stacking the spools to work on precision. Ask your client or child to hold the edges of the spools to incorporate a spherical grasp. Threading by size encourages beginning math skills with visual discrimination and visual scanning.