Did you ever go on a nature walk and collect colorful leaves but have no where to put them? This contact paper leaf collection is a Fall leaf collage and all you need is a sheet of contact paper. This is a fun way to expand on a family nature walk during the Fall months! Add this to your outdoor occupational therapy sessions or Fall OT planning.
Here’s why you should make a leaf collection with kids this Fall…
Contact Paper leaf Collection
My kids wanted to go for a Nature Hike one beautiful, sunny, fall day. I pulled out some squares of contact paper and we went around the yard, gathering leaves, acorn tops, flowers, grasses, pine needles…all kinds of fun, fall things.
When you are collecting items to add to your contact paper leaf collection, you’ll want a variety of leaf shapes, sizes, and colors.
There are other things you can add to the contact paper, too:
Acorn tops
Grass
Seeds
Pine needles
Maple seeds (“helicopters”)
Thin tree bark
Small twigs
Flower petals
Seed pods
Feathers
Pinecone scales
Dandelion fluff
Moss
Fern fronds
Looking for all of those items really works on the visual scanning skills and the fine motor dexterity!
Big Sister is learning about the senses in her Pre-K Science class. We talked about the 5 senses a little bit, but mostly just enjoyed the warm sun and crunchy leaves.
Big Sister came up with the idea to use this as their “map”. I thought this was a pretty cool idea, and it coming all from her is so exciting. I love the imagination at this age!
Big Sister and Little Guy are really into Jake and the Neverland Pirates right now. Everything is a pirate adventure with pixie dust and gold doubloons!
We went off on our adventure around the yard to visit Acorn Island, Leaf Land, Flower Isle, and Pine Needle Island.
Such a fun day!
Looking for more ideas to play this time of year? Grab our Fall OT kit:
Colleen Beck, OTR/L has been an occupational therapist since 2000, working in school-based, hand therapy, outpatient peds, EI, and SNF. Colleen created The OT Toolbox to inspire therapists, teachers, and parents with easy and fun tools to help children thrive. Read her story about going from an OT making $3/hour (after paying for kids’ childcare) to a full-time OT resource creator for millions of readers. Want to collaborate? Send an email to contact@theottoolbox.com.
Grab a box of alphabet noodles for a fun multisensory learning activity that builds skills in many areas. We used letters pasta to create a sensory bin that incorporates fine motor skills and a letter learning activity.
Alphabet Noodles
You might remember eating alphabet noodles as a child in soup. But if you have a box of letter noodles on hand, it’s easy to create a sensory play activity that builds skills.
This easy dyed pasta activity combines learning with fine motor development. From the scooping to the neat pincer grasp activity, this is a great way to build many skills! Younger children can use scoops and spoons to develop coordination needed to scoop and pour while gaining exposure to letters. What a fun way to build so many areas!
Alphabet Pasta Activities
So, in addition to the ideas we shared above, we love using dry alphabet pasta in other activities to support fine motor and visual motor skills. I love that you can incorporate the tactile sensory play in learning and skill development.
Some of my favorite ideas for alphabet pasta:
Alphabet Sensory Bin Search: Fill a sensory bin with dry alphabet pasta and small items like pom-poms, beads, or toy animals. Hide letter cards or small objects in the bin, and encourage kids to search for specific letters or objects. This activity helps improve pincer grasp and hand-eye coordination while engaging their sense of touch.
Letter Pasta Sensory Bottle: Create a “Alphabet Seek-and-Find” Sensory Bottle by filling a clear plastic bottle with dry alphabet pasta. Add a few small, colorful beads or buttons to make it more visually stimulating. You can also include a few small trinkets or themed charms to match a specific letter (e.g., a tiny apple for “A”). Seal the bottle tightly with glue to prevent any spills. Here are other sensory bottle ideas to use, like adding scrabble letter tiles to the sensory bottle as an I spy activity.
Pasta Art and Letter Matching: Have kids glue dry alphabet pasta onto construction paper to create letter art or spell out simple words. For an extra challenge, provide them with a printed word and have them match the letters using the pasta. This activity develops both fine motor skills and visual-motor integration as they match letters and manipulate the small pieces. It’s a great letter recognition activity!
This was such a fun activity! I found a bag of alphabet pasta at a local grocery store on sale for a dollar and couldn’t pass it up! We used a little from the bag and used the rest in wedding soup. (Little Guy’s most often request and favorite meal!) Because the only thing that makes wedding soup even more awesome is fun shaped noodles 🙂
How to dye alphabet Pasta
We dyed the pasta in a baggie…added a few drops of red food coloring and 2 Tbsp of vinegar. We dyed this batch back in May and the color is still going strong. The vinegar doesn’t leave an odor when playing with the pasta, but helps the coloring to “stick” to the pasta.
Have the kids shake the bag (or use a lidded plastic container for a fun auditory component!) and get their wiggles out.
I put up a few strips of masking tape on our easel and put out the bowl of pasta. Baby Girl had the job of scooping letters from the bowl onto a plate. She loved using my measuring spoons to scoop. Toddlers seem to love scooping any little bits…peas/beans/rice/sand…and it’s such a great fine motor task for them.
Pinching those little letters was a fun fine motor exercise for working on their tripod grasp and pincer grasp.
I positioned the tape strips high up on the easel to encourage an extended wrist. This wrist position allows for efficient use of the fingers in such a small motor activity.
Big Sister worked on locating letters as I told her how to spell words.
…Baby Girl couldn’t let her big sister do something and NOT get involved…
We also used the alphabet letter pasta to work on a little reading/spelling activity: I stuck on the -AT letters and asked Big Sister to find the letter we needed to spell different rhyming words. Fun!
Alphabet letter pasta can be used in many ways! How do you use this sensory activity to learn and play?
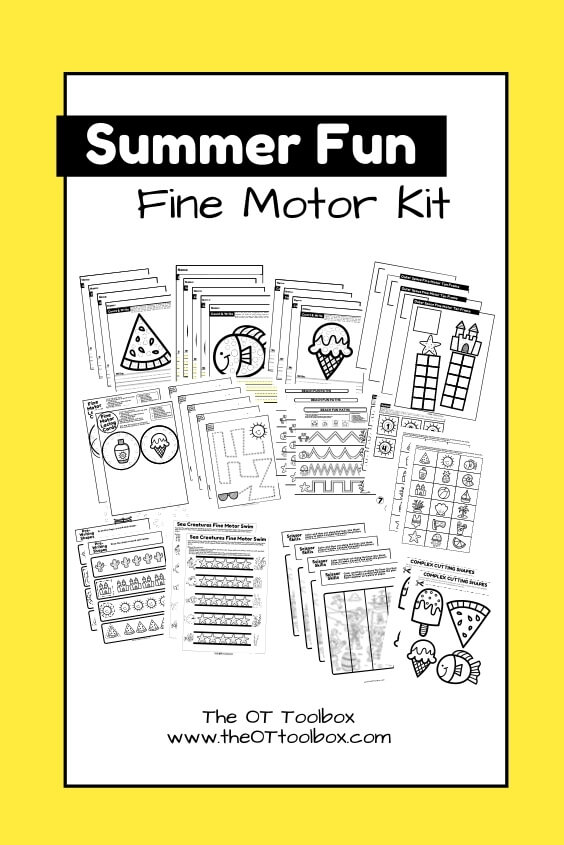
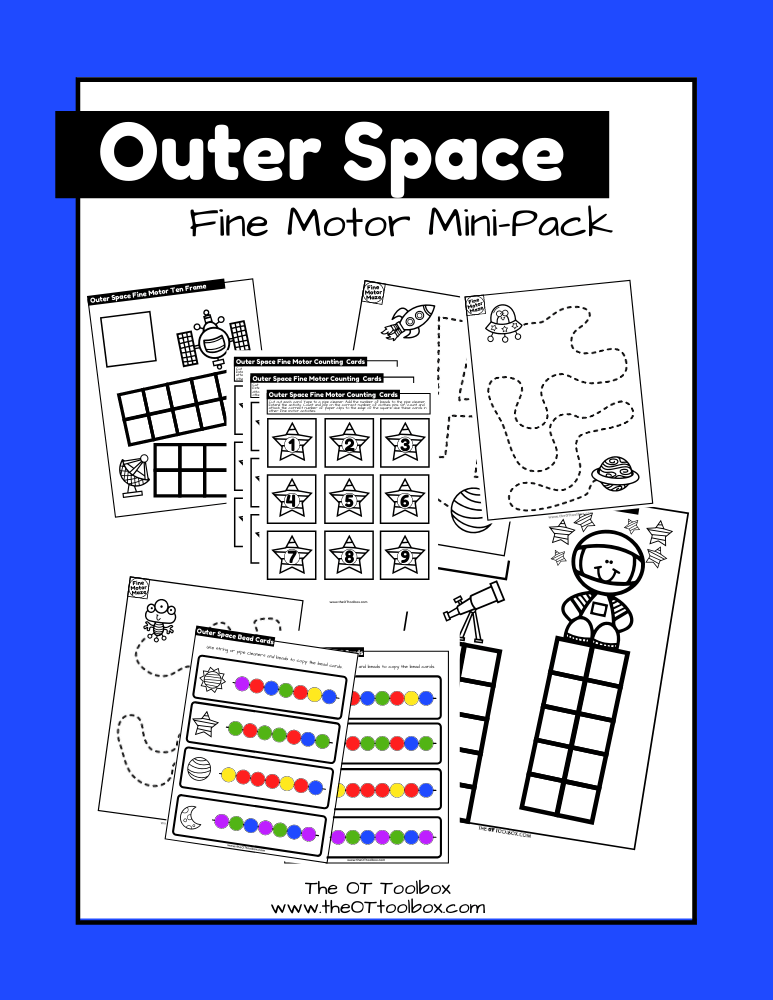
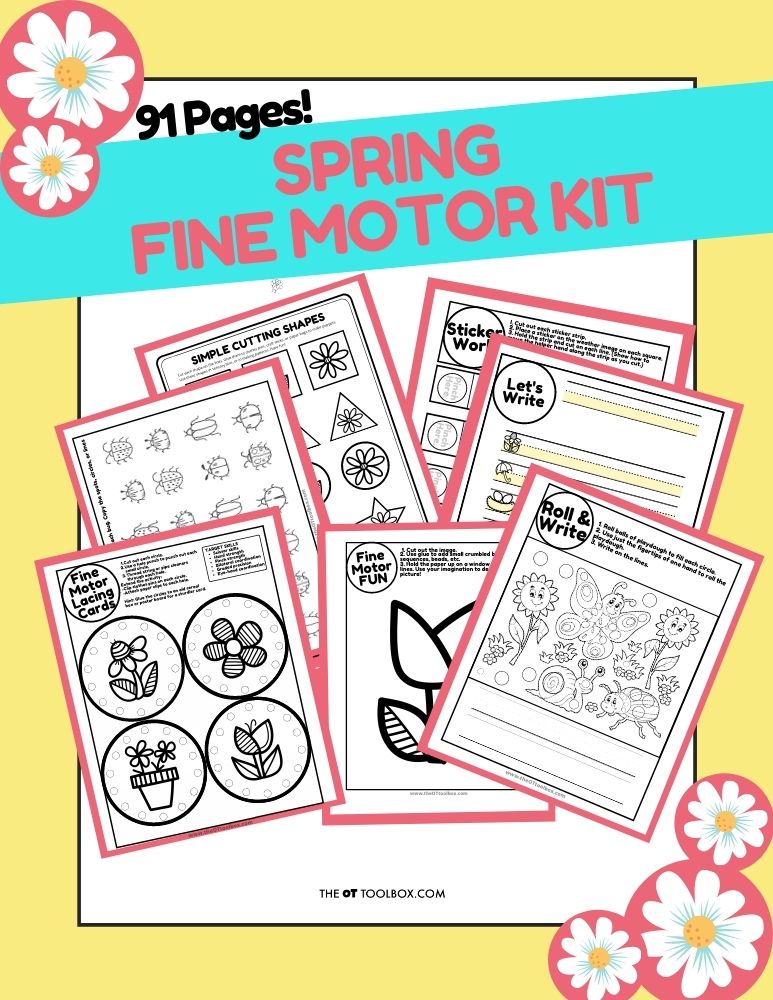
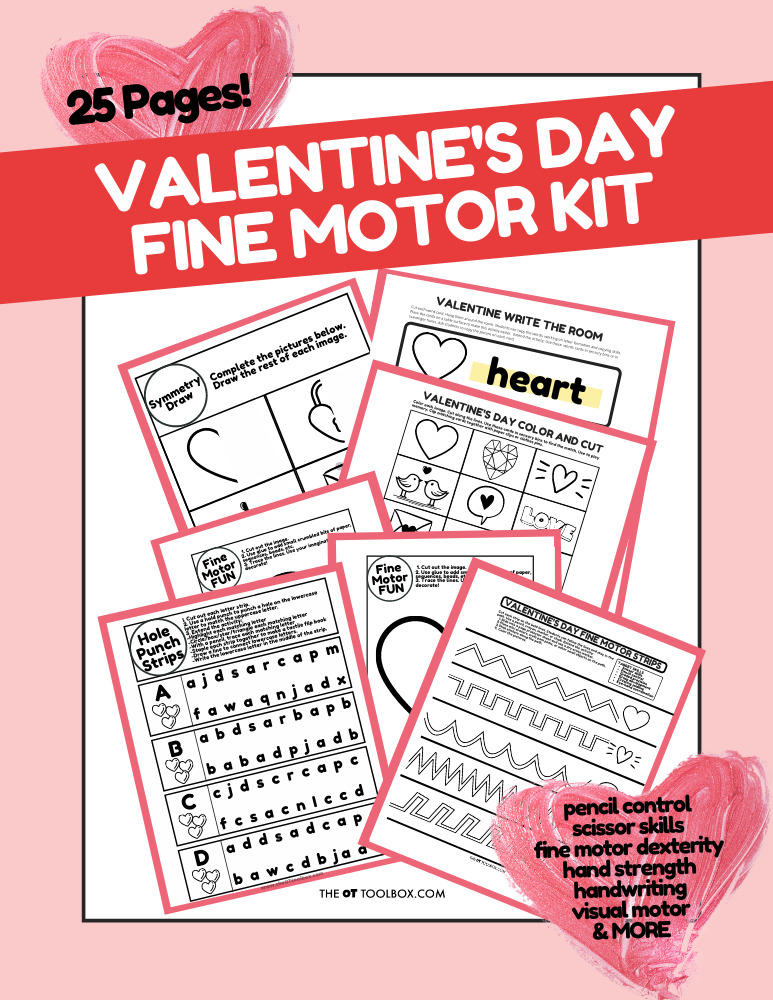
Working on fine motor skills, visual perception, visual motor skills, sensory tolerance, handwriting, or scissor skills? Our Fine Motor Kits cover all of these areas and more.
Check out the seasonal Fine Motor Kits that kids love:
This ice cube jump and smash is a great ice play activity with major sensory benefits. The heavy work built through smashing ice cubes or jumping on ice cubes is huge! Plus, kids love the novelty of this sensory motor activity. Let’s break this activity down…
This was originally an activity we did during the cold winter months, BUT we also love adding a fun sensory ice smashing activity to our Summer occupational therapy idea list. Why? because during the hot summer months, smashing ice with a hammer is a fun activity to get kids moving.
Plus, this is a heavy work activity that supports emotional and behavioral regulation. You could even use colored ice that matches the colors of the Zones of Regulation.
Smashing ice with a hammer is a fun sensory activity for kids.
Ice Cube Jump and Smash
We’ve been sharing some fun sensory play activities recently, part of our January Occupational Therapy calendar. The proprioception and vestibular activities linked up in the free calendar are sure to provide sensory experiences and input that will keep your child moving all winter long. Hey, you can do most of these activities in warmer weather too, so be sure to save this one for hot summer days!
This Ice Cube Proprioception Jump and Smash activity will provide proprioceptive input through movement and heavy work that can help with regulation of sensory seekers. It’s also a great way to incorporate body awareness through proprioception. This happens when holding and moving that hammer to hit a target (the colorful ice cube!)
Try making these bright and vividly colored ice cubes and playing with sensory input today! When you add hopping or jumping to smash the ice, like my kids did, you get the bonus benefit of the movement of jumping and hopping adds a vestibular activity component to this fun activity.
Another benefit is the eye hand coordination work from holding hitting with the hammer.
Proprioception Activity with Ice Cubes
Full disclosure: This post contains affiliate links.
I used a couple of mini muffin tin to make colored ice cubes.
Fill the tins with water and then add one or two drops of liquid food coloring to each section. Kids love this activity and it is a real experiment of color mixing.
Use a toothpick to mix the colors and try to achieve various shades of color by mixing more or less food coloring.
Once the ice cubes are frozen, turn the muffin tin over in the sink and run warm water. The ice cubes will pop out after a moment.
Place the colored ice cubes in a bowl or on a large cutting board and take them outside. This is a messy activity and it will stain your floors, so take big precautions if you decide to do this one inside!
We kept the ice cubes on the cutting board and used a hammer to smash the colored ice cubes.
This activity was a huge hit with my preschooler. She loved lining up the hammer and smashing the ice cubes into chunks.
Using the hammer is heavy work for a child and she needed to use two hands to hold and use the hammer, but she was able to smash the ice easily.
While smashing ice cubes, my daughter remembered a similar proprioception and strengthening activity we did last year using peanut shells. It’s another messy, yet fun activity that is worth trying!
Be sure to clean up any ice pieces before they melt because the liquid food coloring will dye any surface. You may want to do this activity in the grass. NOTE: For a mess-free option, use liquid watercolors to dye the water. The colors will wash away with soap and water.
Related Read: Find out more about proprioception here.
Ice Cube Jumping
Get the kids moving with this outdoor vestibular activity. Take the ice cubes outside and place them in the grass. Be sure to keep them away from sidewalks and driveways because the food dye will stain the surface until the rain and weather has cleared the dye away!
Kids can jump on or over the ice cubes. Ask them to jump up high with both knees bent. For other vestibular challenges, have the child side jump or skip over and around the ice cubes.
Be sure to stop over and see the January Calendar for more sensory activities to do with the kids this winter! You can get it and all of our free resources by joining our newsletter subscriber list, found in the upper corner of this website.
This blog post about kinesthetic learning is an older blog post from March 2017 that we updated in March 2024 to add more information on what kinesthetic learning means and what it looks like for kids. Check out our suggestions and strategies below.
The thing about kinesthetic learning is that it’s happening all day long. We know the power of play and how play drives learning in children. After all, we OT practitioners preach about play being the primary “work” in children!
We’ll explain a little more about kinesthetic learning below. The thing is that there is incredible opportunities for movement and learning through movement when exploring in the outdoors, so this older blog post focused a lot on outdoor experiences as a medium for kinesthetic opportunities.
What is Kinesthetic Learning?
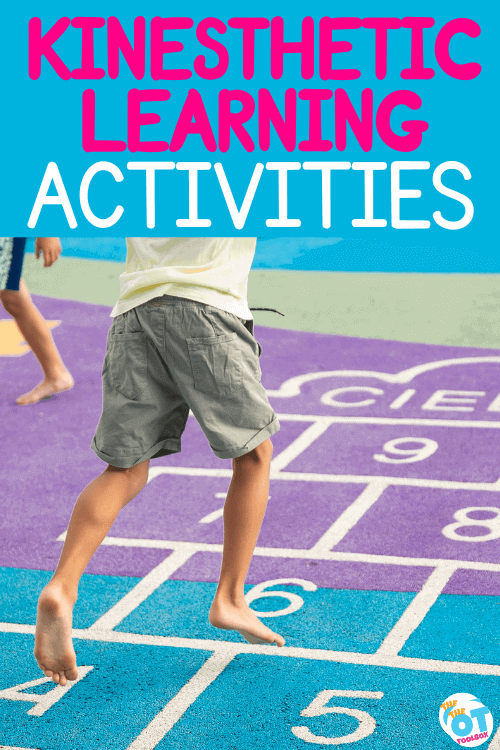
Kinesthetic learning refers to a style of learning where individuals learn through physical and movement activities. This sounds a lot like tactile learning, right? It’s actually a lot like a term you have probably heard in recent years: multisensory learning.
Kinesthetic learners prefer to engage in the learning process by moving, doing, and touching. This allows them to use their body to explore and the sense of touch to explore and learn about the world around them. For those that have a strong sensory touch, this is great! This approach is grounded in the belief that students learn more effectively when they are physically active or involved in the learning process.
The thing about kinesthetic learning is that there is the added benefit of proprioceptive input and heavy work through the hands as the child learns and explores.
Tactile learners and kinesthetic learners are a lot alike.
Kinesthetic learners need to move their bodies, manipulate materials, and really interact with learning materials. These children tend to fidget, wiggle, slouch, or get up out of their seats when in the classroom setting. This site has a lot of great information on kinesthetic learning.
Kinesthetic Learning Activities
Kinesthetic learning activities are powerful for some kids. It can mean the difference between paying attention and grasping a concept and missing it all together. Some of my favorite kinesthetic learning ideas include those that involve gross motor work and the senses.
Some kinesthetic learning ideas include:
Clipping clothes pins marked with letters onto the edge of paper and then writing the letters. Here are more clothes pin activities.
Building geometric shapes with toothpicks and marshmallows.
Tracing letters or numbers in a sand tray. Here’s what you need to know about writing trays.
Assembling puzzles that correlate with lesson themes.
Conducting a scavenger hunt to find objects related to the lesson.
Using a ball to pass around for answering questions or storytelling.
Walking along a tape line to improve balance while discussing a topic.
Playing charades to act out vocabulary words or historical figures.
Matching socks to teach pairs, colors, or patterns.
Using body movements to represent mathematical operations (e.g., jumping for addition).
Organizing classroom objects by size, color, or type.
More ideas for kinesthetic learning include:
Physical Manipulatives: Using physical objects to teach concepts can be particularly effective in subjects like math and science. For example, using block activities are so much fun for some kids and it’s great to teach mathematical operations.
Interactive Notebooks: My daughter has an ELA notebook full of cut outs and interactive activities. They cut out worksheets and glue the pieces into a regular lined notebook. The act of cutting, pasting, drawing, and writing helps all of the vocab and spelling words to “stick”. It’s funny because she can flip through the notebook and find a random vocabulary word because she remembers the cut outs that she did and where they are pasted into the book. It’s fascinating to watch!
Movement-Based Games: We LOVE board games! There are so many board games that can be used to learn concepts and they are so much fun for learning through play. Games that require movement can be used to teach various concepts.
Building and Construction: Tasks that involve building or constructing models can enhance understanding, especially in subjects like engineering, physics, and geometry.
Outdoor Learning: See below for more info. The thing about taking the learning outside the classroom is that kids gain so many vestibular and proprioceptive input through learning . This could include nature walks, geological expeditions, or physical education activities.
Dance and Music: Incorporating dance and music to explain concepts, especially in younger classrooms, can be an effective kinesthetic learning strategy. For example, creating a dance routine to explain the water cycle.
I recently shared a post on tactile learning with a sight word sensory tray. I talked a little bit about kinesthetic learning and how some kids just seek tactile input in their learning.
Kinesthetic Learning Activities for Outside
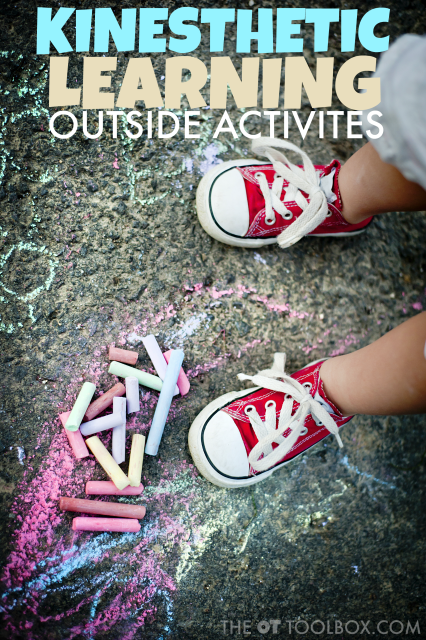
Taking the learning outside can make a big difference. As the weather warms up, it can be hard to keep the attention in the classroom. The birds are chirping, trees are blossoming, and the muddy lawns are calling! So, when kids want to be nothing more than outside playing, how do you keep them focused and learning?
Try taking the learning outside! These kinesthetic learning activities are perfect for the outside play this time of year and all year long. Add some movement and outdoor play and facts are sure to stick when kids are out of the classroom and outdoors! Try taking the learning outside to really get some space and movement into the learning experiences. You could try these activities when practicing math facts, spelling words, vocabulary, memorization, or many other areas.
Outdoor Learning Activities that Use Kinesthetic Movement
There are several kinesthetic activities that allow for learning while outdoors.
Balance Beam Adventure- Use a jump rope or a board to create a balance beam maze on a driveway or sidewalk. With sidewalk chalk, draw fish in a pond. Kids can walk on the balance beam without falling into the “water”. When they are on the balance beam, ask kids to hop while stating facts or other learning tasks. Try a bean bag toss game when on the balance beam. Kids can toss a bean bag into a target while spelling words. Here are more outdoor balance beam activities.
No Peeking Simon Says- Play Simon Says outside in the backyard. This version requires kids to keep their eyes closed when they perform the actions. As they play, ask them questions. You might ask them to touch their nose for “true” facts or to touch their shoulders for “false” facts. Get creative with movement and learning with this one! Simon Says commands can incorporate movement and learning for practically any subject.
Backyard maze- Create a maze in the backyard by placing obstacles around the lawn. Kids can look at the simple maze and then walk with their eyes closed as another person “guides” them with verbal directions around the obstacles. Set up stations around the obstacle course where they need to answer questions. This can be as simple as a printed out sheet of questions. They just may recall the answers later by thinking about where they were in the obstacle course when they learned about those facts!
Backyard Yoga- Try yoga in the outdoors with kid-friendly yoga games like found in this book (Amazon affiliate link) Try having your child close their eyes during yoga moves to incorporate position of body in space. Add deep breath spelling or math facts while breathing in and out for several counts.
Hopscotch Math- Practice math facts like addition or multiplication with a hopscotch game on the driveway.
Sidewalk Chalk Learning- Kids can use sidewalk chalk in so many ways! Write out spelling words. Do math homework on the driveway. Write out vocabulary words. Use patio pads or bricks to work on perimeter, area, or geometry. What would you add?
Take a Walk- Go on a stroll while reviewing information. What a great way to learn in nature!
How can you add learning and movement to the backyard to better serve your kinesthetic learners?
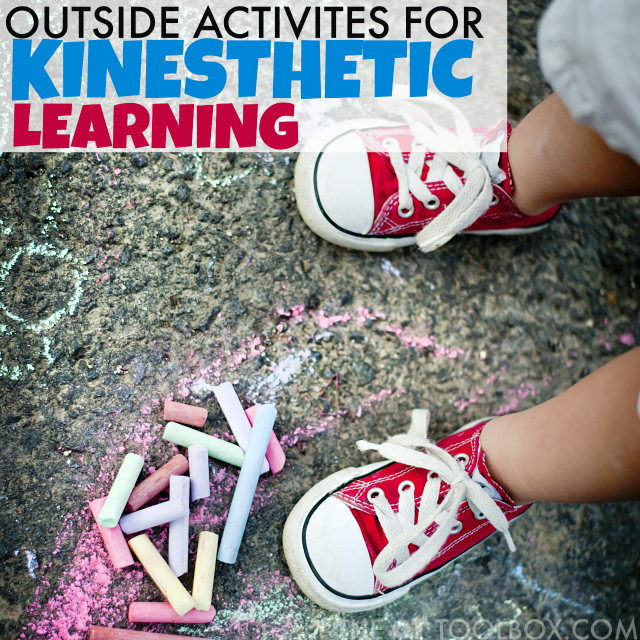
How to incorporate sensory and motor play into playing outside
Sensory diet activities can be specific to sensory system like these vestibular sensory diet activities. Sensory activities can be prescribed according to need along with environment in order to maximize sensory input within a child’s day such as within the school day. Using authentic sensory input within the child’s environment plays into the whole child that we must understand when focusing on any goal toward improved functional independence.
Many sensory diet activities can naturally be found outdoors. In fact, outdoor sensory diet activities are a fun way to encourage sensory input in a child’s environment and without fancy therapy equipment or tools.
It’s a fact that kids are spending less time playing outdoors. From after-school schedules to two working parents, to unsafe conditions, to increased digital screen time, to less outdoor recess time…kids just get less natural play in the outdoors. Some therapists have connected the dots between less outdoor play and increased sensory struggles and attention difficulties in learning.
Knowing this, it can be powerful to have a list of outdoor sensory diet activities that can be recommended as therapy home programing and family activities that meet underlying needs.
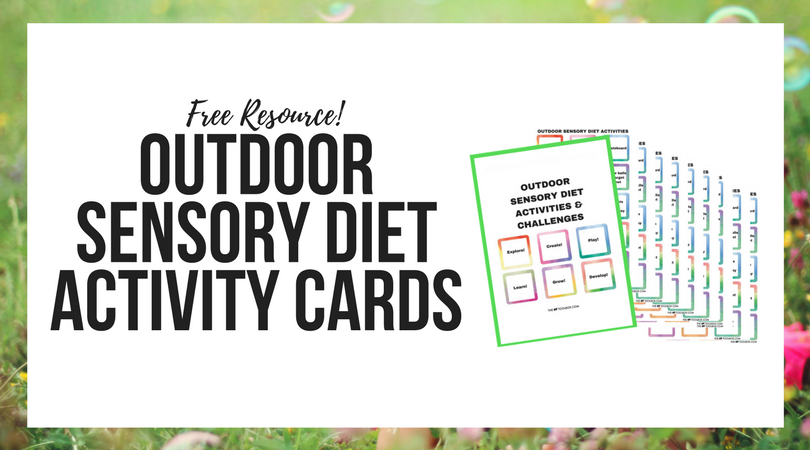
That’s where the Outdoor Sensory Diet Cards and Sensory Challenge Cards come into play.
They are a printable resource that encourages sensory diet strategies in the outdoors. In the printable packet, there are 90 outdoor sensory diet activities, 60 outdoor recess sensory diet activities, 30 blank sensory diet cards, and 6 sensory challenge cards. They can be used based on preference and interest of the child, encouraging motivation and carryover, all while providing much-needed sensory input.
30 blank sensory diet cards, and 6 sensory challenge cards
They can be used based on preference and interest of the child, encouraging motivation and carryover, all while providing much-needed sensory input.
Research tells us that outdoor play improves attention and provides an ideal environment for a calm and alert state, perfect for integration of sensory input.
Outdoor play provides input from all the senses, allows for movement in all planes, and provides a variety of strengthening components including eccentric, concentric, and isometric muscle contractions.
Great tool for parents, teachers, AND therapists!
Be sure to grab the Outdoor Sensory Diet Cards and use them with a child (or adult) with sensory processing needs!
Colleen Beck, OTR/L has been an occupational therapist since 2000, working in school-based, hand therapy, outpatient peds, EI, and SNF. Colleen created The OT Toolbox to inspire therapists, teachers, and parents with easy and fun tools to help children thrive. Read her story about going from an OT making $3/hour (after paying for kids’ childcare) to a full-time OT resource creator for millions of readers. Want to collaborate? Send an email to contact@theottoolbox.com.
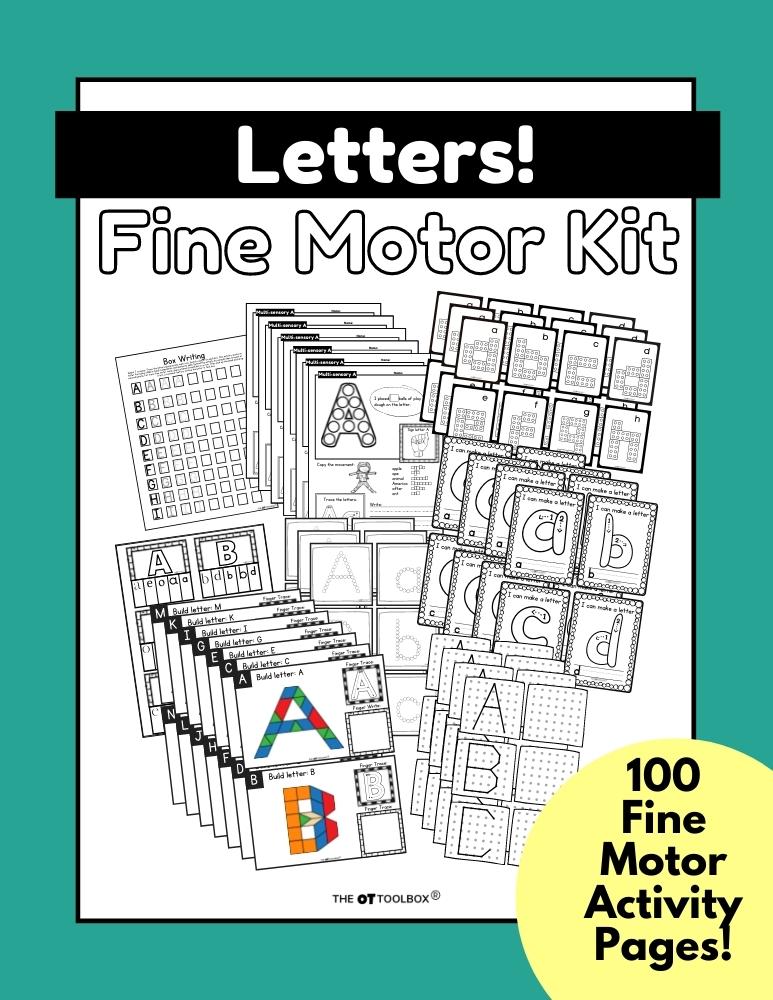
We also love the learning opportunities in our Fine Motor Kits!
Working on fine motor skills, visual perception, visual motor skills, sensory tolerance, handwriting, or scissor skills? Our Fine Motor Kits cover all of these areas and more.
Check out the seasonal Fine Motor Kits that kids love:
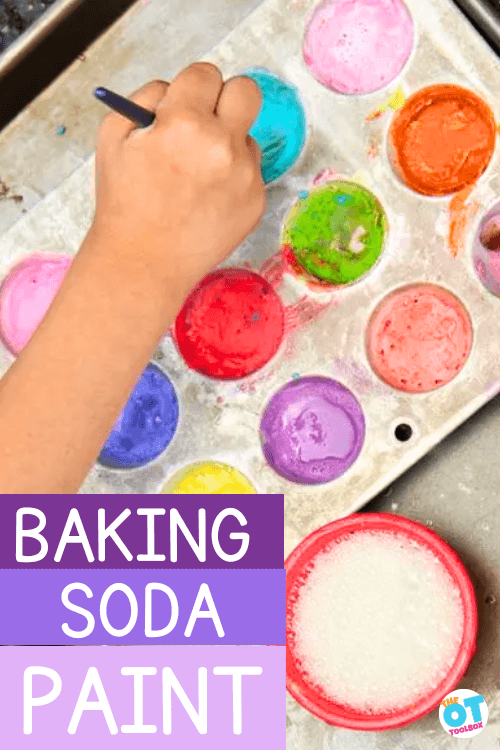
Many years ago (July 28, 2015 to be exact…this post has been updated!) we made this set of baking soda paints. It was a fun outdoor, creative painting activity and we painted on the driveway. I wanted to come back to this sensory painting idea again, because it’s such a fun way to be creative with kids. Plus, kids can mix up paints of their own and work on scooping and pouring with the ingredients and support those fine motor skills. I think it’s a fun idea you’ll want to check out!
Baking Soda Paint
The amazement of watching a child’s face light up when science and discovery happens is like watching a light turn on.
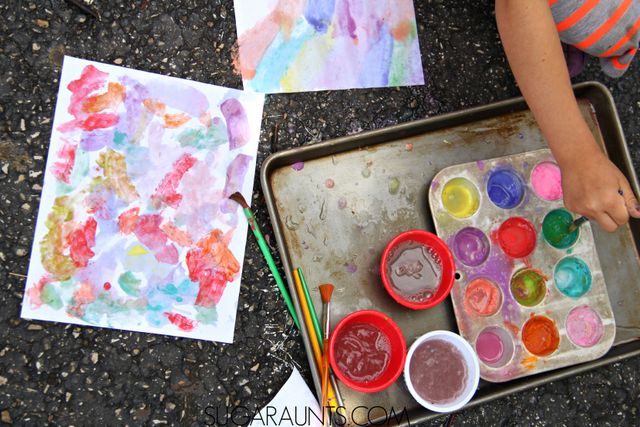
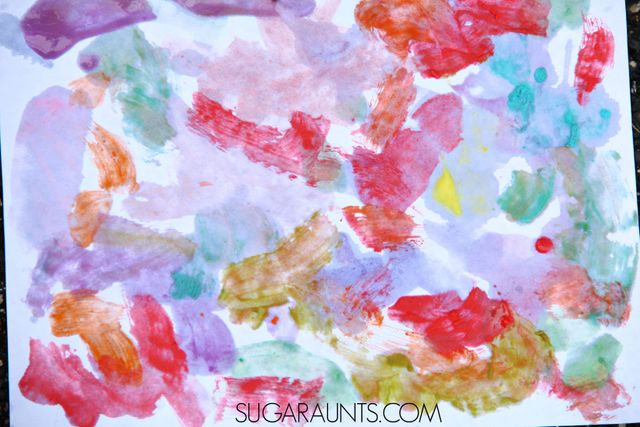
This baking soda and vinegar paint experiment is a creative painting and sensory way to explore science through painting. My kids had so much fun exploring the chemical reaction of baking soda and vinegar with our bright and bold homemade paints. We ended up with vivid paintings and had a great time creating.
Be sure to read our article on why kids need messy play…this activity sure does support those needs!
And, this activity is a great one for adding to a messy playdate with friends. As an OT, I LOVE using this activity for so many goal areas!
STEAM Activity
One fun benefit of this activity is that it’s a STEAM activity. we’ve covered the benefits of fine motor STEM activities, but the creative painting aspect of using the baking soda paints adds an art component to the science, technology, engineering, art, and math.
You might want to check out our baking soda snowmen sensory activity for another fun science activity.
Baking Soda and Vinegar Paints
This post contains affiliate links. This post is part of our Learning with Free Materials series where we are sharing learning ideas for homeschoolers and school-extension activities using items that are free or mostly free (i.e. CHEAP or you already have in the home), and is part of the 31 Days of Homeschooling Tips as we blog along with other bloggers with learning at home tips and tools.
You’ll need just three ingredients to make these paints:
Washable Poster Paint (This is my favorite brand of paint!)
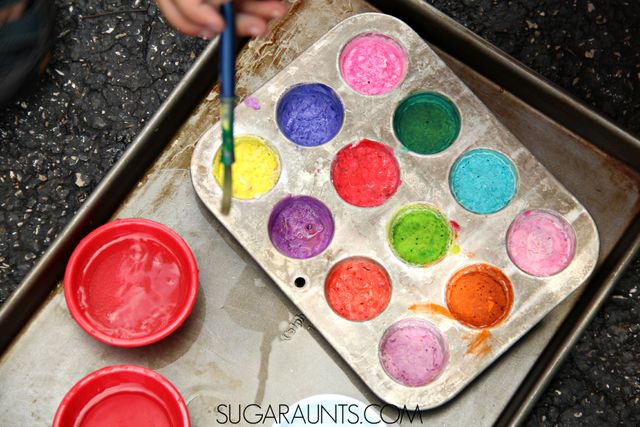
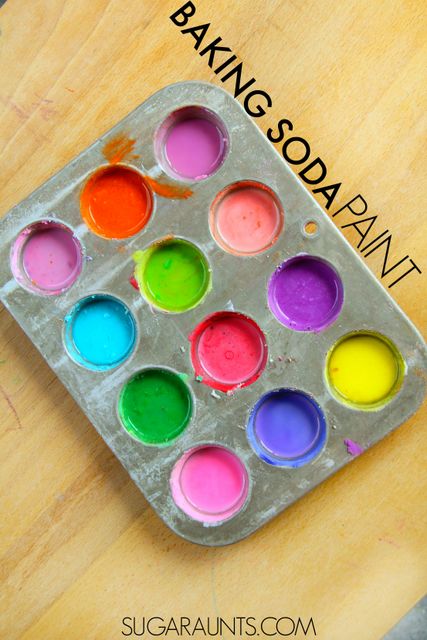
A Mini Muffin Tin (any containers will work, but you’ll want all of the paints near each other and enough compartments so that you can see the different shades made by slightly adjusting the amount of paint you add.
Paper
Popsicle sticks for mixing the paint and baking soda
Water
Paint Brushes
How To make Baking Soda Paint
Ok, now that you’ve got your materials gathered, actually making the baking soda paint is really easy! This process is fun for kids to be involved with as well.
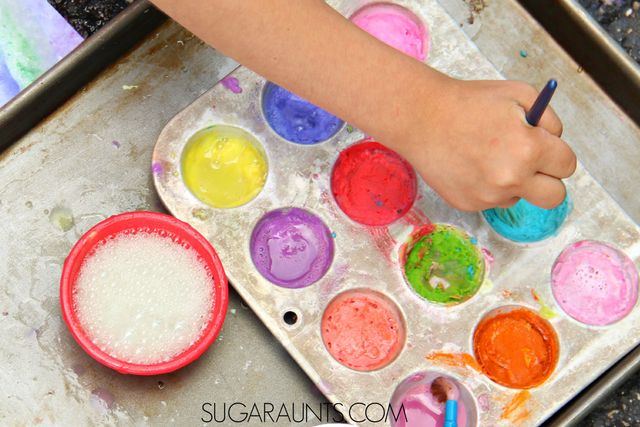
First, mix together baking soda and water to create a thick paste. You want it to be stir-able and moist. Use the popsicle sticks to mix it together.
Scoop the paste into the sections of the muffin tin with a spoon.
Add drops, globs, and dabs of different colored poster paint. Adjust the amounts in the different sections so that you get a nice variety of shades.
Stir the paint into the paste.
Next, pour off any excess water from the tops of the paste. You want a nice, thick paste to remain.
Then you are ready to paint! You can either start painting right away, OR you can let the paints harden. Allow the muffin tin paints to sit overnight. This will create a hard, tub of dried paint, almost like dry watercolors.
Baking soda and paint makes a great colorful painting mixture. We added a bit of vinegar to get a lovely fizz and pop to our paints!
This is such a fun way to explore the vinegar reaction with the baking soda paint.
Baking Soda Painting
When you are ready to paint, you’ll need to prepare the vinegar.
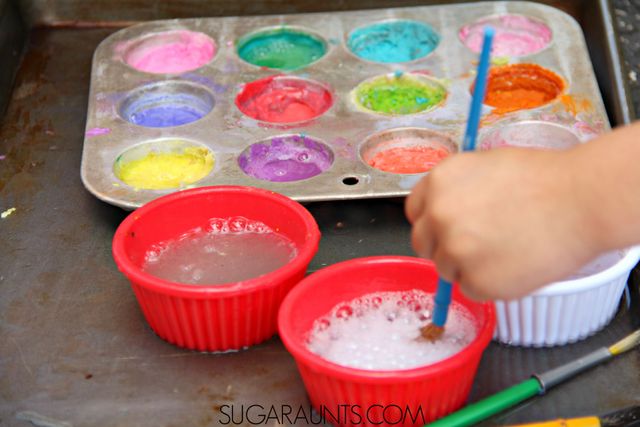
Pour a small amount of vinegar into cups. Use paint brushes to dab vinegar into the dried paints. Watch the science reaction happen as you paint!
Adding more vinegar to the tubs of paint will give you a brighter hue as you paint. You can get even more vivid colors by swiping chunks of moistened baking soda across the page. And, what a textured piece of art this will be!
What is especially neat about these paints are that if you work quickly enough, you can see the bubbly reaction right on your art work. Simply swipe the paint brush into the vinegar and then into the baking soda paints. Quickly paint and your bubbles will dry onto the paper.
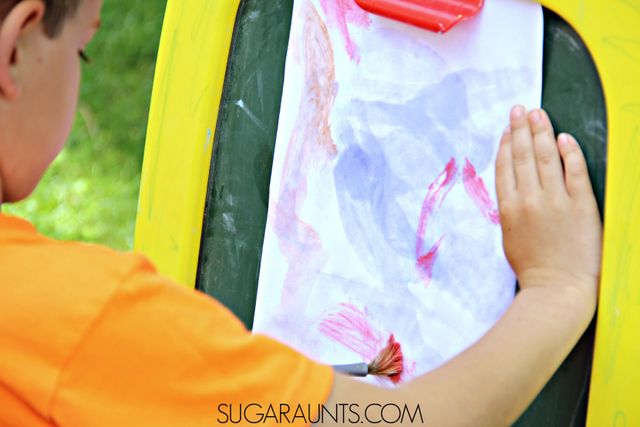
We taped a piece of paper onto an easel and painted on the vertical surface. This is a great activity for developing wrist stability and core strength.
How gorgeous is this work of art? The baking soda paint made vivid colors!
Use a mini muffin tin to make a whole set of baking soda paints. The colors are so vivid!
Looking for more baking soda experiments? These are a few of our favorites:
Colleen Beck, OTR/L has been an occupational therapist since 2000, working in school-based, hand therapy, outpatient peds, EI, and SNF. Colleen created The OT Toolbox to inspire therapists, teachers, and parents with easy and fun tools to help children thrive. Read her story about going from an OT making $3/hour (after paying for kids’ childcare) to a full-time OT resource creator for millions of readers. Want to collaborate? Send an email to contact@theottoolbox.com.
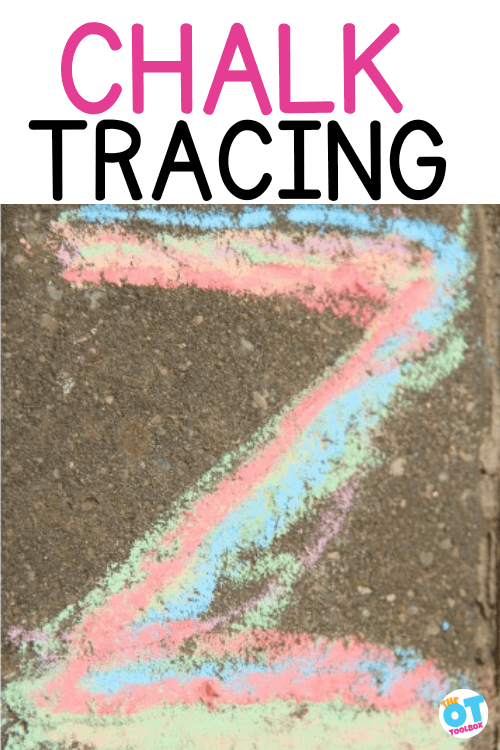
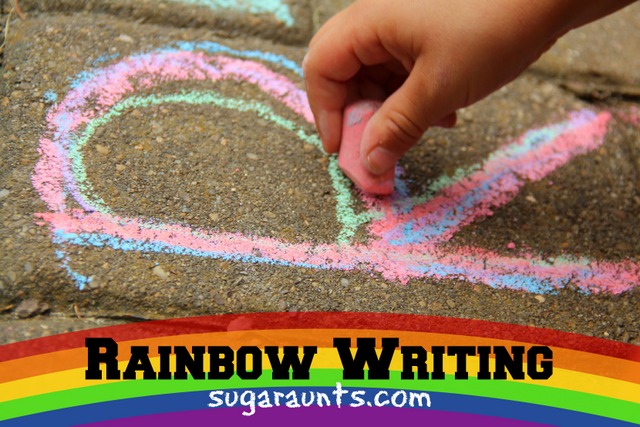
Have you heard of rainbow writing? How about chalk rainbow writing? There are many fine motor and visual motor skills that are used when using rainbow writing as a handwriting practice strategy! Let’s break down what rainbow writing is and how this chalk writing activity is a skill-builder for letter formation. Also check out our handwriting library for more ideas.
Tracing letters with chalk is a handwriting practice strategy that helps to build muscle memory when learning letter formations. You can rainbow write on paper or with different utensils such as crayons, colored pencils, markers, or chalk!
Tracing Letters with Chalk
Tracing letters with chalk is a colorful way to practice letter formation. The strategy builds skills in visual motor and hand eye coordination in order to trace over the lines of a letter.
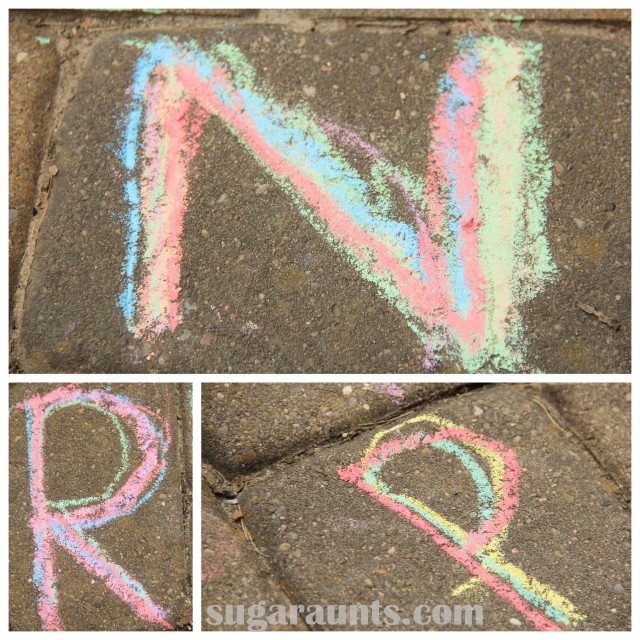
When you use chalk tracing to practice a letter or a word, the child traces over the letter with each color of the rainbow.
They will end up with 6 or 7 trials in writing over the letter.
Some things to consider with tracing with chalk
Tracing over letters with chalk, crayons, or colored pencils is a powerful strategy when practicing letter formation and the line awareness needed for letter size and line placement.
Read through this resource on tracing sheets to see the pros and cons of tracing with kids.
Some things you’ll want to consider about chalk tracing writing activities:
Be sure to watch how the student starts the letters. It can be easy to start a poor muscle memory for writing the letters if they start at the wrong starting point or form the letters incorrectly. This creates an incorrect motor plan in the handwriting process.
Make sure the letters don’t progressively get worse as the student traces over the letters when rainbow writing.
Some kids tend to make the rainbow letters with colors next to each other like a rainbow rather than tracing on top of each color. Ask the student to make a mixed up rainbow by tracing right on top of each color.
Rainbow Writing with chalk
We did rainbow writing with chalk one day. This was a great way to work on letter formation while outside because there was the added benefit of playing on the ground.
Using chalk to practice letters supports development by adding proprioceptive input through the core, strengthens the shoulder girdle for adding more stability for writing, as well as adding strength and stability to the wrist. It’s also a great way to focus on wrist range of motion exercises in a fun way.
We have a big ol’ bucket of chalk that we play with almost everyday. Our sidewalk and driveway have been know to be very colorful at times! We took the chalk to our sidewalk squares one day this week and practiced a little letter formation.
Our sidewalk squares were the perfect area to practice forming letters accurately. I used simple verbal cues to describe the formation of each letter (big line down, little curve around, little line) and we started in the corner of each square as we made the letters.
I made the letter first and Big Sister and Little Guy watched. Then we went to work making our letters very colorful!
Tracing the letters over and over again was a great way to practice accurate formation. Big Sister got into this activity. Little Guy only wanted to make a few letters that are in his name.
When the child is tracing the letters over and over again, they become more efficient at planning out and executing the movements needed to make a letter accurately. This activity is great for a new writer because they are given a confined space to practice a letter, and visual cues (and verbal prompts from mom).
Use the activities and ideas in The Handwriting Book for more ways to work on writing skills.
The Handwriting Book is a comprehensive resource created by experienced pediatric OTs and PTs.
The Handwriting Book covers everything you need to know about handwriting, guided by development and focused on function. This digital resource is is the ultimate resource for tips, strategies, suggestions, and information to support handwriting development in kids.
The Handwriting Book breaks down the functional skill of handwriting into developmental areas. These include developmental progression of pre-writing strokes, fine motor skills, gross motor development, sensory considerations, and visual perceptual skills. Each section includes strategies and tips to improve these underlying areas.
Strategies to address letter and number formation and reversals
Ideas for combining handwriting and play
Activities to practice handwriting skills at home
Tips and strategies for the reluctant writer
Tips to improve pencil grip
Tips for sizing, spacing, and alignment with overall improved legibility
Colleen Beck, OTR/L has been an occupational therapist since 2000, working in school-based, hand therapy, outpatient peds, EI, and SNF. Colleen created The OT Toolbox to inspire therapists, teachers, and parents with easy and fun tools to help children thrive. Read her story about going from an OT making $3/hour (after paying for kids’ childcare) to a full-time OT resource creator for millions of readers. Want to collaborate? Send an email to contact@theottoolbox.com.
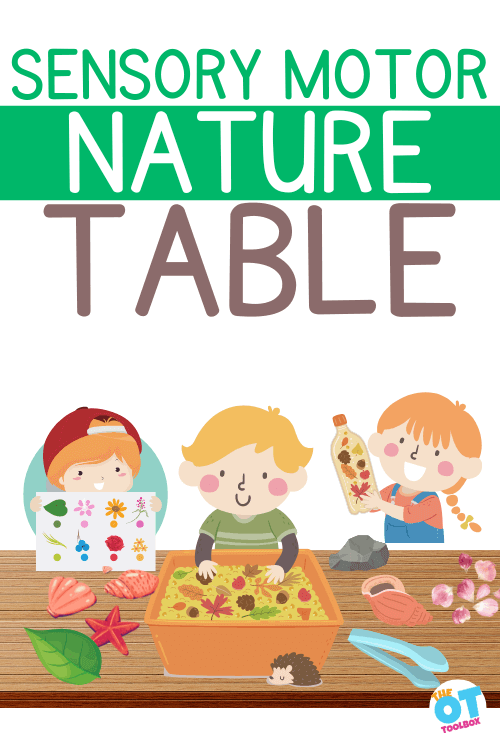
Young children love to explore nature, but have you ever really explored and learned through play with a nature table? We all love to learn about the world around us, and a nature table is one way to foster that appreciation! Today, we’re taking the concept of a nature table a bit further and dissecting the skill development that you can also foster with a nature space: fine motor skills, object manipulation, tool use, self-regulation, executive functioning skills, empathy, and more!
The idea of a nature table is to provide children with a physical connection to the natural world around them and it provides a curated space that represents the local surroundings and seasons. It essentially represents the diversity of life that exists in the local environment and gives hands-on interaction to the natural landscape.
A nature table can be an indoor activity or an outdoor activity.
Essentially, a nature table is a play space that allows children (and adults, any age can explore a nature space, really) to explore nature using primarily their senses of sight, touch.
A nature table can be as simple as a picnic table loaded with pinecones, acorns, leaves, twigs, and pebbles!
Other spaces can include a large bin and small creatures like potato bugs, caterpillars, or toads and a makeshift environment with leaves and grass (followed by release of the creatures back into the wild.
Or, a nature space can be brought indoors to explore and learn through play.
Through this nature examination, children can foster a love for their environment, as well as various skills:
Appreciation for nature: The table can help a child explore what is naturally in their surroundings and it can give them the opportunity to learn respect and admiration for what is found in their local environment.
Sensory Exploration: They utilize all their senses while engaging with the elements on the table making it a true sensory experience ideal for the therapeutic setting. Nature items bring easy engagement while providing a natural sensory experience while targeting considerations such as tactile discrimination or other aspects of sensory touch.
Fine Motor Skill Work: Exploring items from nature is a natural and motivating way to foster fine motor dexterity needed to hold and explore items from nature. Think about the poking, prodding, and manipulation skills needed to manipulate nature objects and materials.
If you add in tools such as tweezers, a magnifying glass, microscopes, scissors, or other items, the motor skills compound.
Social Emotional Skills: This might not be an obvious benefit of playing at a sensory nature space, but if you think about the social and emotional connections, they are huge benefits of nature play! Playing with and exploring nature has calming and self-regulating aspects and this can be monumental when it comes to interacting with others.
Additionally, exploring nature offers opportunity to interact in objects from the world around us, giving a chance to develop empathy and consideration for our environment.
Despite the obvious fun that a nature table brings while exploring the elements, it is a wonderful way for children to begin finding a greater connection to the world they live in and to the environment that surrounds them.
How Do You Create a Nature Table?
As an occupational therapy practitioner, think about a nature similarly to a sensory bin. How many different elements can you add without being overwhelming to the child. If you do not have a free table- top, its ok, just use a tray, a box, a plastic bin, or even a blanket or rubber mats on the floor!
You could even add a dandelion activity or other weeds to a nature sensory table or nature bin.
Basically, a nature table offers a space to learn and explore nature. It is really that easy!
Find items to put on a Nature Table
Want to take a fieldtrip into nature? Summer is the perfect time to take a nature walk and visit some trails in your area! Do not have a trail nearby? That’s ok try finding a park instead. Just simply get outdoors and start a seek and find activity with kiddos. Go outside and find all the different objects in nature that could help build a nature table for hands-on exploration.
You can even grab a nature scavenger hunt (inside the Member’s Club for Level 2 members) to help guide you in your hunt.
But keep in mind that ANY change in seasons is always a great time to refresh a nature table with new explorative elements.
Nature Table Tips
Nature tables can come in many different forms, but the primary thing to keep in mind is not to overcrowd the table as this creates visual clutter making it visually overwhelming for some children.
Place items with good separation and variation.
As you feel the need to add items once first presenting the table, replace old items with new ones which will keep the table remaining fresh and open for an inviting appeal to children. It is an invitation to play so to speak.
What Items Do You Include on a Nature Table?
What exactly can you put on a nature table for exploration? If you are like many people building a table with a theme is always fun, but you do not have to do that just go outside and grab what you see to add to the table.
Here are some fun ideas:
Rocks
Feathers
Acorns
Tree bark
Dirt
Empty birds’ nests
Seeds
Pinecones
Pine needles
Leaves
Moss
Branches or twigs
Snail shells
Grass
Hay
Cattails
Flowers
Flower petals
Shells
Sand
Clay
Plants
Seeds
Water
Mud
Snow
Icicles
Gourds
Pumpkins
Herbs
Chestnuts
Fruit/veggies (be aware of any poisonous fillings that a fruit or veggie might have)
Live insects in bug catchers or vented jars
Nature tables are a great way to not only explore things with use of the senses, but toss in a few fine motor tools and you’ve provided a fun way to build important hand skills too!
Nature Table Supplies
The previous was a brief list of natural items you can present on a nature table, but let’s take a look at basic supplies and filler items that you can add with your OT eye that really looks at tools of the trade for our profession:
Twist ties and baggies and plastic baggies for storage
Play dough or clay for creating fun impressions or building of animals, etc.
Spoons, scoopers, spatulas for creative use
How Do You Extend the Use of the Nature Table?
Once items begin to age or it becomes time to change out the table with new elements, consider allowing children to be creative and use some of the items to make fun creations that they can take home or even display in the classroom or therapy clinic. Look at some of these fun and creative ideas:
These provide kiddos not only a tangible creative product that can be gratifying for them to complete and call their own, but the creations provide for even further skill development such as hand skills, tool use, visual skills, and problem-solving.
Following play at the nature table or prior to engagement at the nature table or even both, consider having kiddos walk the fun forest sensory path that provides the opportunity for them to perform gross motor, deep breathing, and crossing midline activities with a fall nature-type theme.
A Final Note About Creating a Nature Table
As a special note or warning, please consider items that may be unsafe for any child to handle or to play with during table exploration. Keep in mind that some items may have pieces that could break off making them unsafe for little ones or even pets. Some items do look like edible food, but they can be dangerous if consumed, please consider this when creating a nature table for kiddos who put things in their mouths. Also, keep an eye out for rotting items like gourds, pumpkins, berries, and more. Always have children wash their hands following engagement at the table and it is always best to provide adult supervision while children are interacting with the items on the table to be very aware of what each child is doing.
Regina Parsons-Allen is a school-based certified occupational therapy assistant. She has a pediatrics practice area of emphasis from the NBCOT. She graduated from the OTA program at Caldwell Community College and Technical Institute in Hudson, North Carolina with an A.A.S degree in occupational therapy assistant. She has been practicing occupational therapy in the same school district for 20 years. She loves her children, husband, OT, working with children and teaching Sunday school. She is passionate about engaging, empowering, and enabling children to reach their maximum potential in ALL of their occupations as well assuring them that God loves them!
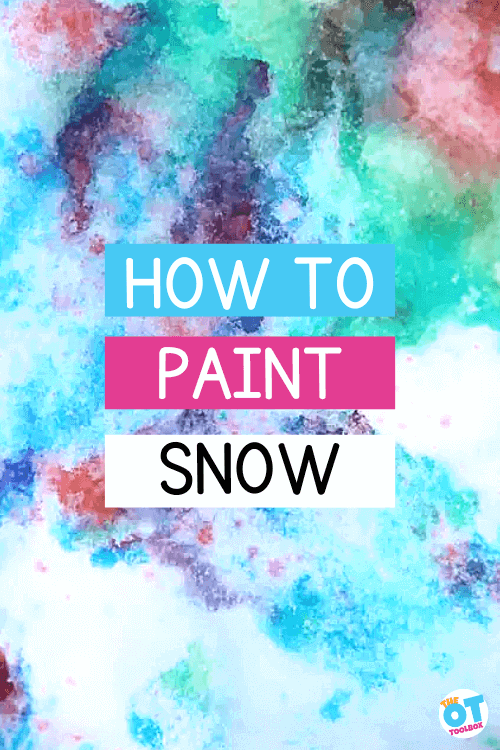
Wondering how to paint snow? We’ve got you covered with this fine motor hand strengthening activity. Painting snow is a great winter fine motor activity but also one that builds memories. Use it as a toddler snow activity, a preschool art idea or even painting activities for adults! Painted snow is fun this time of year!
How to paint snow
How to Paint Snow
Painting snow using spray bottles is right up the occupational therapy provider’s alley, because using snow as a canvas for creative painting builds essential muscles in the hands. Fine motor skills are a developed by squeezing a spray bottle’s handle to paint the snow.
Let’s cover how to paint snow using a simple squeeze bottle…
You’ll need just a few materials to paint snow:
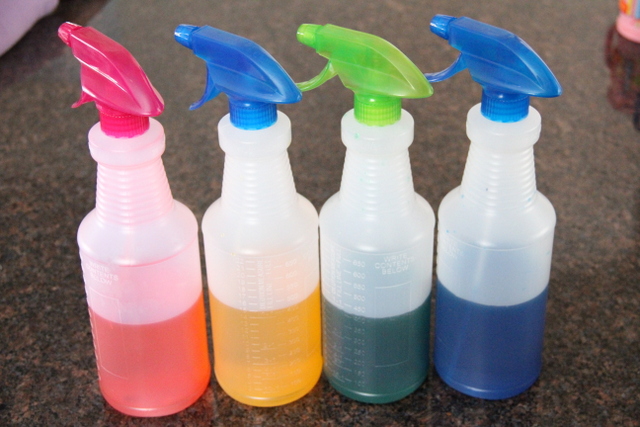
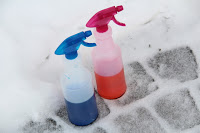
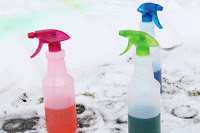
Spray bottles
Water
Food coloring
You could also use diluted paint or watercolor paints.
To make the paint for painting snow:
Fill the spray bottles half way.
Squeeze in a few drops of food coloring.
Put the lid back on the spray bottle.
Shake the bottle to mix the color and the water.
Head outside to some fresh snow.
Start spraying!
The spray bottles came from the dollar store. When I saw the cute colored tops on the bottles, I grabbed up four of them…I can see lots of fun spray play in our future!
Big Sister and Little Guy filled the bottles part way with water and squeezed in some liquid food coloring (also from the dollar store…we seriously use this stuff for SO MANY projects. It lasts forever!!)
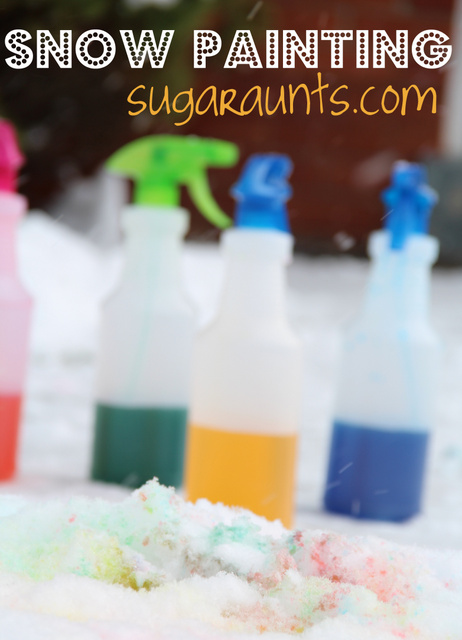
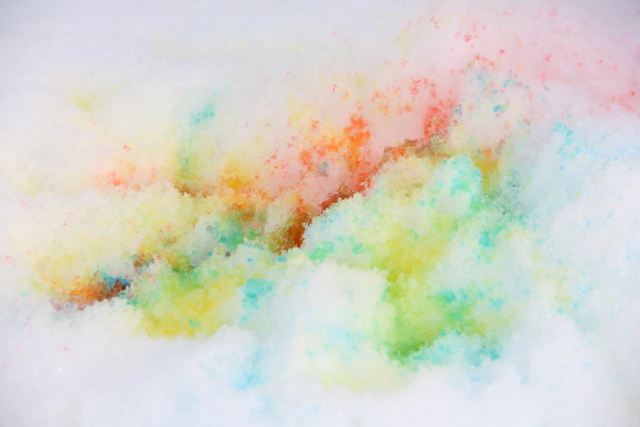
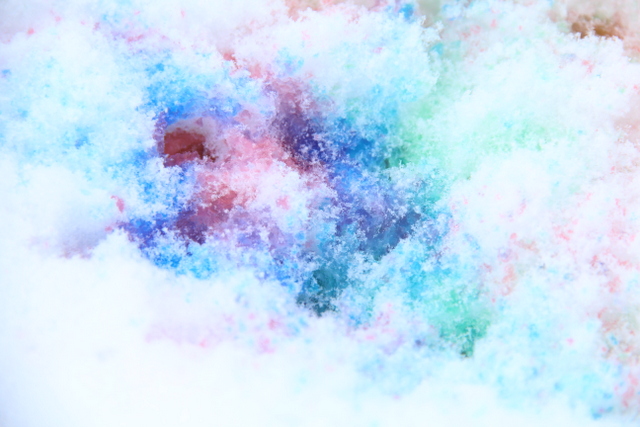
The big kids were SO excited to get started! They went right to work on creating a masterpiece on the front lawn. If you do this activity, be sure to keep the nozzle on a stream of water. When it was turned to a spray, the colors did not show up as well in the snow.
How to paint snow with spray bottles
Benefits of painting snow
We know the benefits of outdoor play, and even in colder temperatures, playing outside has enormous benefits for sensory needs, self-regulation, gross motor skills, and much more.
There is even a winter mindfulness to this activity. Creative expression is very regulating and calming, and that mindful awareness of squeezing the spray bottle, watching the paint as it changes the snow’s colors, and seeing snow patches in different colors is a very present and mindful activity.
Plus, before you can head outside in cold temperatures, you’ll need to dress for the weather. It’s a great time to practice zippers, snaps, and other self-dressing skills. These tips for supporting sensory kids to dress in winter clothing can be a great resource.
That’s where a painted snow activity like this one comes in. Getting kids outside in the winter can be a challenge, but when you pull in a fun activity like painted snow…you have kids that want to stay out until the paint is gone!
Best of all, you can be sure that painting snow with a bottle like this builds other developmental skills, too.
When painting snow with a spray bottle, several things are happening:
Heavy work (proprioception) through the hands and whole body as the child walks through the snow
Tactile challenges with different textures in the snow
Visual processing input seeing a familiar setting in a new light with fresh snow.
Painted Snow Activities
Want to extend the play and develop more skills? Incorporate these painted snow ideas:
Make a snow maze. Paint directions in the snow or add fun details with the snow paint.
Work on letter identification and visual discrimination skills using magnets. We show you how to use magnets in snow play in a previous blog post. With colorful paint, this is a great outdoor activity for kids!
Use the painted snow in a snowball experiment. This is a great winter science activity for kids.
For more early math, use the painted snow to make snow patterns.
If it’s too cold outside, bring the winter painting idea inside! Here’s how to paint snow inside using snow painting with watercolors.
Make a snow kitchen! This is a great activity for young children. Scooping and pouring is a great fine motor workout and you can use that painted snow to make all kinds of fun recipes in a pretend snow restaurant.
Incorporate our winter sensory stations printables. You can laminate the pages and take them outside in the snow for self-regulation fun. Place snow on the printables and spray it off. Then, wipe clean with more snow.
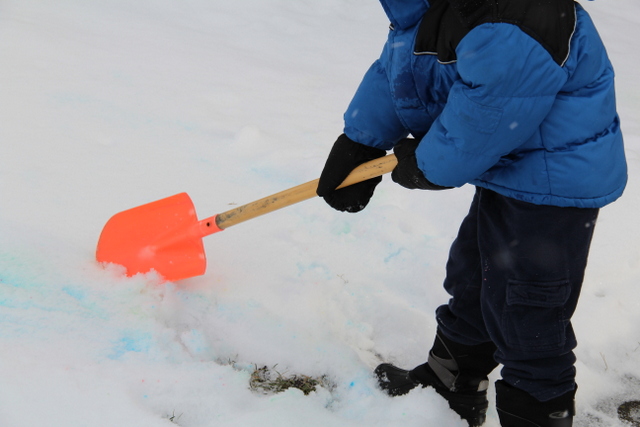
Little Guy wanted to shovel blue snow. ‘Cause that would be awesome!
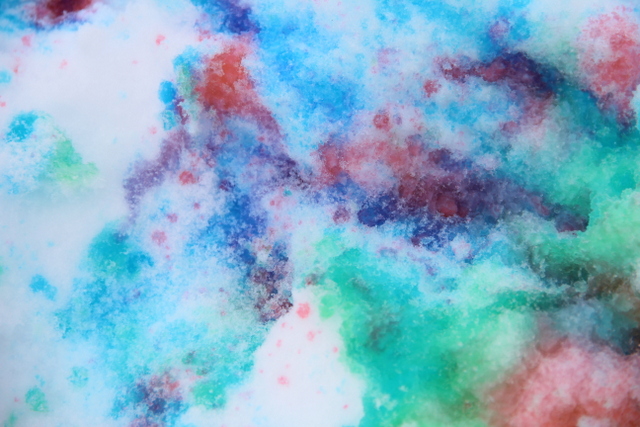
We mixed a little colors…making orange, purple, bluish-green…and mastered Big Sister’s goal of making brown. (This girl loooooves to mix paints to get brown. Every.Time.) haha!
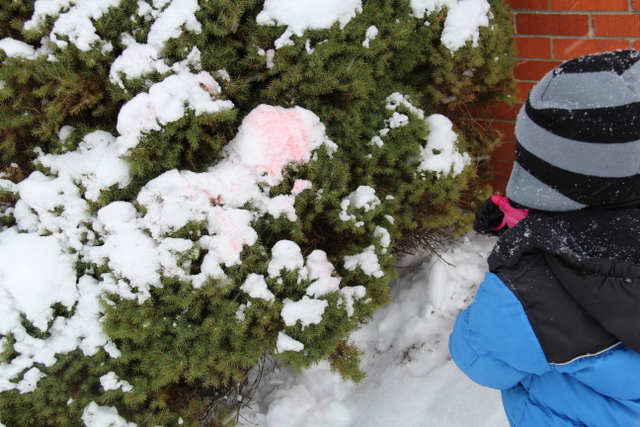
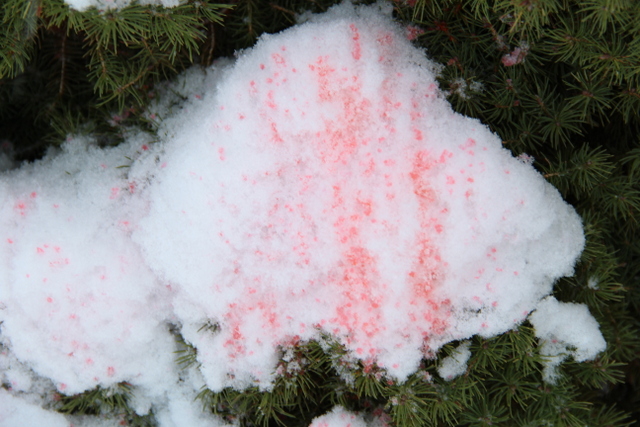
Yes, you may paint the bushes…
This was a great way to spend a Sunday afternoon. If you have snow, go out and do this.
So Much Fun!
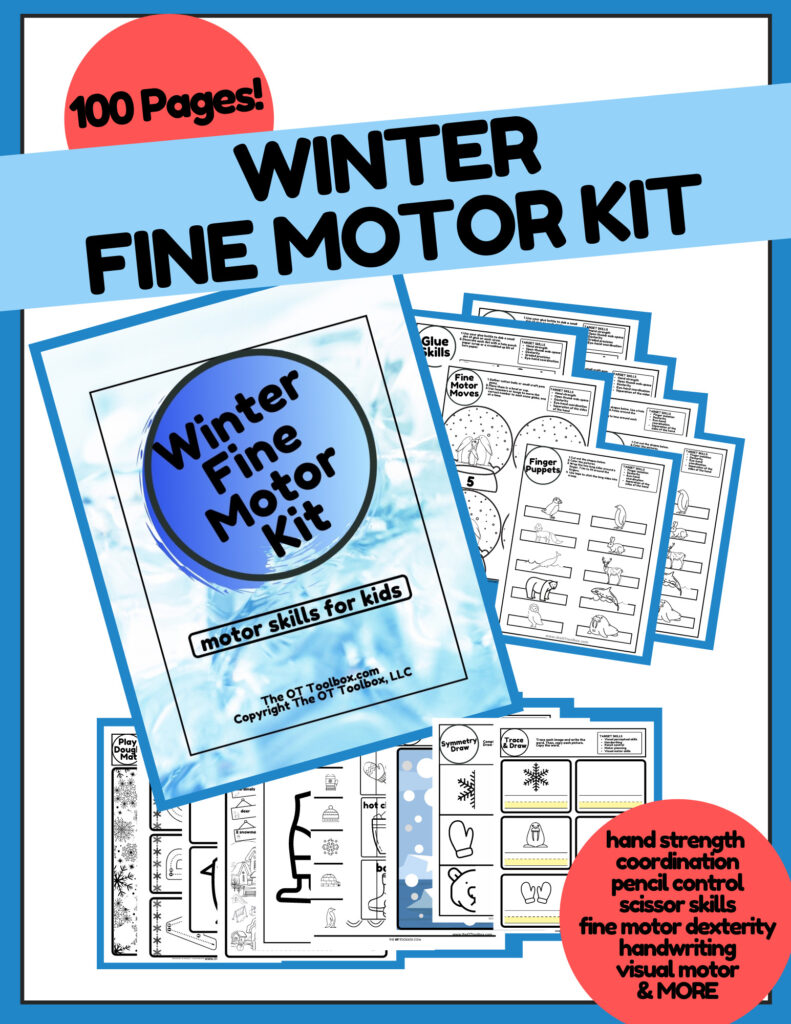
What if you had themed, NO-PREP activities designed to collect data and can help kids build essential fine motor skills?
Take back your time and start the year off with a bang with these done-for-you fine motor plans to help kids form stronger hands with our Winter Fine Motor Kit. This print-and-go winter fine motor kit includes no-prep fine motor activities to help kids develop functional grasp, dexterity, strength, and endurance. Use fun, winter-themed, fine motor activities so you can help children develop strong fine motor skills in a digital world.
The Winter Fine Motor Kit includes reproducible activity pages include: pencil control strips, scissor skills strips, simple and complex cutting shapes, lacing cards, toothpick precision art, crumble hand strengthening crafts, memory cards, coloring activities, and so much more.
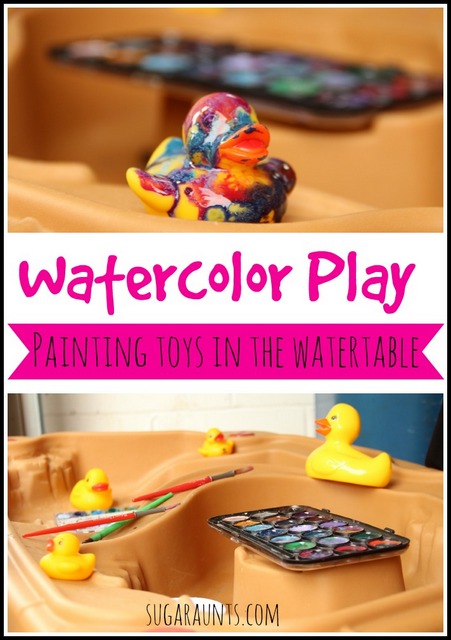
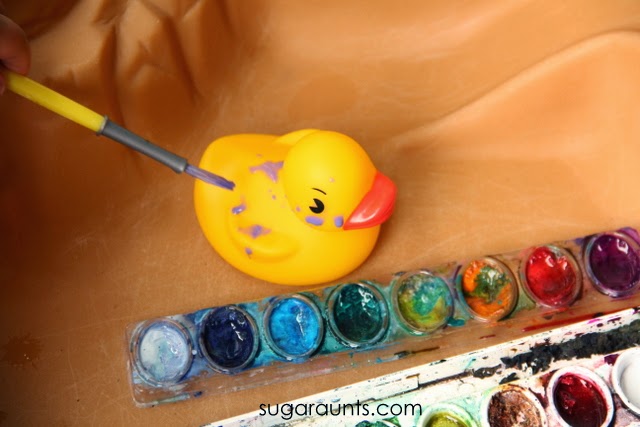
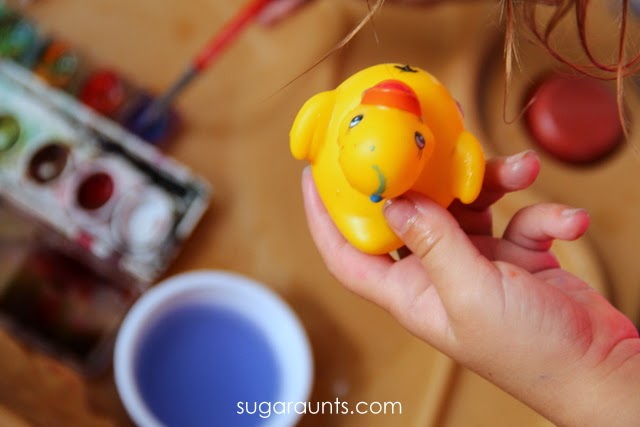
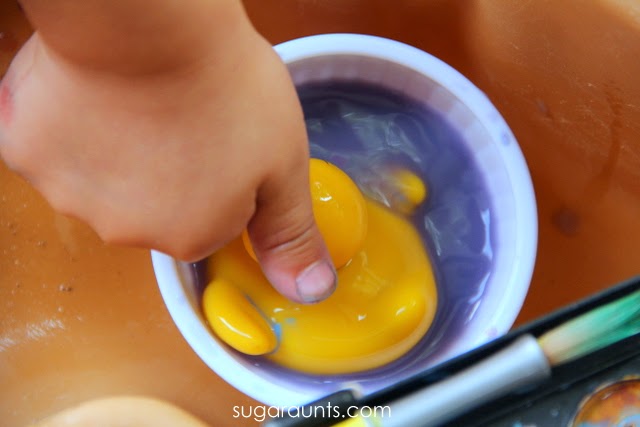
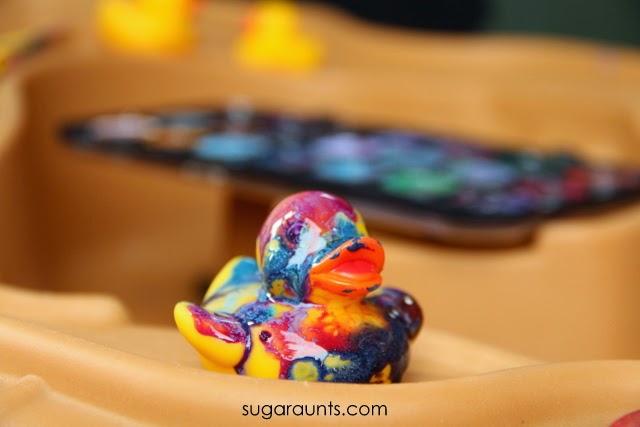
This rubber duck painting activity was a fun creative art idea and sensory play activity using our water table and just water colors. This creative painting activity is a fun one! While using these paint materials won’t permanently paint the rubber duck, it is a great fine motor and sensory play activity for kids! Below you’ll see how to paint a rubber duck while developing skills in kids with a fun summer sensory play activity.
Rubber Duck Painting
This sensory play activity is one we did years ago when my kids were small. While they had fun with the creative painting activity, they didn’t realize that at the same time, they were developing so many skills:
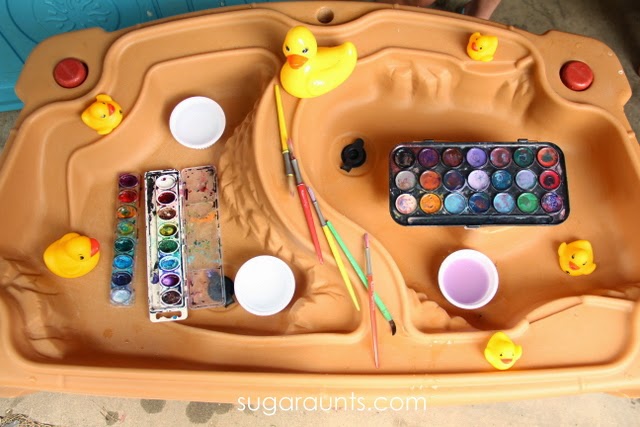
All we used were a few materials for this rubber duck painting activity:
Water table
Water
Paint brushes
Watercolors
Rubber ducks
How to Paint a Rubber Duck
Watercolors are such a fun way to explore color and just have fun! When the kids ask to paint, it’s usually watercolors that they want.
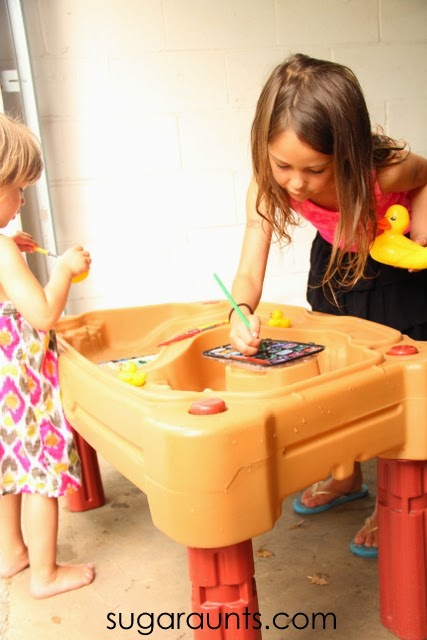
Baby Girl has recently been loving to paint with watercolors. So, when I pulled out the water colors and the water table, there was a little confusion and a lot of intrigue!
We painted rubber ducks in the water table for a fun twist on creating art and exploring colors. The best part was, the easy clean up…right in the water table!
This post contains Amazon affiliate links.
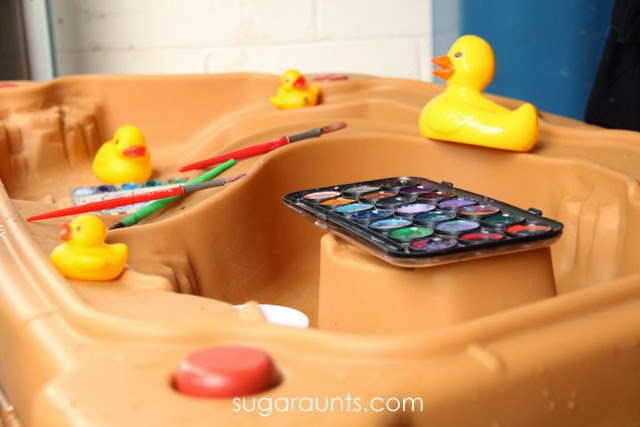
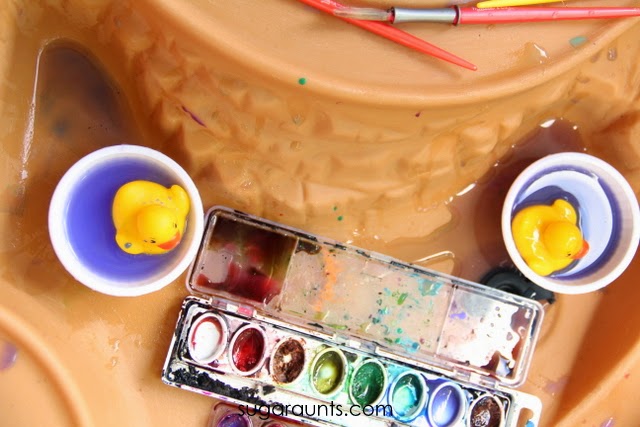
I pulled out a bunch of our rubber ducks (affiliate link) that we have in different sizes and put them in the water table along with watercolors and a few little cups of water.
When the kids saw this, they were very excited….and a little confused. I showed them how to paint the rubber ducks and mix colors on the toys. The fun began!
We started out painting some of the rubber ducks all one color, and then mixing in other colors.
Baby Girl painted her rubber ducks her favorite color-purple.
This was such a fun way to paint and explore colors on a hot summer day. These two were pretty serious about their painting.
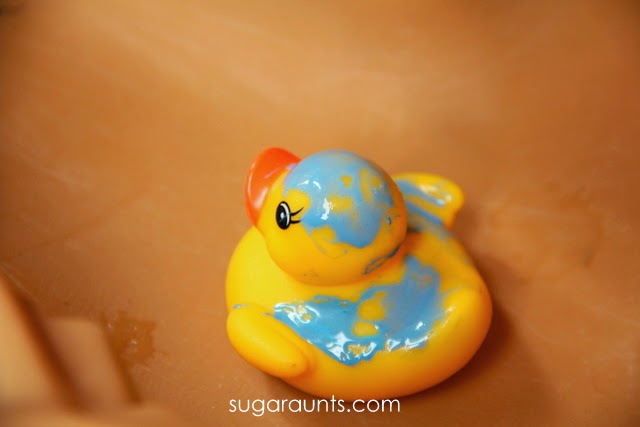
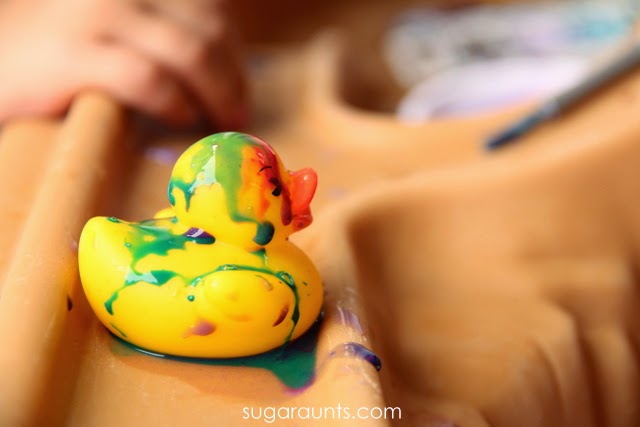
Mixing colors on the toys was so much fun! This rubber duck got a lot of color.
And this one, not so much. We learned that less water and more paint made the colors stay put on the toys.
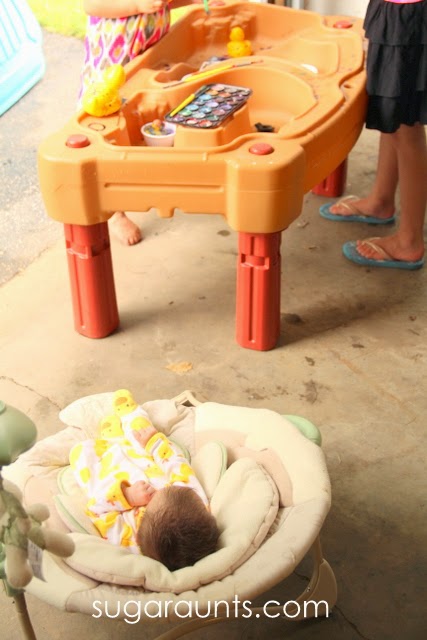
We had a little audience for our painting activity. The big kids got a kick out of her rubber duckie pajamas that matched. SO cute!
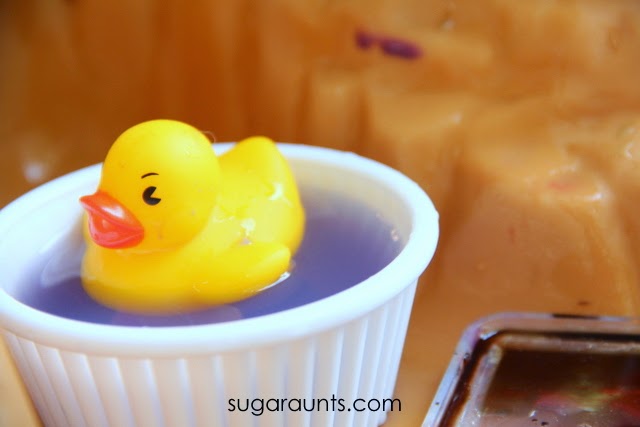
When we were finished with our paining, we gave the ducks a little bath in the containers of water. Perfect for the water table!
We left the paints and the toys out on the water table for a while and came back to painting and rinsing all afternoon.
What other toys can you bring into this painting activity? I’m thinking we’ll bring this watercolor toy painting activity out again with lots of other toys. It was a big hit!
Colleen Beck, OTR/L has been an occupational therapist since 2000, working in school-based, hand therapy, outpatient peds, EI, and SNF. Colleen created The OT Toolbox to inspire therapists, teachers, and parents with easy and fun tools to help children thrive. Read her story about going from an OT making $3/hour (after paying for kids’ childcare) to a full-time OT resource creator for millions of readers. Want to collaborate? Send an email to contact@theottoolbox.com.