Stamp Process Art Learning Worksheets

Using things you have around the home is a great way to play, create, and learn.  We made these learning charts using something that might just get thrown away: a food pouch bottle cap!   Make your own learning worksheets for improving pencil control, counting, letters, ordering, handwriting, fine motor skills,  line awareness, and so many more ideas.


Make homemade DIY worksheets using a recycled food pouch cap for creative process art and math, science, handwriting, spelling words, literacy, hand-eye coordination, pencil control worksheets for kids!

This post contains affiliate links. We are posting this idea as part of our month-long Learning with Free Materials series where we provide 31 days of learning using free or almost free materials in homeschooling or school-based extension learning like homework.  This post is part of the 31 Days of Homeschooling Tips as we blog along with other bloggers with learning at home tips and tools.

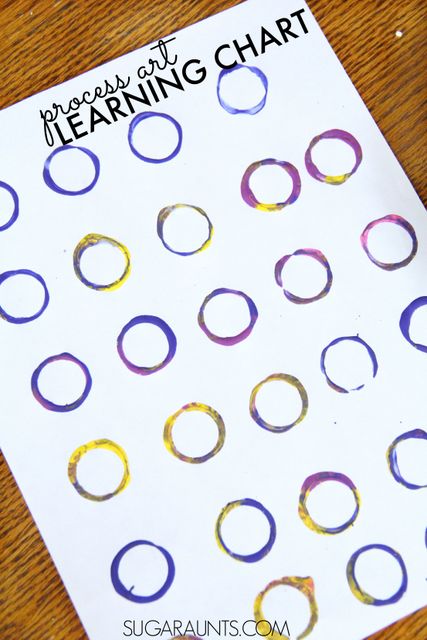
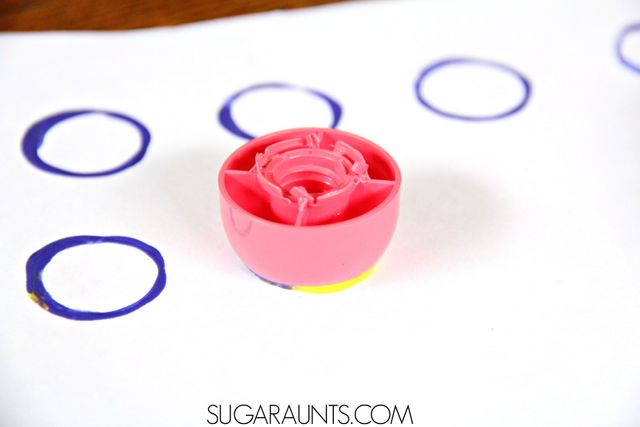
Worksheets don’t need to be boring and printed off of the computer.  Use a cap from squeezable food pouches as a stamper to make a creative and process-art based worksheet for math, literacy, science documenting, handwriting, and so many more ideas.
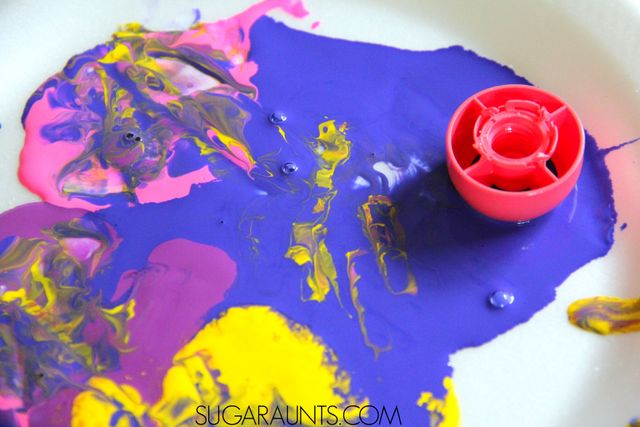
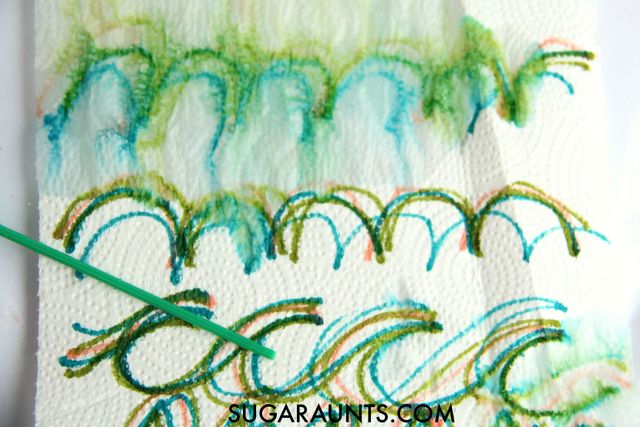
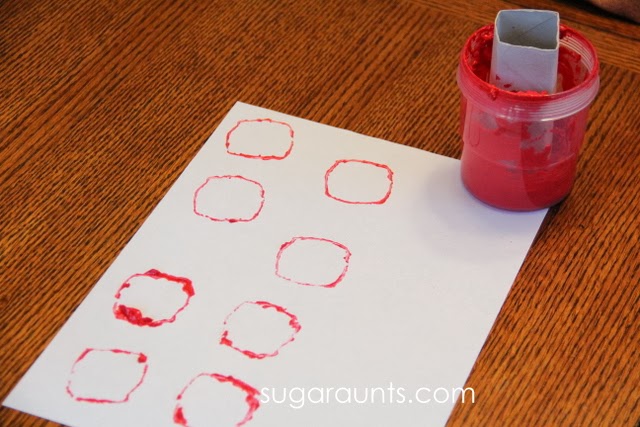
Make homemade DIY worksheets using a recycled food pouch cap for creative process art and math, science, handwriting, spelling words, literacy, hand-eye coordination, pencil control worksheets for kids!
Using your favorite paint (this is mine!), pour paint into a paper plate or bowl.  Use the top part of the pouch cap to stamp circles onto paper.  You can stamp in rows and columns, in a line down the page, or all over in a circle process art creation.  

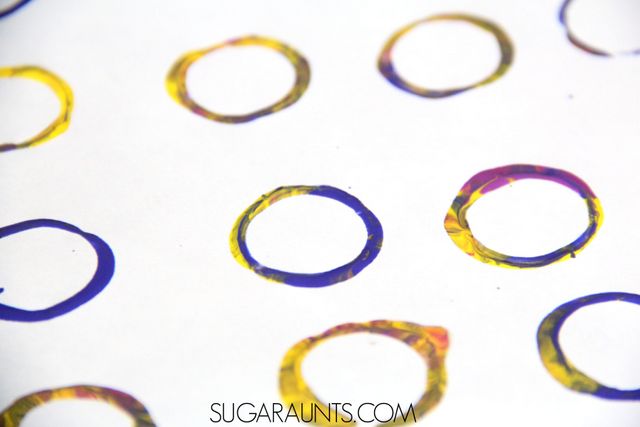
We used paint that was swirled together from a different project to get a pretty, color-mixing effect.  These aren’t your average worksheets!
Make homemade DIY worksheets using a recycled food pouch cap for creative process art and math, science, handwriting, spelling words, literacy, hand-eye coordination, pencil control worksheets for kids!

Let the paint dry and then you are ready to get to work.

Make homemade DIY worksheets using a recycled food pouch cap for creative process art and math, science, handwriting, spelling words, literacy, hand-eye coordination, pencil control worksheets for kids!

Using your homemade worksheets:


There are so many ways to use these.
  • My three year old used a Paint Dauber to fill in the circles.  You could color match the circles to the paint dauber color for color identification.  Filling in the circles is a good hand-eye coordination activity for children.  Get creative with your circles and make letters, numbers, shapes and pictures for preschool-aged kids. Filling in the circles is a great fine motor activity.
  • Write the letters of the alphabet in the cap circles.  They are a small size which will encourage appropriate letter formation and line awareness without using the restraints of lined paper.
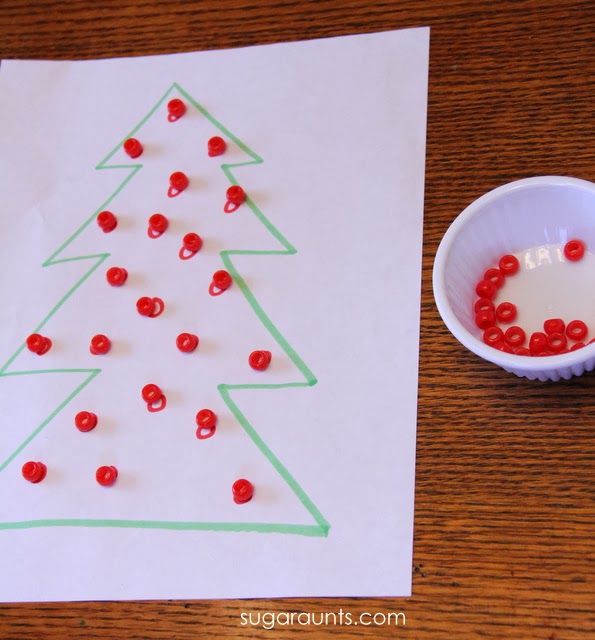
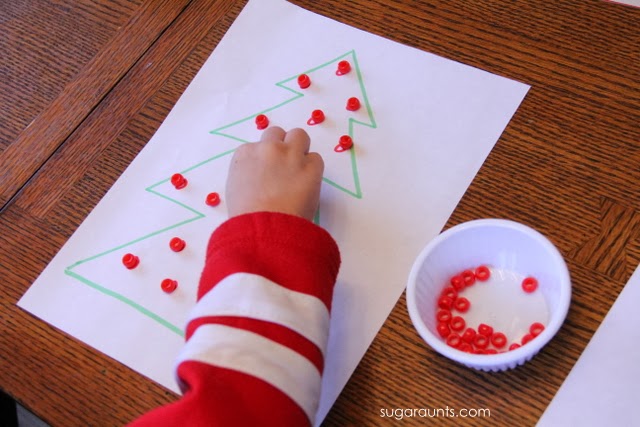
  • For hands-on math and hand-eye coordination, fill in the circles with Cheerios or other cereal.  
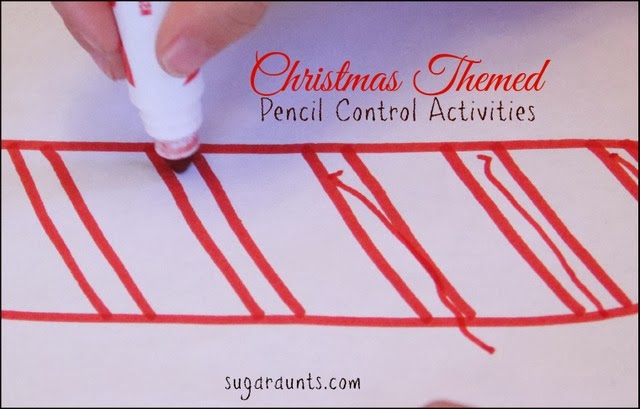
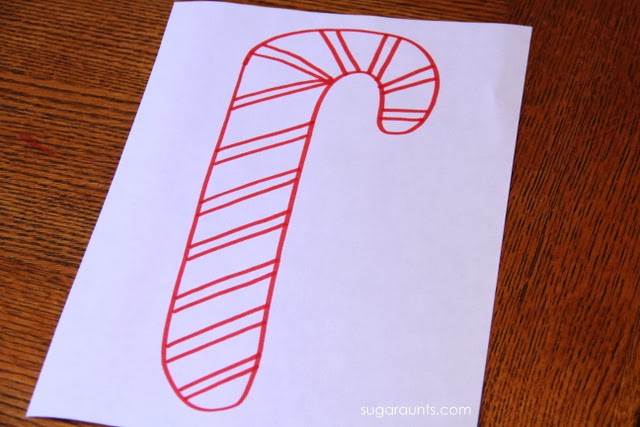
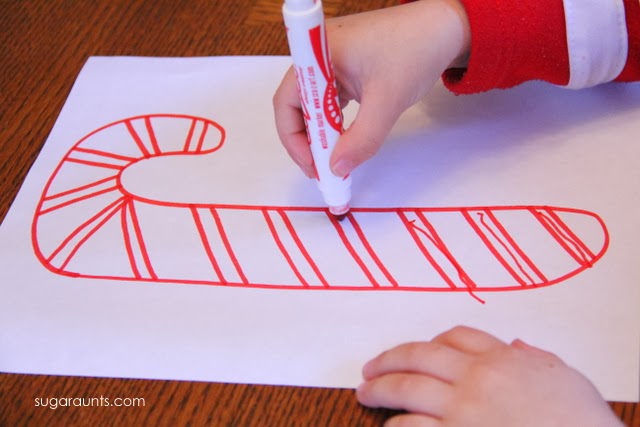
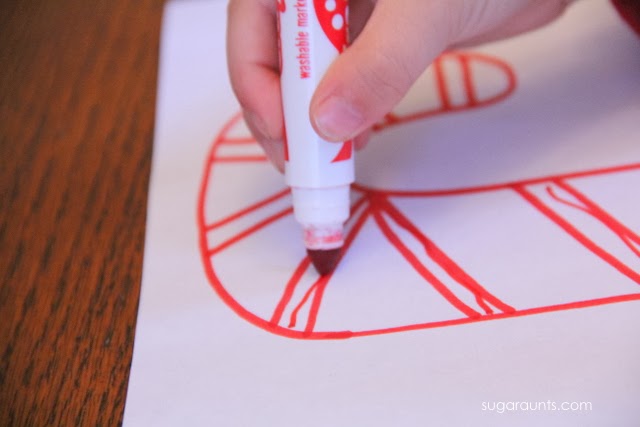
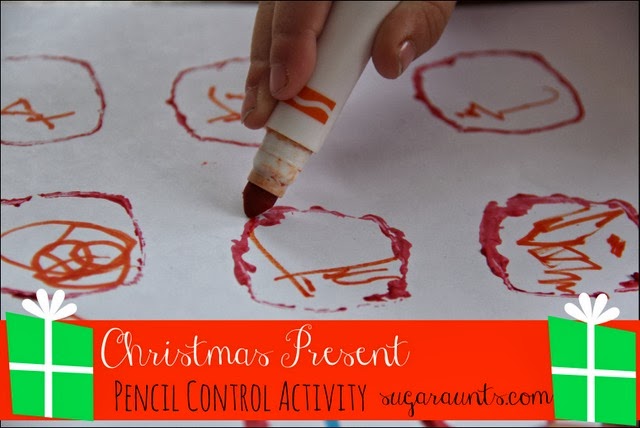
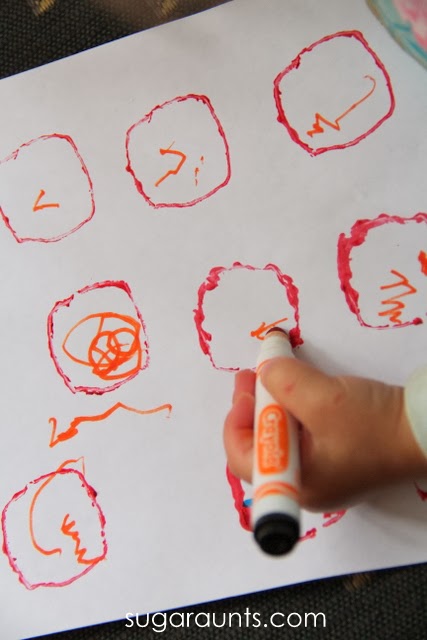
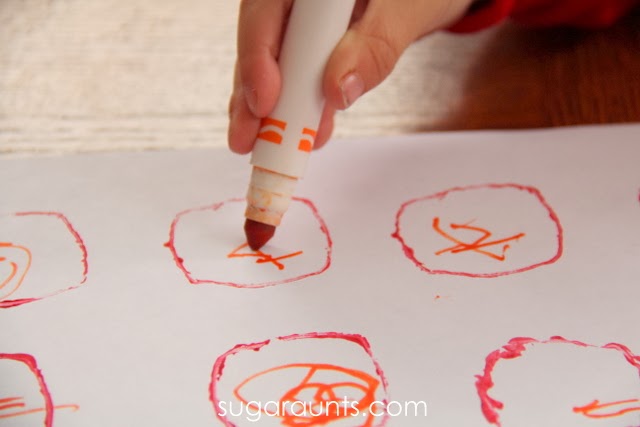
  • Use a pencil and make an “x” in each circle.  Be careful not to go over the paint lines!  This is a fabulous pencil control activity and great for line awareness.  We did something like this idea in our DIY Christmas worksheets post.
  • Use the pouch cap to make a column of circles going down the page.  Circles on the left side of the page will make a great check mark area for lists.  Circles down the right side can be a writing space for math questions or multiple choice questions.  Kids can fill their number or letter answer into the circle. 
  • Use the pouch caps to make fill in the blank pages for spelling or sight word practice.  Simply make the appropriate number of circles in a line and kids can fill in their spelling words.  This idea can be modified for any subject.  Science, history, math, English-language arts, and more all have terms that children need to learn and use.  Write out sentences and have the child fill in the circles with the answer.
  • Make a hundreds chart.  Fill in the circles with numbers or small items.
  • Make a tens chart for Kindergarten aged kids to practice counting small items with one-to-one correspondence.
How would you use these DIY worksheets?  There are so many possibilities!  Tell us in the comments below or on our facebook page!

Love it?  Pin it! And while you’re there, follow us on our Pinterest page for so many creative learning ideas.

Cursive Lines Fine Motor Art

The latest obsession in our house is learning cursive handwriting.  My oldest daughter asked to learn how to write in cursive and I was so very excited to show her.  Teaching kids how to write in cursive with creative techniques and unique modifications was one of my favorite things to teach as a school based Occupational Therapist.  

We’ve shared a few of the very beginnings of cursive lines, loops, and re-tracing marks that are a the foundation to to writing in cursive, and an important area to work on with older kids who might need a little more practice with pencil control and letter formation on in cursive handwriting.  


You can see all of our cursive writing ideas by searching “cursive” or clicking here.  This cursive lines fine motor art is a powerhouse of fine motor work and cursive handwriting practice.  We connected cursive lines, loops, and re-tracing to form the beginning letters (Read more about which cursive letters to start with.) and worked on connecting lines as well…all with a fine motor twist that resulted in gorgeous artwork!  

We worked on our cursive handwriting, however this activity would be done with any printed letter formation and number formation, too.
Work on cursive handwriting with this paper towel art with a fine motor twist.  Teach kids how to learn cursive lines and connecting lines with this fun activity.


This post contains affiliate links, however we used items that we had around the house as part of our  month-long Learning with Free Materials series where we are sharing learning ideas for homeschoolers and school-extension activities using items that are free or mostly free (i.e. CHEAP or you already have in the home), and is part of the 31 Days of Homeschooling Tips as we blog along with other bloggers with learning at home tips and tools.

Work on cursive handwriting with this paper towel art with a fine motor twist.  Teach kids how to learn cursive lines and connecting lines with this fun activity.


Cursive Handwriting Activity:

This activity is really so simple and makes such pretty art with a fine motor twist.  Start by using fine tip washable markers to write cursive letters, swirls, loops, and lines on a few sheets of paper towels.  Practice cursive connecting lines by making a long line of cursive letter “e”s or “l”s connected together.  Make a long line of “m”s connected to work on the re-trace needed for the bumps of the letters.  You’ll want to practice the re-trace of the letter “c” because that part of the letter is used in so many other cursive letters (a, d, g, and q).  Practice connecting them together for the up-swoop and smooth lines needed with writing cursive words.

Work on cursive handwriting with this paper towel art with a fine motor twist.  Teach kids how to learn cursive lines and connecting lines with this fun activity.

Next, re-trace the loops, swirls, and lines with other colored washable markers for more practice.  It’s starting to look colorful and arty already!
Work on cursive handwriting with this paper towel art with a fine motor twist.  Teach kids how to learn cursive lines and connecting lines with this fun activity.

Fine motor handwriting with an eye-dropper:

Pull out a dish of water and your favorite dropper to slowly add droplets of water.  Pinching the bulb of the dropper is a great fine motor workout for little hands.  Squeezing an eye dropper to grab water and then release droplets requires an open web-space and strengthens the hand muscles.  Dropping water slowly and by the droplet requires a precision and dexterity that works on motor control and further strengthens the intrinsic muscles of the hand.

Work on cursive handwriting with this paper towel art with a fine motor twist.  Teach kids how to learn cursive lines and connecting lines with this fun activity.
Try to use the water dropper as a writing utensil to follow along the lines of the cursive letters.  This will further strengthen fine motor skills as well as line awareness which is so important in handwriting.  Cursive letters will be practiced again and again with repetition by tracing with the dropper and further work on cursive letter formation.

My kids loved that they could add water slowly and make some parts very mixed and other parts more bold by adding less water.  Once you’ve added water to your cursive letter lines, let the paper towels dry.  The best method we’ve found for drying this art works is by hanging the wet paper towels over a cookie drying rack
which can be placed over a cookie sheet
to catch any drips.
More cursive handwriting activities you will Love: 

Love it?  Pin it!
Looking for more ideas to help with cursive? You’ll love our 31 day series on How to teach cursive writing.

Christmas Pencil Control Activities for Kids DIY Workdsheets

 
We did a few Christmas Themed Pencil Control Activities with DIY worksheets this week. 
 
This is so good for Little Guy (age 4) who needs a little practice with controlling the pencil when he’s writing letters.  He’s only just begun writing his name, so this is the perfect age to improve pencil control as a preparation for more letter formation and line awareness as he starts to write on lines in coming months and years.  New handwriters and kids who are not yet writing can do these easy (and fun) pencil control activities as a prep activity.  And better yet, these pencil control activities are beginning homemade worksheets with a fun Christmas Theme!


Pencil Control Activities with a Christmas Theme

Little Guy loved this candy cane activity.  I drew a quick candy cane on white paper with thin spaces on a diagonal.  I had Little guy use a red marker to draw lines inside the thin stripes.  We made a few of these candy canes because Little Guy wanted to keep going and make more! 
 
{Note: This post contains affiliate links.  In other words, this blog will receive monetary compensation when any purchases are made through the links in this post.  Our opinions and ideas are in no way affected.  As always, we thank you for your support and community here at Sugar Aunts.}
 
 
For a new pencil user, encourage your child to draw the lines from right to left (**not like in this picture, oops!**) and the child should rest their arm on the table surface.  Little Guy needs verbal and a physical cue to rest his hands on the table surface for better control.  This will improve pencil control when the child is attempting to draw a line in a certain area.


He kept his lines within the stripes very nicely, and did not often go over the edges of the candy cane.  This is a great activity for a new writer!

Our next activity was encouraging tripod grasp to manipulate pony beads.  I had Little Guy pick up the beads and place them onto the bulbs of a Christmas Tree.  You may have seen this picture on our Instagram feed or Facebook page.

Little Guy had to keep the beads on the circles and really concentrate on the lines.  To manage the beads and place them gently on the circles, encouraged a tripod grasp with extended wrist for improved pencil control.


This Christmas tree was another easy DIY pencil control worksheet to throw together.  Baby Girl (age 2) really liked this activity too.

I didn’t capture a picture of the next step, but I had Little Guy connect the bulbs with a  pencil.  I asked him to keep the pencil from going in the bulb, because it might break the light!  Connecting the dots and concentrating on the lines of the circles was a great way to work on pencil control.


More DIY Christmas Pencil Control Worksheets for Kids

Our last pencil control activity was a present themed one.  We started by making presents with some paper tubes shaped into a square.  We used our Spill Proof Paint Cups
to hold the paint and stamped some squares.


We waited until the next day when our present squares were dry.

 
Baby Girl kind of took over this activity before Little Guy got a chance to practice his pencil control

I showed Little Guy how to make crosses on the presents (over Baby Girl’s added decorations!) so he could practice simple copying.  He was to make the lines top to bottom and left to right to encourage improved pencil control in letter formation.  He did pretty well!