Helping kids with pencil grasp can be a complicated matter. Kids can hold the pencil too tightly or with an immature grasp no matter how many pencil grips you try. But, there is hope. These pencil grasp activities are fun ways to improve pencil grasp with fine motor play. By using play activities to help kids build a better pencil grasp, kids develop a grasp that is strong and dexterous in ways that carryover to holding a pencil. Try these tripod grasp activities to help kids with pencil grasp development. This is something that therapists want parents to know about pencil grasp development…that a functional pencil grasp might not look like a traditional tripod grasp…and that there are fun ways to work on grasp development!
That said…this is the place for all things pencil grip activities that actually make a difference!

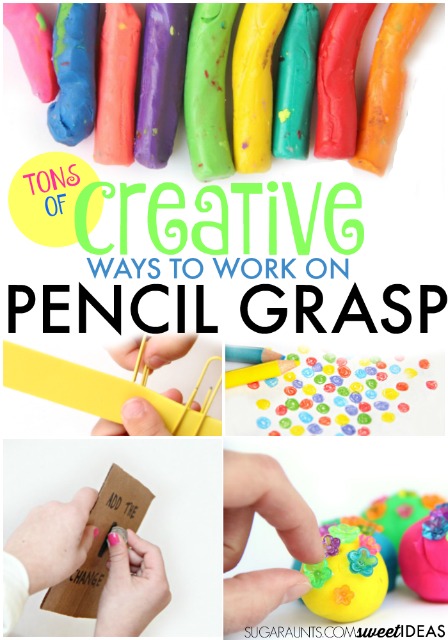
Pencil Grasp
I love to share easy tricks to work on things like fine motor skills. Working on pencil grasp and the fine motor skills needed for handwriting are two of my favorite ways to build functional skills as an Occupational Therapist. This blog post is a round up of some of the best pencil grasp activities and ways to develop a more functional pencil grasp through fine motor play activities. I’ve updated this resource to include more recent pencil grip occupational therapy ideas and grasp activities that I’ve shared.
A functional pencil grasp might not “look like” the traditional tripod grasp. One thing to read up on is grasp patterns, because this plays a huge role inholding the pencil.
Want to know how to fix a problem with pencil grasps? Need help knowing where to start when it comes to immature pencil grasps or a child hating to write because their hand hurts? The Pencil Grasp Challenge in open for you! In this free, 5 day email series, you’ll gain information, resources, specific activities designed to promote a functional, efficient pencil grasp.
Click here to join the Pencil Grasp Challenge.
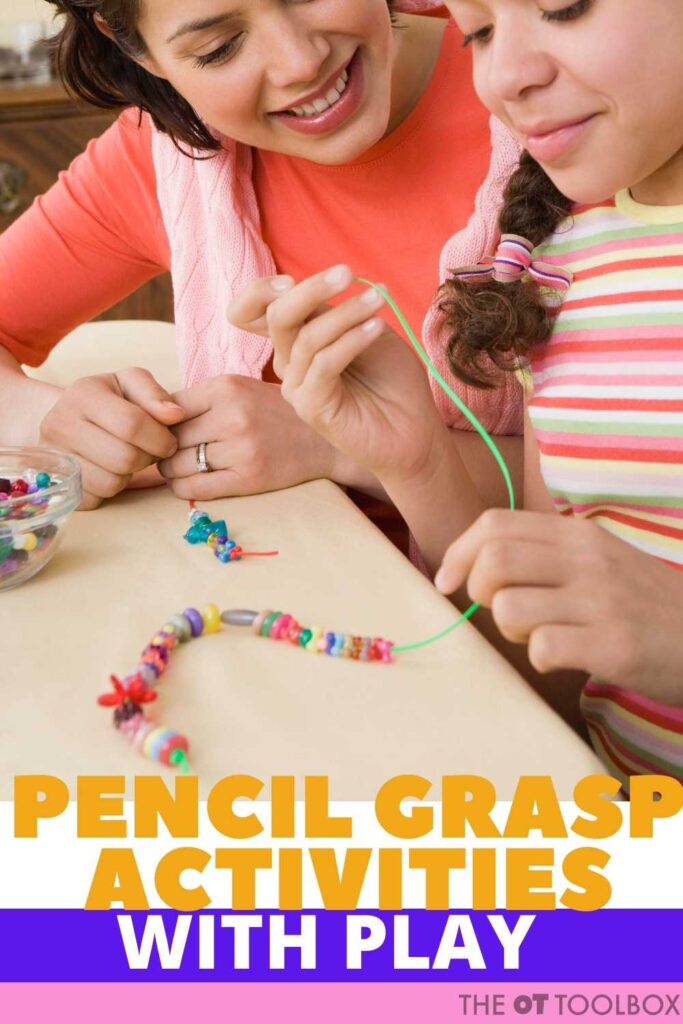
Improve Pencil Grasp with Fine Motor Play Ideas
First, if you’ve go questions about pencil grasp, check out this resource on building fine motor skills through play. You will find TONS of info about the fine motor “parts” of a functional grasp.

Fine Motor Play Activities to Improve Pencil Grasp
We love incorporating fine motor activities into our play. These posts are some of our favorites from the past year, and as a bonus, will help with the development of the small muscles of the hands. An efficient grip on the pencil uses a tripod grasp (thumb, index, and middle fingers) with an open space between the thumb and index finger. This grasp on the pencil allows kids to better form letters correctly and in a given small space using the fingers to make the pencil movements, vs. using the wrist or whole arm. If your child is struggling with their handwriting, look first at their grasp on the pencil and go from there. Try one of these activities for improved muscle strength and pencil control.
If you are interested in improving pencil grasp, and wondering about all of the fine motor skills that impact a functional pencil grasp, you will definitely want to join the pencil grasp challenge. This free 5 day email series explains everything you want to know about pencil grasp activities that have a powerful impact. Click here to join the Pencil Grasp Challenge.
So let’s get moving on some of the best pencil grip activities that actually make a difference in a functional pencil grasp.
Pencil Grip Activities
We have many pencil grasp tricks up our sleeve as school based OTs…but there are many ways that you can target specific needs with fun and engaging pencil grip activities! Most of these ideas don’t even use a pencil. They target the underlying skill areas like hand strength, dexterity, and precision. Other tasks DO use a pencil though!
While these wouldn’t be specified in a manual dexterity goal, you would target functional skills of handwriting. These ideas are the play-based strategies, or tools.
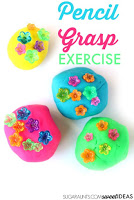
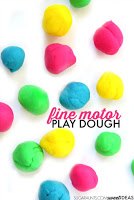
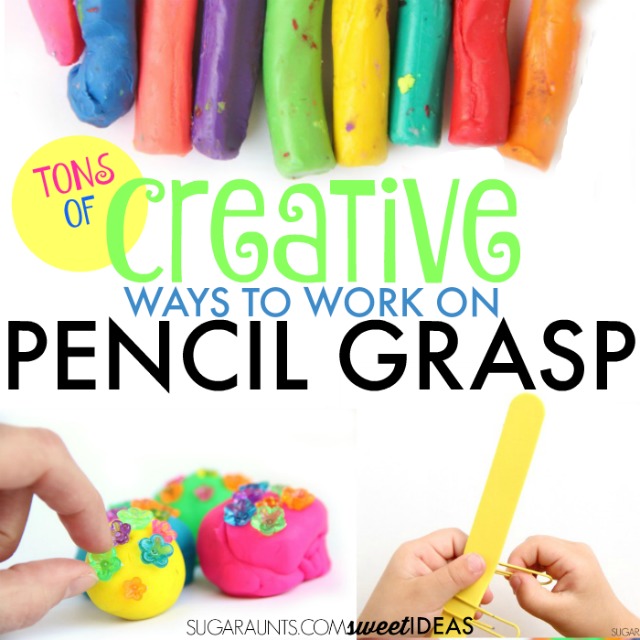
Pencil Grasp Exercises with Play Dough is fun with these mini fluted flower beads. They build a flexed thumb IP joint which is needed for an efficient pencil grasp.
Hand Strengthening Exercises are fun with tongs! They are an easy tool to build so many handwriting skills.
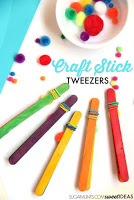
These Craft Stick Tweezers build muscle strength, an open web space, and tripod grasp.
Play Dough Strengthening Mat works on building the intrinsic muscle strength of the hands.
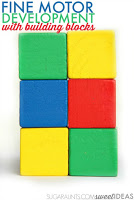
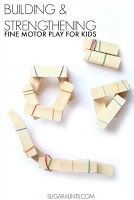
Fine Motor Development with Blocks is a great way to build many skills needed in handwriting.
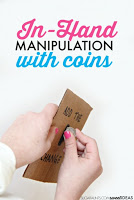
In Hand Manipulation with Coins can help build skills needed for pencil grasp like manipulating the pencil during letter formation.
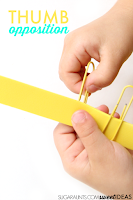
Thumb Opposition is an important skill needed for an open thumb web space and functional and efficient grasp on the pencil.
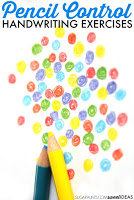
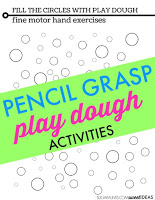
Mini Circles Pencil Control Exercises help with building small motor movements and tripod grasp through improved intrinsic muscle strength.
Finger Isolation with Play Dough helps with minute movements of the hands and individual finger movements in managing the pencil.

Clay Exercises can help strengthen the muscles of the hand for increased endurance of pencil grasp.
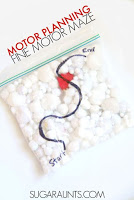
Motoric Separation of the Hand is essential for managing the pencil while utilizing the ulnar, stability side of the hand.
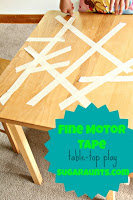
Fine Motor Table-Top Play addresses intrinsic muscle strengthening.
In-Hand Manipulation: Two Activities In hand manipulation is necessary during pencil grasp to manipulate and advance the pencil while writing, as well as making adjustments with the pencil while erasing.
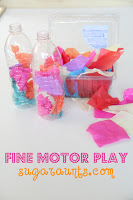
Fine Motor Play with Tissue Paper is a great way to build intrinsic muscle strength. Strength in the intrinsic muscles ensure a functional tripod grasp.
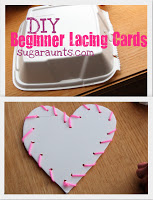
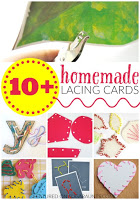
DIY Lacing Cards improves bilateral coordination, needed for holding the paper while writing.
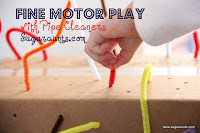
Pipe Cleaner Fun builds tripod grasp for use with handwriting.
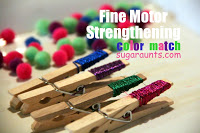
Fine Motor Strengthening Color Match works on increasing the intrinsic muscle strength of the hands.
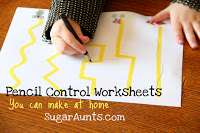
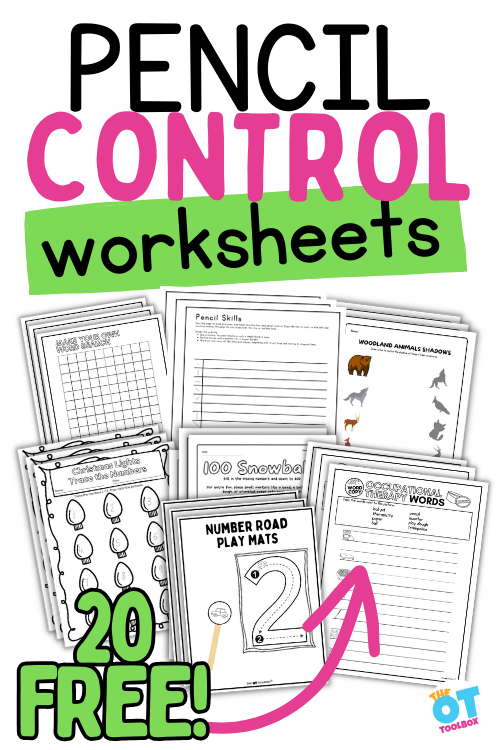
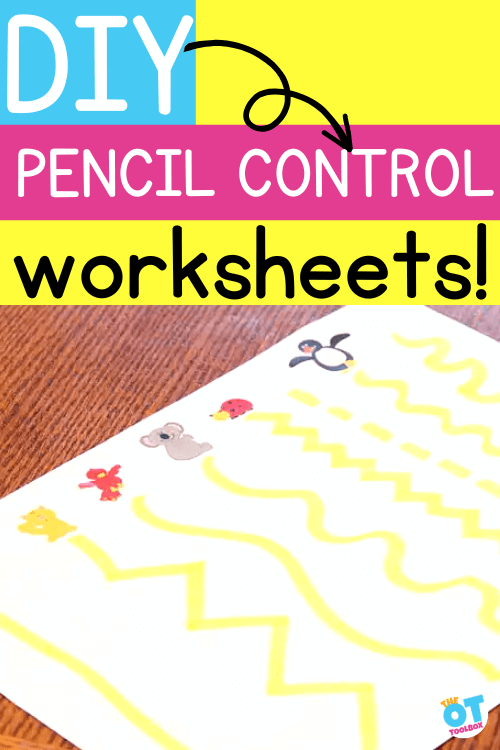
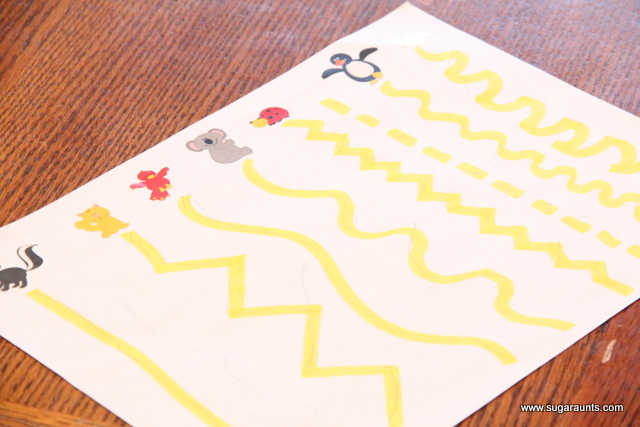
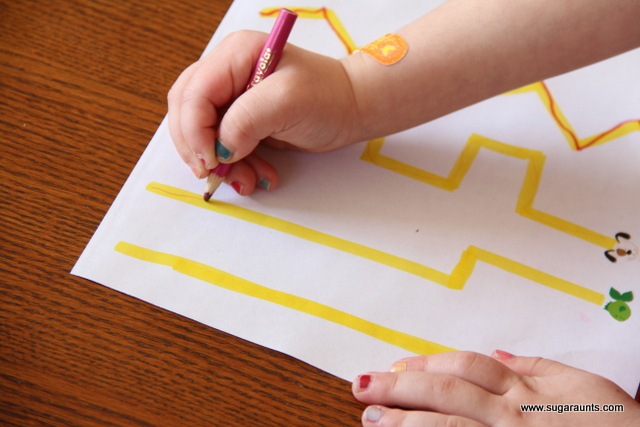
Pencil Control Worksheets You Can Make at Home These worksheets build pencil control, line awareness, and spatial awareness during handwriting.
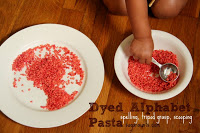
Learning With Dyed Pasta provides a fun activity for building eye hand coordination.
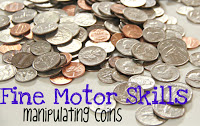
Manipulating Coins for Fine Motor Development is a great way to work on in-hand manipulation needed for manipulating the pencil during handwriting.
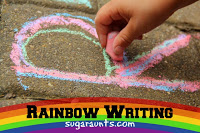
Rainbow Writing provides a resistive writing surface, providing proprioceptive feedback and a way to work on motor planning in letter formation, as well as tripod grasp on the pencil.
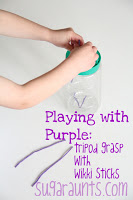
Tripod Grasp with Wikki Stix Pushing the wikki stix into the container works on tripod grasp and intrinsic muscle strength, as well as bilateral coordination.
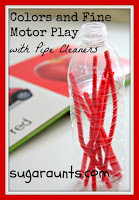
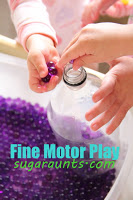
Using Pipe Cleaners in Fine Motor Play also improves intrinsic muscle strength and bilateral coordination with a brightly colored stick. Using the plastic bottle provides great auditory feedback.
Here is more information on pencil control and distal mobility in handwriting.
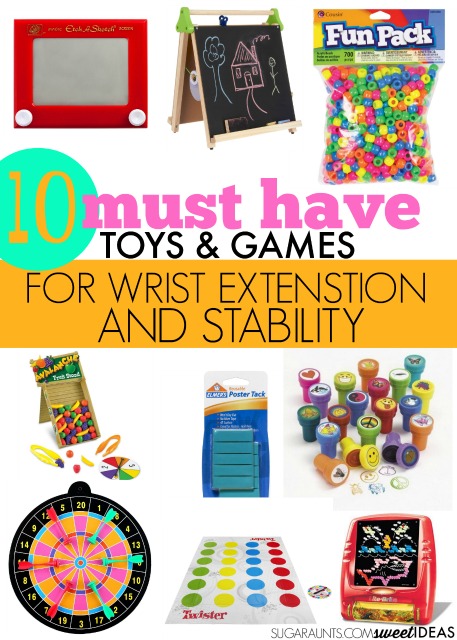
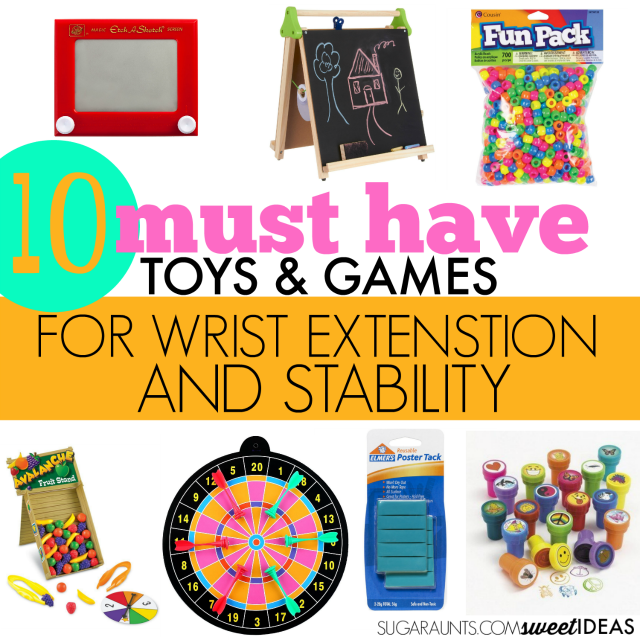
Here are games to improve pencil grasp.
tripod grasp activities
Working on tripod grasp is fun when you add activities! Some tripod grasp activities that strengthen the intrinsic muscles of the hand include:
- Tearing paper
- Playing with tweezers
- Dropping coins into a bank or slot
- Rolling balls of play dough
- Pushing paper clips onto paper

More ways to support this skill include the ones below.
developing pencil grip activities
The ideas listed below are simple tasks you can do to help kids with developing pencil grip. These are the ideas OTs usually have on hand.
- Pegboards
- Tweezer activities
- Clothes pin games
- Lacing beads
- Play Dough (Here’s a GREAT play dough recipe using old crayons.)
- Pop bubble wrap
- Play with play dough or silly putty
- Use spray bottles to water plants
- Play hand games like “where is thumbkin”
- Color with very small pieces of broken crayons
- Draw or doodle with a small pencil
- Crumble paper
- Playing cards
- Sign language
- Shadow puppets


Colleen Beck, OTR/L has been an occupational therapist since 2000, working in school-based, hand therapy, outpatient peds, EI, and SNF. Colleen created The OT Toolbox to inspire therapists, teachers, and parents with easy and fun tools to help children thrive. Read her story about going from an OT making $3/hour (after paying for kids’ childcare) to a full-time OT resource creator for millions of readers. Want to collaborate? Send an email to contact@theottoolbox.com.


")


