Colleen Beck, OTR/L is a pediatric occupational therapist and the owner and author of The OT Toolbox website. She manages all of The OT Toolbox social media accounts and runs the popular newsletter.
Read about Colleen's experience and career as an occupational therapist, including how The OT Toolbox began on our About The OT Toolbox page: https://www.theottoolbox.com/about-us/
Colleen created The OT Toolbox in 2011 and since then has written thousands of blog posts designed to support therapy providers, educators, parents, counselors, admin, and caregivers in promoting the healthy development of kids.
Check out Colleen's blog posts below:
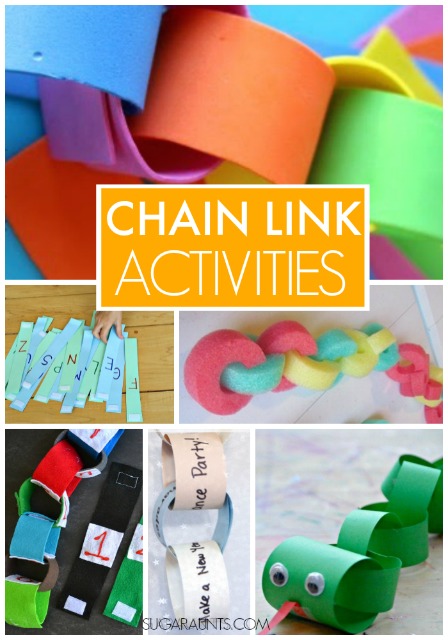
Fine Motor Skills are one of our favorite ways to play and functional development use of scissors, pencils, and independence in fasteners. On Share It Saturday this week, we’re featuring Chain Link Activities.
We love the fine motor work that is happening through play with this activity. When a child creates a chain using paper or other items, they work on so many fine motor skills. Using both hands together requires bilateral hand coordination and is a necessity for cutting with scissors, buttoning a coat, and writing on paper.
Linking the paper (or other materials) links together uses a tripod grasp, symmetrical movements, hand-eye coordination, dexterity, intrinsic muscle strength, an open web space, and endurance! Wow, what a workout from creating a simple paper chain! Now, think about the tape, velcro, or stapler that is used to fasten the chain links. Little hands are using small muscles with this task. When we started to think about all the benefits of creating a chain, we had to go looking for more chain link activities!
Chain Link Activities
Chain Link Crafts and Activities for Kids:
Use pool noodles to make chain links. {Teach Preschool} You can even encourage learning with paper chains! Practice letters {Hands On As We Grow} or numbers {Glued to My Crafts} using paper chains. Create a snake craft {Red Ted Art} using paper chain links. Count down to a holiday or event using a kid-made paper chain link with activities.
Here, we’re talking healthy snacks for moms. I’m covering healthy snacks that add not only a nutritious option, but also add a calming and regulating sensory input. Did you know the snack choices you make offer more than just filling a void of boredom or hunger? Let’s talk about how healthy snack choices impact your mood, emotions, and energy state.
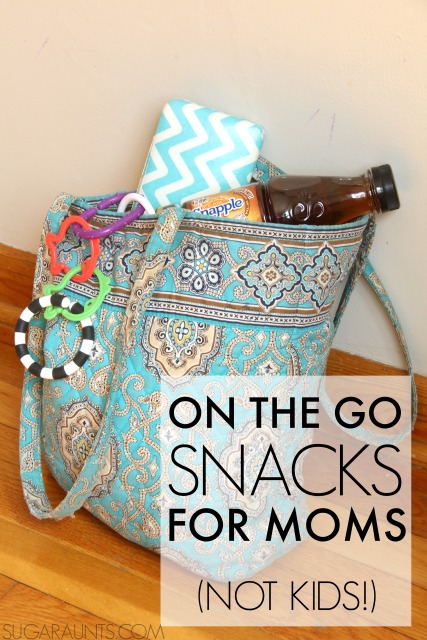
Most of us moms are on-the-go, right? We’re off every day to work, the bus stop, preschool drop-off, the library, sports, kids’ activities, family visits, pediatrician visits, grocery store, SOMEWHERE all the time.
With constant barrage of information, social media, and never-ending to-do lists, it can be easy to grab fatty, salty, crunchy snacks that offer little in the way of nutritious benefits.
In fact, diet and nutrition as well as physical exercise affects brain functioning, energy, and self-regulation of emotion and mood.
Healthy Snacks vs Unhealthy snacks
I’m a pretty healthy mom and with four kids, I need energy to keep going throughout the day. Sometimes, I get in a little low-energy funk during all of the running around. It’s those times that I grab a quick and healthy snack and pick-me-up to pull through the rest of the afternoon! Do you ever feel this way?
The thing is that there is a direct connection between a healthy diet and a healthy brain. Read here for information on superfoods. Essentially, eating foods that contain a variety of nutrients, minerals, vitamins, and antioxidants are the key to nourishing the brain. This is because the foods that nourish the brain protect it from oxidative stress, or the free radicles stress produced with the body uses oxygen to process these foods. It leads to damaged cells and forces your brain and body to run on low nutritious foods.
In short, when the jaw and mouth chew or crunch foods, they gain proprioceptive input through the mouth. That heavy work offers just as much of the nutritious benefits as it does the sensory benefits. Foods like crunchy nut mixes, granola, crisp apple slices, or air-popped popcorn require heavy work through the mouth and jaw. Likewise, chewy fruit leather, smoothies, or dried dates, cranberries, and raisins can meet that proprioceptive need.
In this way, heavy work foods offer the same sensory benefits of a brain break, and heavy work through the joints and muscles that you gain in say running on a treadmill.
Read more about this concept in an upcoming blog post on heavy work snacks. (coming soon)
Refined sugars, empty fatty foods (like those crunchy chips that are soooo satisfying) can lead to impaired brain function, inflammation, low nutritious value, and short-term benefits of the proprioceptive and calming regulatory input.
Healthy Snacks for Moms
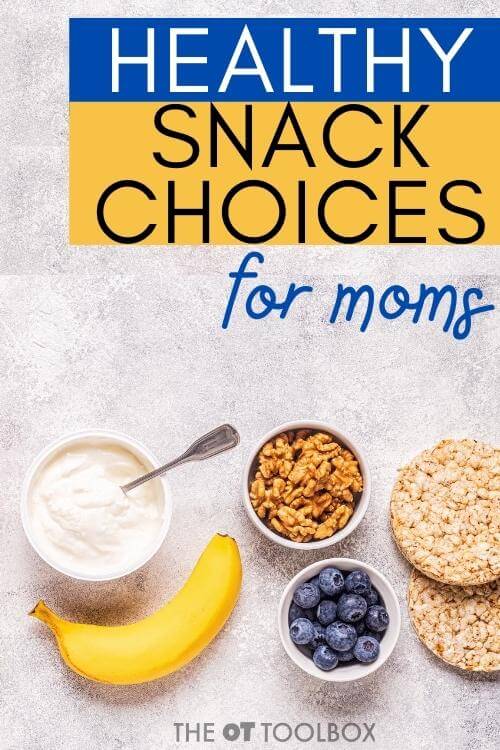
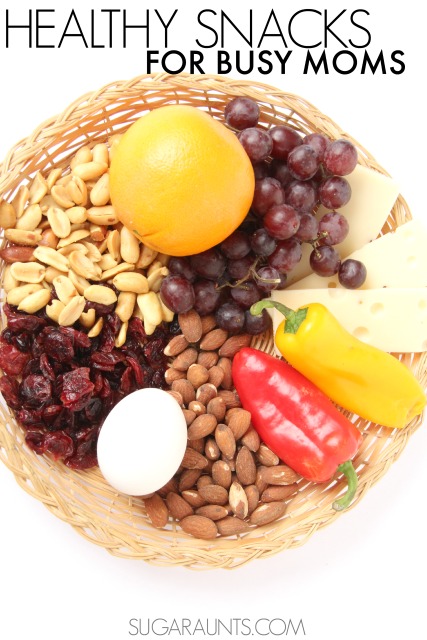
Try these healthy snacks as a quick healthy snack option for moms:
Almonds
Granola Bar
Dried Cranberries
Almond Butter and celery sticks
String cheese
Hard boiled egg
Turkey roll-up
Avocados
Frozen blueberries
Apple
Edamame
Popcorn
Broccoli
Celery sticks
Peanuts
Walnuts
Almonds
Cherry tomato/mozzarella cheese
*These are definitely snacks that kids can share…and they are great healthy snacks for kids! But, sometimes a mom needs a secret stash of her own for a pick me up. And in that case, dark chocolate is the perfect addition to this list!
Pair Healthy Snacks with Exercise
Pairing healthy snacks with exercise adds enormous value when it comes to feeling better and having more energy that moms so often need. One of the reasons is that heavy work input that we addressed earlier. And, what’s more is that there is a correlation between physical exercise and brain functioning. Add that to the benefits from healthy, crunchy, chewy snacks and you’ve got a practical solution for regulation of emotions, mood, and energy!
Exercise promotes self-regulation
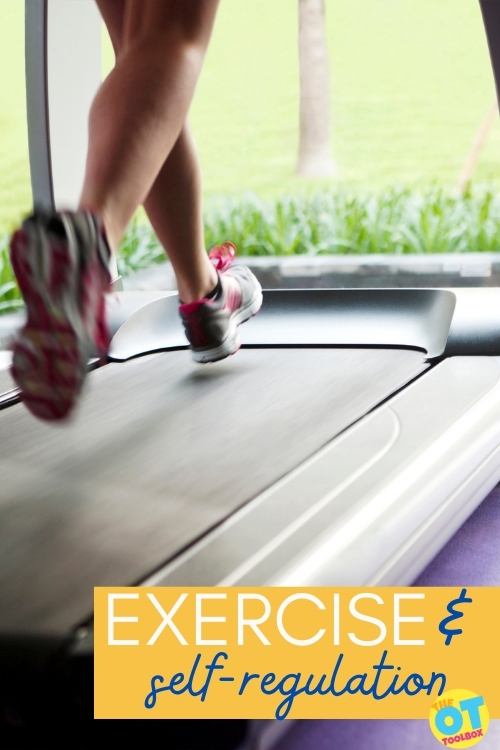
Exercise has the ability to offer benefits in self-regulation and emotional regulation. Studies show this. And, in fact habitual aerobic exercise is associated with emotion regulation and mood benefits. This is great news, especially when paired with the regulating benefits of heavy work snack choices.
Just like the sensory benefits of crunchy and chewy snacks, exercise offers us the benefits of heavy work input through the joints. More than that, through regular aerobic exercise offers overall wellbeing, and benefits the brain in that it boosts the size of the hippocampus, gets the heart and sweat glands pumping, and involved with verbal memory and learning.
We know that the hippocampus shrinks in late adulthood, leading to impaired memory and increased risk for dementia. So, with the benefits of healthy foods along with regular exercise, we can make these healthy choices.
How to add practical physical activity to a busy day
For myself, I’ve found that using a treadmill allows me the time and ability to fit physical exercise into the busy day of a mom with a business, full schedule, and even facilitating hybrid learning for my four kids. Having a treadmill in the home allows me to sneak in exercise in the morning, during the middle of the day, or in the evenings (even when this mom needs to run kids to and from activities and sports practices). A beginner HIIT treadmill workout is one way to make regular exercise happen within in a busy schedule.
Incorporating healthy choices into the day, try a home treadmill program. I love the Horizon treadmills, because the exercise equipment is easy to store, and it’s possible to jump on the treadmill throughout the day while gaining the heavy work benefits as well as the aerobic input.
Check out the Horizon fitness deals, including free shipping that you can access now on the Horizon site.
Affiliate links are included in this post, but I only recommend products that I own, and love!
Colleen Beck, OTR/L has been an occupational therapist since 2000, working in school-based, hand therapy, outpatient peds, EI, and SNF. Colleen created The OT Toolbox to inspire therapists, teachers, and parents with easy and fun tools to help children thrive. Read her story about going from an OT making $3/hour (after paying for kids’ childcare) to a full-time OT resource creator for millions of readers. Want to collaborate? Send an email to contact@theottoolbox.com.
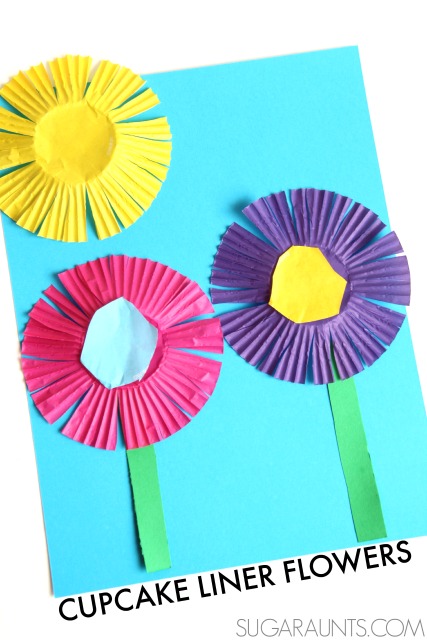
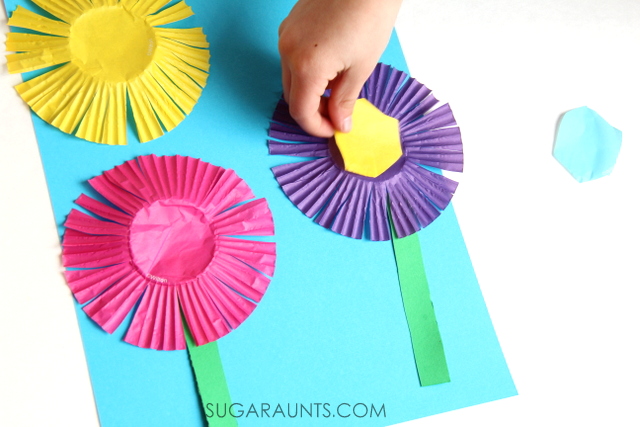
Spring is around the corner, and flower crafts are the sign that real flowers are about to pop up everywhere! We made this flower craft using cupcake liners while practicing scissor skills one afternoon. It’s an easy and quick craft that will brighten any room!
Start by cutting the center circle from the cupcake liners. Cutting a material like cupcake liners is more difficult than regular paper due to the thinner material and the texture of the liner. Kids will have to concentrate on cutting the center “line” which is really a fold. This is great line awareness work and a great way to work on visual motor skills.
Have your child snip other cupcake liners in to the center of the circle, but stopping at the fold. These liners will become the petals of the flowers and the sun’s rays. Cutting and stopping at a point requires hand-eye coordination and dexterity in scissor use. They have to be sure to open/shut the scissors effectively to stop at a certain point.
Are you looking for more ways to build and develop scissor skills? Here are some of our most popular ideas. You can always explore the Scissor Skills tab at the top of the blog, too. You’ll find it under the Occupational Therapy drop down list.
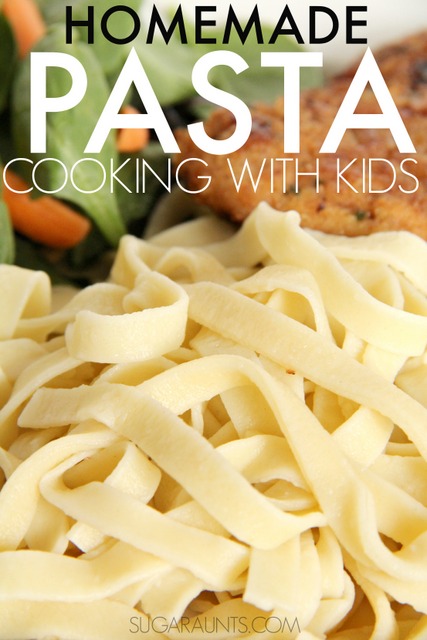
We’re back for another week of our Cooking With Kids A-Z series. Today’s recipe is D is for Dough and we’re sharing a childhood memory with homemade noodles. Homemade Pasta noodles were drying on our dining room table quite often as a child. Now, my husband makes homemade noodles for his Chicken Noodle Soup and we’re bringing you his recipe.
How to Make Homemade Pasta
This post contains affiliate links.
Cooking with kids is fun stuff! I love to share these recipes with my kids and learn and play in the kitchen. My kids have a love for cooking already, so when I say, “Who wants to help me cook?”, I have kids running to the kitchen! This Pasta recipe is one that is extra special to share with my kids, based on my childhood memories of noodles drying on the table.
We’ve made noodles before, for a Haluski recipe. These are the noodles of my childhood. They aren’t much different than the recipe we’re sharing today.
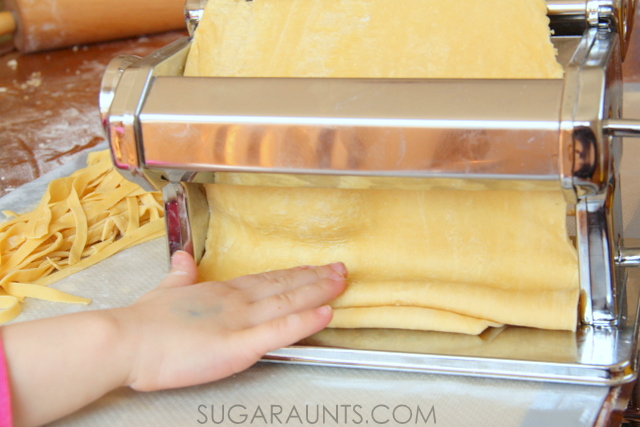
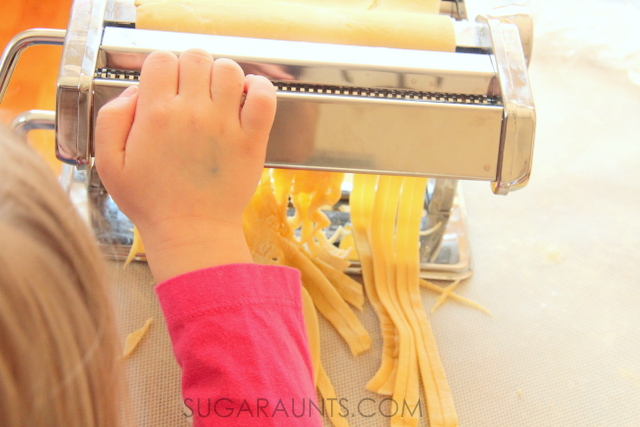
One of the key items to making homemade pasta is a pasta maker. They aren’t too hard to figure out and in fact, this was our first time using a pasta maker. We usually just roll the dough with a rolling pin and cut with a knife to make noodles. That style of pasta is typically better for soups and stews as it produces a thicker noodle. Today, we wanted to make fettuccine and the pasta maker was the way to go.
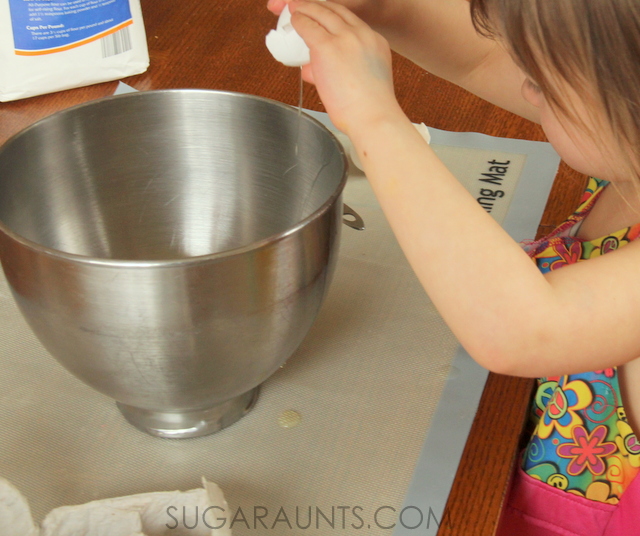
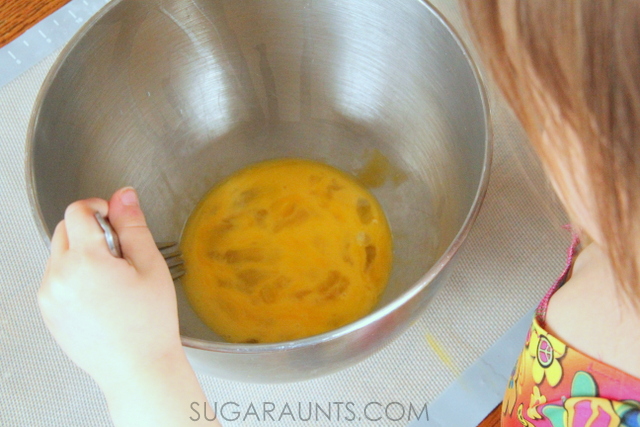
To make the pasta dough, start with 4 eggs. Whisk them together in a bowl. Little Sister only broke one of the shells into the eggs. Success!
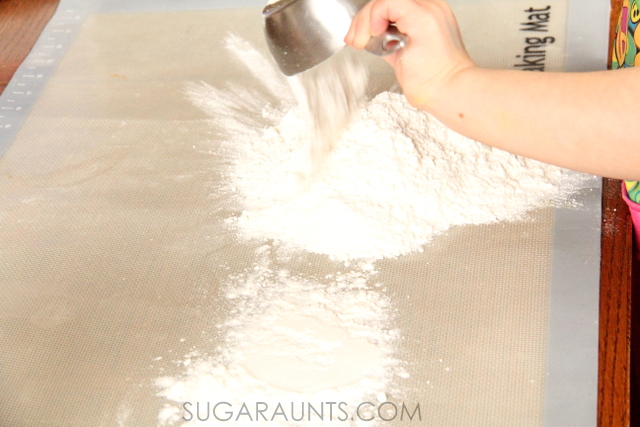
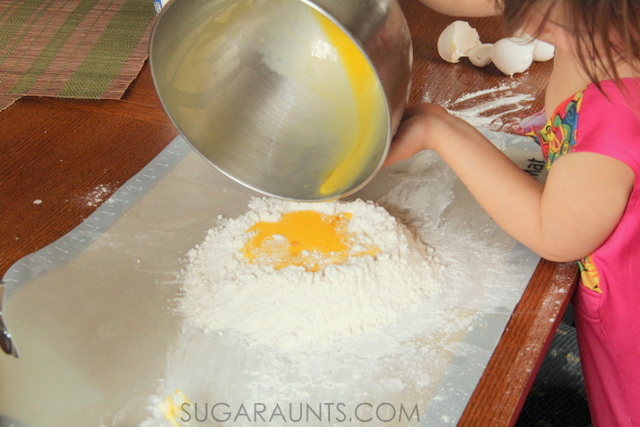
Pour 2 cups of flour directly onto a cutting mat or counter top surface. Sprinkle in one teaspoon of salt. Mix gently and form the flour into a well.
Pour the eggs into the flour well.
Homemade Noodles Recipe
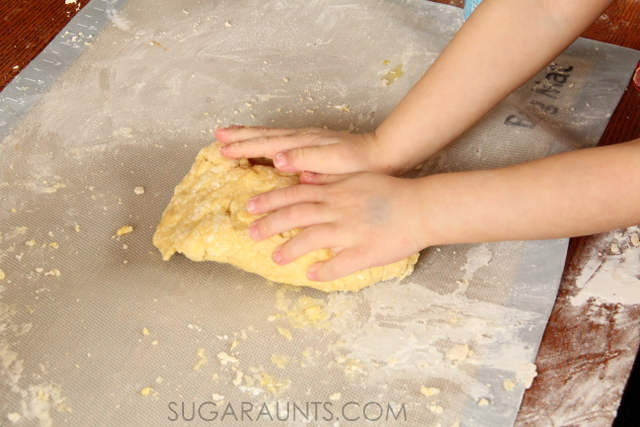
Start kneading and mixing by hand. The dough will be very dry and crumbly at first. Keep kneading and mixing. This is a long process. My kids were able to help at first, but the dough tends to get tough and I needed to step in to finish kneading.
**Depending on the size of eggs and type of flour, your dough consistency may be different. We used “medium” sized eggs and “all-purpose” flour. You can add a small bit of water, but I would hold off on adding the water. You want the dough to rest for at least an hour and the resting time seems to help with the toughness of the dough. Adding water will produce a sticky dough that can’t be rolled out.
Pour a small amount of olive oil onto plastic wrap. Coat the dough and wrap it up. Allow the dough to rest, coated in the oil for about an hour.
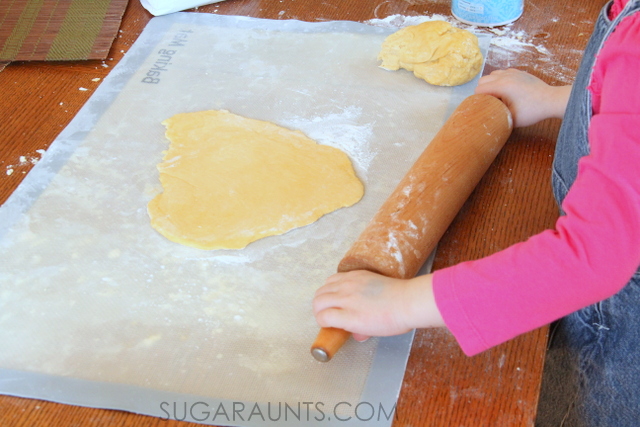
When you are ready to roll the dough, flour the counter top surface and use a rolling pin to roll out the dough into a rectangle. I LOVE this rolling pin for it’s heavy duty rolling and sturdy handles. It’s perfect for rolling out dough that springs back a bit. You will want to roll the dough into a long rectangle that can fit into the roller of the pasta maker.
If you are not using the pasta maker and are just rolling out the dough, Keep rolling and rolling until the dough is very thin. Use a sharp knife dipped in flour to cut long noodles.
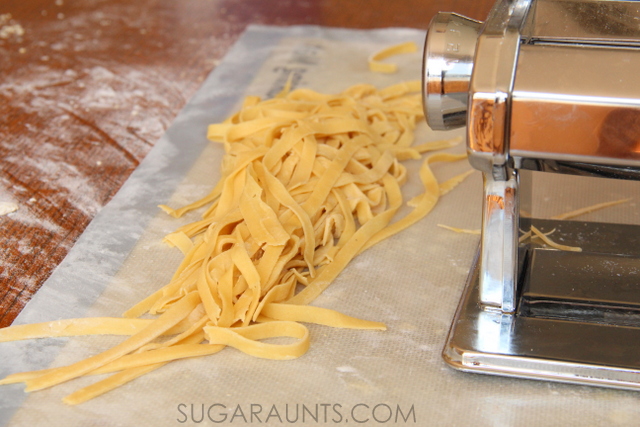
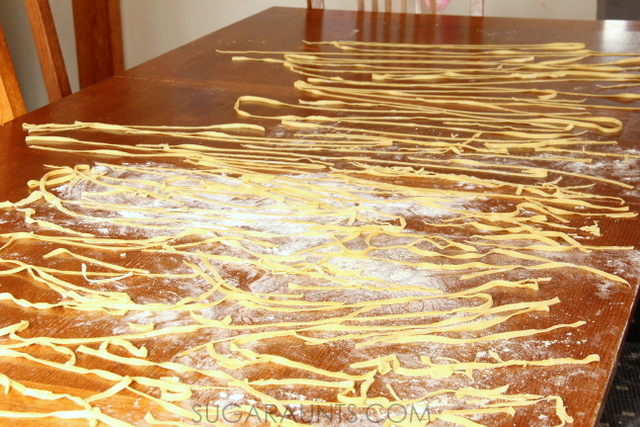
If you are using the pasta maker, Adjust the dial to the widest thickness of dough. Roll the dough through the rollers and gently hold it out as it rolls through. You will need to re-roll the dough several times, adjusting the thickness of the rollers using the adjustable dial. When the dough is thin, position it into the cutter side of the rollers. As you roll the dough through, gently separate and lay out the noodles onto a floured surface.
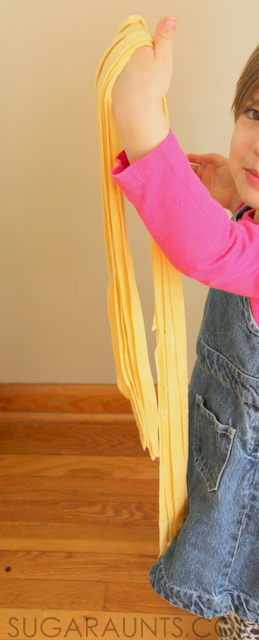
These noodles are as long as a three year old!
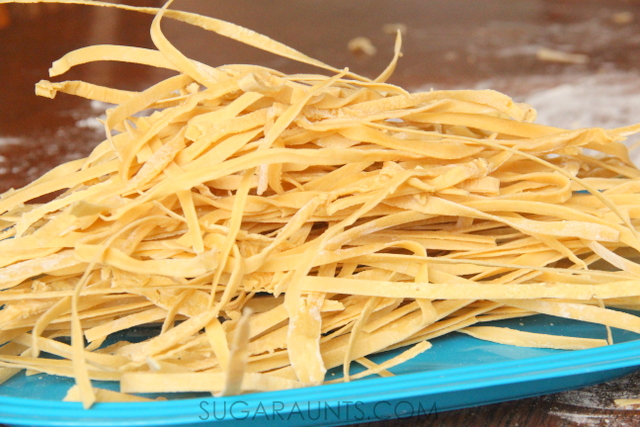
Position the noodles so that none are touching another. Allow the noodles to dry for several hours.
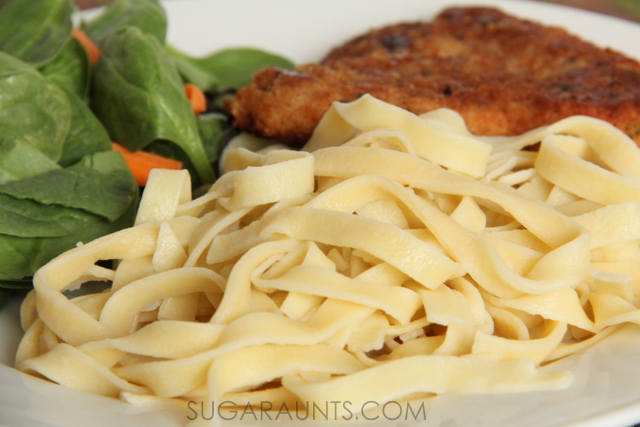
You will know when the noodles are ready to cook when you can snap them. Drop into boiling water and cook for 4-5 minutes. Drain the pasta and serve.
Watch all of the noodle action on our YouTube channel:
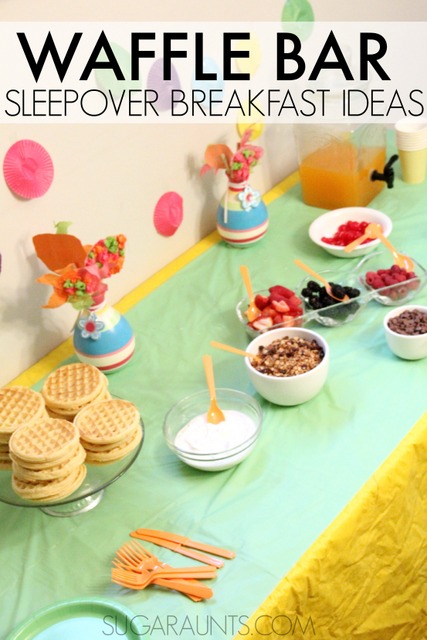
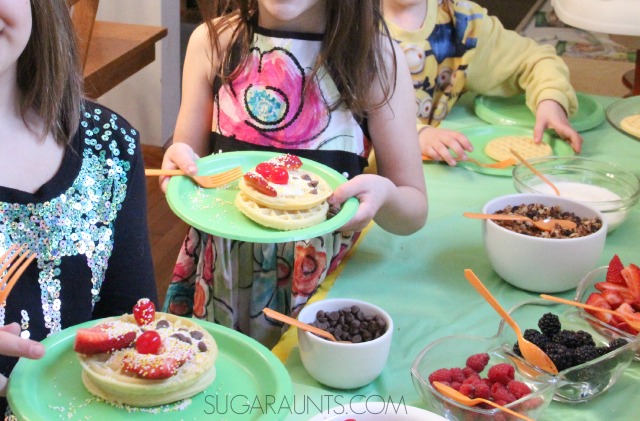
We are lucky to have nieces and nephews that are close in age and location to my kids. There is always a cousin around for a sleepover. We hosted a cousin sleepover recently and made it memorable with a Waffle Bar with all of the fixings! When 8 kids are in a house for a sleepover, (and the guaranteed late night for Mom and Dad), an easy morning breakfast is a MUST! We threw this Waffle Bar together and fed the hungry cousins so they could get back to playing (…and making messes, fighting, and generally sounding more like there were 23 kids in our house rather than 8…) and doing regular cousin-fun stuff!
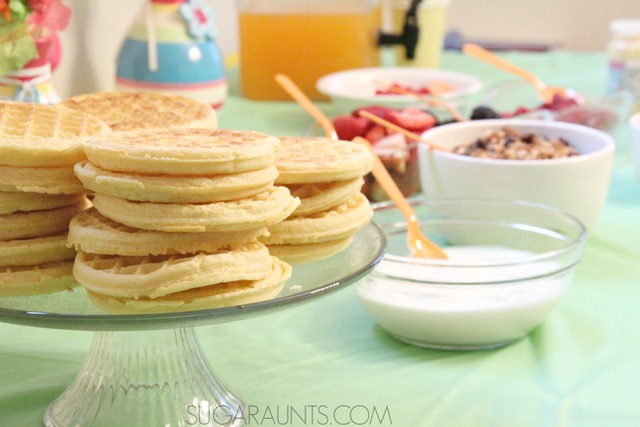
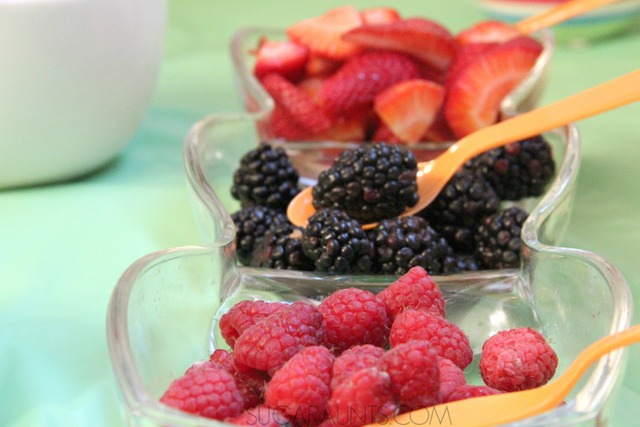
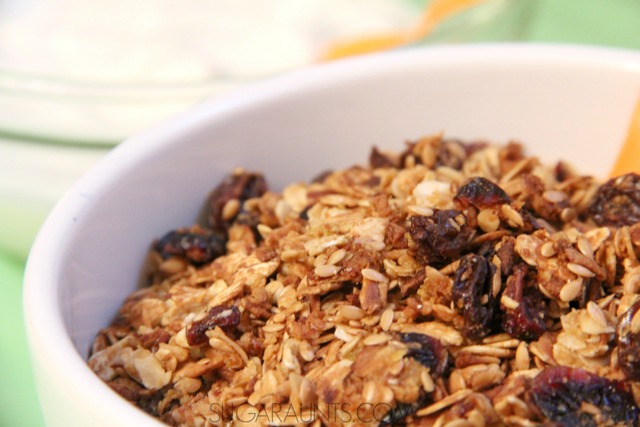
Setting up our waffle breakfast bar was a breeze. Sleepovers can be exhausting, so feeding hungry kids needs to be low-maintenance. We pulled enough frozen waffles to feed the cousins out of the freezer and spread them onto trays. While they were toasting in the oven, I scooped out Greek yogurt, fresh fruit, and poured our favorite granola recipe.
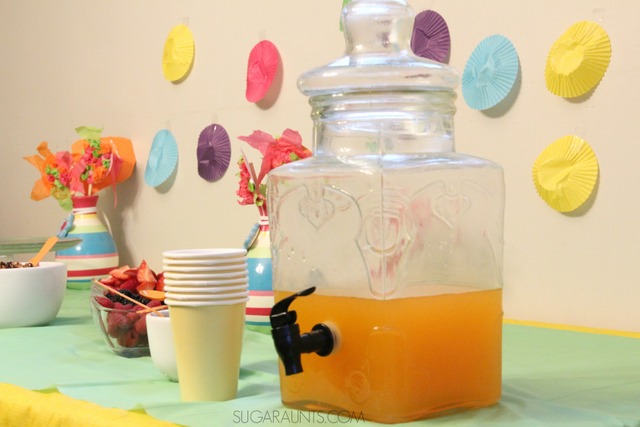
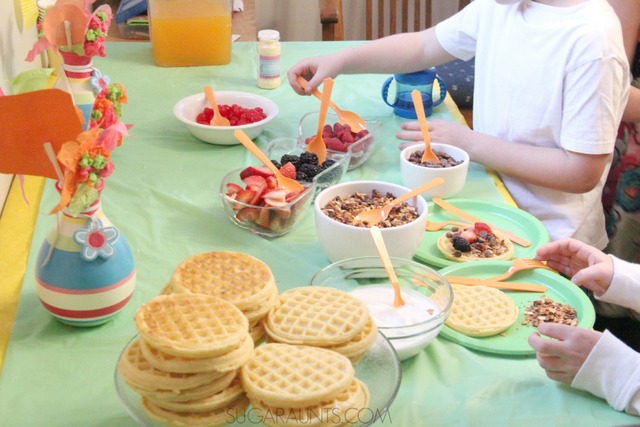
Kids love special touches to an ordinary meal. Preparing our waffle bar as a buffet style with decorations, bowls, and colored spoons made breakfast special and something they were talking about all day long.
Setting up an easy breakfast waffle bar:
Waffles Fresh fruit: choose fruits that require minimal prep work, like blackberries, raspberries, and strawberries. Homemade granola (make this the night before. While the waffles are toasting, all you need to do is pour the granola in a bowl!) Chocolate chips (for a small sweet touch.) Cherries Greek Yogurt Sprinkles Fruit/Vegetable juice (served in a dispenser makes the party special!)
I tried to maintain a healthy breakfast combined with ease.
Other options for healthy waffle toppings:
Nuts Shredded coconut Frozen fruit (I love the added convenience!) Chicken Eggs Raisins Cinnamon Dried cranberries
I loved that once the toppings were placed into bowls, the kids could (mostly) help themselves. The littlest cousins needed help scooping their waffle toppings. Placing spoons into each serving bowl on the waffle bar made self-serve easy for these cousins.
The older girls liked directing the younger ones along the breakfast line. They also helped with decorating for our breakfast feast. We went super simple with decor, using a disposable table cloth (Eight kids = guaranteed mess. Bundle up all of the dripped yogurt and toss it away.) I had the two oldest cousins tape colored cupcake liners to the wall for pops of color. They also made us pretty tissue paper flowers for our breakfast table. Every cousin sleepover needs craft-time and these girls were excited to pull out the glue and tissue paper. They loved making our breakfast a real party (I’m pretty sure “fancy schmancy” was mentioned a time or two!) They were sure to dress up in their party clothes for the waffle bar breakfast extravaganza!
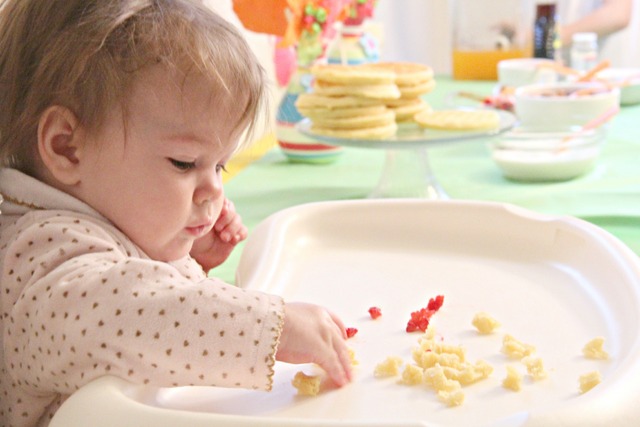
This little lady just enjoyed being part of the cousin fun and gobbling up her waffles and berries.
It takes a lot of waffles to feed 8 hungry cousins!
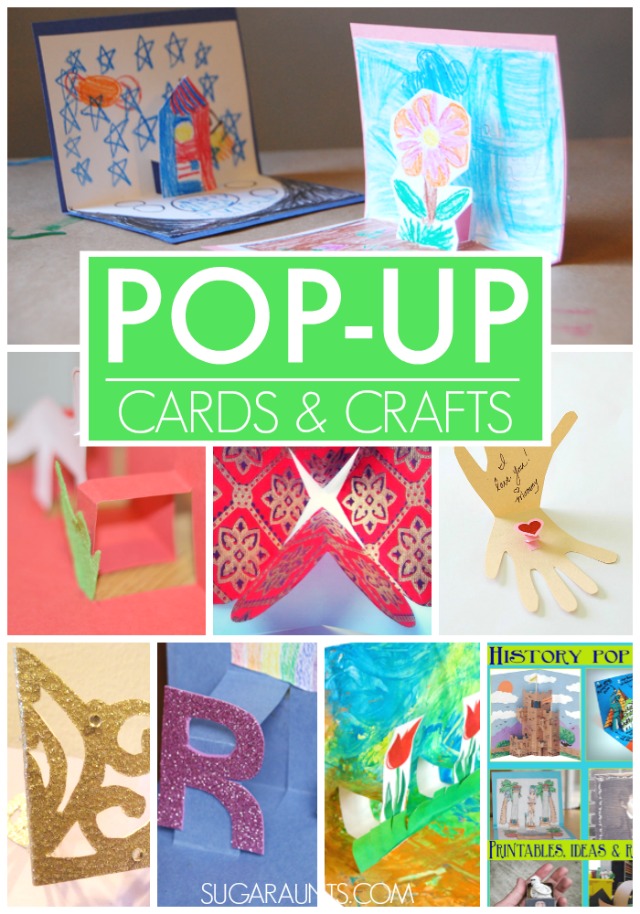
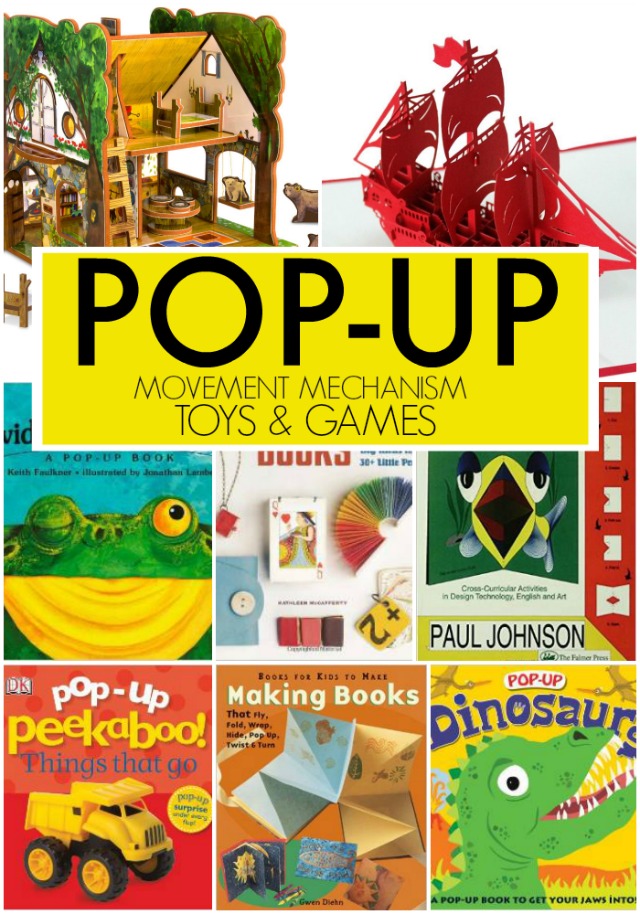
This week I’m excited to share a few fun Pop-Up crafts and cards ideas for kids to explore and create. Pop-up crafts are a great way to learn about basic movement mechanisms and levers through crafting. Mechanisms provide movement in books, cards, or crafts using a pop-up. We saw the History of Pop-Ups linked up by Tina’s Dynamic Homeschool Plus on Share It Saturday this week and HAD to click through! What a cool resource of art and engineering combined with a bit of history. So, off we went to find more creative ways to learn and play with pop-up crafts and cards. This is the perfect time of year to do a little homemade card making with a pop-up craft; Easter, Mother’s Day, and Spring are the best days for a DIY card and the added touch of a pop-up!
Disclosure: This post contains affiliate links. Read more about that here.
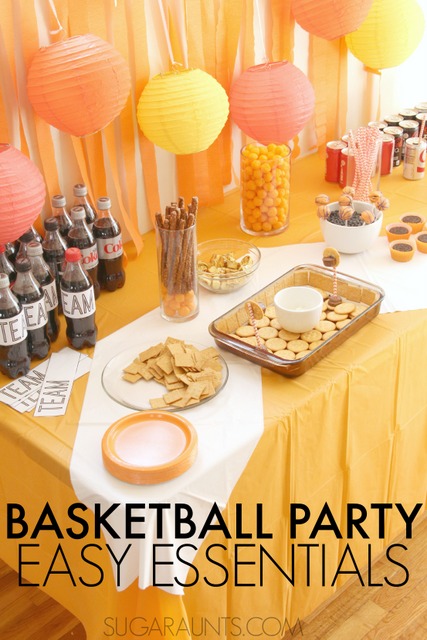
We love to host a fun party. From the decorations to the themed snacks, planning a party is a creative way to share a special day or event with friends and family. This time of year is the perfect time to host a basketball event party using a few easy party essentials. We’re sharing ideas for a basketball themed party for an upcoming Big Tournament celebration.
Basketball Party Ideas
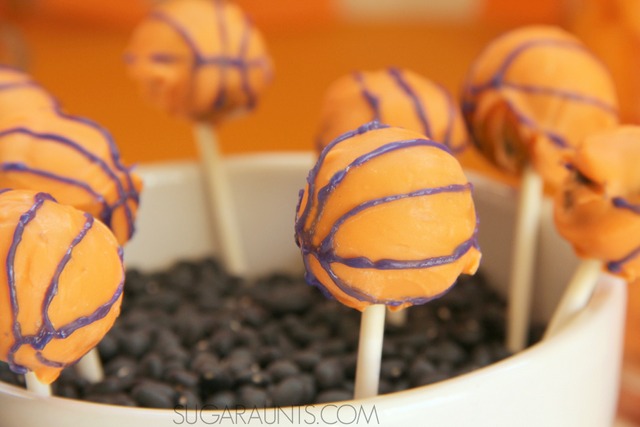
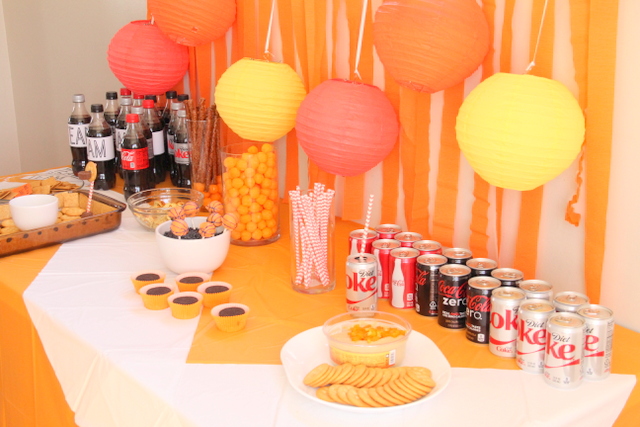
Any party needs snacks and when the theme is a basketball tournament party, cute treats are a must. I made these basketball lollipops using Oreo cookies. To make the cookie pops, crush one package of cookies into crumbs. Mix well in a mixer with a package of cream cheese. Roll the mixture into small balls and coat with orange chocolate melts. I found the easiest way to get the lollipop stick to stay in the cookie was to allow the chocolate coating to harden and then gently press the stick into the cookie ball. Add basketball details with icing.
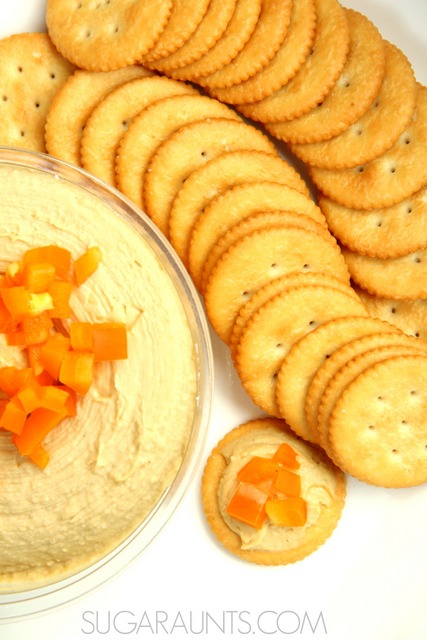
This Ritz cracker snack was a huge hit in our house! Top the crackers with hummus and chopped orange bell peppers. The orange peppers are perfect for the orange theme of our décor and add a little sweetness to the salty crunch of the crackers. Pulling a packaged container of hummus out before the party makes prep easy. And this busy mama needs quick and easy snacks!
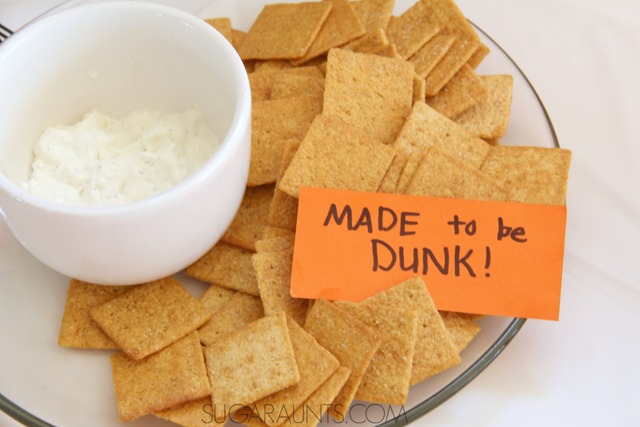
Add another low-prep snack to the table with Wheat Thins crackers and a bowl of dip. Spooning the dip into a bowl makes the party table a little prettier. I had to add a little sign for the dipping fans. These crackers are made to be “dunk” when they are at a basketball party!
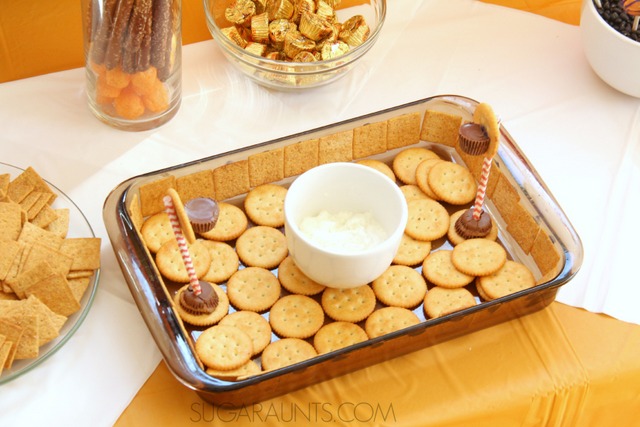
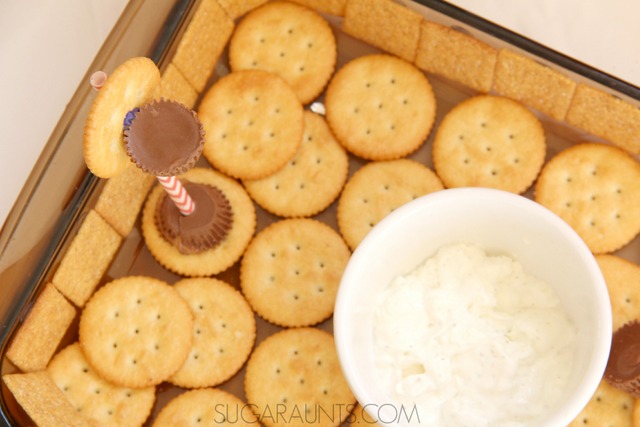
I put together a fun basketball court with the snacks we had: Ritz crackers were the court and Wheat Thins were the walls. Use a small dab of icing to make the square Wheat Thins stick to the sides of a casserole dish. To make the basketball hoops, I used more icing to get a cracker to stick to a paper straw. Add a Reese’s Mini Peanut Butter Cup to make the hoop with more icing. You will want to use a generous amount of icing and allow these to dry for several hours or overnight. To make the hoops stand, press the paper straw into a Reese’s Mini Peanut Butter Cup. I added a bowl of dip to our basketball court but you could add any cracker topping that takes the “main court”!
These hoops are sure to be the star of your basketball party!
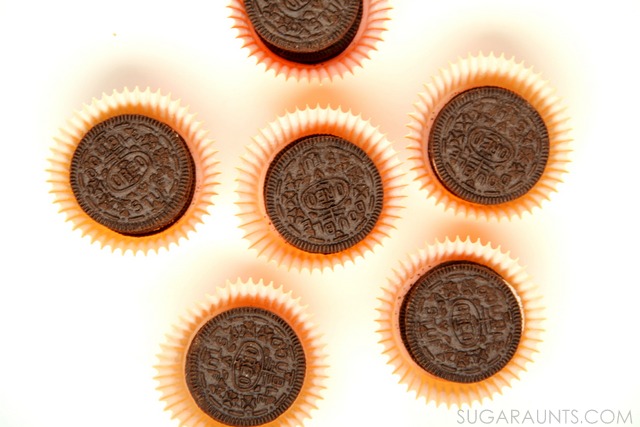
A few more easy treat ideas include popping Oreo cookies in a cupcake liner. I used orange cupcake liners to hold two Oreo cookies. This is simple and elegant dessert for your food table.
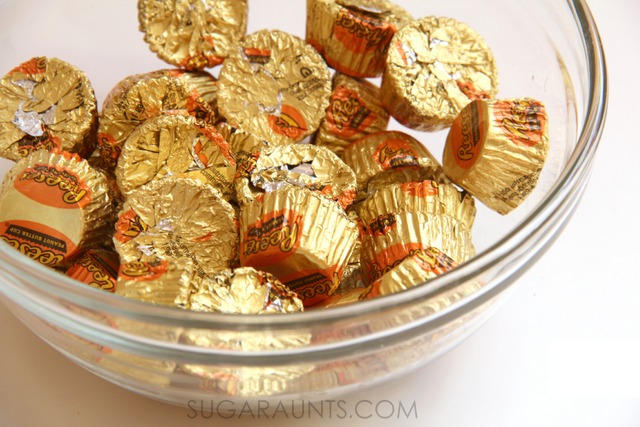
Of course, no one can resist snacking on a handful of Reese’s Mini Peanut Butter Cups during the big game. Pour them into a bowl and you’re done.
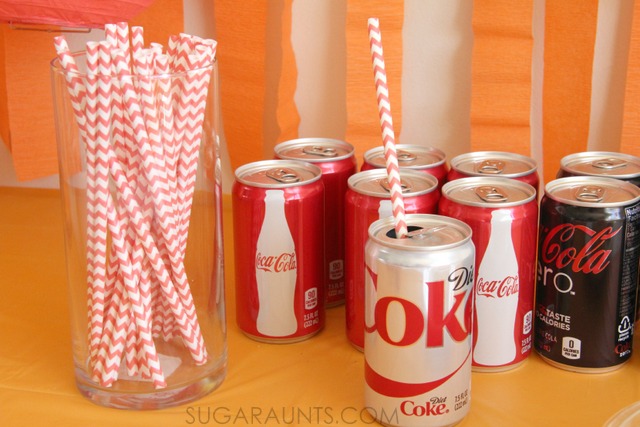
Other decor ideas include orange and white tablecloths and orange streamers to match the basketballs on the television screen. I loved adding the paper lanterns for a pop of color and to mirror a basketball.
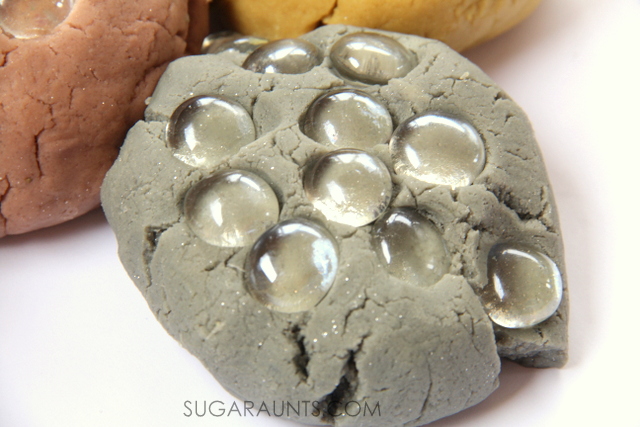
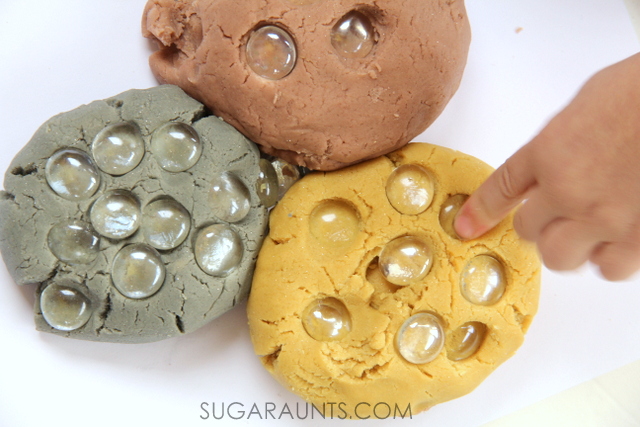
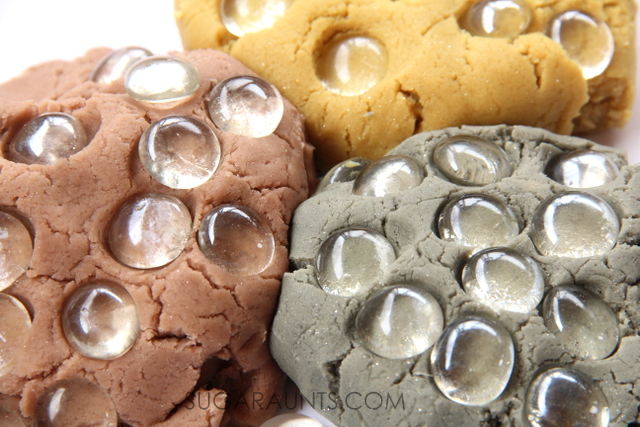
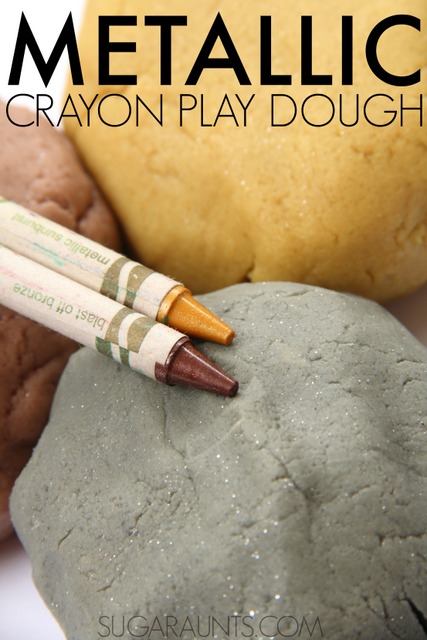
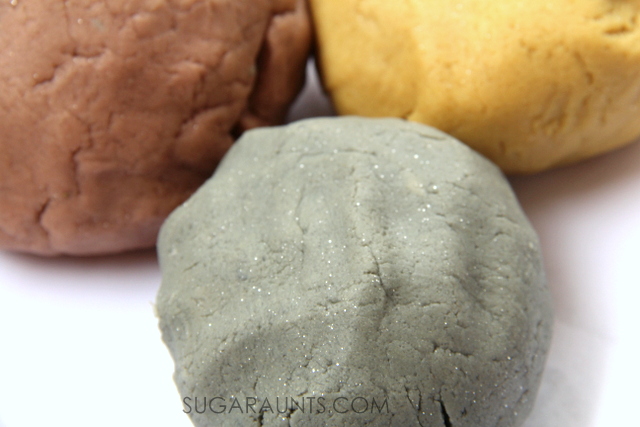
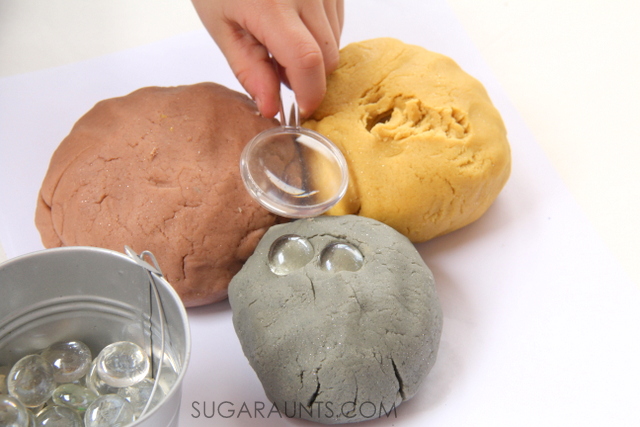
This metallic crayon play dough is just one of the hits in house! Use crayon pieces to make a sparkly play dough and then try one of the other crayon play dough recipes that we love!
Homemade play dough is one of our favorite sensory ways to play! We’re playing our way though the year with sensory dough recipes and this month brings Metallic Crayon Play Dough. Now, if you’ve followed along with our blogging antics for long, you’ve seen a crayon play dough recipe or two. (Or three. Seriously, this stuff is amazing. And addicting.) With this month’s theme in the 12 Months of Sensory Dough series being Sparkly Dough, we had to bring the sparkle and shine out in our crayon dough recipe with Metallic Crayon Play Dough!
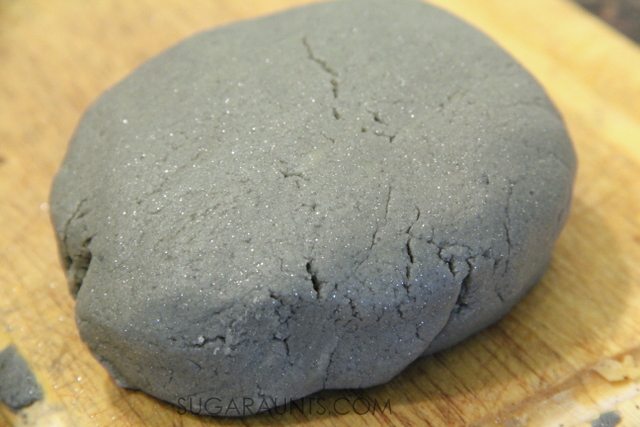
Look at that shine! We’ve said it before…making play dough with crayons brings out the bold, vivid hues of crayon pigment. And when you make a play dough using crayons, the colors are bright! The gold, silver, and bronze colors of our metallic dough are perfect shades and the sparkle in the crayons REALLY shines!
Choose your colors and peel off the labels. Chop crayons into small pieces.
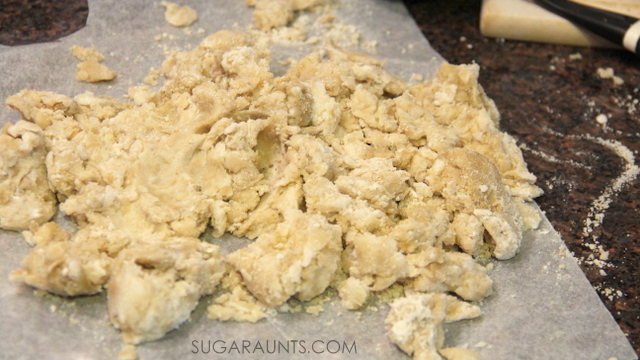
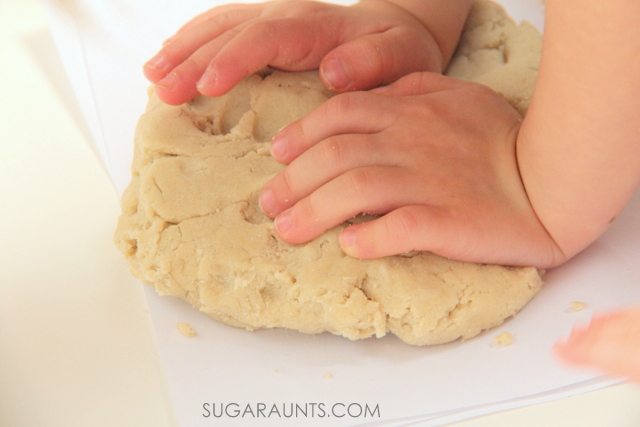
Follow the directions to make crayon dough. Dump it out on a clean surface and start kneading. The colors will be blotchy at first, but keep kneading!
Get the kids involved in kneading the dough. It’s such a great fine motor workout for the little muscles in the hands. Not only do the intrinsic muscles get a workout, but kneading dough is a fabulous proprioceptive workout. when you knead dough, pressure input is received through the joints all the way up through the shoulders. This sensory dough is a real sensory activity as you knead the color throughout the dough.
If you like the idea of using your broken crayon pieces in something as fun and creative as play dough, then you will love to try a few different ideas, too. We’ve given crayon play dough a run for it’s fun and tried a few different versions. Check them out and if you make a batch, let us know how you get creative with crayon play dough!
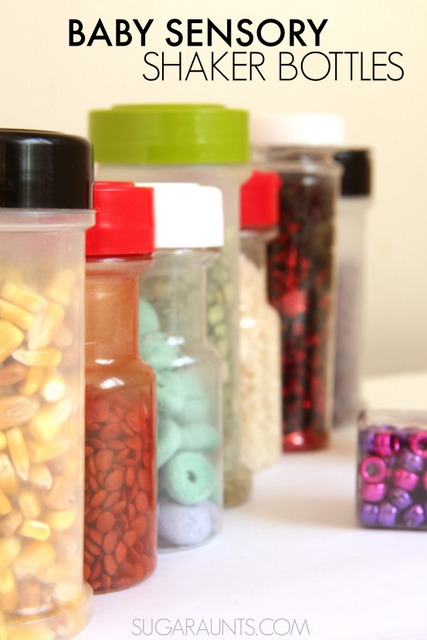
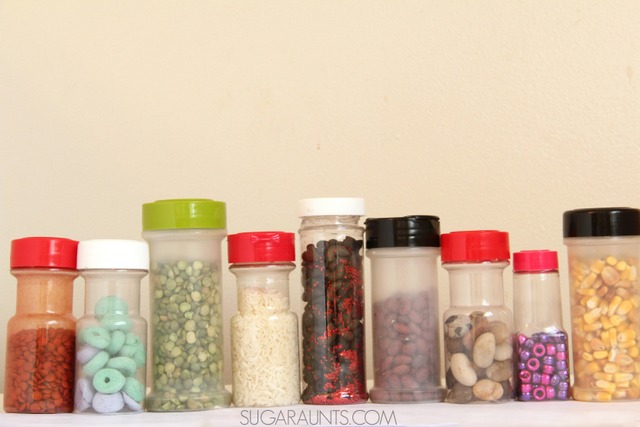
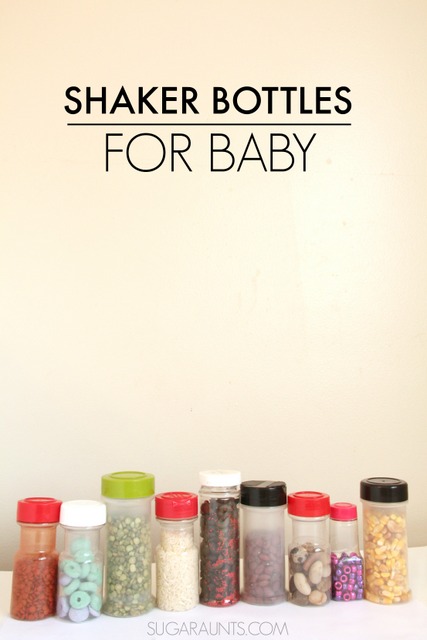
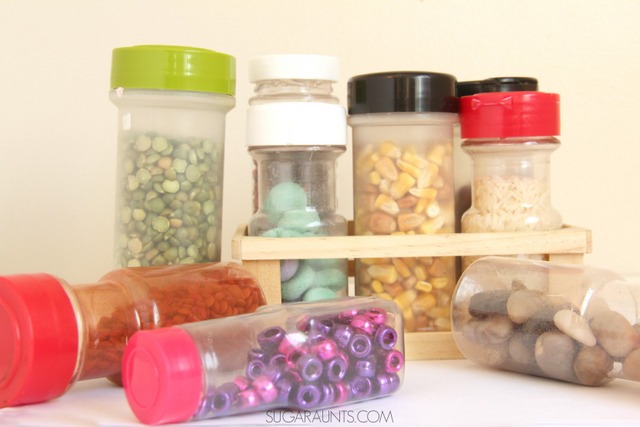
It is so much fun to watch a baby play. They learn every day and through every experience with their environment and family. Our littlest one is nine months and really interacting with her older brother and sisters. We made these sensory shaker bottles from recycledspice containers for baby sensory and auditory play and she’s been playing with them every day. The older kids are loving these sensory bottles for the auditory fun.
Sensory Bottles for Baby
This post contains affiliate links.
We started with a bunch of empty spice jars. Save those spice jars! These are the perfect size for baby to grasp and hold. To fill the jars, I pulled out a bunch of materials that would provide a great sensory experience to see, hold, and hear:
field corn
is a larger seed than regular popcorn and provides a great shaking noise with a slightly heavier weight. lentils
are a small dry material and fun to shake. We actually died our lentils orange first! green split peas rice
(this can also be dyed to any color!) elbow pasta
(we dyed ours black and added a bunch of red glitter. This is a cool combination for sensory play!) pebbles
provides heavier feedback with a weightier sensory bottle. pony beads
See the full video here and be sure to follow our latest blogging adventure over on our YouTube channel.




 (I love the bright colors!)
 (These are the best and the ones that I always recommended to my school-aged OT students.)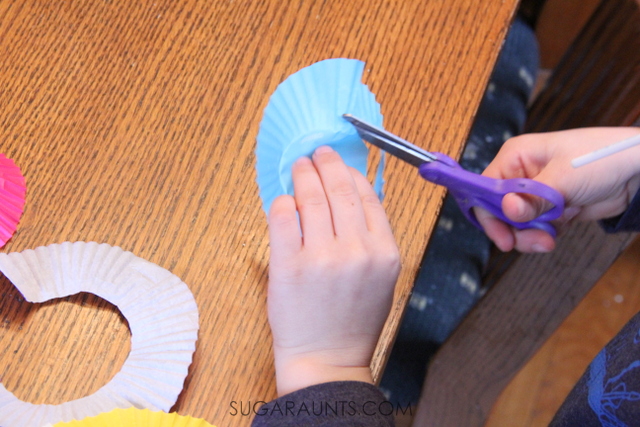

 . They aren’t too hard to figure out and in fact, this was our first time using a pasta maker. We usually just roll the dough with a rolling pin and cut with a knife to make noodles. That style of pasta is typically better for soups and stews as it produces a thicker noodle. Today, we wanted to make fettuccine and the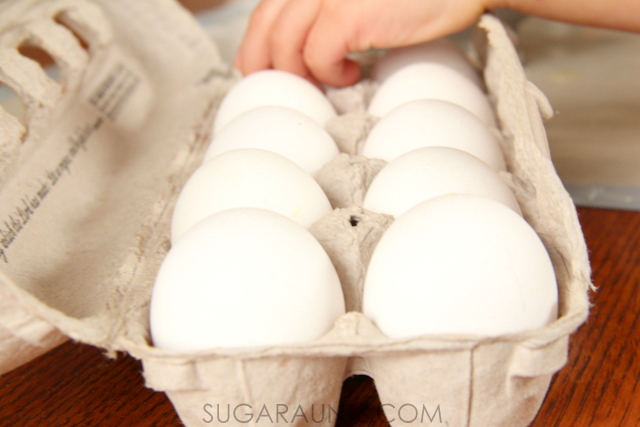
 for it’s heavy duty rolling and sturdy handles. It’s perfect for rolling out dough that springs back a bit. You will want to roll the dough into a long rectangle that can fit into the roller of the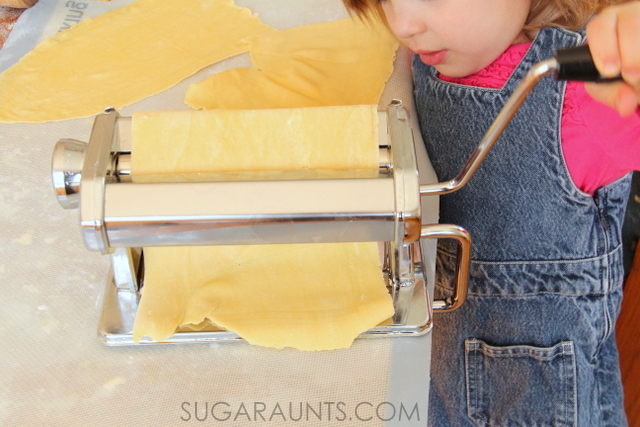





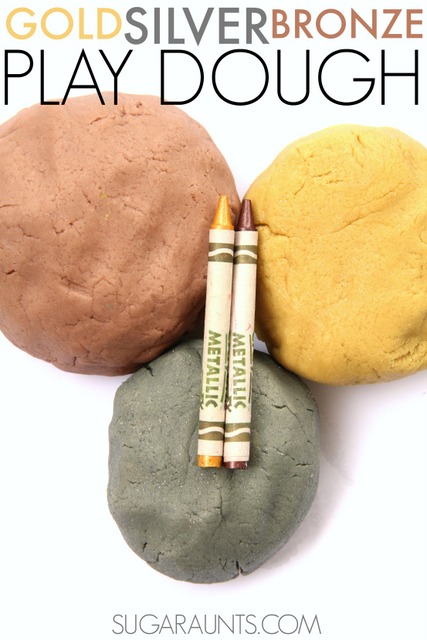

 . Using this brand of crayon gives your dough a sparkle and great metallic hue.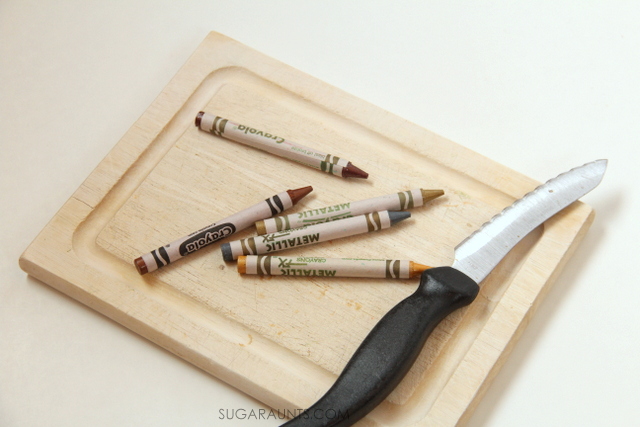

 .
.