Tractor Footprint Art for Kids


We LOVE print art at my house. My kids are 2, 3, and 6yr right now. I love making fun keepsakes with their little prints. They love making them just as much as I love keeping them. The transformation from a handprint or footprint into say, a Bunny, is just so much fun to them. With Spring in the air and thoughts of gardening and getting outside, we decided to try making a fun Tractor Footprint Art for the art wall. The kids are just thrilled at how this turned out.


Tractor Footprint Art

What we used/ supplies:


green paint
white cardstock
sharpies 
glue

green, yellow, and black paper

scissors


 What we did/ how to make:


I used my finger and smeared green paint on my sons foot. I pressed it down on the white cardstock. I had wipes and paper towel handy to wipe his foot off. Once he was done we left the footprint to dry overnight.


Once I came back to the dry green footprint it was time to turn it into a tractor! I grabbed the yellow, black, and green paper out. Also the glue and scissors. The kids were at school and I had to to do this now or never but the kids can help with all of the next steps. We still have a few footprints on the counter to work on when they get home.


I took what was on the counter and traced 2 different sized circles on the yellow paper. You want one to be bigger than the other. Once I had those, I laid them on the black paper and guessed and traced a circle a little large. I took my scrapbook scissors and cut those out. Now I glued the yellow circles to the black circles. Yay, we have tires now.


Glue the tires to the footprint. I took a little of the yellow paper and cut out a top for the tractor. I used the black sharpie to draw the lines under the top. And last added a pipe with smoke coming out. The bottom looked empty so I added green paper.


 Hi! I am Jaime, mama to three high energy boys. With three boys, life never slows down, but I wouldn’t have it any other way! We love creating, learning, and crafting together and we can turn anything into an adventure.

Books About Recycling for Kids

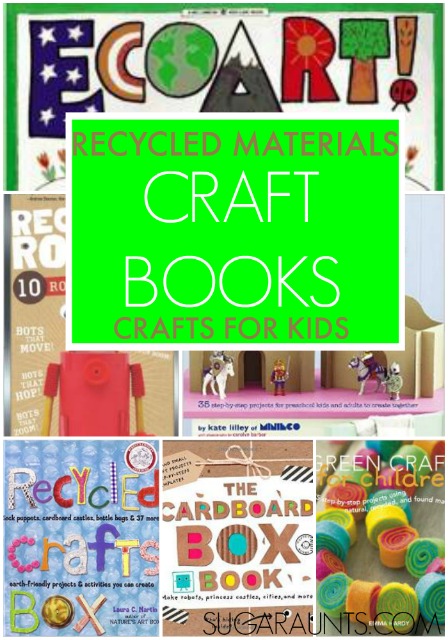
We love to make crafts and activities using recycled materials.  Love it.  So when we joined the natural parenting and earth month series at Alternative Learning, we knew we had to do something with recycled material crafts. Looking around the internet a bit, we were able to find the best craft idea books for creating kids’ crafts using recycled materials.  These are some seriously fun looking books!


 Recycled Materials Craft Books for Kids

kids crafts using recycled materials.  Books about crafting with recycled materials.
This post contains affiliate links.


Recycled Crafts Box by Laura C. Martin
Use your  to create castles, puppets, and more, using trash.  These projects can be transformed into art projects and given as gifts using materials from the recycling bin!

The Cardboard Box Book by Roder Priddy
Use a cardboard box to create crafts, costumes, castles, circus, and more.


Green Crafts for Children by Emma Hardy
Kids can make their own toys and games, gifts and ornaments. This book uses all materials that you can find in recycling bins or nature.


Ecoart! by Lauri Winn Carlson
 Children can express themselves and interact with nature using imaginative experiences. All the projects use recyclable, reusable, household materials and/or items found in nature.


Recycled Robots by Robert Malone
Use items in your house to make Robots!


Recycled Crafting for Kids by Kate Lilley 
Quirky, colorful and fun projects for pre-school kids and their parents to make together.

Need more recycled materials books for kids?  These are great for teaching kids about recycling:


                                                Why Should I Recycle? by Jen Green

A teacher explains to his class about recycling as he takes them to a recycling plant to show them how it works, what sort of things they can recycle and to explain why it’s important. 


Recycle!: A Handbook for Kids by Gail Gibbons
Kids will learn about the recycling process with a focus on 5 different types of recyclables.


The Adventures of a Plastic Bottle: A Story About Recycling (Little Green Books) from Alison Inches
Learn about recycling from a new perspective as a plastic bottle journeys from the plant to the manufacturing line all the way to it’s new recycled life!


I Can Save the Earth! by Alison Inches
Educating kids on how to be more earth-friendly, this is a fun book.
 

Bernoulli’s Principle Tissue Paper Glider

make a tissue paper glider

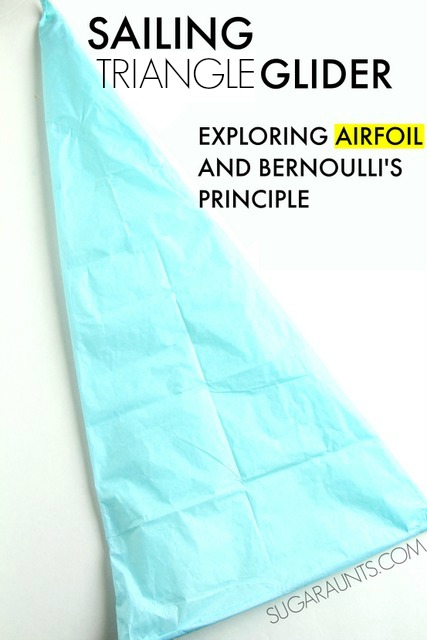
Today we’re excited to share how to make glider using tissue paper. This tissue paper glider is a fun way to build a project together with the kids and explore airfoil and Bernoulli’s Principle.  Using just a few materials, you can easily construct this glider and watch it sail! Add this simple experiment to your list of discovery activities that support exploration, STEM, and fine motor skills!

how to make a delta sale glider from tissue paper. This is a fun glider activity for kids to explain airfoil and Bernoulli's Principle as well as answer the question: "why do airplanes stay in the sky?"
This post contains affiliate links.


Bernoulli’s Principle for Kids

My kids love to watch for airplanes flying overhead when we are outside. They’ve asked a few times how the planes stay in the sky.  We made this simple glider as a way to play and explore Bernoulli’s Principle while learning about flying.  
 
First we talked about Bernoulli’s Principle.  This principle tells us that when the speed of air (or water/oil/etc) increases, it’s pressure decreases.  To fly, a plan requires airfoil (a wing or surface that air flows around) to glide on the wind. The surface of a wing (airfoil) is designed to provide lift using Bernoulli’s Principle.  the wing/airfoil makes air move faster over the top and creates a low pressure area above the glider or airplane.  This lifts the plane or glider and keeps it in the air.
 
We decided to explore this principle a bit more by making a Delta Wing Airfoil


What is a Delta Wing Airfoil?

Essentially, a delta wing airfoil is a triangular shaped wing.  A glider that a person can ride is a delta wing airfoil.  We made one on a much smaller scale using straws and tissue paper.


How to make a glider:

You’ll need just a few items to make a glider.

Gather the items you need for the tissue glider and then get started:

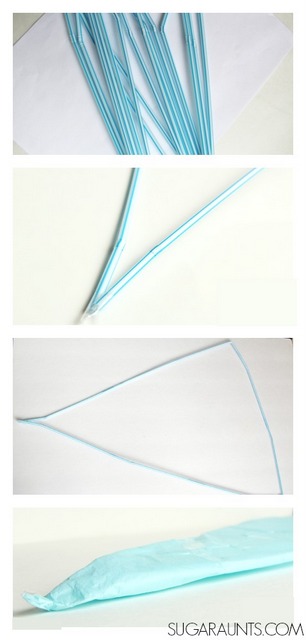
  1. To make the frame of your glider, roll the end of one straw and insert it into the end of another straw.  
  2. Connect three straws this way to make two long sections of straws.  
  3. Attach these two long sections and bend them into a sharp point.  
  4. Add tape to support the angle.  This will be the point of the glider.
  5. Connect two straws in the same manner.  
  6. Attach the ends to the long straw sections and tape into angles.  
  7. Add tape to the connecting points of the straws.
  8. Next, cover the frame with tissue paper.  We covered both sides of the frame and used tow pieces of tissue paper, but you could cover just one side.  
  9. Use tape to secure the paper.  (You may need more tissue paper depending on the size of your sheets of tissue paper.)
How to make a tissue paper glider with kids.  Exploring Bernoulli's Principle
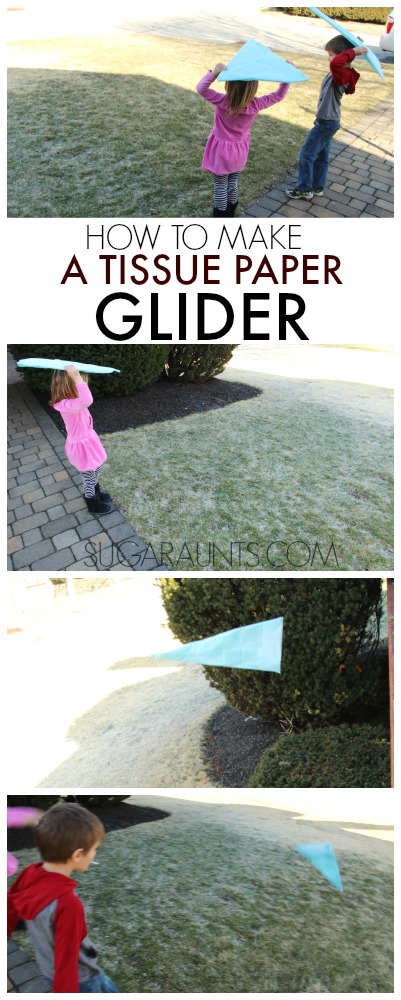
Next, go outside and launch your glider!  Hold both of the long sides of the triangle over your head and GENTLY toss the glider upward.  It will take practice to get the glider to sail, but once you get the hang of it, you can really have fun with watching it sail!  
Talk about Bernoulli’s Principle at work to keep the glider sailing through the air.  
 
Other concepts you can discuss include talking about air drag and streamlined shapes.
 
This post is part of Frogs and Snails and Puppy Dog Tails’ A-Z Science Experiments series.  

Ducklings Sensory Play Kids Book

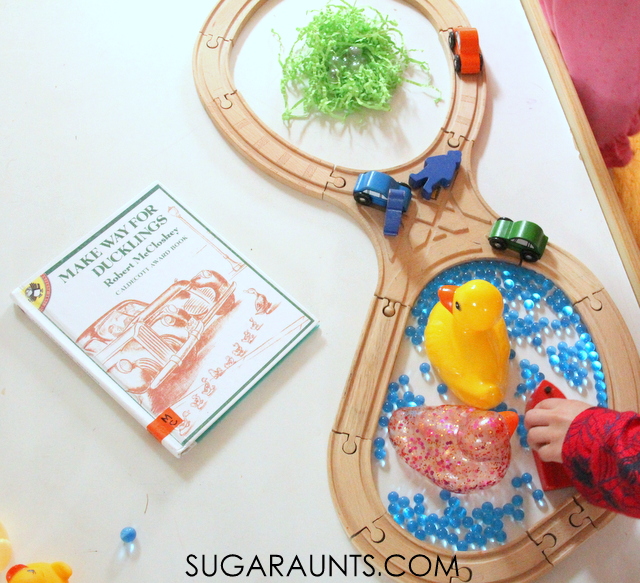
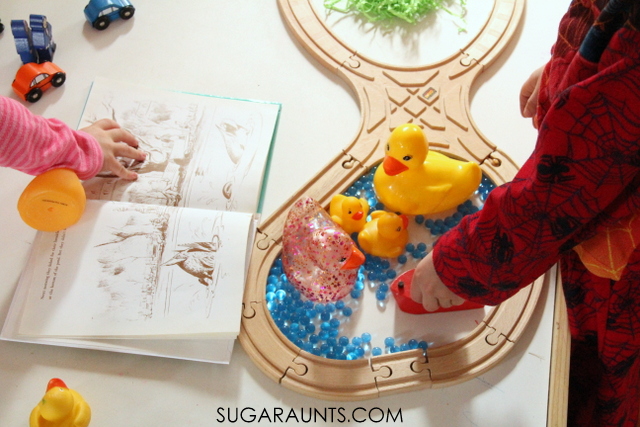
Books and activities are one of our favorite ways to play and explore books.  We recently read Make Way for Ducklings by Robert McCloskey.  This is a book written in 1941 that was totally new to us.  It quickly became a new favorite in our house!  As we read the book about Mr and Mrs. Mallard’s search for their new home, we became very excited to explore the story through sensory play.  We decided to create a sensory table based on Make Way for Ducklings and did we ever have fun!

Make Way for Ducklings book sensory play for kids
This post contains affiliate links.


Make Way for Ducklings Book and Sensory Play

 
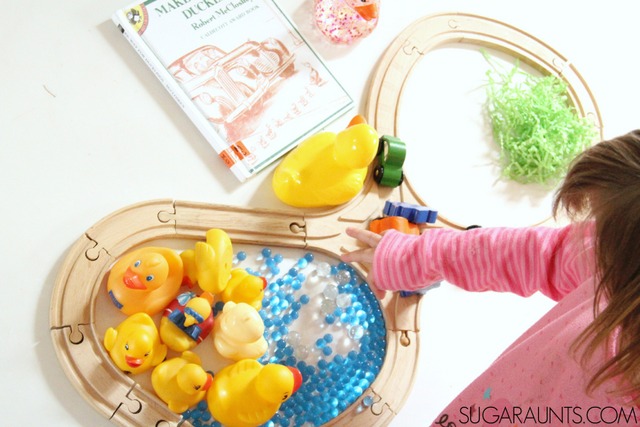
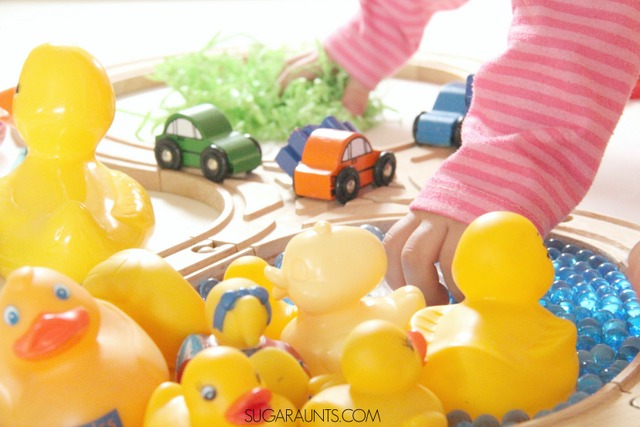
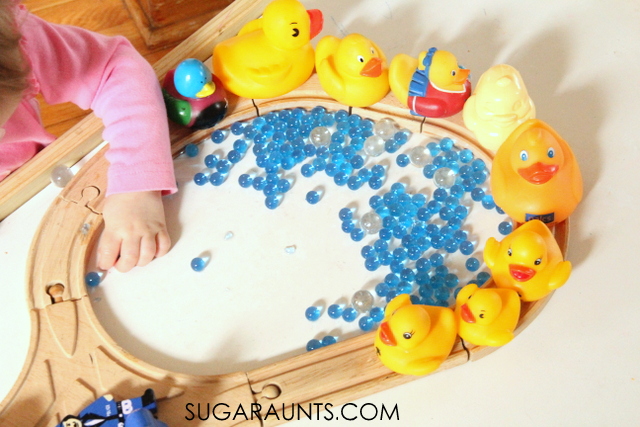
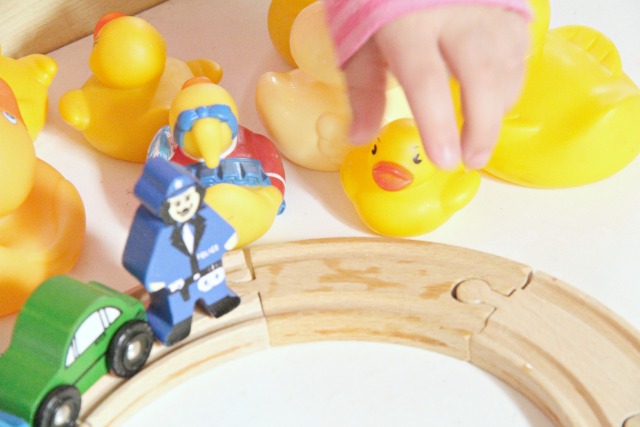
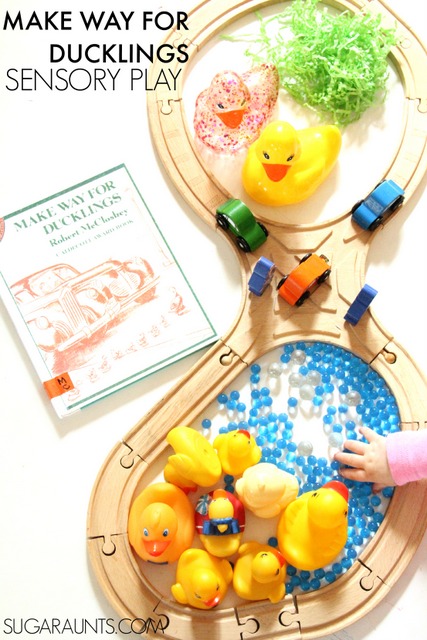
We read Make Way for Ducklings a few times before we made this sensory table activity.  It is such a fun book with a sweet story about a pair of mallards that are looking for a new home for their growing family.  When the ducklings are born, the mama duck needs to get her large family through the busy streets of Boston to a beautiful and safe park.  We decided to make a sensory play activity right on our Train Table.  We use our train table almost everyday for creative play of some kind.  This sensory play was perfect on the train table as we acted out the story.  Three kids could reach, move, explore, and play as we re-told the story.
We used a few items for our sensory story play:

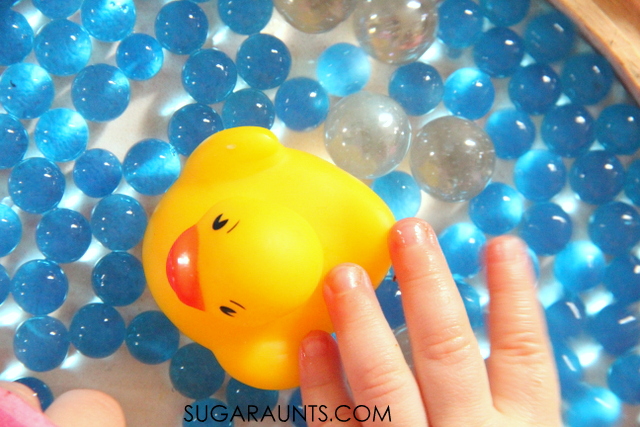
rubber ducks 
wooden train tracks to enclose our sensory play area and use as roads for the busy streets of Boston.
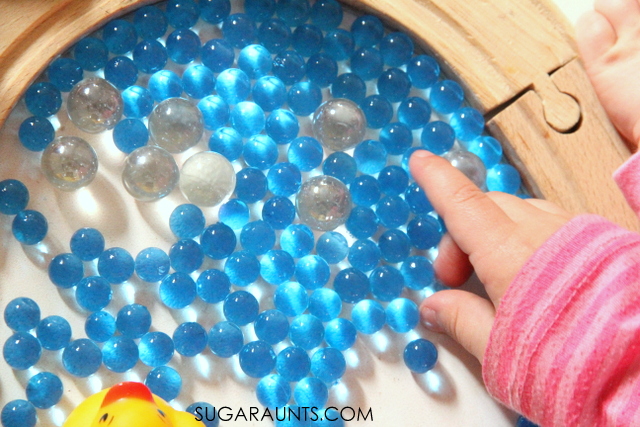
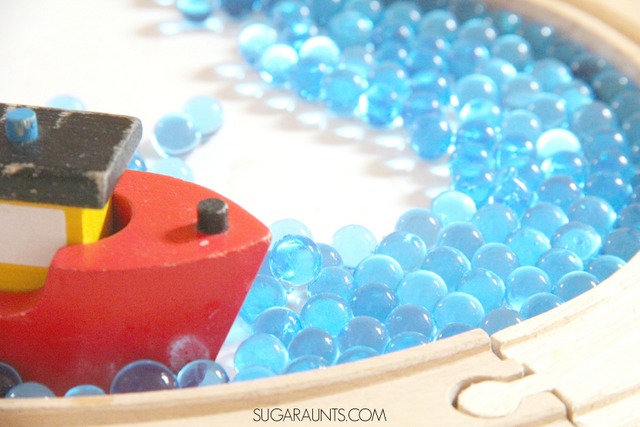
blue waterbeads (Have you played with these yet? SO cool!)
cars 
policeman figures 
green shredded paper 
clear glass gems 
Boat

We pulled out the book and started reading, playing, and re-telling the story.
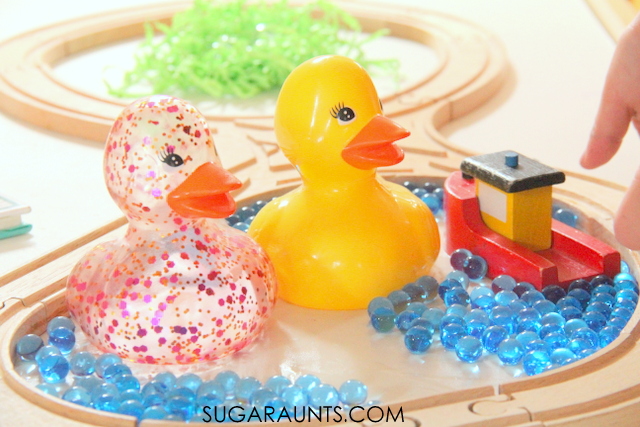
Mr. and Mrs. Mallard love the pond in Boston Public Gardens.  It would be the perfect place to make a new home for their family!  There is even a boat in the pond full of people who feed the ducks peanuts.
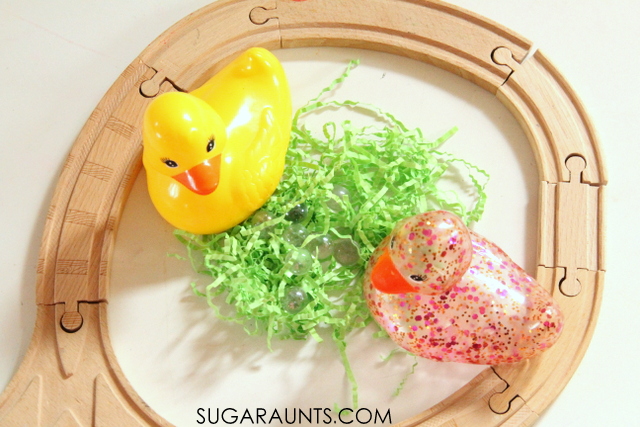
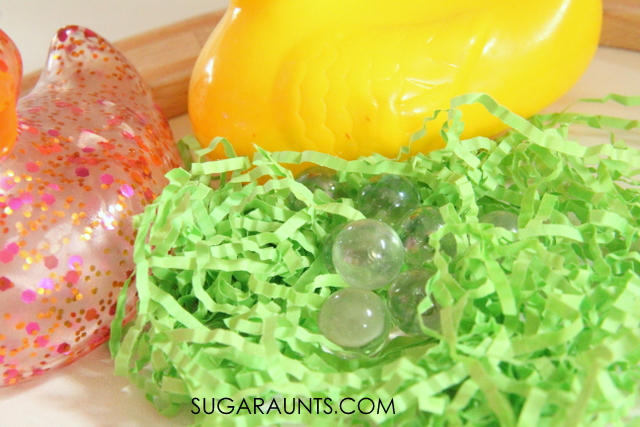
The mallards travel a little ways to make a nice, safe nest.  Mrs. Mallard sits on her eggs until they hatch.  The glass gems made perfect “eggs” and we were able to count them just like Mrs. Mallard does.
Then the eggs hatched and seven ducklings were born.
Mrs. Mallard taught the ducklings to swim and waddle in a line.
The ducklings followed Mrs. mallard back to the pond along the busy streets.
The policemen stopped traffic to allow the ducklings to cross.
And the Mallard family lived at the pond!  
 
Exploring this book with sensory play was such a fun way to extend one of our newest (old)favorite books!
Make Way for Ducklings book sensory play activity. This is a fun way to re-tell a story through sensory play.
This post is part of a new series we’re joining all about Book Themed Play Dates!  If you’ve ever thought of planning a play date based on a book, this is the series to follow to get great snacks, games, crafts, activities and more based on a great book each month.  
Check out the bloggers below for fun activities for Make Way for Ducklings:
 
Duck Snack from Still Playing School
Preschool Math Game from Fun-A-Day
Ducklings Busy Bag from Craftulate
hands-on activities to explore social emotional development through children's books.

Love exploring books with hands-on play?  

Grab our NEW book, Exploring Books Through Play: 50 Activities based on Books About Friendship, Acceptance, and Empathy, that explores friendship, acceptance, and empathy through popular (and amazing) children’s books!  It’s 50 hands-on activities that use math, fine motor skills, movement, art, crafts, and creativity to support social emotional development.

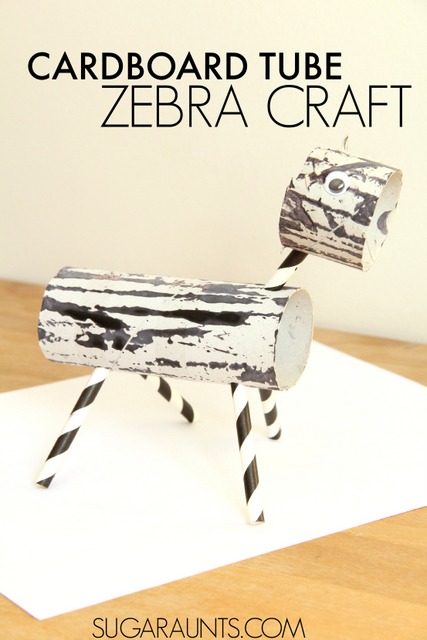
Cardboard Tube Zebra Craft

 Today we bring you a Recycled Cardboard Tube Zebra Craft.  We love to make and create play ideas and crafts using recycled materials.  Its a wonderful way to upcycle and save crafting supplies and use recycled materials in a greener and more sustainable manner.  This cardboard tube zebra craft hits the mark!


Cardboard tube toilet paper tube zebra craft

Toilet Paper Tube Zebra Craft

We pulled out a cardboard tube to make this zebra, along with a few other items that we’ve used in other play activities.  This post contains affiliate links for a few reusable items you may need.
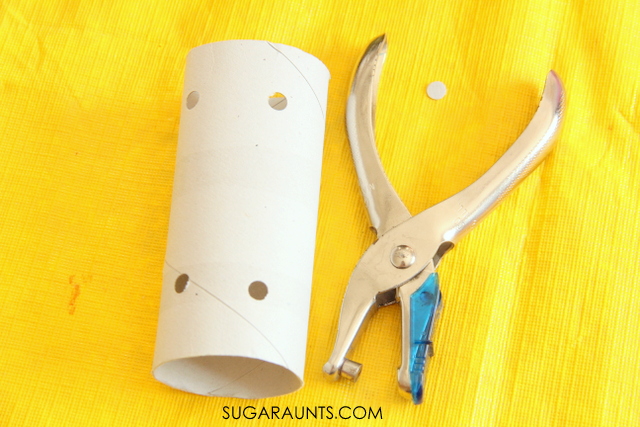
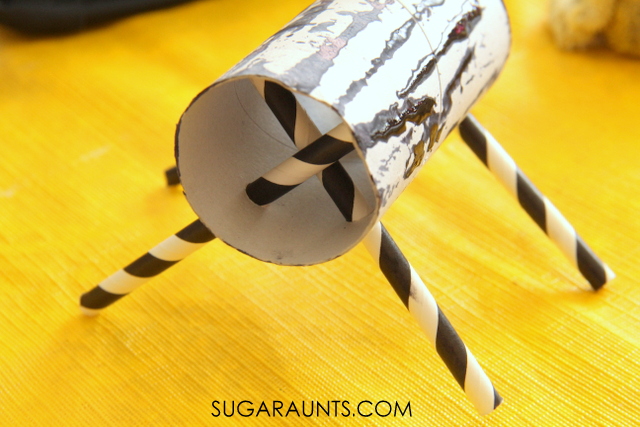
Use a hole punch to make four holes in the cardboard tube as shown in the picture above.
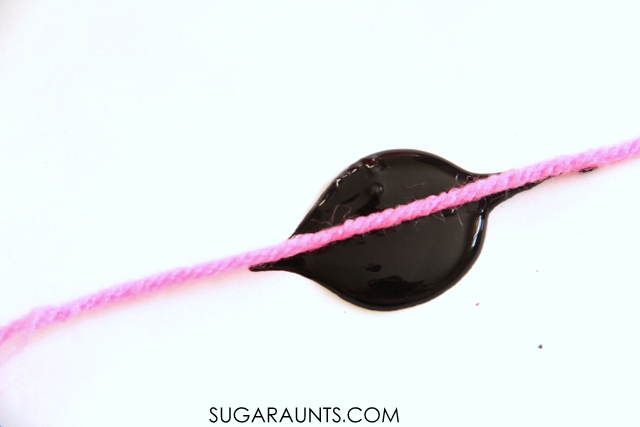
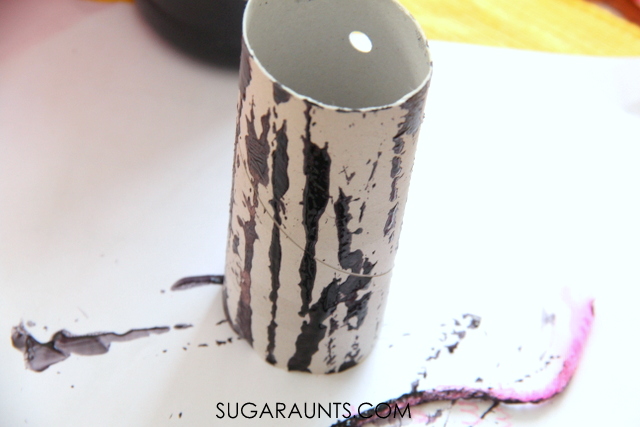
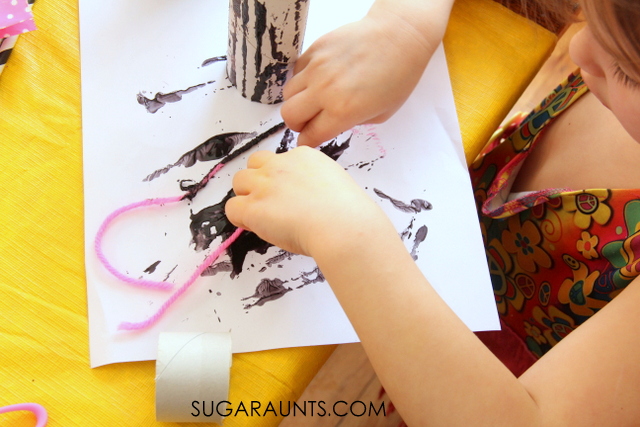
Use yarn draped in black paint to make stripes on the cardboard tube.
This is a messy painting activity, but oh, so fun!
Once the cardboard tube has dried, use black and white paper straws to make legs on the zebra.  Push the straws into the holes in the cardboard tube to support the zebra.
Add a small section of straw and a smaller section of cardboard tube to make a zebra head.  Snip two triangles from the tube to create zebra ears.  Glue on or draw on eyes for the zebra.  Have fun with your recycled zebra craft!
This post is part of the Natural Parenting and Earth Month series hosted by Allternative Learning.

Overnight Egg Strata Recipe

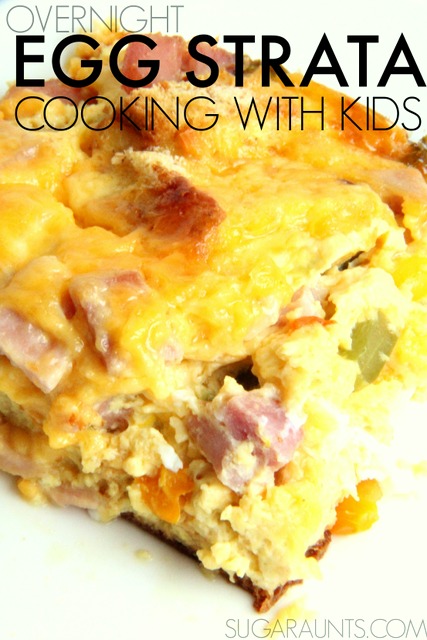
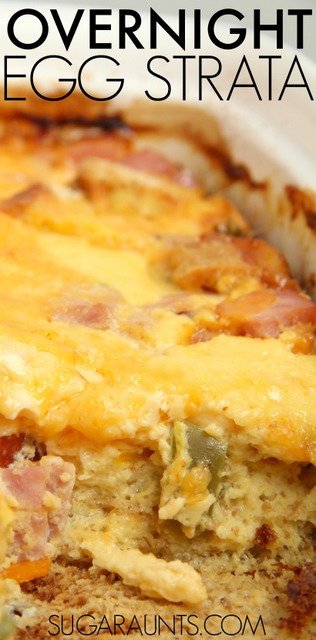
overnight egg strata
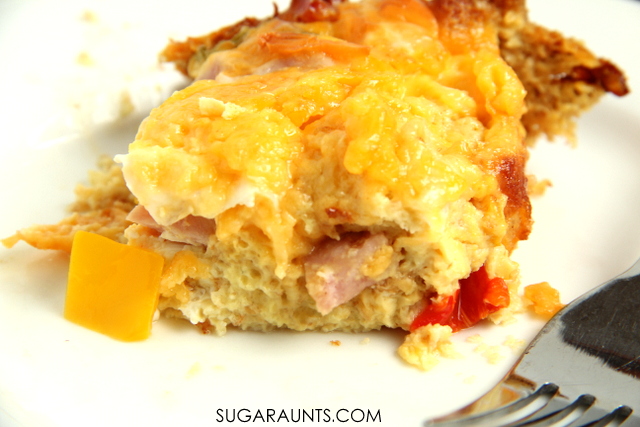
Cooking with kids is a fun way to spend time together!  Cooking together in the kitchen is quality time with learning, skill development, and has a tasty reward.  Kids love to create new concoctions in the kitchen and may be more willing to try new foods.  We made this Overnight Egg Strata Recipe together one afternoon and then enjoyed our breakfast on a lazy Saturday.  This easy egg strata recipe would be a great addition to holiday mornings or even breakfast for dinner! 
Overnight Egg Strata recipe. This is a great recipe for cooking with kids.

Overnight Egg Strata Recipe

 
This post contains affiliate links.
 

 We made this egg strata recipe as a new recipe to us.  As part of our Cooking With Kids A-Z series, we needed an egg recipe.  (If you haven’t been following along with our series, we’ve been cooking our way through the alphabet.  Every two weeks, we’re cooking up a new recipe.  This week is E is for Eggs and our egg strata recipe was just the thing to make!  We’ve never made this recipe before, but it is one of the Aunts’ go-to breakfast recipes for holidays, special events, or lazy mornings.  It’s been posted on the blog before, but this Aunt has never made it (or tried it, actually!) so we decided it was the perfect recipe for our E is for Egg week!

 
This is such an easy recipe to throw together.  If you need an amazing breakfast casserole for Easter or Mother’s Day (or Christmas or any day!), this is the one to make.  
It took us maybe an hour to put together –including the time it takes for kiddos to chop, dice, and toss–so average time to make would probably be closer to 20 minutes.  BUT, cooking with the kids really gets them involved and learning in the kitchen.  
 
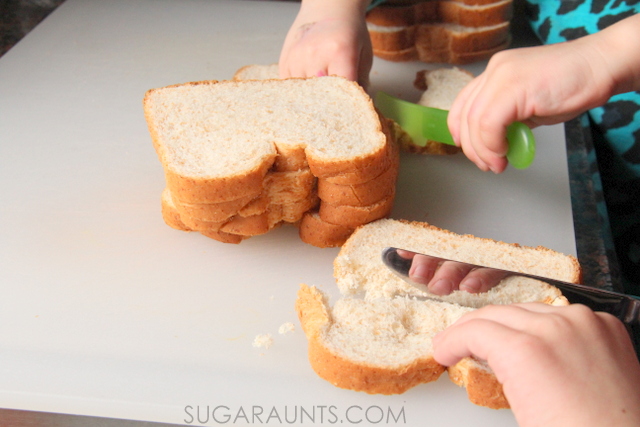
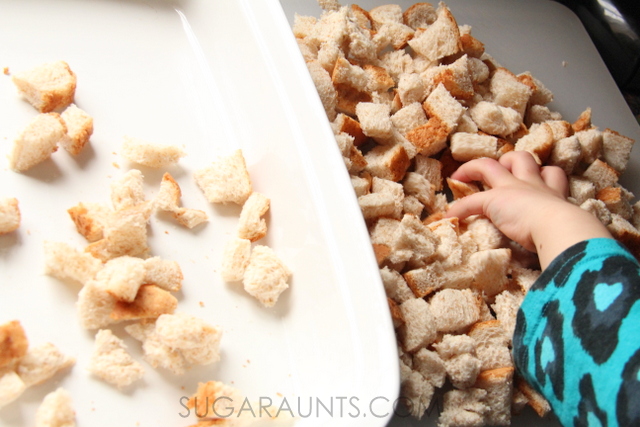
Start with 10 slices of bread.  Chop them up into crouton-sized squares.  We used whole wheat bread, but any type would do.  This would even be an excellent way to use up day old bread.
 
Once the bread is chopped, place half of it in the base of a large casserole dish.  Don’t forget to spray with cooking spray first.
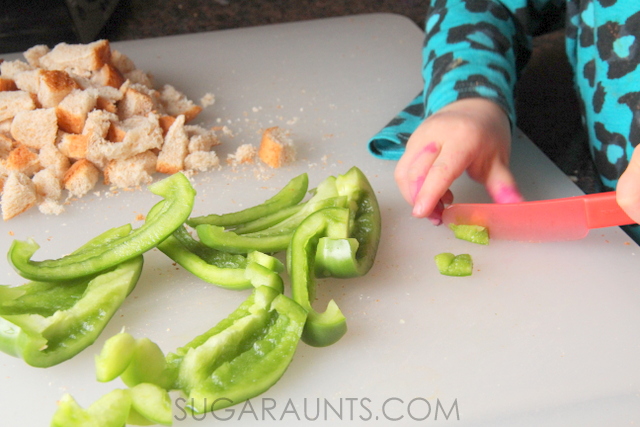
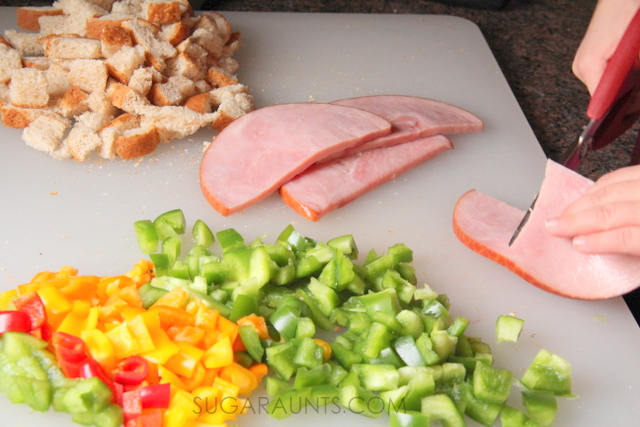
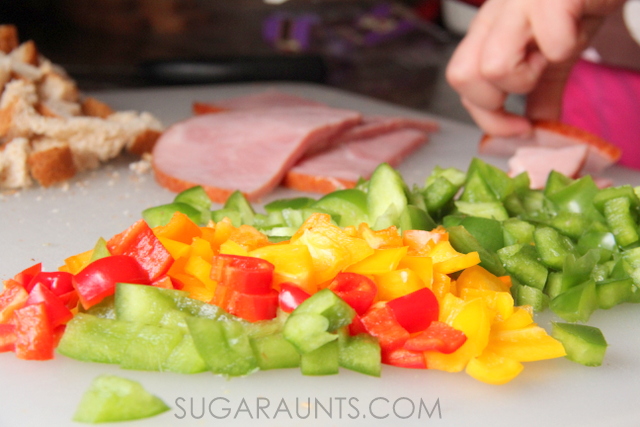
Chop any vegetables.  We used red, yellow, and green peppers, but this recipe would be amazing with mushrooms, tomatoes, asparagus, spinach, or any veggies you have on hand.
 
Cut slices of ham into pieces.  You could substitute the ham with sausage or bacon.  I love the versatility of this recipe!  Side-note: Using kitchen shears to cut the ham steaks is perfect for school-aged kids.  They can easily cut ham into pieces while strengthening their hand muscles at the same time.  I love (Amazon affiliate link) these kitchen shears (incidentally, a gift from one of the Aunts!) for all snipping in the kitchen!
Chop up the veggies into small pieces.  Children can use a safety kids’ knife to cut vegetables while becoming more confident and safer in their knife use while cooking.  Be sure to provide adult supervision.  
Overnight Egg Strata recipe. This is a great recipe for cooking with kids.
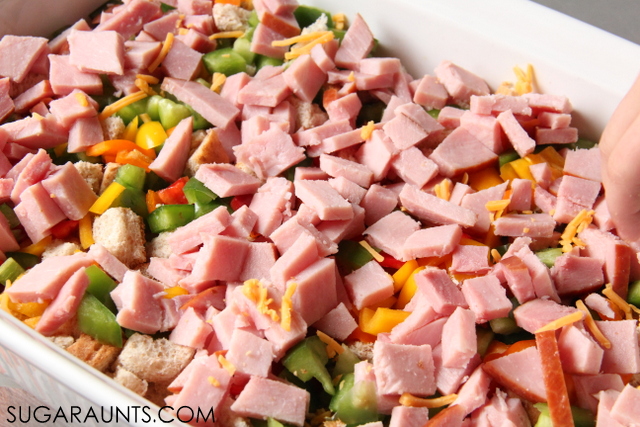
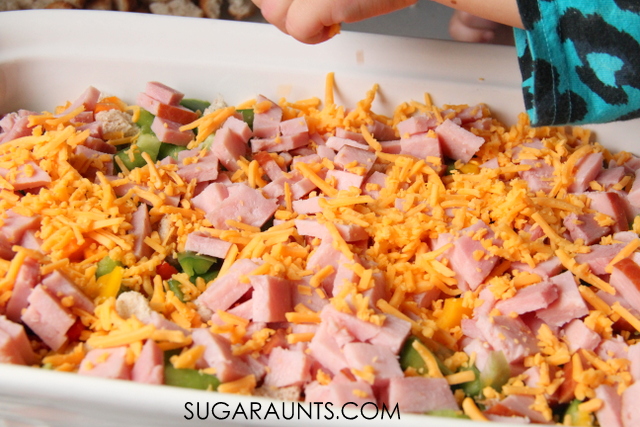
Over the bread pieces, layer: vegetables, ham, half of the cheese, and the remaining chopped bread pieces. 
Overnight Egg Strata recipe. This is a great recipe for cooking with kids.
Sprinkling the cheese was a huge hit!
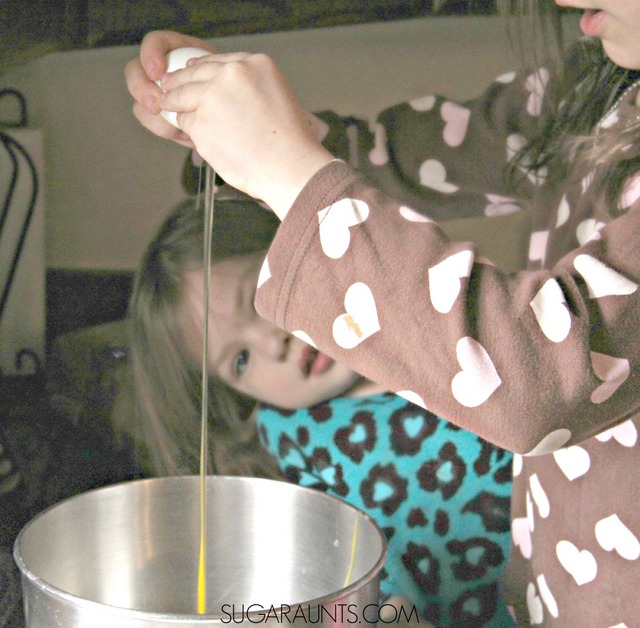
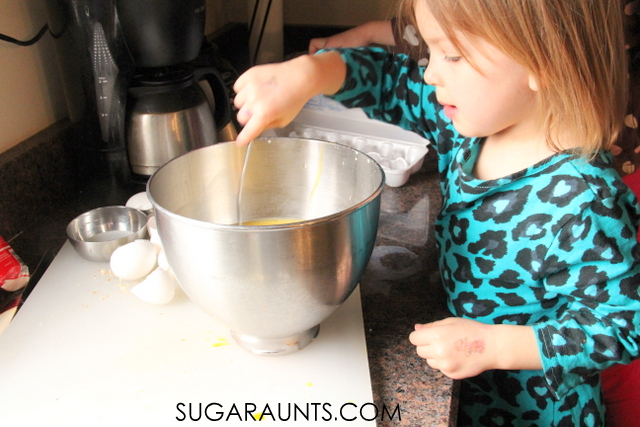
Next comes the egg cracking part.  My kids LOVE cracking eggs.  Its a messy job…and there are ALWAYS eggs dripped on the counter tops…but they love it.  
Stir together 10 eggs and 2 cups of milk in a large bowl.  
Mix well.  
 
Pour the egg/milk mixture over the casserole ingredients.  Sprinkle the remaining cheese on top. 
Overnight Egg Strata recipe. This is a great recipe for cooking with kids.
 
Place the covered strata overnight in the refrigerator.  Pull it out in the morning and bake at 350 degrees F for 35-40 minutes.  It is delicious and makes the house smell amazing.  My girls and I enjoyed eating our strata together as we talked about making it the day before.

Overnight Egg Strata Breakfast:

10 slices of white bread cubed
1 cup mushrooms (or any vegetables) chopped
1 small green pepper chopped
16 oz shredded cheddar cheese
1 ham steak cubed
8 eggs
2 cups milk
 
Spray a 9×13″ pan with non-stick spray.
Place half of the cubed bread on the bottom of the pan.
Sprinkle the veggies and then top with half of the cheese.  Next, layer bread and ham and top with the remainder of the cheese. Mix the milk and eggs, make sure to whisk well. Pour the egg mixture over the cheese.  Cover and refrigerate overnight.  Bake  covered at 350 degrees F for 35-40 minutes.  Remove the cover for the last 10-15 minutes to get the cheese looking golden.
This post is part of the Cooking with Kids ABC series.  
 
 
Be sure to try our other cooking with kids recipes:
More ideas you will LOVE:
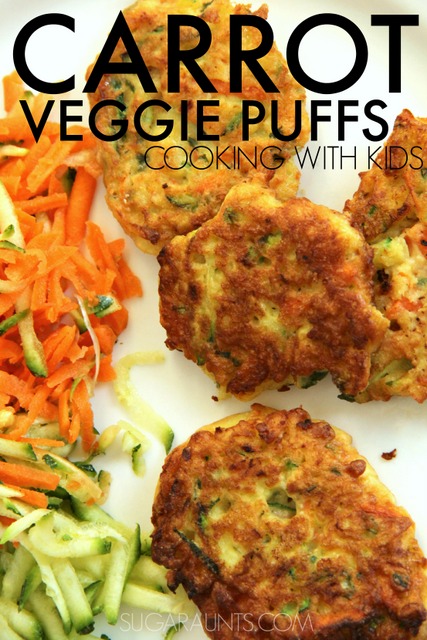
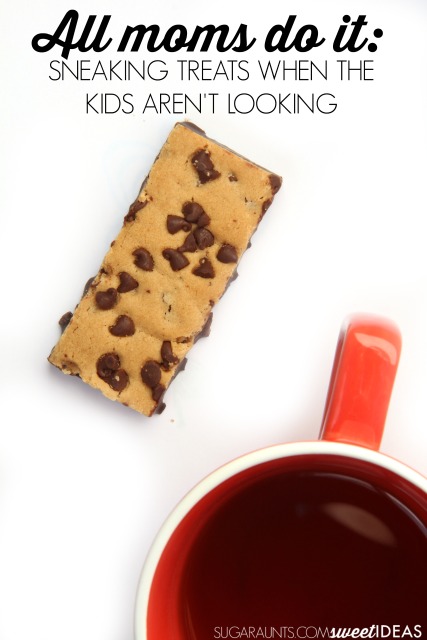
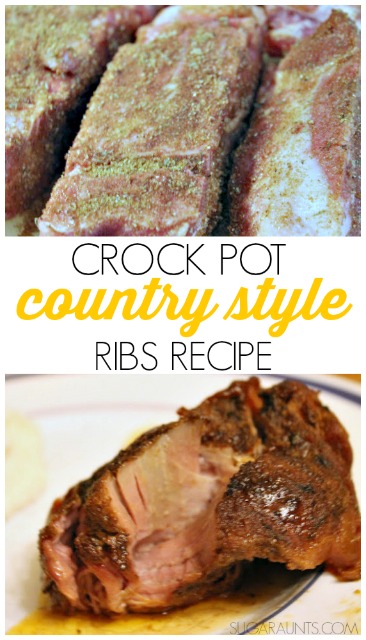
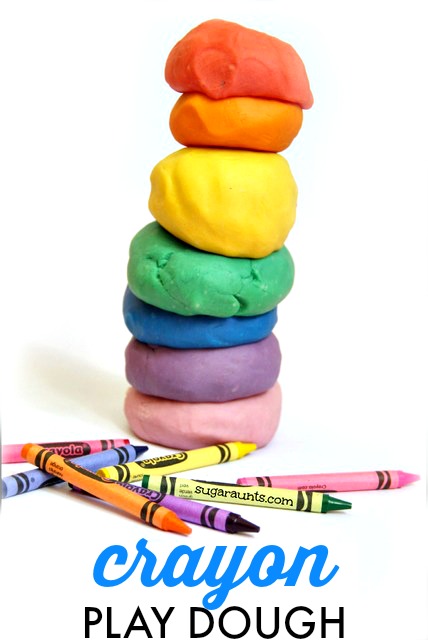
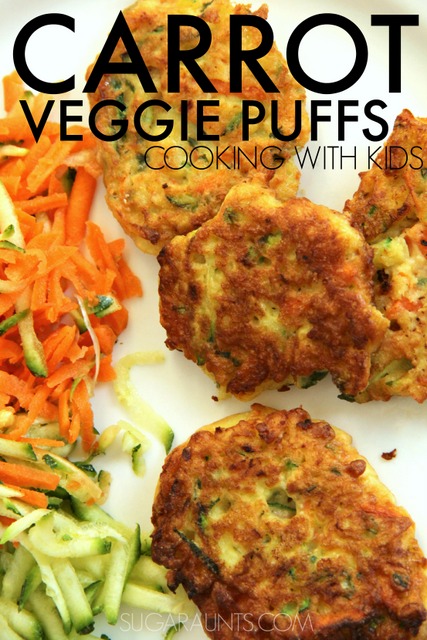
Moms Sneak Chocolate Country style ribs crock pot recipe How to make play dough with old broken crayons Carrot Veggie Puffs Recipe

Parts of a Book Activity

parts of a book activity

This parts of a book activity is a hands-on, multisensory learning activity for children. We loved adding a sensory motor component to learning the parts of a book while developing skills in visual motor and bilateral coordination areas of development.

Parts of a book activity

Big Sister is in first grade and one of the areas she had to learn in English Language Arts, is identifying parts of a book.  We practiced identifying parts of a book with our very own Parts of a Book-Scope!  

I love to create fun ways to practice testing areas and extend her homework a little with creative and playful learning.  

She worked on book part identification terms earlier in the year (but I’m just getting around to sharing this with you!) but it was so much fun, that Big Sister still talks about our Parts of a Book-Scope!


Parts of a book activity
 
 
This post contains affiliate links.  
 

Parts of a Book Activity for Kids

Teaching kids parts of a book is part of English Language Arts in the primary school years. What makes this hands-on learning activity fun is that kids can get involved in the learning with motor skills.

Parts of a book include:

  • Title
  • Author
  • Illustrator
  • Spine
  • Cover/Jacket
  • Front cover/Back cover

Then, there are other parts, which are included inside the book:

  • Table of Contents
  • Title page
  • Index
  • Pictures/Illustrations
  • Diagrams
  • Glossary
  • Image descriptions
  • Graphs

Other parts of a book are included in the actual content of the book:

  • Characters
  • Events
  • Sequence
  • Setting

You can get as descriptive on these parts as you would like, depending on how detailed your parts of a book lesson plan is.

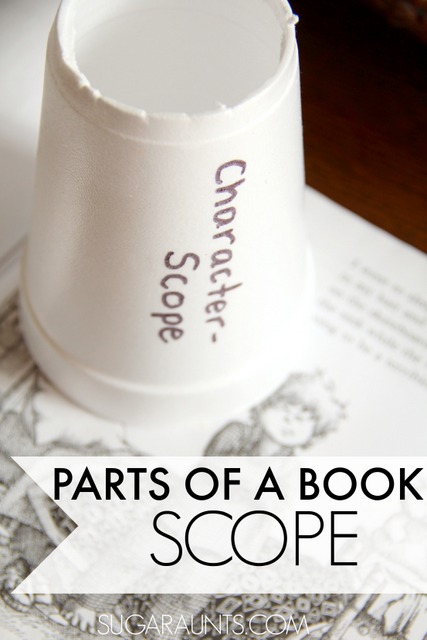
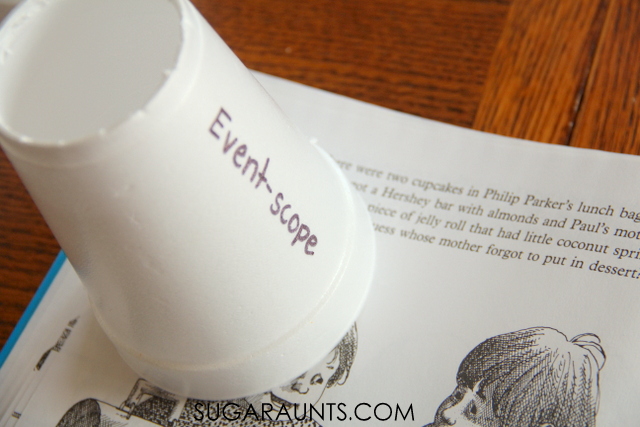
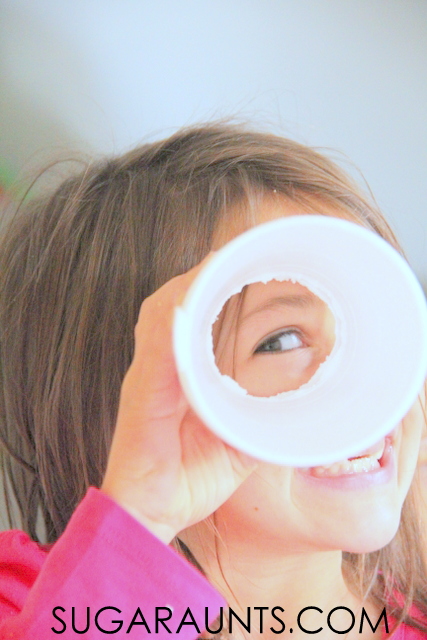
This activity is really so easy and a fun way to extend simple memorization of parts of a book.  I grabbed a few styrofoam cups and wrote the parts of the book with -scope on each one.  Cut out the bottom of the cups and you’ve got yourself parts-scopes.
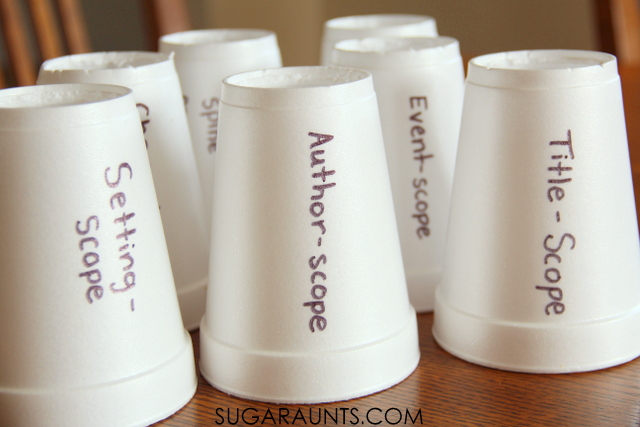
 
parts of a book activity with telescopes made from cups


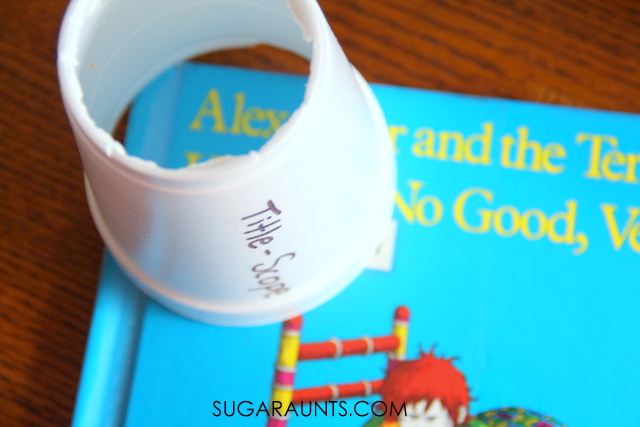
identify the title of a book in this parts of a book activity
 
I had Big Sister search and find the parts of the books, including Title, Author, Spine, as well as the parts within the book: Main Events, Characters, and Setting.


It was fun for her to read a book and as she found parts, she could use the event scopes to pinpoint the main parts.


One scope was all we used to locate the main parts of the outside of the books.


These Book Part-scopes were a huge hit in our house!
 
More First Grade activities you may like:


Colleen Beck, OTR/L has been an occupational therapist since 2000, working in school-based, hand therapy, outpatient peds, EI, and SNF. Colleen created The OT Toolbox to inspire therapists, teachers, and parents with easy and fun tools to help children thrive. Read her story about going from an OT making $3/hour (after paying for kids’ childcare) to a full-time OT resource creator for millions of readers. Want to collaborate? Send an email to contact@theottoolbox.com.

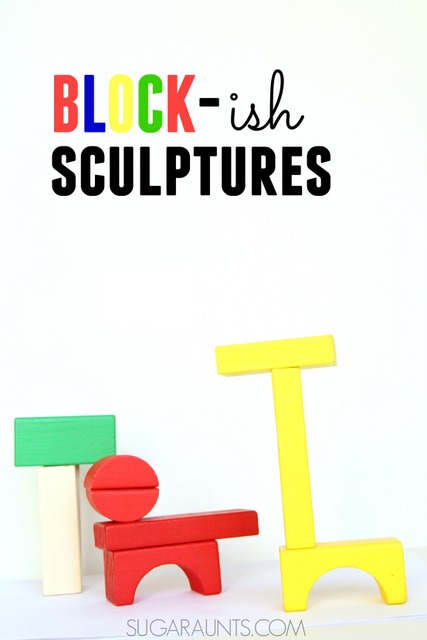
Ish Book Activity Block Sculptures

This week, the Preschool Book Club brings you activities and crafts based on the book, Ish by Peter H. Reynolds.  What a great message this book has!  We loved reading Ish (again and again!) and came up with our take on the book and it’s encouragement of creative flow to build Ish-inspired block structures.  Our block creations were full of creativity and tons of expression as the kids built and created stories and play.
Block sculptures based on the book Ish by Peter H. Reynolds

Block Structures and Creative Play inspired by the book, Ish:

 
This post contains affiliate links. 
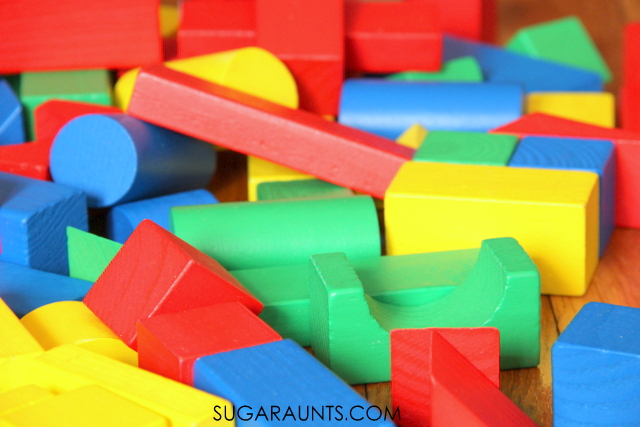
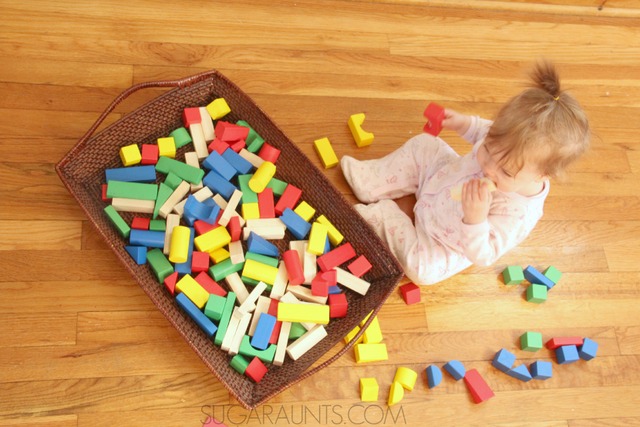
When we read Ish , by Peter H. Reynolds, we loved the feeling of being encouraged to TRY and to use our imagination.  When Ramon creates “-ish” drawings, we loved his fun ideas!  We decided to use something that we play with almost every day to create and imagine just like Ramon did.  We pulled out our wooden blocks and started building “block-ish” sculptures!
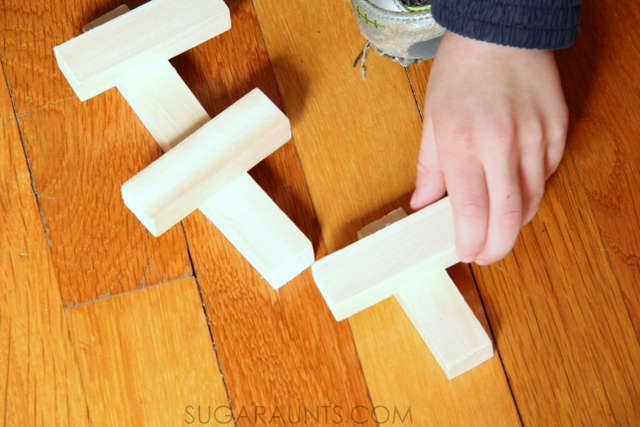
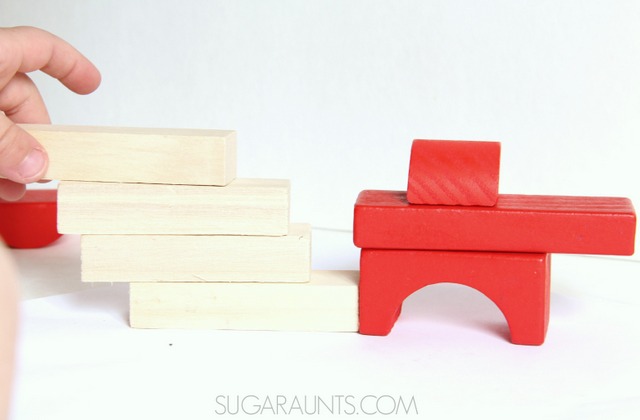
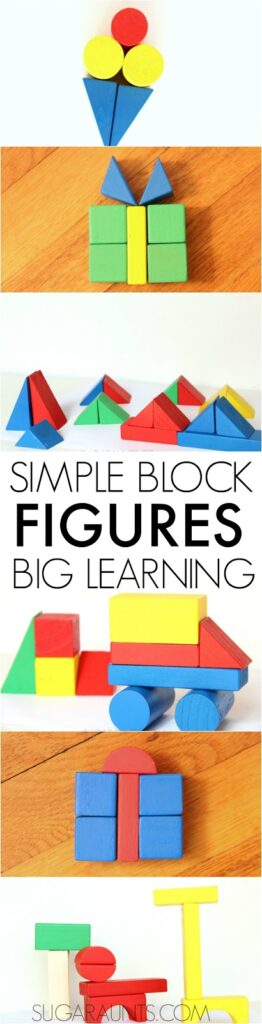
Little Guy started with a trio of “airplane-ish” shapes that took off and flew around the dining room.
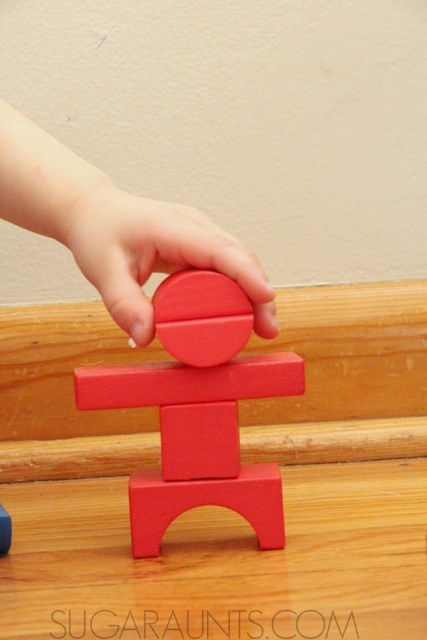
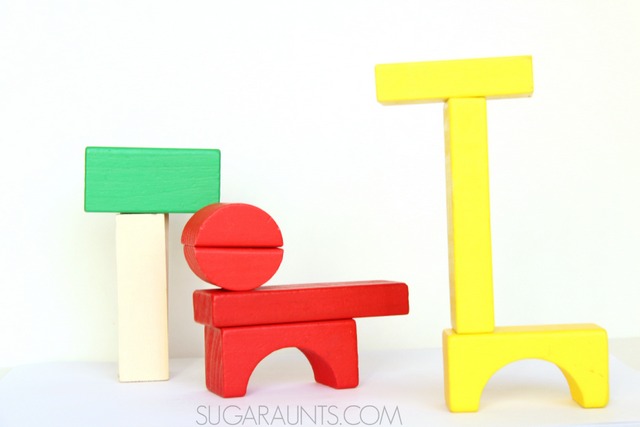
We used our imaginations to create creatures, steps, and more and started telling stories about our structures.  I love to hear the stories my kids tell and it was fun to hear the way they created once I started adding “-ish” to the structures.  They kept up with the -ish terms as they told their stories: The “dog-ish” guy went up the “steps-ish” area so he could be “taller-ish”.
 
We had SO much fun with this simple imagination building activity!
Block sculptures based on the book Ish by Peter H. Reynolds
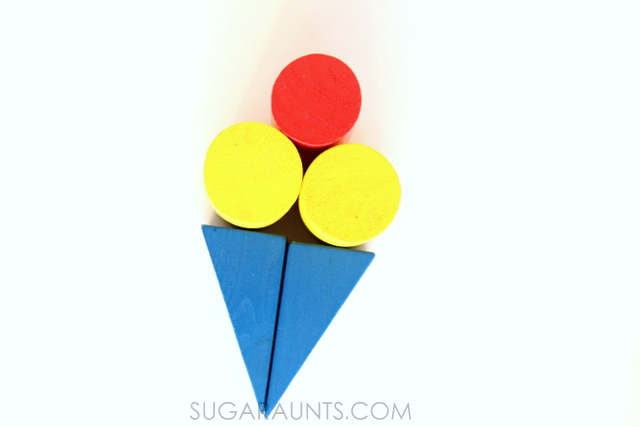
There were “ice cream-ish” treats…
…”Butterfly-ish” creatures…
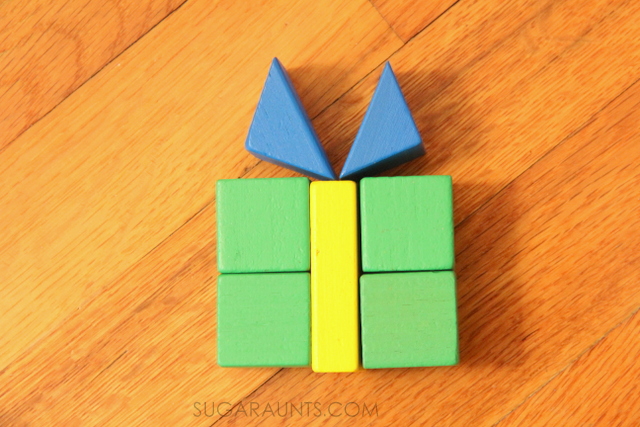
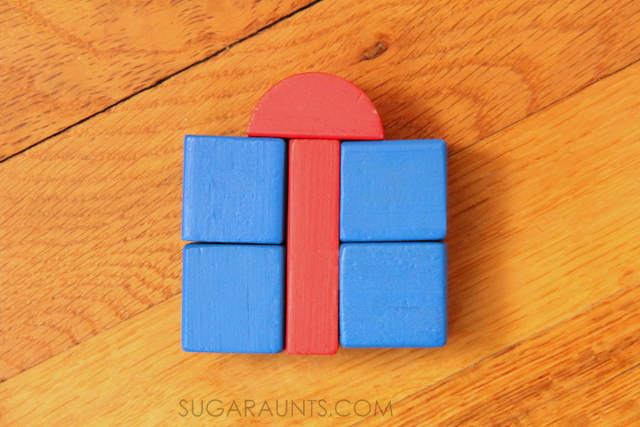
…”present-ish” gifts…
…and a little block-ish tasting from the baby!
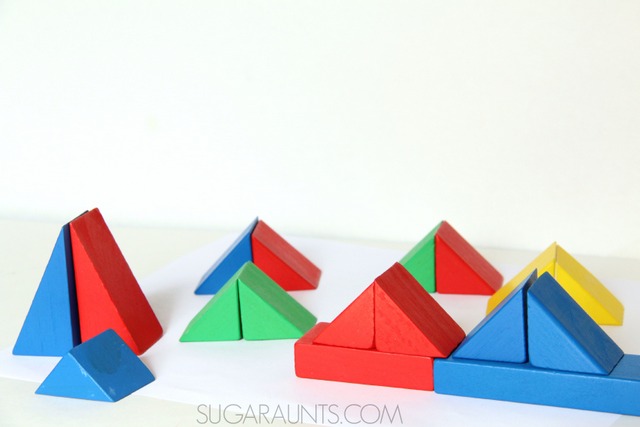
We ended up with a “tent-ish” neighborhood.
Block sculptures based on the book Ish by Peter H. Reynolds
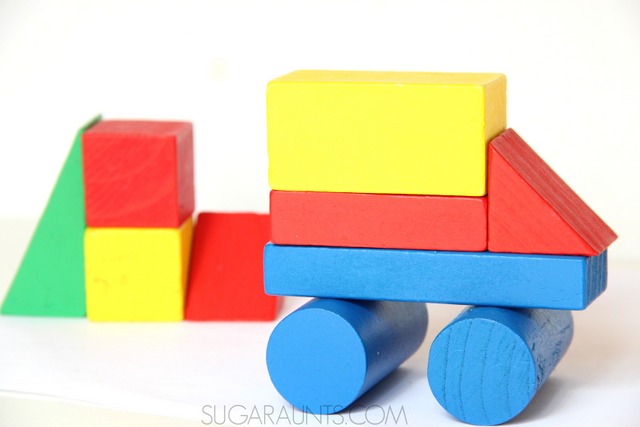
And a “truck-ish” vehicle…
Block sculptures based on the book Ish by Peter H. Reynolds
 
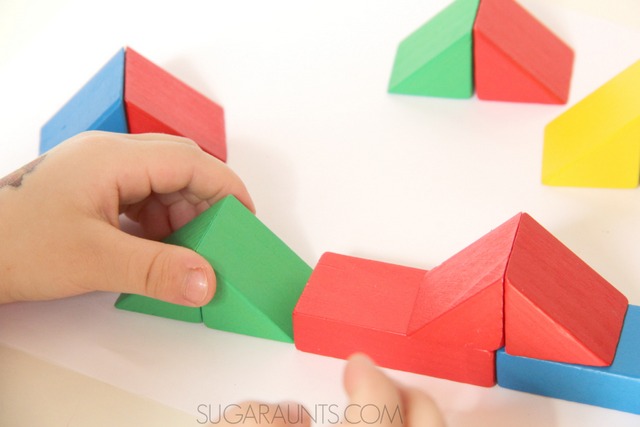
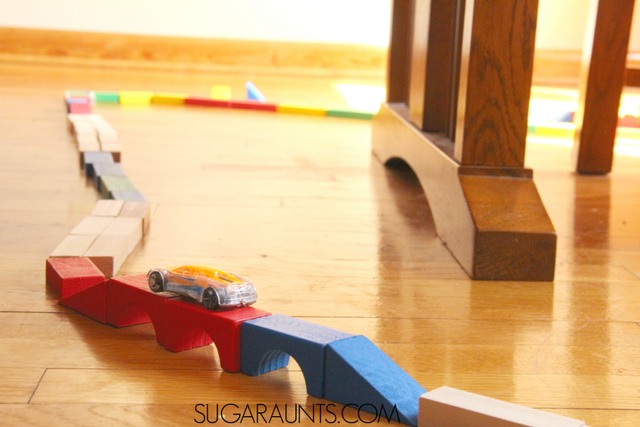
…which lead us to a dining room full of “road-ish” streets.  This became a whole afternoon of pretend play and creative thinking.
Block sculptures based on the book Ish by Peter H. Reynolds
What can you create with a basket full of blocks and inspiration from Ish?
 
Be sure to stop by the other Preschool Book Club bloggers to see their crafts and activities based on Ish:
 
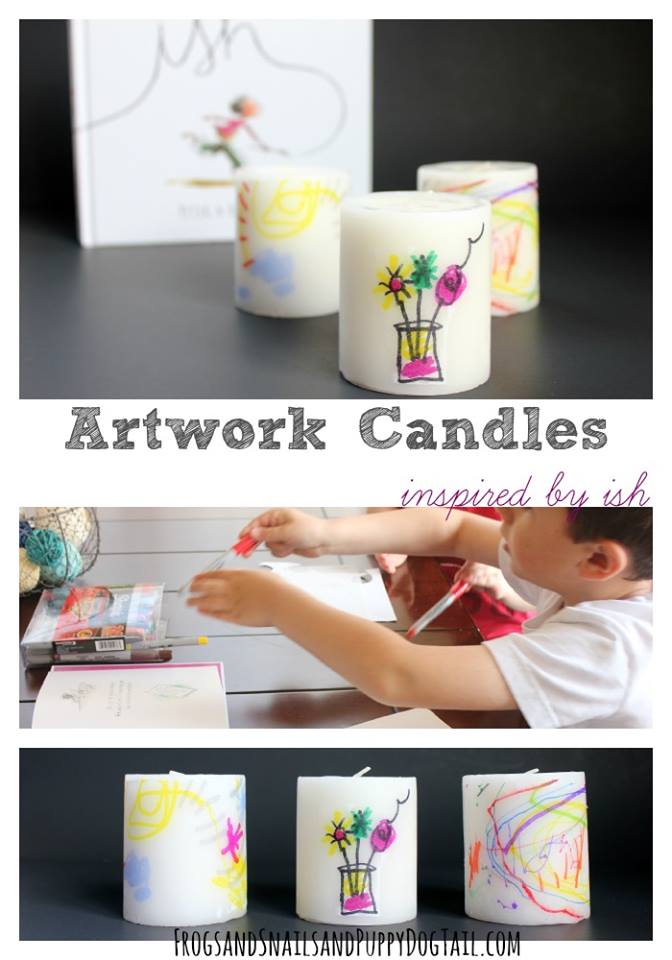
 Artwork Candles from Frogs and Snails and Puppy Dog Tails
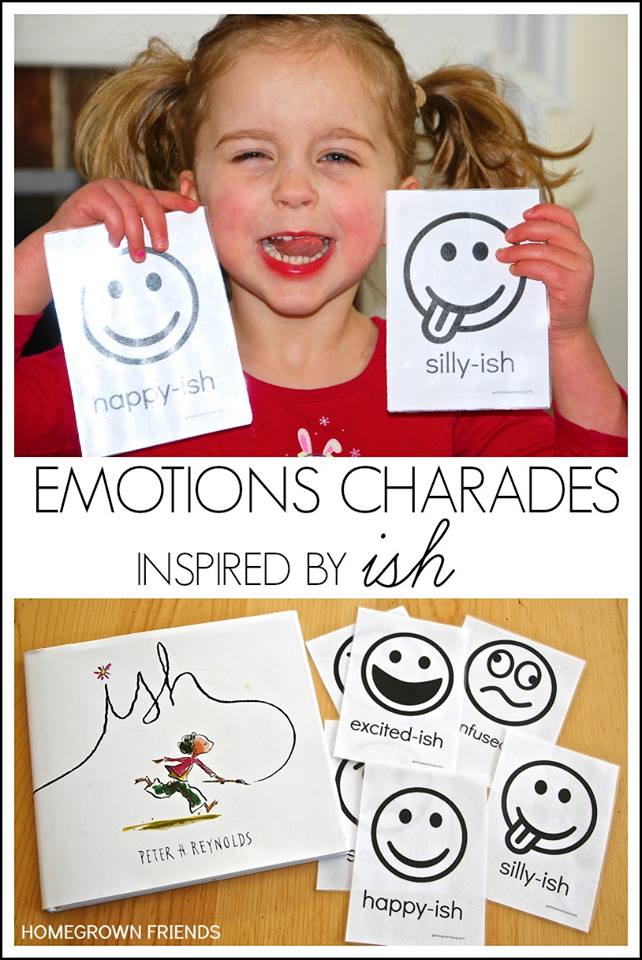
Emotions Charades from Homegrown Friends
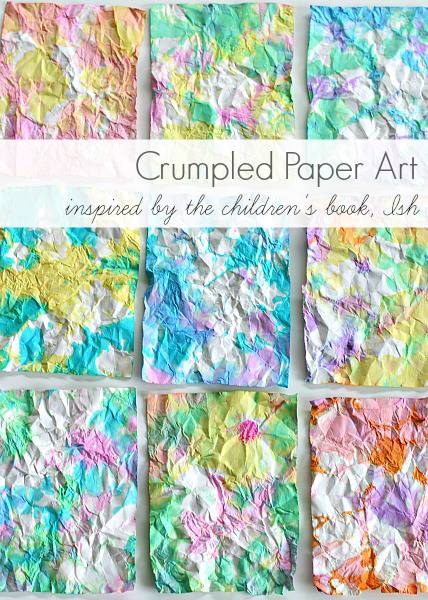
Crumbled Paper Art from Buggy and Buddy
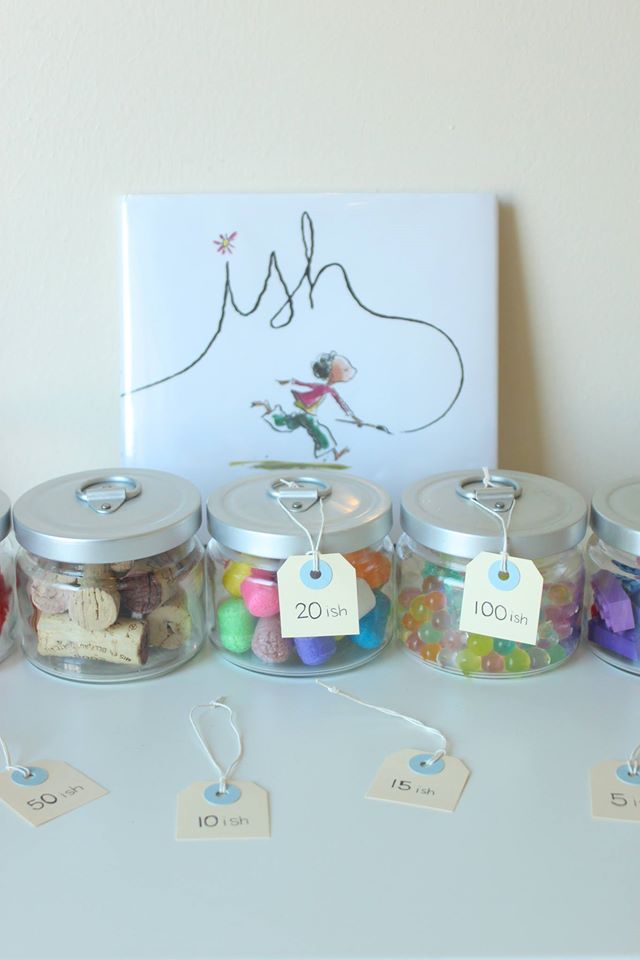
Math Estimation Jars from Mama. Papa. Bubba. blog
hands-on activities to explore social emotional development through children's books.

Love exploring books with hands-on play?  

Grab our NEW book, Exploring Books Through Play: 50 Activities based on Books About Friendship, Acceptance, and Empathy, that explores friendship, acceptance, and empathy through popular (and amazing) children’s books!  It’s 50 hands-on activities that use math, fine motor skills, movement, art, crafts, and creativity to support social emotional development.

Chain Link Crafts and Activities for Kids

Fine Motor Skills are one of our favorite ways to play and functional development use of scissors, pencils, and independence in fasteners.  On Share It Saturday this week, we’re featuring Chain Link Activities.

We love the fine motor work that is happening through play with this activity.  When a child creates a chain using paper or other items, they work on so many fine motor skills.  Using both hands together requires bilateral hand coordination and is a necessity for cutting with scissors, buttoning a coat, and writing on paper.  

Linking the paper (or other materials) links together uses a tripod grasp, symmetrical movements, hand-eye coordination, dexterity, intrinsic muscle strength, an open web space, and endurance!  Wow, what a workout from creating a simple paper chain!  Now, think about the tape, velcro, or stapler that is used to fasten the chain links.  Little hands are using small muscles with this task.  When we started to think about all the benefits of creating a chain, we had to go looking for more chain link activities!

Chain Link Activities

Chain link activities and crafts for kids with learning letters, numbers, and even counting down to special events!


Chain Link Crafts and Activities for Kids:

Use pool noodles to make chain links. {Teach Preschool}
You can even encourage learning with paper chains!  Practice letters {Hands On As We Grow} or numbers {Glued to My Crafts} using paper chains.
Create a snake craft {Red Ted Art} using paper chain links.
Count down to a holiday or event using a kid-made paper chain link with activities.