St. Patrick’s Day Shamrock Chocolate Pops Treats

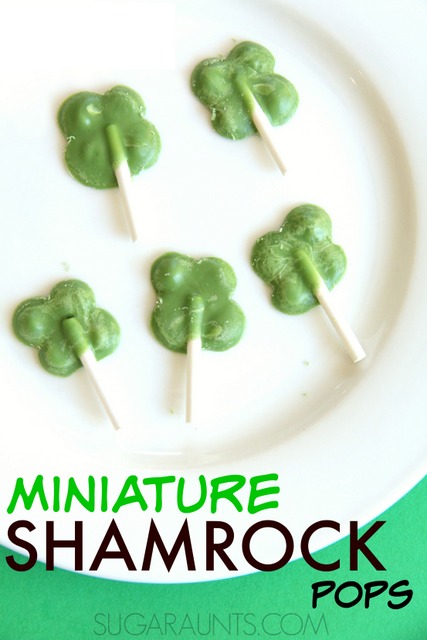
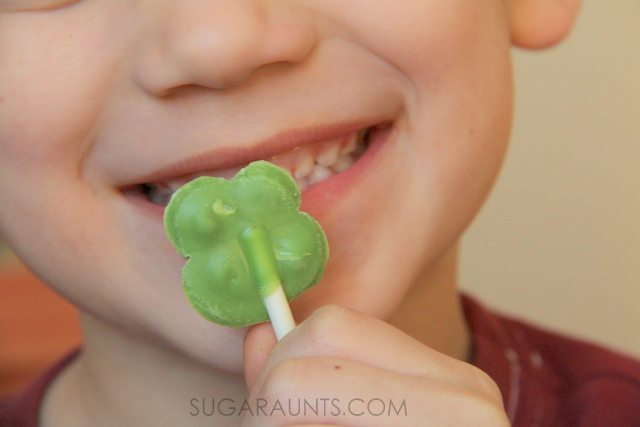
This St. Patrick’s Day, surprise someone special (or a whole crowd) with these easy miniature Shamrock chocolate lollipop treats.  These little treats are quick to put together and a big hit.  Sometimes, my kids receive treats that are huge and then the sugar rush is a little out of control.  These small sized lollipops are the perfect little snack for St. Patrick’s Day preschool, play dates, or parade crews!

Miniature Shamrock Chocolate Lollipop treats for St. Patrick's Day
 
This post contains affiliate links.  See our full disclosure policy.


St. Patrick’s Day chocolate lollipop treats:

 
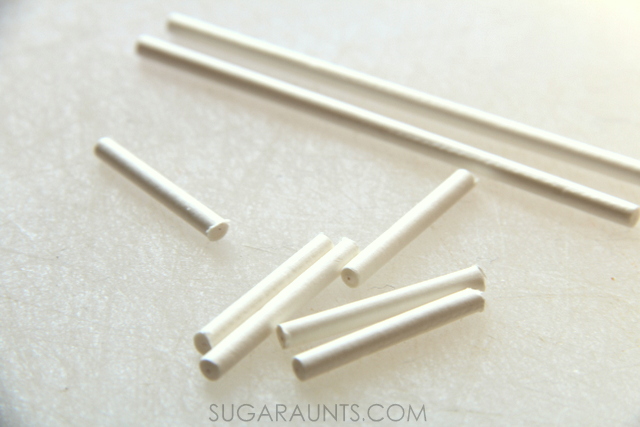
We started with a handful of lollipop sticks.  I used a steak knife to cut the sticks into thirds.  You will have a ton of lollipop sticks left over, but don’t worry.  You can dye the lollipop sticks and use them for learning activities like shape building activities.
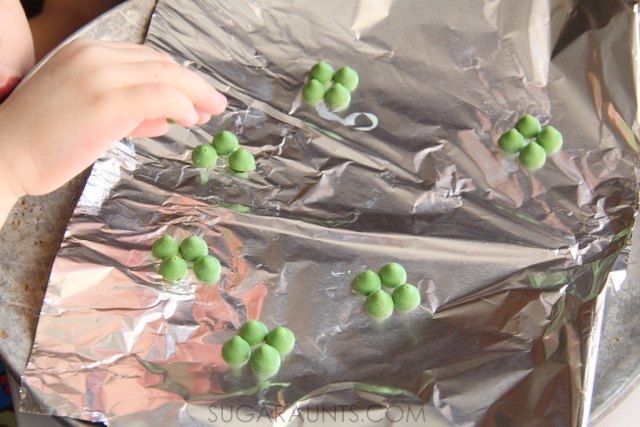
 
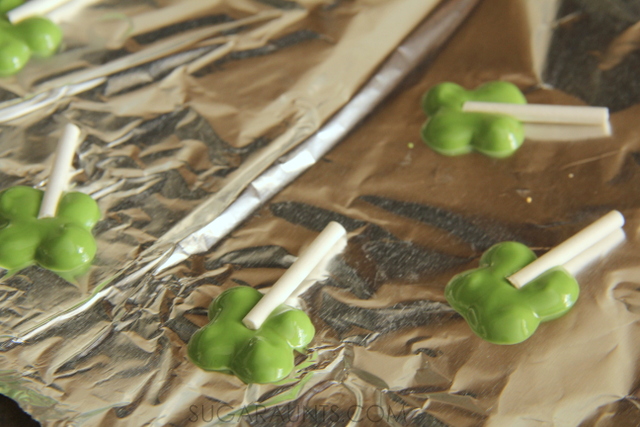
Pull out a cookie sheet covered with aluminum foil.  Arrange green chocolate chips into groups of four.   Pop them into a preheated oven set at 250 degrees F.
Miniature Shamrock Chocolate Lollipop treats for St. Patrick's Day
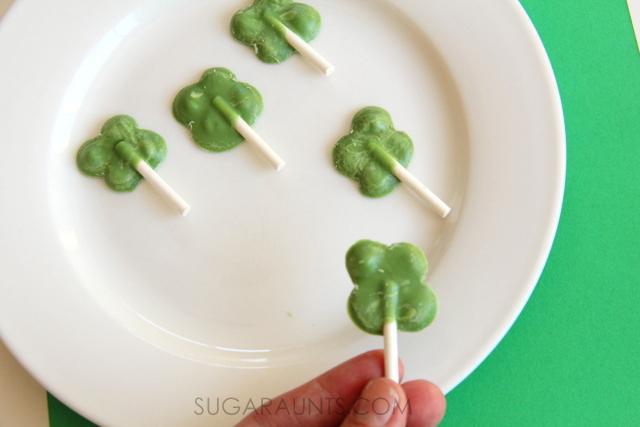
Keep a close eye on the chocolate chips.  It will only take a minute or two for the chips to soften.  You want them to just start to melt, but not too much.  I used a toothpick to pull the tips into the center of the four chocolate chips.  Place the lollipop sticks on the chocolate and slightly twist it so the stick is covered in chocolate.
Miniature Shamrock Chocolate Lollipop treats for St. Patrick's Day
Miniature=cute.
Miniature Shamrock Chocolate Lollipop treats for St. Patrick's Day
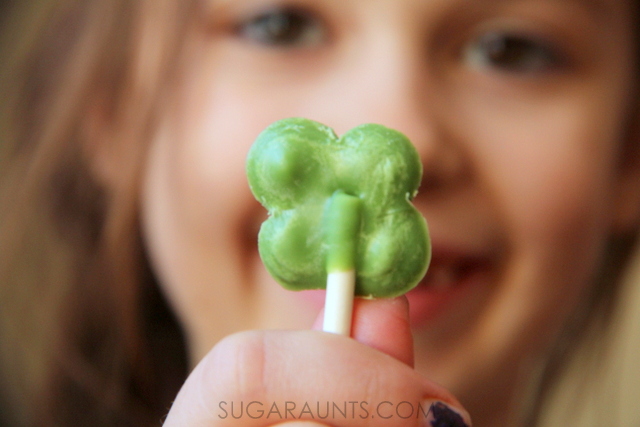
These two were Big fans of our Little shamrock treats!
 
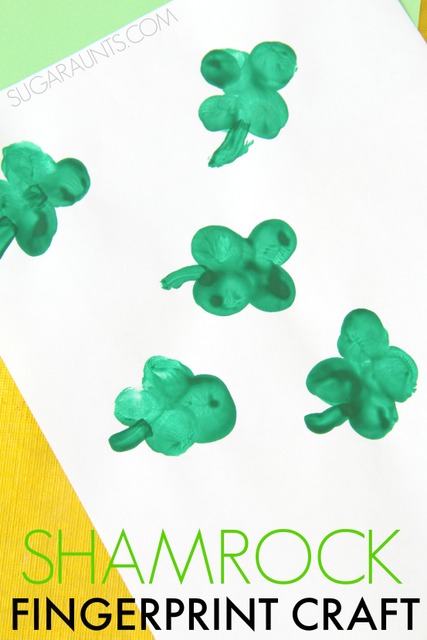
Need a quick shamrock activity to go along with your shamrock chocolate pops?  Try making this shamrock thumbprint art.

Carrot Veggie Puffs Recipe

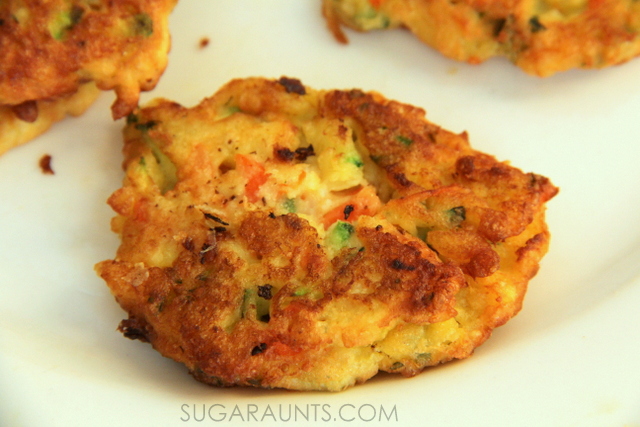
Carrot veggie puff recipe
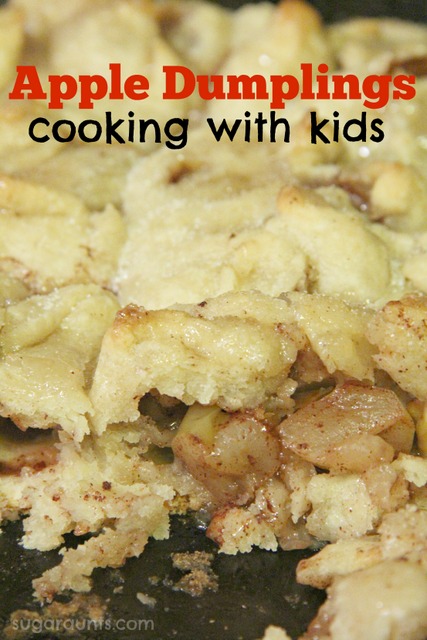
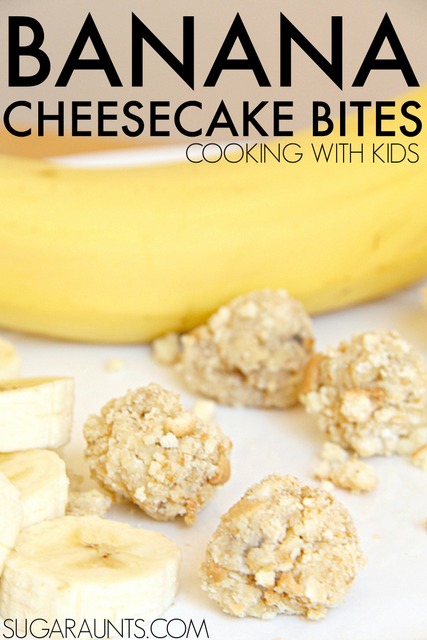
Cooking with kids is such a fun way for us to create and learn in the kitchen.  Not only are we able to experiment with mixing, pouring, and scooping, but we are trying new recipes together with the kids.  As we cook our way through the alphabet, we’re excited to share new fun recipes and cooking adventures with you!  We’ve already cooked A is for apple dumplings and B is for banana cheesecake bites.  Today we bring you a fun recipe that holds a special place in the hearts of us Aunts: Carrot Veggie Puffs!  
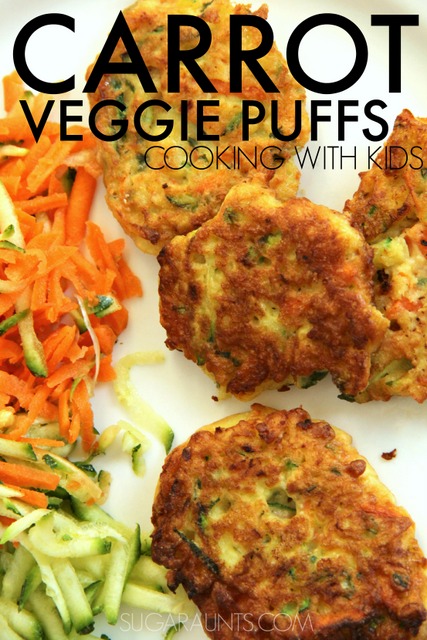
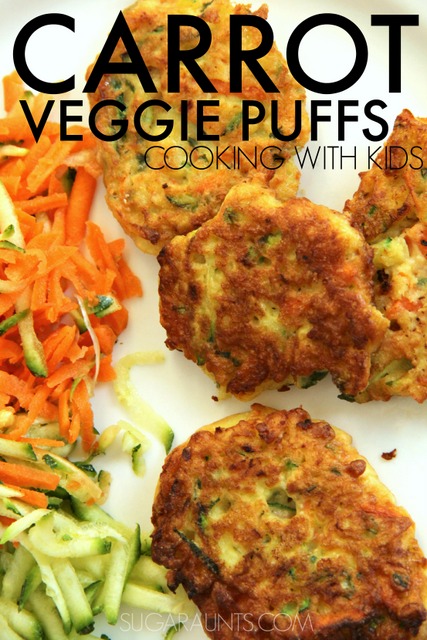
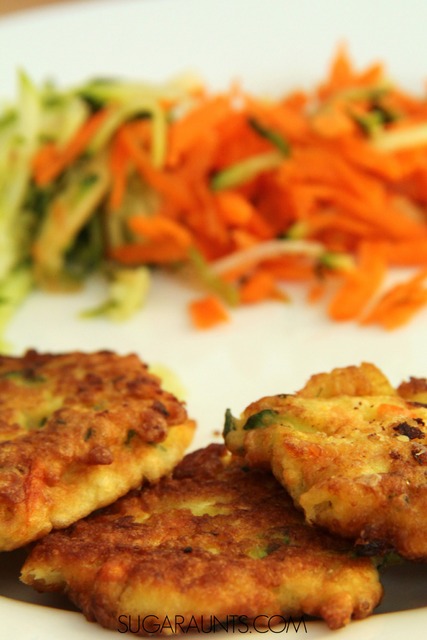
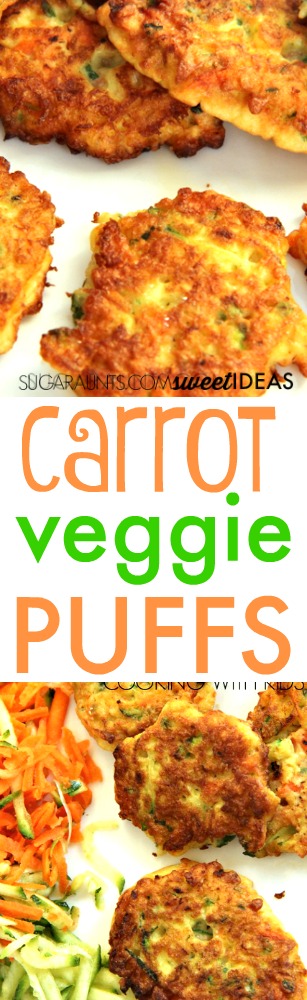
Carrot Veggie Puffs recipe for cooking with kids.  This is a delishios appetizer recipe or side vegetable.  Kids will love the puff and it's easy to sneak in an extra vegetable serving!
 
This post contains affiliate links. 

Carrot Veggie Puffs Recipe


RELATED READ: Fruit Pizza Recipe
 
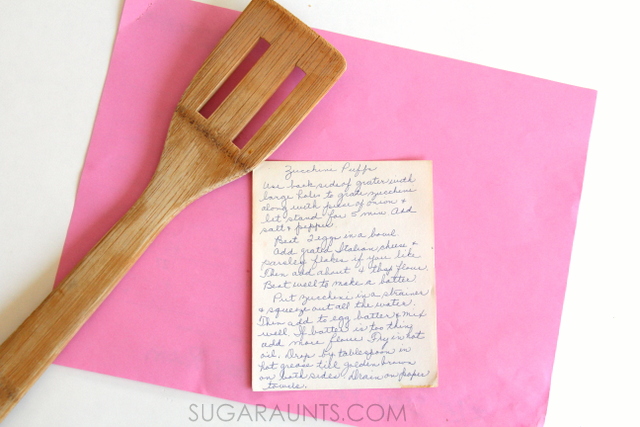
I am lucky to have a recipe box full of recipes from my deceased Grandmother.  
The recipes are written in her neat handwriting, along with a few splats from cooking long ago in her kitchen.  I love to pull them out and read through these recipes.  
Some of the recipes, I have tried and remember well.  Others, like this one, are new to me.  
Almost all of the recipes are written in my Grandmother’s shorthand:  Ingredients are missing key information…like the measurement needed of the main ingredients.  
She made these recipes so often that she just knew how much of items to add.  When I saw this Zucchini Puff recipe, I knew that I could make a few minor additions and change just a bit to make her recipe a Carrot recipe. 
Carrot Vegetable Puffs recipe

Carrot Veggie Puffs:
One cup shredded carrots
one cup shredded zucchini
One half cup shredded onion
1/4 teaspoon salt
1/4 teaspoon pepper
2 eggs
1/2 cup milk
1/4 cup grated Parmesan cheese
1/2 teaspoon parsley flakes
4 Tablespoons flour
cooking oil
 
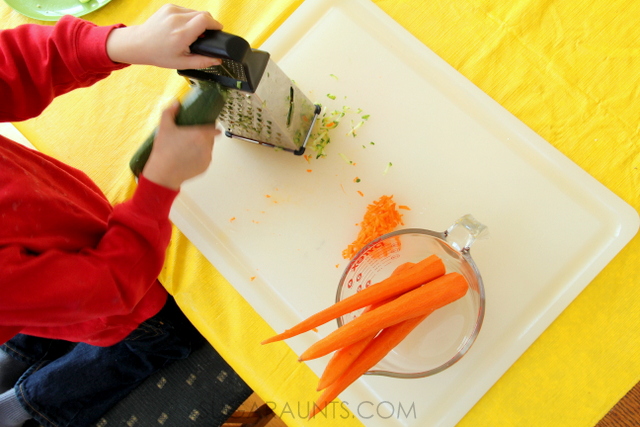
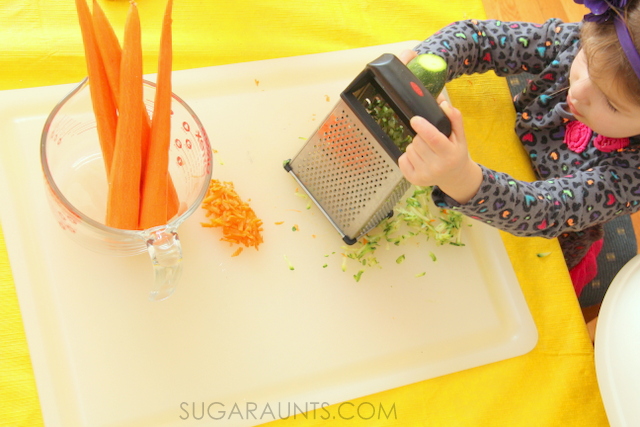
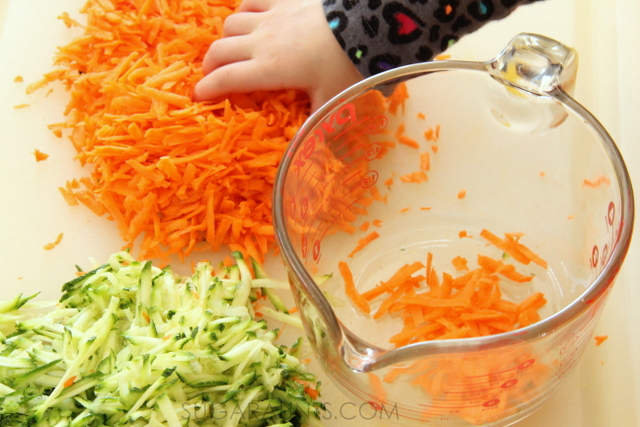
Shred the carrots, onion, and zucchini using a grater.  
Kids should be closely supervised for this task, but given instruction, can definitely do this job.  
Show them how to hold the vegetables and slowly grate the vegetables.  I did shred the onion to avoid any hurt fingers because of the smaller size of our onions.  If you are concerned about kids using a grater on vegetables, this safety grater
is perfect for kids!
 
Combine the vegetables, salt, and pepper in a bowl or large measuring cup.
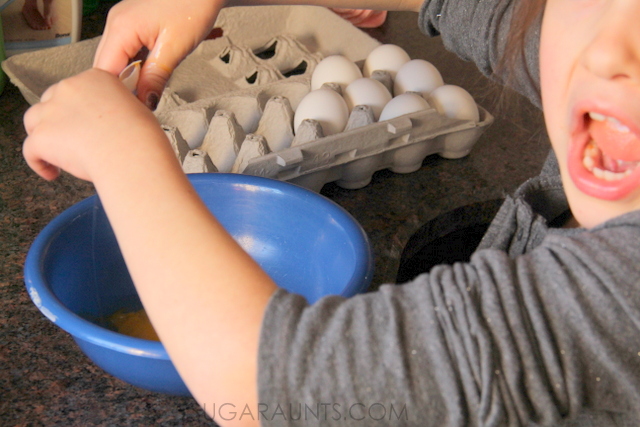
Beat the eggs in a bowl.  Big Sister (age 7) had a little bit of a surprise when she cracked the egg and the shell broke into the bowl!  
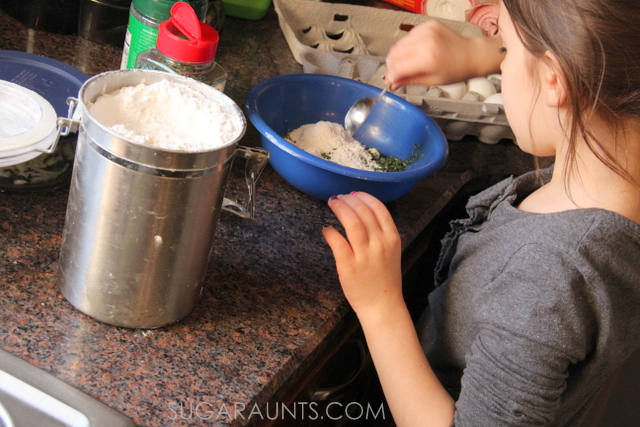
Stir in the milk, grated Parmesan cheese, and parsley flakes.  Add the flour and beat well to make a batter. 
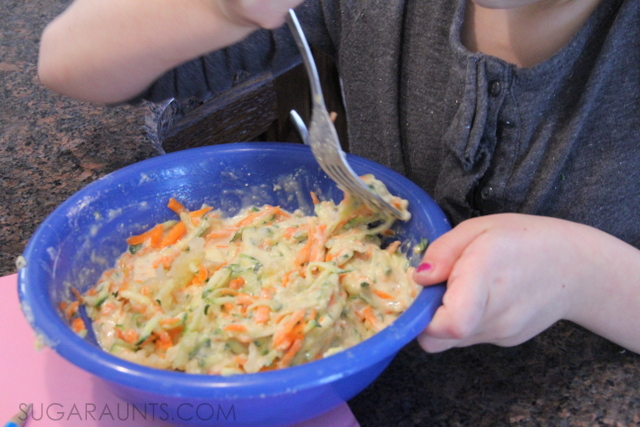
Add the vegetables to the batter mixture and mix well.  
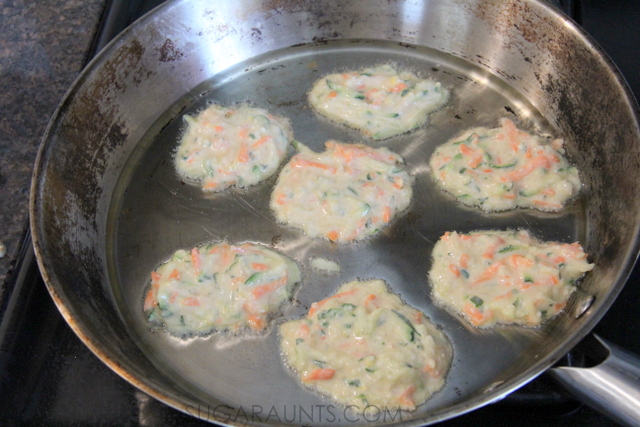
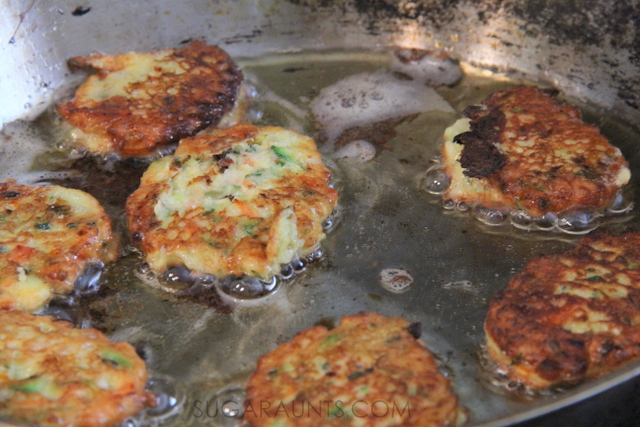
Drop by large spoonfuls into hot oil until golden brown on both sides.  
This is a part of the recipe that I did, to avoid oil splatters on the kids.  
Older kids can do this job with supervision and instruction.
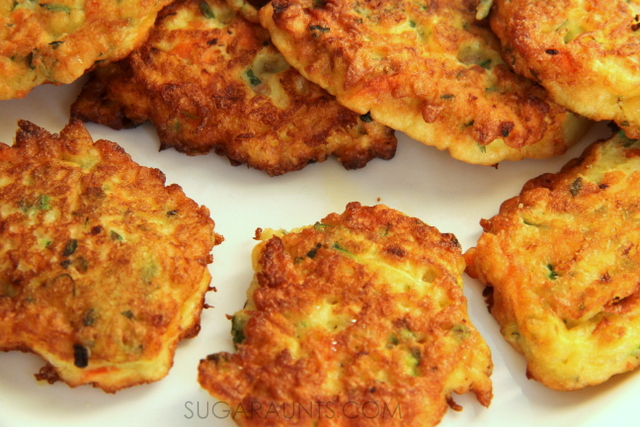
Pat dry on paper towels.
RELATED READ: Quinoa Lettuce Wraps
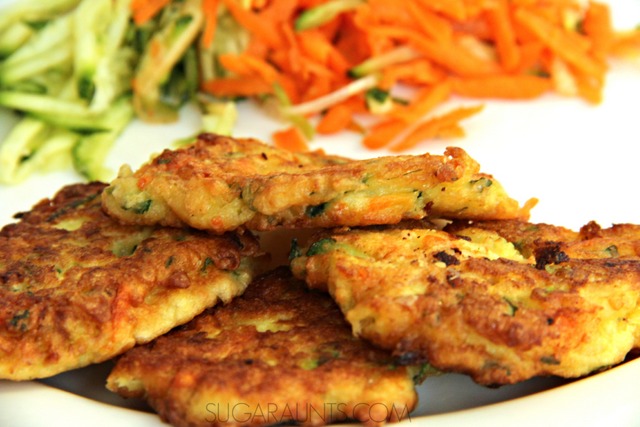
Serve warm and watch the kids enjoy an extra vegetable serving with this pancake-like vegetable puff!
Carrot veggie puff recipe for kids
People who love these Carrot Veggie Puffs also love these ideas:
 
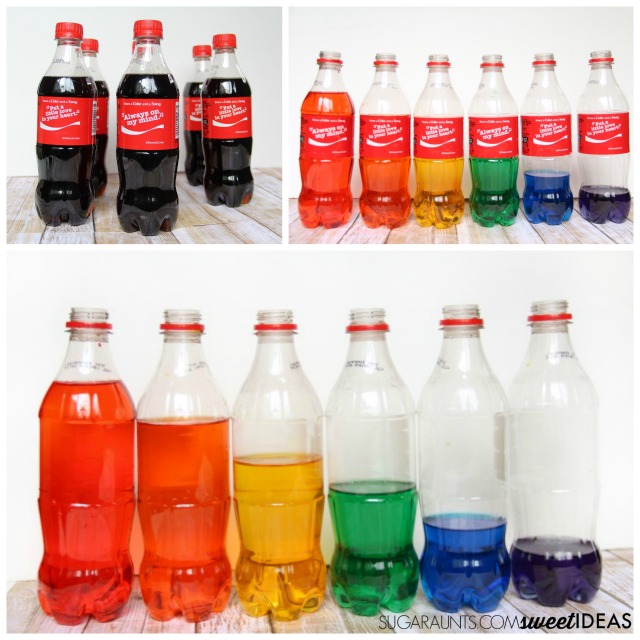
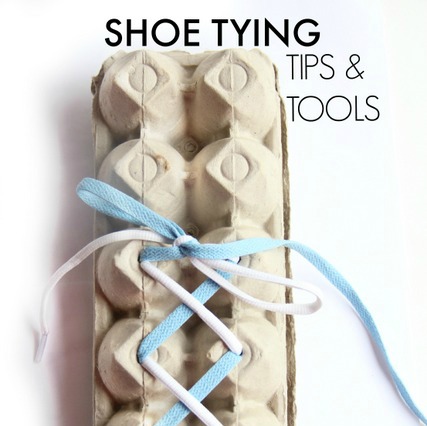
Coke bottle water xylophone Teach kids to tie their shoes the fun way egg carton craft Creative Pencil Grasp Activities Help Kids Pay Attention with Movement
Enjoy!
 
Be sure to try our other cooking with kids recipes:
 

Want to cook healthy foods for your family?  

MORE cooking with kids recipes you will love:

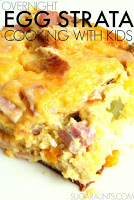
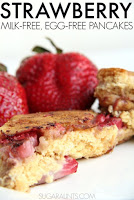
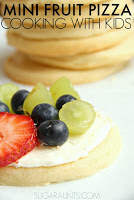
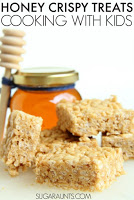
 Overnight Egg Strata Recipe   Strawberry Whole Wheat Pancakes  Fruit Pizza Recipe  Honey Peanut Butter Crispy Treats


E is for EggsOvernight Egg Strata Recipe | F is for FlourStrawberry Whole Wheat Pancakes
G is for GrapesFruit Pizza Recipe | H is for HoneyPeanut Butter Honey Squares
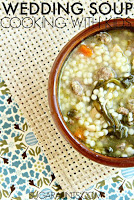
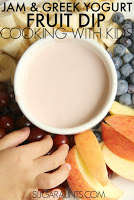
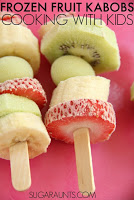
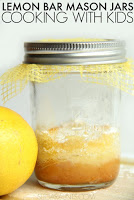
Wedding Soup Recipe  Jam and Greek Yogurt Dip Frozen Fruit Kabobs  Lemon bar Mason Jar Cookies
I is for ItalianWedding Soup Recipe | J is for JamJam and Greek Yogurt Dip
 K is for Kiwi FruitFrozen Fruit Kabobs | L is for LemonsLemon Bars Mason Jar Cookies

More ideas you will LOVE:
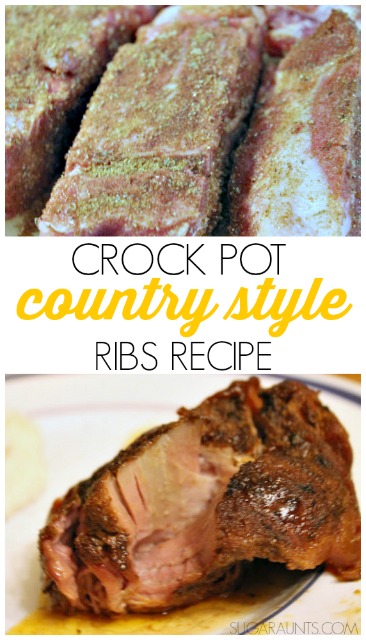
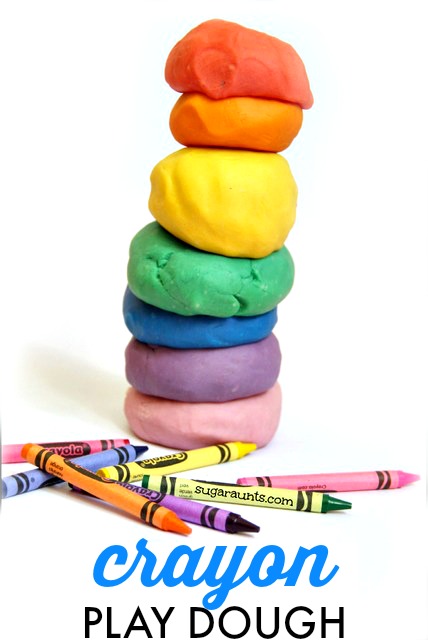
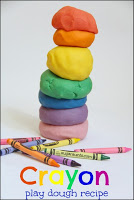
Moms Sneak Chocolate Country style ribs crock pot recipe How to make play dough with old broken crayons Carrot Veggie Puffs Recipe

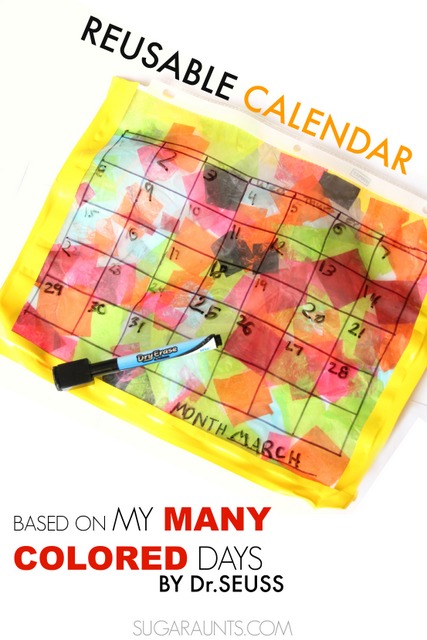
My Many Colored Days Color Feelings Calendar Craft

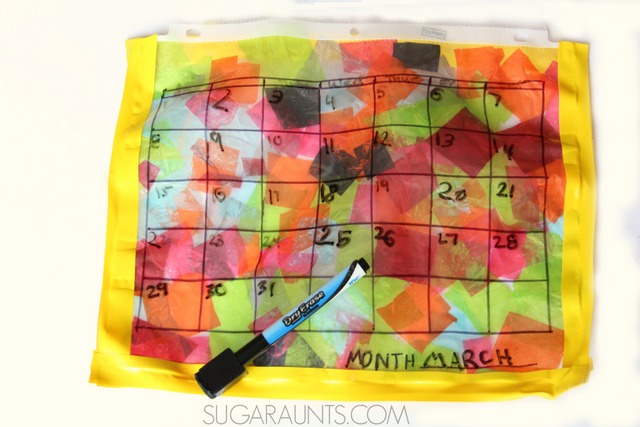
Today we bring you a Color Feelings Calendar craft based on Dr. Seuss’ book, “My Many Colored Days”.  Celebrating Read Across America Day and Dr. Seuss’ birthday is fun with this book and we decided to create a colorful reusable calendar based on the book and the many feelings we feel. We’ve made an activity based on a Dr. Seuss book before, so this craft was just right for us!
This activity could be paired with a feelings check in activity to support emotional and self-regulation in the classroom.
Make a reusable calendar based on Dr. Seuss book, My Many Colored Days.  This one has many colors that show us our days can be filled with emotions (colors). Kids love to make this DIY calendar!


Reusable Calendar Craft

This post contains affiliate links.  
 
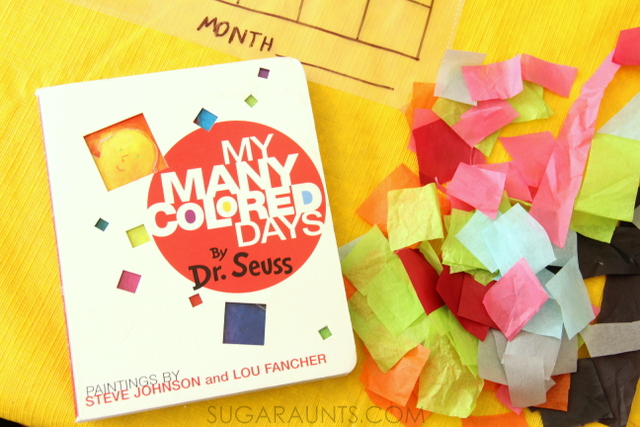
My Many Colored Days is a fun book all about the colors we feel and how they are part of being “me”.  Everyday is full of colors and so we decided to use those colors in our reusable calendar.  We can see each day through the calendar and remember that we are always the same, no matter what color we feel.  
 
We grabbed a few materials to create our calendar:


sheet protectors
a calendar to trace
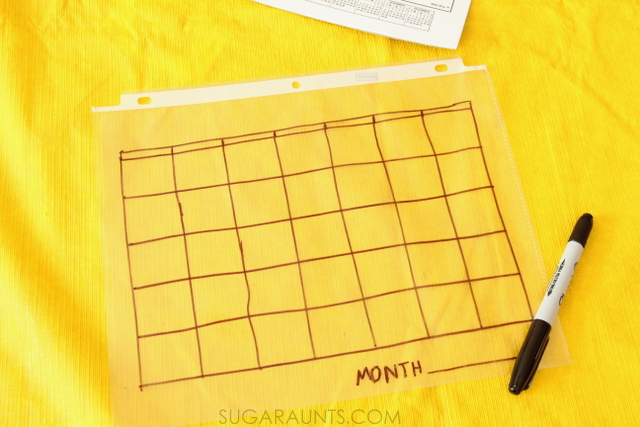
permanent marker
assorted tissue paper

and our DIY decoupage

Use the blank calendar as a template to trace a calendar on the sheet protector with the marker. 
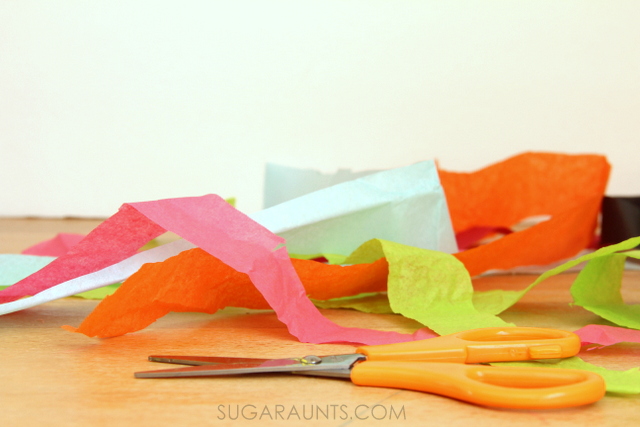
Snip the tissue paper into squares.
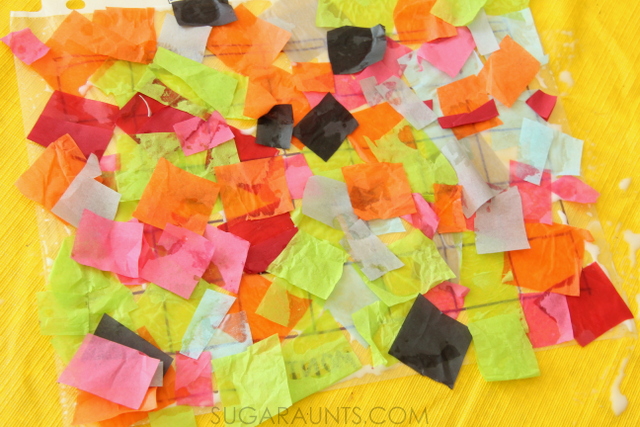
Spread a thin layer of DIY decoupage on the back of the sheet protector.  Lay the tissue paper squares all over the decoupage.  Be sure all of the sheet protector is filled in with tissue paper.  Add a second layer of decoupage over the tissue paper once finished.

Allow the tissue paper and glue to dry completely.  Add a border using tape.  This will keep the tissue paper attached at the edges and prevent peeling.


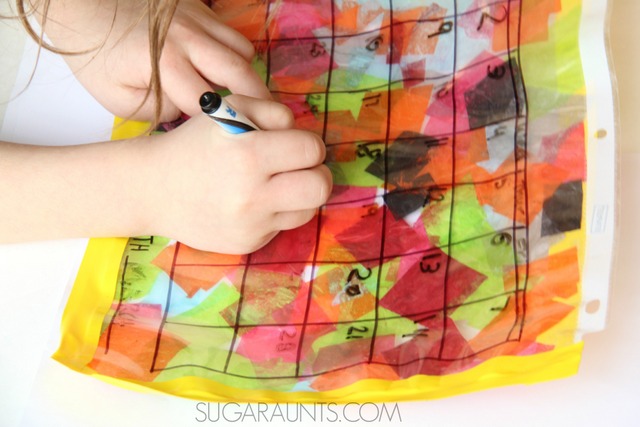
Big Sister is loving this reusable calendar.  We’ve been using a dry erase marker to write on the calendar and a paper towel to erase over and over again.

This post is part of the Read and Play series on The Pleasantest Thing.  

Looking for more Dr. Seuss books and activities? Try these:

Math Art Activities

These math art activities and math art projects are fun ways to explore and learn! We’ve shared previously, the fine motor benefits in math, so as OT professionals, we love these ideas! Explore the activities below for use in both math AND art!

Math Art

Mathmatics and art have gone together since early artists began creating.  Many great works of art contain mathematics, from buildings and pottery to paintings and statues.  

Today, we’re featuring projects that combine math and art into activities that kids can explore while learning through creative expression.  

Combining the learning aspect with hands-on, creative expression in kids’ activities can be a great way for children who do not enjoy being “artsy” or “crafty” to create.  

These activities are sure to get the kids creating and learning!


What is Math Art?

“Math art” refers to the intersection of mathematics and visual aesthetics, where mathematical concepts and principles are used to create artistic expressions.

It involves using mathematical principles, such as geometry, symmetry, patterns, and fractals, to create art projects or creations.

Art and math can take various forms:

  • Fraction art
  • Graph paper art
  • Sculptures
  • paintings
  • digital art
  • Geometry art
  • Origami art
  • Multiplication art
  • Geometry string art
  • Geoboards
  • More!


Math and Art Activities for Kids:

Try these creative learning projects for developing skills while learning.

Clockwise from the top image:

Concentric Circles activity
Mandala Segments from Highhill Education
Shell Mandalas Math from Nurturestore
Klee from Kids Activities Blog
Parabolic Curve from What Do We Do All Day
Fibonacci Art Project from What Do We Do All Day


What are your favorite ways to create using math and art?

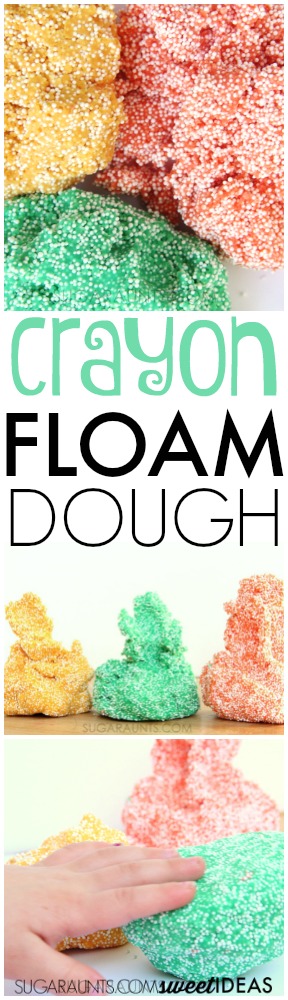
How to Make Crayon Floam Dough

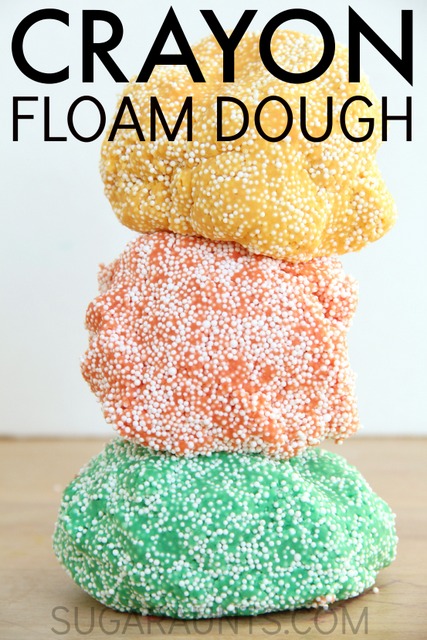
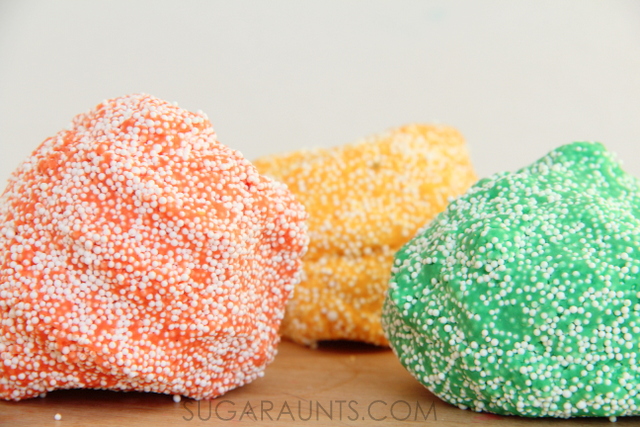
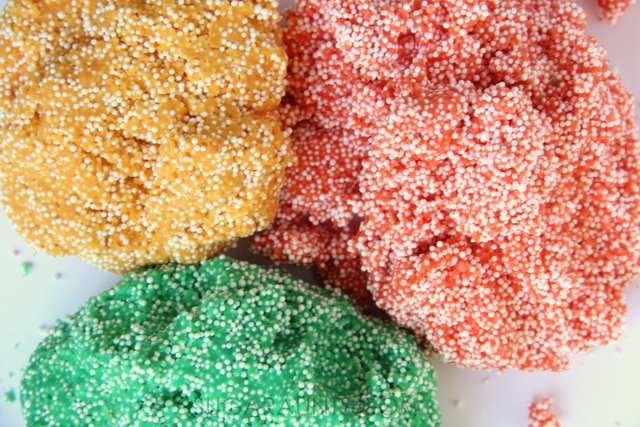
Play dough made with crayons are  one of our favorite ways to play and this Crayon Floam Dough recipe was a HUGE hit in our house!  We’ve love crayon dough since we experimented with how to make crayon play dough.  We decided to give another sensory dough a twist on the crayon dying method and made our own homemade Crayon Floam Dough.


Use broken crayons to make homemade Crayon floam dough in less than 15 minutes.  So easy and a fun sensory play floam.
This post contains affiliate links.


What is Floam?

Use broken crayons to make homemade Crayon floam dough in less than 15 minutes.  So easy and a fun sensory play floam.
 
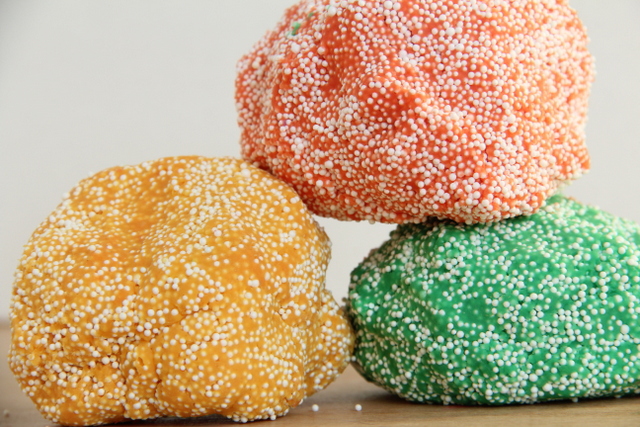
Maybe you’ve seen floam in stores or played with it in the past.  This foamy, moldable dough is so light and cool to play with!  It’s really a fun sensory material.  We made our floam dough with ingredients we had on hand and this is how we did it:
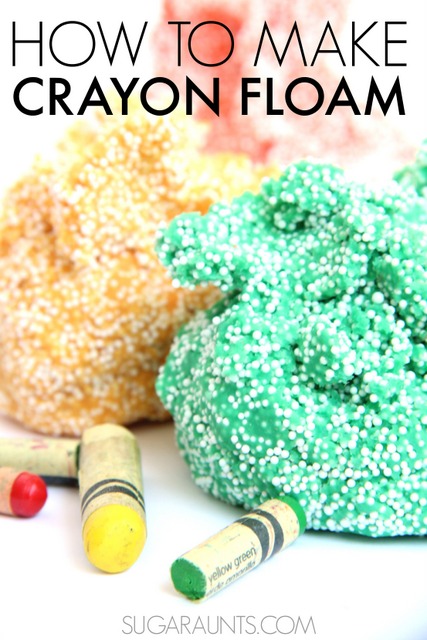
 
(You want to make floam.  Really!)


How to make Crayon Play Dough Floam Dough:

We started with a variation of our crayon play dough recipe.
 
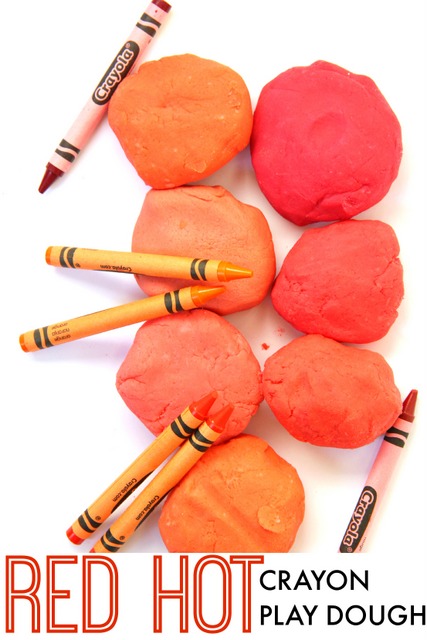
Chop up two crayons in the same color family.  To make the red dough, I used two different red crayon shades.  The color isn’t important in this dough, (although you can make a big range of colored dough using our shades of crayon play dough idea.  
 
Heat 2 tablespoons of oil on a stove.  Mix in the chopped crayons and stir.  Don’t let the oil heat up too much, and slowly stir in 2 cups of water.  Add 2 and 1/2 cups of flour to the mixture and keep stirring over heat.  This is less flour than our typical crayon dough recipe because we are omitting salt.  The added foam makes up for this and holds the dough together.  It seems like leaving the salt out of this dough recipe helps with the airy lightness of this floam.
 
Pour the lump of dough out onto a chopping board and knead when tolerable.  You will want the dough to pull together.  If the dough is too sticky, add flour by half cup.   Mixing up the dough is very quick.  It doesn’t need much kneading, but you will want to wait a few minutes until you can tolerate the heat.  Overall, this dough pulls together in about fifteen minutes!
 
Once cool, fold in styrofoam filler.  We used filler from a pillow that was torn for our dough, but you could use bean bag filler as well which can be purchased in craft stores.  You will want to add a bunch of the filler so the dough is mainly made up of the filler and held together by dough.  It’s amazing to feel the dough “lighten up” as more filler is added.
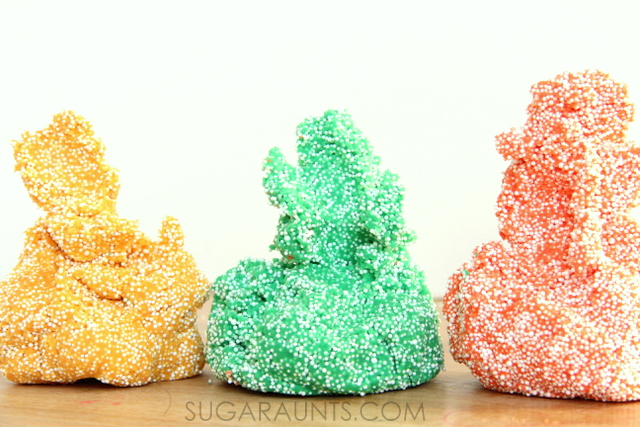
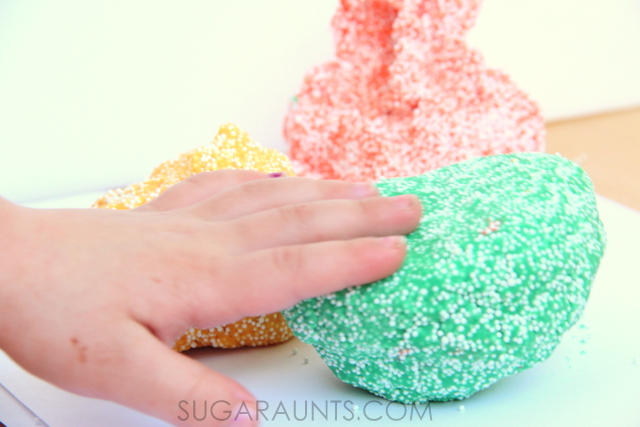
Use broken crayons to make homemade Crayon floam dough in less than 15 minutes.  So easy and a fun sensory play floam.
 
This floam dough is moldable and pretty much awesome!  It’s crumbly, yet moldable.  
Mess-warning:  This dough is MESSY!  Rather, the filler is the messy part.  When you mold and play with this floam, the little filler bits will pull out of the dough.  Play with this sensory activity in a large shallow bin or on a tablecloth spread out on the floor.
Use broken crayons to make homemade Crayon floam dough in less than 15 minutes.  So easy and a fun sensory play floam.
We had so much fun with our homemade floam!  Watch the blog and our Facebook page for play and learning ideas with this homemade sensory dough!
Use broken crayons to make homemade Crayon floam dough in less than 15 minutes.  So easy and a fun sensory play floam.
 
More ways to use crayons in play dough:
 Shades of red crayon play dough | Harold and the Purple Crayon play dough |  Rainbow Crayon Play Dough

If you like the idea of using your broken crayon pieces in something as fun and creative as play dough, then you will love to try a few different ideas, too.  We’ve given crayon play dough a run for it’s fun and tried a few different versions.  Check them out and if you make a batch, let us know how you get creative with crayon play dough!

Make your own floam play dough using crayons to dye the dough!


Harold and the Purple Crayon Play Dough

Favorite Play Dough recipes and activities for kids:

Click on the images or the links below each image:
 3 Ingredient Kinetic Sand Play Dough
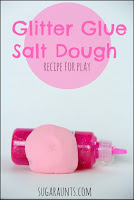
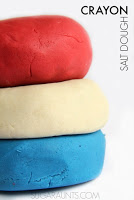
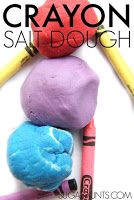
 Fizzy Baking Soda Play Dough Recipehttp://www.sugaraunts.com/2014/08/glitter-glue-salt-dough-recipe.htmlPatriotic Crayon Play Dough Recipe Crayon Salt Dough Recipe
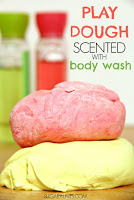
 Body Wash Play Dough Recipe Frozen Pixy Sitx Candy Play Dough Pencil Grasp Play Dough Exercise
 
Do you LOVE using play dough as a sensory and fine motor tool in therapy and in play? I have a subscriber-only play dough mat that is designed to work on the intrinsic hand muscles which are needed for pencil grasp and fine motor skills.  Read more about the play dough mat and the areas it will help with HERE.  

This play dough mat is available for FREE only for our Play Dough is Awesome newsletter group.  (This is a different email list than our regular subscribers.  If you’re on our subscriber list, you’ll still need to sign up for this one to receive the play dough freebies coming your way!)

Learning Rainbow Order Stacking Cups

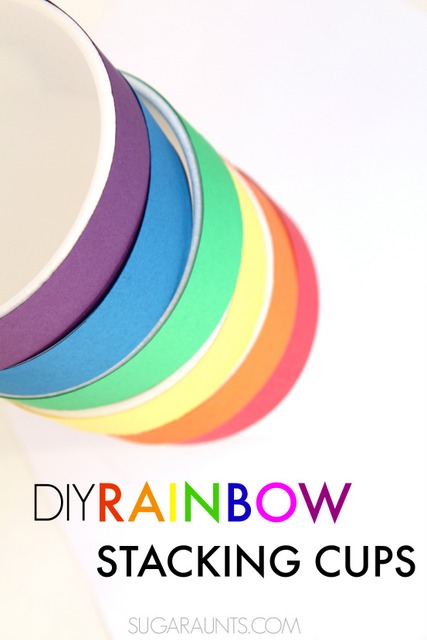
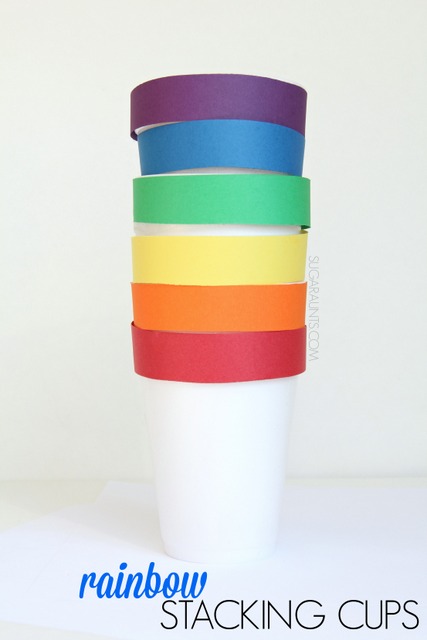
Today we’re sharing rainbow stacking cups, possibly one of the simplest learning activities that we’ve put together.  These DIY stacking cups are a wonderful way for teaching rainbow order, and so much fun to play with over and over again. Kids can benefit from the motor planning benefits of this activity too, working on gross motor skills and fine motor skills. 
 
DIY Rainbow Stacking Cups for color identification, color order, and learning rainbows with this stacking and building nesting toy.


Learning Rainbow Order

 
This post contains affiliate links.
 
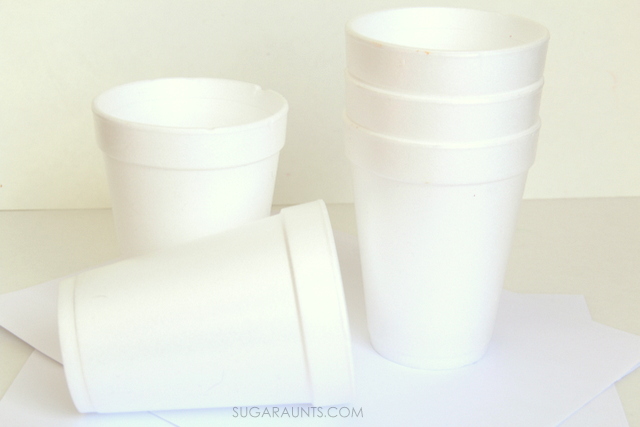
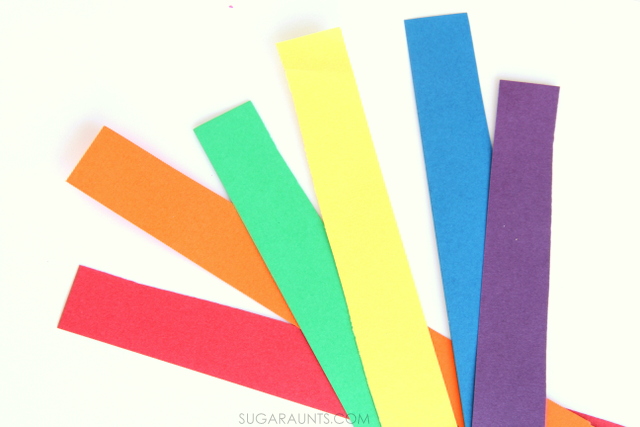
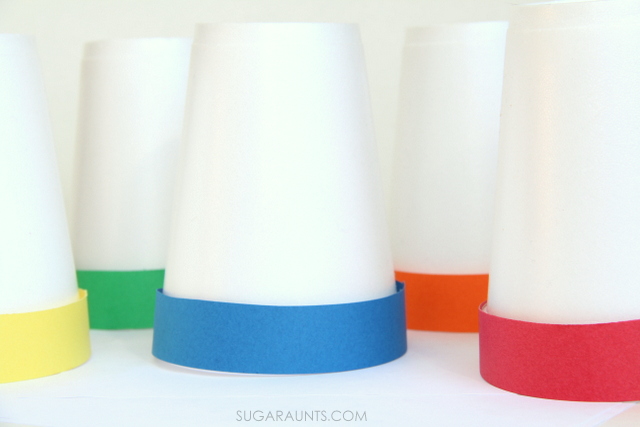
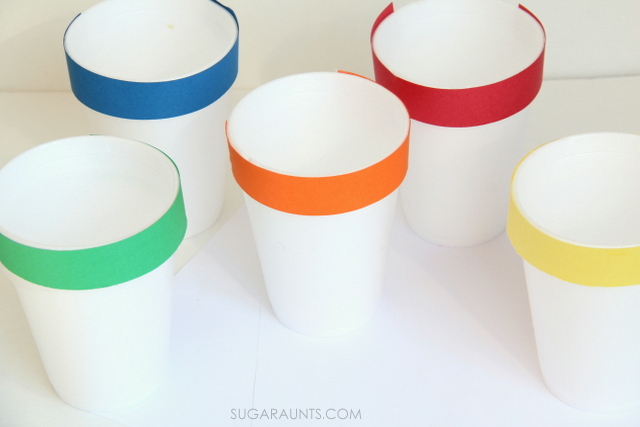
These rainbow stacking cups are really so easy to put together.  I used 

styrofoam cups 
 tape 
and cardstock
in a rainbow of colors.

 
Cut the cardstock into strips lengthwise. 
DIY Rainbow Stacking Cups for color identification, color order, and learning rainbows with this stacking and building nesting toy.


Tape the cardstock onto the rims of the cups.  The activity is set for learning and play!
 
DIY Rainbow Stacking Cups for color identification, color order, and learning rainbows with this stacking and building nesting toy.
 
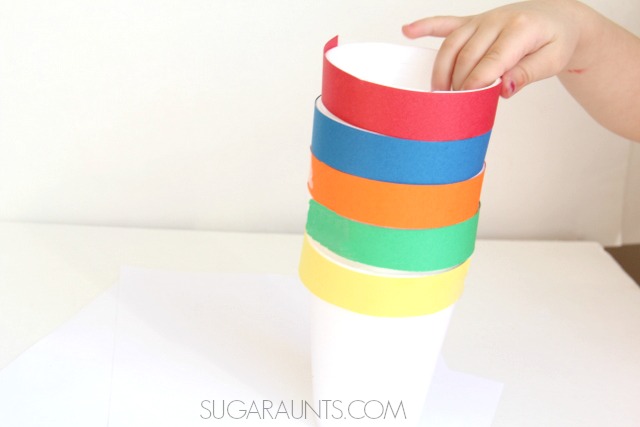
We had SO much fun with these rainbow cups!  We stacked them up in random and rainbow orders.  As we stacked, we said the colors of the rainbow.  Little Guy (age 5) considers himself an expert in knowing the colors of the rainbow in correct order and was sure to correct Little Sister (age 3) in the accurate stacking of the rainbow.
 
DIY Rainbow Stacking Cups for color identification, color order, and learning rainbows with this stacking and building nesting toy.


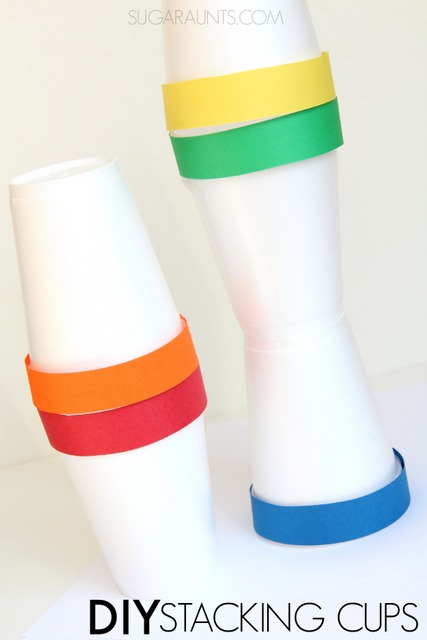
We used the cups to build towers and buildings over and over again.
DIY Rainbow Stacking Cups for color identification, color order, and learning rainbows with this stacking and building nesting toy.
 
These cups make a great collection cup for a rainbow scavenger hunt.  Go around the house looking for matching colored items to fill the cups.  We found crayons, ribbons, scrap paper, toys, Legos…This is a fun way to work on color identification with preschoolers.
 
DIY Rainbow Stacking Cups for color identification, color order, and learning rainbows with this stacking and building nesting toy.


These rainbow stacking cups were a DIY hit in our house!


The Day The Crayons Quit Crayon Shaving Art

Have you read the book, “The Day the Crayons Quit”?  This is SUCH a cute book from the crayons’ point of view.  They are TIRED of coloring the same old pictures the same old colors.  Why does the Yellow crayon have to color the sun?  And why can’t the Black crayon color a beach ball?   We loved reading this book over and over again and coming up with our own take on mixing up the colors in a sensory art project using crayon shavings!
And, while your in the crayon theme, be sure to check out our resource on crayons for toddlers and preschoolers to support development of coloring as well as underlying skills using age-appropriate crayons.

 
We are super duper excited to be back at the Preschool Book Club series where we’ll join a few of our favorite kids activity bloggers and explore a fun children’s book every two weeks!


The Day the Crayons Quit sensory art

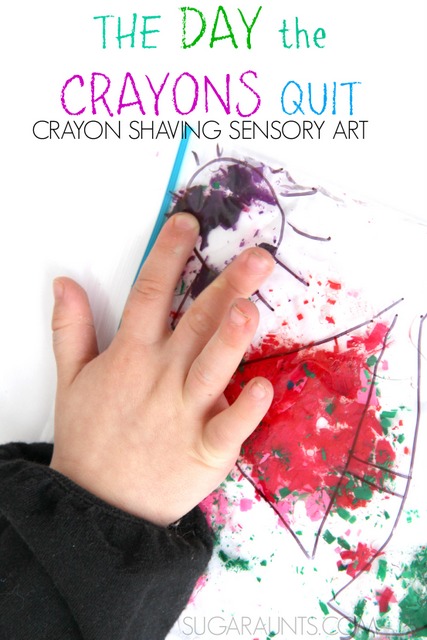
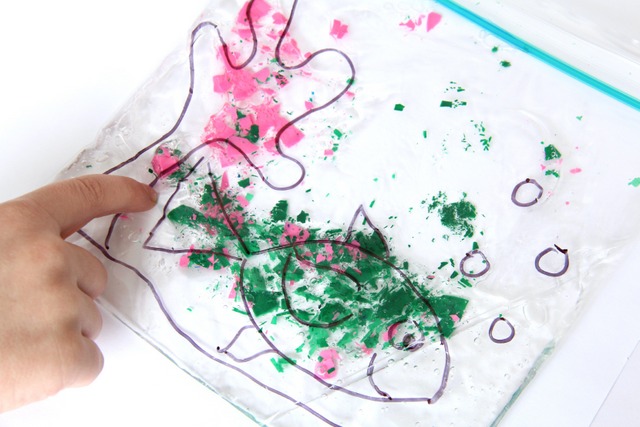
Crayon shaving art craft for sensory play based on the book, The Day the Crayons Quit

This post contains affiliate links.  
 
We loved reading The Day the Crayons Quit
by Drew Daywalt so this sensory crayon shaving art was completely a hit in our house!
 
This sensory activity requires just a few items:
 

plastic sandwich bags
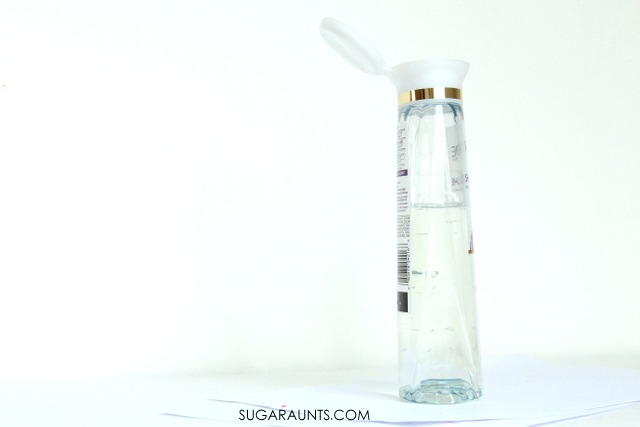
clear shampoo
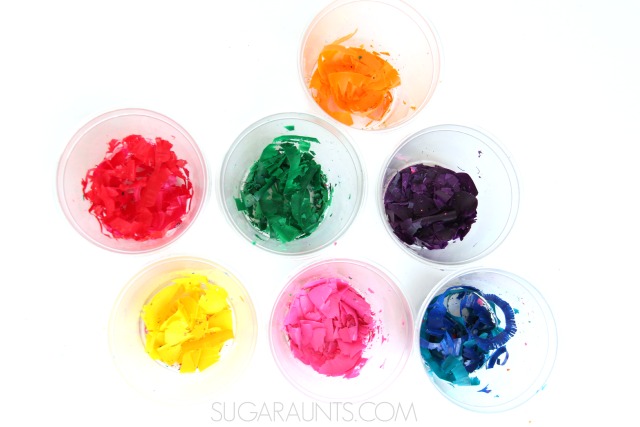
crayons
permanent marker
 and a small pencil sharpener


Use the pencil sharpener to make crayon shavings in the colors you want.  This is a fantastic fine motor activity for little fingers.  Twisting the crayons in the small pencil sharpener really works the intrinsic muscles of the hands.  Not only are kids building the hand strength and endurance for writing and coloring tasks, they are using a tripod grasp to manage the pencil sharpener/crayon.  It’s a resistive task that might cause hand fatigue for little ones, but not much crayon shavings are needed for this sensory activity.

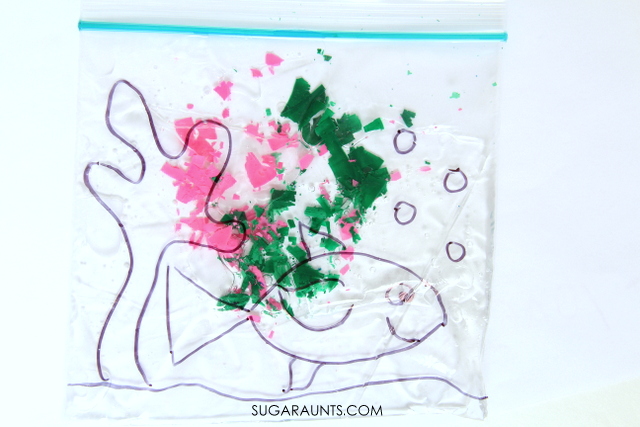
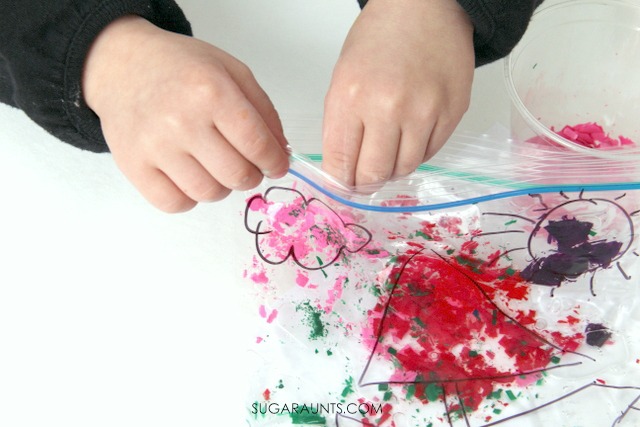
Use the permanent marker to draw a picture on one of the sandwich bags.  Fill the baggie with the shampoo and you are ready to get started!  
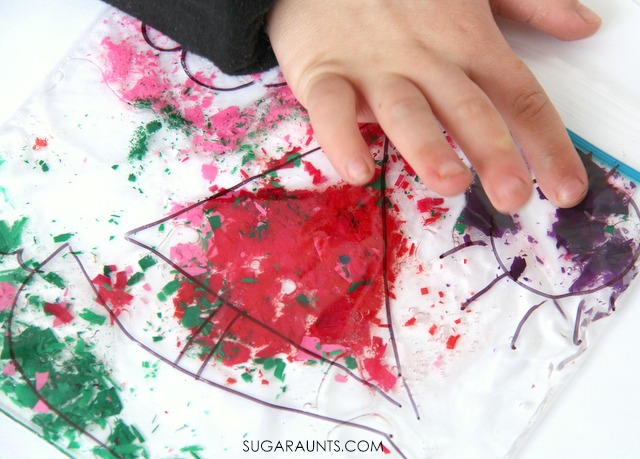
Have the kids pinch the crayon shavings into the plastic bag.  We tried to get the colors we wanted into the general area of the picture.  So, instead of a yellow sun, we made ours purple and tried to get the purple crayon shavings near the sun in the picture.  If they don’t land exactly near the part of the picture that you want them, it’s not a big problem, and actually a good sensory and fine motor activity to move the shavings around in the shampoo.
Crayon shaving art craft for sensory play based on the book, The Day the Crayons Quit
Press and push the colors into the part of the picture to make mixed up colors just like in “The Day the Crayons Quit” 
Crayon shaving art craft for sensory play based on the book, The Day the Crayons Quit

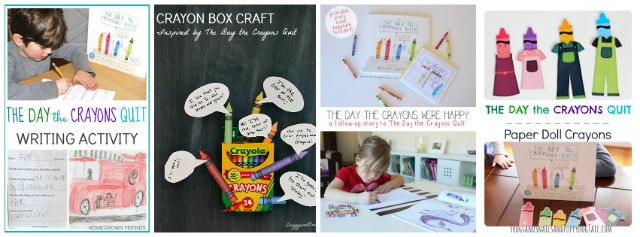
Be sure to see all of the amazing activities based on The Day the Crayons Quit

Writing Activity from Homegrown Friends
Crayon Box Craft from Buggy and Buddy
Follow Up Story from Mama. Papa. Bubba.
Paper Doll Crayons from Frogs and Snails and Puppy Dog Tails
 
 
Did you miss some of our other Preschool Book Club activities based on popular children’s books?  Check them out and see all of our Preschool books and activities
hands-on activities to explore social emotional development through children's books.

Love exploring books with hands-on play?  

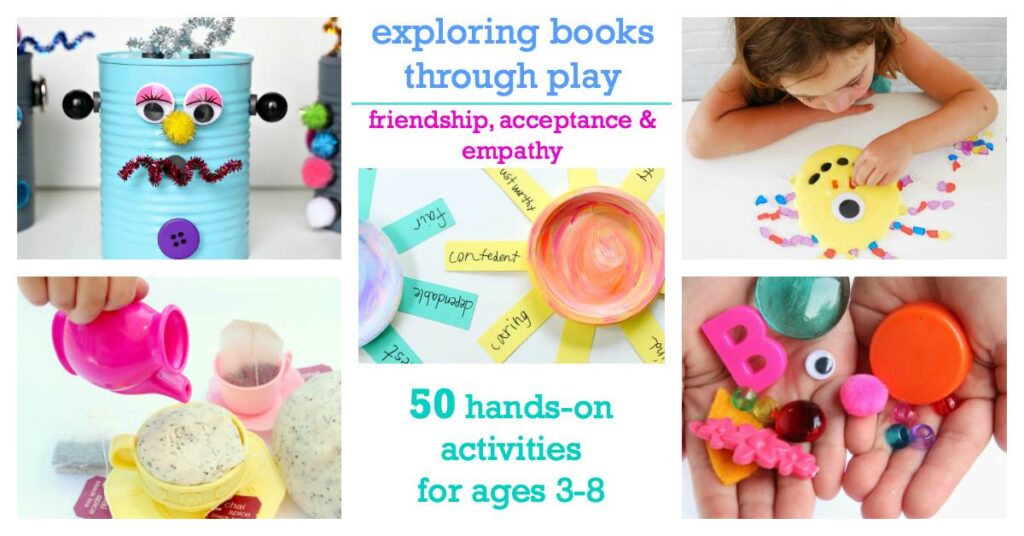
Grab our NEW book, Exploring Books Through Play: 50 Activities based on Books About Friendship, Acceptance, and Empathy, that explores friendship, acceptance, and empathy through popular (and amazing) children’s books!  It’s 50 hands-on activities that use math, fine motor skills, movement, art, crafts, and creativity to support social emotional development.

I Ain’t Gonna Paint No More Book Craft

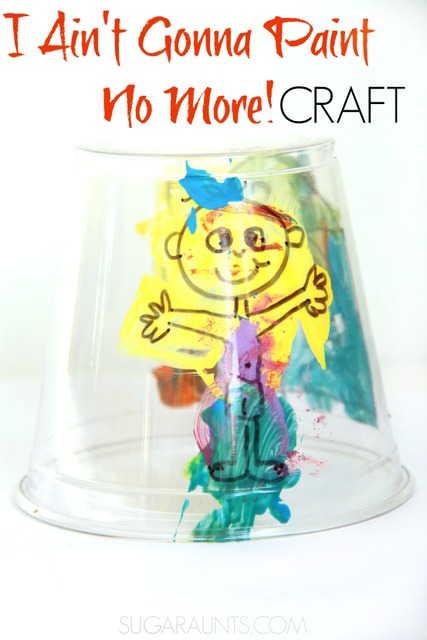
It’s true that we are HUGE fans of activities and crafts based on children’s books.  Today we’re sharing a craft inspired by a new book to us, “I Ain’t Gonna Paint No More!” by Karen Beaumont.  This pretend play kid made craft is big fun for imagination, language, and acting out the book while learning to name body parts.  This would be a great craft to do at a play date, as it uses only a few items (easy set-up is bonus for a mom hosting a play date!) and these cup crafts are fun for acting out the story in a small group.  We had a blast making our pretend play story parts and using them in retelling the book “I Ain’t Gonna Paint No More!”


Use this Story telling craft for I Ain't Gonna Paint No More! to host a preschool play date book club with craft!

This post contains affiliate links.  See our full disclosure policy.


I Ain’t Gonna Paint No More book craft

If you haven’t read the book, I Ain’t Gonna Paint No More!, this is definitely a book you will want to check out.  It’s colors, rhyming text, and body part-learning story is not only fun and engaging, it’s funny!  My kids loved reading this book over and over again, and guessing the body parts that the little boy would paint next based on the rhyme of the text.  We loved the “Ya ain’t-a gonna paint no more!” that the mom in the story yells after her son paints the house. When the boy starts to paint his body part-by-part, we loved the bright colors and yelling out the next body part.  
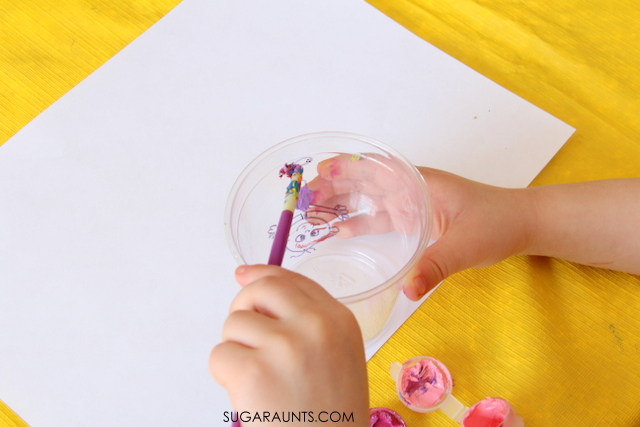
We had to make a painting body part craft to paint body parts!


Painting Craft Naming Body Parts

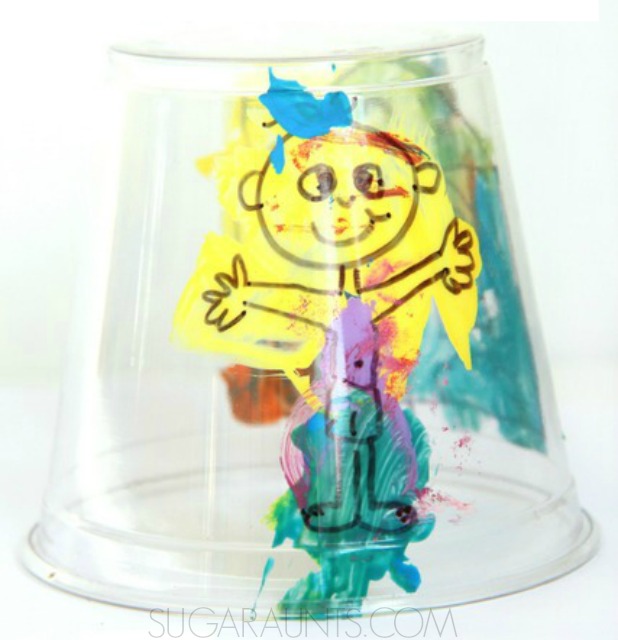
I started by drawing a picture of a boy on the outside of a clear plastic cup
using a black permanent marker.  My three year old was a particularly hug fan of the book and is also loves anything involving paint.  This craft was just right for her!

I showed her how to hold the cup with one hand and use a paintbrush to paint the body parts with paint.  We used acrylic paint that we had on hand from an old craft kit, but these acrylic paints are ones that we love for their bright colors and semi-washability.  
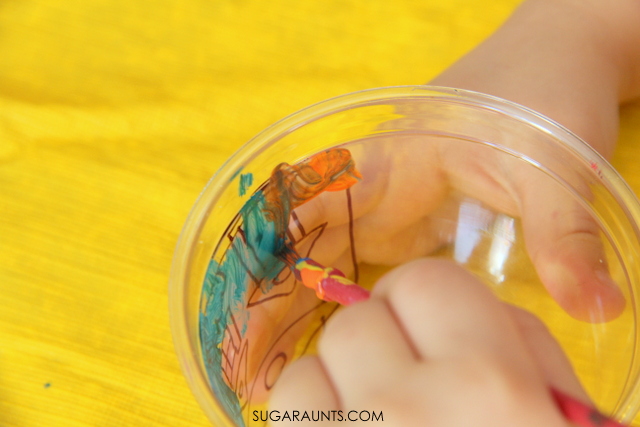
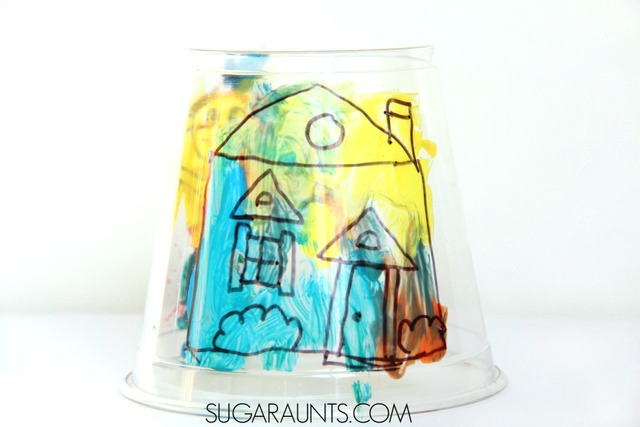
We made a colorful house too, just like the house was painted in the beginning of the book.

Body Part Identification craft

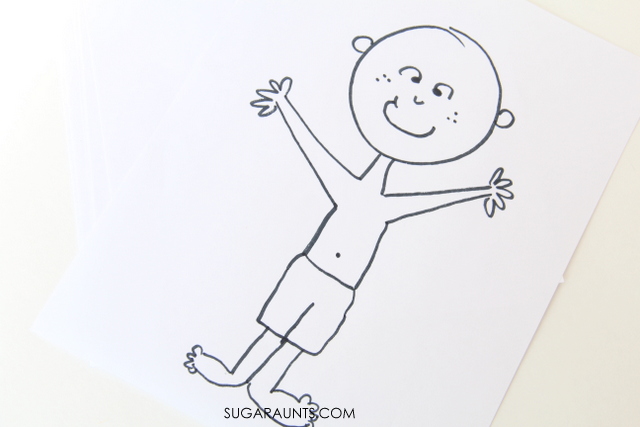
We made another painting craft to go along with I Ain’t Gonna Paint No More!
I Aint Gonna Paint No More craft for kids book club play date
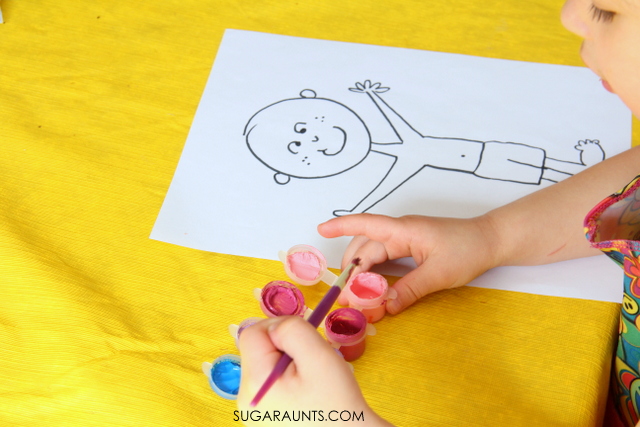
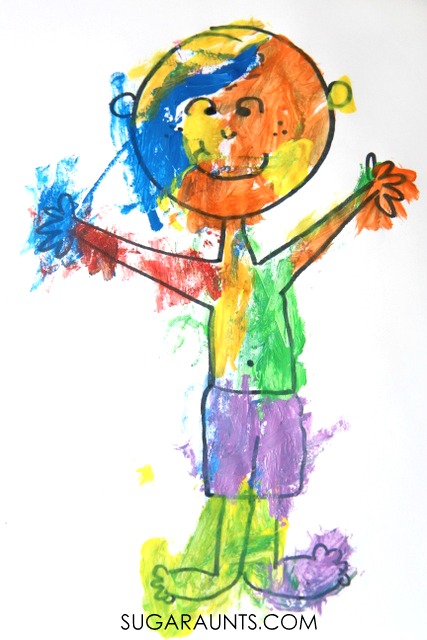
I drew a quick outline of a boy.
Little Sister painted in the body parts as she named them.
It was fun to see her paint the parts as she said “I’m going to paint his ARM!”  and “I’m going to paint his NECK!”
I Ain't Gonna Paint No More body naming and story retelling craft

Our painting craft turned out very colorful, just like in the book!

This post is part of a new series we’re joining all about Book Themed Play Dates!  If you’ve ever thought of planning a play date based on a book, this is the series to follow to get great snacks, games, crafts, activities and more based on a great book each month.  Check out the bloggers below for fun activities for I Ain’t Gonna Paint No More!
Painted Toast snack from Craftulate
Rainbow Writing Activity from Fun-A-Day
Body Part Game from Still Playing School
Body Part Identification Busy Bag from House of Burke
Looking for more crafts and activities based on books?  These are some of our favorites: 


Teaching Kids to Stop Spreading Germs

Oh boy, is life ever messy with little ones during the winter months.  Add to the mix: a teething baby who puts EVERYTHING into her mouth, and your house is a germ festival.  And it’s a festival you definitely DON’T want to visit.  When kids are constantly passing germs, hygiene is so important!  I’m not sure how many times a day I repeat, “Cover your mouth!”, “Wash your hands!”, and “Get a tissue!”, but those phrases should be plastered on my forehead and maybe the kids would notice a little more!  I thought it was time for a little wipe and blow your nose song and dance to teach the kids something about keeping those germs to themselves!

I participated in the Pass The Puffs blog program as a member of One2One Network. I received compensation but all opinions are my own.
Teach kids hygiene and to use a tissue and wash their hands after they blow their nose, cough, or sneeze with this poem!

Washing Hands and Blowing Nose poem for Kids

We were given the opportunity to try Puffs Plus Lotion during the booger-est time of the year.  And we are sure a booger-y family!  In fact, my Little Guy was wiping his nose so often that he had a red upper lip from the tissues!  We loved that the Puffs Plus Lotion seemed to soften that irritated nose and helped his skin even with all of his nose blowing.  You could tell that he looked and felt better!

Our little Good Hygiene for Kids poem is a catchy one and we’ve been saying it over and over again.  It’s a good poem for young kids to remember and use!  With preschool germs, library germs, grocery cart germs, and even sibling germs, my kids seem like they constantly have a cold this time of year.   Especially this year when we’re experiencing one of the toughest flu seasons (according to the CDC).  In fact, our hometown of Pittsburgh is on high alert for outbreak of the flu.  With the bitter cold temperatures that we’ve been having (it was below zero until noon one day last week!), the softness of Puffs Plus Lotion is perfect for sensitive little noses and cheeks.  With just the right amount of softness, Puffs Plus Lotion will help us put your best faces forward this cold and flu season.  

This little one had fun with the tissues!

Tips to help teach kids about stopping the spread of germs

Tips for Helping Kids to Use Good Hygiene 

  • Encourage kids to wash their hands with warm, soapy water.  Sing a short song like the ABCs while they soap up and rinse so you know they are really scrubbing.
  • Teach kids to cough or sneeze into their elbow or to use a tissue.
  • Show kids how to use a tissue to hold the door when exiting a public restroom.
  • Wipe down public grocery cart handles with a sanitizing wipe.
  • Remind kids when they should wash their hands: after using the bathroom, after coughing or sneezing/blowing nose, before meals, after being outside.


Visit Facebook.com/Puffs and Puffs.com for more information.