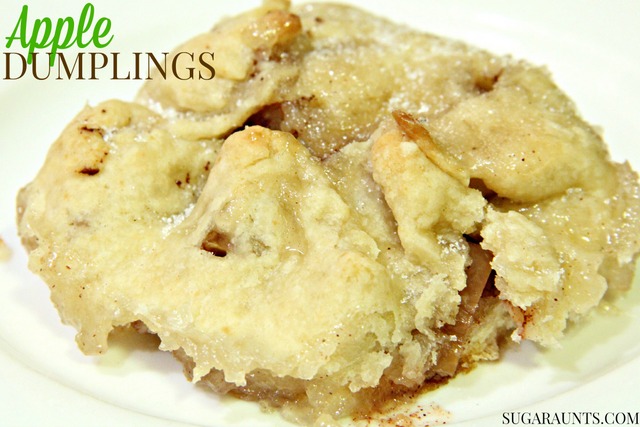
Apple Dumplings Recipe Cooking With Kids

We are huge fans of Cooking with kids.  There is so much learning to be had in the kitchen when kids are measuring, listening, following directions, reading, and following safety rules.  And the fine motor skills are pretty awesome, too: mixing resistive dough, pouring with skilled dexterity, opening packages, cutting with the dominant hand, using the non-dominant hand to assist,  and kneading.  Then there are the sensory aspects to cooking that kids get an added bonus from: the scents of spices, tastes of new foods, touching sticky dough, mixing mushy mixtures with hands, washing dishes in warm, and bubbly soap.  Cooking with kids has immeasurable teaching moments.


This Apple Dumpling Recipe is one that we Aunts grew up making.  It’s a recipe that we loved to bake with our mom, and then when we got a little older, we made on our own time after time.  Apple dumplings bring back great memories for us Aunts (like how we would add green food coloring to the recipe when we made them for Halloween dinner every year!)  There’s something about a recipe from your childhood that brings back wonderful memories through the scents, tastes, and textures!


Apple Dumpling Recipe 

This post contains affiliate links.  See our full disclosure policy.

How to Make Apple Dumplings.  Cooking with Kids:

Apple Dumpling Recipe

For the Apple Filling:
8 baking apples, cored and chopped
2 tsp cinnamon
3 Tablespoon sugar

For the Dough:
3 cups flour
1 tsp baking powder
1 tablespoon sugar
1 tsp salt
1 cup shortening
1 egg
3/4 cup plus 2 tablespoons milk

Chop the apples and add the cinnamon and sugar.  Stir and let rest while mixing the dry ingredients.

Mix together: flour, baking powder, 1 tablespoon of sugar, shortening.  Mix together: one beaten egg and enough milk to equal 1 cup.  Make a well in the dry ingredients and stir in the milk/egg.
Knead slightly.  Roll into small rounds on a floured surface. 

Spoon the apple mixture onto the dough rounds and fold the dough up to the center. Pinch dough to form a dumpling.  Do this with remaining dough/apples.  Place dumplings in a glass casserole dish.

For the Sauce:
1 1/2 cup sugar
1 1/2 cup water
1 Tablespoon butter

Combine in a saucepan.  Stirring constantly, bring to a boil.  Pour the sauce mixture in the bottom of the baking dish after adding the dumplings. Do not pour over the dumplings.

Bake for one hour at 350 F. 
Makes 10 large dumplings.

What are Baking Apples?


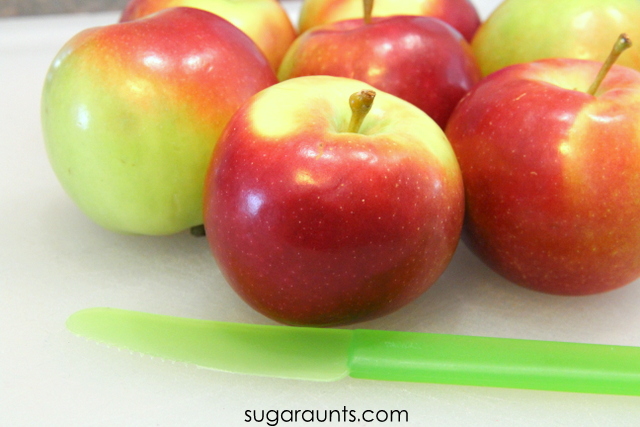
To make apple dumplings, you’ll want to use baking apples. We love Cortland, Gala, Granny Smith, or Fuji.  These types are perfect for pies, cakes, and dumplings.  They are juicy, crisp, and mildly sweet making them perfect for baking. 

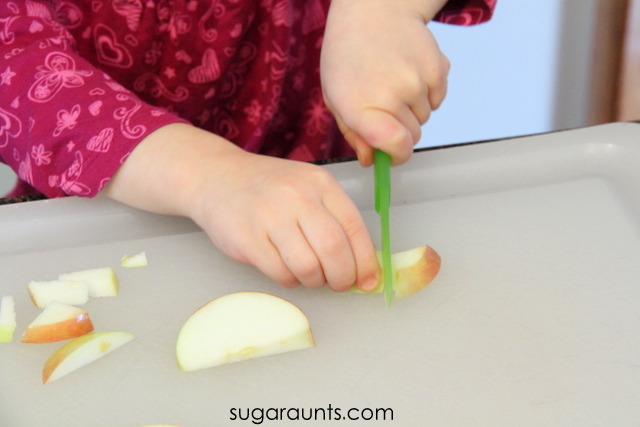
Wash and dry the apples (Get the kids involved in this part!  Exploring the textures of the apples is a great way to start a cooking lesson with kids!)  We used our kid friendly chopping knife, and LOVE this kid-friendly cutlery set for it’s handles, safe sharp cutting edges for chopping, slicing, and dicing.  

I started by cutting the apples into large chunks and then let my three year old chop away until the apples were in little pieces.  There was a lot of sneaking tastes that happened at this stage of the cooking activity!  Chopping apple slices is a great way to encourage eye-hand coordination in little ones.  They need to use bilateral hand coordination to hold the apple slice with their non-dominant hand and chop with coordinated movements.


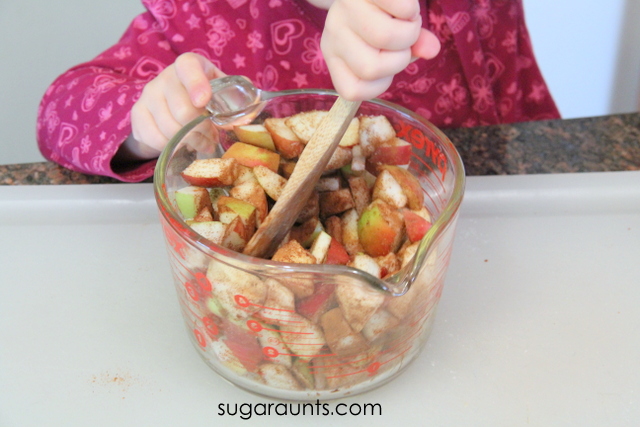
Keep chopping until you have chopped all of the apples.  Add cinnamon and sugar.  Mix it up.  Try not to taste-test toooo many apple pieces.  Let the apple mixture rest while you mix together the remaining ingredients.

Stiring the apples is a good way to encourage bilateral hand coordination and strength in your child.  Mixing is a resistive task and requires upper extremity strength to mix completely.  


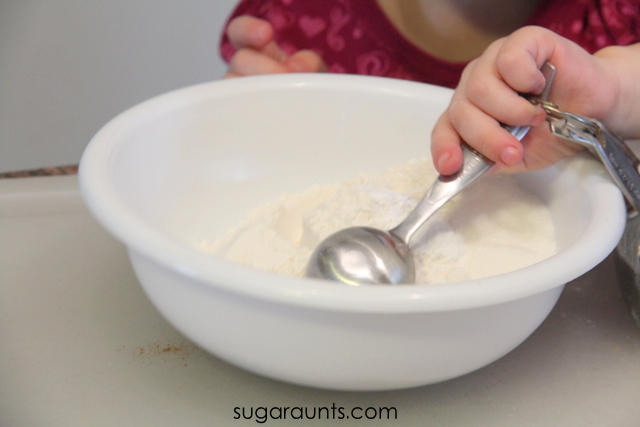
Stir together the dry ingredients.

Kids can scoop, measure, and stir.  So many math and fine motor skills are happening here!
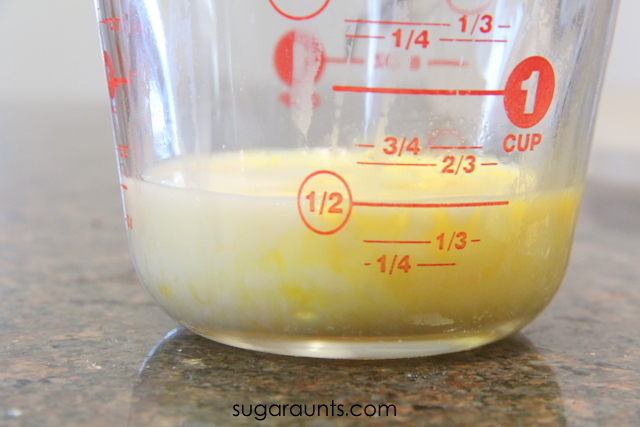
Crack an egg into a mixing cup.  Kid love their own sets, and this Cooking set for kids is perfect for little chefs.  Whisk the egg and add enough milk to get 1 cup of liquid (we made a half batch in this image, so it’s only filled up to 1/2 cup).

Make a well in the center of the dry ingredients and pour in the the milk/egg mixture.  We like to mix this part by hand to get a crumbly and sticky dough.  This is a wonderful sensory experience for kids!
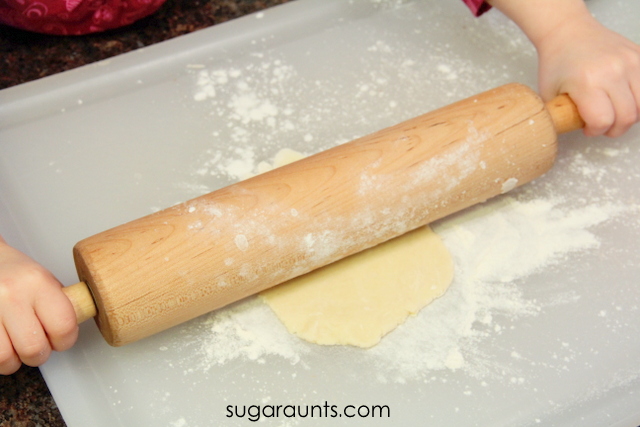
Once the dough pulls together, roll thin circles on a floured surface.  Make the dough circles about 8-10 inches round.

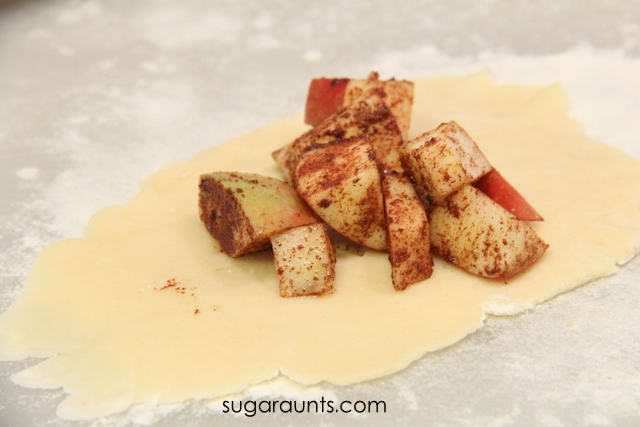
Scoop apples onto the dough circles.  


Fold the edges up to cover the apples and pinch the center.  Place in a baking dish, keeping the dumplings evenly spaced apart.

To make the sauce:


Pour the sauce around the dumplings but not directly on the dough.
Bake for 60 minutes at 350 degrees Fahrenheit.
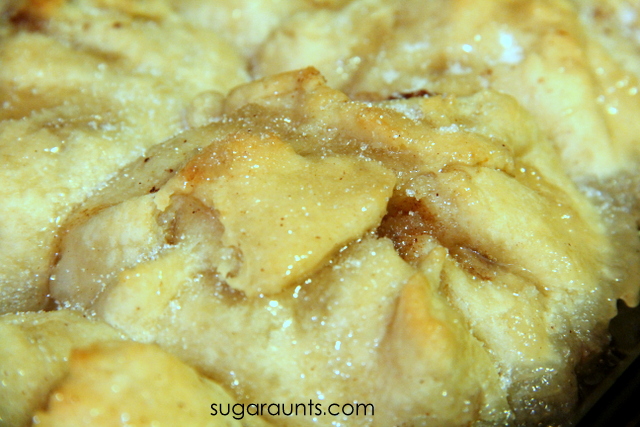
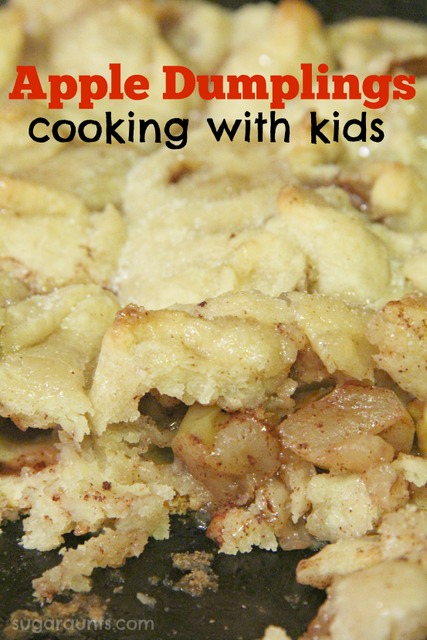
When you pull the apple dumpling out of the oven, they will be bubbly and smell amazing!  Sprinkle a pinch of sugar over the apple dumplings.

These are great with a scoop of vanilla ice cream or just eaten strait away.


I’m looking forward to many more batches of Apple Dumplings made with my kids!  I hope you enjoy and they become one of your memory-recipes with your kids, too!

We’re excited to join a handful of bloggers in cooking our way through the alphabet.  Every two weeks, we will bring you a new recipe based on the ABCs.  Next up is B is for bananas, so be sure to stop back for more cooking and learning fun in the kitchen!  You can read more about it on the Cooking with Kids ABC series page at Rainy Day Mum.

See the rest of the A is for Apple Cooking with Kids recipes:

Apple Cinnamon Loaf Cake from Rainy Day Mum
Apple Muffins from Mum in the Madhouse
Apple Cinnamon Slices from Peakle Pie
Apple Peanut butter balls from Smiling like Sunshine
Apple Harvest Cake from Still Playing School
Apple Oaty Crumble from Witty Hoots
Apple Muffins from Thinly Spread
Apple and Pork Sausage and Bean Casserole also from us at Rainy Day Mum


Want to cook healthy foods for your family?  Grab Yum! Deliciously Healthy Meals for Kids, a cookbook for busy families that want healthy meal ideas. 

Healthy recipes for kids

Valentines Sensory Bin

valentines day sensory bin

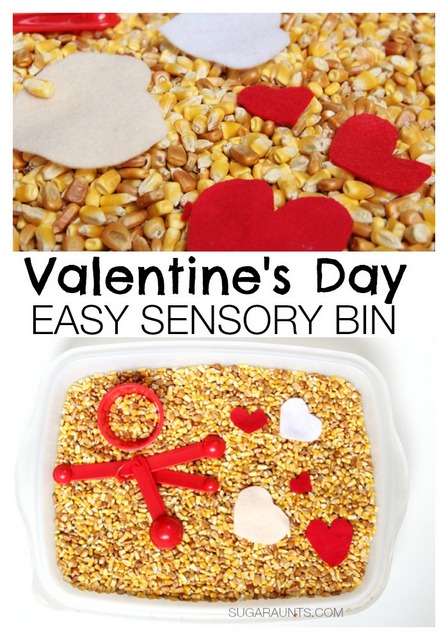
Today I have a Valentines sensory bin that is so easy to set up, and you can use the materials you have on hand, while helping kids develop fine motor skills, eye-hand coordination, crossing midline, and so much more. Sometimes simple play ideas are the best.  A simple bin of corn (or dried beans/peas/lentils/sand/flour/rocks…) and a few spoons, scoops, and bowls are all a kid needs for imaginative sensory play, creative language development, fine motor skill work, and learning through play! These are the kind of Valentine’s Day activities that can be added to OT plans.   We made this Easy Valentine’s Day Sensory Bin with just a few items and had a day of fun.  
This is a Winter sensory bin that we love to use for Valentine’s Day therapy!

Easy Valentine's Day sensory bin idea for scooping and pouring.  Sometimes simple play is the best!


Valentines Sensory Bin

This post contains affiliate links.  

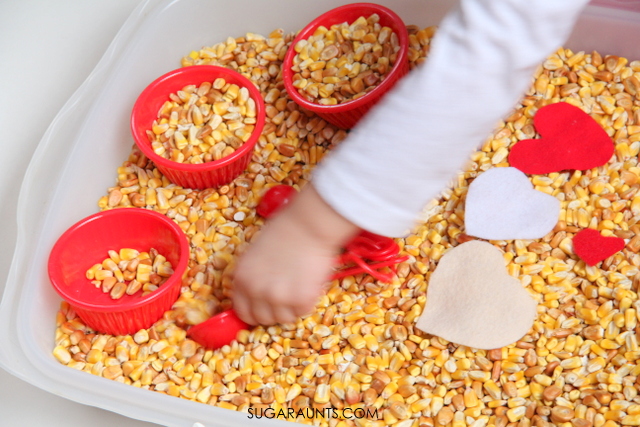
Pouring and scooping items into bowls with spoons works on eye-hand coordination, transferring, motor control to manage the spoons, and hand dominance as they scoop with the dominant hand and assist with the non-dominant hand.  Encourage your child to use their dominant hand and to scoop from left to right as they transfer corn.  

Here is information on the development of eye-hand coordination skills and how that development impacts function and performance of daily occupations.

Scooping and pouring materials encourages left to right progression in reading and writing.  Using two hands together in a coordinated manner is bilateral hand coordination and essential for so many functional tasks (tying shoes, buttoning, cutting with scissors).

How to make a valentine’s Day sensory Bin:

To make this Valentines sensory bin, you’ll need just a few materials:

  • Bin or container
  • Sensory medium (dry corn, dry beans, rice, etc.
  • Scoops (measuring spoons, kitchen spoons, tongs, etc.)
  • Small cups or bowls for scooping and pouring
  • Felt or paper hearts

You can also add Valentine’s Day sensory bin materials like the ones found in our new Valentine’s Day Fine Motor Kit. The Kit contains 25 pages of hands-on materials designed to develop and refine fine motor skills in kids, but some of those items are perfect for adding to sensory bins like this one. Simply cut (or have the child cut out) the images of hearts and other Valentine items. Then, you can scatter the sensory bin items into the sensory material. Hide them and have the child find them.

Click here to access the Valentine’s Day Fine Motor Kit and add these resources to your therapy toolbox.

While they are building motor skills through scooping and sorting, they are experiencing tactile sensory input.

For kids struggling with tactile discrimination, this can be one way to challenge and experience these skills in a safe manner.

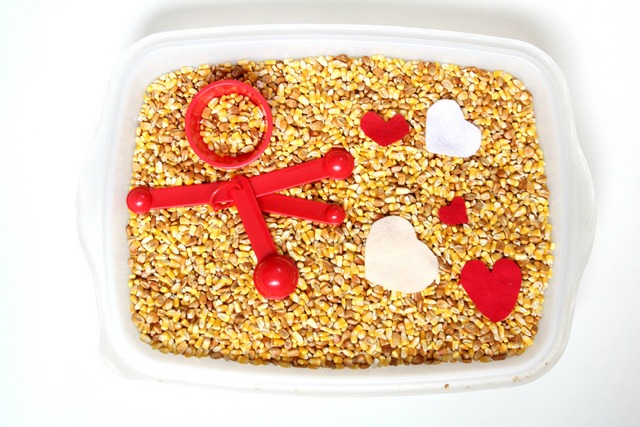
Corn sensory bin for scooping and pouring fine motor play


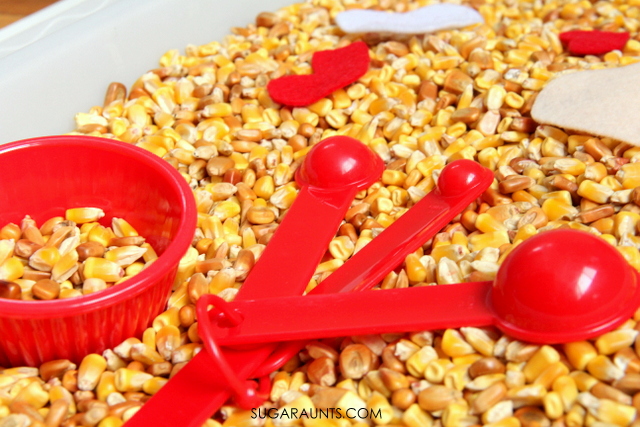
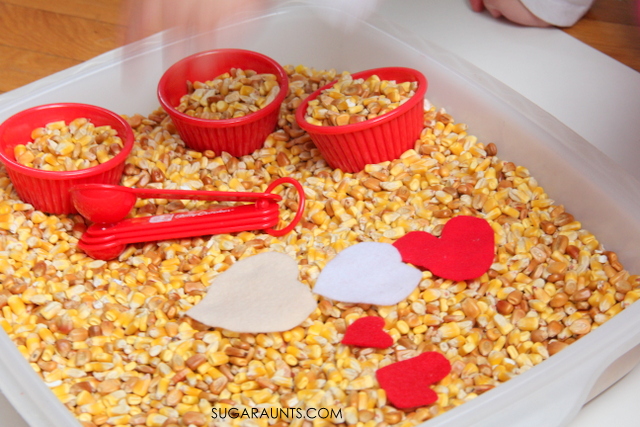
We have a big old bin of field corn always ready to go for sensory play fun.  I threw a bunch of  red measuring spoons and some red/white cups.  

heart sensory bin. This is fun for Valentine's Day!

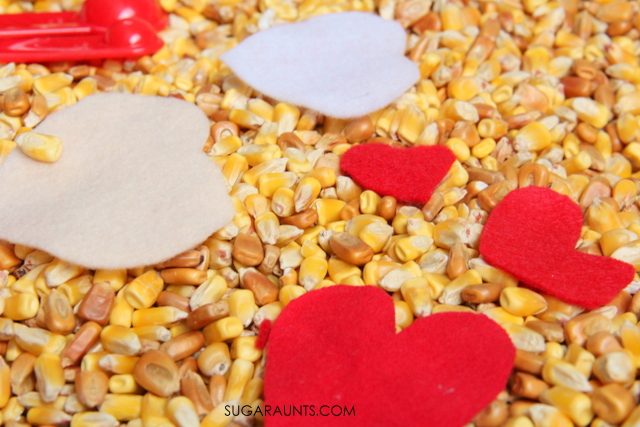
Add a few felt hearts for fun.

Make a Valentines fine motor sensory bin using materials in your home

Scooping, pouring, and dumping the corn is such a fun way for preschoolers to play.  Even the big kids got in on the fun.  They love to pretend to serve up lunch in the little bowls, mix, and pour concoctions in their corn kitchen.

Valentines Sensory bin for kids to help with fine motor skills
Pouring and scooping is a great fine motor activity for kids.

Looking for more EASY sensory bins?
  We’ve started a series covering easy sensory bins from A-Z (and are working our way through that series very slowly!)  Here are some more easy sensory bin ideas:

Bottles and Brushes Sensory Bin
Beans and Bugs Sensory Bin
Corn and Cookie Cutters Sensory Bin
Sticks and Stones Sensory Bin

Want to add more Valentine Fine Motor activities and movement tools to your skill-building?

The Valentine’s Day Fine Motor Kit is here! This printable kit is 25 pages of hands-on activity sheets designed to build skills in pinch and grasp strength, endurance, eye-hand coordination, precision, dexterity, pencil control, handwriting, scissor skills, coloring, and more.

When you grab the Valentine’s Day Fine Motor Kit now, you’ll get a free BONUS activity: 1-10 clip cards so you can challenge hand strength and endurance with a counting eye-hand coordination activity.

Valentines Day fine motor kit

Colleen Beck, OTR/L has been an occupational therapist since 2000, working in school-based, hand therapy, outpatient peds, EI, and SNF. Colleen created The OT Toolbox to inspire therapists, teachers, and parents with easy and fun tools to help children thrive. Read her story about going from an OT making $3/hour (after paying for kids’ childcare) to a full-time OT resource creator for millions of readers. Want to collaborate? Send an email to contact@theottoolbox.com.

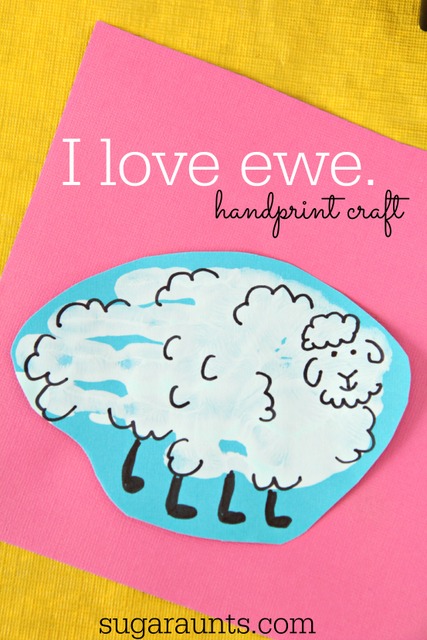
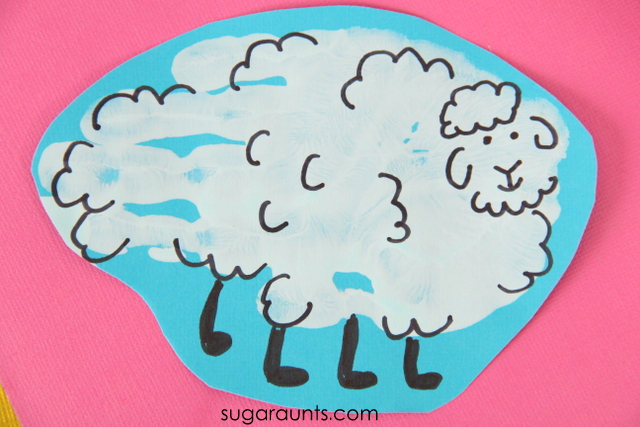
I Love Ewe Sheep Handprint Art

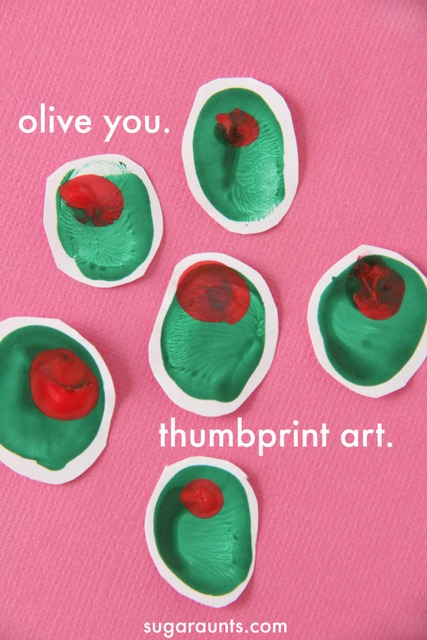
We are new to hand print art, (but made a super cute “Olive You” fingerprint craft last week. Seriously cute.)  and we’re now addicted!  There’s something about cute little kid fingers and toes covered in paint that makes a mama go, “Awwwww!” and want to keep it forever in the scrapbook.
 
Or if you’re like this mama, in the forever-growing-someday-will-be-scrapbooked-pile.
 
These sheep hand prints and fingerprint crafts are perfect for homemade cards for moms, grandmothers, Aunts (hint, hint!) and make would make Valentine’s Day, Mother’s Day, birthdays, or any old day extra sweet!
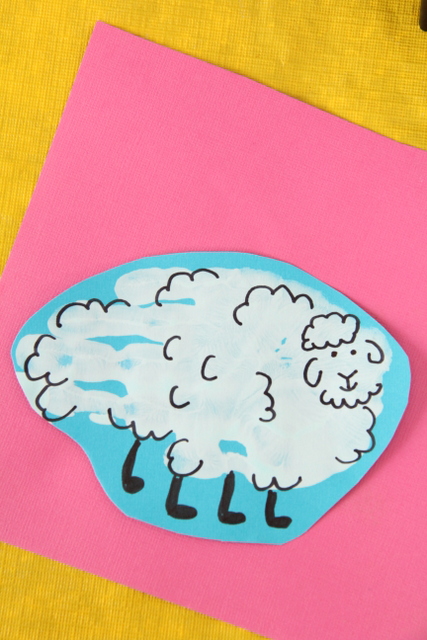
I love Ewe Sheep handprint craft for Valentines Day or Mothers Day...any homemade card, really!


Sheep Handprint and Thumbprint Art 

This post contains affiliate links.  
 
We started by painting thumbs with white poster paint.  (Sidenote–I LOVE this paint for handprint art…and any kid art, really!  It is bright, thick, doesn’t flake when it dries, it’s washable, and cheap.  LOVE it!)


To make the I Love Ewe Sheep Thumbprint Art: 

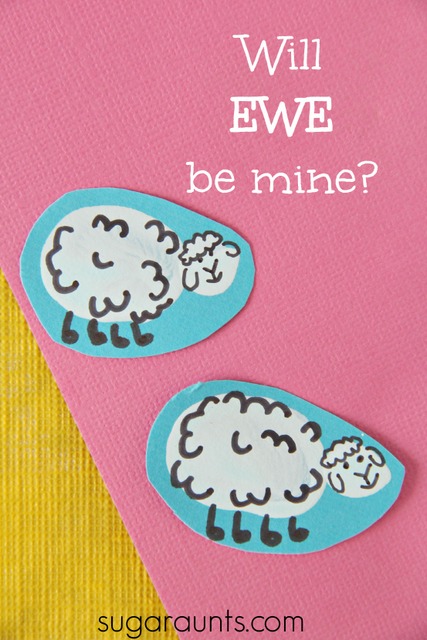
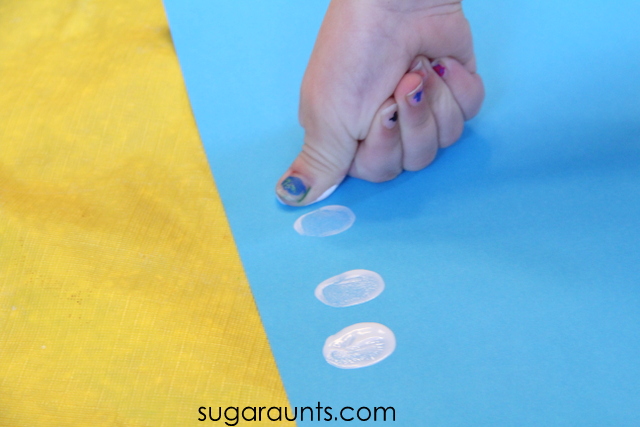
Press white paint-coated thumbs on paper.  We did ours on bright blue card stock so it was ready for card making once the prints dried.  You could make these thumbprint crafts on any color paper and just cut out the prints afterwords and glue onto cards, wrapping paper, or pictures from kids.

 
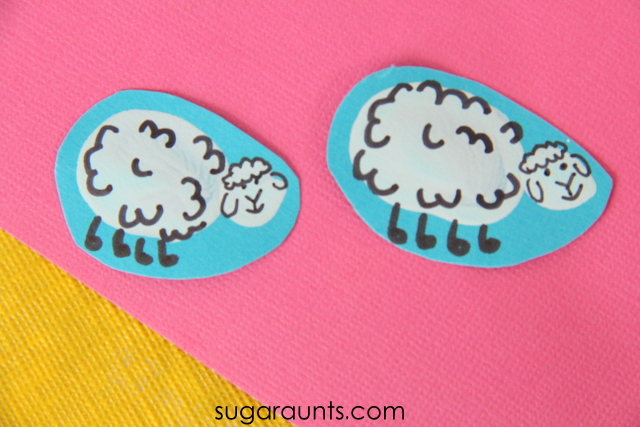
Let the paint dry.  Once it’s dry, pull out a black Sharpie fine point marker and add details.  Put little legs, a cute sheep face, and puffy wool.
 
Cut them out and glue onto a card, or just keep them on the paper that they were printed on.
Will Ewe Be Mine? Valentine's Day Sheep finger print art. This is adorable for kid made cards!

Don’t stop there!  There’s more sheep handprint cuteness to be done!

To Make a Sheep Handprint Craft:

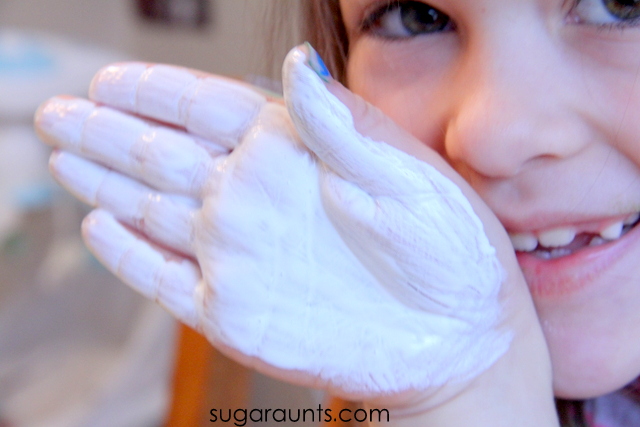
Use the same awesome white poster paint and paint cute little hands. 

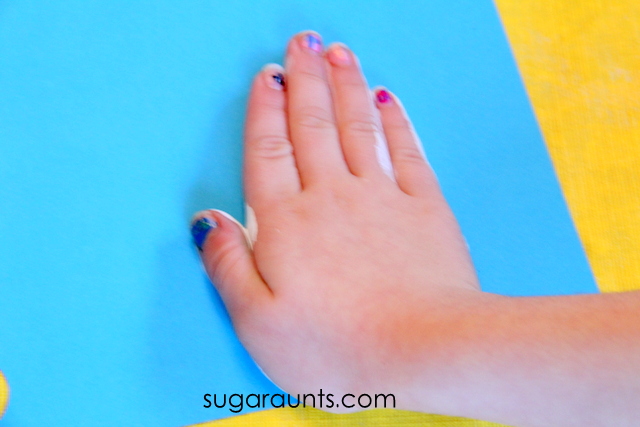
Press flat and firmly on the paper surface.  Let the paint dry.
Use your Sharpie fine point marker again to add the details.  Done!
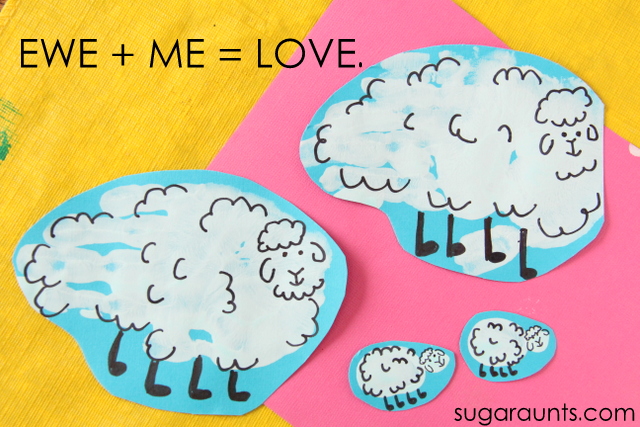
Sheep handprint and finger print art: Ewe + Me = Love
Add cute sheep sayings and start gifting these adorable sheep to everyone you know.  They will love you forever!
 
This post is part of a handprint and finger print series with a few other fun bloggers we know.  Check out these Valentine’s Day print art ideas for more crafting fun: 
 
Heart Tree Handprint Art  on Fun-A-Day!

 
You also might like our Olive You fingerprint art.