Wedding Soup Recipe Cooking With Kids

This week in the A-Z Cooking With Kids series, we’re sharing one of my kids’ favorite recipes.  My three older kids (and now the baby is loving it too!) LOVE Wedding Soup.  It’s one of their most requested meals.  We’re making our way through the alphabet with our cooking with kids series and this week is I is for Italian.  So, of course we had to share our wedding soup recipe.  
Italian Wedding Soup Recipe.  Kids love this soup and can help with making it! Part of the Cooking With Kids series.

Making Wedding Soup isn’t as difficult as you might think.  There are a lot of steps, but with four small kids running around, I usually do the parts in steps.  on the chicken on the stove top and making the meatballs when you have the time makes it easier.  I will usually make the meat part of the soup a day ahead of time or whenever I have extra time.  

Wedding Soup Recipe

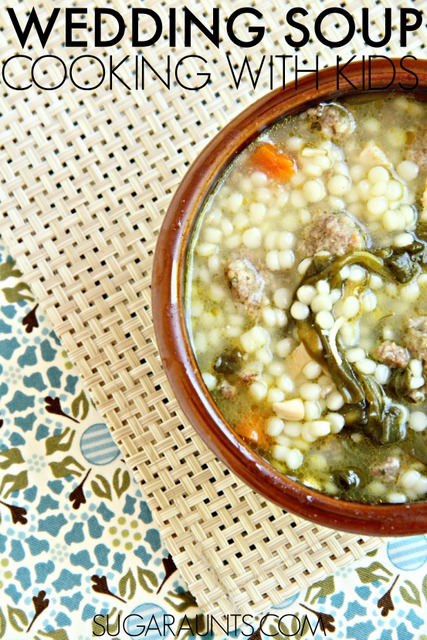
Wedding Soup is a hearty soup with a chicken based broth, and full of protein with meatballs and chicken, and filling with pasta.  I love that my kids get extra veggies when they chow down on this soup’s spinach and carrots.  It is a sure winner in our house!
Italian Wedding Soup Recipe.  Kids love this soup and can help with making it! Part of the Cooking With Kids series.

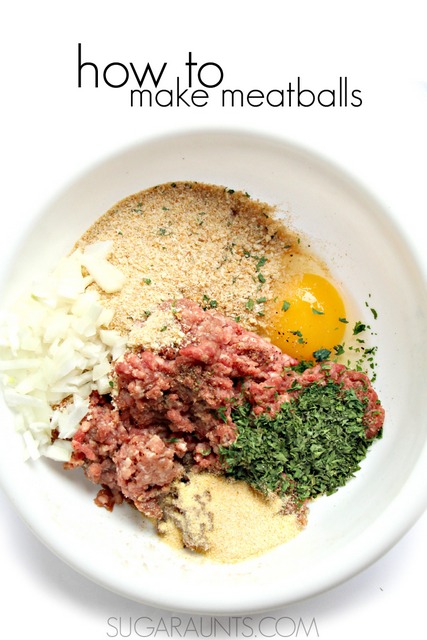
How to make meatballs:

Start by making the meatballs.  Wedding Soup calls for small bite-sized meatballs.  They are the perfect size for toddlers and make this soup fun for kids.  To make meatballs, grab a few ingredients:

1 pound ground beef
1 egg
2 teaspoons dried parsley
1/4 cup finely chopped onions
3/4 cup bread crumbs
1/2 teaspoon pepper
1 teaspoon garlic powder

Mix all of the ingredients together by hand.  Roll into bite-sized meatballs.
Cook on the stove top until browned.  

Put the meatballs aside.
Italian Wedding Soup Recipe.  Kids love this soup and can help with making it! Part of the Cooking With Kids series.
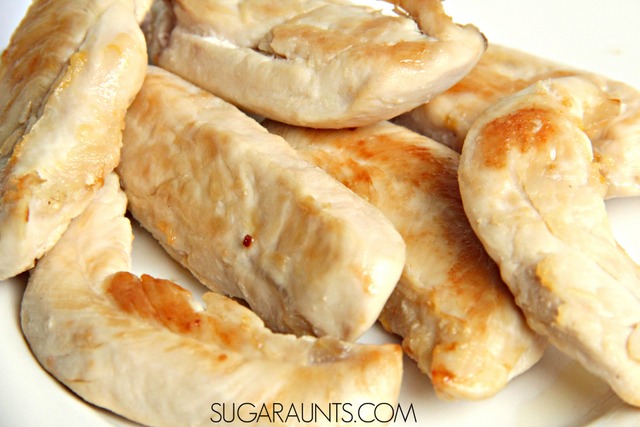
Next, saute 1-2 chicken breasts. I used chicken tenderloins because that is what we had on hand.  The nice thing about Wedding Soup is that it is very versatile. You can adjust the measurements of the ingredients and it will still taste great!

Shred the chicken and put aside.
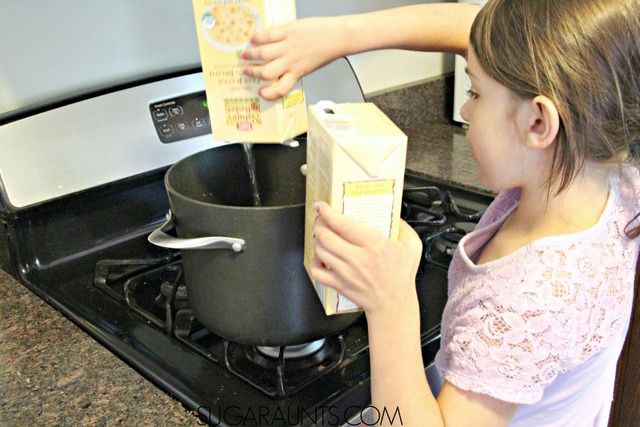
Next, pour 8 cups of chicken stock or chicken broth into a large soup pot.  Add 6 cups of water and 4 chicken bouillon cubes.  You can also use granulated chicken bouillon.  This just adds chicken flavor to the soup.  (Bouillon is essentially dried compressed chicken stock.)  

Italian Wedding Soup Recipe.  Kids love this soup and can help with making it! Part of the Cooking With Kids series.
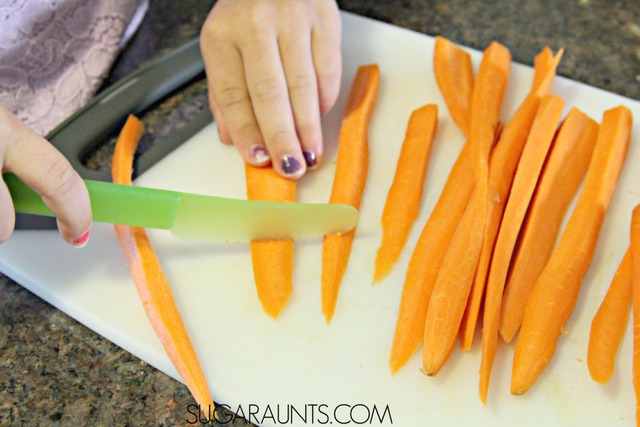
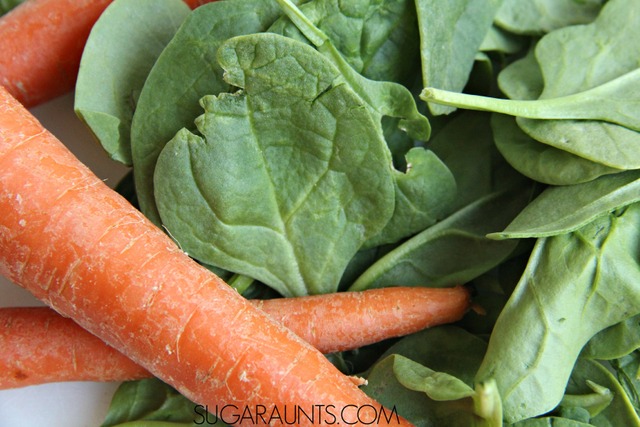
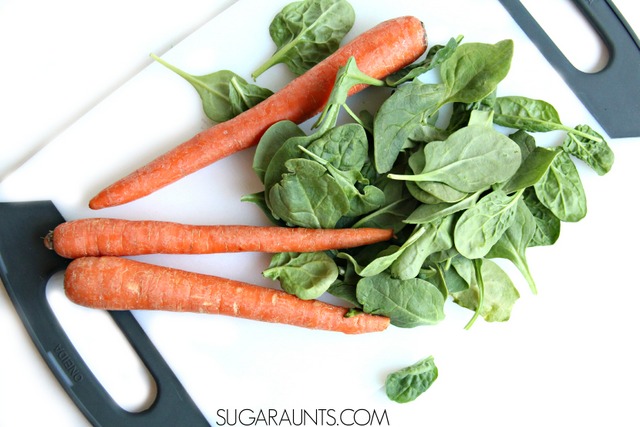
Chop 3-4 large carrots.  I sliced ours lengthwise first to make chopping easier for my kids.
Italian Wedding Soup Recipe.  Kids love this soup and can help with making it! Part of the Cooking With Kids series.
Next comes the veggies! 
Italian Wedding Soup Recipe.  Kids love this soup and can help with making it! Part of the Cooking With Kids series.

Italian Wedding Soup Recipe.  Kids love this soup and can help with making it! Part of the Cooking With Kids series.

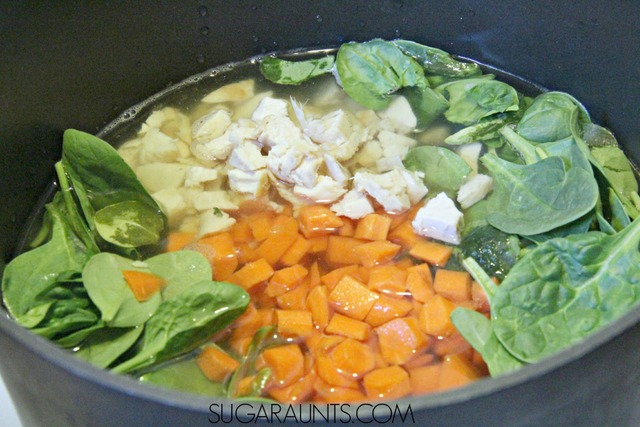
Add the chopped carrots and  6 cups of fresh spinach to the soup pot.  Frozen spinach also works in this recipe.  Toss in the chicken and meatballs.

Allow the soup to boil and then turn down the heat.  Simmer the soup for 1 hour or until the carrots are softened.  Add 1 cup of uncooked acini di pepe pasta and turn up the heat.  Allow the soup to boil and cook for 15 minutes.  There is no need to drain the pasta.  

Italian Wedding Soup Recipe.  Kids love this soup and can help with making it! Part of the Cooking With Kids series.
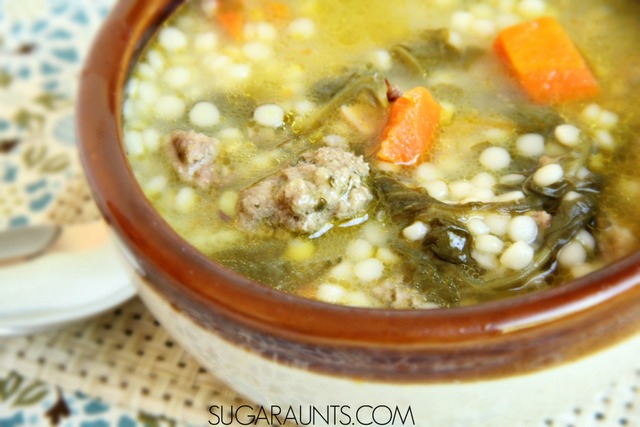
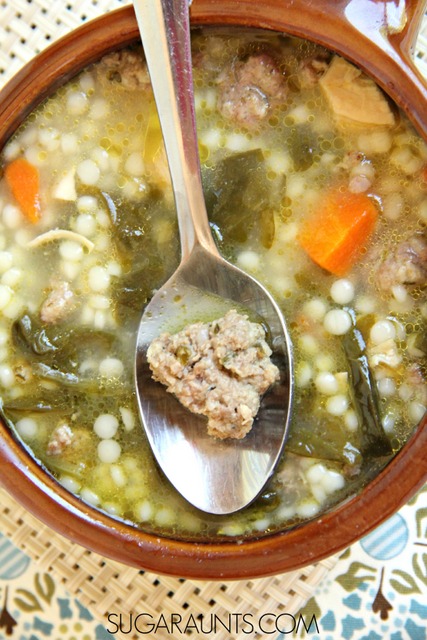
Enjoy!  My kids love looking for the meatballs in their soup bowls.
Italian Wedding Soup Recipe.  Kids love this soup and can help with making it! Part of the Cooking With Kids series.
Look at that meatball!

Stop by and see what the other bloggers in the Cooking with Kids A-Z series made for I is for Italian:

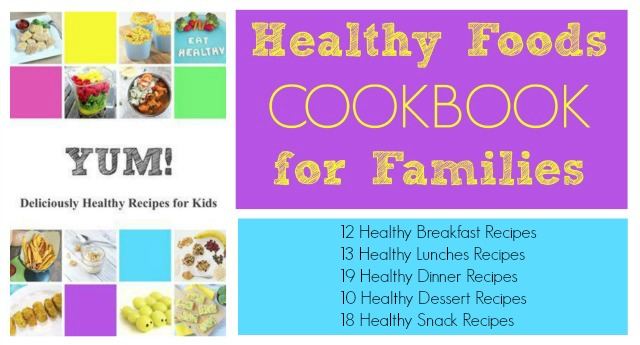
Want to cook healthy foods for your family?  Grab Yum! Deliciously Healthy Meals for Kids, a cookbook for busy families that want healthy meal ideas. 

Healthy recipes for kids

Patriotic Crayon Salt Dough Recipe

This play dough recipe is a spin on the classic salt dough recipe.  Add a few broken crayons and you’ve got a crayon salt dough recipe that is sure to be a hit with the kids!  It’s just one of our crayon play dough recipes that are fun in so many ways! 


Memorial Day, Fourth of July, and all days patriotic (i.e. any day!) deserves a little red, white, and blue salt dough.  This Crayon Salt Dough is our current twist on our Crayon Dough series where we use melted crayons to color the doughs for vivid and bold colors with a soft texture.  This is a definite dough to make, and you’ll want to try them all! Using broken crayon pieces to make Crayon Play Dough is a fun way to reuse and recycle with a creative twist! 
Make patriotic salt dough with crayons this Memorial Day, Fourth of July, or any day! Use melted crayons to dye the salt dough for a bright and vivid color with a smooth texture.

Patriotic  Crayon Salt Dough


Our patriotic salt dough uses the same directions and ingredients as our regular salt dough recipe and a twist on our crayon play dough recipe. It’s an easy dough to throw together, which gives you more time for playing!
Make patriotic salt dough with crayons this Memorial Day, Fourth of July, or any day! Use melted crayons to dye the salt dough for a bright and vivid color with a smooth texture.
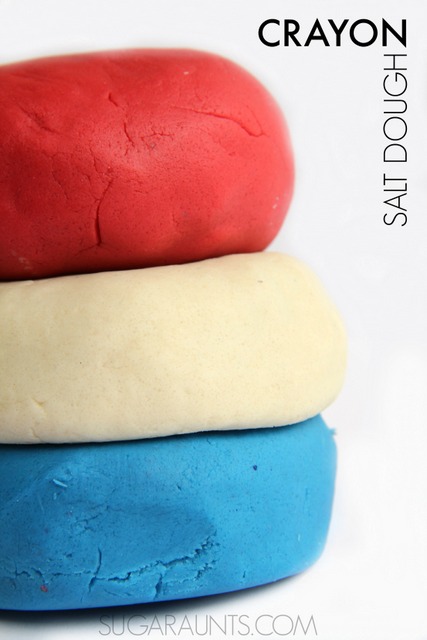
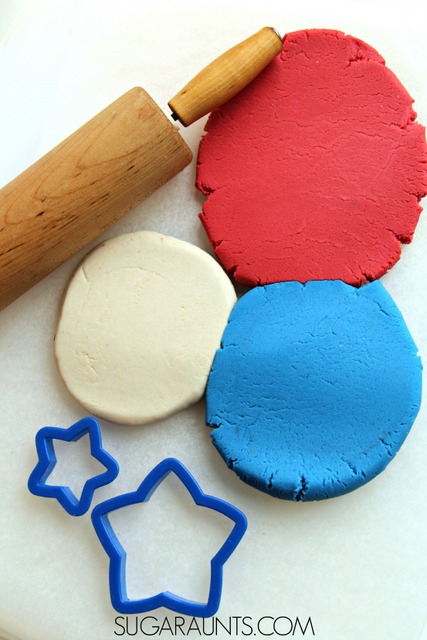
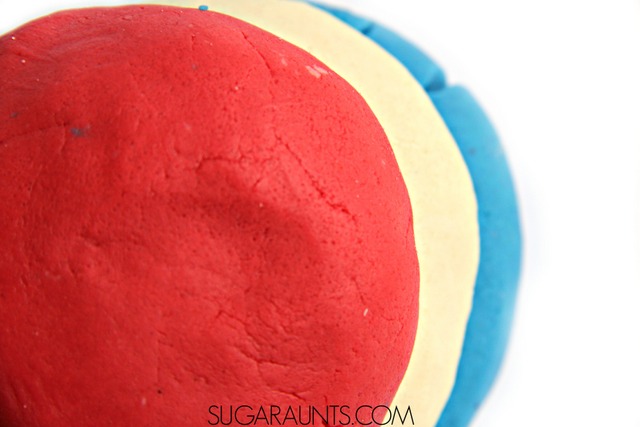
We divided the dough into three lumps and dyed one part with red crayons, one part with blue crayons, and left the last lump as is.  Instant red, white, and blue dough!  Play with the three individual colors or roll the lumps together for a swirled effect.
Make patriotic salt dough with crayons this Memorial Day, Fourth of July, or any day! Use melted crayons to dye the salt dough for a bright and vivid color with a smooth texture.
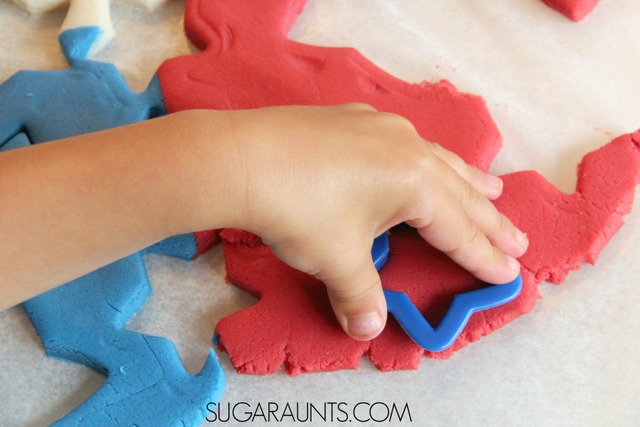
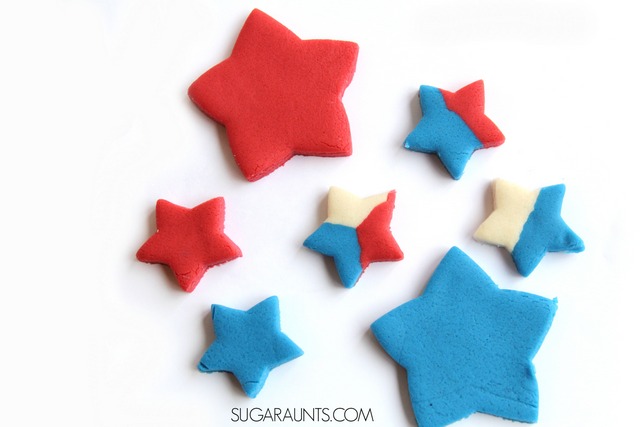
Part of the awesomeness of salt dough is it’s ability to harden and make long-lasting ornaments, paper weights, bowls, and all sorts of crafty items.  We used start cookie cutters to make multi-colored patriotic stars.  I wouldn’t bake these in the oven due to the wax content, but instead allow any creations to harden for several days in a dry place.  If you are making ornaments or hanging stars, be sure to poke a hole for a string with a skewer.
Make patriotic salt dough with crayons this Memorial Day, Fourth of July, or any day! Use melted crayons to dye the salt dough for a bright and vivid color with a smooth texture.

Make patriotic salt dough with crayons this Memorial Day, Fourth of July, or any day! Use melted crayons to dye the salt dough for a bright and vivid color with a smooth texture.
Enjoy your patriotic Crayon Salt Dough!

You can read all of our Crayon Dough recipes:


If you like the idea of using your broken crayon pieces in something as fun and creative as play dough, then you will love to try a few different ideas, too.  We’ve given crayon play dough a run for it’s fun and tried a few different versions.  Check them out and if you make a batch, let us know how you get creative with crayon play dough!

Constellation Crafts for Kids

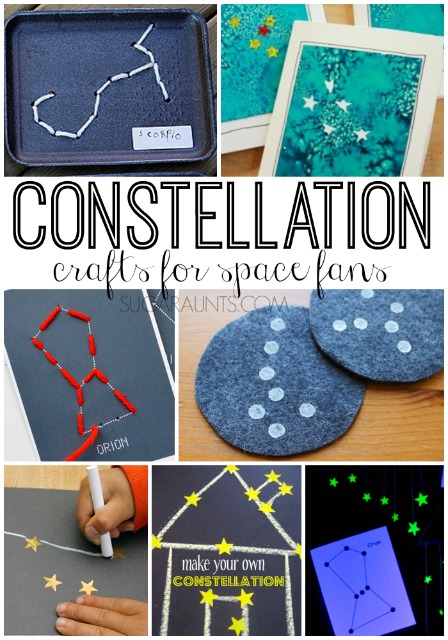
My kids are SO into stars, the galaxy, and outer space in general.  So, when we saw a glow in the dark constellation mobile linked up in last week’s Share It Saturday, we had to feature it.  We searched the internet for the best Constellation Crafts out there.  This collection of crafts will definitely come in handy this summer as we search the skies for constellations and then make all kinds of constellation crafts!


If you’ve got a little space fan, be sure to check out our Outer Space theme learning and play activities for crafts, activities, snacks, movement, and sensory fun.


Kids will love these constellation crafts!

Constellation Crafts for Kids

Constellation Sewing Cards from Kids Activities Blog
Constellation Drawing Craft from Gift of Curiosity
Make your own Constellation from No Time For Flashcards
Lacing Constellations Craft from Lets Go Fly a Kite
Constellation Coasters from Assemble Shop
Sticker Resist Art from Artful Parent

DIY Whiteboard Busy Bag Kids Travel Kit

Traveling with kids is extremely difficult.  There are the bathroom breaks, the “Are we there yet”s, the bickering, the whining…sometimes a 6 hour drive with a car-full of children is one of the toughest forms of self-torture there is.  Travel with children doesn’t need to be a torture chamber on wheels, though!  We made this DIY dry erase board travel kit for those moments when the kids need an activity to keep them occupied for miles and miles of highway.  They can draw, write, practice letter and number formation, and wipe it off and start over.  Kids will love having their own private “space” during a long flight or car trip as they work and play with their travel dry erase board set.


DIY Whiteboard dry erase board kit for travelling with kids. Practice letters, numbers, math, handwriting, and drawing while on long car trips or flights.


Traveling with Kids: Keeping the Kids Busy!

 
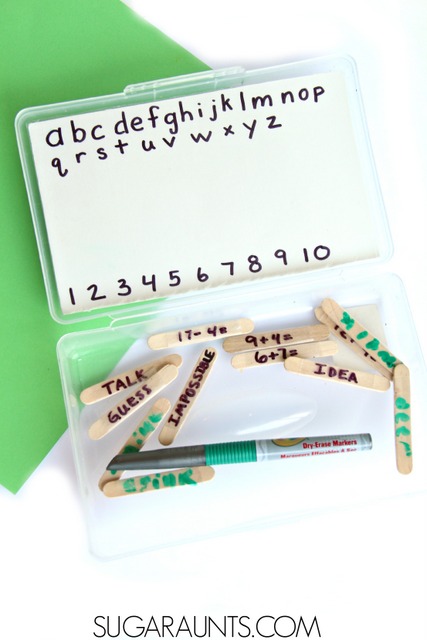
We’re including affiliate links in this post for convenience.  This dry erase board was easy to put together.  We used a plastic pencil box to create the kit.  I cut a piece of dry erase board to fit the top section of the pencil box. One one side of the white board
rectangle, I wrote out the alphabet and numbers 1-10 with a permanent marker .
 
I chose the alphabet and numbers for my kids’ needs. We could use the lower case letters for handwriting practice for my 5 year old. The number line would be great for subtracting for my 7 year old. My youngest (3 years old) could circle the numbers and letters as she worked on number identification and letter identification. You can customize your whiteboard as your child needs. I am in the process of creating another whiteboard with the cursive alphabet as my daughter has recently expressed an interest in learning to write the cursive letters. I decided to leave the reverse side blank for full drawing and writing space. Once you’ve figured out what you want to write on the board, cover it with clear contact paper. Simply lay the contact paper over one side and fold it over the other side. Trim the edges and your whiteboard is done!
 

In the lower compartment, I added a dry erase marker and a bit of paper felt for erasing. You will want to get a dry erase marker with a fine tip or ultra fine tip for more legibility when writing and drawing.

DIY Whiteboard dry erase board kit for travelling with kids. Practice letters, numbers, math, handwriting, and drawing while on long car trips or flights.
 
I also added a handful of mini craft sticks.
 
The small size is perfect for fitting into the travel box.  I used the permanent marker to write on the craft sticks.  I wrote things like sight words, open ended questions, and math problems.  
 
Children can pull out a craft stick and write sentences, complete math problems, or even trace the words.  I wrapped a piece of clear contact paper around the craft sticks so that my oldest could make her own words and sentences using the dry erase marker.  
 
This travel kit will come in handy on our next long car ride, and it’s already a hit right here at home!  


Handwriting Ideas for Travel

    We respect your privacy. Unsubscribe at anytime.

    Colleen Beck, OTR/L has been an occupational therapist since 2000, working in school-based, hand therapy, outpatient peds, EI, and SNF. Colleen created The OT Toolbox to inspire therapists, teachers, and parents with easy and fun tools to help children thrive. Read her story about going from an OT making $3/hour (after paying for kids’ childcare) to a full-time OT resource creator for millions of readers. Want to collaborate? Send an email to contact@theottoolbox.com.
    Crayon Salt Dough Recipe

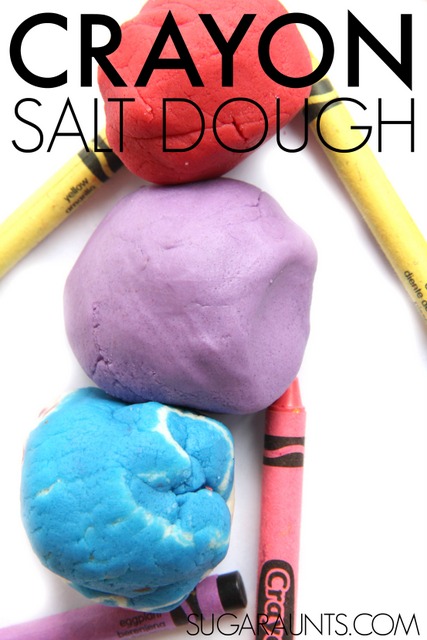
    crayon salt dough

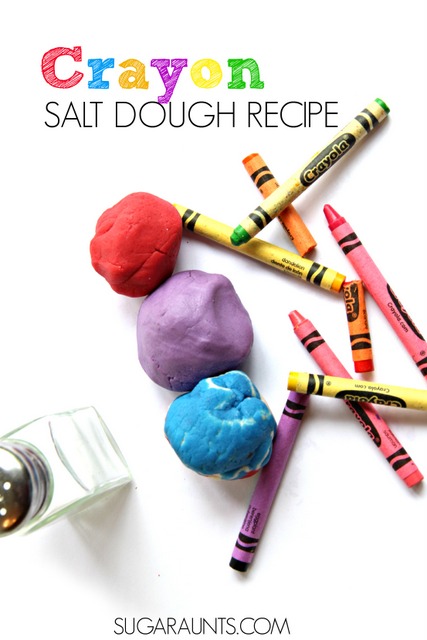
    This crayon salt dough recipe is an old one here on The OT Toolbox. It’s a dough recipe that is not only bright and vivid, it’s a great salt dough recipe that kids love to make. In fact, if you are wondering about how to color salt dough, we have the tips for you…it involves using crayons in the recipe! This salt dough recipe is a version of our crayon play dough that is tinted with the wax of crayons, giving it a bright and bold hue.

    Crayon Salt Dough Recipe

     If you’ve been following us for a while, you know that we have a small love of homemade play dough.  (And by small, I mean huge).  

    Not only that, we have a tendency to melt down crayons and create bold, bright, and beautifully soft crayon play dough.  We’ve made metallic sparkly crayon play dough and dough with every shade of red crayon that there is.  

    We’ve even melted down crayons and made crayon floam dough for a super fun sensory dough.  Today, we’re sharing our latest crayon experiment:  

    Crayon Salt Dough!   

    So, HOW do you make salt dough with crayons?  Read on!


    How do you make colored salt dough? Use melted crayons for the brightest and softed sensory play dough salt dough recipe there is! Kids will love to use this colored salt dough to make ornaments, manipulatives, and creative play items, all with crayon salt dough!


    How to make salt dough dyed with bright and bold colors of Crayons?  

     
    to make our Crayon Salt Dough, we used portions of our crayon play dough technique.  I’m including affiliate links for some items you may need to purchase to make this Crayon Salt Dough.  
     
    We used a few materials in this sensory dough recipe:
     
    1. 2-3 chopped crayons crayons (This is the tried and true brand that works for all the crayon doughs that we’ve made.) I say 2-3 because we used broken crayons that have seen their days of coloring book fame gone.  In other words, they are the bits and pieces of crayons that are floating around the bottom of the crayon bin.  I’ve found that a difference of 2 or 3 crayons does not matter all that much when it comes to bright and vivid colors you will get from using crayons to dye play dough or salt dough.
    2. 1 teaspoon vegetable oil
    3. 1 cup salt
    4. 2 cups flour
    5. 1 cup water

    Now, when we made our salt dough, we made a few different colors.  So, instead of using the measurements above, I had the kids measure out all of the ingredients and then divide the dry ingredients into three different bowls. 

    If you are wondering what to do with old crayons, this is it!

    I then made three batches of salt dough.  You could do the same to make a few different colors…and with a huge box of gorgeous crayons, you’ll probably want a few different bright and beautiful colors.  

    I will describe the instructions on making just one batch of crayon salt dough so that measurements are not confused.

     
    How do you make colored salt dough? Use melted crayons for the brightest and softed sensory play dough salt dough recipe there is! Kids will love to use this colored salt dough to make ornaments, manipulatives, and creative play items, all with crayon salt dough!


    Crayon Salt Dough Crayon Play Dough Recipe

    Once you have your ingredients for the crayon dough gathered, next you can get started:
     
    1. Prepare the dry ingredients:  Mix together in a bowl, the 1 cup salt and 2 cups flour.  
    2. Set the dry ingredients aside.  
    3. Peel the wrapper from and chop up the 2-3 crayons.  
    4. Pour the 1 teaspoon of vegetable oil into a sauce pan.  We found the cheapest sauce pan that we could and use it for all of our kitchen experiments.  (i.e. I would not use it for cooking actual food!)  
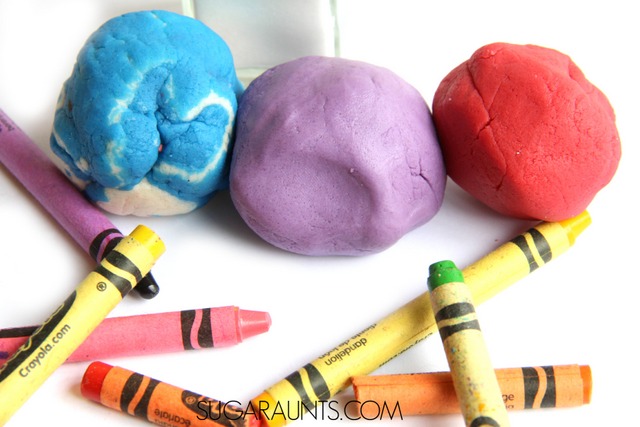
    5. Turn on the burner and add the chopped crayon to the oil.  Do not let the oil heat up too much!  
    6. Stir while adding 1 cup of water.  
    7. Continue stirring and slowly add in the dry mixture.  Stir until the dough begins to lump together.  
    8. Dump out onto parchment paper or other surface.  
    9. Allow the dough to cool to touch.  Knead the dough until smooth.  Then knead a little more.  If the dough is too sticky, add a bit more flour in 1/4 cup increments.


    How do you make colored salt dough? Use melted crayons for the brightest and softed sensory play dough salt dough recipe there is! Kids will love to use this colored salt dough to make ornaments, manipulatives, and creative play items, all with crayon salt dough!
     
    Start to play!
     
    How do you make colored salt dough? Use melted crayons for the brightest and softed sensory play dough salt dough recipe there is! Kids will love to use this colored salt dough to make ornaments, manipulatives, and creative play items, all with crayon salt dough!
     
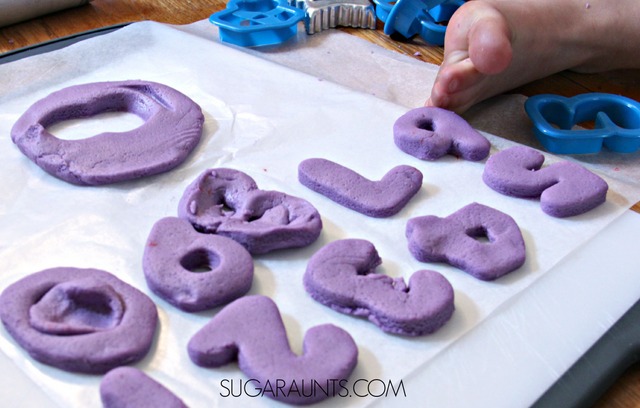
    We used our dough to create number manipulatives using number cookie cutters.  They are still drying, but we have big plans for these cuties!  Be sure to stop back soon to see how we’re using them in all kinds of counting and ordering games.  
     
    We let these cut outs dry for several days on wax paper.  I was hesitant to try slow heating them in the oven like a typical salt dough recipe because of the wax content.  I like my oven a little too much for that experiment!
     
    You may want to see our other Crayon Dough Recipes:
     
    If you like the idea of using your broken crayon pieces in something as fun and creative as play dough, then you will love to try a few different ideas, too.  We’ve given crayon play dough a run for it’s fun and tried a few different versions.  Check them out and if you make a batch, let us know how you get creative with crayon play dough!


    Gold, Silver, & Bronze Metallic Crayon Play Dough

    Patriotic Crayon Salt Dough Recipe

    Crayon Salt Dough Recipe

    Crayon Floam Dough Recipe

    Crayon Shaving Art

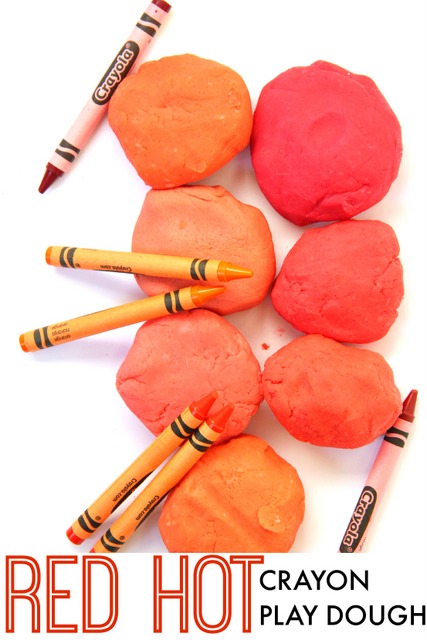
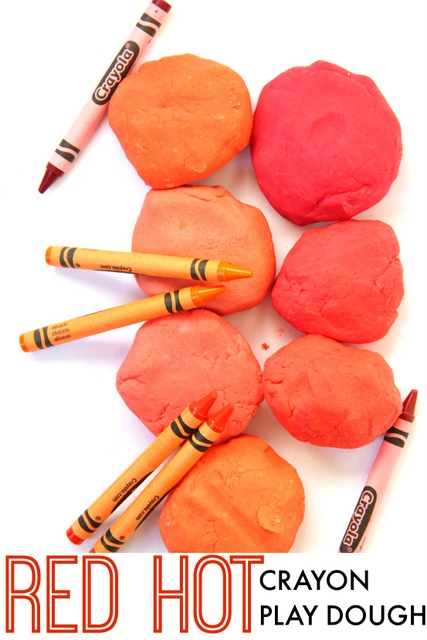
    Shades of Red Crayon Play Dough

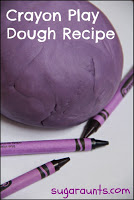
    Harold and the Purple Crayon Play Dough

    Metallic Crayon Dough

    Shades of red crayon play dough

    Original Crayon Play Dough Recipe

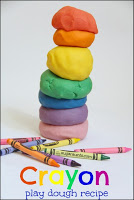
    Rainbow Crayon Play Dough

    Bow Stamp Art Flower Craft

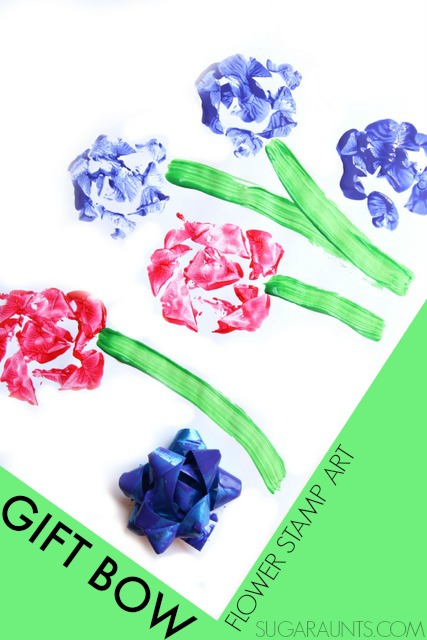
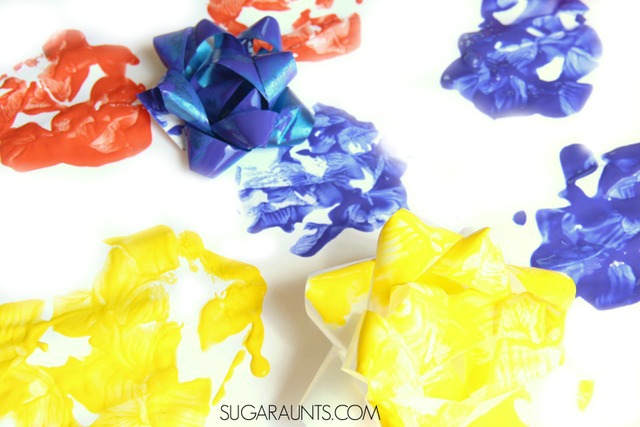
    Our recent Painting with Pinwheel art was such a hit that we had to try another stamp art activity.  We made this gift bow flower stamp art craft in honor of a special little one in our house who is celebrating her first birthday.  Using the gift bows as a stamp made the cutest flower art.  This craft is perfect for preschoolers (and kids of all ages) when making flower art!  I think it would make a pretty special DIY birthday paper wrapping too!
    This is one of our favorite hand eye coordination activities for toddlers because there is no right or wrong way to make this toddler painting art!

    Make flower art using a gift bow to stamp! Cute idea for a flower craft or DIY wrapping paper.


    To make your Gift Bow Flower Art:

     
    Pick up just a few materials.  We’re including affiliate links for your convience here.  You’ll need 

    paint (LOVE this brand!) poured onto a plate or into bowls.  Grab a handful of gift bows and start stamping!

    Preschoolers love this craft for it’s easy art creation and it’s such a fun and easy process art activity.  There is no right or wrong way to make the flowers.  When you’re satisfied with the flowers, take a swipe of green paint and make a few stems.  Our flower art decorated the dining room for a few days.   Maybe we’ll make a roll of DIY wrapping paper the next time around!
     
    Let us know if you make this creative art project.  You’ll find lots more creative art painting ideas on our Creative Painting Pinterest board.  Be sure to follow us there! 
     
    More creative stamp art you might enjoy:

    Use a Marble Run on the Water Table Sensory Play

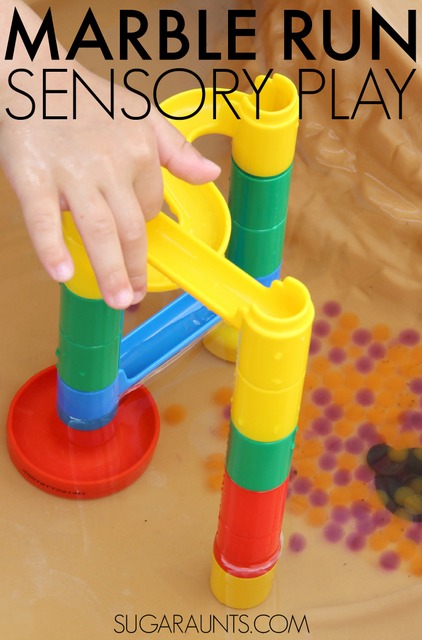
    Recently, we posted an image on our instagram page of an outdoor sensory play activity.  We pulled out our marble run toy and the water table for sensory and fine motor fun.  This was such a hit on a hot day that we have played with the marble run and the water table many more times since.  We wanted to share the fun with you!


    Water table activity for kids: use a marble run and water beads for scooping and pouring fine motor and sensory fun this summer!


    Use the marble run toy on the water table with waterbeads!

     We’re including affiliate links for our convenience.  We love our marble run (this is the one we have and I love it because it’s not too difficult that my kids can’t build runs themselves, but it does include a lot of different pieces.)  We pulled it out one hot day and placed it in our
    water table
    with water and some expanded water beads.  If you’ve never played with water beads before, these are a sensory must!  The small beads are perfect for sensory play and go right down the shoots of the water table.  We poured, scooped, and dumped water and water beads down the shoots and ramps and watched the beads pile up at the bottom of the marble run.
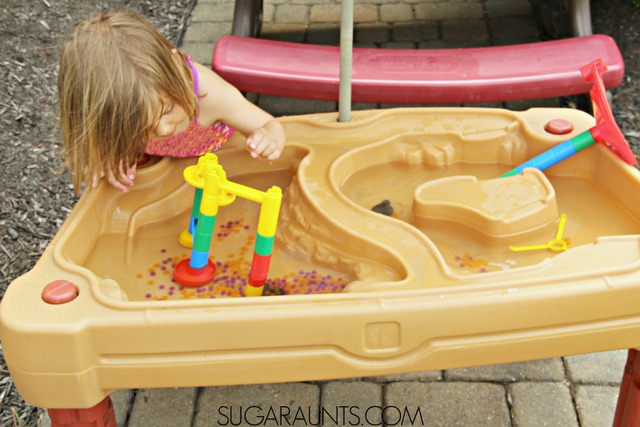


    This sensory play activity was not only perfect summer fun on a hot day, it was a great fine motor and eye-hand coordination activity for preschoolers.  

    Water table activity for kids: use a marble run and water beads for scooping and pouring fine motor and sensory fun this summer!

    Looking for more water table activities?  Try these: 

    Painting toys

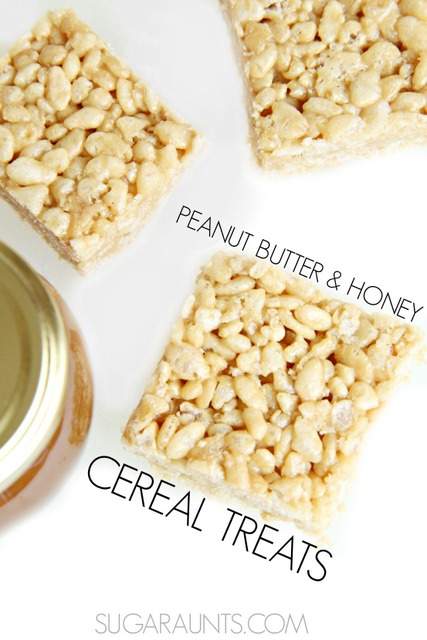
    Honey Peanut Butter Rice Krispy treats

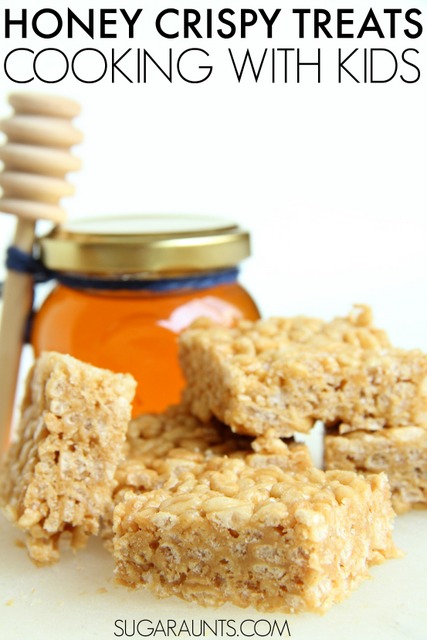
    One of our favorite easy lunches is a peanut butter and honey sandwich.  The combination of peanut butter and honey is so good, with sweet, chewy, and packed with protein.  When we heard that the A-Z Cooking With Kids recipe for this week was H is for Honey, we knew that we had to go with our favorite sweet/salty combination!  These Rice Crispy (or is it Krispy? Krispie?) Cereal Treats are made with honey and peanut butter and NO marshmallows or butter.  These crunchy and chewy cereal bars will satisfy your sweet tooth while staying on the healthier side!
    Honey Peanut Butter rice krispy treats recipe. This is great for cooking with kids!
    To make these cereal bars, skip the marshmallow and grease.  You’ll need just a few ingredients:  Affiliate links are included in this post for your convenience. 
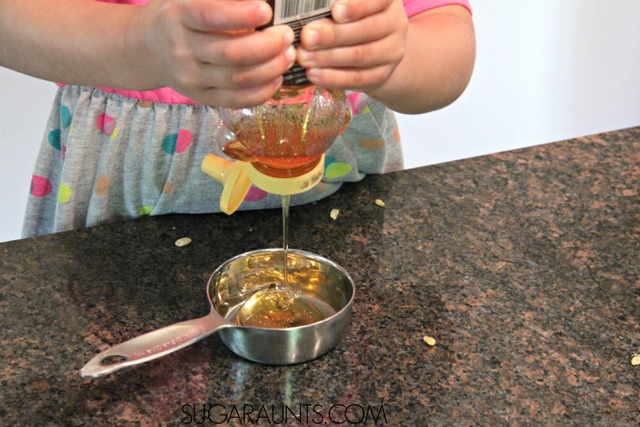
    1/2 cup honey
    (But if you are able to grab up some local honey, go for that option!) 
    1/2 cup creamy peanut butter
    –This is my FAVORITE brand.
    4 cups Rice Krispies cereal (or any toasted rice cereal would work)
    Cooking with Kids: Honey Rice Krispy Cereal Treats

    Mix together: 1/2 cup honey and 1/2 cup peanut butter.  Pour these together in a saucepan.  Heat on the stovetop and continue stirring until the mixture begins to boil.  
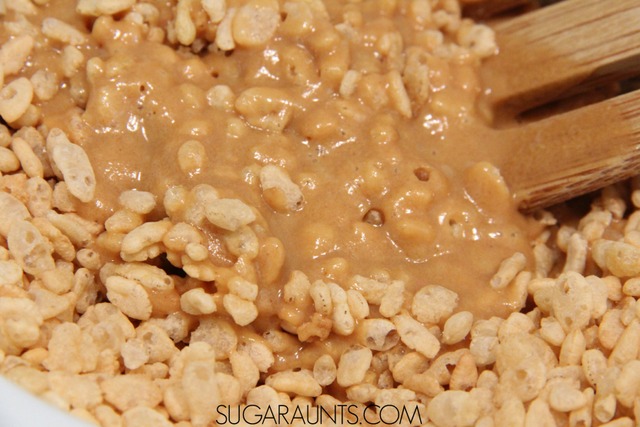
    Remove from heat and pour over 4 cups of Rice Krispies cereal.  Mix together until the cereal is coated with the peanut butter/honey mixture.  
     
    Line a 9×9 inch casserole dish with parchment paper.  We have used wax paper in a pinch.  Pour the cereal into the casserole dish.
     
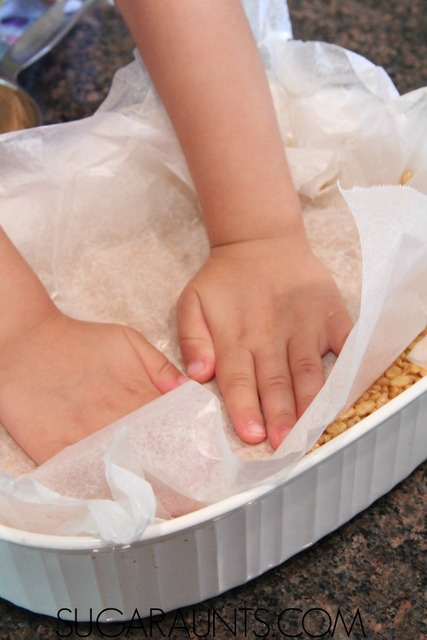
    Use another piece of parchment paper to firmly press down the cereal.  You will want to press down pretty hard so that the cereal bars are not crumbly.  My kids LOVED this job.  Pressing down on the cereal bars allowed them to get a little pre-nap time sillies out 😉
    Honey (No marshmallow) rice krispy treats recipe
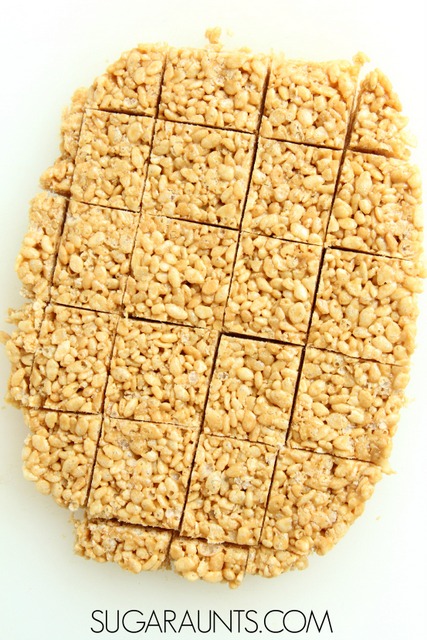
    Allow the cereal treats to harden for several hours.  Pop them right out onto a cutting board in one big piece.  Using the parchment paper made this so easy.  Use a sharp knife to cut the rice crispy cereal treat squares.
    Honey and Peanut Butter Rice Krispy Treats recipe
    We have been enjoying these honey peanut butter rice crispy bars allllll day.  And then they were gone! 
     
    See what the other bloggers in the A-Z Cooking With Kids series made with honey:
    Honey Mustard Dressing from Mum in the Mad House
    Honey Granola from Rainy Day Mum
    Homemade Honey Caramel Sauce from Frogs and Snails and Puppy Dog Tails
    The rest of our cooking with kids A-Z recipes can be seen here:

    Dyed Pasta Tic Tac Toe

    We love a fun game of tick tac toe.  We play with pretty much any manipulative and on paper with shapes, letters, numbers, or drawings.  This Pasta Tic Tac Toe game used dyed pasta and has kept us busy for many a game of tic tac toe!


    homemade tic tac toe game with dyed pasta

    EASY Tic Tac Toe game with dyed pasta


    We’re sharing affiliate links for your convenience. Start with 

    food coloring and pasta.  You can use any shape or type of pasta.  Add the dried pasta and a few drops of food coloring to a plastic baggie.  Add a squirt of
    hand sanitzer and shake the bag.  Allow the pasta to dry overnight until the dye is dry.  You are ready to play.  We drew a board quickly and have been playing a lot of tic tack toe.  Have fun with your tic tac toe manipulatives!