I Ain’t Gonna Paint No More Color Identification Game

 Preschool Book Club is back again, this time with a craft activity and game based on the book, “I Ain’t Gonna Paint No More!”.  We’ve created a body part identification book activity for this book before, and were excited to read an play the book again!  This time our activity addressed colors and body parts, and was it ever fun!

This is a creative art idea that you’ll want to explore. Use more of the creative painting ideas we have here on the website to identify body parts, too.


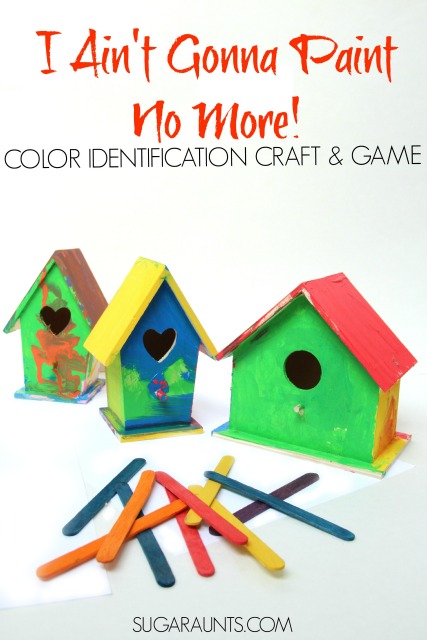
Painted birdhouses craft and Body Part, Color Identification Game based on the book, "I Ain't Gonna Paint No More!"

Body Part Game and Craft

 
This post contains affiliate links. 
 

I Ain’t Gonna Paint No More!
by Karen Beaumont is a colorful and exciting book.  A creative little boy paints first his house, walls, and ceiling and then when his mama objects to that, decides to paint his body.  My kids LOVE the rhyming nature of this book.  As we read the book (again and again!) they guessed the body parts that the little boy painted.


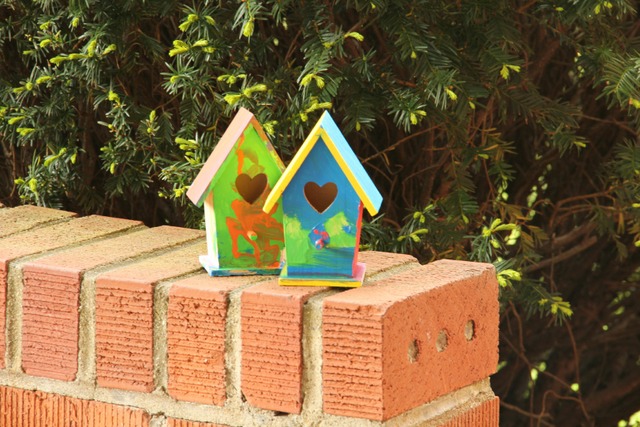
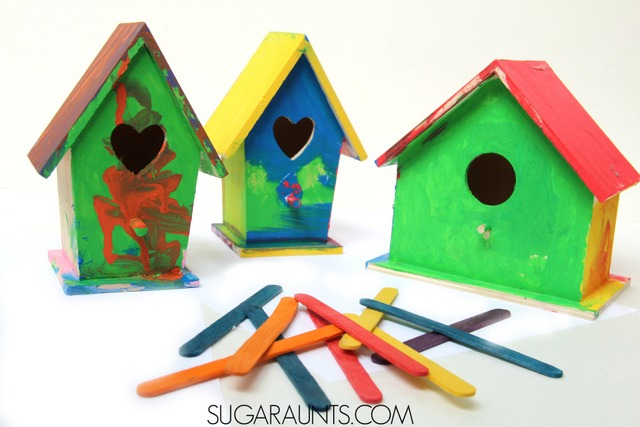
We decided to paint birdhouses like the boy paints his house.  Out birdhouses became colorful works of art with colors mixing and spinning together.  This was such a fun and engaging craft for the kids. We started with a wooden birdhouse that we received from www.craftprojectideas.com.  Use acrylic paints (also from craftprojectideas!) to paint the birdhouses.

Painted birdhouses craft and Body Part, Color Identification Game based on the book, "I Ain't Gonna Paint No More!"

I Ain’t Gonna Paint No More Book Activity

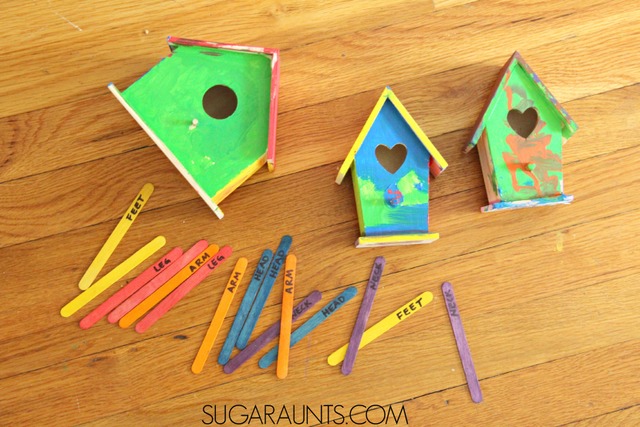
Once the paint dried, we created a game based on the book.  We used colored craft sticks to create color identification and body part identification game.  Write the names of body parts on the colored craft sticks.  
Painted birdhouses craft and Body Part, Color Identification Game based on the book, "I Ain't Gonna Paint No More!"
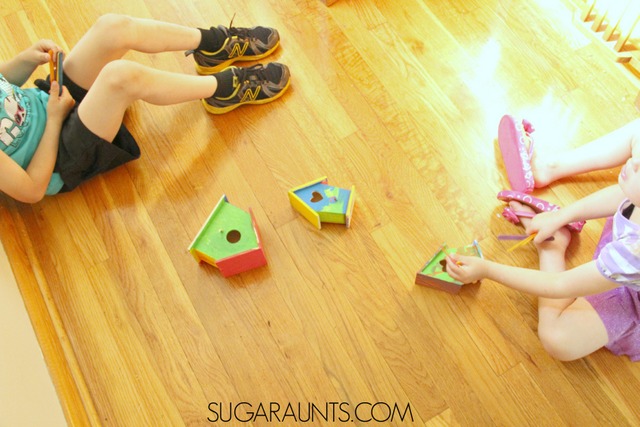
Now play the game!  To start, we had each child choose 5 colored craft sticks.  They closed their eyes and to pick the colors.  We read the book again and as we saw colors in the story or heard body parts, the kids could place their colored craft sticks into the birdhouses.  This was such a fun way to combine art and a learning game.
Painted birdhouses craft and Body Part, Color Identification Game based on the book, "I Ain't Gonna Paint No More!"
 
After we played our I Ain’t Gonna Paint No More! game a feeeew times, we gave our colorful birdhouses to the birds!  They are now decorating the trees around our house.  we are waiting to see if any birds decide they want to live in a colorfully painted house!
Painted birdhouses craft and Body Part, Color Identification Game based on the book, "I Ain't Gonna Paint No More!"
Stop by to see how the other bloggers in the Preschool Book Club explored I Ain’t Gonna Paint No More!:
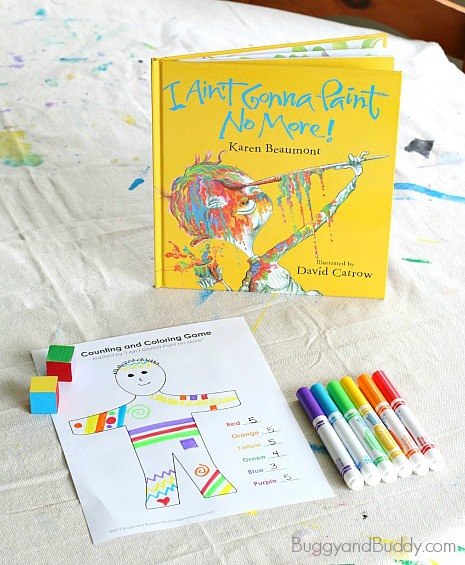
Counting Game from Buggy and Buddy
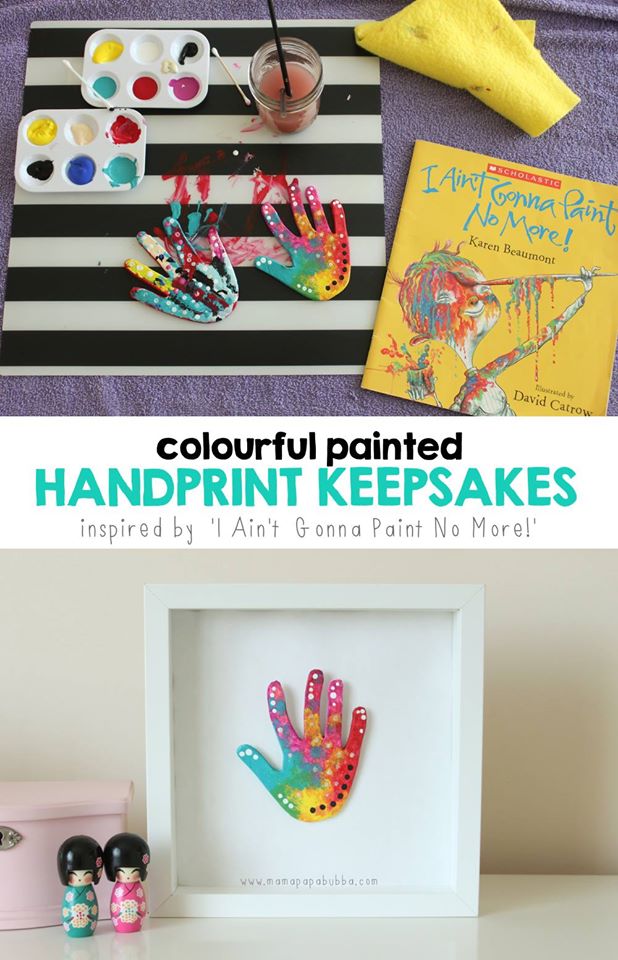
Hand print Keepsake from Mama. Papa. Bubba.
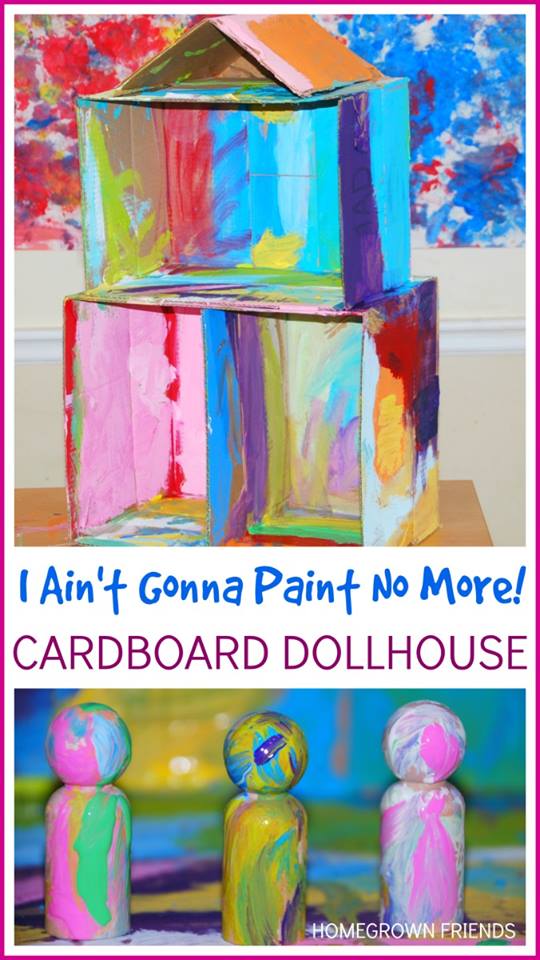
 Painted Doll House from Homegrown Friends
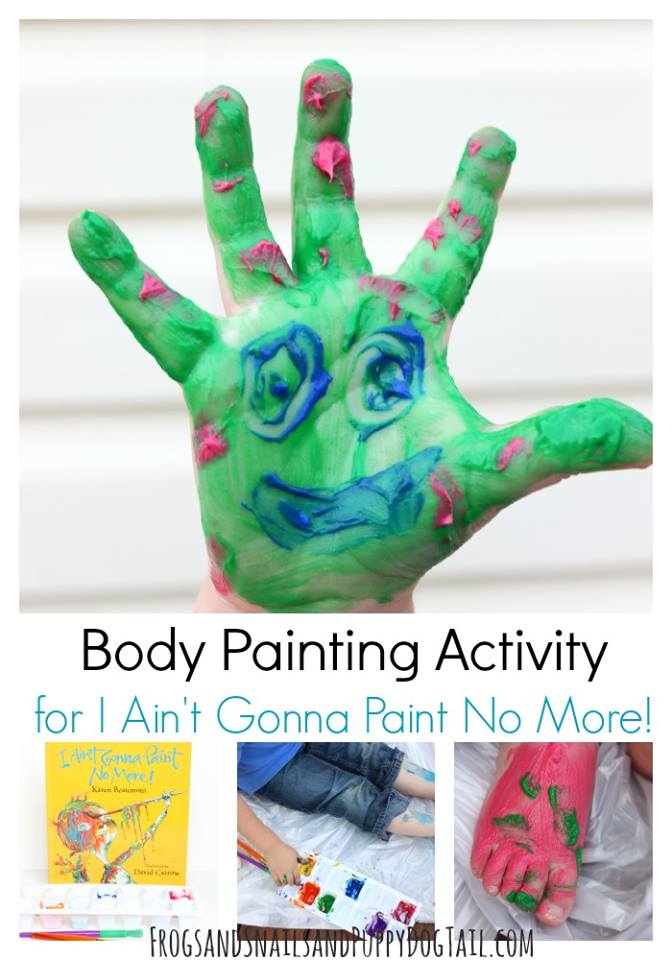
Body Painting from Frogs and Snails and Puppy Dog Tails

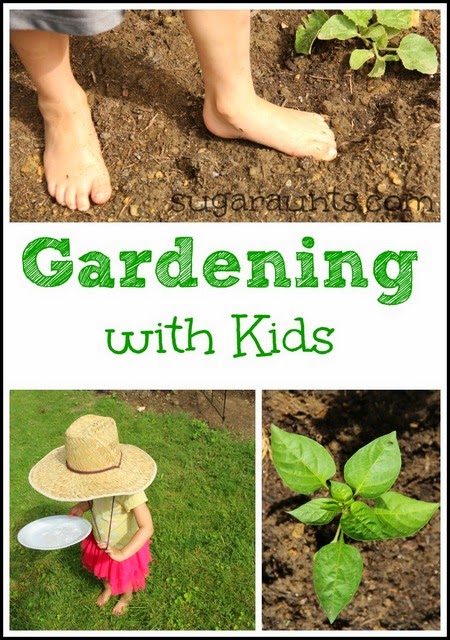
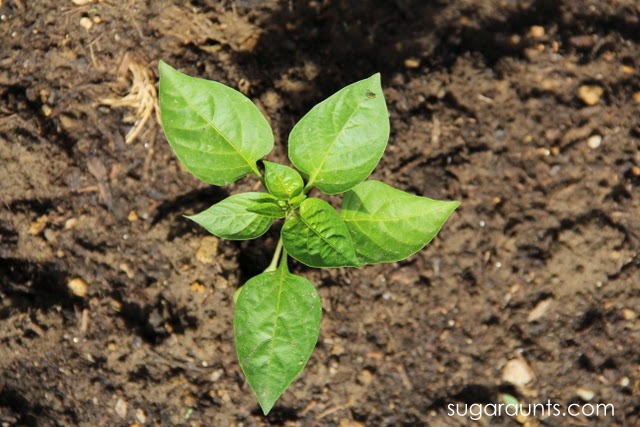
Sensory Gardening with Kids

It is that time of year when we start to dig up the dirt and grow our garden…all with the kids!  Digging in dirt and kids go hand in hand so when we started our garden for the first time last year, the kids were all over it.  They were my biggest helpers when it came to planting, weeding, and of course, taste-testing!  This post includes pictures from last year’s garden, and we can’t wait to get started on our garden again this year!


Gardening with kids.  Make these small adjustments to your garden to make it a sensory sanctuary in your own backyard!


This post contains affiliate links.

Sensory Fun Gardening with Kids


You know we LOVE sensory play, right?  Gardening is the ultimate sensory activity when it comes to kids.  There are so many of the senses addressed when a child is outside in the dirt.  There is the calming and relaxing environment of quiet outdoors, soft dirt, cool colors, and the warm sun.  Digging and turning dirt is a wonderful proprioception activity for kids (and adults) who need to address movement and grading of muscle use in activities throughout their day.  The resistance of weeks that need pulling will provide feedback to muscles and joints.  Kids can taste, see, feel, and smell so many textures, tastes, colors, patterns, and olfactory experiences depending on the fruits, vegetables, flowers, and herbs that are planted.

Kids can explore all of the senses in a relaxing and calming sensory garden!  Sight, smell, touch, sound, taste, proprioception, and vestibular senses are addressed with gardening!

Make a Sensory Garden for Kids


Gardening is already such an amazing wealth of input to the senses.  How can you make it even more of a sensory haven for kids to calm, relax, or provide stimulation?
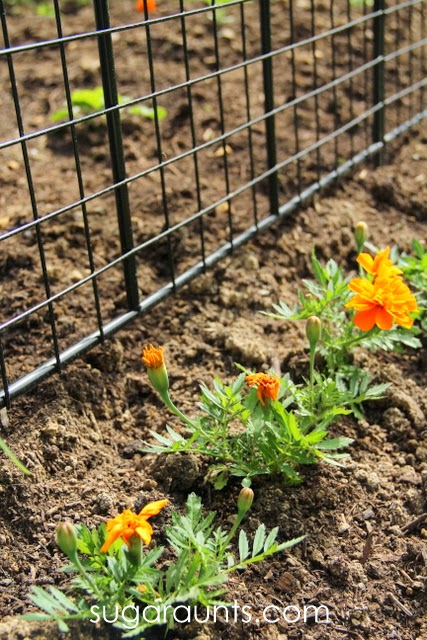
Sight:  Plant brightly colored flowers.
Plant flowers in a pattern order.
Use brightly colored garden markers.
Add flowers or bushes that attract butterflies and hummingbirds. Garden Hanging Butterfly Feeder
or hummingbird feeders can easlily be added to gardens by hanging to branches or walls.
Add textures to borders.
Add height and depth to gardening surfaces by using wall hangers, raised potted plants, or tables. A Vertical wall planter
encouraged overhead reach and visual attraction to different planes.

Sound:  Add bird feeders or wind chimes
to the garden.
Add water features to the garden. A solar powered water feature
can be easily added to a garden space.
Plant ornamental grasses or taller plants that will add a soft sound in the breeze.

Taste: Plant a variety of sweet, bitter, tart vegetables and fruits.  
Add edible flowers to borders.
Encourage cooking with kids using the produce from the garden.

Touch:  Plants can provide a variety of textures.  Some leaves are soft and fuzzy, and others are sharp and prickly.  
Pulling weeds in different soil experiences is a great sensory activity.  Pull weeds from dry soil and wet soil.
Add rocks, pebbles, bricks, and gravel for texture.
Play in mud puddles.
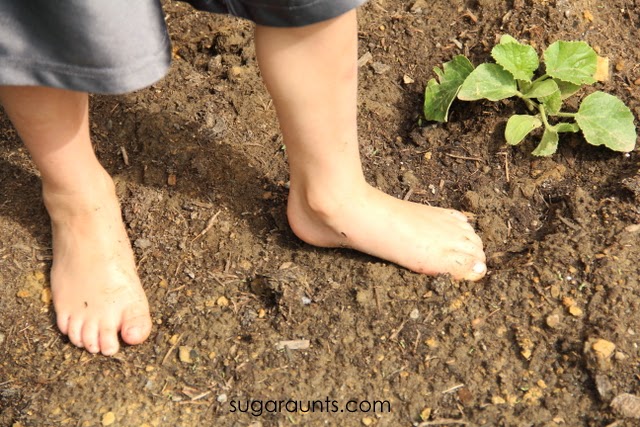
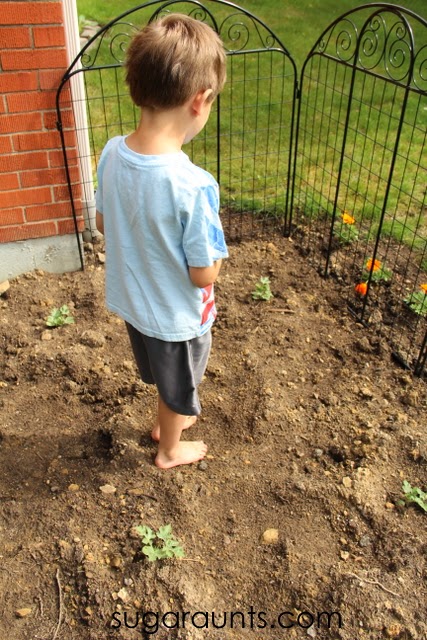
Walk barefoot in the grass and dirt.

Scent:  Dirt is such great scent!  Add novel scents like mint, lavender, tomato plants, basil.

Proprioception:  Add plants that require a bit of “oomp” to pick or harvest, like radishes, potatoes, carrots.  
Have children dig!  Moving soil provides heavy input to upper and lower extremities.  
Push wheelbarrows with varrying weights of dirt. (I love the sze of this Kids’ Wheelbarrow!)
Lift and carry buckets of water.
Pull the hose from the hose hook-up.
And wind it back up when done!
Use gardening tools like a hoe, garden rake, scoops, shovels. Kids can use adult sized tools but a child sized rake, spade, hoe, shovel set. would be great too.

Vestibular:  Encourage children to get down on the ground to garden.  
Jump in mud puddles.

How to incorporate sensory play into playing gardening with kids

Sensory diet activities can be specific to sensory system like these vestibular sensory diet activities. Sensory activities can be prescribed according to need along with environment in order to maximize sensory input within a child’s day such as within the school day. Using authentic sensory input within the child’s environment plays into the whole child that we must understand when focusing on any goal toward improved functional independence. 

Many sensory diet activities can naturally be found outdoors. In fact, outdoor sensory diet activities are a fun way to encourage sensory input in a child’s environment and without fancy therapy equipment or tools. 

It’s a fact that kids are spending less time playing outdoors. From after-school schedules to two working parents, to unsafe conditions, to increased digital screen time, to less outdoor recess time…kids just get less natural play in the outdoors. 

Knowing this, it can be powerful to have a list of outdoor sensory diet activities that can be recommended as therapy home programing and family activities that meet underlying needs.

That’s where the Outdoor Sensory Diet Cards and Sensory Challenge Cards come into play.

They are a FREE printable resource that encourages sensory diet strategies in the outdoors. In the printable packet, there are 90 outdoor sensory diet activities, 60 outdoor recess sensory diet activities, 30 blank sensory diet cards, and 6 sensory challenge cards. They can be used based on preference and interest of the child, encouraging motivation and carryover, all while providing much-needed sensory input.

Here’s a little more information about the Outdoor Sensory Diet Cards
  • 90 outdoor sensory diet activities
  • 60 outdoor recess sensory diet activities
  • 30 blank sensory diet cards, and 6 sensory challenge cards
  • They can be used based on preference and interest of the child, encouraging motivation and carryover, all while providing much-needed sensory input. 
  • Research tells us that outdoor play improves attention and provides an ideal environment for a calm and alert state, perfect for integration of sensory input.
  • Outdoor play provides input from all the senses, allows for movement in all planes, and provides a variety of strengthening components including eccentric, concentric, and isometric muscle contractions. 
  • Great tool for parents, teachers, AND therapists!

Be sure to grab the Outdoor Sensory Diet Cards and use them with a child (or adult) with sensory processing needs!

Outdoor sensory diet activity cards for parents, teachers, and therapists of children with sensory processing needs.

Kids can explore all of the senses in a relaxing and calming sensory garden!  Sight, smell, touch, sound, taste, proprioception, and vestibular senses are addressed with gardening!

amzn_assoc_placement = “adunit0”;
amzn_assoc_search_bar = “true”;
amzn_assoc_tracking_id = “sugaun-20”;
amzn_assoc_ad_mode = “manual”;
amzn_assoc_ad_type = “smart”;
amzn_assoc_marketplace = “amazon”;
amzn_assoc_region = “US”;
amzn_assoc_title = “My Amazon Picks”;
amzn_assoc_linkid = “8b27585d685114a3ff51647e9f2bed54”;
amzn_assoc_asins = “B00026W5UK,B00005BW71,B0024J6B7Q,015204633X”;

Kids can explore all of the senses in a relaxing and calming sensory garden!  Sight, smell, touch, sound, taste, proprioception, and vestibular senses are addressed with gardening!

Kids can explore all of the senses in a relaxing and calming sensory garden!  Sight, smell, touch, sound, taste, proprioception, and vestibular senses are addressed with gardening!

Kids can explore all of the senses in a relaxing and calming sensory garden!  Sight, smell, touch, sound, taste, proprioception, and vestibular senses are addressed with gardening!

Kids can explore all of the senses in a relaxing and calming sensory garden!  Sight, smell, touch, sound, taste, proprioception, and vestibular senses are addressed with gardening!
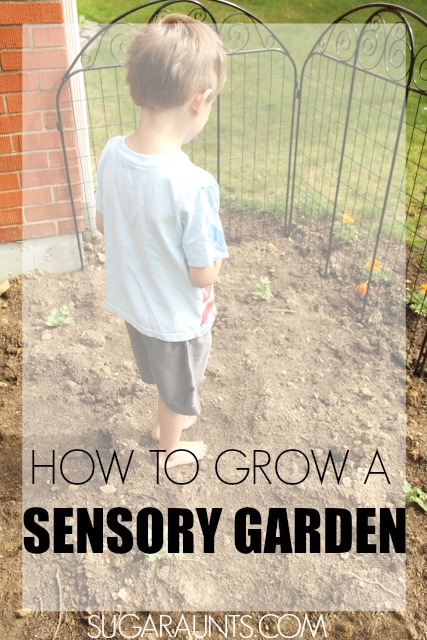
How to grow a sensory garden

Get the things you’ll need: 

amzn_assoc_placement = “adunit0”;
amzn_assoc_search_bar = “true”;
amzn_assoc_tracking_id = “sugaun-20”;
amzn_assoc_ad_mode = “manual”;
amzn_assoc_ad_type = “smart”;
amzn_assoc_marketplace = “amazon”;
amzn_assoc_region = “US”;
amzn_assoc_title = “My Amazon Picks”;
amzn_assoc_linkid = “8b27585d685114a3ff51647e9f2bed54”;
amzn_assoc_asins = “B00LMJBPCK,B00025EIZG,B004B2628M,B000X1VRNK”;

Lighthouse Cupcake Liner Craft Summer

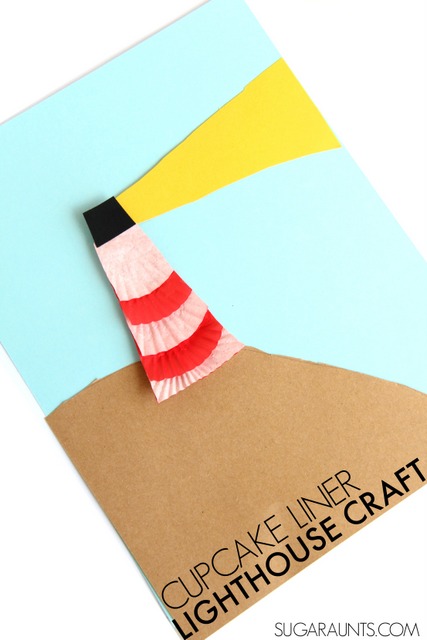
Are you planning a vacation or holiday with kids to the beach or shore this summer?  We made this lighthouse craft using cupcake liners to prepare kids for beach itineraries and experiences such as lighthouse visits!  We’ve made a few cupcake liner crafts and this is one of our new favorites!
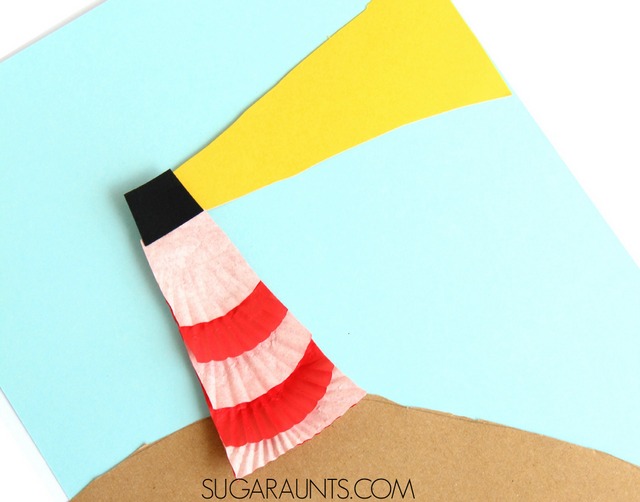
Cute lighthouse craft using cupcake liners! This is a fun craft to make with the kids before going on vacation this summer.


Lighthouse craft for kids

 
This post contains affiliate links.  See our full disclosure. 
 
You’ll need a few materials for this lighthouse craft:


red cupcake liners
card stock
(in various colors)

glue 
 scissors

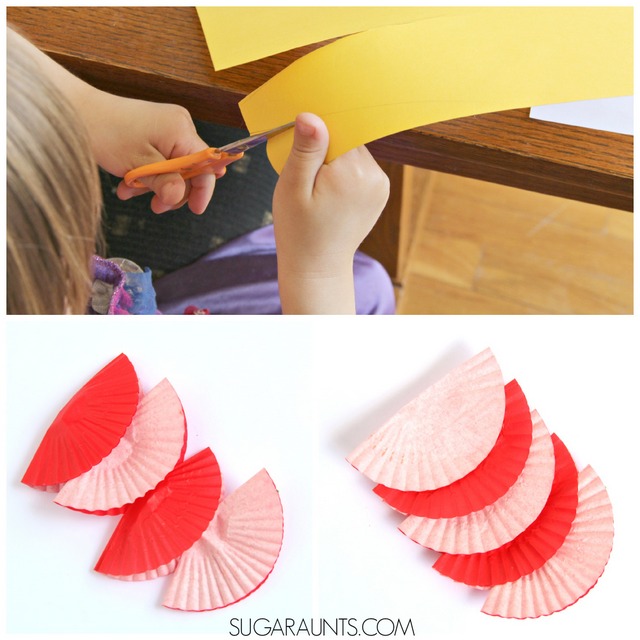
I drew a long triangle shape for my daughter to cut from yellow card stock.  Use the red cupcake liners to create the lighthouse.  Fold two cupcake liners in half red side our and two cupcake liners white side out.  Line them up and add a bit of glue so they stay put as shown in the picture above.  Use the scissors to cut a slightly slanted line up both sides of the stack of cupcake liners.
Lighthouse cupcake liner craft. This is so cute for a summer craft with kids!
 
Glue all of the pieces to a piece of blue card stock.  We added a black top and brown beach to our lighthouse picture.  
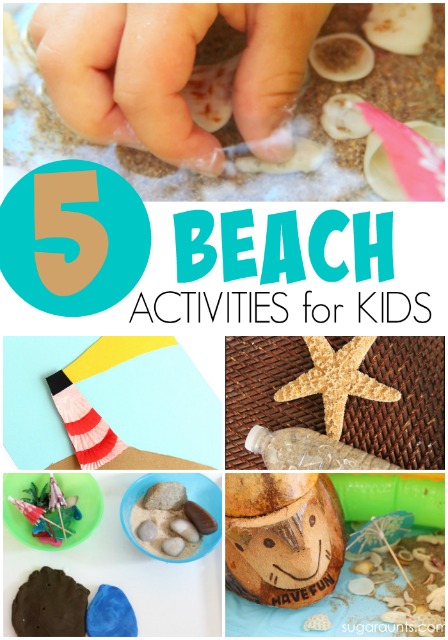
Are you going to the beach with the kids this summer?  Try one of our other beach activities to prepare:
Beach activities for kids and families.  Do these fun ideas before going to the shore this summer!
Don’t forget to make a DIY beach souvenir

DIY Beach Seashell Souvenir Idea

This Beach trip souvenir idea is a post we put together at the end of last summer.  We made these free DIY souvenirs while on our beach vacation and wanted to share the tip but decided to hold off until Spring (for us, many of our readers are heading into fall now!) After we returned from our vacation, we loved using our beach souvenir as a sensory bottle for calm down moments.  This is such an easy idea and uses a recycled bottle to bring home a little bit of beach trip memories. 


Easy beach souvenir idea for kids.


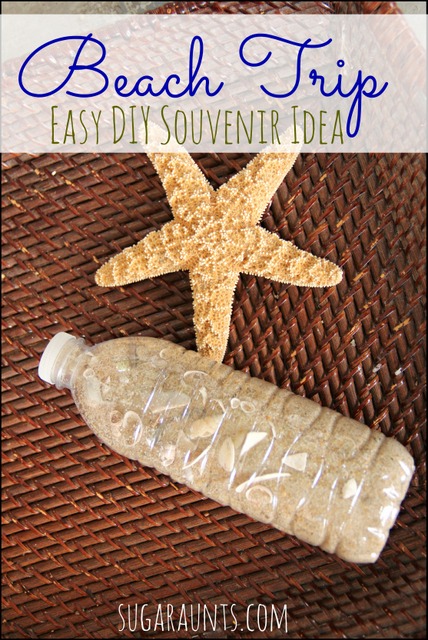
Beach souvenir idea for kids (free!)

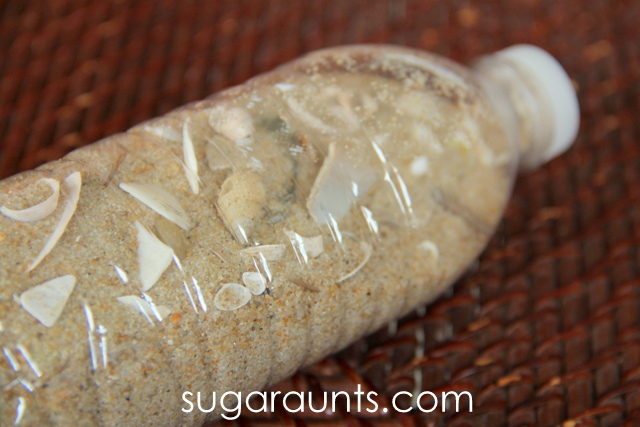
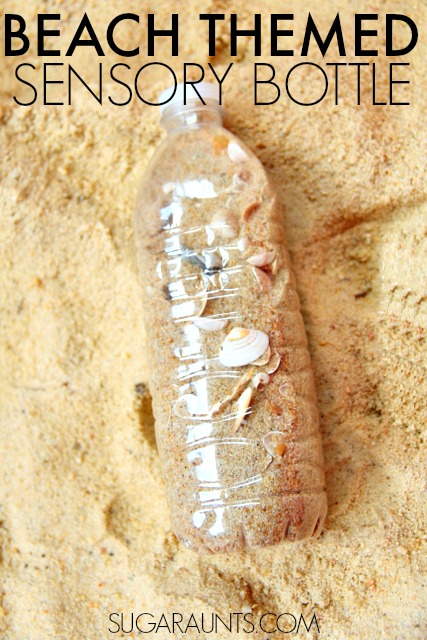
While at the beach this summer, grab an empty plastic water bottle.  Fill with sand, but be sure to not fill completely.  Leave a few inches of space at the top.  Next, add little seashells from your beach-combing walks.  You’ll want to find shells that are small enough to fit in the mouth of the water bottle.  


Beach Themed Sensory Bottle

Make a beach themed sensory bottle at the beach!
When you take the bottle souvenir home, use it as a sensory bottle!   What is a sensory bottle?  We use ours for calm down moments, relaxing, and visual perceptual skills.
Enjoy playing and remembering the memories of your beach vacation for long after!

Fruit Pizza Recipe Cooking with Kids

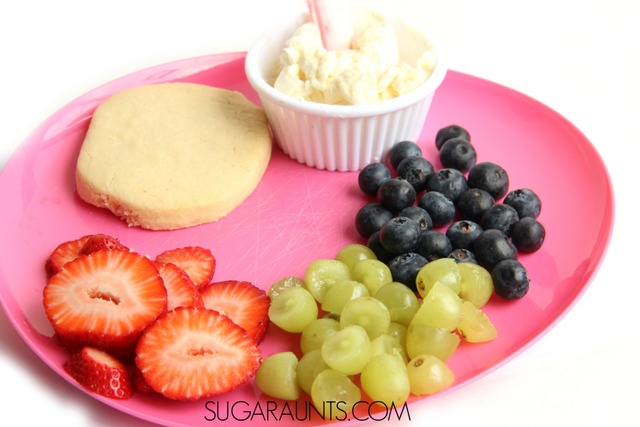
We are absolutely loving our cooking with kids series.  My kids love to get in the kitchen and cook with me.  (I think the end result of tasting the treats might be a minor motivation…)  Today’s Cooking with Kids recipe was a huge hit and the perfect after school snack for a rainy day.  We made our own Fruit Mini- Pizza recipe with grapes for today’s G is for Grapes post.  The kids decorated their own pizzas and gobbled up this snack!


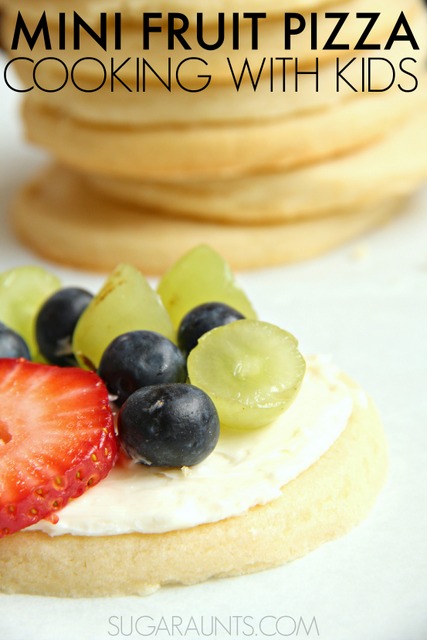
Cooking with kids with mini fruit pizzas

This recipe is an easy one to throw together.  When a sweet treat is needed for parties or guests, this is the one for you.  Kids (and adults!) will love to snack on these mini fruit pizzas.  Set this up as a play date or school party activity and snack combined as the kids decorate their own mini sugar cookie pizzas with healthy fruit.


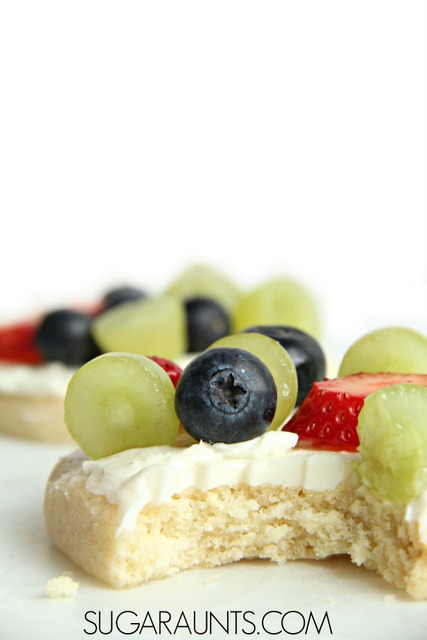
Mini Fruit Pizza Dessert

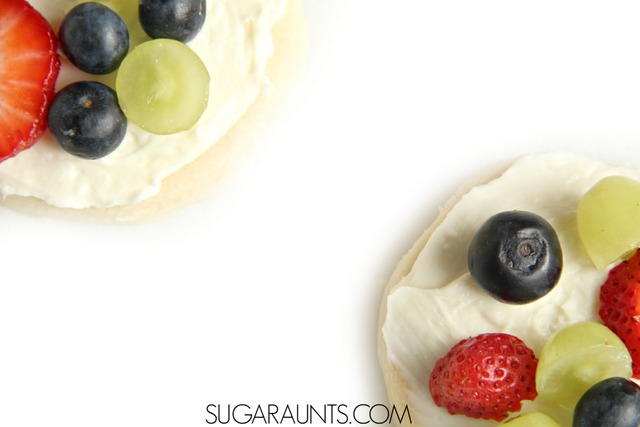
Mini fruit pizza recipe for cooking with kids.
To make this recipe, you’ll need a few ingredients (I’ve included affiliate links for your convenience):
 
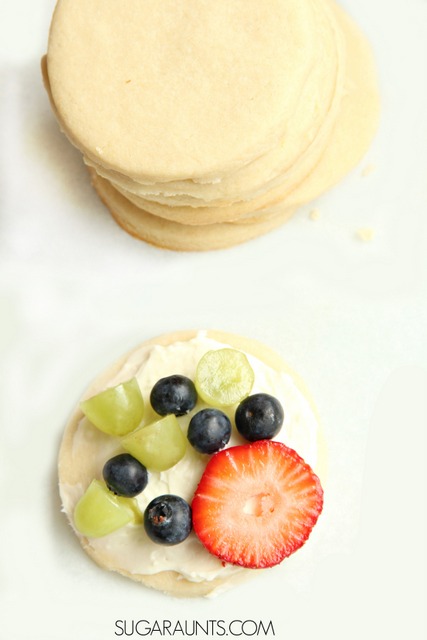
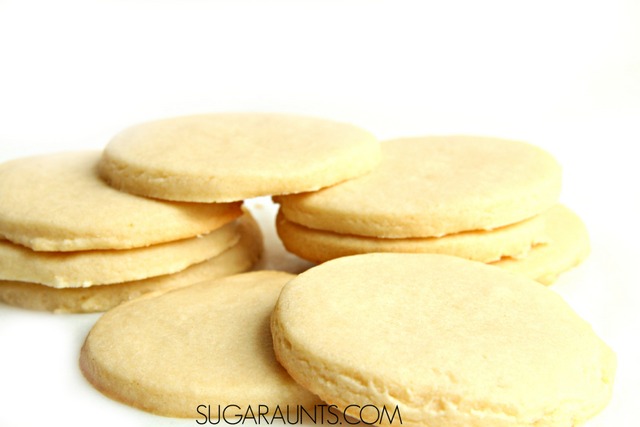
Sugar cookies cut into circles.  Use your favorite recipe or take a shortcut and grab a tube of refrigerated sugar cookie dough
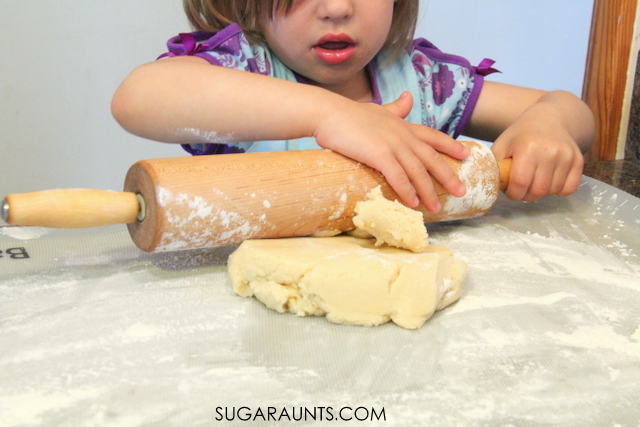
from the store.   I made up a batch of my sugar cookie recipe with my daughter.  She is my special kitchen helper and loves to cook with me!
I had my little helper rolling dough…
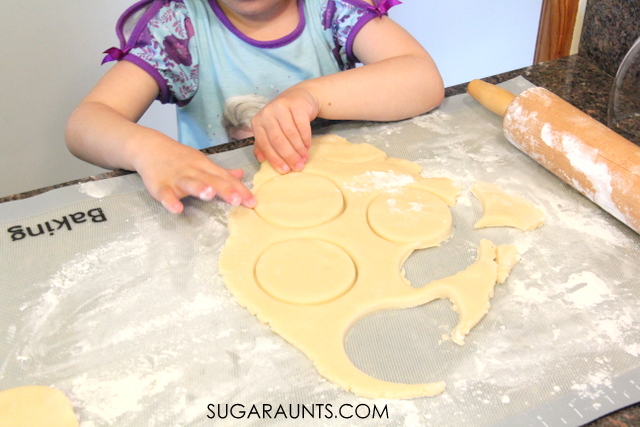
And cutting circles.  TIP: Use a drinking glass with the edge dipped in flour for the perfect mini-pizza sized cookies!
Bake.
Prepare your fruit toppings.  To make the icing, mix together at high speed, one block of cream cheese and one cup of flour.  Slice strawberries and be sure to cut the grapes in half for children to prevent a choking hazard.  Kids can definitely help with this part.  Washing fruit is a great sensory experience as they clean the fruit without pressing too hard!  Little ones can use a safety knife to chop and slice fruit safely.
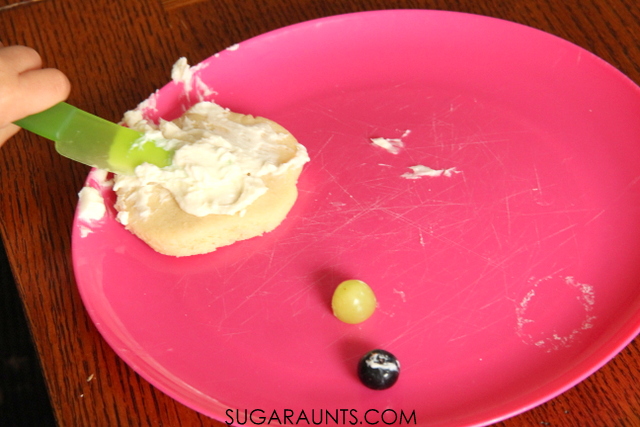
Ice the cookie pizzas.
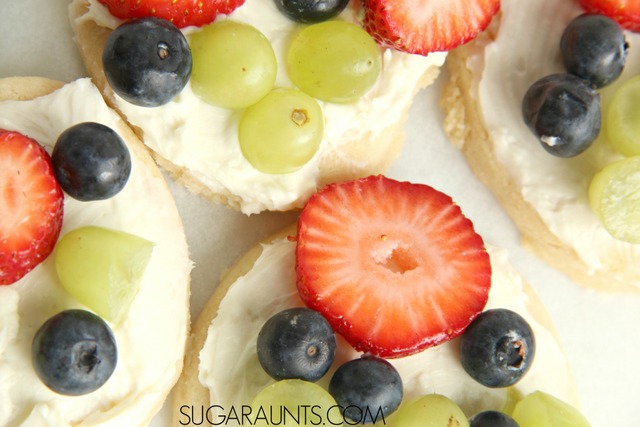
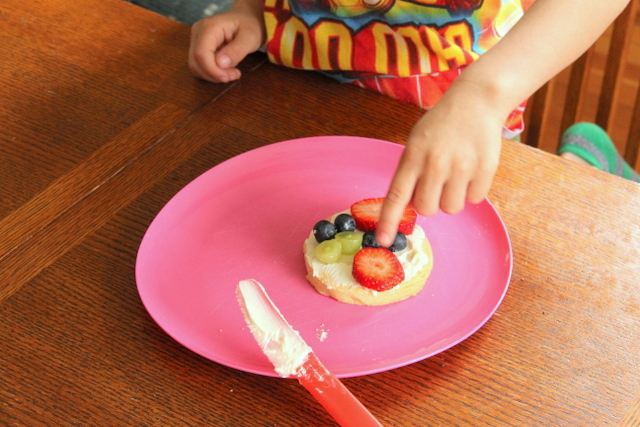
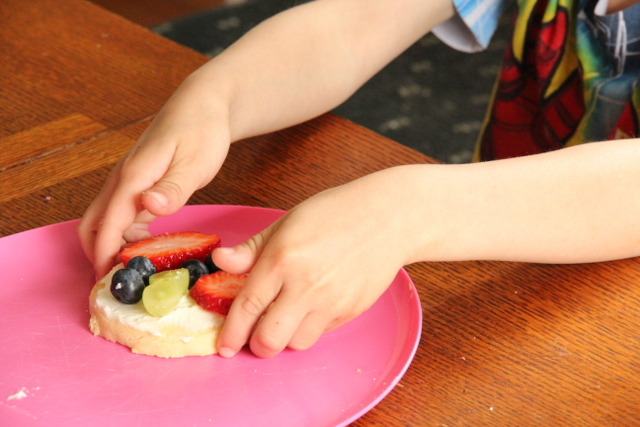
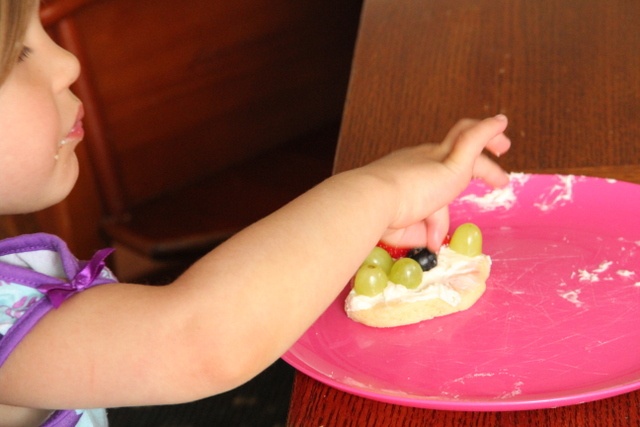
Now is the fun part: decorating!  Make faces, shapes, or pile on that fruit.  My Little Guy (age 5) told me he made an AA BB CC pattern with his fruit.  This kid is too much!
We made a bunch of fruit mini pizzas and had a delicious after school snack and activity!
These mini fruit pizzas are fun for the kids to make.  This would make a great activity and snack for school parties or play dates.
Make a mini fruit pizza with sugar cookies.  SO good!
Make mini fruit pizzas with your kids as an after school snack!
Check out the other bloggers in the cooking with kids A-Z series and see what they’ve been making:
Frozen Fruit Yogurt Bites from Mum in the Mad House
Fruit Swords from Rainy Day Mum
Grape Poppers from Frogs and Snails and Puppy Dog Tails
Grape Sparklers from Still Playing School
The rest of our cooking with kids A-Z recipes can be seen here:

Experiments with Air Drag and Streamlined Shapes

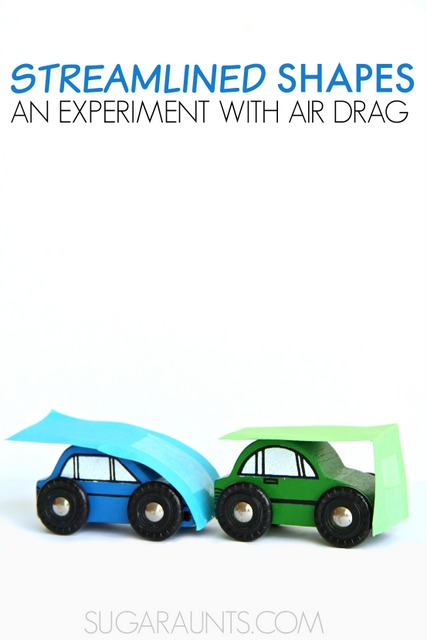
This aerodynamics experiment explores streamlined vehicles and is a STEM car experiment with an added mix of fine motor skill work. It’s a fun discovery activity for kids! Today’s experiment with streamlined vehicles and shapes was a very fun way to learn about air drag!

Aerodynamics Experiment

My son loves anything with experiments or discovery, so this STEM (Science, Technology, Engineering, Math) activity was right up his alley.  We discovered why sports cars have pointed fronts and a little about how an object’s shape affects it’s movement with drag and airflow.  
Experiment with streamlined shapes and airflow to discover drag.  This is a fun STEM activity for kids!


What is air resistance and drag?

In this experiment, we explore air resistance and drag. Both can be visually seen in the car experiment below.

Air resistance refers to the force of air against an object as it moves. In the case of a vehicle, the air has some resistance against the front of the vehicle. Larger vehicles have more physical space pushing against air in front of it as it moves along a road. A smaller, more compact car has less space to resist against the force of air.  

Drag is air resistance caused by disturbances in the flow of air over an object.  This force slows down moving objects like the cars in our experiment.  

A streamlined shape is one that has less drag, or friction between the surface of the shape and the air resistance as the shape moves through the space. For example, a streamlined shape on a vehicle would have a low and triangular hood (think: race car) as opposed to a boxy rectangular front of a dump truck. The shapes of vehicles are typically designed to be streamlined so that there is less drag from the resistance of air as they move along a road.


Experimenting with Shapes for Air Drag and Resistance

In this experiment, we are exploring shapes for the resistance they have against the force of air as it moves through space. Streamlined vehicles and boxy, large, or square-shaped vehicles move through air and the space of the road differently. We wanted to take a look at these differences and see how a streamlined car moves.

We used just a few materials for this experiment (I’m including the affiliate links for your convenience.)

You’ll need: 

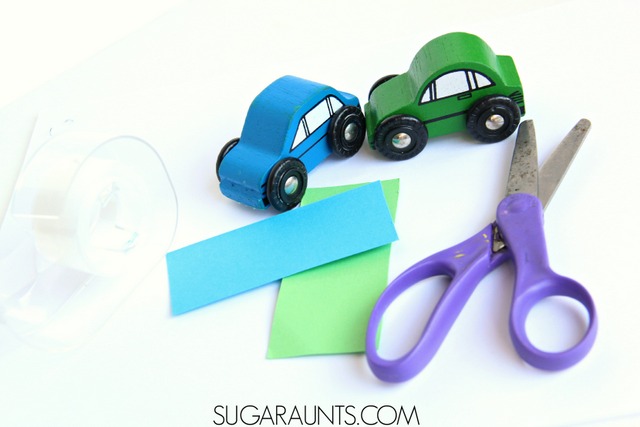
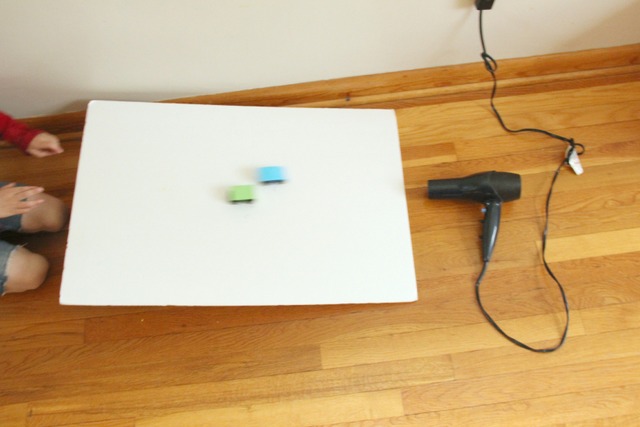
  1. Two identical toy cars.  We used ones similar to these.
  2. colored cardstock, cut into rectangles
  3. clear tape
  4. hair dryer
  5. foam board
  6. stack of books
streamlined shapes vehicles and experiments with airflow and drag.
 
This is an easy STEM activity to set up.  
 
  1. Cut the cardstock into strips that are as wide as the cars.  You’ll want the length to be a little longer than the cars, but even with the end.  
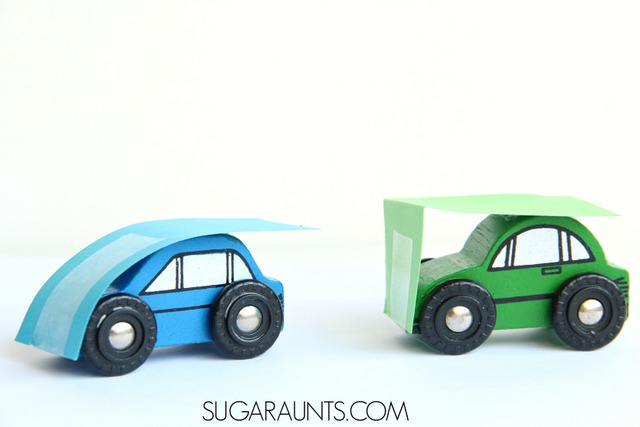
  2. I taped the edge of the cardstock rectangle to the front of each car, then bent one into a curved shape and the other into an right angle shape.  
  3. The cardstock is a good material for this experiment because it holds the curve and angled shapes well.  Regular paper will not work as well.  
  4. Finally, snip the edge of the cardstock so that it ends at the end of each car.


Prediction:  Ask your child their predictions!  What will the shapes do to the cars?  Will one shape go faster? Why?  What will happen when air is applied to the cars?  

Experimenting with streamlined shapes
 
Now comes the fun part: the streamlined shapes experiment!


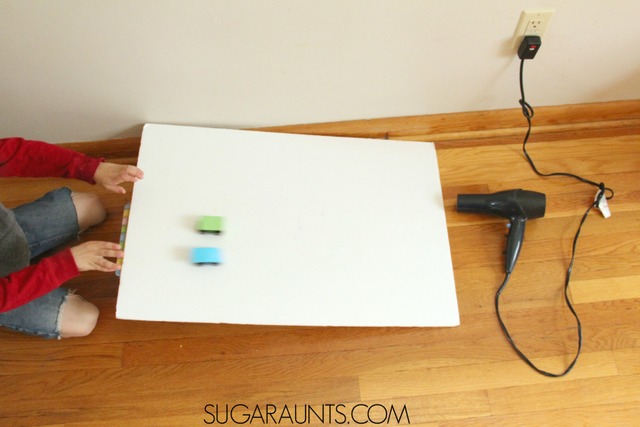
Stack a few books and prop one end of the foam board up.  You can use any flat surface for this project, but the foam board was the right length and perfect for both cars to travel without sailing over the edge.  


First line each car up on the edge of the foam board.  This is a fun activity in itself; sending toy cars down planks and ramps is a great boredom buster! 
 
Experiment with force, but just tapping the cars down the ramp and pushing.  More force gives them more speed!  We noticed that both cars went down the ramp at the same time.   
 
Be sure to push the cars over the edge of the ramp at exactly the same time.


Experiment with air flow, drag, and resistance with streamlined shapes
 
Next, we applied a source of air to the bottom of the ramp.  Turn on the hair dryer and aim the air toward the cars going down the ramp.  Now, the curved car went faster!  
 

What is happening in this streamlined shape experiment?  

 
The car with the streamlined shape travels faster because it’s shape disturbs less of the air.  The car with the angular shape disturbs air as it travels.  This un-streamlined shape increases the force called drag and slows the car down.  
 

Have fun with your air flow experiments!  You might also like our Bernoulli’s Principle air glider project: 


The cutest potato stamp crafts

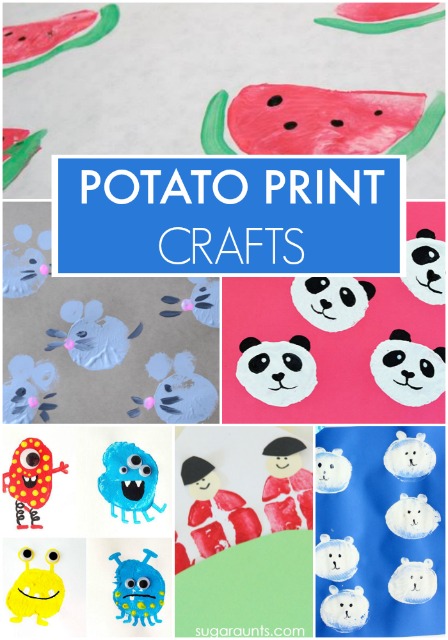
We’ve been busy recently making lots of potato print stamp crafts.  (Notice: you’ve been warned.  Be prepared for super cute potato stamp art and crafts coming your way!) So this week on Share It Saturday, we decided to feature the cutest potato stamp crafts out there.  The Polar Bear Print below was the inspiration for this feature post from our link up and we had to go look for more.  We’ve done a Grand Old Duke of York nursery rhyme print before and are excited to share more potato stamp crafts soon!


Cute potato stamp art crafts for kids!

Cute potato stamp crafts for kids

How adorable are these:
Tulip Prints from Crafty Morning
Watermelon Prints from Inner Child Fun
Monster Prints from Mollymoo
Panda Stamps from I heart arts and crafts
Mice Stamps from Glued to My Crafts
Grand Old Duke of York nursery rhyme print from Sugar Aunts

Teaching Kids to Write Their Name the Fun Way!

We are working a lot on writing lower case letters these days.  My five year old has been trying so hard to write his name and is a trooper when it comes to practicing.  Sometimes it’s not a child’s interest to write letters of their name (and other letters needed in handwriting, too!)  This letter forming name writing activity is perfect for kids who need more practice and are just plain tired of writing their name over and over again.  
Adding a sensory and motor spin on forming the letters of their name can add interest and fun to handwriting and name writing.  Sometimes ordering the letters in name writing can be difficult for young kids.  This name building activity is adaptable to so many skill levels of kids who are working on writing their name.


Teaching kids to write their name and practice letter formation with sensory soup

Teaching kids to write their name with sensory and movement:

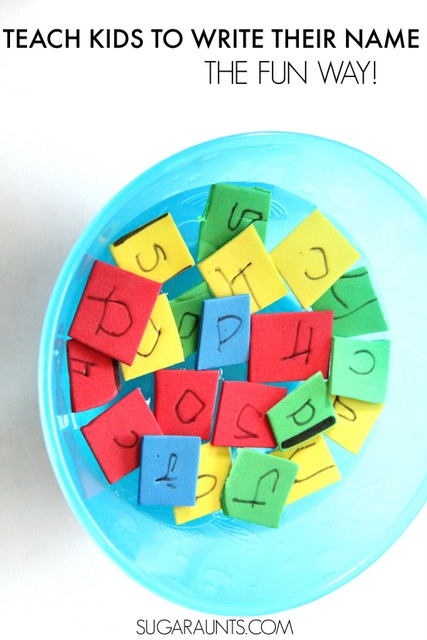
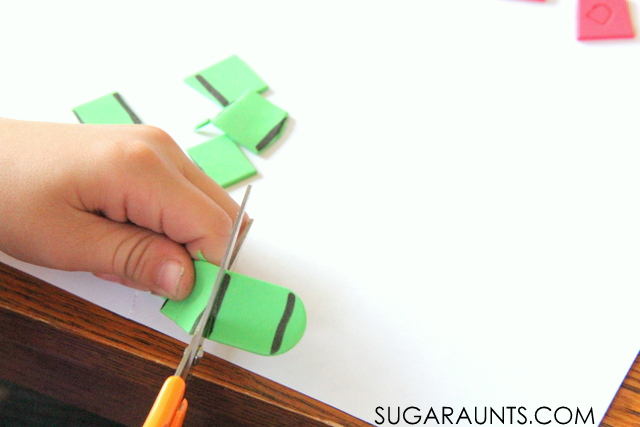
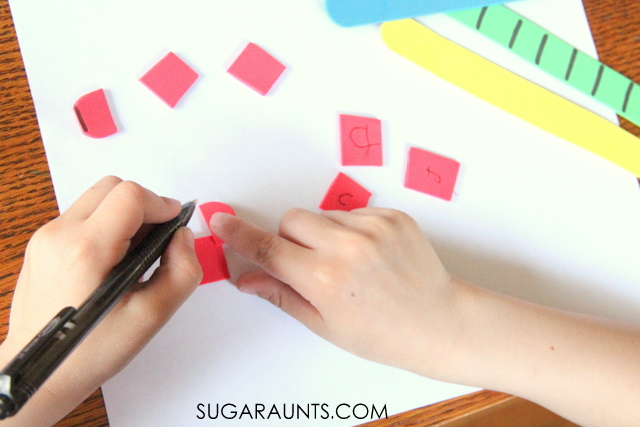
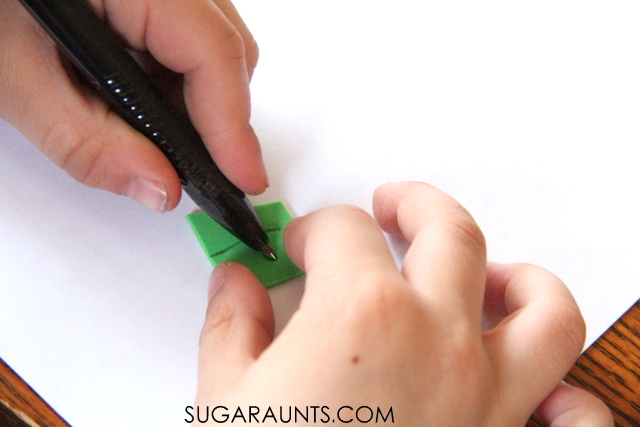
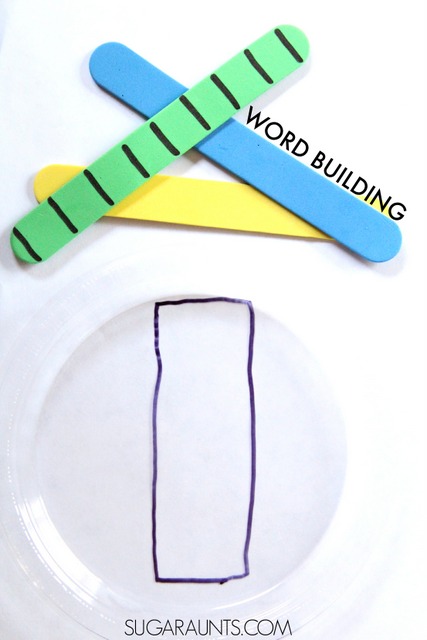
To practice our name writing with sensory and motor movements, we used these foam craft sticks that we received from our friends at www.craftprojectideas.com.  Draw lines across the sticks in 3/4 to one inch increments.  Have your child snip the craft sticks into pieces along the lines.  This scissor activity was a hit with my son.  Snipping the foam craft sticks provides a satisfying texture and allows accuracy with the thick resistance and thicker lines.  
Use the small foam pieces to practice letter formation.  The small size is perfect for kids who are working on size awareness in their handwriting. 
Pressing a pen into the foam surface provides great feedback for letter formation.  Use verbal and visual cues.
Build your name sensory soup activity
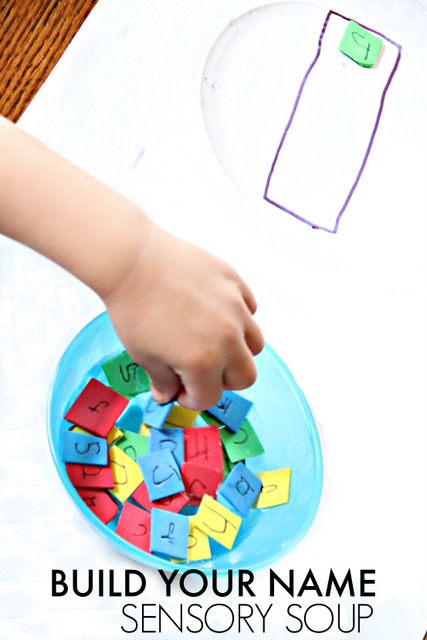
We used those foam letter pieces to make a sensory soup.  Fill a bowl or bin with water and add the foam letters.  They will float on the water surface.  Visual scanning and picking out the correct letter is a great sensory and fine motor experience.  Kids can work on the order of letters in their name as they look for the letters.  
name writing and learning activity for kids
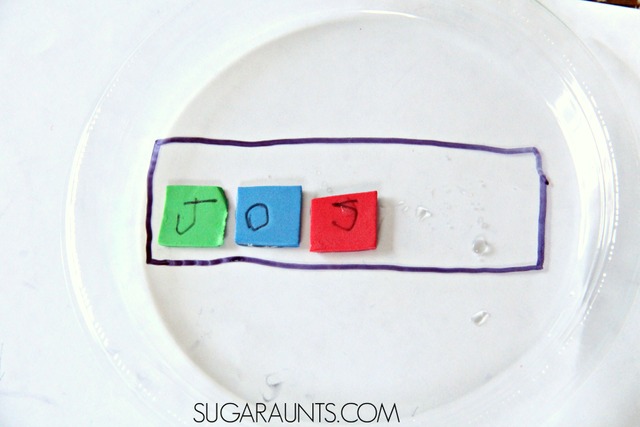
I drew a rectangle on a plastic plate and had my son build his name with the letters.  The wet foam pieces will stick to the plastic plate.  Kids are encouraged to build their name in order while keeping the letters in a line given the visual cue of the rectangle.  This is great for kids who will soon be concentrating on line awareness and spatial awareness in name writing in Kindergarten and in older grades. Related, check out our recommendations for name practice in kindergarten.
Teaching kids to build words and name with letter order, spatial awareness, and line awareness
 
We’ve been having fun with letter formation and handwriting and will be sharing more creative activities soon!  For now, check out these ideas for handwriting

Fun ways to work on Letter Formation:

High-Contrast Letter Formation
Sensory Letter Formation Practice
Tracing Letters: Letter Formation Handwriting Practice with Chalk
Tracing Lines with a DIY Light Box

Tripod Grasp Activities for Kids:

Improving Pencil Grasp With Fine Motor Play Activities
Fine Motor Coordination with a Cereal Box (activity to improve tripod grasp)
Gift Guide: Toys to Improve Pencil Grasp

This post is part of Preschool Powol Packet’s name recognition writing series. Stop by and see all of the great ways to practice name formation.

Caterpillar Math Craft

You know we love a great craft made from recycled materials, right?  Recycled items seem to make a reoccurring appearance on our blog.  And, here’s a little secret:  I LOVE crafting and encouraging playful learning with recycled stuff because it’s re-purposing and environmentally cool, but it’s also FREE!  You have the materials already in your home, and are just going to be tossing them away (whether it’s into the garbage or the recycle bin…so why not learn and play first?)  We made this caterpillar craft from a recycled egg carton and added a math twist to add a little adding and 1:1 correspondence number counting to provide a multi-age learning tool for three of my kids, ages 3, 5, and 7.  (The baby just want to to pull the googly eyes off of the caterpillar.  Which is a sort of subtraction…)
Caterpillar craft made from a recycled egg carton. Use this for math concepts for preschool through grade school kids.

Math Caterpillar Craft (from a recycled egg carton!)


This post contains affiliate links.
We pulled a recycled egg carton from the recycle bin.  Cut one long section of carton.  Paint the sections to make the caterpillars body and head.  We love these paints for their bright colors.
Grab some yarn and have the kids snip little 2 inch pieces.  This is fabulous scissor practice.  Holding the wiggly yarn while snipping sections encourages bilateral hand coordination that is needed for managing paper and scissors while cutting shapes from paper and worksheets.
Caterpillar craft made from a recycled egg carton. Use this for math concepts for preschool through grade school kids.
Math concept:  Encourage your child to count the sections of yarn into groups of three.  
Tape the yarn legs onto the caterpillar’s body.

Glue on googly eyes and draw on a smile.
Caterpillar craft made from a recycled egg carton. Use this for math concepts for preschool through grade school kids.

Caterpillar math activity:


We played a few math games with the caterpillar.  
  • Count out craft pom poms, encouraging 1:1 correspondence.  Counting items is an important preschool math concept that is used in addition and subtraction in later grades.  My first grader often uses counting manipulates as a technique for adding multiple digit addition/subtraction problems and counting too quickly can lead to errors.  
  • Use the pom poms to feed the caterpillar.  Sort them into piles by color and patterns and make the caterpillar eat the pom poms by pushing them under the head.  Write out the math subtraction problems.  
Caterpillar craft made from a recycled egg carton. Use this for math concepts for preschool through grade school kids.

How cute is this little guy?  Make him and other fun recycled crafts for learning and play.

This post is part of the  natural parenting and earth month series at Allternative Learning.