Disclosure Policy

To keep up with FTC regulations, we offer the following disclosure policy:

Affiliate links:  We apply Amazon affiliate links and other affiliates into blog posts where appropriate to the post.  This means that purchases made through the links on this blog will make us money.  We only link products if they are appropriate to the activity or craft.  This in no way affects our opinions or ideas. 

Products Reviews and Giveaways:
Occasionally, we receive products or materials from companies for review, use, or giveaway.  This does not affect our opinions in any way.

Sponsored Posts:
We accept sponsored posts in exchange for compensation.  All opinions are our own.

Ads:
We promote ads from Google AdSense and other advertising networks in exchange for a small percentage of money. 

Privacy:
We do not share your personal information with third parties.  You can turn off use of cookies by changing your specific browser settings. We are not responsible for republished material from this bog onto other websites/blogs.

Disclosure Policy:
This policy is valid from 20 November 2012
This blog is a collaborative blog written by a group of individuals. This blog accepts forms of cash advertising, sponsorship, paid insertions or other forms of compensation.
 This blog abides by word of mouth marketing standards. We believe in honesty of relationship, opinion and identity. The compensation received may influence the advertising content, topics or posts made in this blog. That content, advertising space or post will be clearly identified as paid or sponsored content.
 The owner(s) of this blog is compensated to provide opinion on products, services, websites and various other topics. Even though the owner(s) of this blog receives compensation for our posts or advertisements, we always give our honest opinions, findings, beliefs, or experiences on those topics or products. The views and opinions expressed on this blog are purely the bloggers’ own. Any product claim, statistic, quote or other representation about a product or service should be verified with the manufacturer, provider or party in question.
 This blog does not contain any content which might present a conflict of interest.

To get your own policy, go to disclosure.org

As aways, we thank you for your support and community here at Sugar Aunts.
Dream Catcher

This is a fun project that I helped my daughter create. She has been having some dreams that wake her up crying in the middle of the night. One night she told me she had a dream that she was in a pet store and a penguin picked her up, then an alligator chomped her arm! 
We thought a “dream catcher” would help catch those dreams before they get to her and she can dream about the things she wants to…like flying unicorns with sparkle princess’. 

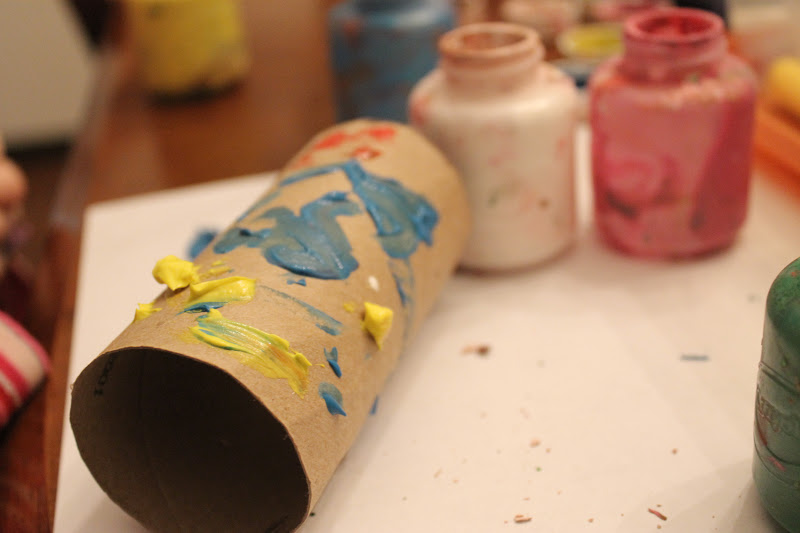
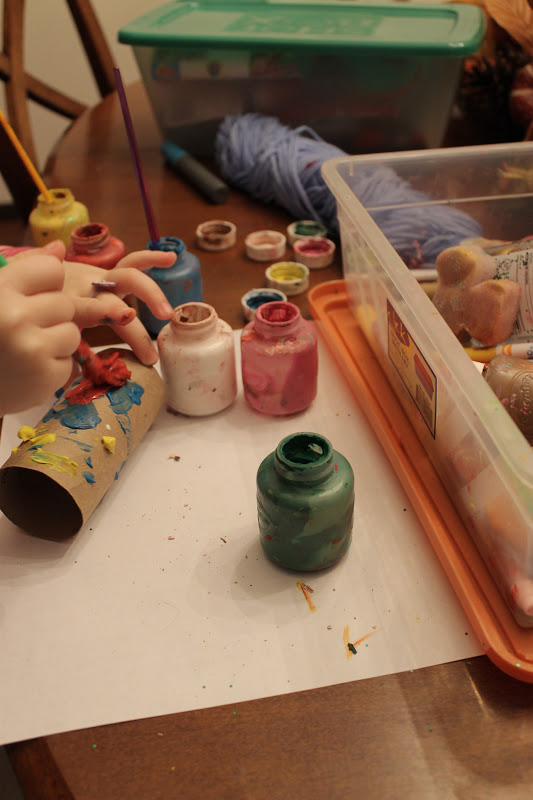
We started out with an empty toilet paper roll, add some fun colors with paint, add a little sparkle with puffy paint and glitter…

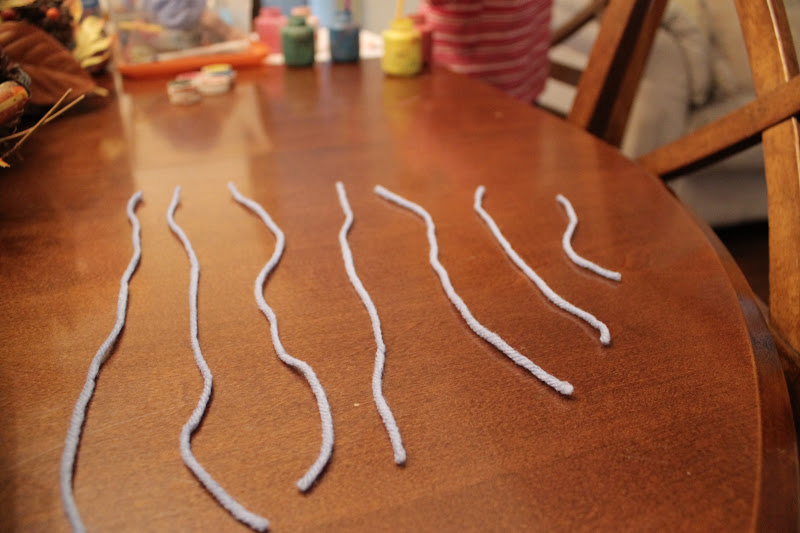
Cut some yarn at different sizes…

Line them up from biggest to smallest (this was a fun challenge)…
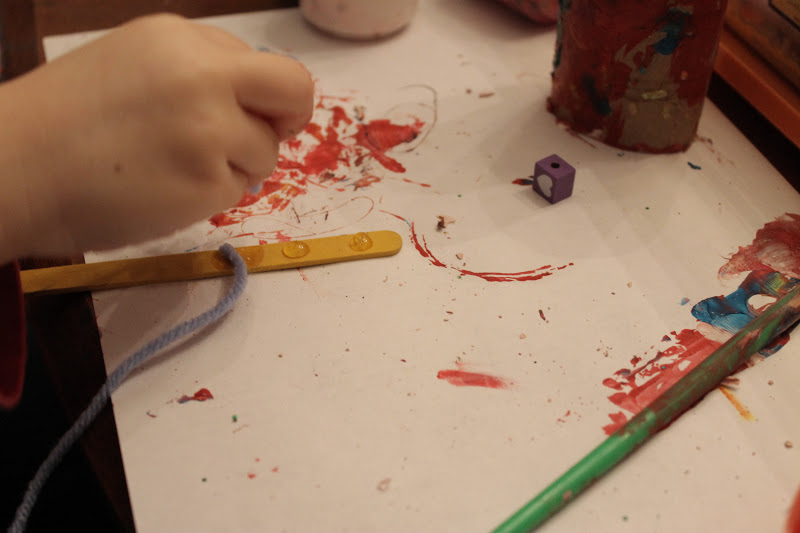
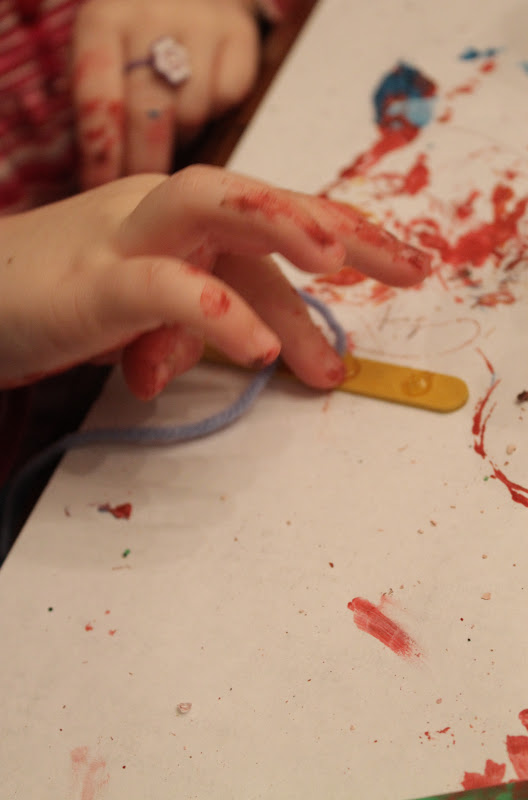
Glue the yarn to a Popsicle stick…

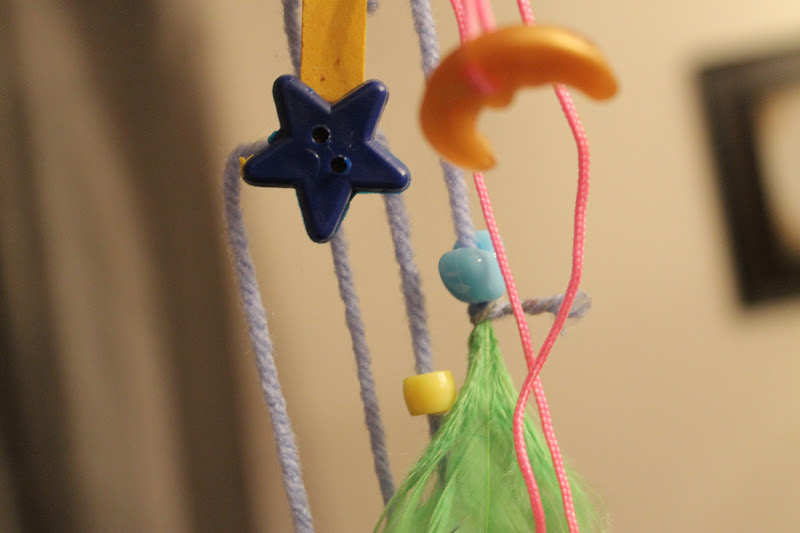
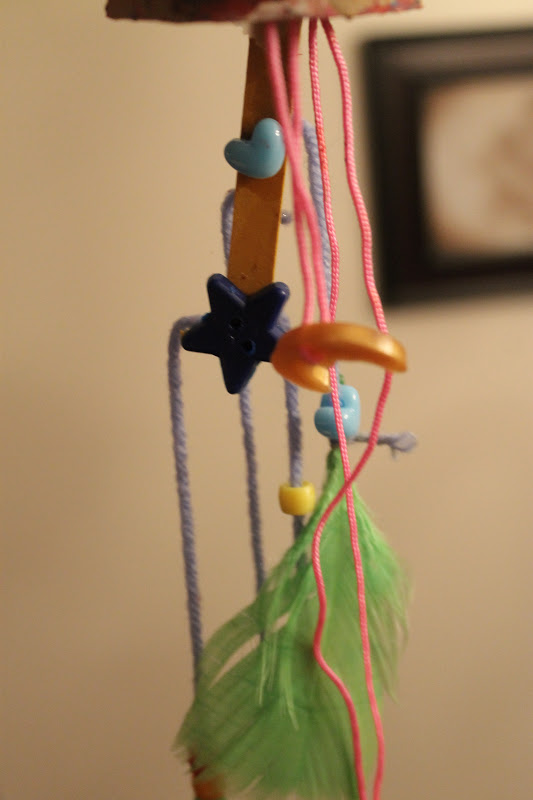
String some beads and glue on some buttons…add a feather or two…

Add a little crepe paper and  TA-DA!   We have a dream catcher!  I loved listening to my daughter explain how the dreams come down.  She said they come from God through the toilet paper hole and sprinkle around with the beads and buttons and come out the other end and into her brain.

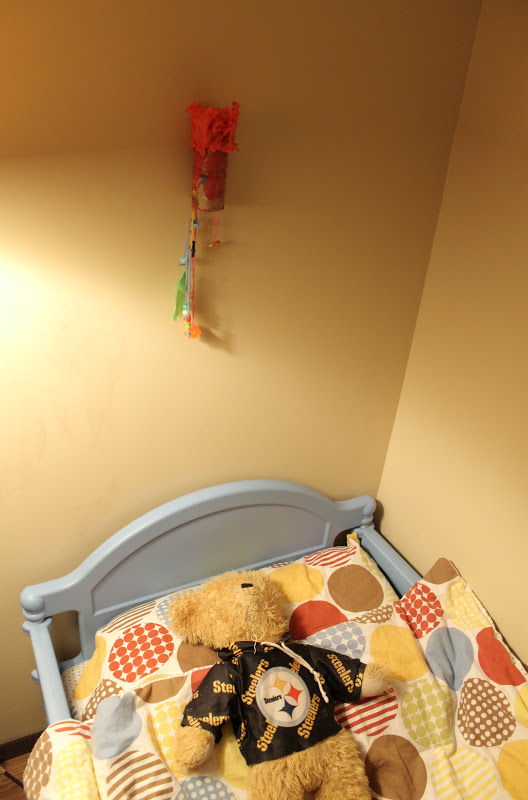
The final product.

Even Steeler Teddy thought it was pretty cool!
Gotta love a 4 year old imagination!
Let’s hope for some happy dreams…she used it last night and woke up exclaiming, “It worked Mom, it really worked!”
~Leanne

Baby Cowboy Costume

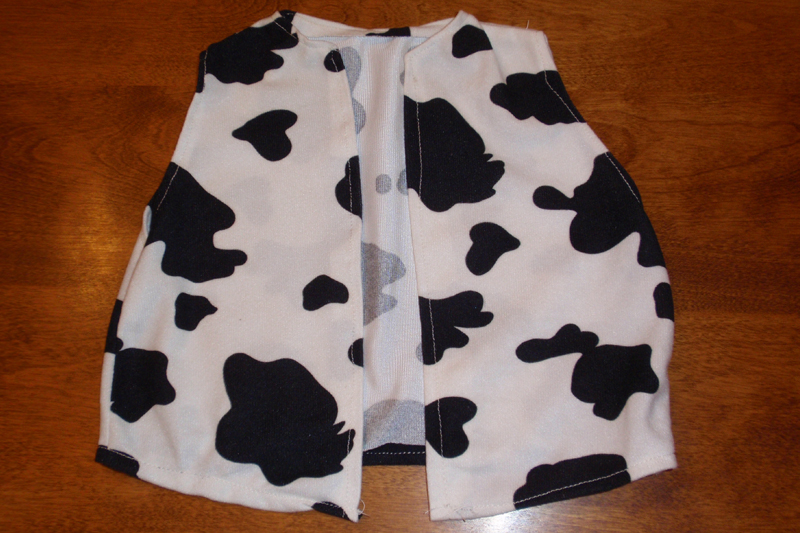
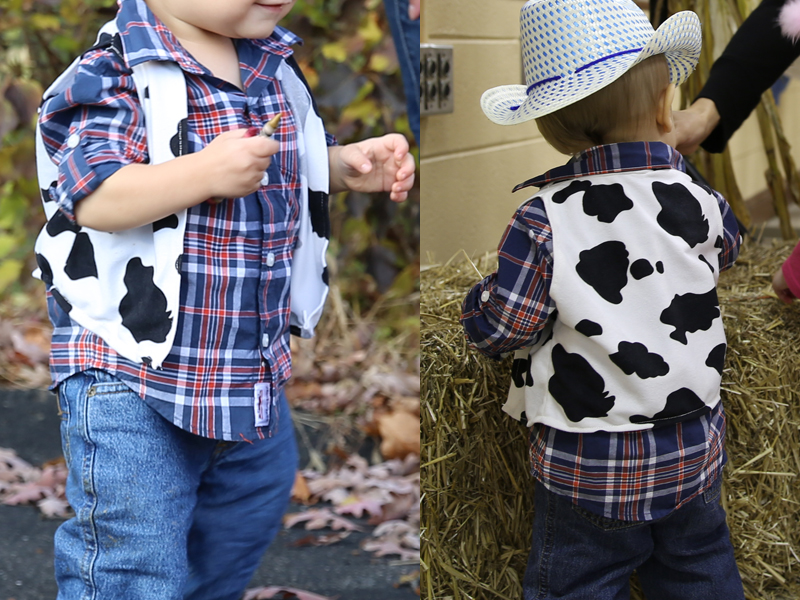
Our Baby Boy needed a cowboy outfit to wear to his birthday hoedown and a DIY Woody vest was the perfect addition. A baby cowboy costume is just too cute! I wanted to keep it simple and tasteful.  I already had a pair of jeans, a plaid shirt, and a cowboy hat in Baby Boy’s closet.  But his outfit needed a little something to make it extra special – he was the birthday boy after all!  So, I made him a vest out of cow-print fabric.  For more baby play ideas, check out our fun ideas!
Here are more of our party ideas to check out as well.

baby cowboy costume

I want everyone to know I am NOT a seamstress – by any means.  This cowboy vest was not perfect.  It had wobbly seams, and the fabric pieces did not perfectly line up….OK that’s not even the worst of it.
To be honest, the final vest was actually my second attempt at the project.  I may have accidentally sewn together the arm holes on the first vest.  Like I said, I’m no seamstress!
That being said, the final product still looked cute.  No one at the party was examining my sewing (as far as I know.)  And remember, I made this vest for a kid who still likes eating dirt – perfect seams are not one of his top priorities.
So here’s how I did it.

How to make a baby cowboy costume

The key to a baby cowboy costume is to use items that are comfortable like jean leggings, or jeans and a shirt that the baby is already used to wearing. Add a pair of baby sized cowboy boots or booties and you’re all set. The only thing to add is a cowboy hat and a cowboy vest.

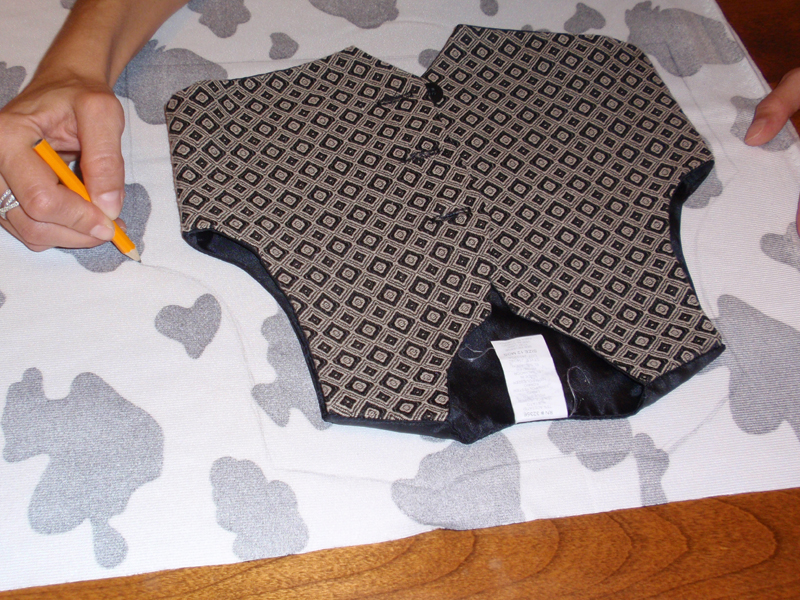
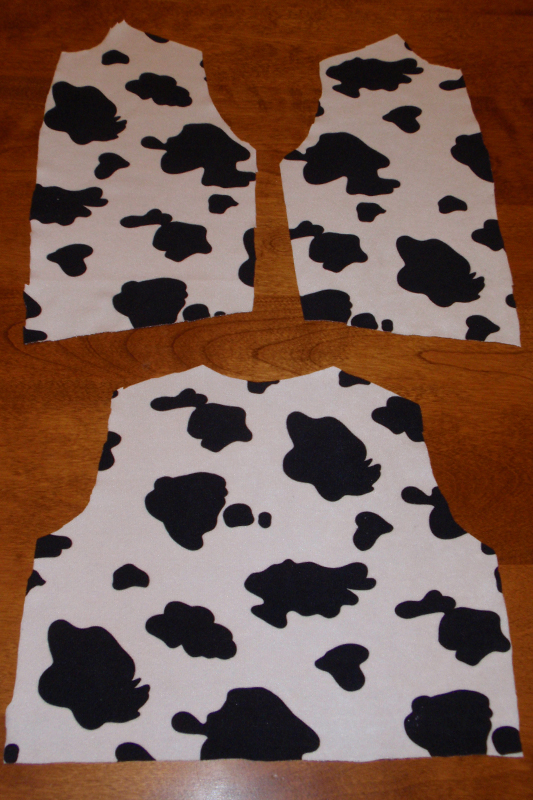
I couldn’t find a free pattern for a vest, so I traced a suit vest that Baby Boy wore to a wedding.  I wanted to get the general shape of a vest, but I made my vest longer than the suit vest.
If you don’t have a vest in your kid’s closet, you could just trace a t-shirt and then cut it down the front to turn it into a vest.  Just trace it a couple inches wider than the shirt to give enough fabric to create the two extra seams in the front.
I gave myself a one inch margin around the vest when I was tracing.  This gave me enough space to sew the seams, and it helped to make sure I wasn’t making the vest too tight.
I then cut out each of the pieces of the vest.
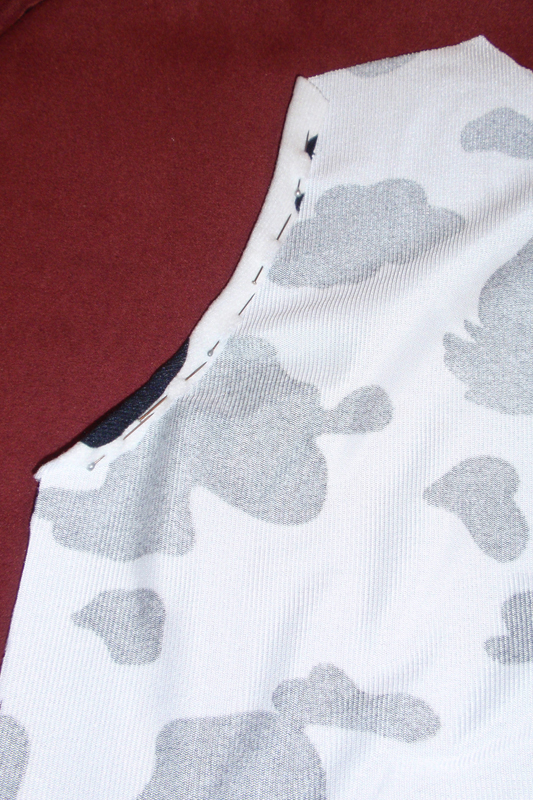
I pinned down the material along the arm holes (of both the front and back panels) and sewed those seams first.  I tried to make the seams about a 1/2 inch.
I then did the same to the neck hole of the front and back panel.  The neck area was definitely the most difficult part.
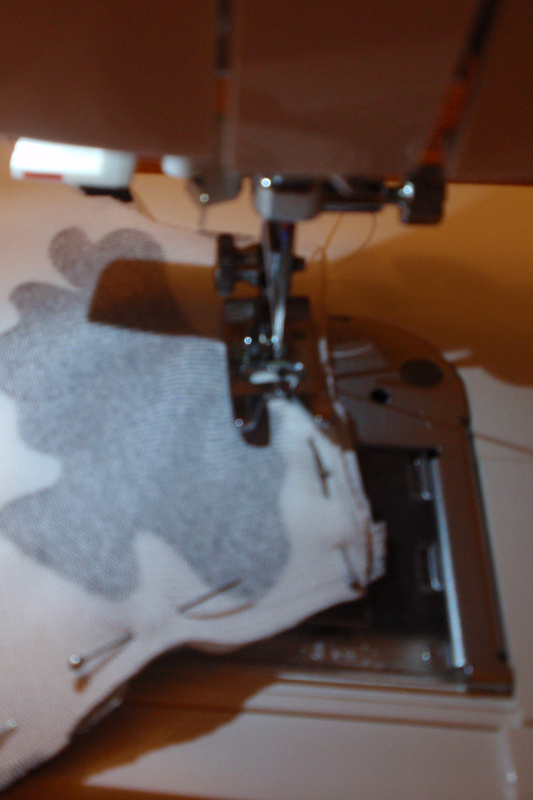
Then, I pinned the front and back panels together while they were still inside out.  I sewed them together along the side and shoulder seam.
 I don’t know how a “real” sewer would do this, but I took the pins out as the machine got close to the pins because they were getting in my way.
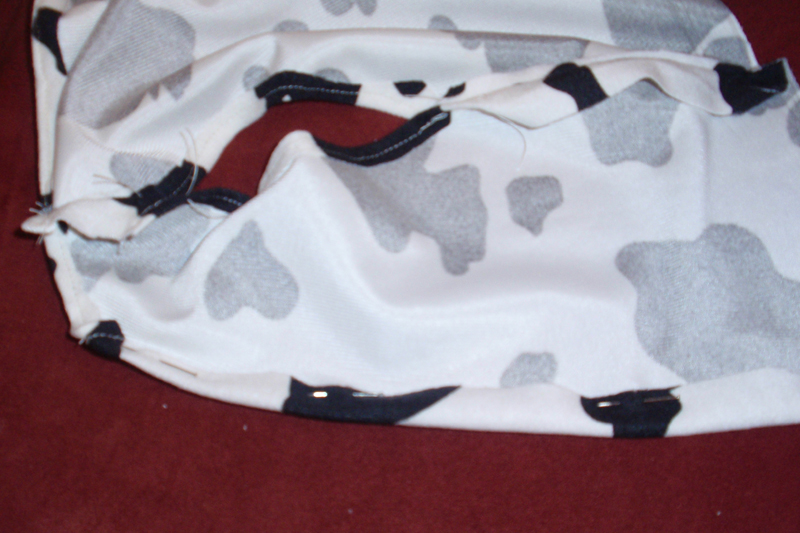
The picture below shows the front panel attached to the back panel.  I then pinned down the front seams (also shown in this picture) and sewed those.
The last seam to be sewn was the bottom seam.
Take a look at the final baby cowboy costume project:
baby cowboy costume
Making this vest actually didn’t take me too long.  It would have taken even less time if I hadn’t accidentally sewn the arm holes together during my first go at it.
I think the moral of this blog is don’t be afraid to do some simple sewing.  Take a look at how something is sewn together, trace it, and try your best to put the pieces together.  If you’re making it for a child, they wont notice the imperfections.  Cute babies can work any outfit!

Sensory Room DIY Ball Pit

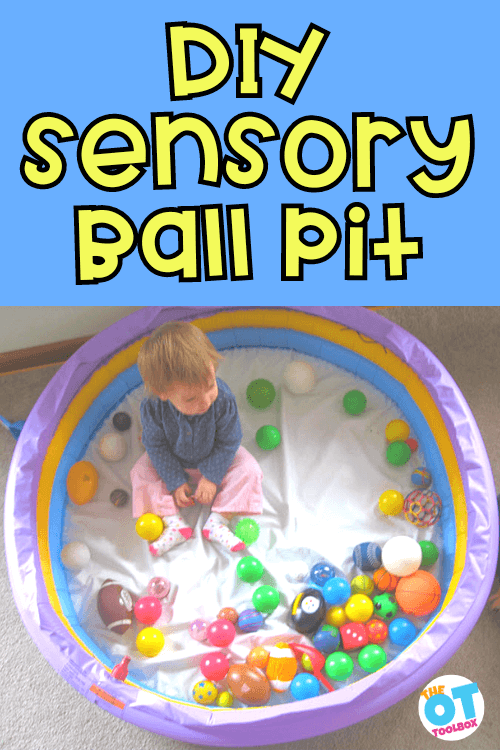
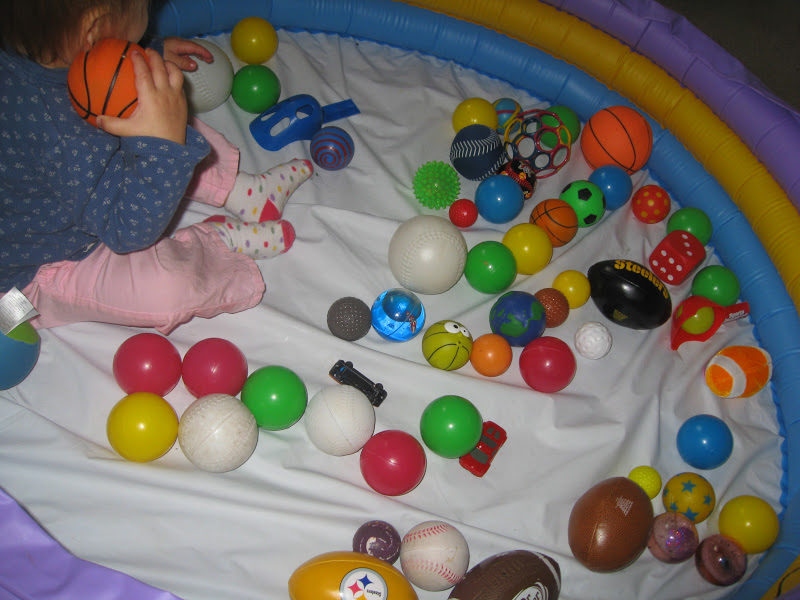
Baby sitting in a baby pool in the living room, without water and the pool is full of ball pit balls. Text reads DIY sensory ball pit

Using an inflatable pool as a sensory room DIY ball pit for sensory play is one of our favorite ball pit activities for toddlers and babies. In this blog post, we’ll cover why and how a baby pool sensory space is so much fun.

If you have little ones in the home, you know that baby toys can quickly take over the home. That’s where this baby play area in the living room comes in. We used a baby pool right in the living room for a kiddie pool ball pit. It was a fun way to create a baby play area without taking over the whole house. We could keep our ball pit balls contained (slightly).

Baby sitting in a baby pool in the living room, without water and the pool is full of ball pit balls. Text reads DIY sensory ball pit

Check out more baby play ideas here.

DIY Ball Pit

If you’ve ever wanted to set up a calm down corner or even a sensory room, then having an inexpensive way to create a calming ball pit is ideal. That’s where this Sensory room DIY ball pit comes in!

You could use this baby pool ball pit idea in the home, in a mobile therapy practice, in an occupational therapy clinic, or other space. For young children, a great calming tool that supports learning, social participation, and school tasks is a space to chill like a ball pit. 

A DIY ball pit using an inexpensive material like a baby pool can be a great sensory strategy to support emotional regulation needs in children. It’s a place to calm or re-organize.

 
Sometimes the easiest way to bring some fun into the day is to just switch things up! 
 
Bring something unexpected into play.
 
You should have heard the cheers and excitement when I pulled the baby pool up from the garage and into the living room! 
 
All you need is two items:
  • An inflatable baby pool 
  • Plastic ball pit balls

You could use a hard shell baby pool as well, but it’s nice to deflate the baby pool and put away the DIY ball pit occasionally!

 
Children playing in an inflatable baby pool filled with ball pit balls.
 
Everyone immediately climbed in.
 
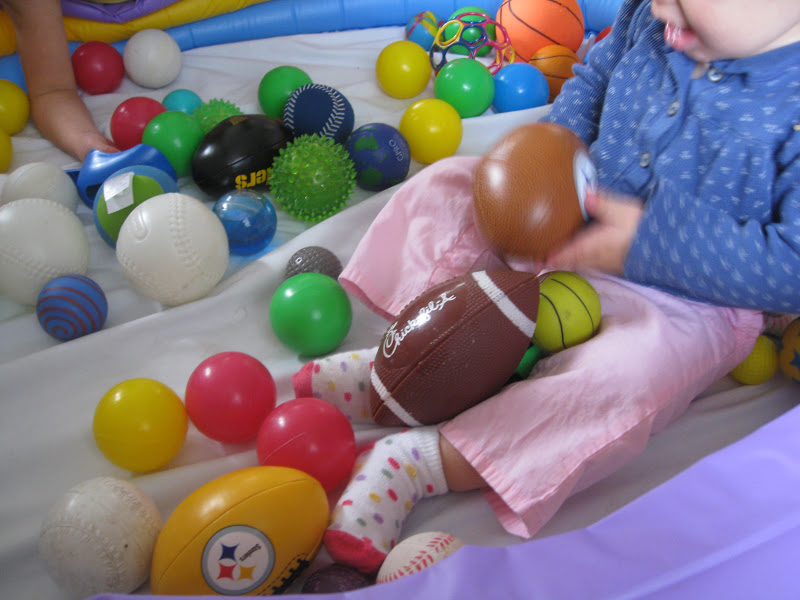
Baby sitting on the floor in a DIY sensory ball pit and playing with a variety of balls
 
And out. 
 
Baby sitting in a blow up baby pool with plastic ball pit balls
 
And in…
 
Baby playing with plastic ball pit balls in a baby pool without water
 
It’s that easy to provide an instant boredom buster!
 
Toy balls in a DIY ball pit made from a blow up baby pool without water
 
Looking for more INDOOR play ideas? We love simple yet effective baby play activities designed to promote development, cognitive skills, learning, and baby brain building. 


Or check out any of the ideas under the Kid Play tab above!


Colleen Beck, OTR/L has been an occupational therapist since 2000, working in school-based, hand therapy, outpatient peds, EI, and SNF. Colleen created The OT Toolbox to inspire therapists, teachers, and parents with easy and fun tools to help children thrive. Read her story about going from an OT making $3/hour (after paying for kids’ childcare) to a full-time OT resource creator for millions of readers. Want to collaborate? Send an email to contact@theottoolbox.com.

Fine Motor turkey

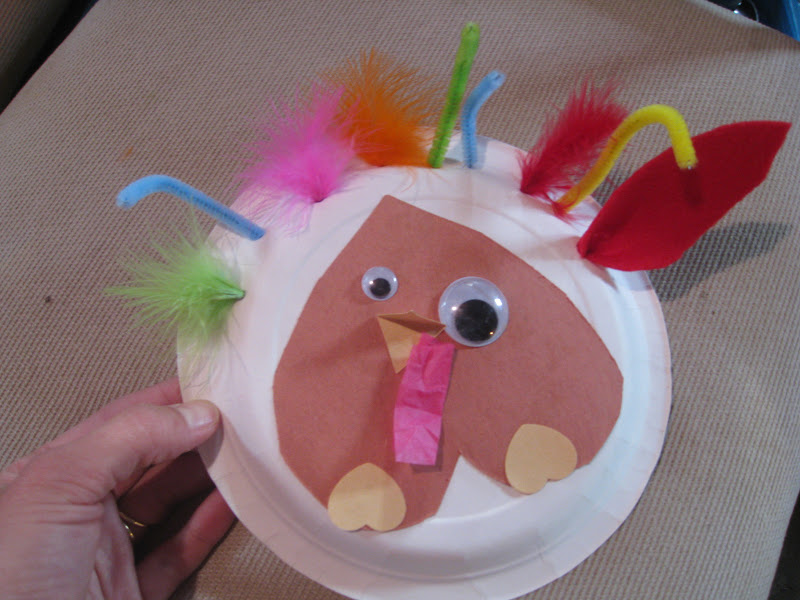
This Fine Motor Turkey works all the small motor skills of the hands!

Before the kiddos do this project, start out by using a pen to poke holes along the top of a thick paper plate.  Pushing the feathers into the plate’s holes will work their Tripod Grasp.  Use feathers, pipe cleaners, felt feathers to explore different textures, work the patterns, or just pop them in any old order.
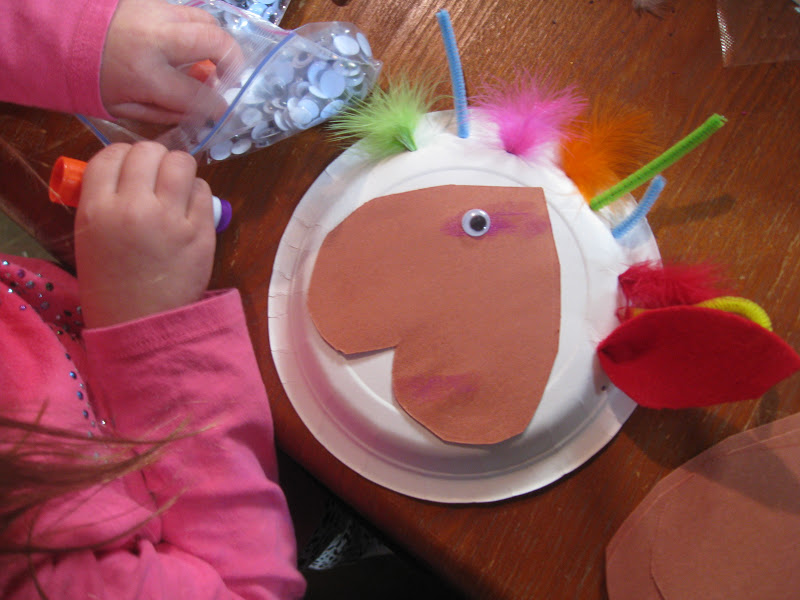
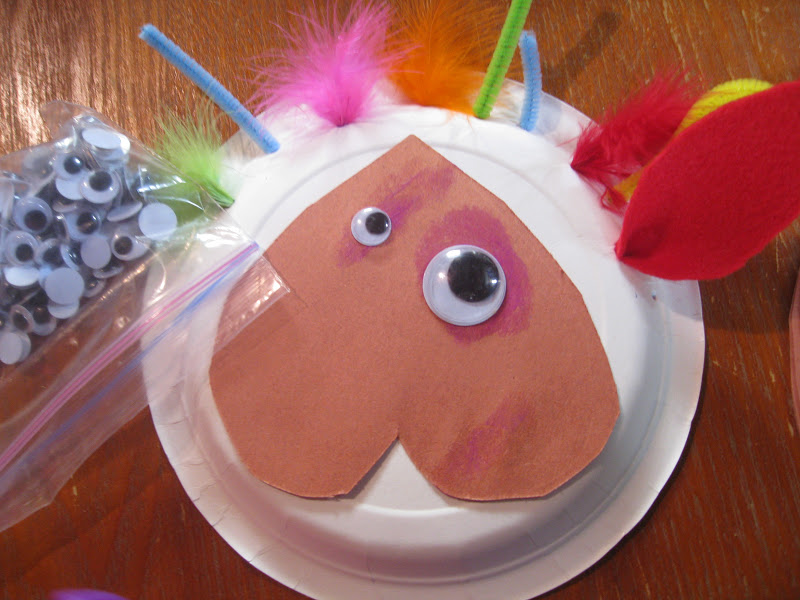
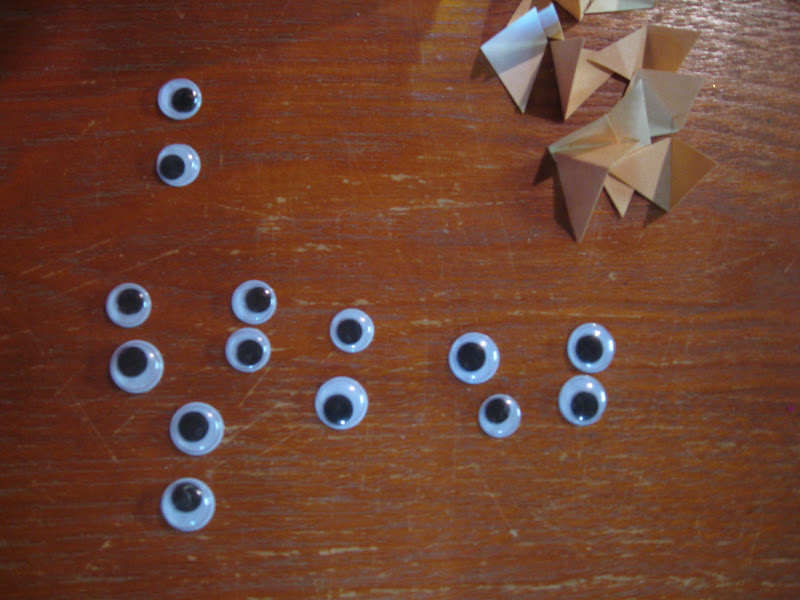
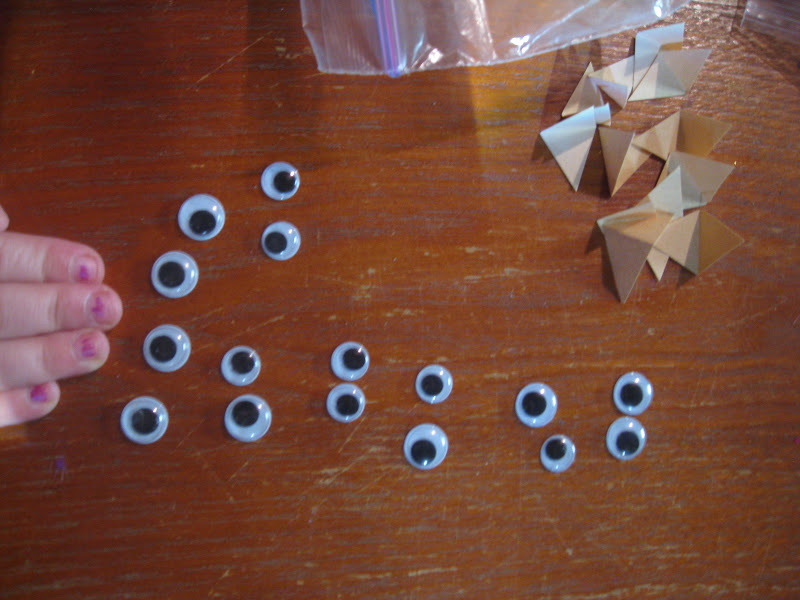
Big Sister helped me make this turkey as an example for a playgroup craft.  She counted out the googly eyes (picking them up with a Pincer Grasp) by twos.
Basic math skills and figuring out that 8 sets of 2’s are 16.
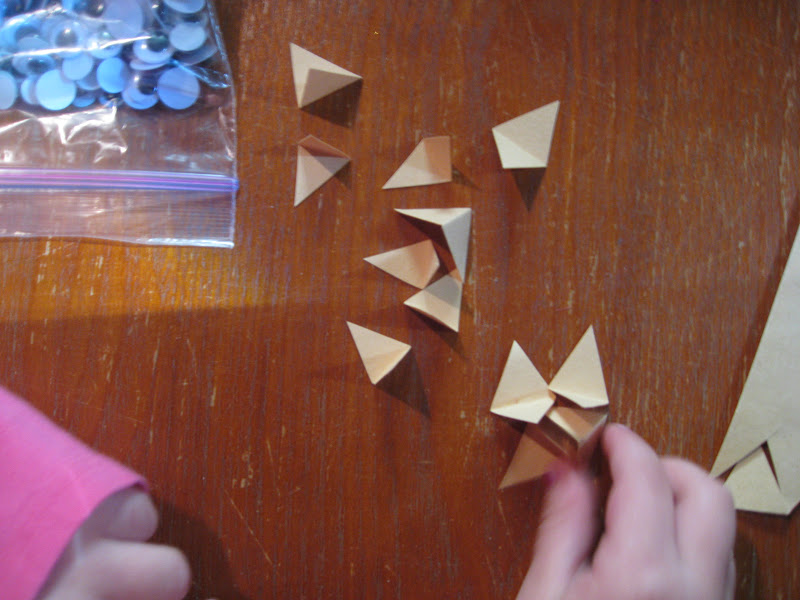
Cutting triangle beaks and folding them to isolate the index finger (Important in separating the two sides of the hand)…
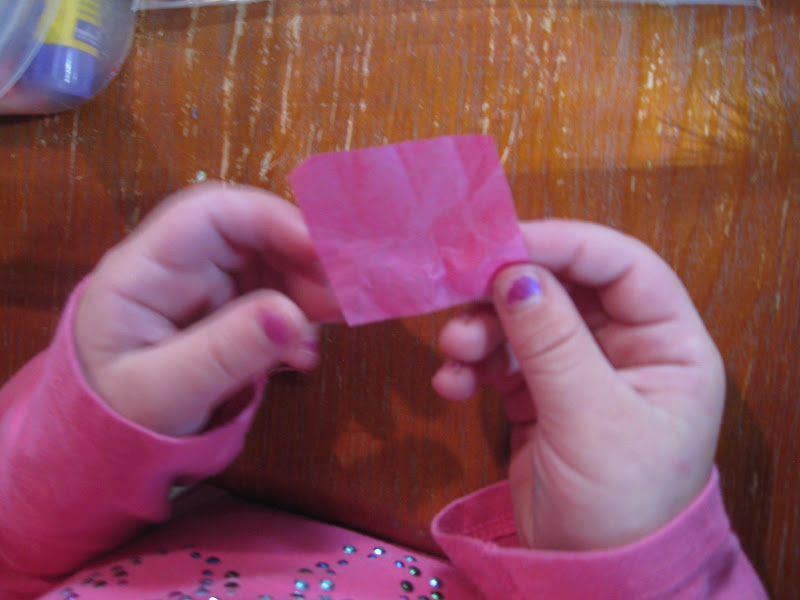
Little squares of tissue paper…
Crumbling little bits of paper strengthens the intrinsic muscles of the hands.  
The Finished product!
I love that she used two different sized eyes. And pulled the feet off. “I like it better without feet, Mom”.  Her turkey has a lot of character!  Just like my little Big Sister!
~Colleen

DIY No Sew Tutu

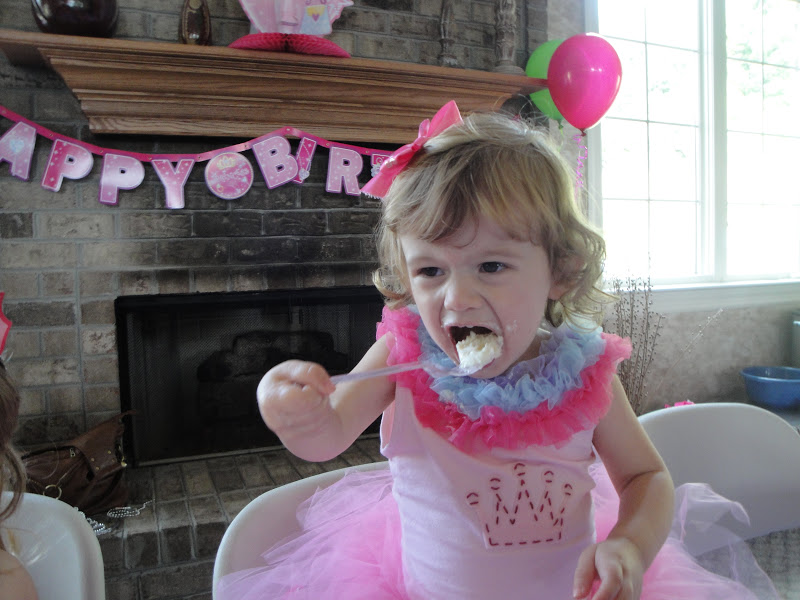
Every little girl I know loves to play dress-up princess…I was taking a trip down memory lane and came across these pictures of my daughter at her second birthday party.  This was a princess tutu I put together…it is so simple…and I still have it in her dress-up bin for play.
I went on youtube to find out how to make a no sew tutu.  Then, I added a few embellishments…glued on rhinestones, little flowers, a big pink birthday bow, and whola!  I had a princess!


I found the shirt (with matching little shorts!) at Marshalls for $9 (they sell the same brand at Nordstrom’s for $50).  I ironed-on a princess crown that I found at Walmart.  I made a bow out of the same ribbon and glued it to an alligator hair clip.

Dollar store accessories!
Isn’t this how all Princess’ eat cake?!?!
If I can do it, anyone can!
~Leanne

Teaching Over, Under, Around, and Through

teach spatial concepts over under around and through with play

Let’s cover a few different directional concepts; This over, under, around, and through activity for preschool is a spatial relations concept. These positional concepts are an important part of preschool development.

Teaching Directional Concepts: Over, Under, Around, and Through


Learning Spatial Concepts during play

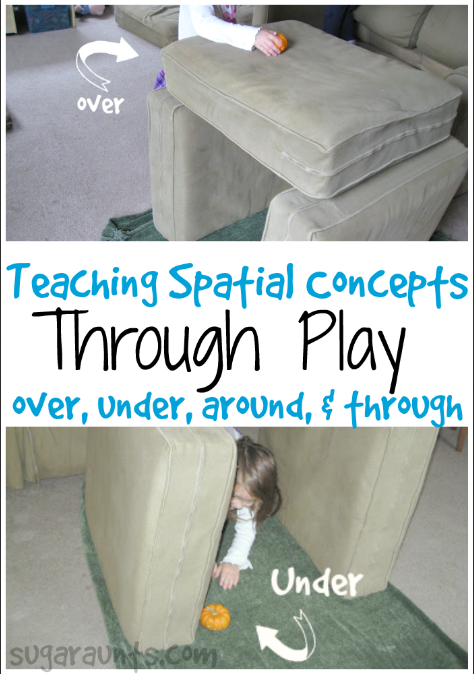
One rainy pre-Halloween day, I had an idea to bring a pumpkin into our play.  We were going to play a game teaching Spatial Concepts.

Teaching Spatial Concepts to Preschoolers and Toddlers through play. Over, under, around, and through and their need in functional tasks like shoe tying and handwriting.
 
What are spatial concepts??  
 
It’s those direction/spatial relationship/preposition words that tell you where something is related to something else… you know… beside, in front of, behind, over, under, around,  through, last, etc. 


These are great concepts to teach to preschoolers. 

Positional concepts are especially important in pre-handwriting.  Once they begin handwriting, kids are taught line awareness, placement of letters on the top/middle/bottom lines, how to move over a space between words, how the “y” has a tail that hangs below the bottom line…So many times, a messy hand-writer is showing problems with spatial organization and concepts.

Spatial concepts and directional terms are also important in teaching shoe tying…BIG need for understanding “AROUND the loop”, “push the lace THROUGH with your thumb”)…
 
They can begin learning these concepts by discovering where their bodies are in relationship to objects.  
 
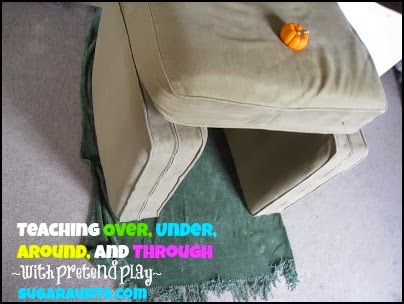
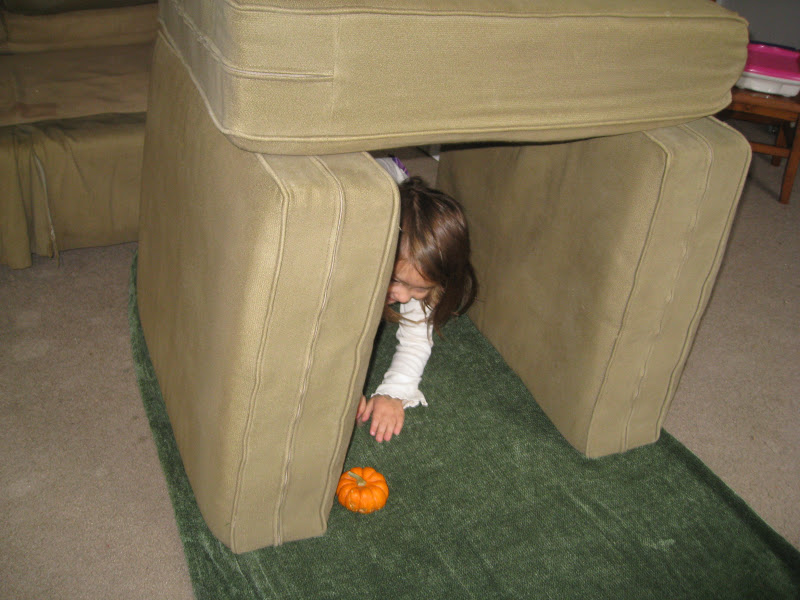
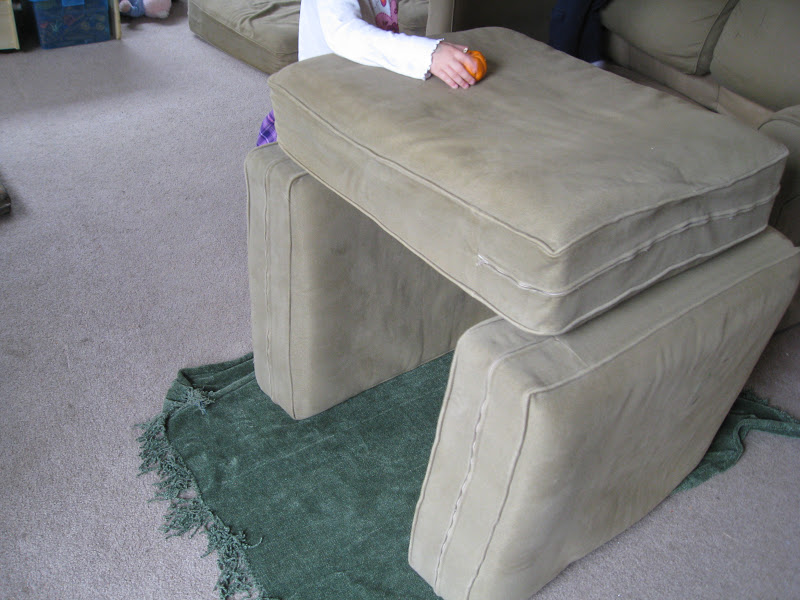
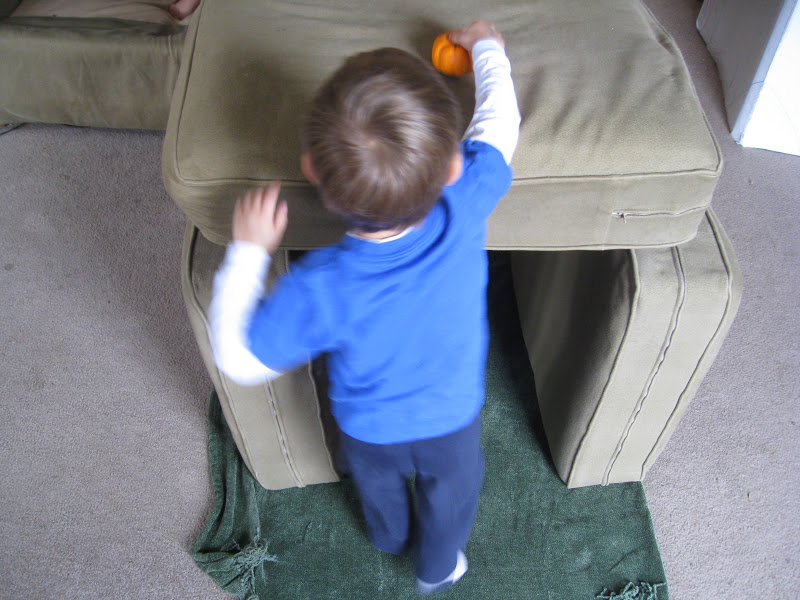
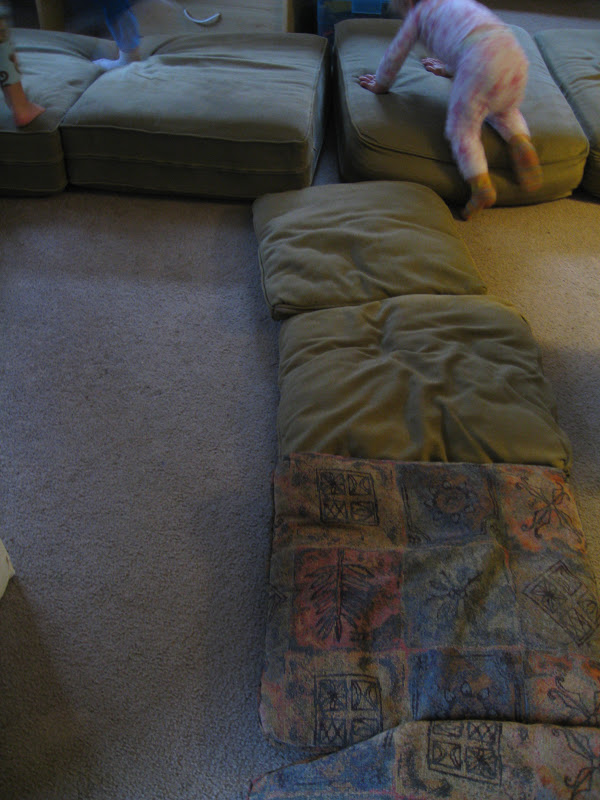
We pulled the couch cushions off of the couches and set up tunnels, bridges (cushion over a blanket…use that imagination!), and obstacles.
 
My kids love the couch cushions…There are definitely days that we use the couch cushions more on the floor than we do actually on the couches.
 
I started singing to them, “Where is pumpkin? Where is pumpkin? Here I am, THROUGH the tunnel!” to the tune of Where is Thumbkin, and changing the last line depending on where the pumpkin was that time.
 

Teaching Over, Under, Around, and Through

Preschool children will love to learn and play with spatial concepts over, under, around, and through with this pretend play activity.
 
You totally don’t need to use a pumpkin for this…you could use a stuffed animal, action figure, apple…whatever would spark your child’s interest!
 
 
We changed it up after a bit.  And for something different, I would tell them to first go over the bridge, then go around the cushion wall, then go through the tunnel.  
 
They loved going over, under, around, and through obstacles to get to where the pumpkin was.  And then making up their own sequence to get to the pumpkin.  


Baby Girl just enjoyed going over cushions.


Pretend Play with Spatial Concepts

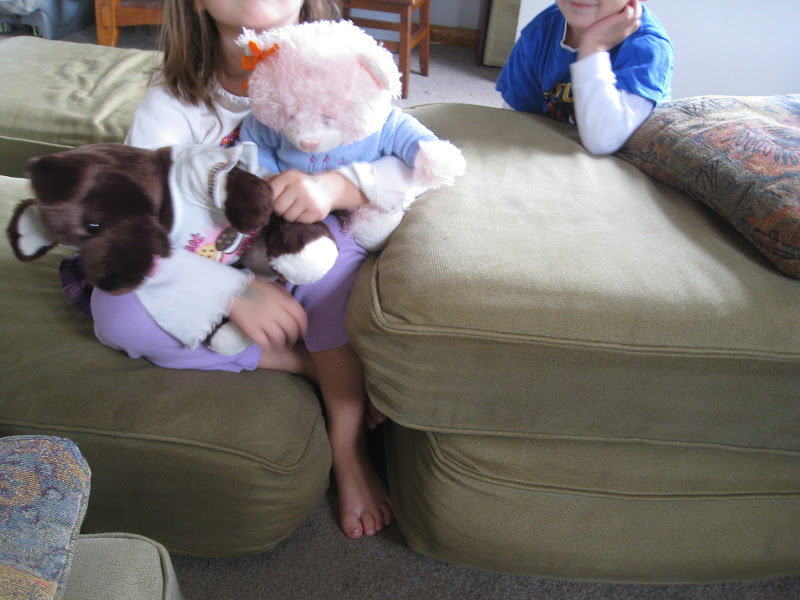
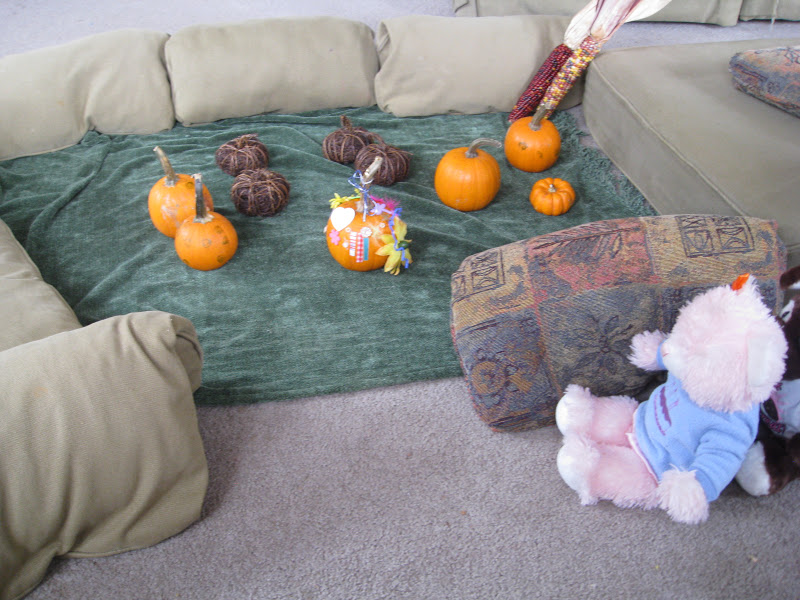
Big Sister and Little Guy decided to change the game into a pumpkin patch, complete with a cushion “tractor” to take them to the pumpkin patch and some stuffed animal “kids” to join them.  
 
 
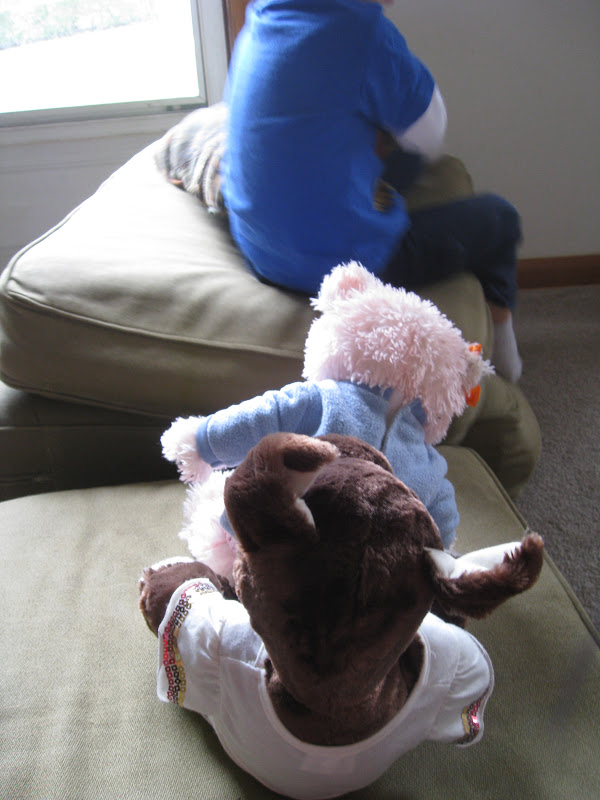
The stuffed kids got to ride the tractor…
 
 
And go into the pumpkin patch.
 
 
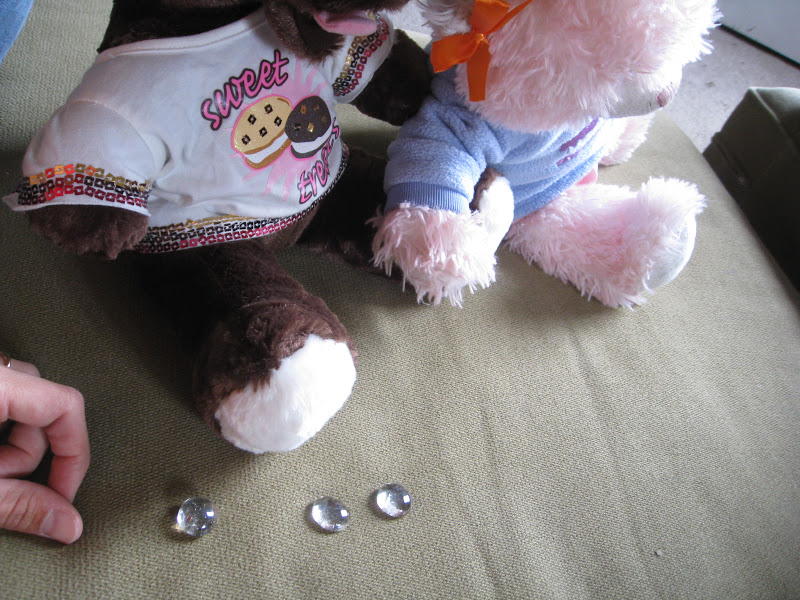
And pay for their pumpkins with “coins”.
 
 
Real-world application of the spatial concepts we learned???
 
“Cuddles the Bear gets to go in the pumpkin patch in front of Puppy, because she is pink, and that’s good manners”.
 
Ok, then. 
 

More Preschool Spatial Learning Activities


Want to continue the spatial concept learning with your preschooler?  

  • Add music…Sing and act out “Over the river and through the woods”, “Going on a bear hunt”, and “The bear went over the mountain”.
  • Grab a basket or container of any kind. Toddlers love putting things “in”/taking them “out”.  Add more complexity for bigger kids by adding multi-step directions. “Take 5 steps forward, go under the chair, then crawl around the blanket”.
  • Make a backyard map to work on directional concepts.
  • Play “I Spy” by looking around the room and finding 3 things that are under something, or 3 things that are behind something.
  • Pencil control worksheets you can make at home
  • We’re Going on a Bear Hunt
 

Colleen Beck, OTR/L has been an occupational therapist since 2000, working in school-based, hand therapy, outpatient peds, EI, and SNF. Colleen created The OT Toolbox to inspire therapists, teachers, and parents with easy and fun tools to help children thrive. Read her story about going from an OT making $3/hour (after paying for kids’ childcare) to a full-time OT resource creator for millions of readers. Want to collaborate? Send an email to contact@theottoolbox.com.

Slow Cooker Country Style Ribs

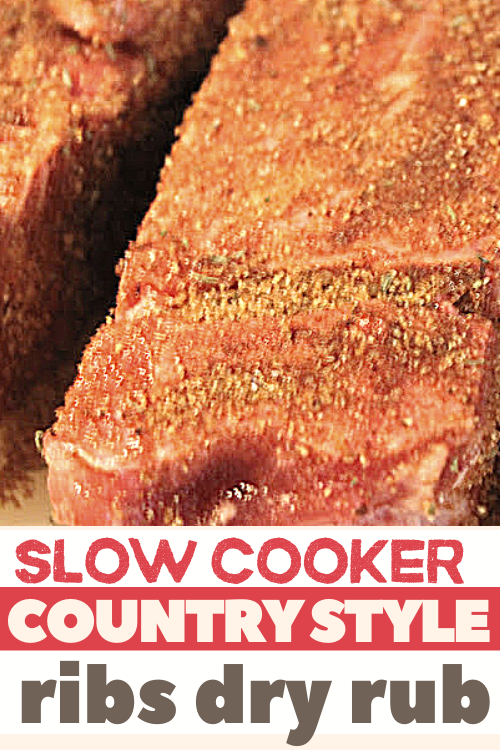
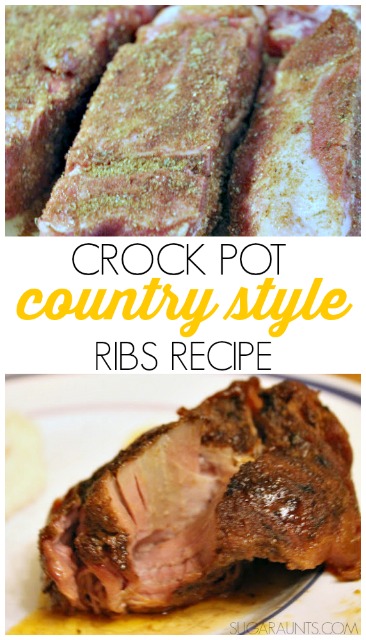
Slow cooker country style ribs dry rub recipe

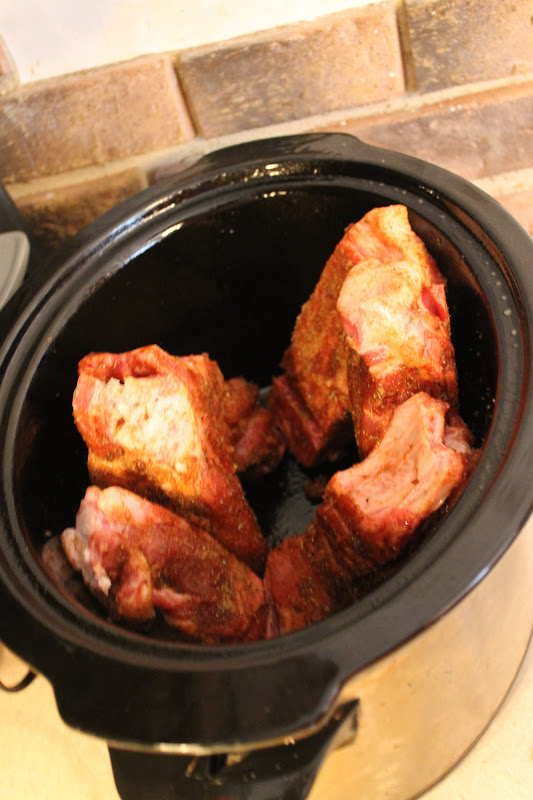
This is another simple recipe  that is kid-friendly and husband-friendly. The slow cooker country style ribs dry rub is one that my kids love…It’s a family favorite recipe! Country style ribs in the crockpot are great for busy families like ours. Your family will love this slow cooker recipe!   I went on a search to find the best slow cooker ribs I could find and came across this recipe.  Looked simple enough.  I have made ribs before in the slow cooker that just fell off the bone in the crock-pot, I didn’t really want that. I was looking for something that held the meat together even after cooking all day.  I must say that this recipe did a pretty good job!  

Slow cooker country style ribs dry rub recipe
 
Crock pot country style ribs recipe
 

Juicy Crock Pot Ribs Recipe

This post contains affiliate links.
 
SLow cooker country style ribs dinner
 
RELATED READ: Fruit Pizza Recipe
 
Country style crock pot ribs recipe


Country-Style Crock Pot Ribs Recipe

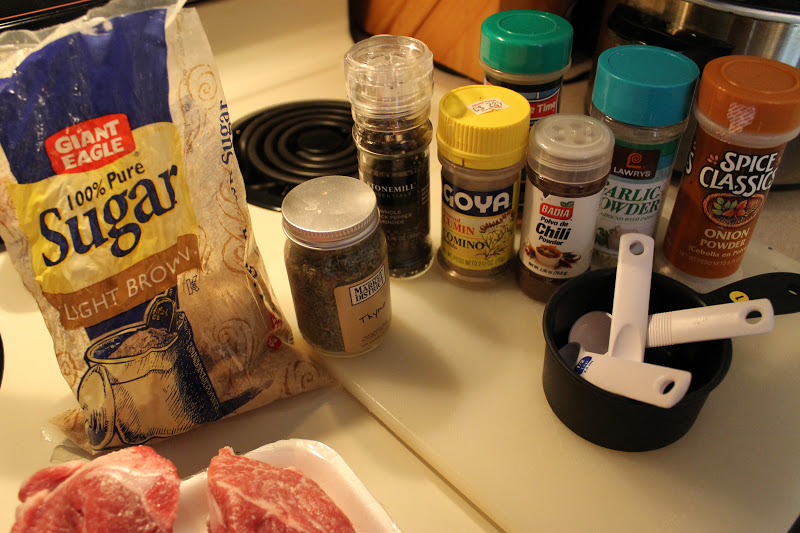
I had to make a few substitutions in our crockpot ribs dry rub recipe, because I was missing a few ingredients. This is what I came up with…


Ingredients for country style ribs recipe
Ingredients:

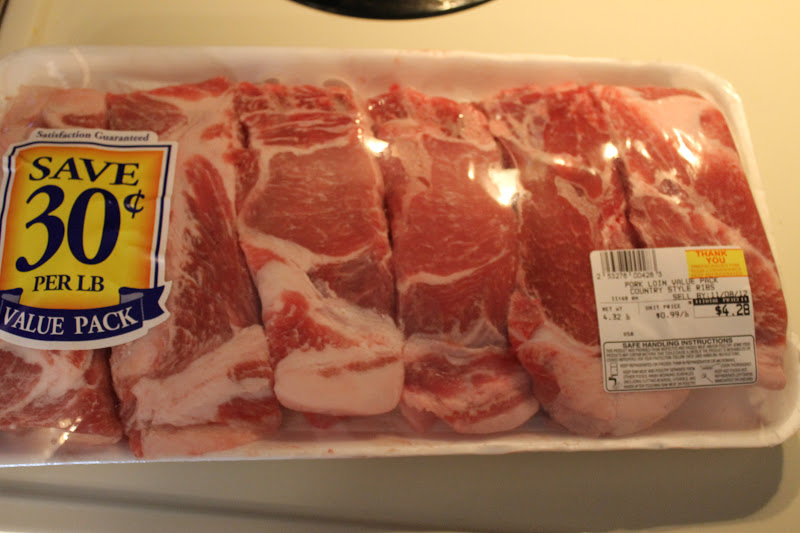
4lb pork country style ribs
1/4 cup light brown sugar, packed
1 tbsp paprika
1 tsp onion powder
1 tsp garlic powder with parsley flakes
1/2 tsp cumin
1/2 tsp chili powder
1/4 tsp black pepper
1tsp thyme, crushed
1 cup barbecue sauce


Ingredients for slow cooker country style ribs recipe

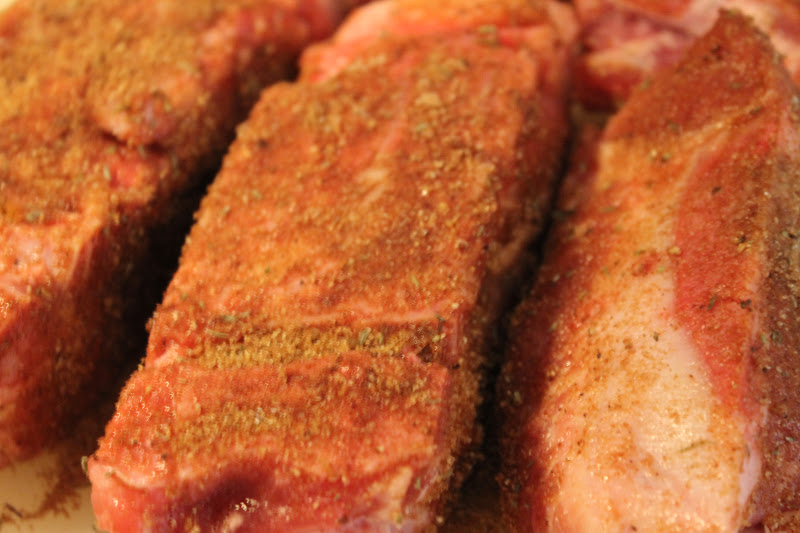
Mix up all the dry ingredients and rub on the ribs.


Homemade rub recipe for country style crock pot ribs
 
Spray the Crock-Pot with non-stick cooking spray…be very generous, you don’t want these to stick!
 
This is our favorite slow cooker for cooking recipes like crockpot mac and cheese and hidden veggie crock pot marinara, which are both recipes that kids love and are quick and easy in the slow cooker…bonus for busy moms!
These slow cooker country style ribs are soft and delicious, perfect to throw in the crock pot in the morning.
 
Stack the ribs vertically, cover and cook on low for 6-8 hrs.
Uncover, and pour your favorite sauce all over the ribs…there will be juices on the bottom of the slow cooker, its’ ok if the barbecue sauce gets mixed in. Cover again and cook on high for about 30 min.
 
 
Country Style Slow Cooker CrockPot ribs recipe
 
 My daughter told me I was the “best cooker in the whole world”…couldn’t ask for a nicer compliment!!!
 
People who love these Slow Cooker Country Style Ribs also love these ideas:
 
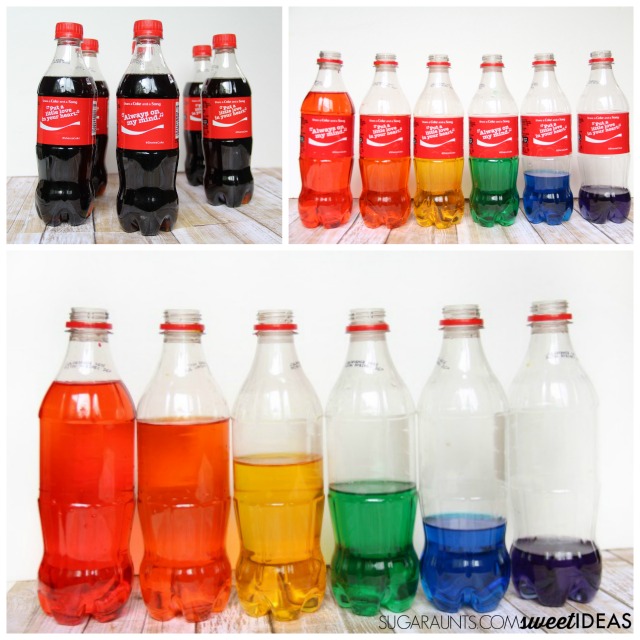
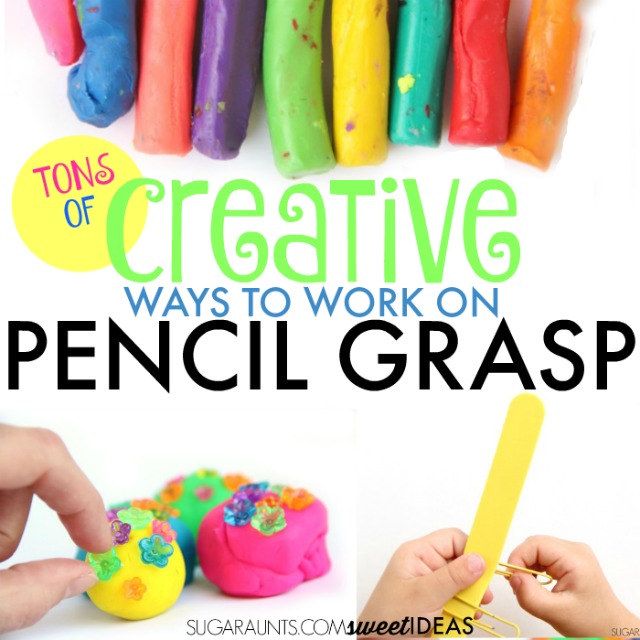
Coke bottle water xylophone Carrot Veggie Puff Recipe Creative Pencil Grasp Activities Help Kids Pay Attention with Movement
 
More ideas you will LOVE:
Moms Sneak Chocolate  How to make play dough with old broken crayons

Indoor Play Series

 This is the first post in a series of indoor play ideas.  Winter and cold, snowy, freezing rainy days are right around the corner (right outside???) and there are so many fun, education-through-play activities that can keep all ages from boredom and mass chaos (aka children) from tearing through the house…

for at least 10 minutes.

We had a few days of rain from post-Hurricane/Tropical Storm/Frankenstorm Sandy in this area. Between school cancellations and cold, misty rain, we played mostly indoors this last week.  I made up a ton of ideas for our school cancellation day, and we were able to get to several of them. 
So many of the play invitations that I set up for them spin off into hours of their own pretend imaginary play ideas.  And then they want to play the imagination scenario again in the afternoon.  And then keep the play invitation (i.e. sheets on the canopy bed) set-up for days. Weeks?

There may currently be sheets hanging on the feet end of Big Sister’s bed posts 🙂

I hung a bunch of blankets up in Big Sister/Little Guy’s shared room.  This is a shot of Big Sister’s canopy bed, with sheets strung up from the posts.  Hint: Use fitted sheets to get them to stay up.  For weeks?
They were in love with this idea! As soon as they saw it, Big Sister called it “the Bucky ship” (from Jake and the Neverland Pirates). They immediately climbed aboard and started playing Pirates, complete with sharks below them on the carpet.  They played for over and hour at this (and then most of the afternoon), pulling all kinds of toys and stuffed animals into their play story.

Imagination play boosts creativity, self-confidence (acting out characters of all kinds), social and emotional abilities, language skills, relationships. And it’s fun!

Baby Girl entertained herself (and me) with an awesome game of peekaboo in the sheets.
“Baby Shark” (Oh, the characters that she plays…and has no idea she is playing) had a blast with this box of teethers and rattle toys that I have packed up and ready to go into the attic.
(speaking of the attic…) I am FINALLY putting my tank tops and shorts up into the attic and pulling down the sweaters.  The kids have had their warm clothes out for a while. This busy Sugar Aunt has been rocking the layered look for the past couple of cool months 😉 
It’s the perfect time of year to get the indoor play ideas stocked up for the super cold weather months ahead!
~Colleen