Cardboard Gingerbread House

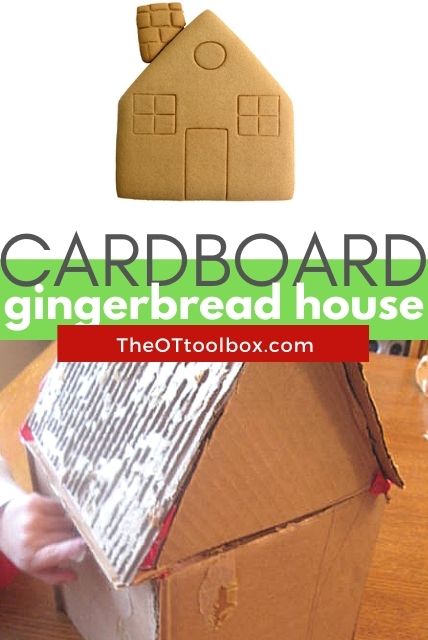
cardboard gingerbread activity for kids

This cardboard gingerbread house is a process art activity that helps kids create and build fine motor skills with a gingerbread house theme! Pair this with our decorate a gingerbread house Google slide deck for hands-on fun that the kids will love this holiday season.
cardboard gingerbread activity for kids

It was really easy and Big Sister and Little Guy played with it for a long time.  The creating part lasted a while when the babies were sleeping.   Sleeping Beauty looooves her new house 😉  

To make it, I cut up a box into enough pieces, just eye-balling the size.  No need for measuring.  The kids don’t notice and you never know when a superhero might accidentally destroy the house 😉

Make a cardboard gingerbread house with kids using cardboard boxes.

How to make a cardboard gingerbread house 

Little Guy wanted me to use his special red duct tape.    

To easily get the house shape, lay the tape on one piece then stick the corner piece onto the strip of tape.)  

You can make a row of four squares then close up the last shape by putting the tape on from the inside.   

Steps to make a cardboard gingerbread house.

  After all the seams are taped up, turn the whole thing upside down.  You don’t need a floor…so princesses and superheros can get in a little easier…

Tape the triangle roof pieces on.

Tape triangle pieces to the cardboard house.
Peel cardboard to make a roof for the cardboard gingerbread house.

 Make the cardboard gingerbread house roof

Then, cover with two more squares for a roof.  I pulled one side of the cardboard off for a shingled look.    

To tape the roof on, work from the inside and tape one roof side on first by taping the inside edges.

Then, stick tape to the edge of the other side of the triangle. Slightly bend the long piece of tape and place the other cardboard roof piece ontop so it sticks to the bent tape.

It looks cute, I think 🙂   Spiderman really liked his new home.

Cardboard gingerbread house for pretend play
Cardboard gingerbread house activity

Decorate the cardboard gingerbread house

After it was built, I pulled out a bag of mixed crafting materials and a ton of glue.    

Decorate a cardboard gingerbread house with craft materials.

  Big Sister had so much fun.  She went crazy gluing stuff on.  

It was a lot like our process vs. product play activity. 

Cardboard gingerbread house craft for kids

Use colored tape, beads, craft pom poms, pipe cleaners, tissue paper, crepe paper, and other craft materials to decorate the cardboard gingerbread house.
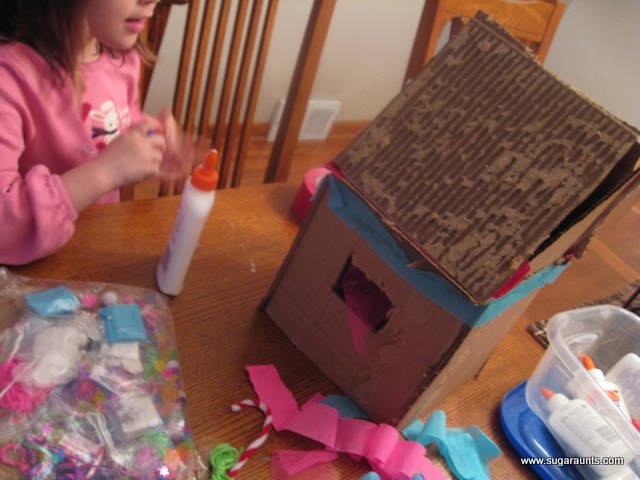
Kids can make a gingerbread house with craft materials.

  We had a fun day with our Candy-less Gingerbread House…but Little Guy said needed a little bit of candy  to east while he was helping to build it.  “You have to eat a Gingerbread house, Mom!”  

We are having so much fun with our Christmas Play activities…Check out the new tab at the top for all of the  25 Days of Christmas Play that we’ve done so far.

Colleen Beck, OTR/L has been an occupational therapist since 2000, working in school-based, hand therapy, outpatient peds, EI, and SNF. Colleen created The OT Toolbox to inspire therapists, teachers, and parents with easy and fun tools to help children thrive. Read her story about going from an OT making $3/hour (after paying for kids’ childcare) to a full-time OT resource creator for millions of readers. Want to collaborate? Send an email to contact@theottoolbox.com.

Visual Christmas Count-down **25 Days of Christmas Play**

Day 5 of 25 Days of Christmas Play

Paper Chain Christmas Countdown

We put up the Christmas tree the day after Thanksgiving and my daughter has been confused as to how many days there are until Christmas. 
She has been waking up in the morning asking me, “Is today the day?!?!”
I decided we needed a visual way of showing her how many days she has left until Santa comes.
I remember doing this chain link count-down when I was little and I am sure lots of you still do this.
This is a fun activity that can be used to count down any big day…vacation, birthday, holiday, sleepover…anything really!


Paper Chain Christmas Countdown by Sugar Aunts
 
{Note: This post contains affiliate links.  In other words, this blog will receive monetary compensation when any purchases are made through the links in this post.  Our opinions and ideas are in no way affected.  As always, we thank you for your support and community here at Sugar Aunts.}
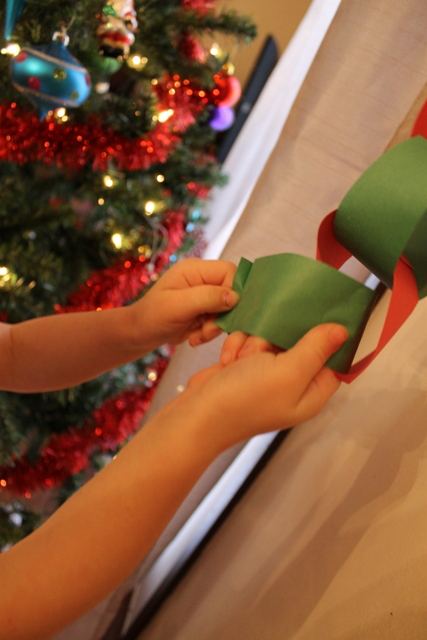
Cut out some red and green Construction Paper
into however many days you have left until the big day.  This is an easy activity for your preschooler to help- cut straight lines across the construction paper.  You or your child can number the links if you want.  My daughter just wanted to decorate one of the links- the one for the big day!
Link them all together with glue or tape and let it dry laying flat on a table out of little hands way.
Once it is dry hang it up.  What an easy visual aide for the kiddos!
We hung ours off of the curtain rod next to the Christmas Tree to make it look festive and to keep it away from baby brother who really wanted to rip it to shreds.
Have the kids tear off the link and count the remainder of the days.  Only 23 days left!

Christmas Sensory Bin **25 Days of Christmas Play**

Day 4 of 25 Days of Christmas Play

This sensory bin was super easy and quick to throw together.  Dried split peas and Christmas potpourri!  

I put the whole mix into a deep basket so the kiddos could stir the mix around.   


Little Guy loves cinnamon and knew immediately what the sticks were!

 Baby Girl loved playing in this! She picked up the split peas and scattered them around between her fingers.  She loved the feeling of the peas! 
I love her cute little squat when she plays!

Having Fun with our Christmas Play ideas? Check out our Giveaway! for some more Christmas activities and printables!

~Colleen

Nativity Play **25 Days of Christmas Play**

Day 3 of 25 Days of Christmas Play
 
Act out The Story of Jesus’s birth with dolls…stuffed animals…Barbies 🙂
 
Big Sister was playing with her bin of dolls, Little Petshop animals, and Little People yesterday.  She had them all set up in front of the Little People barn.  They were all arranged in a line, just so…


I asked her what was going on in this story, and she told me:
 
“Baby Jesus is being born in his barn, and His Mommy Mary is there with his Daddy Joseph”.
 
She had all of the animals in the back with the Farmer (Shepard) and three boys together (Wise men).  I asked what the Little Mermaid was doing there, and she said,
 
“That’s Baby Jesus’ Godmother”. 
(my husband and I were just given the honor of being a Godmother/Godfather to our newest niece).
 
Big Sister also had a cup of water next to her to put a cross on the baby’s head.
 
 
She started reading, to everyone (the ducks, princesses, monkeys…) in attendance, the story of Snow White, and said that Snow White had to clean the Seven Dwarfs’ house so “she could get ready for Baby Jesus to be born”.
 
I loved that!


I know there is a Little People nativity set out there, which is super cute…and lots of child-friendly Nativity sets are available on the market for kids to play with.
 
But the Story can also be told (and played again and again through a child’s voice)
with any dolls, babies, stuffed animals that you have in your house…
 
 
Even with Dora the Explorer playing the role of the Angel!
 
Have a fun and playful weekend 🙂
 
 
Colleen

Looking for more Christmas Play ideas: Try No-Sew Felt Christmas Cookies and Scented Snowman Playdoh

Scented Snowman Playdoh **25 days of Christmas Play**

DAY 1 of 25 Days of Christmas Play!


This is the first post in a series of Christmas-themed play ideas.  It’s a season of rushing, big family meals, travel, shopping, wrapping…It’s easy to forget the real reason for this season.  

Seeing my kid’s excitement for Christmas this year is so much fun! So contagious!
We wanted to come up with a gift for our readers for Christmas, and thought it would be appropriate to present you with loads of fun play ideas.  One for each of the days leading up to Christmas…so you can slow down, enjoy this precious time with your children, and play!
This first Christmas play idea was a simple recipe for making homemade playdoh with a twist.

Scented Snowman Playdoh!
Take your basic ingredients, but instead of water, use scented TEA.  I used Comfort time tea to promote the relaxing and soothing scent of chamomile. 
1 cup flour
1/2 cup salt
2 tsp Cream of Tartar
2 Tbsp oil
1 cup of hot tea (any scent)–or you could use water instead of tea
Mix the dry ingredients together in a saucepan.  Add the rest of the ingredients and stir over medium heat.  Keep stirring until the mixture pulls together. Add more flour if it seems too gummy.  When it forms a ball (like playdoh consistency), dump it out onto a cutting board or other clean surface.  Let the dough cool, and then knead for a few minutes.

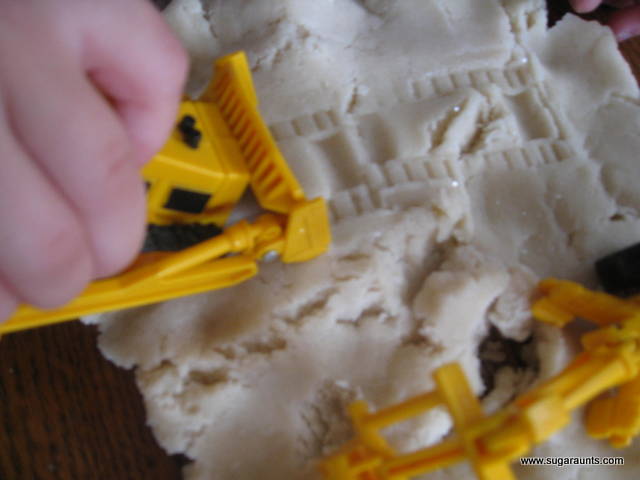
At this point, I mixed in glitter to make our snow playdoh.  Little Guy loved helping with this part.  

 This is the play invitation that I set up for Big Sister and Little Guy…
snow playdoh, snowman cookie cutters, glass gems, black beads, brown pipe cleaners, orange plastic lacing cord cut into little bits, and white fuzz balls.

Of course the construction vehicles had to move some snow.


 It was a Successful Day!
Enjoy Today!
~Colleen

Update on this post: We were featured!
Featured at Tuesday Tots on Rainy Day Mum

Magnet Play: Apple theme

This was a play invitation I set up one day for Big Sister and Little Guy.

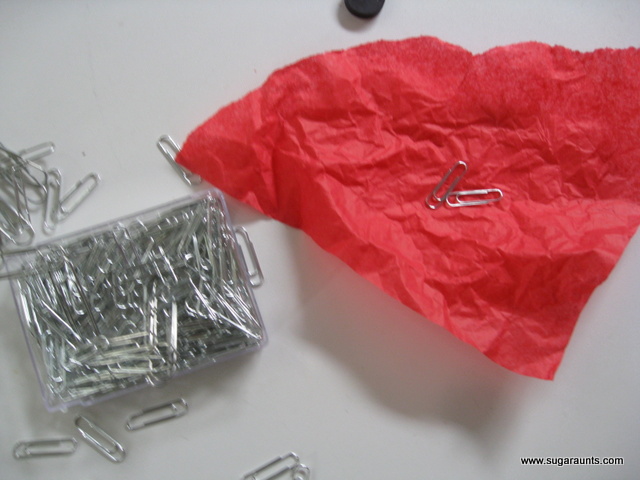
Paper clips, magnets, tissue paper, and the corn bin.
((The Babies were sleeping…tooooo many hazards with this one!))

The Big Kids had fun exploring with the magnets.

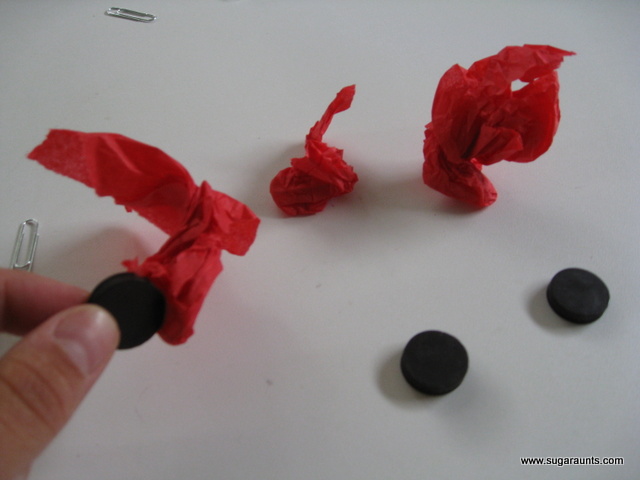
We tore the tissue paper into small squares (Tearing paper into little bits works on those small muscles in the hands).  Put a couple of paper clips into the tissue paper.
And crumble it up into a ball 
We were calling them “apples”. 
Only requiring a small stretch of the imagination 🙂

Big Sister and Little Guy went on an Apple Hunt, raking the magnets through the corn to grab up the apples.

It felt pretty neat on the hands to rake through the corn…a great sensory play activity!
We had a hunt for paper clips too…

Enjoy Today!
~Colleen

Paint Baggie: Letter Formation and Seek and Find

This was a fun activity we did before Thanksgiving.  I wanted to get this posted before the holiday, but never got the chance.  I love this play idea because not only does it address so many areas

(letter formation, fine motor skills, visual scanning, color learning…),

 but it can be done any time of year…

Just use different stickers!
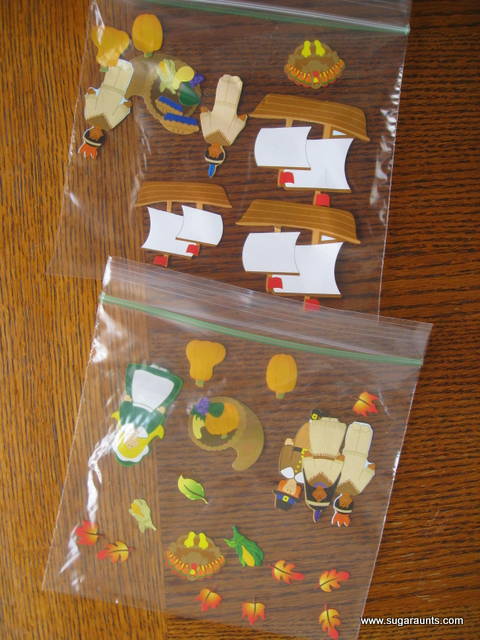
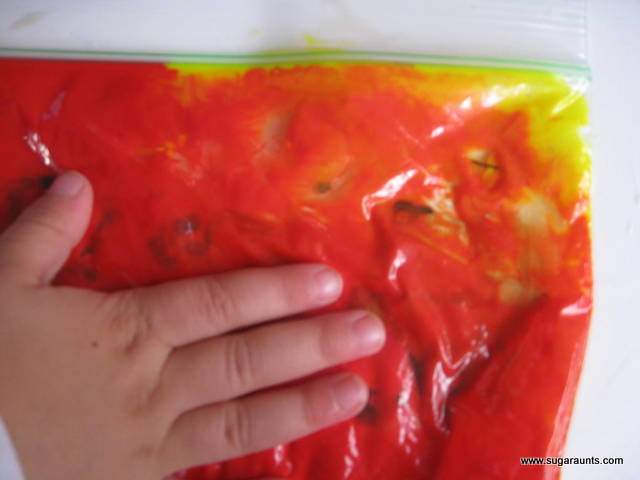
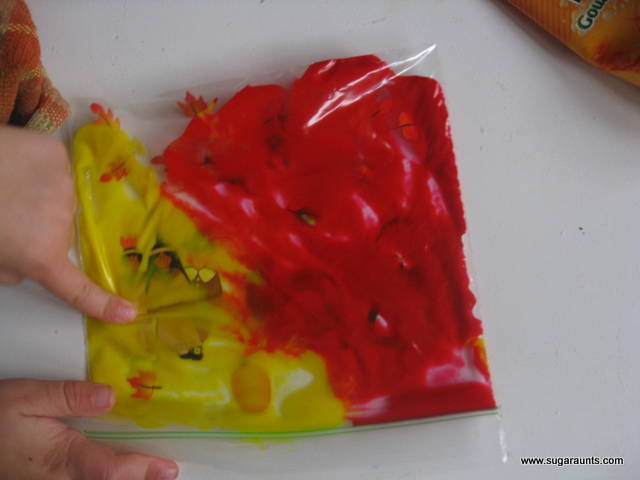
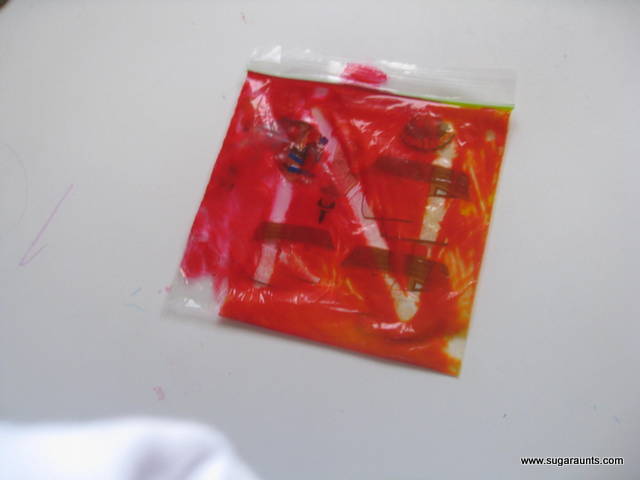
Start by sticking stickers to the inside of a plastic, seal-able bag.
I used a sandwich bag, but you could definitely go with a larger size to engage bigger muscle groups when drawing the in the paint.

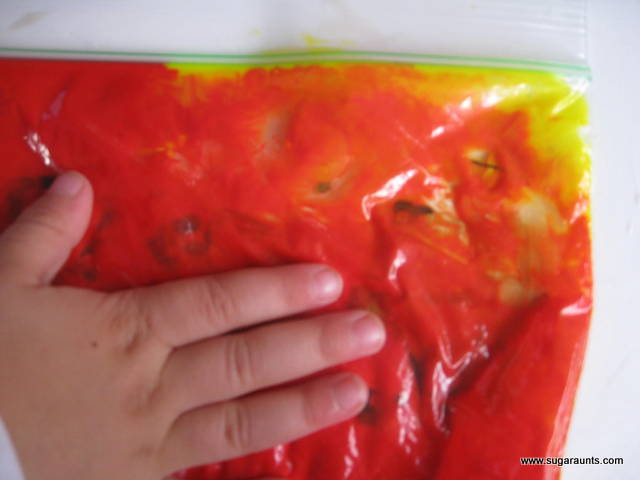
Squirt paint into the bag and seal shut with as little air pockets as possible in the bag.
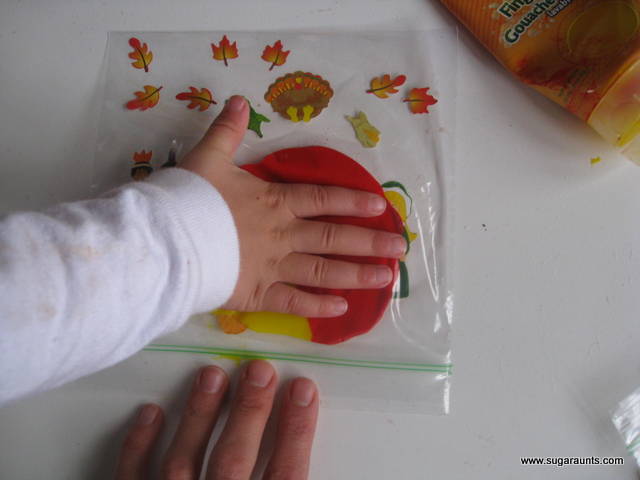
This is the play set up that I had waiting for the kids.
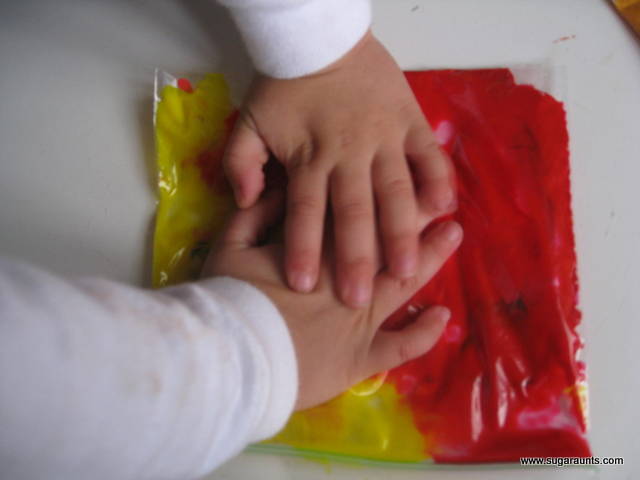
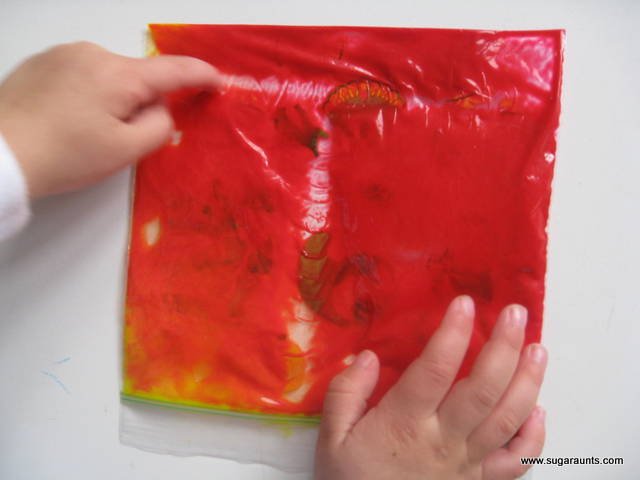
They mixed the colors together using their whole hand.  
“Smash it like a pancake, Mom!”
A child pushing weight through their hand is really working their shoulder stabilization.  Shoulder stabilization exercises work on the stability and strength of the shoulder girdle.. Strengthening the shoulder girdle is necessary for performing small motor activities of all kinds.  
When a child has poor strength of the large muscles of the shoulder joint, they are unable to control the small movements needed for things like handwriting, coloring, cutting, shoe tying, threading beads…
This is a good exercise to wake up the muscles in the whole arm.  Have them push the paint around…
smashing it like a pancake…
smearing it around
 (mess free)
We talked about the colors. Red and Yellow make Orange.  Little Guy is getting pretty good at telling me what color combinations make.

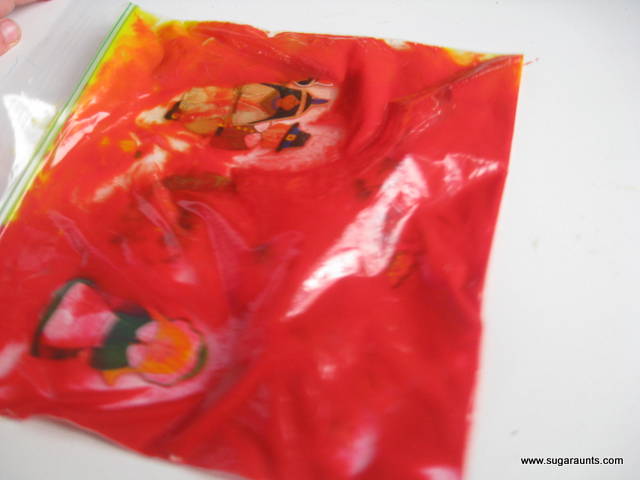
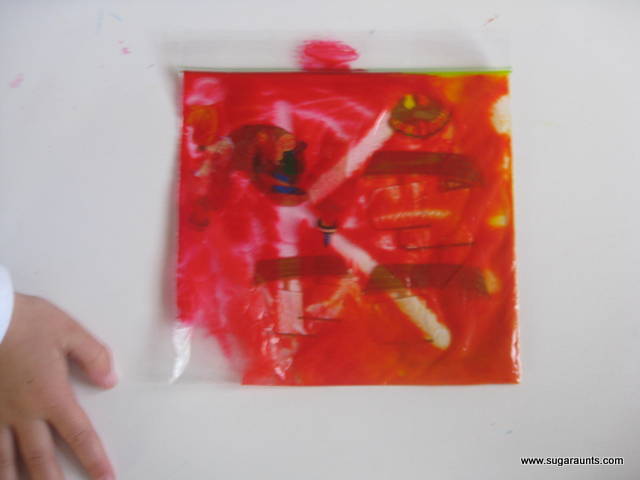
After the paint is good and mixed, you can have the kiddos try to find the stickers.  Pushing the paint aside is great isolation of the index finger, it separates the two sides of the hand, and strengthens those little muscles in their hands.
Babies move all of their fingers together at the same time.  Then, as they develop their fine motor skills, they are able to move their fingers one at a time with better accuracy.  Isolating the movements of individual fingers is needed for typing on the keyboard, shoe tying…

Playing peek a boo with the Pilgrims and Native Americans…
Scanning with the eyes to seek and find the stickers.

Big Sister loved this whole activity.  She loved making letters in the paint and showing Little Guy all the letters in his name.  

Little Guy traced some letters. Check out the other hand stabilizing the baggie…  
(Just like holding the paper with the non-dominant hand when writing!)
This one was so much fun for all ages…the 5 year old beginner hand-writer, the 3 year old pre-writer, and the one year old who loves touching all things squishy 🙂
We will definitely be doing this one again.  Got some Christmas stickers all ready to go!
~Colleen

Indoor Play: 3D Drip Paint

drip paint

Today we have a fun messy play idea to do with kids: making 3D Drip Paint! This creative painting idea is an old one on the blog, but it’s a fun and creative way to explore the tactile sense with creative expression. Plus, occupational therapy practitioners know the value of activities that drive interest, and this one is sure to do just that! Check out all of the other ways drip paint can target development in kids, too!

You’ll want to check out some of our other sensory paint ideas too!

Homemade drip paint

Drip Paint with kids

Engaging in messy sensory activities, such as making homemade drip paint with your kids, may seem daunting at first, but rest assured that it is a valuable experience for their development.

Messy paint like drip paint offers sensory touch which plays a huge part in sensory experiences, sensory tolerance and challenging behaviors (the actions we see) as a result of difficulties regulating tactile sensory input. 

These messy activities provide a unique opportunity for children to explore their senses, enhance their creativity, and foster important skills. When children immerse themselves in tactile experiences like drip painting, they engage their fine motor skills as they grip brushes, squeeze bottles, and control the flow of paint.

The sensory stimulation supports their cognitive development, helping them understand cause and effect as they observe how paint drips and spreads.

Not only that, but occupational therapy providers love to try fun and engaging activities to support skill development when working with their clients and patients, (and students in the school-based setting).

Activities like making a batch of drip paint with kids supports so many areas that can be targeted and graded (made easier or harder depending on the needs of the child).

Some of the ways drip paint can be used to foster skills includes:

  • self-expression
  • imagination
  • problem-solving skills (executive functioning skills)
  • as children adapt and experiment with different techniques.
  • Tactile sensory play
  • Tactile defensiveness
  • Tool use (spoons to mix the ingredients, paint brushes)
  • Sensory experience, including tolerating a variety of textures to address refusal of certain foods due to food texture issues
  • Incorporate into a  Messy Play Day ideas  

So, embrace the messiness and enjoy the countless benefits that come along with it – it’s not just about the end result, but also the wonderful journey of growth and development that messy sensory activities provide for your children.

how to make drip paint

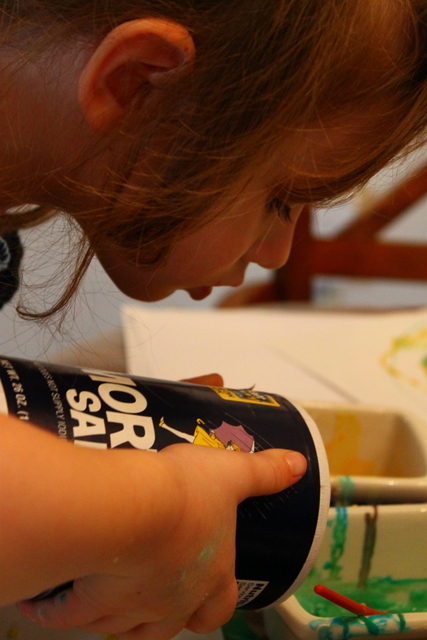
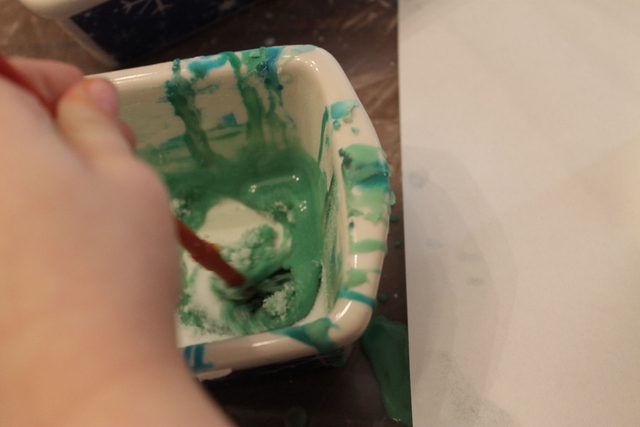
This is an easy activity that will keep the kids busy indoors during the cold weather. We were trying to make watercolor paints with a bit of a twist. We added some salt to make it sparkle and added a little more vinegar and baking soda to make it drip.


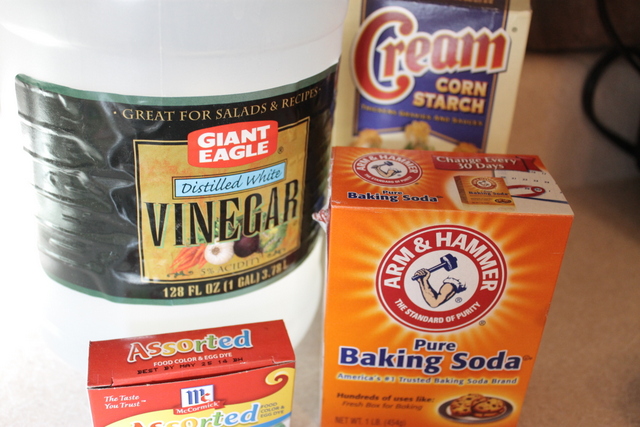
The starting ingredients are:
  • 3T baking soda
  • 3T corn starch
  • 3 T vinegar
  • a few teaspoons of salt (not in the picture above)
  • food coloring
 
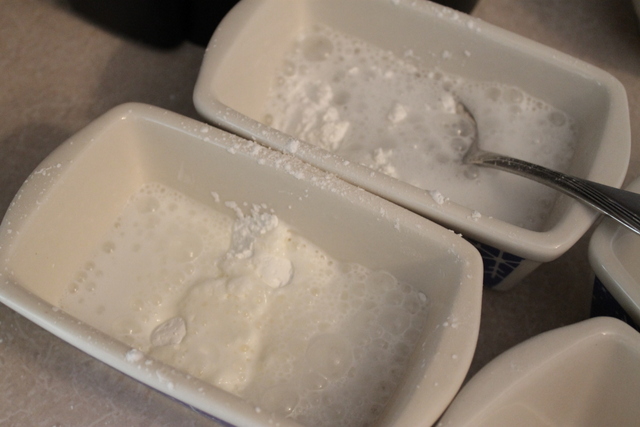
You can adjust the ingredients to your liking…adding more corn starch makes it thicker…adding more vinegar will make it thinner…not sure what adding more baking soda does…just makes it fun to watch it bubble!
 
 
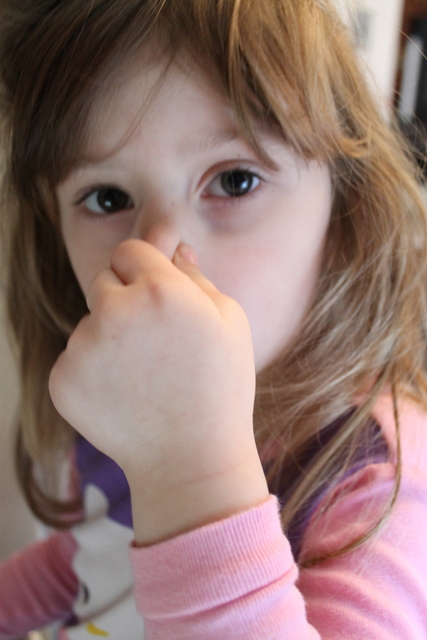
It was like a science experiment…my daughter found it a little stinky!


To make the 3D Drip Paint

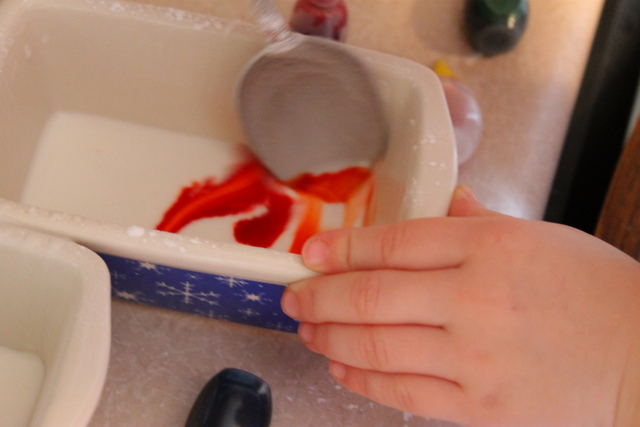
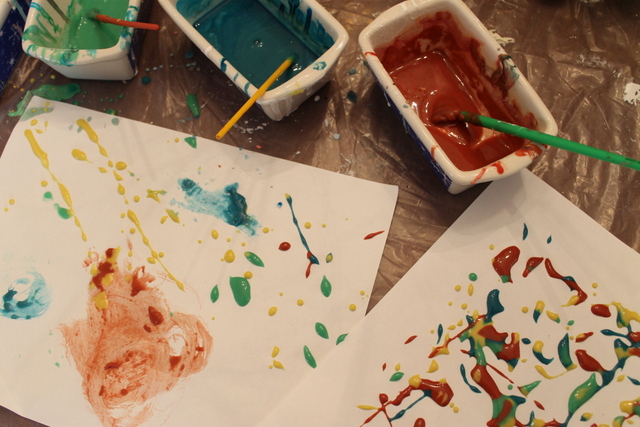
  1. Mix all the ingredients together. We used 4 separate containers to make red, yellow, green, and blue.  My daughter had fun mixing the colors and watching them turn from one color into another.  On the paper we made orange, purple and brown. 
 
2. Make sure you line your table with plastic.
 
3. At first the paint was a little runny so we added a little more corn starch. 
4. Then we decided to add a little salt.  Just be careful that no one eats it and keep it away from the animals.
 
It turned into a beautiful mess!
 
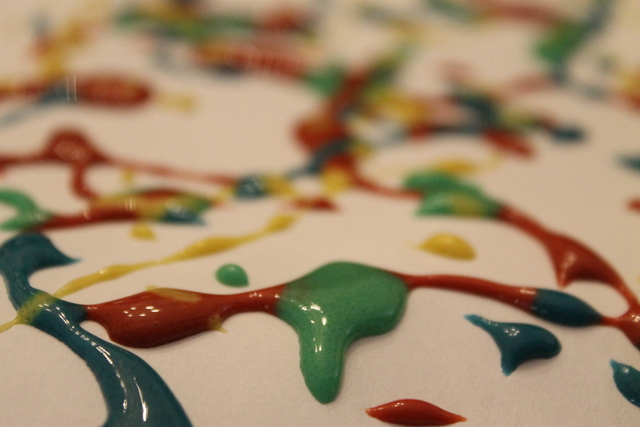
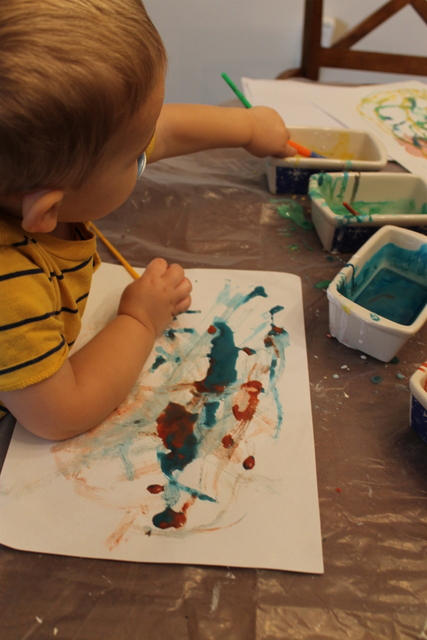
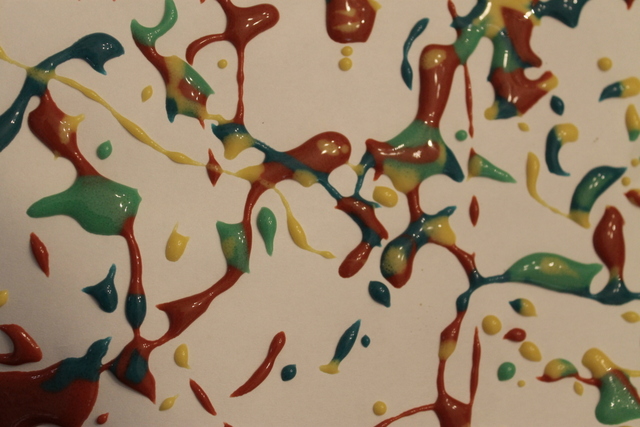
The paint was perfect for dripping onto paper and making 3D art. Once dry, the kids had fun peeling the paint off of the paper.  We hung the picture on the window and it turned into a really neat sun catcher.
 
Even the little guy got in on this one.
 
He found the drips to be pretty amazing!
 
 
This was a fun activity that we will do again.  Once you let the paint sit for a little while in the containers, they harden and can be used again and again…just add a little vinegar to the paint and it will thin out again. 
 
This was the final product- 3D drip art!


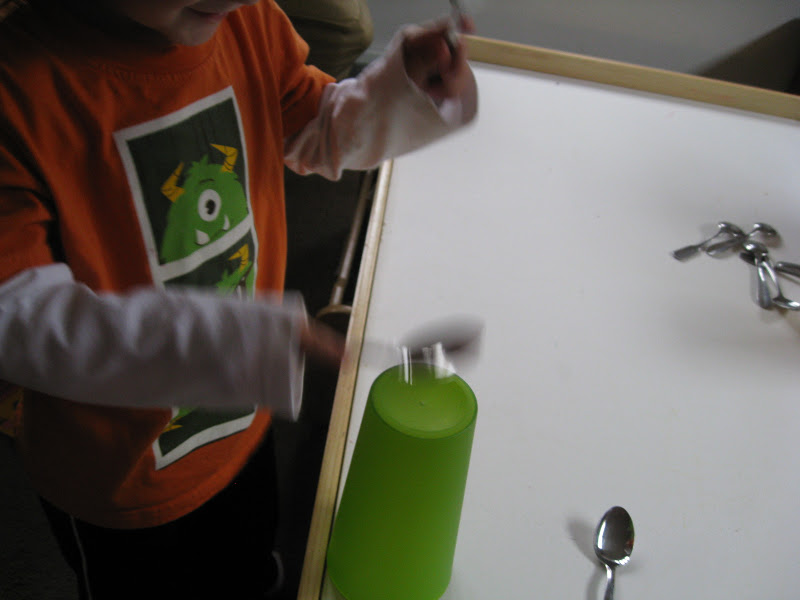
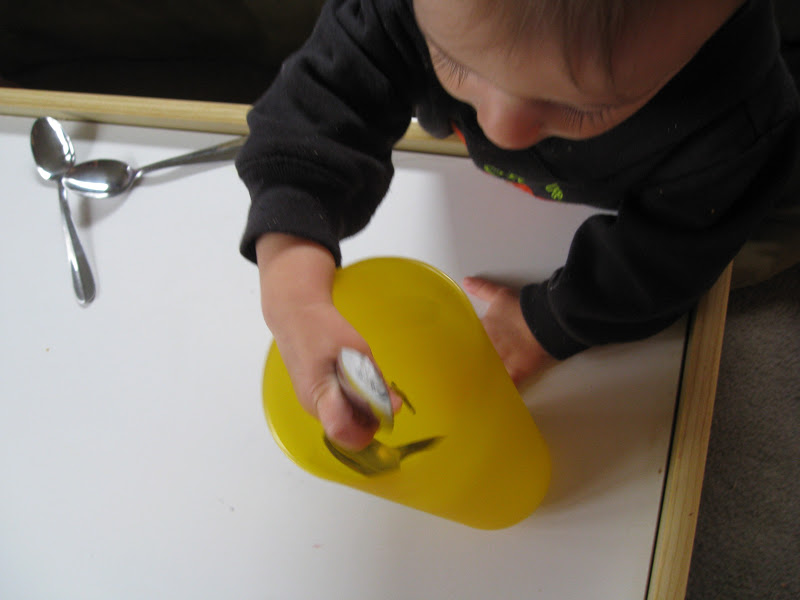
Indoor play: baby edition…spoons and cups

Indoor Play Ideas

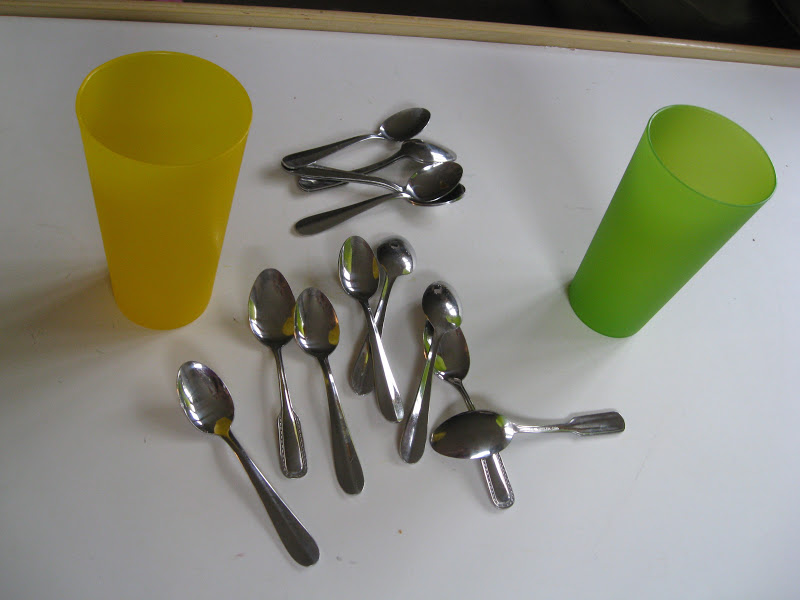
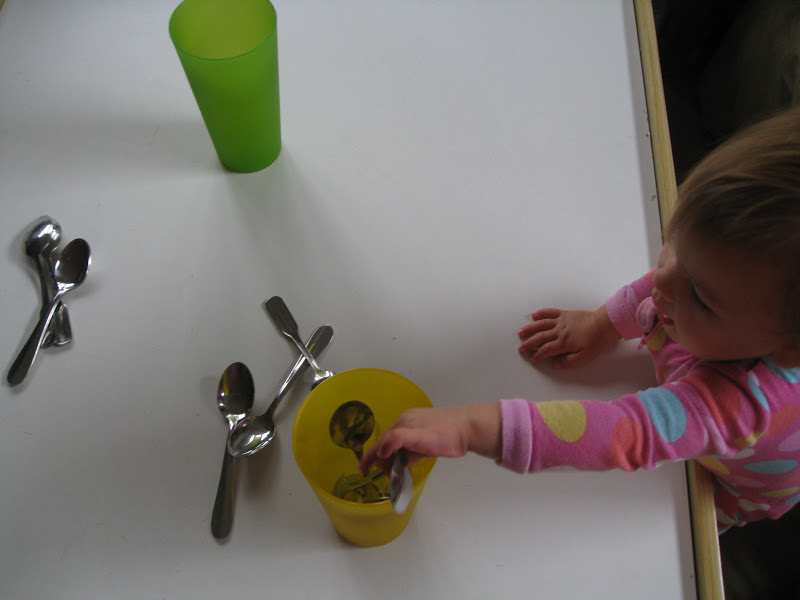
This was a simple invitation to play that I set up for the babies one day after breakfast was finished. 

They loved the idea!  Putting spoons in the cup, taking them out of the cups…
Banging the cups off of the table…

Hearing the loud sound when they rattled the spoons around in the cups.

They turned the cups over and started playing drums with the spoons.
Little Guy loves any thing drums, so this was too good to pass up!


This easy play activity entertained for a long time!
Looking for other indoor play ideas??? Try these:
~Colleen