Decorating Cupcakes with Kids with Less Mess

You’ve done baking with kids before, right?  You know how messy a normal (sans-kids) baking session can be.  Crumbs, ingredients all over the counter, semi-burned crispy-ness on the cookie sheet…It’s fun 😉
Add kids to the scene, and baking can be an all-out kitchen destroyer!  You’ve got spills, fingerprints, and the inevitable, “I want a grilled cheese sandwich!” in the middle of a mixer bowl-filled, chocolate chip, broken egg shell war zone.
BUT, we are big suckers for sweets and our little sweeties love to create in the kitchen…so we get the damp wash cloths ready, pull up the kitchen stools, and brace ourselves for sure-thing messiness.  This cupcake decorating session came about one snow day recently when the weather outside was somewhere around a high of 2 degrees F and we were going no where near the outdoors.  We needed something to keep the kids occupied and having fun.  Baking cupcakes was it!
Our cupcake decorating turned out to be pretty low key and not so bad stickiness-wise with just a few easy tips.
Contain the mess when decorating cupcakes by putting different colored icings into muffin tin sections.

Tips for Decorating Cupcakes with Kids

  This post contains affiliate links. 
To make our cupcakes, Big Sister and I scrolled over our “Sweets” Pinterest board and found this yummy perfect vanilla cupcake recipe.  We made the cupcakes with our pretty cupcake liners.  (Is there anything kids love more than putting cupcake liners into the tin!!?)  We made the cupcakes with just a couple of spills, only one dropped egg, and just a few sneaks of flour.  (My kids LOVE to swipe flour…tell me yours do this too???)  It was a success, mess-wise 😉
decorating cupcakes with icing
We waited for our cupcakes to cool…and this is the haaaaaaardest part of decorating cupcakes.  It takes for-EVER for those cupcakes to cool when little fingers can not wait to get started!  The icing recipe from the same post above turned out to be pretty good, although we only made half of the recipe and it was way more than enough.  Just a note if you use that recipe:  Caster sugar=granulated sugar and icing sugar=powdered sugar.  Good to know and something new I learned!
Before decorating, I threw down a disposable tablecloth to catch all of the inevitable crumbs and icing smears.  Watch for after-holiday clearance sales on these table decorations…You can get cheap-o table cloths for cents at 90% off sales.  And a red Christmas table cloth is the perfect Valentine’s Day table décor.  Shhhhh, we won’t tell! 😉
Use a muffin tin to contain the icing when decorating cupcakes with kids.

Now comes the fun part!  Separating the icing colors  into the cups of the muffin tin
made decorating a breeze with the kids.  They used a different
infant spoon
for each color of icing and that kept the kids from dropping sticky spoons all over the floor.  A few of the sections of the muffin pan held sprinkles and a couple of other decorations for our cupcakes.  We LOVE
gel food coloring
for icings on cookies and cakes, and even for coloring homemade play dough.  The colors are so vivid and our cupcakes showed it!

When you mix your colors, do it right in the muffin tin.  Slap some plain icing into each section of the muffin tin, add your food coloring, and stir right there in the tin.  No extra bowls=perfection!

A great Valentine's Day playdate idea! Decorate cupcakes!

Putting the icing all into one muffin tin makes for easy(-ER…easier, not easy when the kitchen is now covered in a sugar and crumb coating) clean up.  You don’t need to wash a ton of tiny icing bowls.  Grab up that table cloth and you are mostly cleaned up. 

We had a great time with our cupcake decorating session and only a slight sugar rush.  Hopefully you’ll find some of our tips easy to use and will jump in with both feet and not stress the mess.  Hey, at least you end up with cupcakes to go with your sugar encrusted kitchen!

Valentine’s Day Snacks Treats for Kids

Valentine’s Day is less than two weeks away.  We are loving all of the sweetheart ideas over on Pinterest these days.  The red and pink hearts and sprinkles and CHOCOLATE are just so happy!  The Share It Saturday features this week highlight some great recipes for Valentine’s day sweets for your loves.  These are perfect ways to get baking and creating in the kitchen with the kids.  OR, surprise your littles with a fun Valentine’s Day treat.  

Collage of Valentine's Day treats for kids and families


Cooking with and for kids with Valentine’s Day Treats

Valentine Popcorn from Crystal & Co.
Red Velvet Soup from Kiddie Foodies
White Chocolate Cupcakes from Lou Lou Girls

Nutella Cupcakes with Gooey Chocolate Center from Sugar Aunts

Valentine’s Day Chocolate Fondant Cookies from Kiddie Foodies

Delicious Valentine’s Day Treat Recipes from Three Loud Kids

Valentine’s Day Snack Mix from Sugar Aunts

Heart Butter Cookies with Strawberry Buttercream Frosting from Homegrown Friends

Valentine’s Day Ice Cream Heart Treats from All Done Monkey

Cake Batter Rice Krispy Treats from Frogs and Snails and Puppy Dog Tails

Valentine Marshmallow Pops from Fun-A-Day

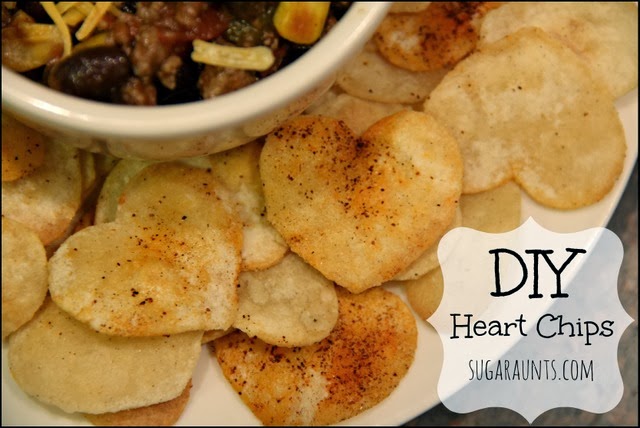
DIY Heart Shaped Chips from Sugar Aunts

DIY Heart Shaped Tortilla Chips

Is it too early to make Valentine’s Day treats?  Maybe not if love is celebrated all year long! These Heart shaped tortilla chips were just an added bonus and very fun for the kids. Add them to your Valentine’s Day occupational therapy activities or as a crunchy snack option to a sensory diet.
 
Whether you make star shaped tortilla chips or heart shaped chips, they are a fun little detail and perfect for dipping.  And this mama-to-be KNOWS her chips 😉
 
DIY Heart Shaped Tortilla Chips

Heart Shaped Tortilla Chips
 
Note: This post contains affiliate links. 
 
DIY Heart Shaped Tortilla Chips

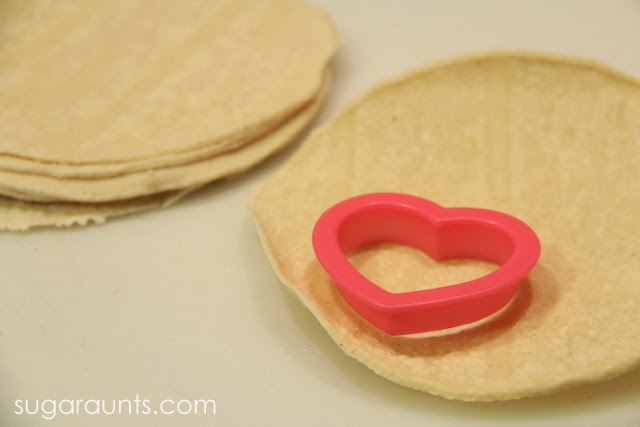
We started with corn tortillas.  These had been sitting in the fridge for a while since I bought the wrong ones and no one liked them as wraps.  They came in handy for this recipe.  {While you are cutting hearts, preheat the oven to 350.}

I pulled out the smallest heart from my Heart Cutter Set
and started cutting hearts from the tortillas.
DIY Heart Shaped Tortilla Chips

DIY shaped tortilla chips:

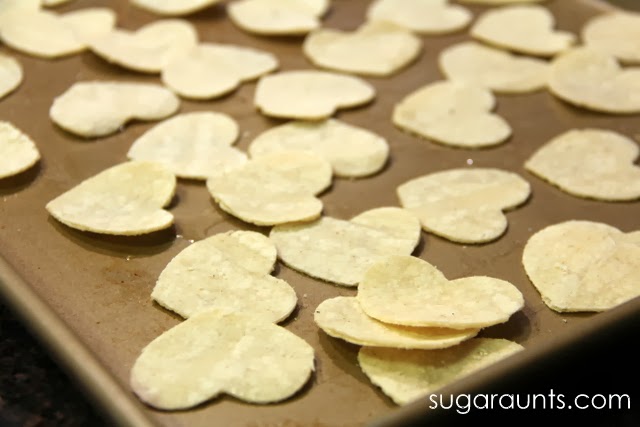
Once I had a pile of hearts cut out, I spread them out on my jelly roll pan.  Then I added a drizzle of olive oil over them
and tossed them around with a spatula to cover the hearts with olive oil.  These were thrown in the oven at 350 degrees F for about 15 minutes.  I made sure to keep a close eye on them and pull them out every once in a while to flip the chips around.  At one point, I sprinkled a little chili powder on the chips.
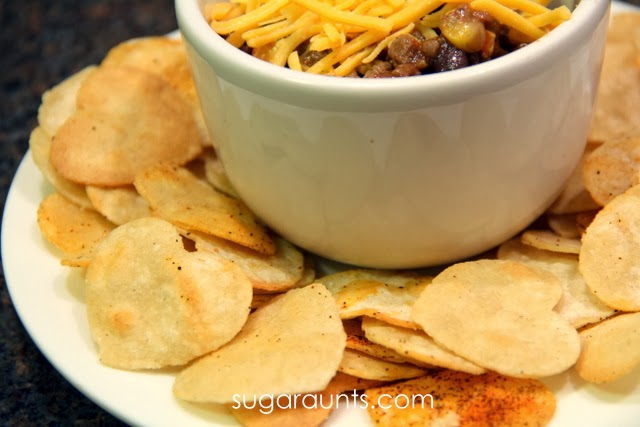
 

If you are using regular or whole wheat tortillas, the amount of time needed to brown the chips may vary.  When we made our star shaped chips, it took 20 minutes to get them to a crunchy state.  And they puffed up a bit more than the corn tortilla version did. 

We dipped our DIY tortilla chips into a taco filling-type dip.  Perfect yumminess!


Colleen Beck, OTR/L has been an occupational therapist since 2000, working in school-based, hand therapy, outpatient peds, EI, and SNF. Colleen created The OT Toolbox to inspire therapists, teachers, and parents with easy and fun tools to help children thrive. Read her story about going from an OT making $3/hour (after paying for kids’ childcare) to a full-time OT resource creator for millions of readers. Want to collaborate? Send an email to contact@theottoolbox.com.

Christmas Healthy Snacks for Kids

You may have seen these Christmas snacks that our kids have been enjoying recently on our Instagram feed.  ((Are you following us? Stop by and check it out!  We are loving Instagram!))  These Healthy Christmas Snacks for the Kids were easy to throw together for hungry kids.  (Aren’t they ALWAYS hungry?)  This time of year, there are so many sweets everywhere.  A few healthy and festive snack ideas are perfect to make a special moment.  Of course, they don’t need their cut up apples in a fancy shape to eat healthy foods, it’s just fun to make things special every once in a while!

Christmas Healthy Snacks for kids. By Sugar Aunts

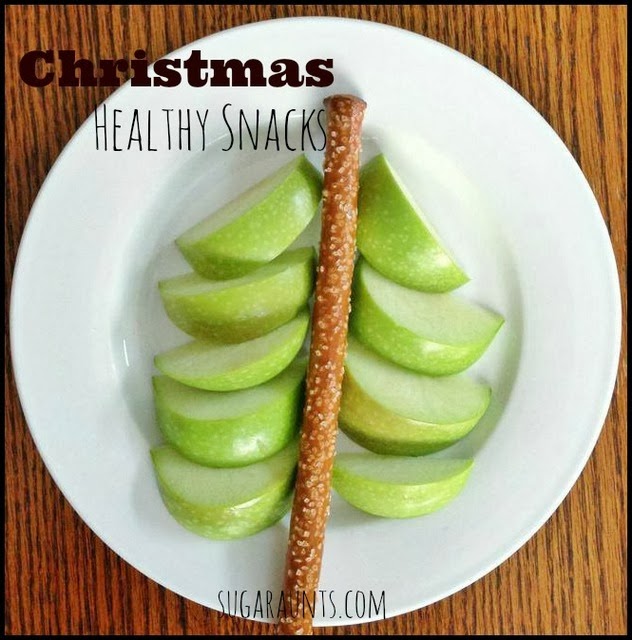
Healthy Snack for Kids: Christmas Tree with Apples:

This was a last minute after-school snack for Big Sister one day.  She comes home from school SO hungry!  A cut up apple and a pretzel rod made the perfect Christmas Tree snack and filled her belly until dinner time.  A reader on our Facebook page suggested adding dried cranberries for ornaments.  Wouldn’t that be the perfect addition?  Love that idea!!

Christmas Healthy Snacks for kids. By Sugar Aunts

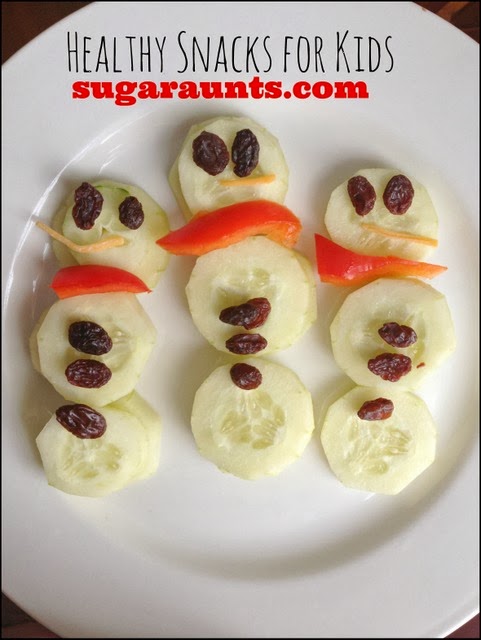
Healthy Snack for Kids: Cucumber Snowmen

One snowy Saturday, there were choruses of “I’m hungry!” from the kids.  This was a quick snack and was gobbled up just as quickly!  When they saw these snowmen, there were cheers.  This one used slices of cucumber. (I doubled them up for each section of the snowmen.)  A few raisins, slices of red peppers, and a bit of shredded cheese.  Done!
What healthy snacks do your kids love?

Salt Dough Apples

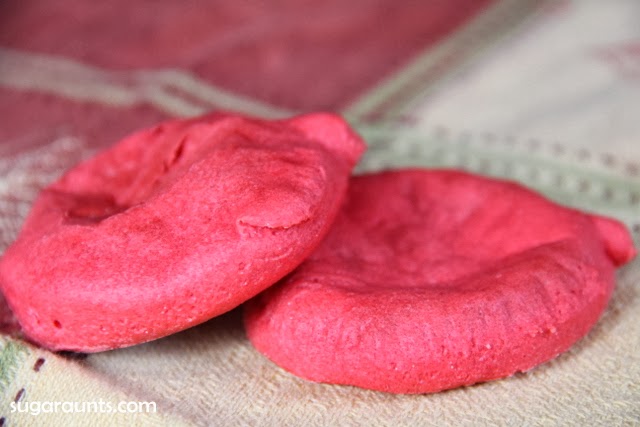
We made these salt dough apples one day after we pulled out our Fall decorations.  We had made salt dough pumpkins two years ago and they are still in great condition.  So, we decided to make some more decorations with salt dough! 

Salt Dough Apples
Salt Dough Pumpkins

Salt Dough Apples

We used a variation of this recipe from The Imagination Tree for our salt dough: 
1 cup salt
1 cup flour
1/2 cup water
 
Mix together until combined.  We added a little more flour because the dough was a little sticky to work with.  Once nice and mixed, we added red food coloring.  And then a bit more flour because of the moisture from the food coloring made it sticky again!  I’m thinking gel food coloring would work a little better for the consistency.
 
Roll the dough out and cut with a cookie cutter.  We used a pumpkin cookie cutter for our apples and it worked just as well.
Pre-heat the oven to 200 degrees.  Place the dough cut-outs on a sheet of aluminum foil on a cookie sheet.  Bake the cut outs for 2 hours. 
When we made our pumpkins, we didn’t add color.  Rather, we painted them after they were cooked and cooled.  With our apples, they didn’t need any painting, they were just right as is!

 
Be sure to poke holes in the bottom of the dough before baking.  This allows the dough to bake flat and not rise.  Maybe it rises more with self-rising flour? I forgot to add the fork holes on our apples and they puffed up.  You can see how flat the pumpkins are compared to our apples in the bottom picture.
Slat Dough Pumpkins
We’ve been using our Salt Dough Apples for decorations, pretend play in our play kitchen, patterns with Little Guy and Big Sister, and counting.  We’ll keep these little cuties with our pumpkins and pull them out year after year!
Salt Dough Apples

Tinkerbell Fairy Birthday Party details


Check out the party details below, and watch for a Ninja Turtle post to come, soon 🙂
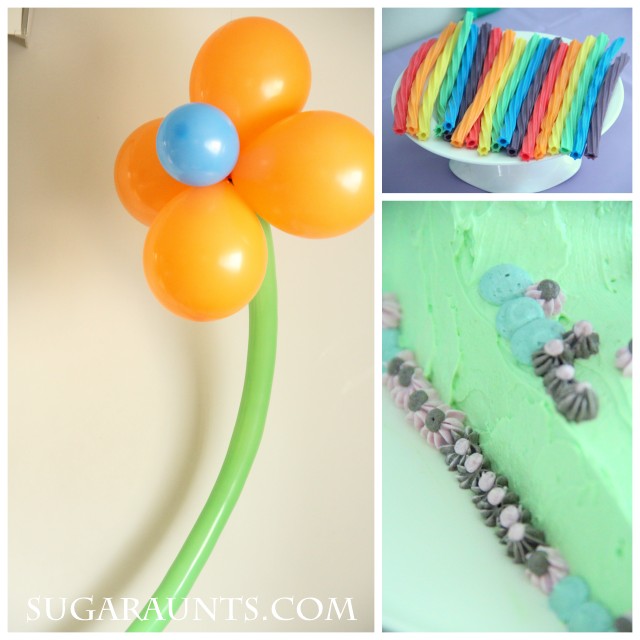
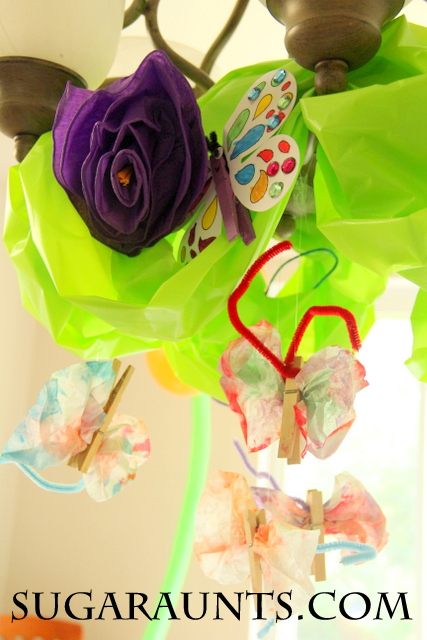
We made coffee filter butterflies here (using a straw to pipet watercolors onto coffee filters!), and strung them in the light fixture using fishing line.  Raiding dad’s tackle box was a fun adventure one afternoon 😉
Chocolate covered Oreos with Key Lime Pie melts from Joanne’s.  This combo was really good!  They may not be the prettiest chocolate, but with those Joanne coupons, you can’t beat it! 
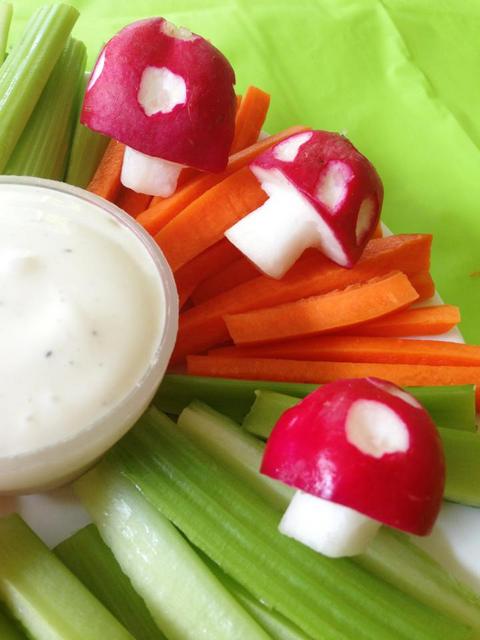
Finger food even a fairy would love!

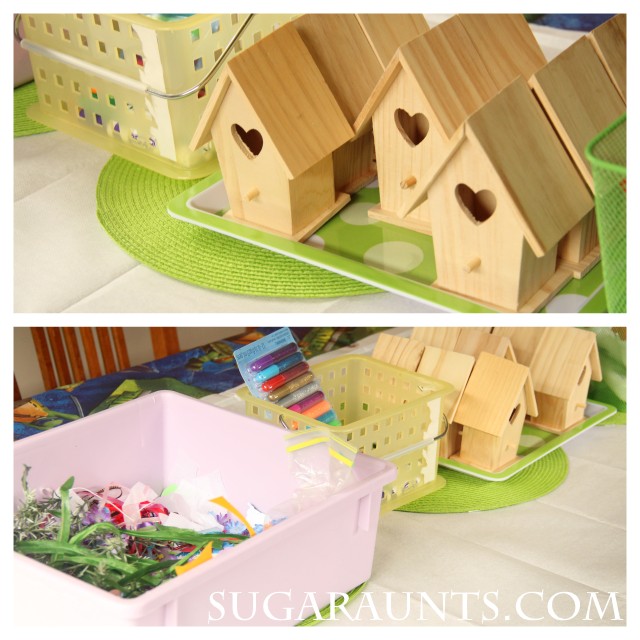
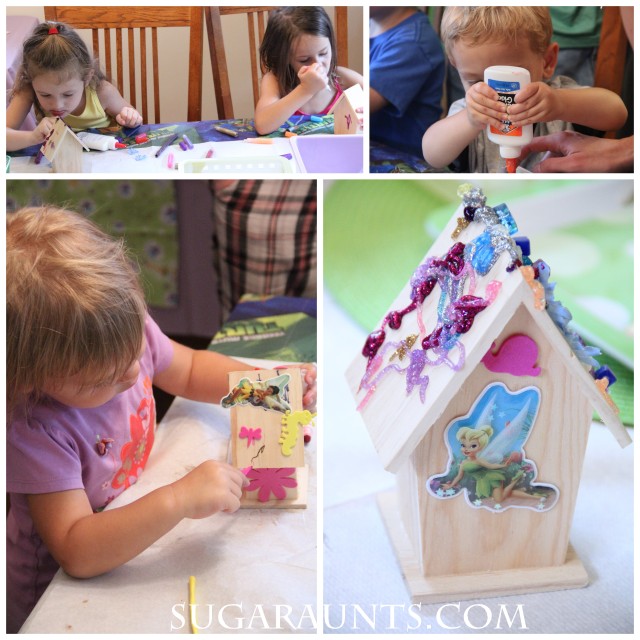
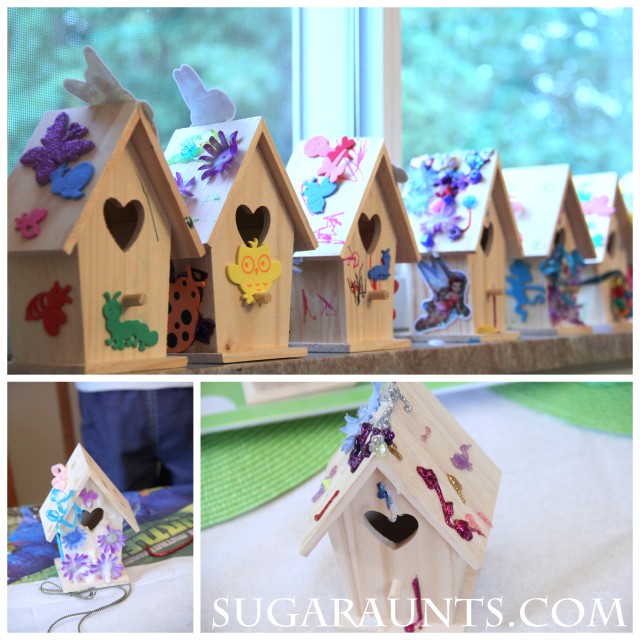
Another Joanne’s coupon deal: Little fairy houses for each party go-er to decorate.  We had a goopy, glittery, sticky house for lots of little fairies! (Or birdhouses for a certain little nephew…) 🙂
I LOVE the concentration going on here!
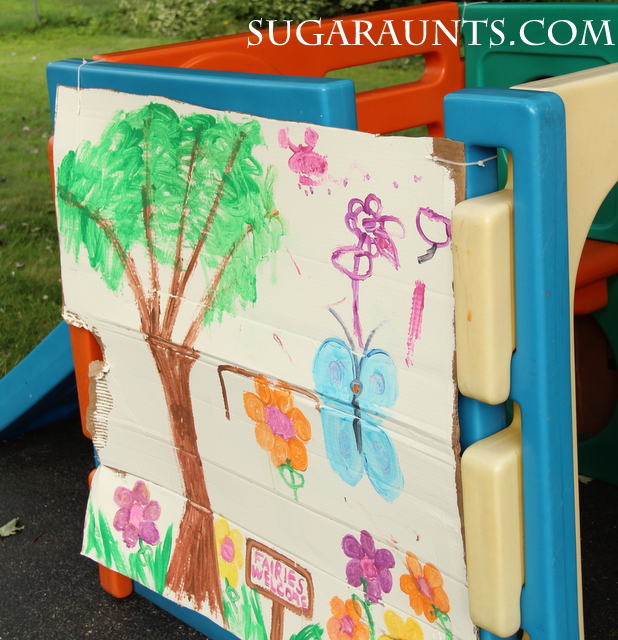
We painted a big sheet of cardboard and hung it to our outdoor play house.  This was a fun afternoon in the week leading up to party day!  Big Sister really got into this one.
We had a great celebration of Big Sister’s birthday with family and friends.
Happy Birthday to my sweet, smart, kind, sensitive, silly girl.

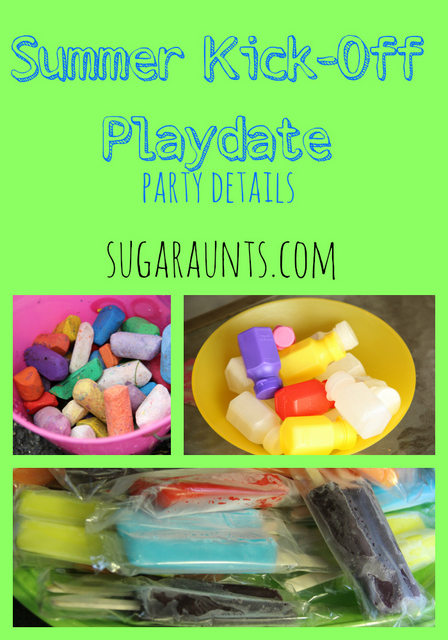
Summer Kick-Off Playdate party details

We had a Summer Kick-Off Play Date last month
(this post is just a little delayed, haha!)
…and we wanted to share the party details and fun!
We invited some friends over for a play date and instructed the moms to dress the kids in their bathing suits, and bring towels.  What else says “summer” like the sprinkler??
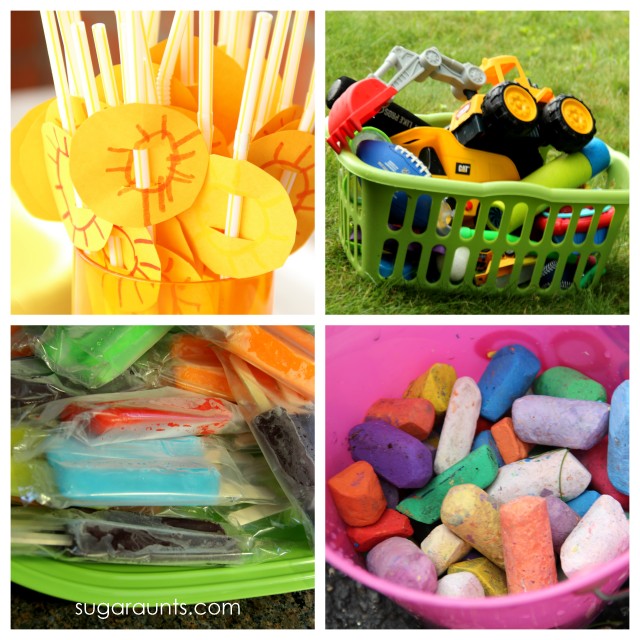
A summer kick-off party also needs a bucket of chalk, popsicles, and a big bin of lawn toys.
I made the sunny straw toppers one morning while sitting and watching my kiddos take their swimming lessons.  Big Sister drew a bunch of suns on yellow cardstock and I cut them out.  Easy and cute!
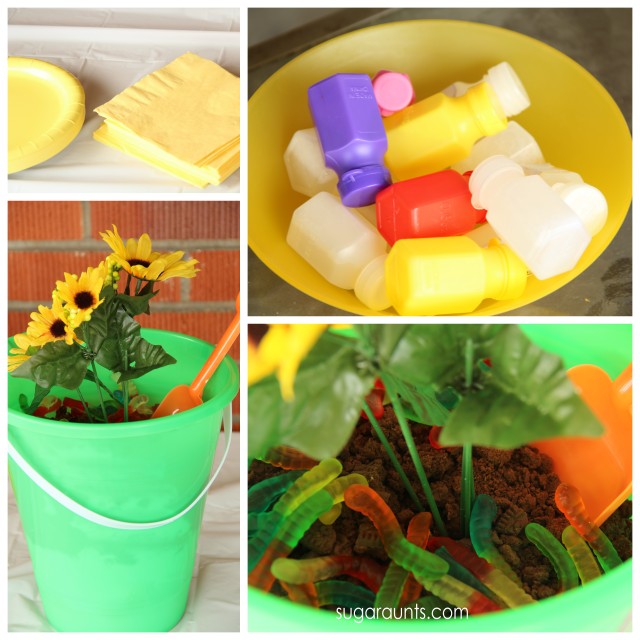
I put out a bowl of bubbles and added sunny little details like yellow bowls, napkins, and plates. 
The Oreo dirt dessert was a hit!  And very easy to make:
Crush a package of Oreo cookies.
Make a package of pudding (I used vanilla but chocolate would be good, too).
Pop open a container of Cool-Whip.
Layer pudding/Cool-Whip/Oreos.
YUM!!
Our summer kick-off play date was a great way to connect with some friends we haven’t seen for a while and a FUN way to get excited about summer!

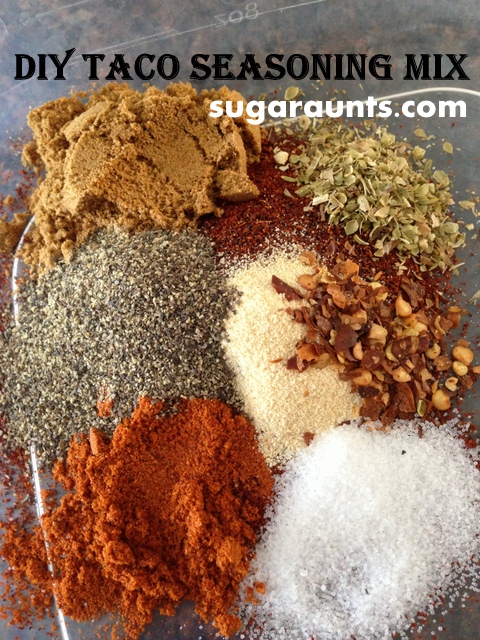
DIY Taco Seasoning Mix

What do you do when tacos are on the menu for dinner, you go to grab your taco seasoning packet from the cupboard, and find not one single packet there waiting for you?   When it’s 5:00 pm, and the thought of taking three kids to the grocery store for one little seasoning packet is the worst imaginable torture??
You Google.


Of course there is no one recipe that you have all of the ingredients to and so you mix a few together and add a couple of extra things to make up for it.
And that’s how this recipe was born.
1 Tbsp. McCormick chili powder, (or any brand will do)
1/4 tsp garlic powder
1/4 tsp McCormick onion powder
1/4 tsp red pepper flakes
1/2 tsp paprika
1/2 tsp ground cumin
1/4 tsp celery salt
1 tsp black pepper
1/4 tsp dried McCormick dried parsley flakes
1/4 tsp dried basil flakes
Mix all ingredients together.  To make a taco beef mixture, brown one pound of ground beef and add 2 Tbsp of the taco seasoning mixture with 1/2 cup of water. Simmer the meat to combine flavors.
Taco Night was saved!
This post contains affiliate links for your convenience.