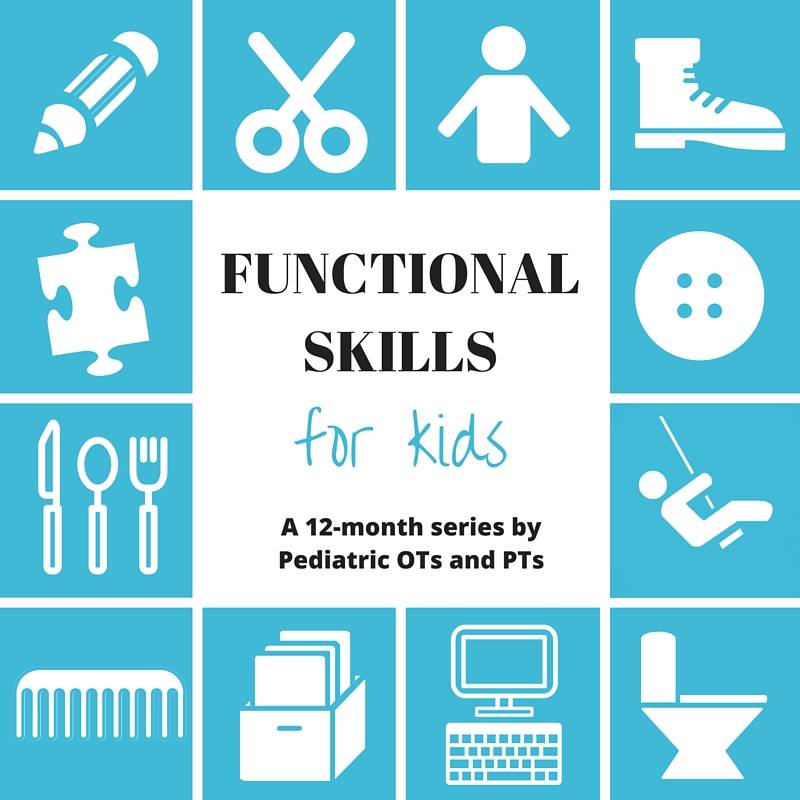
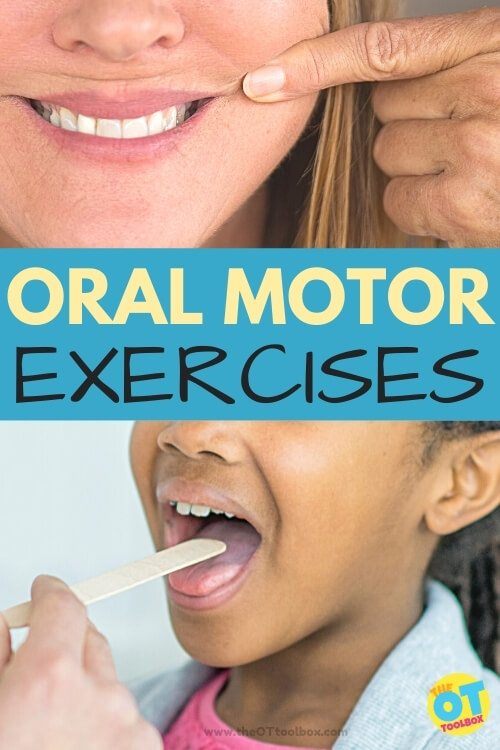
There are many reasons to incorporate oral motor exercises into your therapy plan. Here, we are covering the reasoning behind several oral motor exercises and strategies to work on mobility and functioning in the mouth, tongue, lips, and jaw.

Eating is a functional skill we all do. When there are oral motor issues, occupational therapists will address this area.
Why Oral motor Exercises?
When we talk about oral motor exercises, it’s important to know why we are considering specific exercises. When it comes to oral motor exercises, we are striving to improve the functioning of the mouth, jaw, lips, cheeks, and tongue so that the child can demonstrate coordination needed for sound production and articulation. Other issues can arise in manipulation (chewing, movement of foods and liquids, tolerance of various textures, and swallowing food and liquids).
When it comes to feeding issues, there can be a question of whether the feeding problems are a result of sensory processing challenges and/or oral motor considerations. Check out this resource for more information on pediatric feeding and oral motor issues or sensory issues that impact feeding abilities.
Kids who struggle with feeding may be impacted by oral awareness and oral discrimination. These skills enable us to both be aware of the motions of the muscles and joints of the mouth to enable positioning for oral sound creation as well as movements to control and mobilize the chewing and manipulation of foods and drinks of various textures.
Oral discrimination is essential for safety, efficiency, and function when eating. When oral discrimination is a challenge, children can have resulting food aversions, be unaware of food in their mouth, or not be able to tolerate certain types of foods because of food texture issues, tastes, or temperatures. They may have difficulty with managing various textures and end up with messy eating during meals. Oral discrimination also effects skills like speech and tooth brushing.
Start here by reading more about the development of oral motor skills. Typical development of oral motor skills is an important consideration when it comes to self-feeding and movements of the mouth, tongue, and lips in tolerating new foods or textures in feeding.
Specific reasons for incorporating oral motor exercises into a therapy program may include issues with the following movements:
- Jaw Thrust
- Exaggerated Jaw Movements
- Jaw Instability
- Jaw Clenching
- Tooth Grinding
- Stability Bite
- Tonic Bite
- Jaw Retraction
- Tongue Retraction
- Tongue Protrusion
- Tongue Thrust
The oral motor exercises listed below can offer additional opportunities for strength and coordination of oral motor skills, as well as heavy work proprioception through the mouth as calming input to organize the body.
Let’s take a look at some of the oral motor exercises that we might use with kids…
Oral Motor Exercises
These activities are not the only ones that can be done to address oral discrimination issues. Additionally, it’s important to know that therapists understand that oral discrimination is just one piece of the feeding puzzle. Considerations such as tone, sensory processing, and oral-sensory exploration as well as many other components make up feeding.
Tips for Oral Motor Exercises
- These specific oral motor exercises can be selected based on the specific needs of the child. Each exercise many not work for all individuals. And, the exercises should be modified as needed to grade up or down (make them easier or harder) based on the needs of the individual.
- For each exercise listed below, add a repetition to complete the task. Add in a specific number of repetitions.
- Add the number of days these exercises should be completed each week.
- Incorporate function whenever possible. Working on feeding? Add real foods of interest. Use utensils or cups when possible. Incorporate the occupation of play to make the exercises motivating and fun.
- Consult with a pediatric occupational therapist!
Oral Motor Exercise Ideas
Remember that not all of these exercises are needed for every child’s specific needs. Pick and choose the exercises that meet the needs of the child you are working with.
- Bring their hands and fingers to his or her mouth and lips.
- Play tongue Simon Says with a mirror. We have many oral motor Simon Says commands that can be printed off to target specific motor skills with the lips, jaw, cheeks, and tongue.
- Play the “hokey pokey” with your tongue and cheeks.
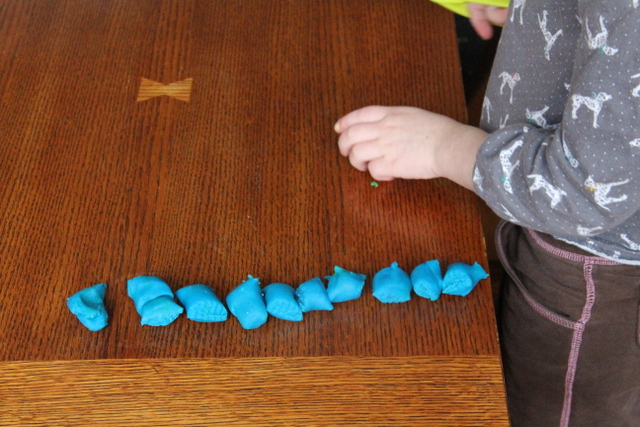
- Try messy play with food.
- Encourage tolerance of a spoon or other feeding utensil in different parts of the mouth.
- Open and close your mouth.
- Move your tongue from side to side.
- Press your lips together and then smack your lips apart.
- Explore different types of utensil textures (plastic, metal, plastic covered, etc.)
- Hold and play with a toothbrush, bringing the brush to their mouth and face.
- Encourage mirror play, identifying parts of the mouth.
- Add rhythmical, whole- body play with therapy balls, uneven surfaces such as trampolines or crash pads to improve proprioceptive input. (Great for core strengthening and stability needed for feeding, teeth brushing, etc.)
- Explore mouth play with teething toys and tools.
- Explore use of teething toys and tools in different positioning (prone, supine, side lying, etc.)
- Use rhythmical music along with tapping the cheeks or lips.
- Offer frozen fruit on a tongue depressor. Try this recipe for frozen fruit skewers.
- Chew a straw.
- Pucker your lips in a pretend kiss.
- Blow a party noise maker.
- Blow a kazoo.
- Use a straw to pick up squares of paper and drop them into a bowl.
- Make fish lips.
- Apply Chapstick (scented or unscented) and press your lips together as you move your lips from side to side.
- Puff up your cheeks.
- Smack your lips.
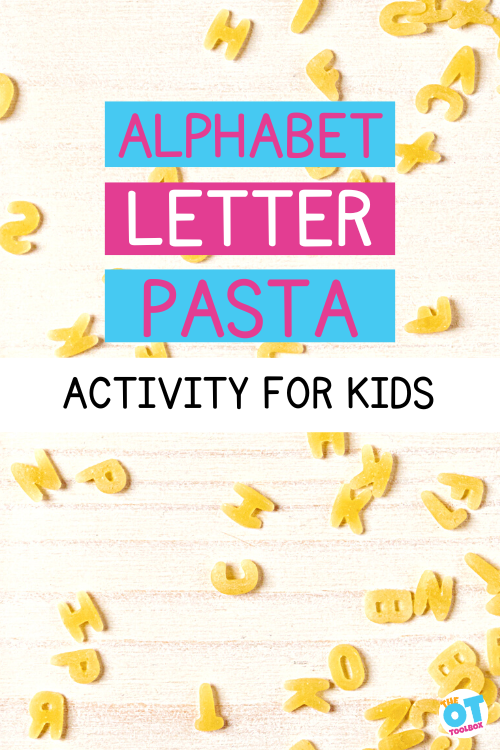
- Whisper the sounds the letters of the alphabet make from A-Z. Notice how your mouth moves. Or, spell out your name or other words by whispering the sounds the letters make.
- Blow bubbles
- Blow through a straw to move a cotton ball or small craft pom pom along a line. Can you move it through a maze?
- Freeze water to a popsicle stick and lick or suck until the ice melts.
- Try making these Shirley Temple popsicles. They are a tasty oral motor exercise tool.
- Pour water into an ice cube tray. Add popsicle sticks to create a cube pop. Lick and suck until the ice melts.
- Scoop peanut butter onto a spoon. Lick it off with the tip of your tongue.
- Point your tongue to the end of your nose. Hold it there as long as you can.
- Point your tongue to your chin. Hold it there as long as you can.
- Push your tongue into your right cheek. Hold it there and then press the end of your tongue into your left cheek.
- Count your teeth using your tongue. Touch each tooth with the tip of your tongue.
- Chew gum. Can you blow a bubble?
- Deep breathing mouth exercises. Use these printable deep breathing cards.
Themed Oral Motor Exercises
You may want to check out these themed oral motor exercises for development of motor skills in various points throughout the year. These themed exercise can be added to weekly therapy themes to increase motivation and carry through. Here are several themed oral motor exercises for kids:
- Summer Oral Motor Activities
- Animal Oral Motor Activities
- Boat Oral Motor Activity
- Bunny Oral Motor Activity
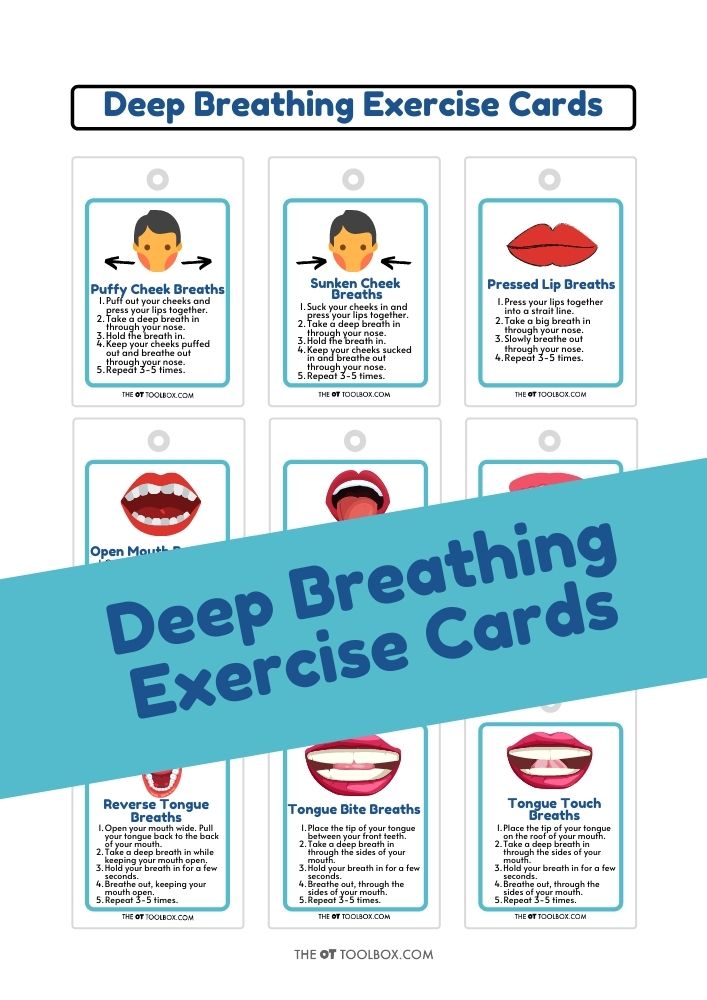
Want printable oral motor exercises? Grab the Deep Breathing Exercise Cards. The pack of deep breathing cards includes oral motor exercises for heavy proprioceptive input through the mouth, tongue, and lips, and oral motor activities using different themes, totaling 113 different exercises.
The Oral Motor Exercises can be done anytime, using just the mouth. These strategies offer exceptional proprioceptive input through the lips, tongue, and cheeks, making a calming heavy work activity that can be used in sensory diets to help children achieve a calm and ready state of regulation.
Click here to get your copy of the Deep Breathing Exercise Cards.
ORAL MOTOR EXERCISES in Occupational Therapy
Today, like many other days, I evaluated the cutest little boy. When I asked the mother her main concern, she replied that he does not eat anything. While he definitely had other difficulties, the core of her worries was eating. Why? In the hierarchy of needs, basic ones like food and sleep build the foundation of higher learning. Not only this, these are the worry triggers every parent feels on a daily basis!
Feeding and eating are an important part of our lives. Not only for survival, but there is a social component relating to food. Think of all the major celebrations each year; birthdays, Christmas, Thanksgiving, Easter. What is one of the things families gather for? A meal. Meal times come around at least three times a day.
Imagine the stress on the child and their caregivers each and every meal involving a problem feeder. When I say “problem feeder” I am not talking about your average picky eater who does not like vegetables. I am speaking of the children like the one I evaluated today. The only foods he will eat by mouth are corn chips and Doritos. He will drink water and juice from a bottle. This is it. He now has a g-tube for supplemental feedings to take some of the stress off of nutrition for the moment.
There are a lot of components involved in eating. Did you know there are 27 steps between having the food in the room with you, and eating a regular meal? This is a ton of stages to navigate each and every new food that is added, especially to a picky eater or problem feeder. Add to this the oral motor difficulties that may be interfering with good eating skills.
Try and imagine what it can feel like to have sensory or oral motor difficulties.
Oral Motor Challenges That we work on in OT Sessions
As pediatric occupational therapists, we focus on function, right? This means we assess the areas of daily living skills that are a challenge. Then we can work on those areas by addressing the underlying skills and development. So, when it comes to oral motor challenges, these are some of the things we hear parents relay to us in the OT evals.
With oral motor struggles your child might experience the food:
- sliding down their throat before they are ready to swallow
- getting stuck in their mouth and they can not move it to the back
- falling apart in their mouth, with bits of food in different spaces rather than creating a bolus.
- Causing their mouth to be so tired after just a few chews
- Taking forever to chew and swallow
- Falling out of their mouth in the front or sides
- Getting all over their lips and not being able to clean it
After a few trials of this, either your child accepts that they are a messy eater, or they become selective about what passes through their lips.
Tongue Exercises
My step-son has significant fatigue when eating. The first few bites go down quite easily. After a few bites, he slows down significantly. I see him chewing and chewing the same bite for several minutes. I counted his chews once and he was chomping up to 50 times for one bite! This means meal times last forever, or he gives up before getting adequate intake.
In this situation, it might be appropriate to use some tongue exercises. This can help with clearing food from the cheeks or the mouth in order to swallow food. Of course, you’ll want to have a full evaluation completed to make sure this is the most appropriate step.
Tongue exercises to try:
Tongue Push-Ups- Press their tongue against the roof of their mouth as if trying to push it upwards. Hold for a few seconds and release. This helps with awareness of how their tongue moves in their mouth.
Tongue Lateralization– Have them move their tongue from side to side, touching the corners of their mouth. This helps with moving food from the cheek pockets.
Tongue Circles: Have them move their tongue in a circular motion inside their mouth, touching the roof, sides, and bottom of the mouth. This helps with clearing food as it’s being chewed and helps with clearing the teeth when eating.
You can work on these tongue exercises while trying different foods. Offer different consistencies like chewy licorice or bagels.
Another chewing exercise to try is using gum to work on the chewing ability while managing saliva and holding the gum in the mouth (not allowing it to fall out when chewing). This is a fun exercise because kids may not get a chance to chew gum that often.
Oral Motor Exercises for Gagging
Now imagine having sensory issues in and around your mouth. If you have low awareness in your mouth, you may not notice the food in there. You may tend to stuff your mouth in order to feel the food in there.
This can lead to gagging and choking, a major safety concern. If you have high sensitivity or awareness in your mouth, the smallest bite can feel like a mouthful. You take teeny tiny bites, making meal time last forever.
When it comes to gagging, the first step would be to monitor and address the food consistency. Because we don’t want to see any risk of aspiration, you want to address this first when there is gagging happening.
Try these things:
Food consistency– Make sure you’re using the best consistency and start with soft foods. Do they gag with easy-to-manage textures, like purees or mashed foods? Gradually introduce more challenging textures as tolerance improves.
Encourage small bites- Offer smaller bites of food to reduce the chance of triggering the gag reflex. Small, manageable portions are less likely to overwhelm the individual.
Temperature– Sometimes gagging has to do with the food temperature because of sensory considerations. Try different food temperatures. Some individuals might tolerate warm or cold foods better, which can reduce gagging.
Other ways your mouth can be sensitive can be texture, temperature, and taste. This does not take into account the smell of food either. There have been children I work with who know how hot they like their food, down to the second in the microwave. Two seconds too much, and it gets rejected. If this does not sound that bad, imagine this same child liked her food to stay at the same temperature. Once the food cooled down, she needed it reheated a few more seconds, otherwise she would not continue. This is exhausting!
If food feels, tastes, or smells noxious, how many times are you going to keep trying? If you feel as if you are choking each time you eat certain foods, how often are you going to eat them? Every meal time feels like an attack. Eventually the brain stops responding to calls for hunger.
Luckily there are treatments for both oral motor and sensory processing difficulties regarding eating. The first step is to take a step back. I can almost guarantee there has been some stress felt by either you or your child around meal times. Breathe and take a second to realize your child is not likely starving. They are likely getting something by mouth (or tube). It may not be adequate calories or nutrition, but that will come.
Start with the expectation that your child will join you at meal times. They may not eat, but just sit and see/smell the food. This is a big step. If your child truly has oral motor or problem feeding issues, you will benefit from help by a trained therapist. Not all occupational and speech therapists deal with feeding disorders. The wrong training CAN make things worse.
Below are some tricks and techniques to begin working on easing some of the stress around mealtimes and eating.
- have a supportive approach.
- Have a routine in place. Establish a predictable mealtime routine with regular times and familiar settings.
- Praise even small efforts.
- Introduce new foods slowly.
- Involve the child in meal preparation, such as washing vegetables, stirring ingredients. Here are ideas for getting kids involved in cooking tasks.
- Use small portions so the child isn’t overwhelmed or stressed out by what’s on their plate.
- Give the child choices about what they eat.
- Before meals, engage the child in oral motor exercises, such as blowing bubbles or chewing on a chewy tube, or use our oral motor exercise cards.

Colleen Beck, OTR/L has been an occupational therapist since 2000, working in school-based, hand therapy, outpatient peds, EI, and SNF. Colleen created The OT Toolbox to inspire therapists, teachers, and parents with easy and fun tools to help children thrive. Read her story about going from an OT making $3/hour (after paying for kids’ childcare) to a full-time OT resource creator for millions of readers. Want to collaborate? Send an email to contact@theottoolbox.com.