Cursive writing requires a lot of practice. Adding multiple sensory strategies to handwriting is one way to make the motor plan of letters “stick” when it comes to learning cursive. Today, I’ve got a fun free freebie for you that can be used to help kids learn cursive letters in a variety of ways: Cursive letter flashcards! These letter formation PDF printable sheets are printable tools that can be used in many different ways.
This is part of our how to teach cursive writing series.

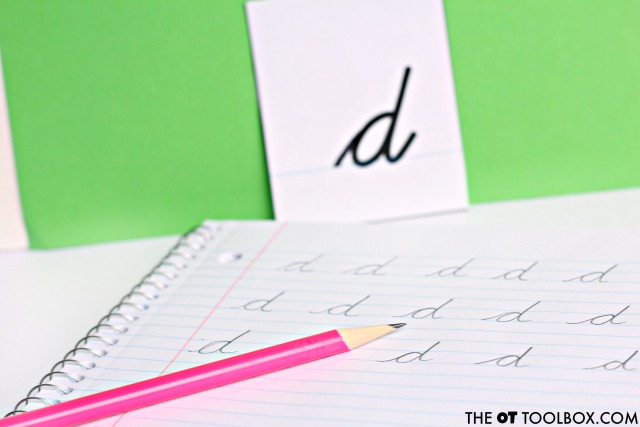
Cursive Letter Flashcards
Affiliate links are included.
These cursive flashcards can be used in so many ways to practice cursive writing:
Cut them out and glue the printed side to the back of the printed side to use as flashcards.
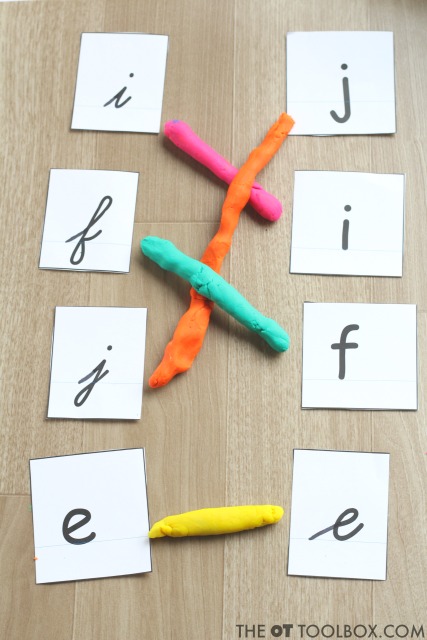
Cut them out but DON’T glue the printed and cursive sides together; Use them for matching games like this play dough match up. (Tip: using the play dough to create connecting lines boosts the fine motor skills.
Laminate them to use with tactile sensory play.
Use them to practice and sort cursive letters into cursive letter families.
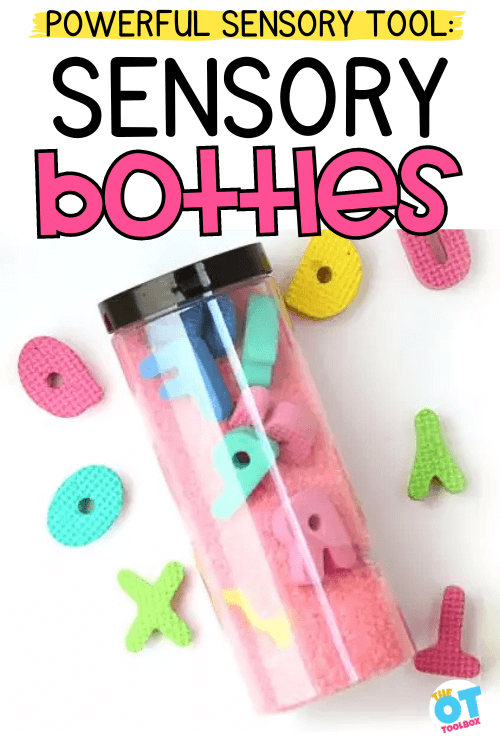
Add them to sensory bins like we did with this sight word card sensory bin activity.
Use rolled up balls of play dough to create words. Kids can then copy the words in the cursive form. This is a great way to practice spelling words.
Trace-Say-Write: Trace the letter with a finger, say the phrases that forms the letter, and then write the letter.
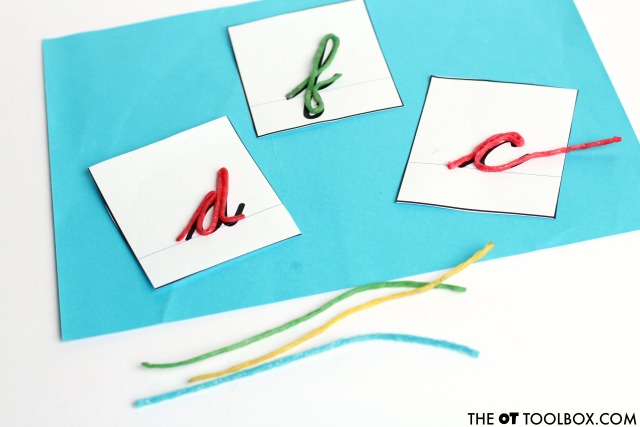
Form the letters using (Amazon affiliate link) Wikki Stix. Here are more of our favorite WikkiStix activities.
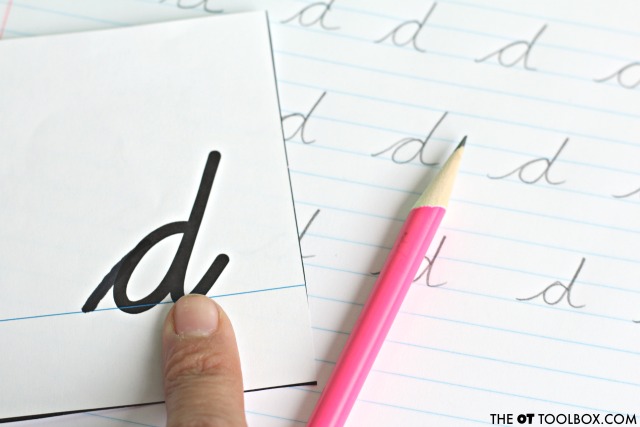
Practice writing individual letters onto paper or worksheets. The cursive flashcards can be positioned on a desk for Near point copying so that students are not visually distracted as they copy the letters. This can help with pencil motions.
Imagine a child copying a cursive letter from a far point such as a smartboard or strip of cursive letters positioned in the front of the room. As they form parts of a letter, they need to shift their vision and may end up with jerky pencil strokes or a lift of the pencil. Copying a letter form from near point can help as kids learn cursive.
How would you use these cursive flash cards?
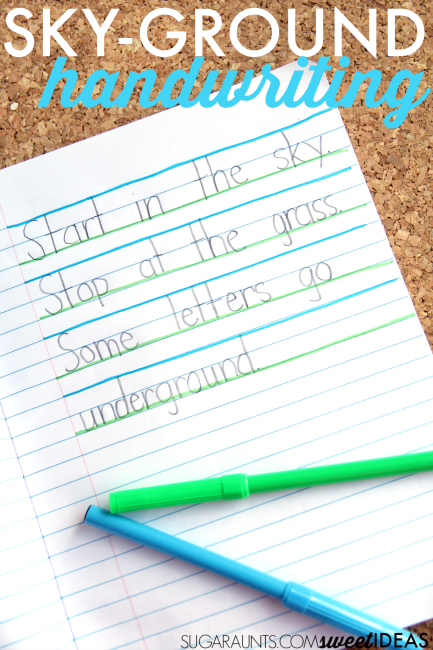
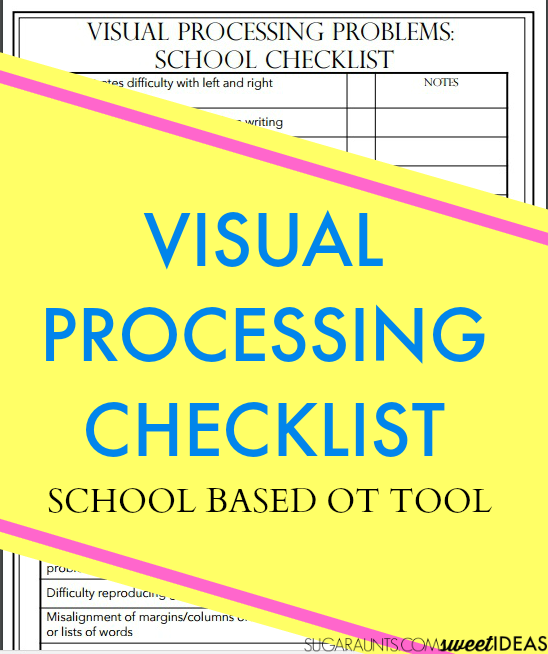
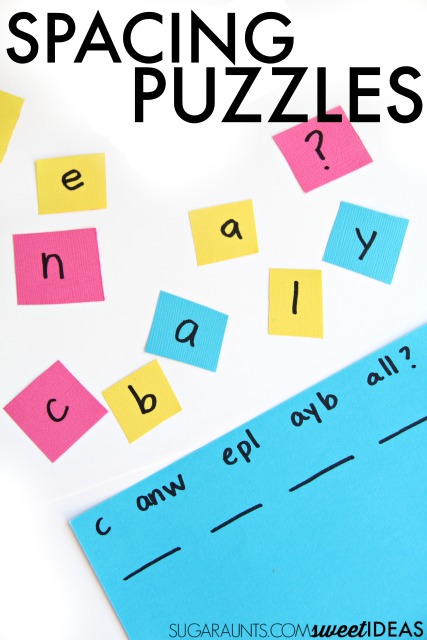
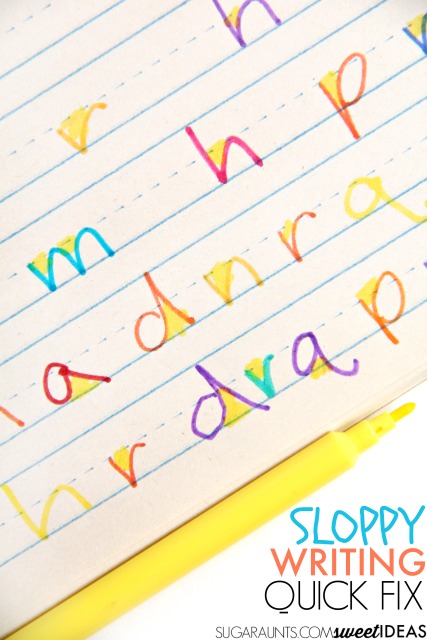
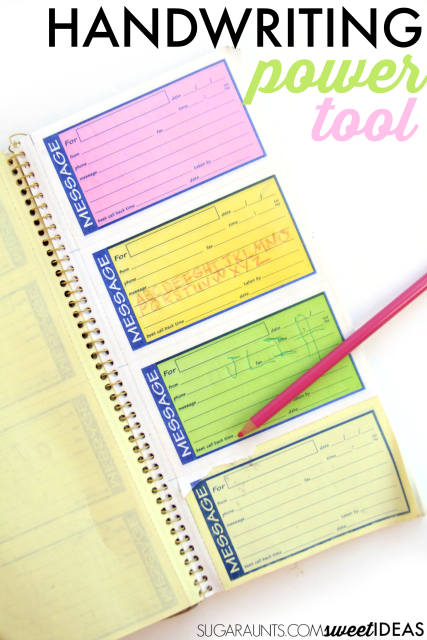
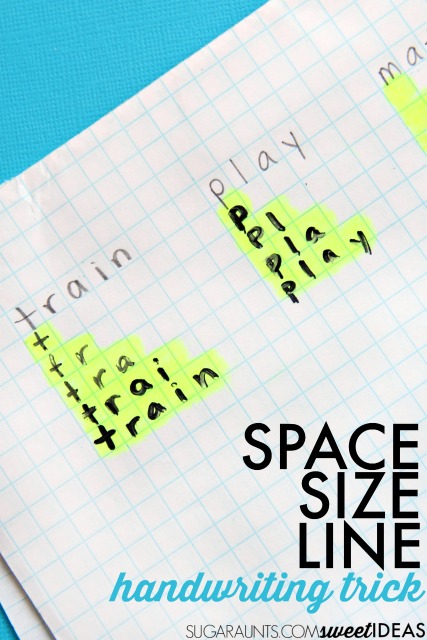
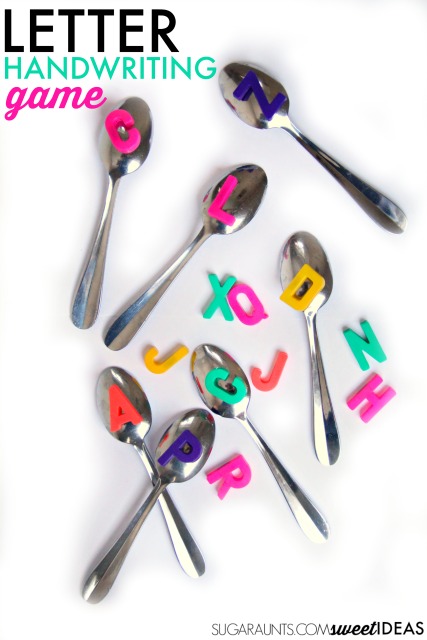
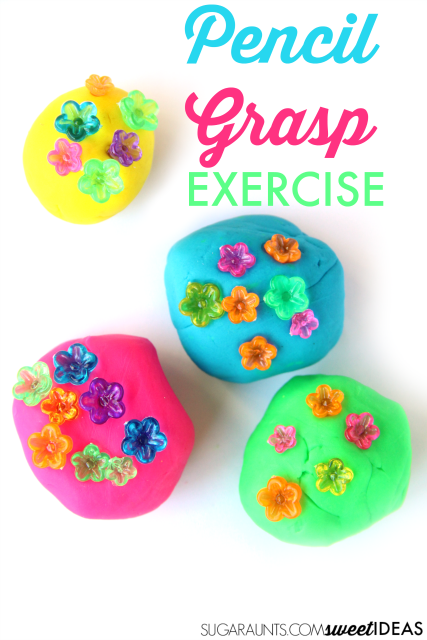
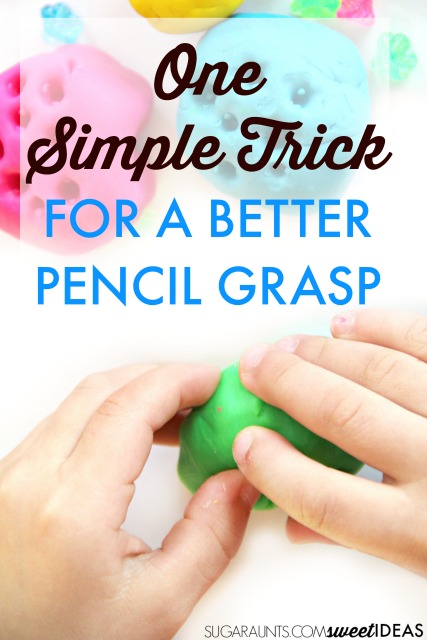
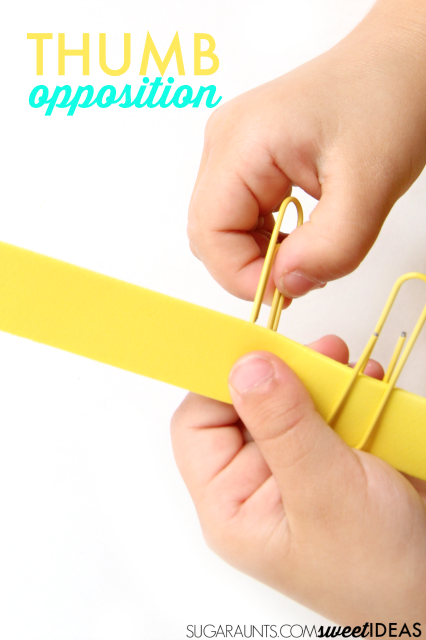
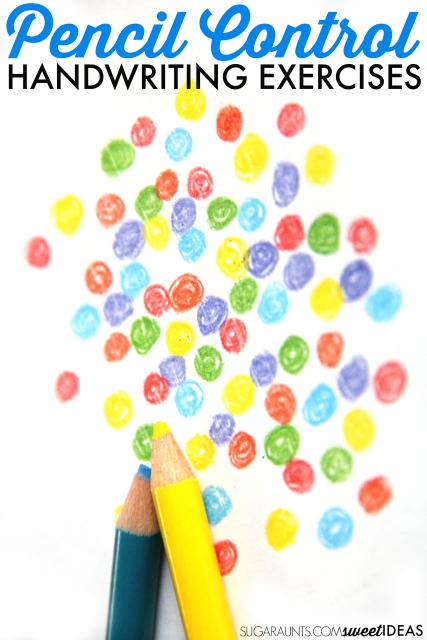
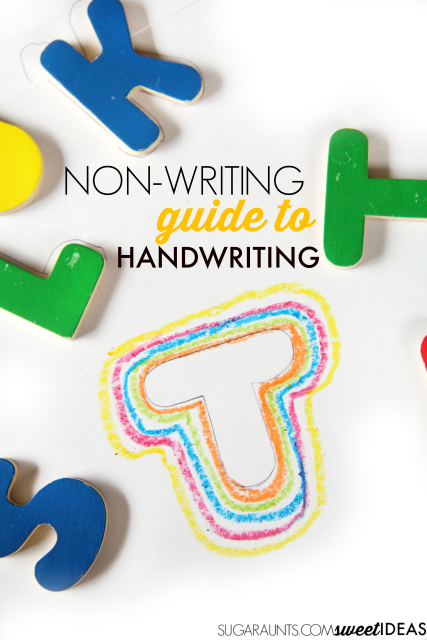
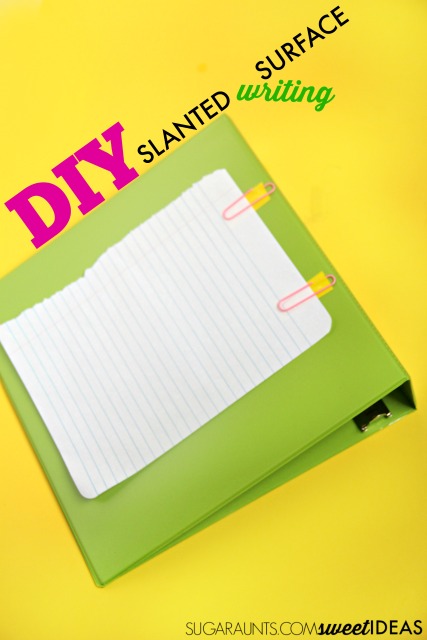
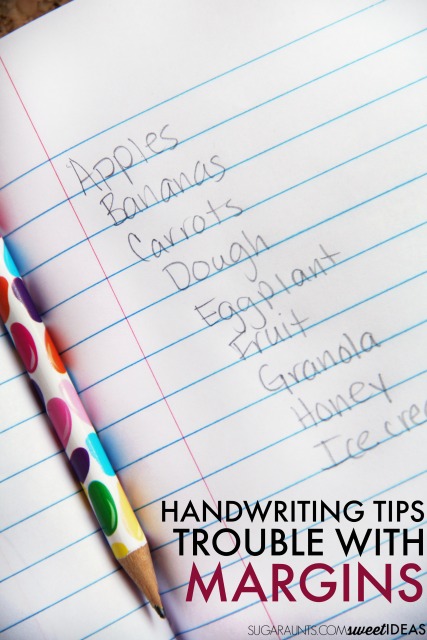
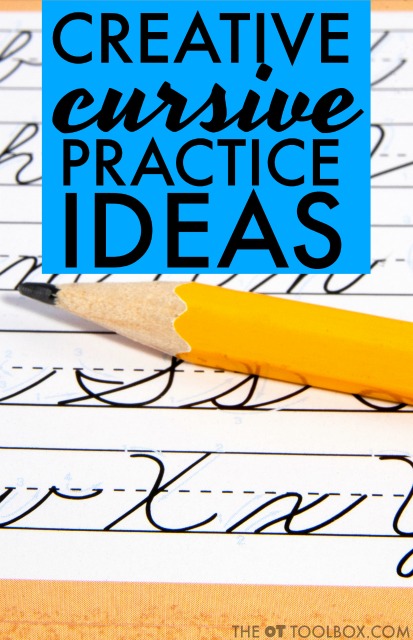
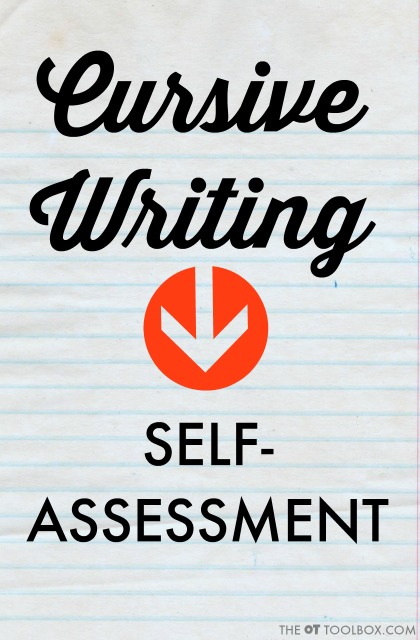
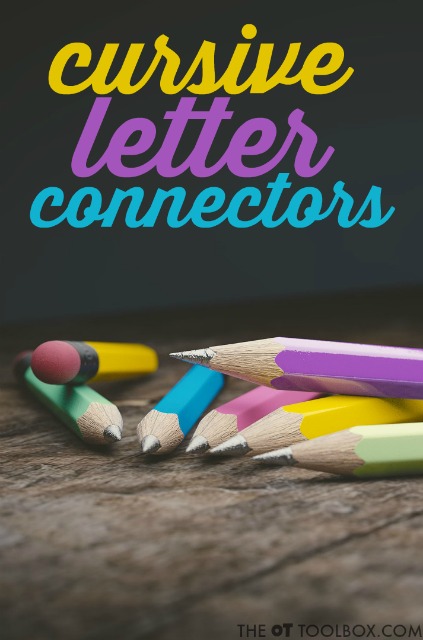
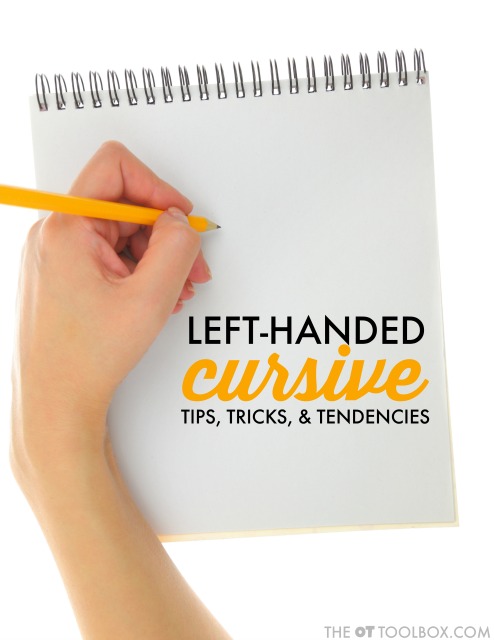
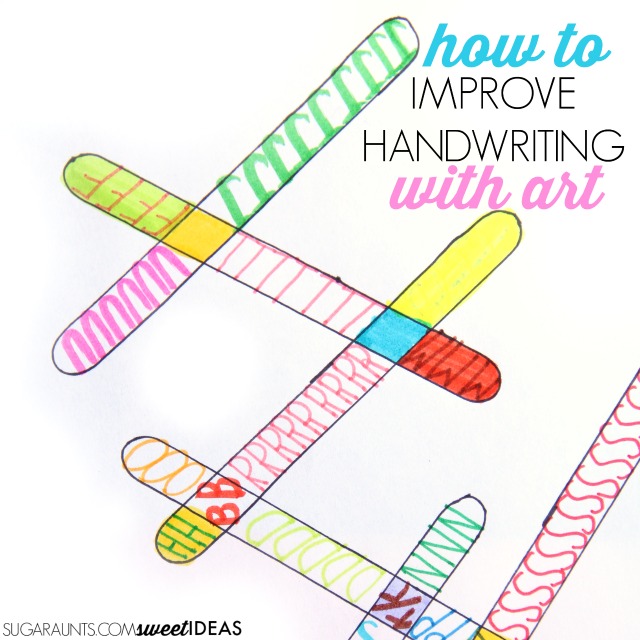
More cursive writing resources (Click on the images to find out more):

Colleen Beck, OTR/L has been an occupational therapist since 2000, working in school-based, hand therapy, outpatient peds, EI, and SNF. Colleen created The OT Toolbox to inspire therapists, teachers, and parents with easy and fun tools to help children thrive. Read her story about going from an OT making $3/hour (after paying for kids’ childcare) to a full-time OT resource creator for millions of readers. Want to collaborate? Send an email to contact@theottoolbox.com.


