Teach Handwriting with Transfer Paper

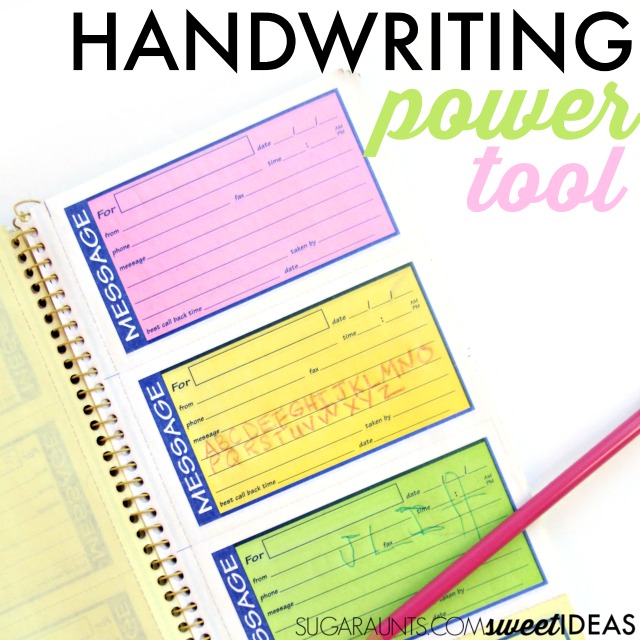
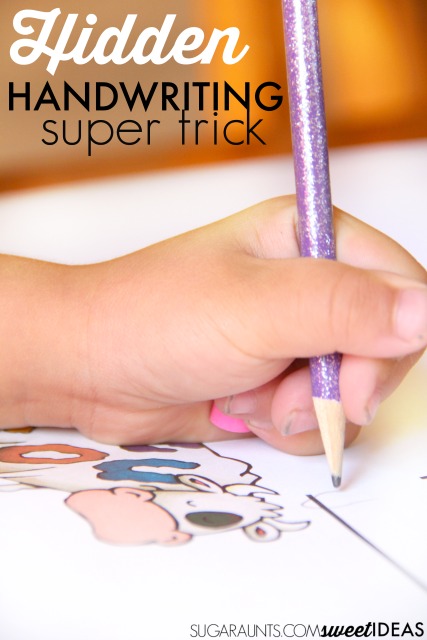
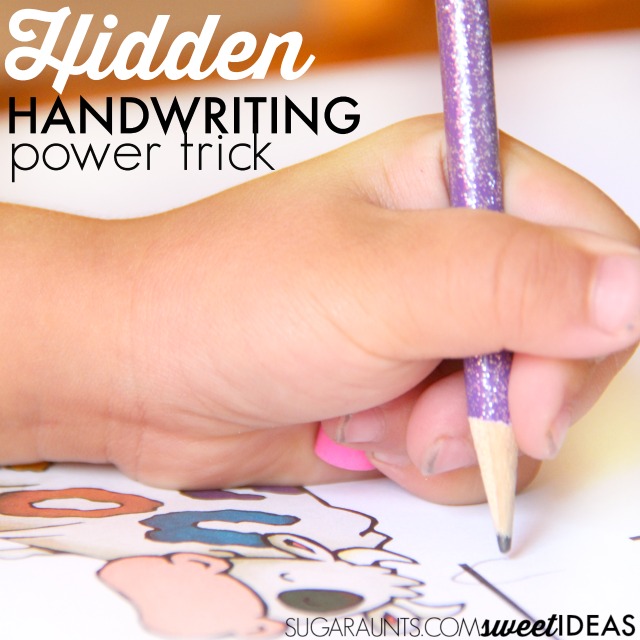
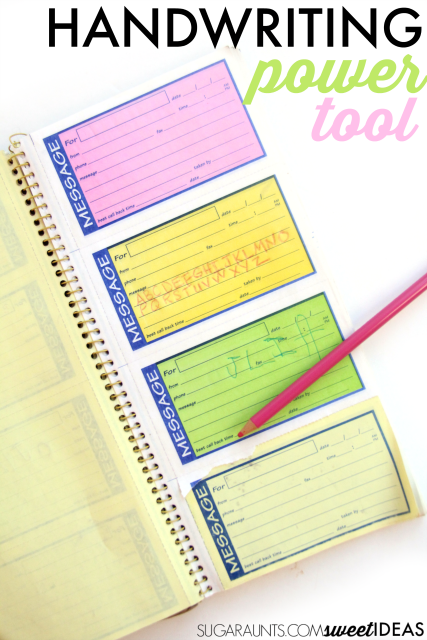
This handwriting trick is one that will get the kids excited about practicing their letter size, line awareness, letter formation, and pencil pressure when writing.  It’s a power tool that works on so many aspects or written work, making it a simple way to practice many components of handwriting at once.  What is this super handwriting tool?  Transfer paper!


Follow along in the Sweet Ideas for Handwriting Facebook page, where over 300 readers and Facebook users are coming together to share and find handwriting tricks and tips.


Use transfer paper to work on letter formation, size awareness, line awareness, and pencil pressure in handwriting with this easy writing trick that will help kids write with neater and legible handwriting.

Use transfer paper to work on many handwriting skills


This post contains affiliate links.

There are so many ways you can build the skills needed for legibility in written work with a simple transfer paper notebook or transfer paper sheets.

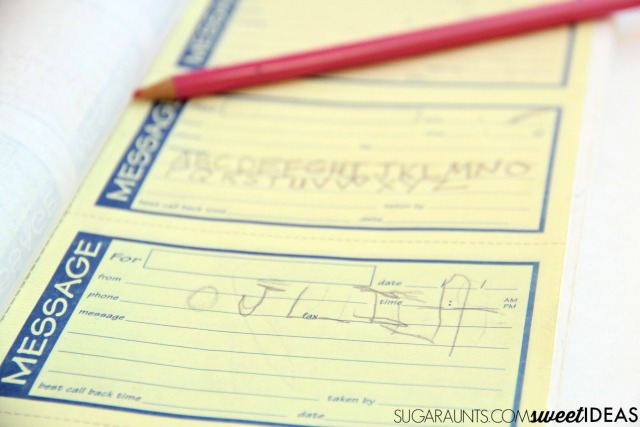
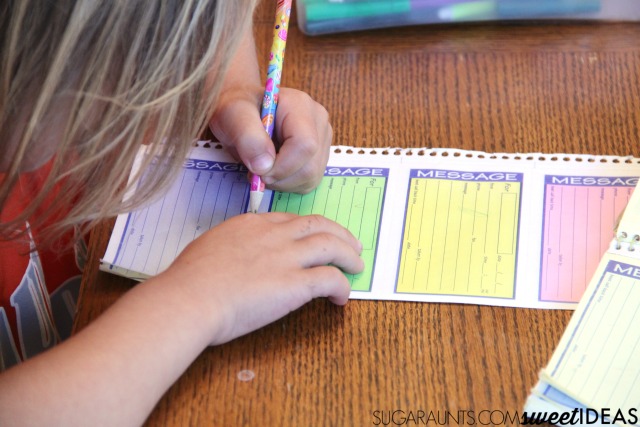
First, what is transfer paper?  It is that sheet of paper that creates a copy in memo notebooks.  It’s a sheet of paper that is used to create an instant copy by simply hand writing on paper.  It can be a fun surprise for kids that allow a moment’s focus and attention to writing practice that just doesn’t happen with regular paper and pencil.

Use transfer paper to work on letter formation, size awareness, line awareness, and pencil pressure in handwriting with this easy writing trick that will help kids write with neater and legible handwriting.

Build handwriting skills with transfer paper:


Letter size and Line awareness- This messages book is perfect for helping kids work on letter size and line awareness.  It’s a great way to build the skills needed for keeping letters and words within writing spaces on worksheets and forms.  The act of writing on the given spaces with an awareness of how the letters will look on the copy is rewarding for kids.

Letter formation– When kids are writing and flipping over the sheet to see how their writing looks, they slow down.  A slower speed can help kids work on letter formation.  Try verbal prompts for accurate letter formation with this slower speed.

Pencil pressureTransfer paper is a great tool for building an awareness of pencil pressure and writing with a “just right” amount of pressure through the pencil.  Read more about proprioception and handwriting.

Use transfer paper to work on letter formation, size awareness, line awareness, and pencil pressure in handwriting with this easy writing trick that will help kids write with neater and legible handwriting.
This post is part of our Easy Quick Fixes to Better Handwriting series

You’ll also want to join the Sweet Ideas for Handwriting Practice Facebook group for more handwriting tips and tools.

MORE Creative Handwriting Tricks you will love:

http://www.sugaraunts.com/2015/11/benefits-of-playing-with-stickers-occupational-therapy.html   


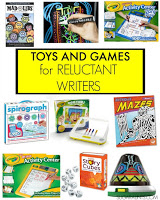
                                    Toys and Games for Reluctant Writers

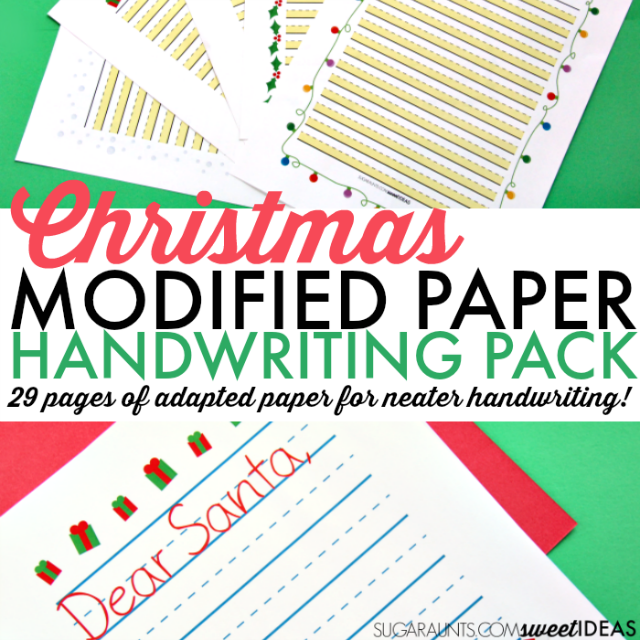
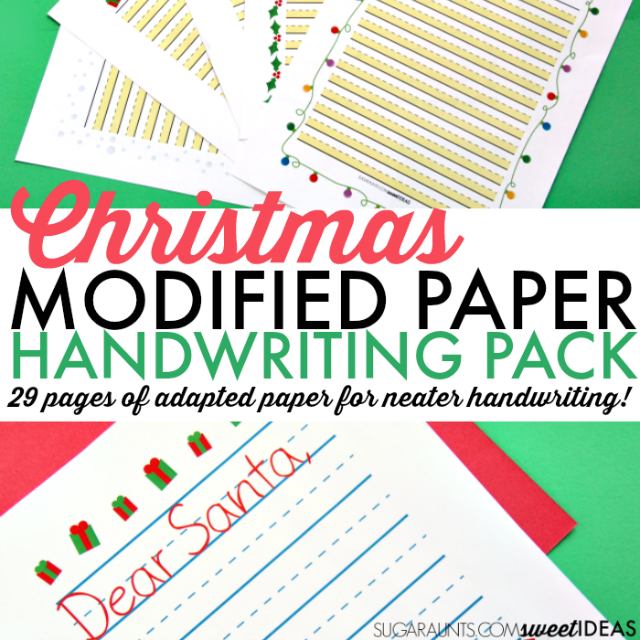
Get 29 pages of modified paper with a Christmas Theme for legible and neat Letters to Santa, Christmas Wish Lists, Thank You Notes, Holiday Lists, and MORE! 

Sloppy Handwriting Quick Fix

This handwriting trick is an easy one to teach to kids.  It’s a quick lesson in written work that may be just the thing that turns sloppy writing into neat and legible handwriting.  It’s a quick tip in our 30 day series (that is running just a tad behind schedule. Don’t fret though, all quick tips will be here as soon as they are up on the blog.) You can find all of the handwriting tricks here.  

Follow along in the Sweet Ideas for Handwriting Facebook page, where over 300 readers and Facebook users are coming together to share and find handwriting tricks and tips.

Soppy writing tips for better handwriting

Sloppy Handwriting Quick Fix 

You’ve probably seen it before.  Written work that is all over the page in terms of letter size and formation, letters that are big and some that are small, and little awareness to lines.  

When a child writes quicly, sometimes letter formation suffers.  For other kids, they tend to write with poor letter formation all the time.  Letters have big gaps between parts of lines and there is very little re-trace.  

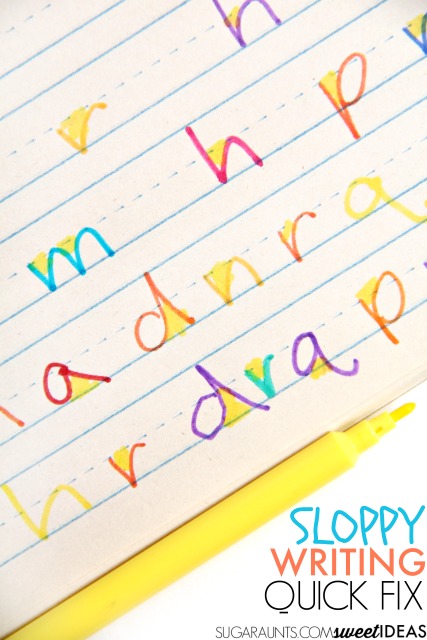
When writing letters accurately, there should be a certain amount of re-trace.  Letters that are formed by the pencil tracing back over a line have re-trace.  Letters “a, d, h, m, n, r, and p” are just a few examples with re-trace.

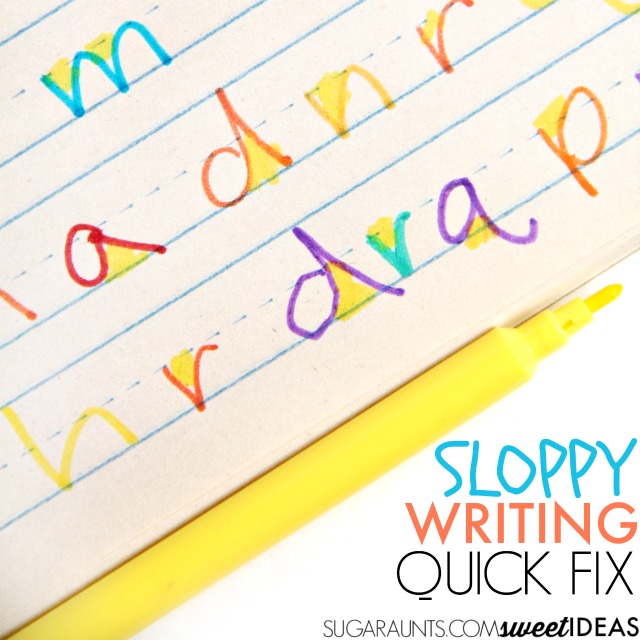
When a child omits that re-trace, they make letters that have a “kickstand”.  There is a big gap between parts of the letters and the size suffers.  Letters are formed haphazardly and illegibly.  It’s sloppy.

To improve neatness in written work, try this easy trick:

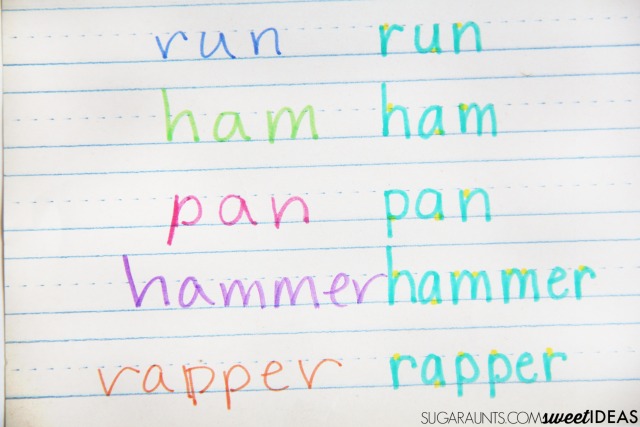
Grab a highlighter or yellow marker and go over your child’s written work.  You might use a list of spelling words or a response to a writing prompt.  Scan through the handwriting with your child and fill in the gaps with the yellow marker.  As you go through the letters, show your child how you can find all of those gaps and spaces that should be closed up tight.  

Handwriting tricks for neater letter formation
When letters are formed accurately and with nice re-trace, just a dot is all that is needed to fill in the gap.  Kids can even go through their written work and self-check for gaps in the letters.  Tell them to look for “kickstands” on their letters and to try to form the letters with just a small dot of space.

RELATED READ: Learn more about re-trace in letter formation.

Did this quick tip work for you and your kiddo?  Let us know in the comments below or in the Sweet Ideas for Handwriting Facebook group!
Try this trick for neater letter formation and handwriting
MORE Creative Handwriting activities that your child will love:

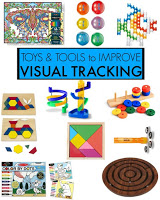
http://www.sugaraunts.com/2015/10/visual-tracking-tips-and-tools-for.html 


Handwriting Spacing Puzzles

Kids who struggle with spacing in written work sometimes write withallthewordstogether.  That’s pretty tough to read, right? When kids struggle with spatial awareness may write words and letters with little regard to spacing. 

A visual perception difficulty prevents kids from writing with adequate spacing on the page.  Other times, kids have trouble copying written work with appropriate spacing.  Still other kids might show difficulty with spatial awareness when writing at a fast speed or when writing in a journal or with free writing.  

These spacing puzzles are a great hands-on activity for helping kids to recognize and become more aware of spacing between words.  It’s a hands on approach to addressing visual perception in handwriting.


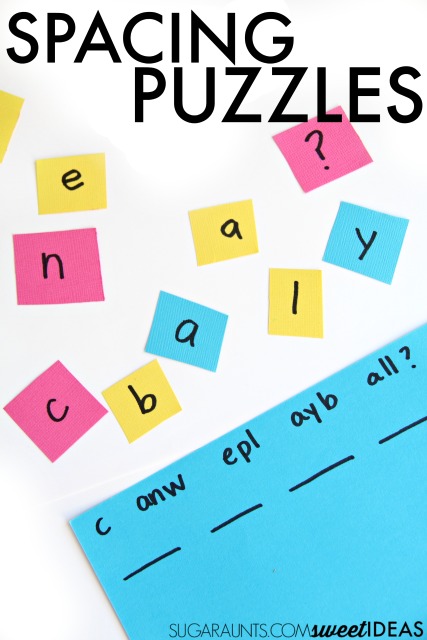
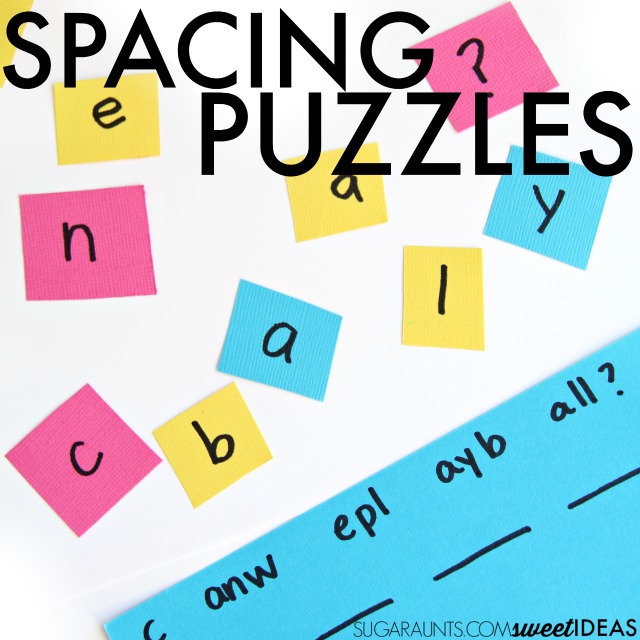
Spatial awareness puzzles for helping kids address visual perception skills needed for spacing between letters and words when writing.

Spatial Awareness Puzzles for Helping Kids Space Between Words When Writing


To practice spacing with a hands-on approach, try this spacing puzzle.  You’ll need just a couple of materials for the activity.

Affiliate links are included in this post.

Cardstock cut into squares.  
Marker
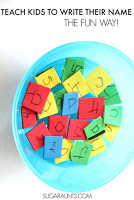
Cut the cardstock into squares.  Write letters on the cardstock squares.  Spread the letters out on the table.  You can use the letters in several different spatial awareness puzzles.

Spatial awareness puzzles for helping kids address visual perception skills needed for spacing between letters and words when writing.
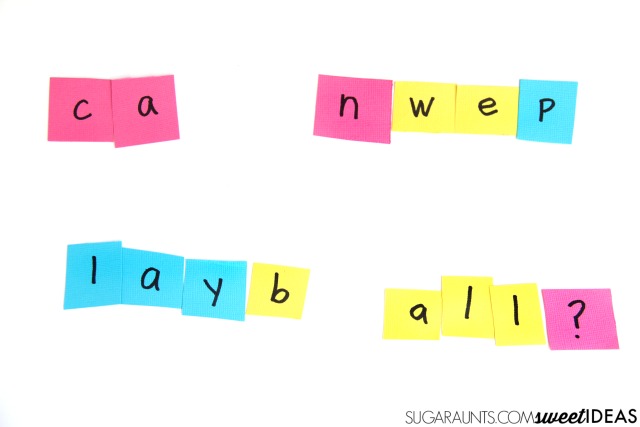
Construct sentences with the letters, positioning the words in a jumbled manner regarding spacing.  A sentence such as “Can we play ball?” Might present as “Ca nwe playb all?” 

In this puzzle, kids can re-arrange the letters to accurately space between the cardstock letters.  

Use the jumbled sentences to practice spacing on paper by asking the child to copy the sentence with accurate spacing.  They can first re-arrange the letters on the table or just copy with accurate spatial awareness.

Another activity might include writing a jumbled sentence on paper.  Kids can use the letter pieces to construct the sentence appropriately and then write it on paper. 

Spatial awareness puzzles for helping kids address visual perception skills needed for spacing between letters and words when writing.
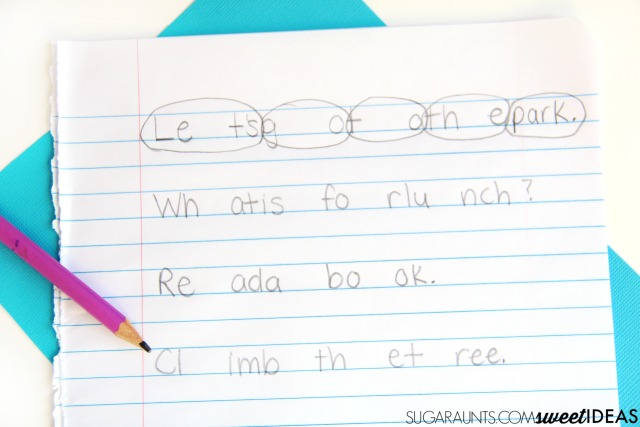
A third activity involves writing jumbled sentences on paper and asking kids to circle the letters to form words.  They can then copy the sentences using appropriate spacing between letters and words. 

All three of these spacing puzzles require the child to become aware of space between words.  When they slow down to position the words appropriately, they are likely to space between words when writing functionally. 

Let me know if these puzzles work for your child who is working on spatial awareness!

Spatial awareness puzzles for helping kids address visual perception skills needed for spacing between letters and words when writing.

This post is part of our Easy Quick Fixes to Better Handwriting series

You’ll also want to join the Sweet Ideas for Handwriting Practice Facebook group for more handwriting tips and tools.

Looking for more activities to help kids work on spacing between words and letters?  Try these:


Handwriting Spacing Tools


Space Martial Spacing Tool


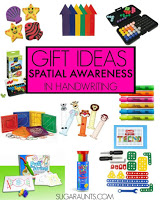
Spatial Awareness in Handwriting

Easy Trick for Tripod Grasp

Kids love to have a secret.  

Sometimes that secret is told to the next unsuspecting person they come into contact with, and other times that secret is held tight. 

(Helllo, Who-Squeezed-the-Entire-Tube-of-Toothpaste-Into-the-Sink!) 

This super easy handwriting trick will help kids work on their pencil grasp in order to promote a more functional grip on the pencil. It’s a handwriting trick that might not be obvious to the other student’s in the classroom or even the student at the next desk. 

And whether your kiddo tells their pencil grasp secret or holds it tight to themselves, it will be a trick that helps them to write with better pencil control and letter formation.


Pencil grasp trick that places a small item like an eraser in the palm of the hand.

Hold an Item in the Palm When Writing to Help With Pencil Grasp


This post contains affiliate links.  

For this easy pencil grasp trick, you’ll need only one item:

Show your child/ student/ OT client how to tuck the pencil eraser into the palm of their hand to help with pencil grasp.  While they are writing, they should hold the eraser in place using their pinkie and ring fingers. 

Why does this pencil grasp trick work?


When kids hold a small item like a a pencil cap eraser in the palm of their hand, they are using motoric separation of the two sides of the hand.  This encourages the thumb, pointer finger, and middle finger to manipulate the pencil with more control using the skilled side of the hand while the remaining fingers curl in to provide stability.  

This is a trick that you won’t want to keep a secret.  Grab enough pencil cap erasers for the whole classroom.

Love this handwriting trick?  Stop over to see all of the simple handwriting tricks for better handwriting in our 30 handwriting series. This post is part of our Easy Quick Fixes to Better Handwriting seriesBe sure to check out all of the easy handwriting tips in this month’s series and stop back often to see them all.  

You’ll also want to join the Sweet Ideas for Handwriting Practice Facebook group for more handwriting tips and tools.
Pencil grasp trick that places a small item like an eraser in the palm of the hand.
What kid wouldn’t love to hold these secret erasers when they write?

amzn_assoc_placement = “adunit0”;
amzn_assoc_search_bar = “true”;
amzn_assoc_tracking_id = “sugaun-20”;
amzn_assoc_ad_mode = “manual”;
amzn_assoc_ad_type = “smart”;
amzn_assoc_marketplace = “amazon”;
amzn_assoc_region = “US”;
amzn_assoc_title = “My Amazon Picks”;
amzn_assoc_linkid = “e6290d3b4dc5e6255905cd4d496ccb5a”;
amzn_assoc_asins = “B00ANS2YCG,B008O81IN8,B0036VZWC6,B007K1D4JQ”;

Box and Dot Handwriting Strategy

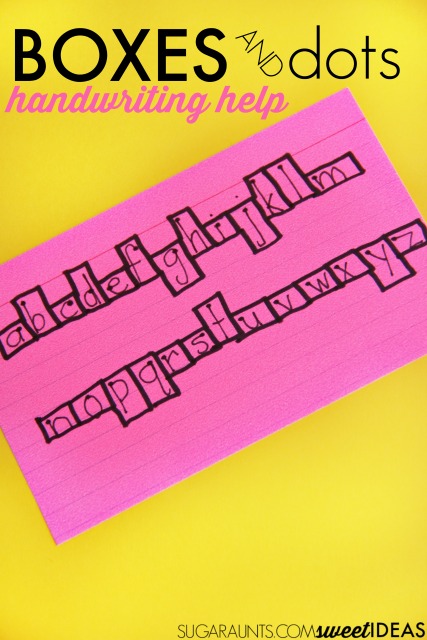
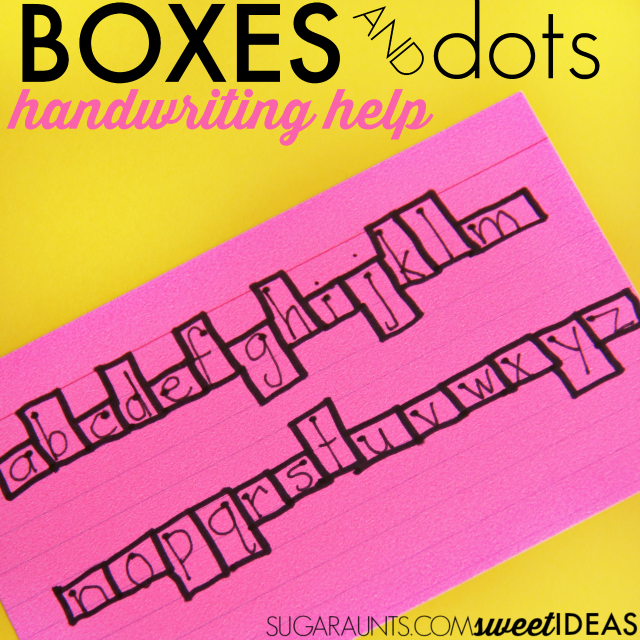
This handwriting technique is a strategy that I’ve used many, many times in school-based Occupational Therapy.  It’s a handwriting strategy that uses boundaries of boxes and starting dots to help kids become more aware of letter size, letter formation, spatial organization, and use of lines.  


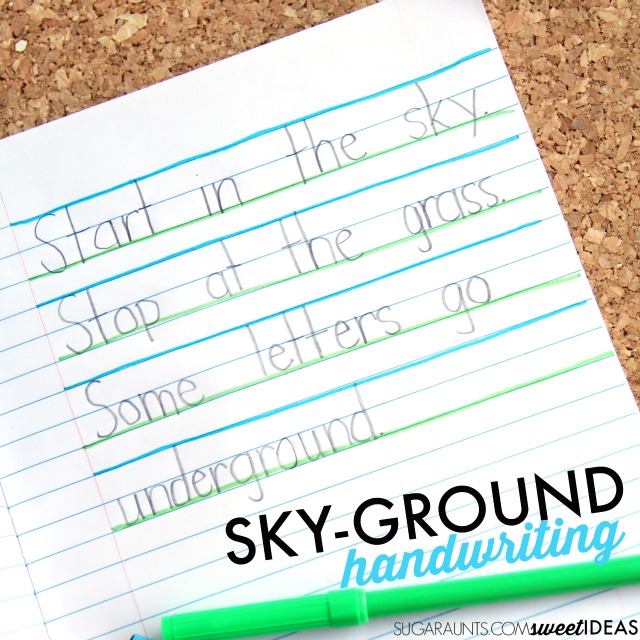
The box and dot handwriting strategy is perfect for kiddos who are working on placing letters appropriately on the lines with awareness of tall letters (b, d, f, h, k, l, t) that should touch the top line, small letters that should reach half-way between the top and base stimuli lines (a, c, e, i, m, n, o, r, s, u, v, w, x, z), and tail letters that should drop down below the base line (g, j, p, q, y).


Use a visual cue of boxes and starting dots to work on letter formation, line awareness, space awareness, and size awareness of letters when teaching kids to write.

Box and Dot Handwriting Strategy for Better Letter Formation and Spatial Organization

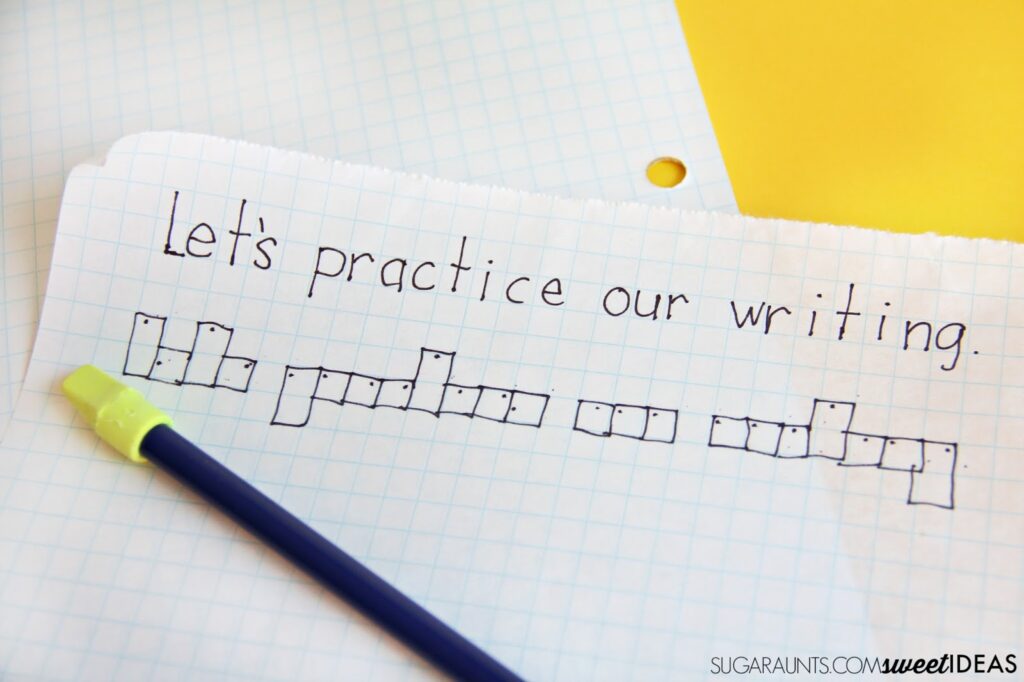
The dots in the boxes allow kids to practice letter formation by starting at the start point using the visual cue of a starting dot.  This is perfect for kids who are working on improving letter formation in a single stroke (r, m, n, etc) or letters that require the writer to pick up their pencil for portions of the letter formation (a, d, etc).  Sometimes, kids form the letters in “parts” as they build the letter instead of forming it accurately for speed and legibility.  The starting dot can help with pencil placement to address this part of letter formation. 


The sized boxes of this handwriting strategy are great for allowing kids to form letters with appropriate spacing, giving kids a definite visual cue for spatial awareness between letters and words.


Use a visual cue of boxes and starting dots to work on letter formation, line awareness, space awareness, and size awareness of letters when teaching kids to write.


This handwriting technique can be used as an accommodation that allows students to learn letter size, placement, and formation.  This accommodation can be used on regular paper, graph paper, or worksheets.  When students start to demonstrate better understanding on letter characteristics, the boxes and/or dots can be faded out and eventually removed.  


One strategy for grading down this tool is to first remove the dots from the boxes.  Other students may benefit from removing the boxes before the dots.  Simply adding a dot to writing spaces can provide the visual prompt needed for letter formation and placement. 


Another technique for lessening the amount of visual cue is to transition students to a highlighter space for the bottom space or bottom half of lined paper. 


Other times, using the boxes and dots on the words that are being copied are all that are needed for carryover of line awareness, letter formation, and spatial awareness. 


Use a visual cue of boxes and starting dots to work on letter formation, line awareness, space awareness, and size awareness of letters when teaching kids to write.

Love this handwriting trick?  Stop over to see all of the simple handwriting tricks for better handwriting in our 30 handwriting series. This post is part of our Easy Quick Fixes to Better Handwriting series. Be sure to check out all of the easy handwriting tips in this month’s series and stop back often to see them all.  


You’ll also want to join the Sweet Ideas for Handwriting Practice Facebook group for more handwriting tips and tools.
Get 29 pages of modified paper with a Christmas Theme for legible and neat Letters to Santa, Christmas Wish Lists, Thank You Notes, Holiday Lists, and MORE! 
Sandpaper Letter Formation Trick

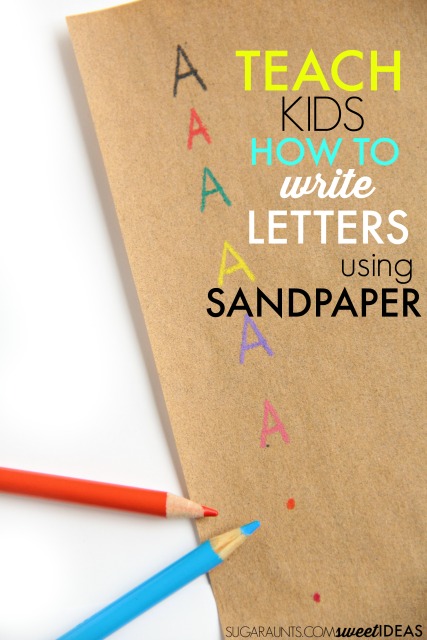
This easy handwriting trick uses an item you probably have in the workshop or garage of your house. Sometimes, a creative technique is all it takes to help kids work on letter formation and line awareness in their handwriting.  We used sand paper to provide proprioceptive feedback through the pencil while working on handwriting skills that might be difficult for some kids on regular paper.


This trick is a fun pencil control activity that is helpful for improving handwriting.


Scroll to the bottom to watch this Sandpaper Handwriting Trick. 


Use sandpaper as a strategy for helping kids to learn how to make letters, number formation, letter formation, spatial awareness, and line awareness in handwriting with a sensory, tactile, and proprioception activity.


Sandpaper Writing Activity


This post contains affiliate links.


Sandpaper might be considered a super tool in the Occupational Therapist’s therapy bag.  It’s a great medium for working on handwriting in several areas:  Using sandpaper as a base sheet when writing provides a surface for feedback through the hand.  This is one easy way to help kids who need to work on pencil pressure.


Read more about helping kids to write with appropriate pencil pressure.


This is such an easy trick for helping kids to work on letter formation, number formation, letter reversals, and organizational issues such as line placement (aka writing on the lines and in the spaces on worksheets).


All you need is a single sheet of sandpaper.  


With kids, sometimes a small twist on what you’ve been doing is all that you need to get the hours of practice to finally “stick”.  You might have been working on letter or number formation over and over again in a bunch of different ways.  The chalkboard, the white board, the fun pencil, writing in the sand bin…but give the kiddo a piece of paper and the letters are choppy, poorly formed, and all over the lines.


What is a mom/teacher/OT to do?  


Some kids respond well to repetition.  Motor planning is a good thing when it comes to letter formation or number formation!  However, other kids work well with all of the tricks but just can’t carryover the skills they’ve learned once they are required to write quickly or write an open-ended response (aka think while writing).

This sandpaper writing trick is one strategy that can help kids slow down, respond to tactile sensory input, and modify their pencil control given proprioceptive feedback.  


Here’s how it works:
Simply lay a piece of paper on top of a sheet of sandpaper.  And then write.


The sandy grit of sandpaper provides feedback through the pencil and allows kids to slow down, write with better pencil pressure, and be more aware of how their pencil is moving in the space they have to write in. 


Sandpaper provides a great proprioceptive strategy for handwriting. Different kids will respond to different grades of sandpaper.  This pack comes in an assortment of grades so that you can try more or less “sandiness” to the paper. A coarse grit will provide more feedback and a fine grit will provide less sensory input.  


Watch the video to get a better understanding of how to complete this activity. Show it to the kiddos, too!


Use sandpaper as a strategy for helping kids to learn how to make letters, number formation, letter formation, spatial awareness, and line awareness in handwriting with a sensory, tactile, and proprioception activity.

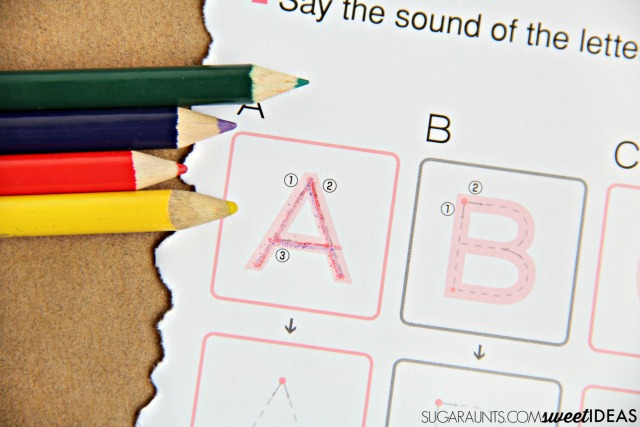
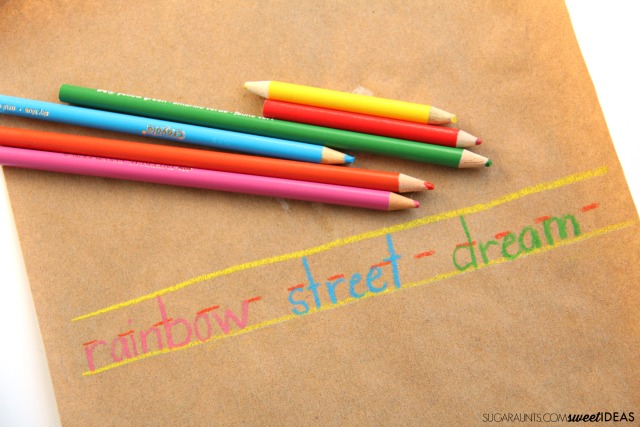
This is a great trick to use with workbooks.  Use several colors of colored pencils to practice letter or number formation with rainbow writing.  Simply trace over the letters with different colors to practice letter formation.


Using a sheet of sandpaper under a worksheet can allow for improved placement in a writing space by encouraging the child to slow down while writing. 


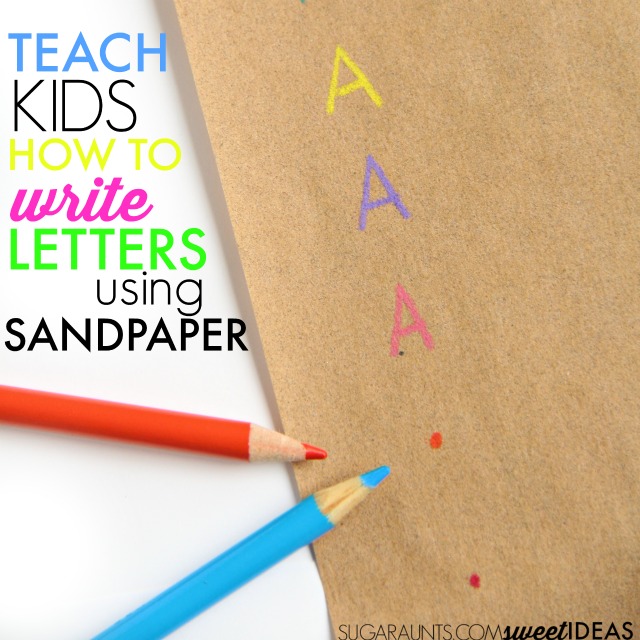
Try writing right on the sandpaper with colored pencils to really add a tactile strategy to letter formation.  Try placing starting dots along with verbal or visual cues to form the letter correctly.  The tactile feedback will add a “memory” to forming the letter. 


Use sandpaper as a strategy for helping kids to learn how to make letters, number formation, letter formation, spatial awareness, and line awareness in handwriting with a sensory, tactile, and proprioception activity.

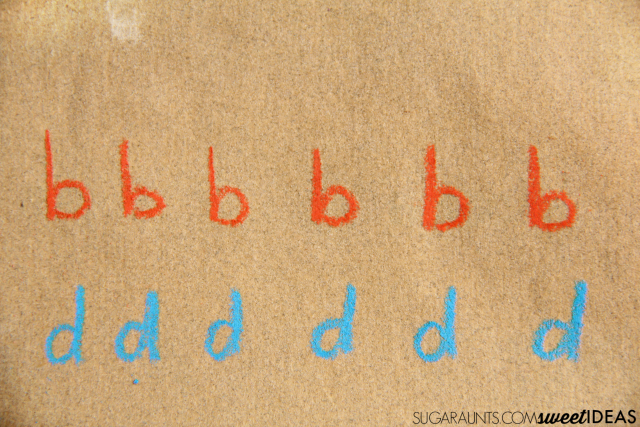
This is a great strategy for helping kids to address letter reversals.

Use sandpaper as a strategy for helping kids to learn how to make letters, number formation, letter formation, spatial awareness, and line awareness in handwriting with a sensory, tactile, and proprioception activity.

One last way to use sandpaper in handwriting is to draw lines on the sandpaper and ask the child to write on the lines with colored pencils.  While this is not a practical strategy for written work, it’s a great way to practice line awareness and spatial organization skills.  Once the sandpaper is filled up with writing, use it as a base for placing paper on top.  


MORE ways to practice handwriting using sandpaper:

Try using these Pencil Mazes over the sandpaper to work on pencil control.
Work on pencil control and accuracy with Pencil Obstacle Courses

Use sandpaper as a strategy for helping kids to learn how to make letters, number formation, letter formation, spatial awareness, and line awareness in handwriting with a sensory, tactile, and proprioception activity.


Like this handwriting tip?  Try all of the strategies in our Easy Quick Fixes to Better Handwriting series. Be sure to check out all of the easy handwriting tips in this month’s series and stop back often to see them all.  


Watch the video on this Sandpaper Handwriting Trick:


You’ll also want to join the Sweet Ideas for Handwriting Practice Facebook group for more handwriting tips and tools.

Friendship Gross Motor Activity

friendship activity for preschool

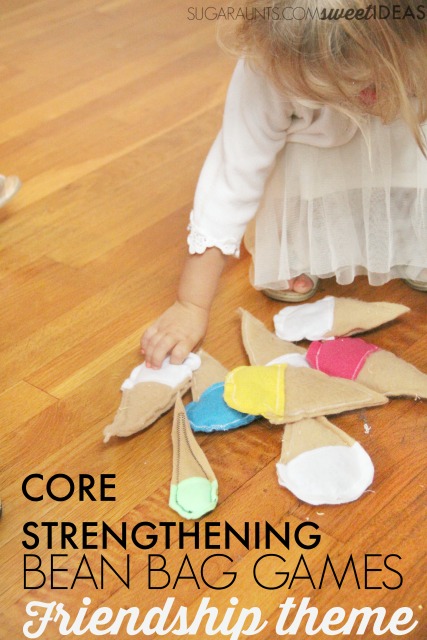
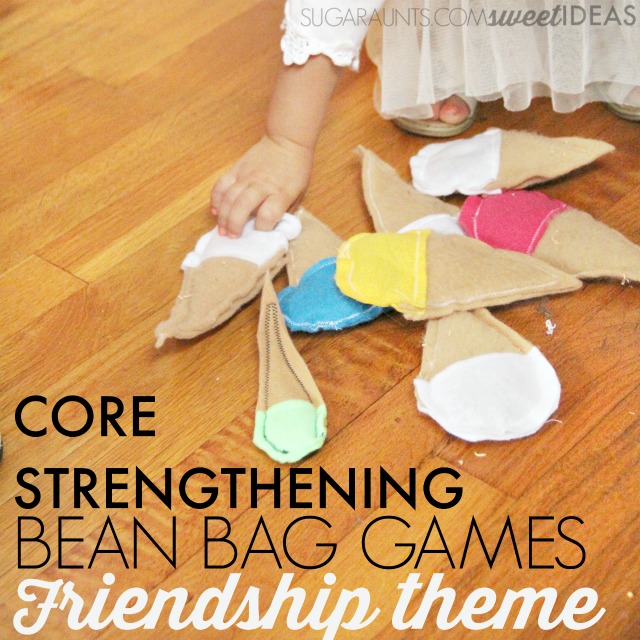
This ice cream gross motor activity is also a fun friendship gross motor activity too! In fact, movement games are a great way to build friendship and establish relationships, especially when team building and problem solving are involved.  Here, you’ll find an ice cream bean bag activity that challenges not only core strength, movement patterns, and motor planning (with an ice cream theme!) but also is a fun friendship activity for a group.

The friendship gross motor activities here are bean bag games that would fit nicely with a movement gross motor activity because it’s just another way to improve core strengthening.

The friendship theme is a bonus, making it a fun friendship activity for preschoolers and younger kids developing from parallel play to associative play to cooperative play.

Use this ice cream therapy activity to add a movement break in the classroom, a creative ice breaker game for a group of new friends, and a playful ways to promote friendship with movement.  

And even better, bean bag games improve core strengthening through whole body movement and these friendship themed games are one that will build memories.

Friendship theme gross motor bean bag activity for kids in preschool, classroom.

Affiliate links are included in this post.

Gross Motor Core Strengthening ActivitY

Building core strength is important for so many reasons: attention, focus, and positioning are just a few reasons to strengthen the core.  Read more about core strengthening and attention here

Use bean bag games in Friendship Activities

There are several reasons why bean bag games are a great addition to any kids’ day. These are the underlying reasons why you’ll see bean bag activities in therapy. But, also bean bag games can be beneficial as a gross motor friendship activity, too.

  • Bean bag games are a great movement and core strengthening activity.
  • They are an easy way to add a movement brain break to classroom activities. 
  • Movement games foster friendship and invite conversation in groups like classrooms, youth groups, play dates, and birthday parties.
  • Bean bag games offer repetition with heavy work, adding proprioception for a calming and organizing activity.
  • Bean bag games offer an opportunity for gross motor visual motor integration skill work, which is necessary for developing the skills needed for handwriting, reading, and learning.
  • Bean bag games allow a child to build core muscle strength.
  • Group games with bean bags build problem solving and group interactions.

For our gross motor friendship activity, we attempted to build core muscle strength through repetition of core muscle building, using a gross motor ice cream theme.  

This would be a good activity for a group setting, however, you could definitely do this activity individually as well.    

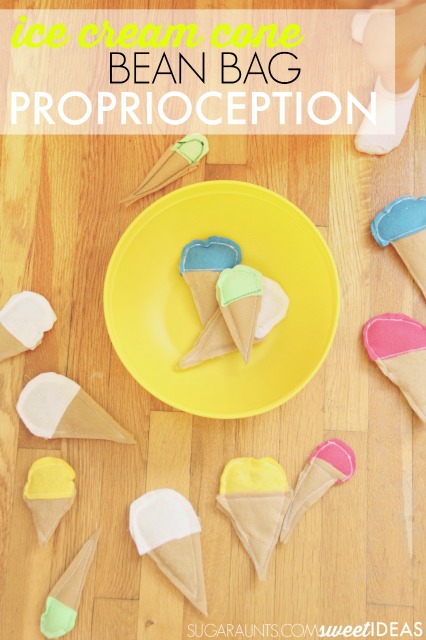
We used the ice cream bean bags that we made last summer.  Read more about how to make the ice cream cone bean bags here.    

While any bean bags would work for these friendship movement activities, we used what we had in the house, and they went perfectly with our book for this week, Mo Willems’ Should I Share My Ice Cream.  (Tell me, are your kids as Elephant and Piggy obsessed as mine are???)  

Gross Motor Friendship Ideas

Line up your group of kids.  We played a few different games and they all involved FUN!

  1. Bean Bag Slide– Kids can line up side by side, facing in the same direction. Start with all of the bean bags to the left side of one child.  The first child should reach down and grab one bean bag. They can then slide the bean bag on the floor between their legs, placing it behind them.  The child to their right should lean down and grab the bean bag between their legs.  They can then place the bean bag on the floor in front of their feet.  The child to their right can grab the bean bag and continue it down the line of kids.
  1. Bean Bag Over Head– Kids can sit on the ground one in front of the other.  The bean bags should begin in a pile in front of the first child.  That child can pick up one bean bag and place it over their head to pass it to the next child behind them. That child can grab the bean bag and pass it over their head to the child behind them. Continue down the line.

2. Bean Bag Side to Side– Kids can sit in a line behind one another. The kids should pass bean bags down the line by twisting at the core to rotate their trunk. Continue the bean bag pass down the line.

3. Bean Bag Toss– Kids should line up in a line by standing up a few feet from one another.  One child should pass one bean bag to the next student by tossing a low toss to the next child.  Try to keep the bean bag close to the ground but not touching the ground. Continue to pass bean bags down the line. 

4. Bean Bag Foot Pass– Kids can lie on their backs in a line.  The fist child should use only their feet to pick up one bean bag and pass it to the next child. That child should grab the bean bag using only their feet.  Continue all of the bean bags down the line.

Each of these games can be done in a line or in a circle.  

Friendship activities for preschoolers including a Gross motor bean bag game for a group with a friendship theme.

friendship activity for preschoolers

By playing a group game, children can build friendships, foster relationships, problem solve, resolve conflicts, learn from others, and establish many other powerful developmental benefits of group activities.  

For this friendship gross motor activity, we first, read one of our favorite Elephant and Piggy books, Should I Share My Ice Cream.  We then used our ice cream bean bags to play a friendship game together.  As we passed the ice cream bean bags, we shared ways to be helpful.  

Sharing with a friend is just one way to be nice to a friend.  Being helpful at school, making a nice card, or inviting a friend to play are other ways to be nice to a friend. As we passed the bean bags to one another, saying these qualities of a friend allowed us to slow down in the bean bag passing game.  

This way, we could build muscle strength with slow movements.   

While we used the ice cream bean bags, you could read the book and  use any bean bags in your gross motor friendship activity!   What are your favorite bean bag games?  

Want more friendship activities for preschoolers?

In the resource, Exploring Books Through Play, you’ll do just that.

This digital, E-BOOK is an amazing resource for anyone helping kids learn about acceptance, empathy, compassion, and friendship. In Exploring Books through Play, you’ll find therapist-approved resources, activities, crafts, projects, and play ideas based on 10 popular children’s books. Each book covered contains activities designed to develop fine motor skills, gross motor skills, sensory exploration, handwriting, and more. Help kids understand complex topics of social/emotional skills, empathy, compassion, and friendship through books and hands-on play.

Click here to get your copy of Exploring Books Through Play.

Friendship themed bean bag activity for gross motor core strengthening exercise

Check out more Friendship themed activities based on Should I Share My Ice Cream? Simple Friendship Concentration Game from Toddler Approved Spelling Names Ice-Cream Centre from Still Playing School Kind Words Sensory lesson from Preschool Powol Packets Listening Games with Elephant and Piggie from Inspiration Laboratories Making Pumpkin Ice-Cream with Friends from The Educators’ Spin On It Cupcake Cones from Kori at Home Friendship Ice-Cream is a Fun Way to Practice Sharing from Mama Smiles How to Make a Catapult from JDaniel4’s Mom Paper Tube Friendship Bracelets from Clare’s Little Tots How to Make Colour Mixing Ice-Cream from Peakle Pie How to make Happy Faces in a Sand Tray from Big Owl, Little Owl, Whitty Hoots Share the Ice-Cream Fine Motor Game from Views from a Step Stool Pass the Ice-Cream Sharing Activity for Preschoolers from Sunny Day Family Friendship Ice Cream Throw from Adventures of Adam Build 2D and 3D Ice Cream Cones with Friends from Kara Carrero Piggie and Elephant Shape Sorting Activity from Mosswood Connection

Colleen Beck, OTR/L has been an occupational therapist since 2000, working in school-based, hand therapy, outpatient peds, EI, and SNF. Colleen created The OT Toolbox to inspire therapists, teachers, and parents with easy and fun tools to help children thrive. Read her story about going from an OT making $3/hour (after paying for kids’ childcare) to a full-time OT resource creator for millions of readers. Want to collaborate? Send an email to contact@theottoolbox.com.


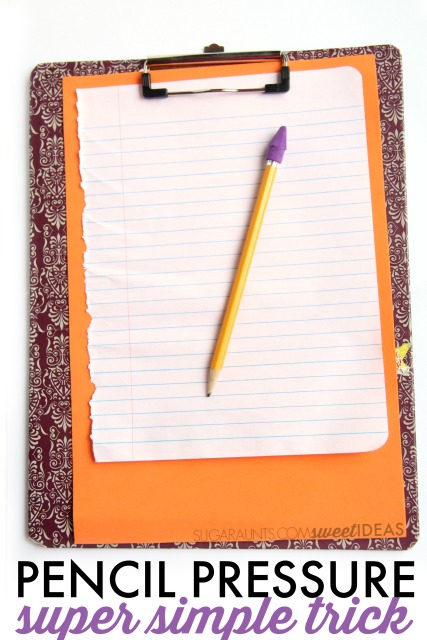
Pencil Pressure Simple Handwriting Trick

We’ve shared a few different ideas on how to teach kids to write with appropriate pencil pressure.  Sometimes, a different trick that you pull from your therapy sleeve is all it takes for a skill to “click” and handwriting to get a notch up on the legibility scale.  This super simple trick is one that you can probably use today if you’ve got the right time in your craft bin.  If not, all it will take is a quick run out to the dollar store to get the kids writing with better letter formation and with better pencil pressure!

Easy trick for helping kids to write with appropriate pencil pressure and letter formation.

Pencil Pressure and Letter Formation Quick Tip


This post contains affiliate links. 

When teaching kids to write with appropriate pencil pressure, there are a bunch of ways to go about it.  This one trick might just be the one that makes all of that instruction and cues stick. There is only one item that you’ll need for this simple handwriting trick (besides a piece of paper and a pencil!)


You can get one at the dollar store if you don’t have one in your crafting supply closet, but if you are trying to supply the whole classroom with this handwriting practice activity, this bulk purchase would be a better option. 

Easy trick for helping kids to write with appropriate pencil pressure and letter formation.
We also used a clipboard for our writing activity, but just writing on the desk or a table top surface would be fine too.

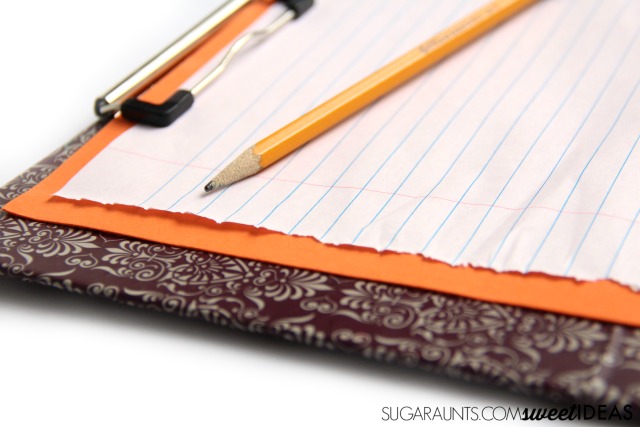
To practice pencil pressure with letter formation, place a piece of writing paper on top of the foam sheet.  And that’s it!

Easy trick for helping kids to write with appropriate pencil pressure and letter formation.
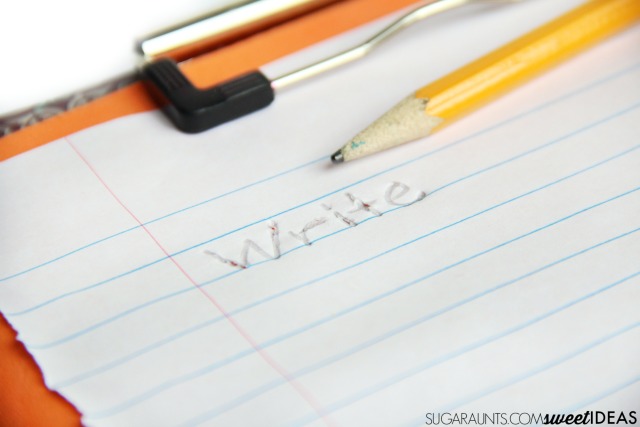
When you write on the paper over the foam sheet, kids get immediate feedback about the amount of pressure they are pushing through the pencil.  If you press too hard on the pencil when forming letters, the pencil point will press right through the paper into the foam.  If you write too lightly with the pencil, the letters will not show up on the paper. 

Pretty cool, right?


Easy trick for helping kids to write with appropriate pencil pressure and letter formation.

So how does this activity help with letter formation?


Kids learn to write with the pencil using appropriate pencil pressure.  When kids are pressing too hard or too lightly, they are seeking out sensory input with formation of the letters.  The foamy surface requires a slower speed to complete written work and slows letter formation.  Kids can receive sensory input from the surface of the foam sheet with resistance.  That resistance in letter formation can help kids learn the motor plan for those slow and more appropriate letter formation.

This activity might not work for all students, but it is one more trick to have in your therapy bag!

Try these resistive surfaces for practicing letter formation:


This post is part of our Easy Quick Fixes to Better Handwriting series. Be sure to check out all of the easy handwriting tips in this month’s series and stop back often to see them all.  

You’ll also want to join the Sweet Ideas for Handwriting Practice Facebook group for more handwriting tips and tools.
Easy trick for helping kids to write with appropriate pencil pressure and letter formation.

Paper Placement when Writing with a Desk Positioner

One way to encourage legibility with handwriting and ease of written work is to address paper placement and paper positioning on the desk.  Sometimes, kids have difficulty with placing the paper on the desk and might hold it very close to the edge of the desk, off to one side of the desk, or in an awkward placement.  When writing, holding the paper in place with the non-dominant hand at the corner of the paper can help with stabilization and pencil control.  This desk-top paper positioner will help kids with paper placement when writing.

Make this desk top paper positioner to help kids hold and stabilize the paper when writing and to position the paper on the desk for improved legibility in handwriting.

Paper Position When Writing at a Desk


You can easily create a desk-top paper positioner for every child in the classroom or at home on a writing surface.  You’ll need just a few materials to create this paper placement tool:

This post contains affiliate links.

Glue or Tape

First, use the cardstock to trace and cut out your child’s handprint.  This will be used for the child’s helper hand, so trace the non-dominant hand.  Cut out the hand shape.

Next, use the washi tape to create a paper placement boarder on the desk.  This will be a visual cue for paper positioning when writing.  Some kids can use just this visual cue. Others may need a physical cue as well.  For those children, you can glue onto the washi tape, a strip of craft sticks.  These will allow the paper to be pushed right up against the positioner.  

Finally, glue or tape the handprint onto the upper corner of the positioner.  If you are using craft sticks on your paper positioner, the handprint can be glued to the craft sticks, creating a slot for the paper to slide into at the corner.  If you are only using the washi tape as a visual cue for paper placement, make a tape donut and tape the handprint to the washi tape.

Make this desk top paper positioner to help kids hold and stabilize the paper when writing and to position the paper on the desk for improved legibility in handwriting.
This is a positioner that can be made for right handed kids or left handed kids.  Simply position the washi tape to the left diagonal or right diagonal depending on the handedness of the child.

Make this desk top paper positioner to help kids hold and stabilize the paper when writing and to position the paper on the desk for improved legibility in handwriting.

A few tips about handedness and paper placement when writing:


  • Kids who write with their right hand should position the paper to the left diagonal.  The top of the paper should be positioned toward the left top corner of the desk.  
  • Left handed students should position the paper toward the right diagonal.  The top of the paper should be positioned toward the top right corner of the desk. 
  • Positioning the paper at a diagonal allows for a better pull down stroke with letter formation and enables the child to create letters from top to bottom more easily.  It also promotes a neutral wrist and comfortable elbow positioning. 
  • The paper should be positioned at a 25-35 degree angle, either to the left or to the right. 
  • Paper should be placed at the midline.

Make this desk top paper positioner to help kids hold and stabilize the paper when writing and to position the paper on the desk for improved legibility in handwriting.

Make this desk top paper positioner to help kids hold and stabilize the paper when writing and to position the paper on the desk for improved legibility in handwriting.

Be sure to check out all of the easy handwriting tips in this month’s series and stop back often to see them all.  

You’ll also want to join the Sweet Ideas for Handwriting Practice Facebook group for more handwriting tips and tools.