Cool Whip Brownie Pops

This is a sponsored post written by me on behalf of Cool Whip. All opinions are 100% mine.


Have your kids ever had a case of the blahs?  You know the blahs, right?  The kids mope home from the school bus, tired and snapping at their siblings.  (It happens too often!) They’ve been sitting in school all day long, and they are in a mood


Or maybe you’ve got a kiddo crew who have been working hard to keep their room clean, or have played a great t-ball game and deserve a fun little treat.  (We are in full-on ball season right now, are you?)

Cool Whip made one one of our recent blah-filled days a little more extraordinary.  

We’re nearing the end of the school year and it is a rough time on the kids and their mom.  They are ready to be done with school after months and months of the same school routine.  My kids had a four day weekend in their school schedule recently and getting back into the school routine that Wednesday was hard to say the least!  I decided it was a day that needed a little after-school treat.

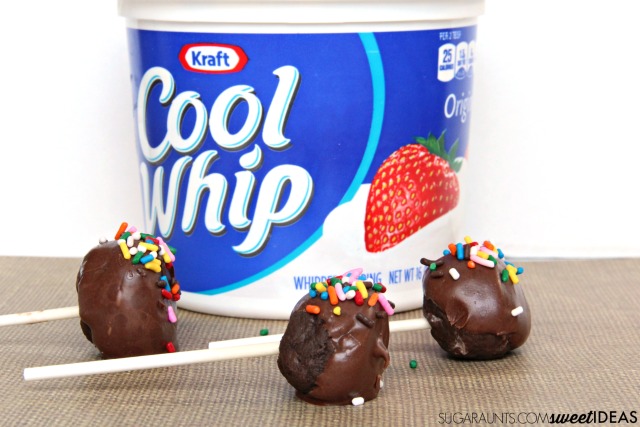
These Cool Whip Brownie Pops are the cure to mopey kids and an easy treat.  They were a HUGE hit with my crew and they’ve already been begging me to make another batch.  

My preschooler absolutely loves to cook with me.  There isn’t a day that goes by that she doesn’t ask to help with meal prep or to cook something special together.  I love the together time we share flipping through cook books together and seeing her develop a real hobby is so much fun as a mom. When I told my mini-chef that we would be making a Cool Whip after-school treat for her big brother and sister, she might have started jumping up and down.

Cool Whip Brownie Pops are easy to make and are an fun after school treat for kids!
Cool Whip Brownie Pops

Cool Whip Brownie Pops are easy to make and are an fun after school treat for kids!
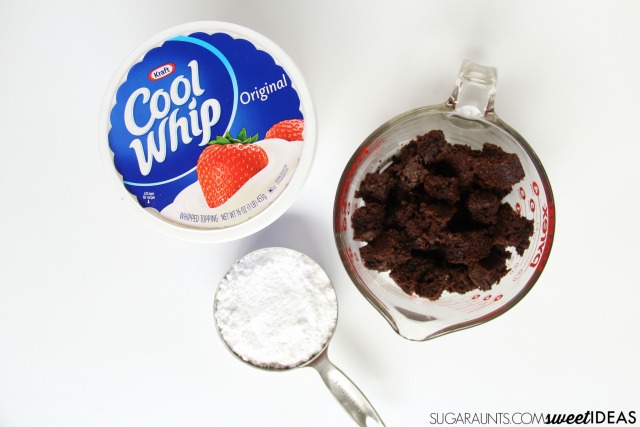
These treats are super easy to mix up.  You’ll need just a few ingredients:
2 cups Cool Whip
1 cup confectioners sugar
4 cups cubed brownies (We had a batch of brownies made from a box mix already whipped up and cool.  To make this recipe even easier, just use store-bought or bakery brownies.)
2 cups chocolate chips, melted
Sprinkles
You’ll also need lollipop sticks for the brownie pops.

To make the Cool Whip Brownie Pops:

Cool Whip Brownie Pops are easy to make and are an fun after school treat for kids!

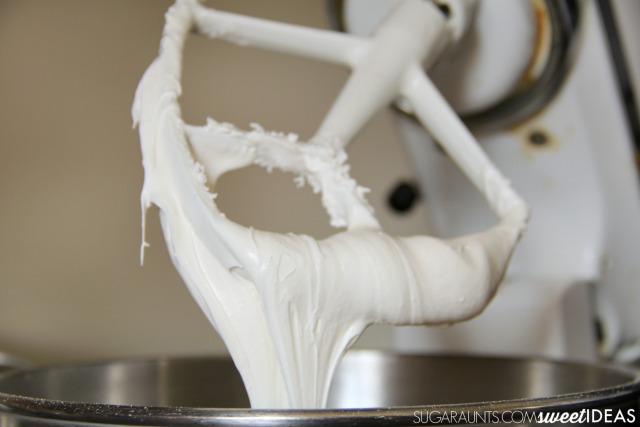
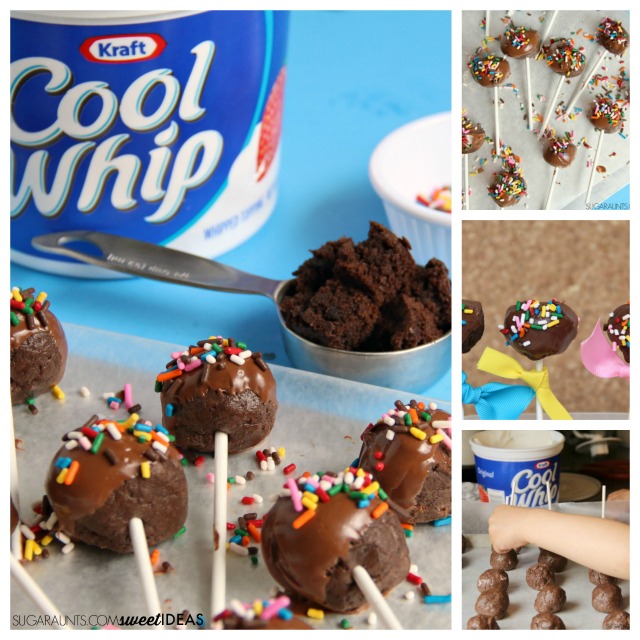
Start by whipping the Cool Whip and confectioners sugar in a mixer. Slowly mix in the confectioners sugar at first, then turn up the speed on the mixer.  Allow the Cool Whip and sugar to mix for a few minutes.  You want a thick and fluffy, icing-like consistency.

Carefully stir in the cubed brownies.  Turn up the mixer speed again to thoroughly combine the brownies.

Cool Whip Brownie Pops are easy to make and are an fun after school treat for kids!

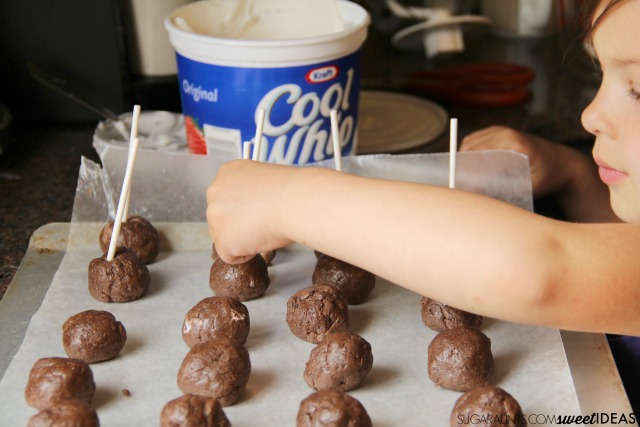
Use a spoon to scoop the mixture.  Roll 1-2 inch balls and place them on a wax paper covered cookie sheet.  When the cookie sheet is full, place the brownie balls into the freezer for a few minutes.  Meanwhile, melt the chocolate chips.  Once the chips are melted, pull the brownie balls out of the freezer and add the lollipop sticks.  Carefully cover the brownie pops in the melted chocolate.  
I found that tilting the saucepan of chocolate and twirling the brownie pops in the chocolate worked better than dunking the pops into the chocolate. 

Cool Whip Brownie Pops are easy to make and are an fun after school treat for kids!

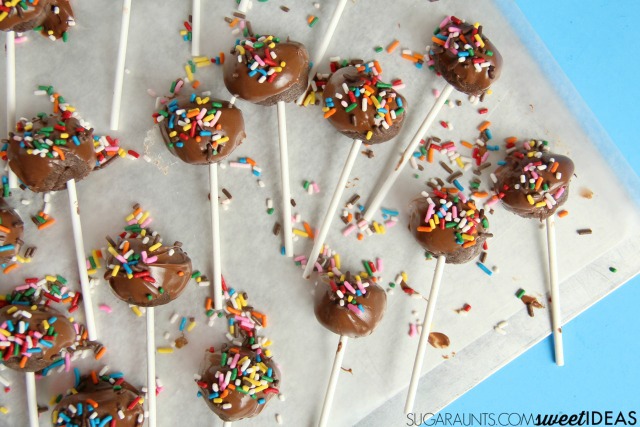
Place the chocolate covered brownie pops on the wax paper covered cookie sheet and spread the sprinkles over the pops.  Allow the Cool Whip Brownie Pops to harden.

Cool Whip Brownie Pops are easy to make and are an fun after school treat for kids!

This is an easy recipe that makes an ordinary day a little more extraordinary and one we’ll be making again very soon!  

Cool Whip Brownie Pops are easy to make and are an fun after school treat for kids!

Love this idea? Share it on Facebook! 

Visit Sponsors Site

Core Strengthening with Music and Movement

Kids love to move and wiggle.  They also need the strengthening that occurs as a result of all of that moving and wiggling.  Today, I’ve got fun ways to build the core body strength using music and movement songs and rhymes.  These are childhood classics that are fun to pass on to kids!

When children have a strong core (or trunk), they are able to sit up at a desk, play on the floor without drooping or slumping, write with a functional position, and even dress themselves more easily.  Strength of the core body is essential for every childhood function, and even allows the child to pay attention more easily. 

Core strengthening with movement and music rhyming songs for kids

Core Body Strengthening with Music and Movement Songs

This post contains affiliate links.


Think back to your childhood.  Are there games or activities that you recall doing in carefree childhood play?  Some of those music rhyming games can be used to work on strength and stability of the body’s trunk. 


Try these core body strengthening ideas. I love all of the creative exercises and activities for building strength in the trunk. Plus, these are great tools for posture exercises for kids.

Core strengthening with movement and music rhyming songs for kids

Music and Movement Rhymes for addressing core body strength:
I’m a Little Teapot
Head Shoulders Knees and Toes
Row, Row, Row Your Boat
Teddy Bear Teddy Bear Turn Around
If You’re Happy and You Know It
Hokey Pokey
The Wheels on the Bus


Try these rhyming games to work on the strength of the upper body with your kids, all while having fun and inducing giggles!

What should you do when weak core muscles impact handwriting?

Strengthening the core can have a HUGE impact in handwriting!  

Core strengthening with movement and music rhyming songs for kids

Do you have any favorite movement and music rhymes from your childhood?

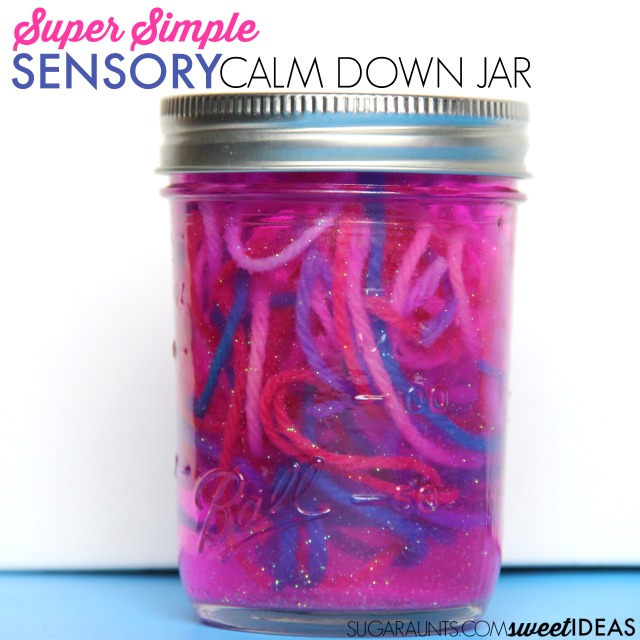
Super Simple Recycled Sensory Jar

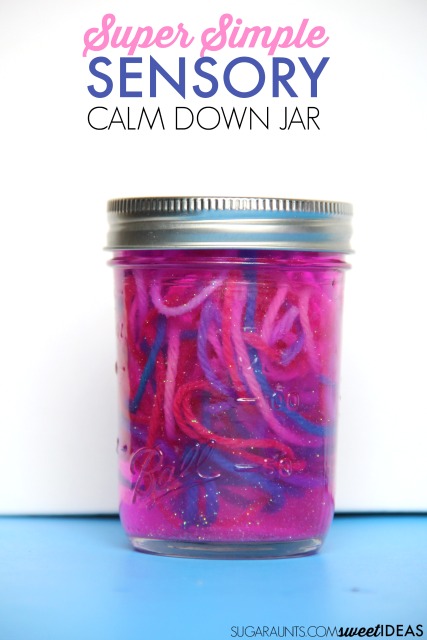
There are so many ways to make sensory bottles.  Today I wanted to share a super simple sensory bottle idea that is perfect for those calm-down moments we all crave.  You know the times we all have when a child (or mom!) is just needs to refocus and calm down.  It’s a time when many of us fidget, bite our nails, or seek out sensory input.  This sensory jar is an easy way to calm down and it’s an easy recycled jar to make, too.

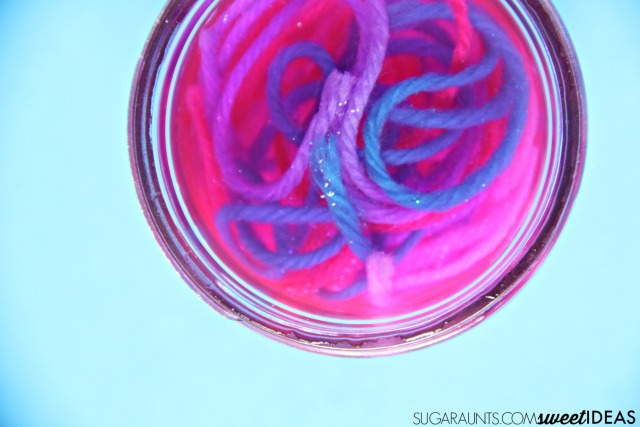
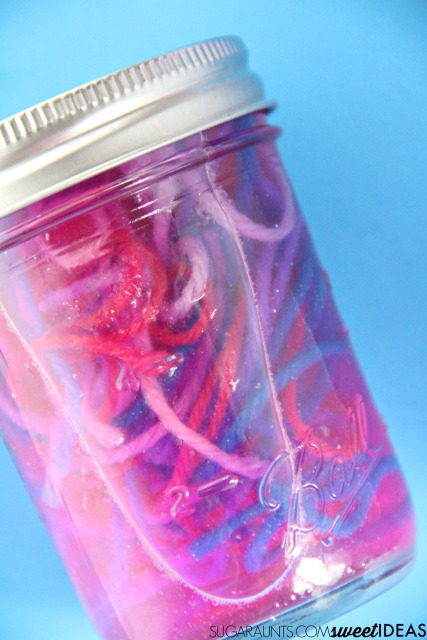
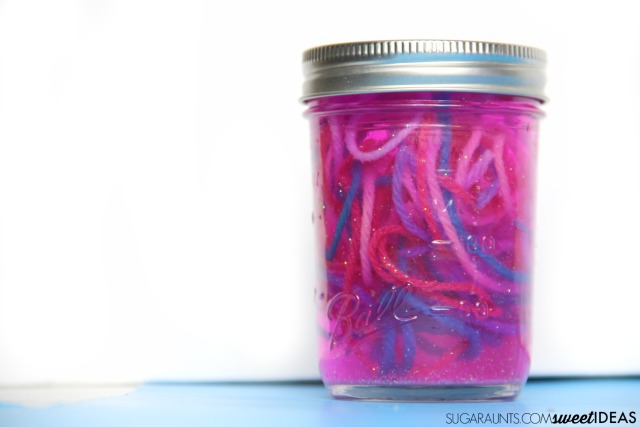
Use a recycled mason jar to make an easy sensory calm down jar

Recycled mason Jar Sensory Calm Down Jar


This post contains affiliate links.


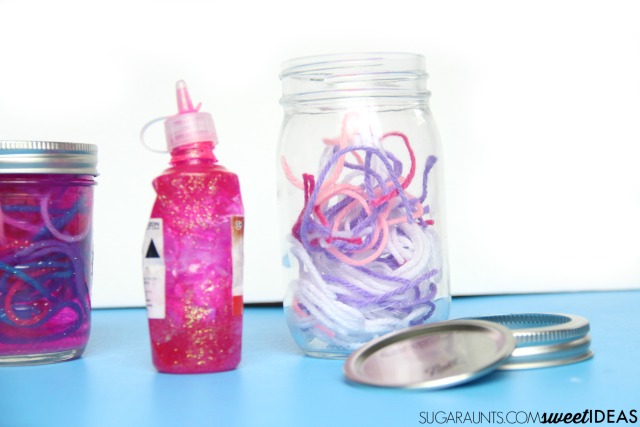
For this sensory bottle, we used items that we had on hand.  
Mason jar
Glitter glue
Yarn in various colors
Water
Glue


Use a recycled mason jar to make an easy sensory calm down jar

To make this sensory jar, cut the yarn into 6 inch lengths.  Pour a glob of glitter glue into the bottom of the mason jar.  Add the yarn and fill the jar with water.  At this point, you can add extra loose glitter, but if you don’t want that added cost, it’s an easy step to skip.  


Use a recycled mason jar to make an easy sensory calm down jar

Be sure to add glue to the jar lid at this point to secure the lid.  Close the jar and give it a shake.  


Use a recycled mason jar to make an easy sensory calm down jar

Watch the falling glitter from the glitter glue and the swirling yarn as you and your child calms down.


Use a recycled mason jar to make an easy sensory calm down jar

**We used a glass mason jar for this activity.  You can substitute the glass for a recycled plastic jar for safety reasons.  Use your judgement regarding what is best for your individual children.


Want to see more ways to use recycled jars in creative crafts and learning activities? Try these ideas:
Jars
DIY Snow globe by Kidz Activities(not shown) 
Recycle Plastic Pendant by Our Whimsicle Days 
Calm Down Sensory Bottle by Sugar Aunts 
Easy Teacher Appreciation Gift by Crafty Mama in ME 
Chalkboard Lid Jars by Play and Learn Everyday 
Photo Jar Luminaries by Mum in the Madhouse 
 
Sea Glass Suncather by The Gingerbread House 

Edible Sand Jars by Playdough & Popsicles 
Fairy Lights Recycle Jars by Peakle Pie 
Washi Tape Photo Jars by Teach me Mommy
Nature Gifts by Nemscok Farms


Use a recycled mason jar to make an easy sensory calm down jar

Love it? Share it on Facebook!


More sensory bottle ideas you will love: 


Valentines Day Sensory Bottle with Waterbeads


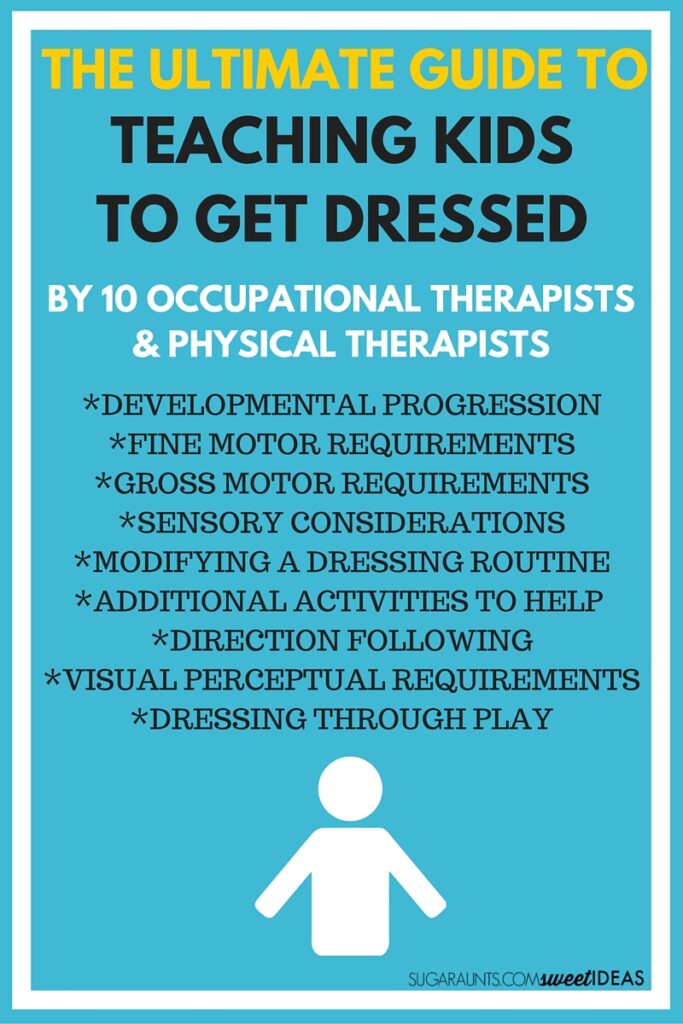
Ultimate Guide to Teaching Kids to Get Dressed

Kids grow up fast.  They are snugly newborns one day and before you know it, they are heading off to preschool (I don’t want to think about those older years!).  Those first few years of childhood are loaded with learning and growth. One area of independence is when kids learn to dress themselves.  Many parents have questions about when kids learn to get dressed on their own, how to help their child in this area of self-care, and what might be stopping their child when there are difficulties.  


Read all of our Functional Skills and tips for creating childhood independence here.

 
This month’s post in the Functional Skills for Kids series is all about teaching kids to get dressed on their own.  If you’ve been following along with this series, you know that each month ten Occupational Therapists and Physical Therapists are joining together to cover functional skills of childhood.  You can catch up on all of the posts in this series here.
 

How to Help Kids Get Dressed on Their Own: Childhood Independence with Dressing Skills

Tips from Occupational Therapist and Physical Therapist bloggers on how to teach kids to get dressed on their own with modifications to prerequisites for independence with self-dressing skills.

Use these One handed shoe tying techniques to build skills with one handed dressing tasks.

Tips to help kids to get dressed on their own
Be sure to stop back to see what the Functional Skills for Kids team covers next month!

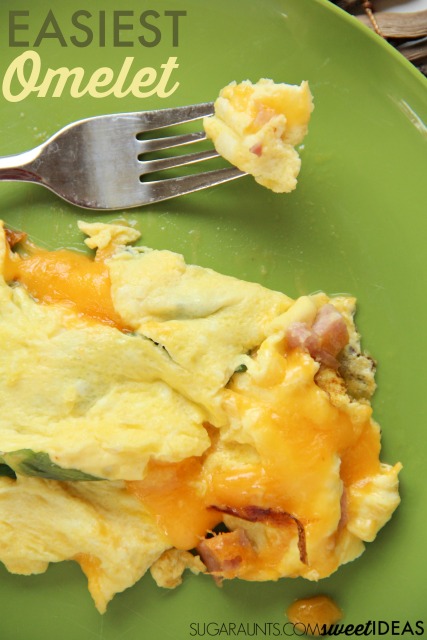
Easy Omelet Recipe

When you are cooking with kids, easy and healthy recipes are key.  We’ve covered a bunch of recipes here but it seems like there is always a household favorite.  This Easy Omelet Recipe is one that my kids request for breakfast (and Breakfast for Dinner!) all the time.  They are kind of big egg recipe fans. I love that it’s so easy.  My kids and I made up an omelet one day and had to share the recipe with you.

Kids love this omelet recipe and it's so easy to make. Add healthy ingredients for an easy kid-favorite breakfast idea.


Easiest Omelet Recipe


This post contains affiliate links.

Kids love this omelet recipe and it's so easy to make. Add healthy ingredients for an easy cooking with kids favorite breakfast idea.


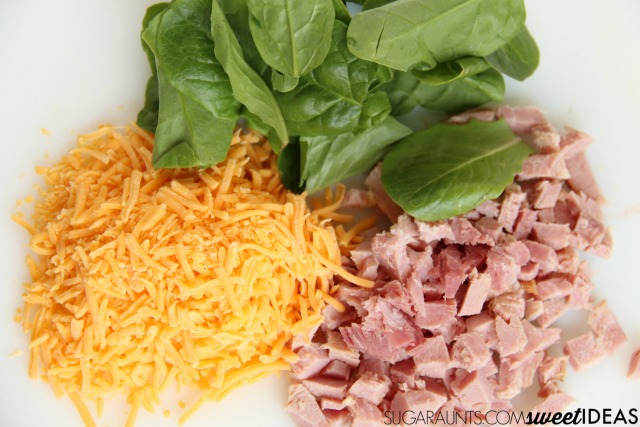
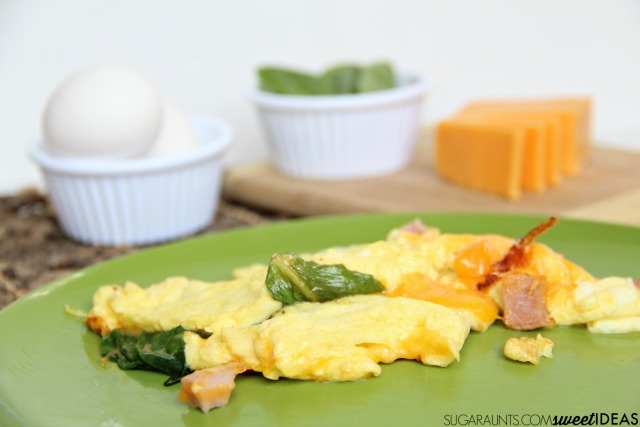
This recipe calls for just a few ingredients:
3 eggs
1/2 cup milk
1 teaspoon butter
1/2 cup diced ham
1/2 cup spinach 
1/2 cup shredded cheddar cheese

*The ingredients that we used can be substituted for other items.  Use what you’ve got in the house.  Other ingredients that can be added or substituted to your omelet include: green peppers, red peppers, sausage, tomatoes, mushrooms, and cooked onions.


Kids love this omelet recipe and it's so easy to make. Add healthy ingredients for an easy cooking with kids favorite breakfast idea.


Kids love this omelet recipe and it's so easy to make. Add healthy ingredients for an easy cooking with kids favorite breakfast idea.

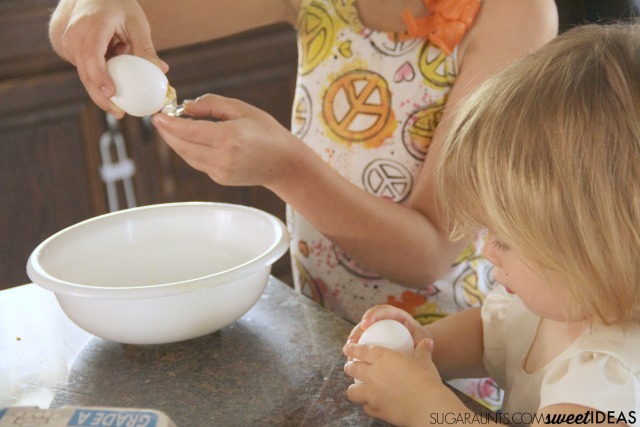
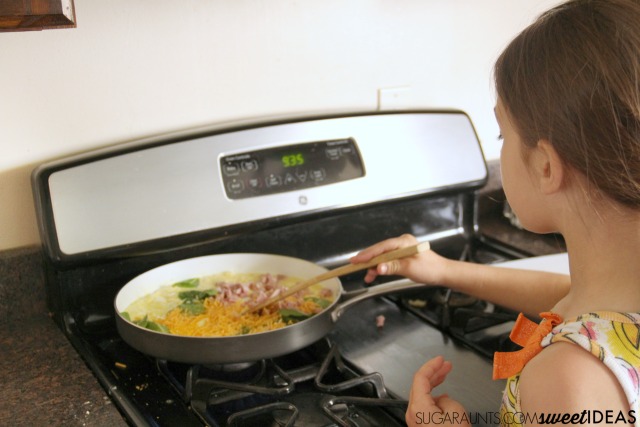
I loved seeing my eight year old make this dish.  She’s getting so big! 


To make the omelet, crack whisk the eggs.  Stir in the milk.  Add the butter to a large omelet pan.  Let the butter melt slightly and then pour in the egg mixture.  Let the egg mixture cook for a few minutes and then add the chopped ingredients.  Using a wooden spoon, gently lift the edge of the omelet.  Cook the eggs/ingredients 3-4 minutes and then, using a spatula, fold one third of the egg toward the inside.  Turn the other outer 1/3 toward the inside of the omelet.  Allow the omelet to cook 1 minute more. 


Kids love this omelet recipe and it's so easy to make. Add healthy ingredients for an easy cooking with kids favorite breakfast idea.

Carefully slide the omelet out onto a plate. 


Enjoy!


Looking for more kid-made breakfast ideas? Try these:


Mother’s Day Breakfast | CraftCreateCalm
Eggs Benedict | Royal Little Lambs
Tex-Mex Migas | The Gifted Gabber
No Bake Energy Bites | Mess for Less
Cheesy Chive Scrambled Eggs | Kitchen Counter Chronicles

Easy Omelet Recipe | Sugar Aunts


If you liked this recipe, then you will love these cooking with kids recipes:


           Quinoa Lettuce Wraps  

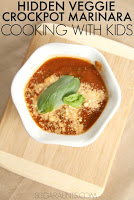
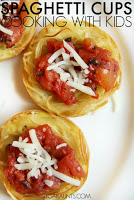
Q is for Quinoa: Quinoa Lettuce Wraps | R is for Rice: Vegetable Rice | S is for Spaghetti: Leftover Spaghetti Cups | T is for Tomatoes: Hidden Veggie Crockpot Marinara Sauce

Fine Motor Precision Math Engineering Activity

This fine motor activity is one that works on the super small motor skills of the hands.  We’ve shared tips and ideas for building precision of grasp and release before, and this is one more way to build those skills, with a math and engineering twist.  This is a fine motor math activity with major benefits.

If your kids are anything like mine, then they love blocks.  If I pull out a bin of blocks, then we’ve got ramps, castles, and houses all over the living room floor.  They are an imagination booster and it really is so much fun to see where the creativity goes with just a bin of blocks.  The OT in me loved this activity for it’s creative math twist and for it’s fine motor power punch! 

You might also want to check out our math maze activity for more hands-on math fun.

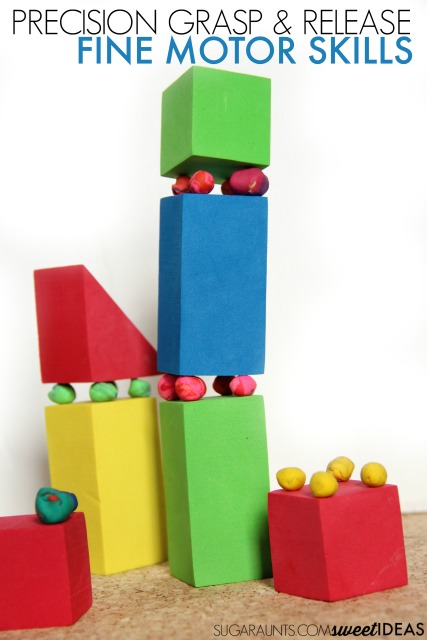
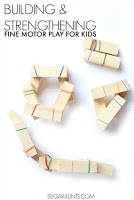
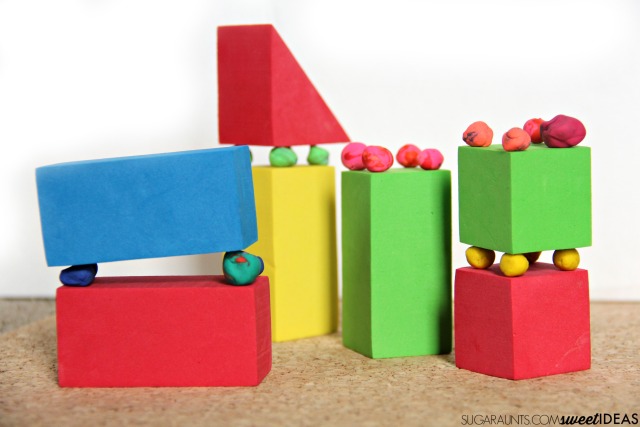
Help kids build their fine motor skills especially precision of grasp and release with this foam block and clay math engineering activity that addresses shapes and vertices.


What is precison of grasp and release?


(This post contains affiliate links.)

 
Precision handling of very small items with controlled movement is necessary for dexterity in functional grasp.  To manipulate items with small motor motions, the hand needs to be in a functional position.  The index and middle digits must oppose the thumb with tip-to-tip finger contact and interphalangeal joint range of motion.  opening and closing the grasp on items with control is precision and allows the hand to grasp small objects from a refined area and enables the hand to release objects in a specific location.  


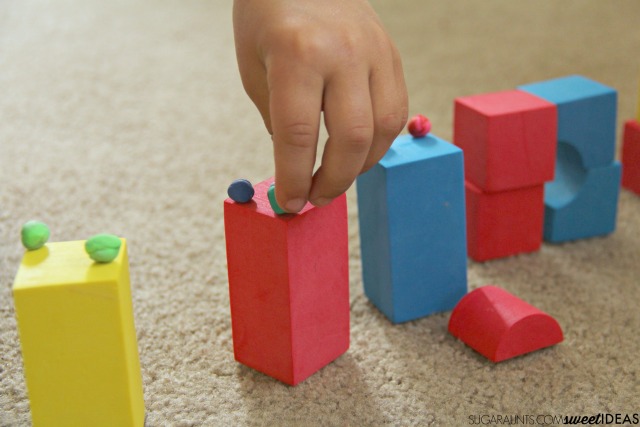
Precision in of grasp and release allows us to pick up a specific colored bead from a tray of many colors and place it on a string.  We used foam blocks and small balls of clay to practice precision of grasp and release.


Fine Motor Precision Activity

Help kids build their fine motor skills especially precision of grasp and release with this foam block and clay math engineering activity that addresses shapes and vertices.

Rolling balls of clay develops the intrinsic muscle strength of the hands.  It opens up the thumb web space and encourages flexion of the interphalangeal joints in the fingers.  Once we had rolled a collection of small clay balls, we used them to work on precision grasp and release with the foam blocks.

Help kids build their fine motor skills especially precision of grasp and release with this foam block and clay math engineering activity that addresses shapes and vertices.

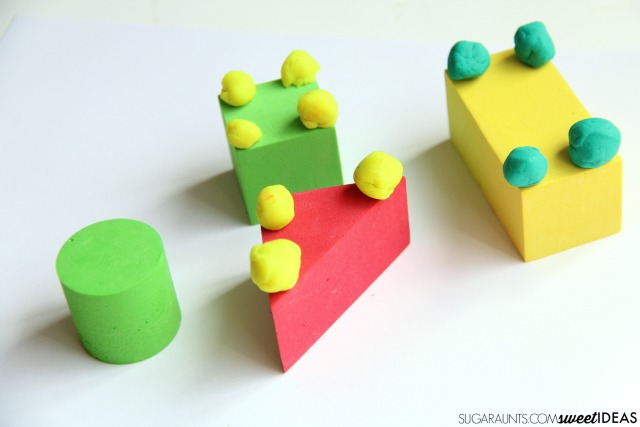
One area that my kids have discussed in both kindergarten and second grade this year is the term vertices.  We talked about the number of vertices on different shapes and placed a small clay ball on each vertice.  Carefully placing the clay on each corner required precision to pick up the clay and to place it precisely on the corner.

Help kids build their fine motor skills especially precision of grasp and release with this foam block and clay math engineering activity that addresses shapes and vertices.

Math Engineering Activity

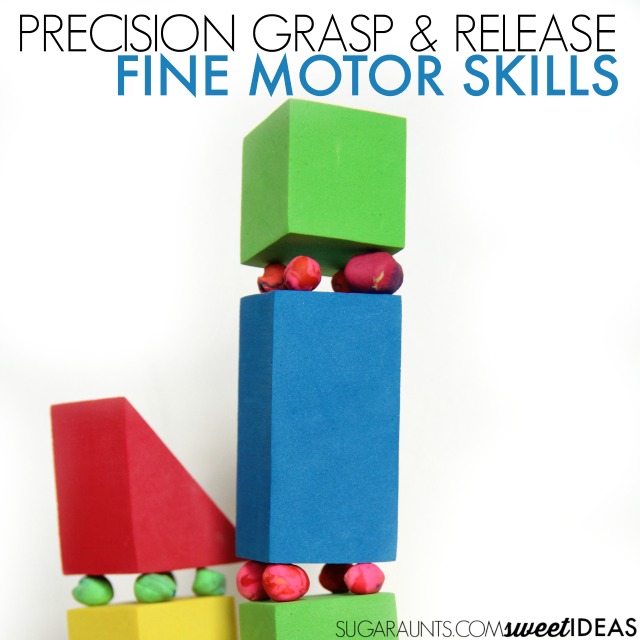
Once we had each corner covered with clay, we thought it would be fun to engineer a tower.  It was fun to explore the different ways we could build the towers using graded controlled movements to prevent the whole tower from falling.  


This was such a fun exercise in fine motor skills and one we’ll be doing again!

learning activities using foam blocks


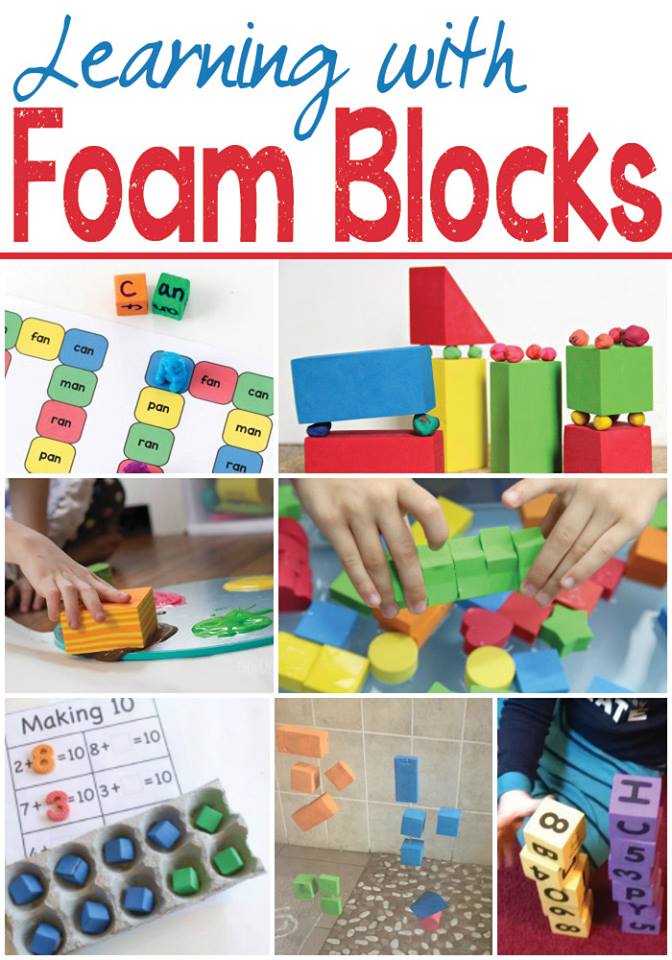
Looking for more learning activities with foam blocks?  Try these:


Roll a CVC Word Game from Mom Inspired Life


Sticky Foam Blocks from Teach Me Mommy


Making Ten Math Activity from School Time Snippets


Foam Blocks Stacking Activity from Something 2 Offer

Help kids build their fine motor skills especially precision of grasp and release with this foam block and clay math engineering activity that addresses shapes and vertices.


If you liked this activity, you’ll love these:

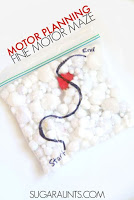
 Motor Planning Fine Motor Maze hand strengthening activity

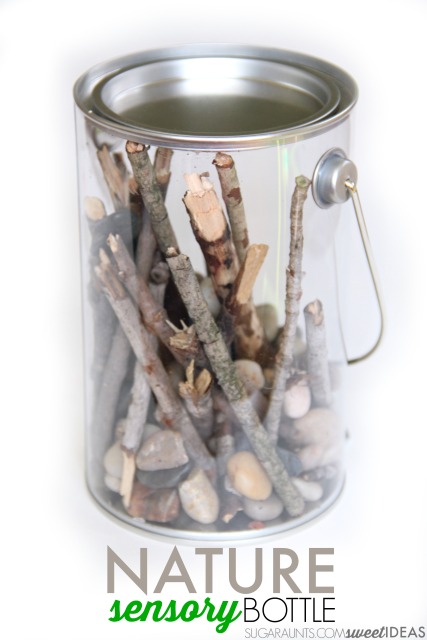
Calming Nature Sensory Bottle

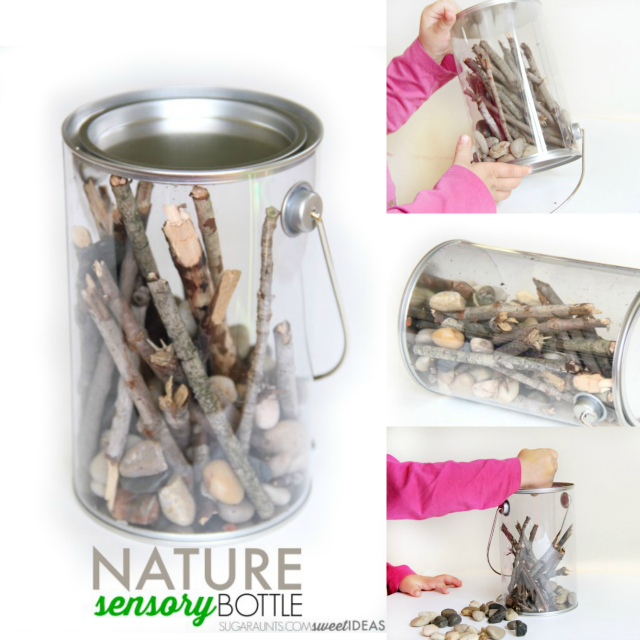
We love to share creative ideas for sensory bottles.  They are an easy way to explore the senses with so many different themes.  This month’s sensory bottle is Nature themed and it’s a calming sensory tool that kids will love.  We made our calming nature sensory bottle with items we had in our backyard but this idea could be adapted to include so many different nature-made materials.  


Try this calming nature sensory bottle for proprioceptive and auditory sensory input using nature items from your own backyard! Kids will love to help make it while working on fine motor skills.

Calming Nature Sensory Bottle


This post contains affiliate links. 


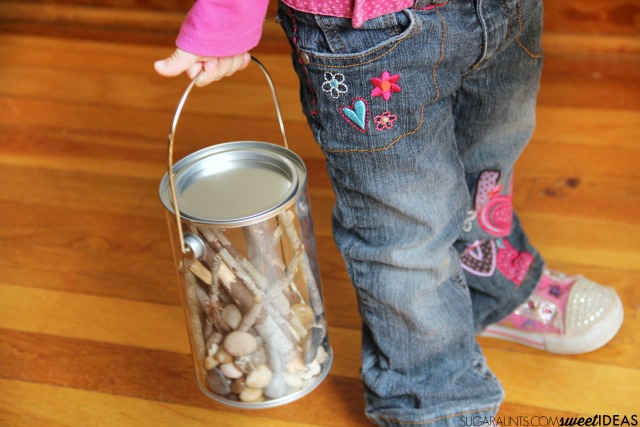
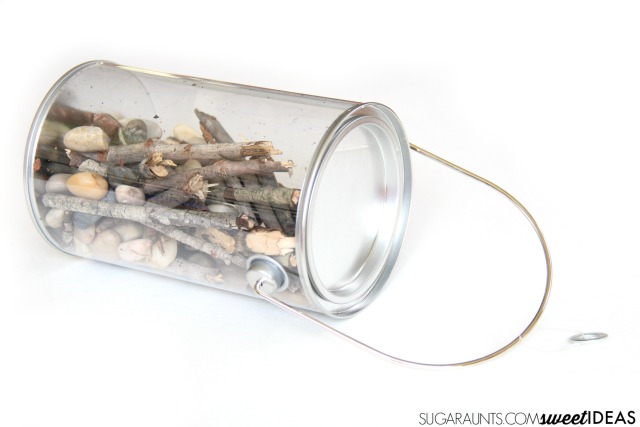
Usually, our sensory bottles are made with recycled bottles.  Some of our favorites were made with spice containers, peanut butter jars, and even popcorn containers.  This sensory bottle is a little bit different because it has a handle, making it perfect for calming proprioceptive input.  We had ours in the house, but you can grab a similar container here.  


Try this calming nature sensory bottle for proprioceptive and auditory sensory input using nature items from your own backyard! Kids will love to help make it while working on fine motor skills.

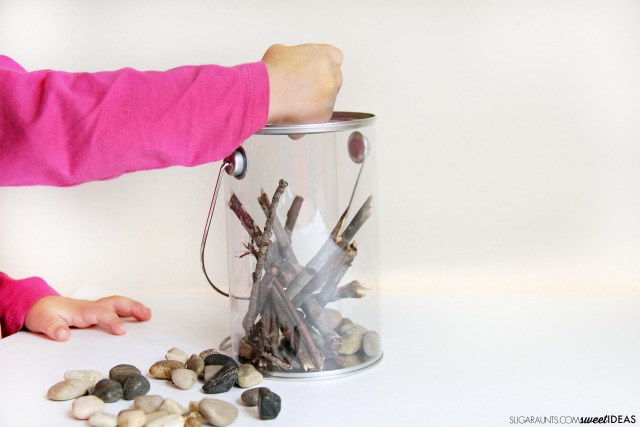
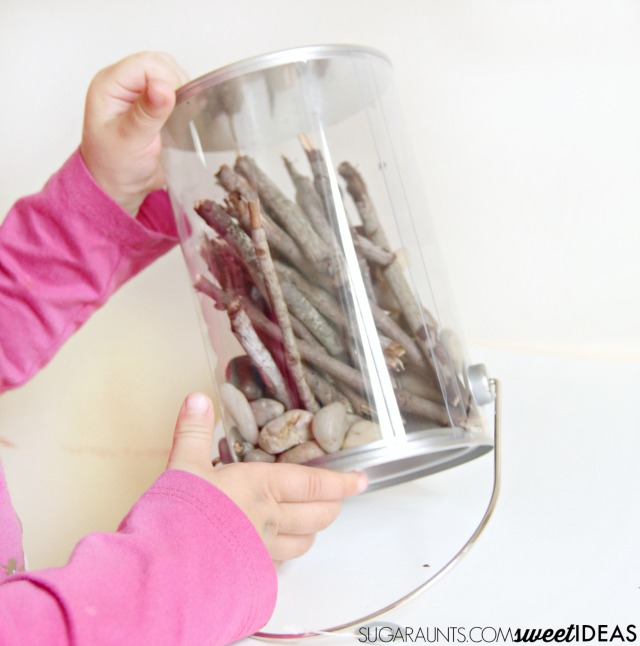
Inside the paint can party favor container, we added small pebbles and sticks from our backyard.  I broke sticks into various sizes and had my Toddler drop them into the container.  She loved this activity so much that we’ll be doing this easy eye-hand coordination activity again.  The tin bottom made a satisfying “clink” sound when she added the sticks and the stones.  Once our nature sensory bottle was full of nature, we popped the lid on and it was done!


Try this calming nature sensory bottle for proprioceptive and auditory sensory input using nature items from your own backyard! Kids will love to help make it while working on fine motor skills.

Calming Sensory Bottle Idea 

Try this calming nature sensory bottle for proprioceptive and auditory sensory input using nature items from your own backyard! Kids will love to help make it while working on fine motor skills.

This was such a simple way to create a proprioception sensory tool.  My kids could haul the sensory bottle around, using a hook grasp to hold the handle.  The weight of the sensory bottle adds proprioception input through the carrying arm.  This was a fun sensory bottle to turn over and over again as we watched the small pebbles roll and drop down between the sticks.  The metal bottom of the container added auditory input.  Watching those pebbles fall was very relaxing and mesmerizing!


Try this calming nature sensory bottle for proprioceptive and auditory sensory input using nature items from your own backyard! Kids will love to help make it while working on fine motor skills.

Looking for more nature themed sensory bottles?  Try some of these:

Desert Flower Discovery Bottle | Preschool Inspirations
Simple Spring Nature Sensory Bottles | Lemon Lime Adventures
Sea Shells Sensory Bottle | Rhythms of Play

Citrus Themed Nature Discovery Bottle | Where Imagination Grows

Try this calming nature sensory bottle for proprioceptive and auditory sensory input using nature items from your own backyard! Kids will love to help make it while working on fine motor skills.
Love this idea? Share it on Facebook!


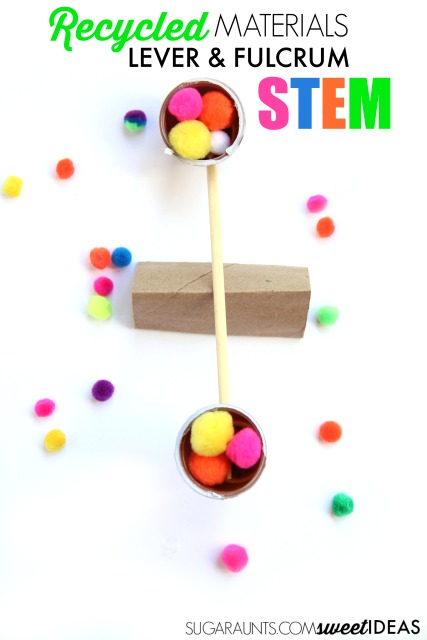
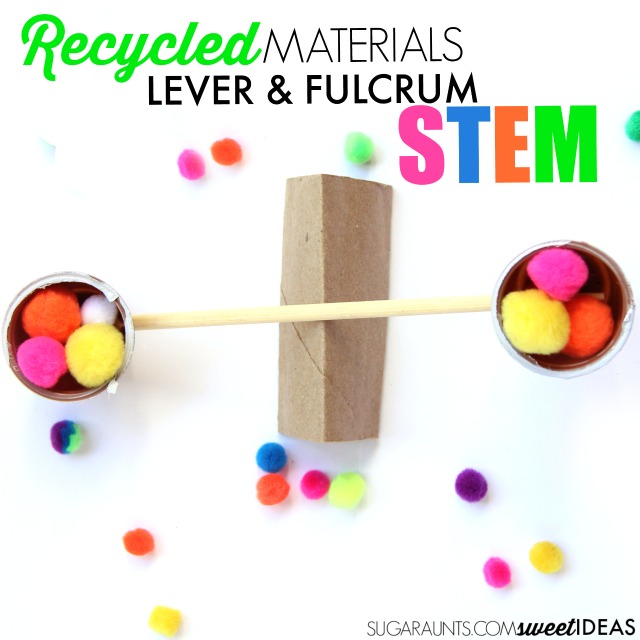
Recycled Materials STEM Lever and Fulcrum

I love reusing recyclables in crafts and activities.  One thing my kids might love even more is science and STEM activities.  We decided to use some materials we had in the recycle bin to make a lever and fulcrum.  This is a perfect STEM activity to do with the kids over the summer to promote learning, creativity, and problem solving.  The Summer Slide is a real thing and simple, easy projects like this one are fun ways to build skills as a family.  Our Lever and Fulcrum STEM activity led to cheers with all four of the kids. This is a fun STEM fine motor activity kids will love.

 
And when the kids are cheering for science, engineering, and math, it is perfectly OK for Mom to do an inner cheer, too.
Build a lever and fulcrum with recycled materials in this STEM activity that is perfect for kids to do over the summer at home or at summer camp to prevent the summer slide!

Recycled Materials Lever and Fulcrum STEM Activity

 
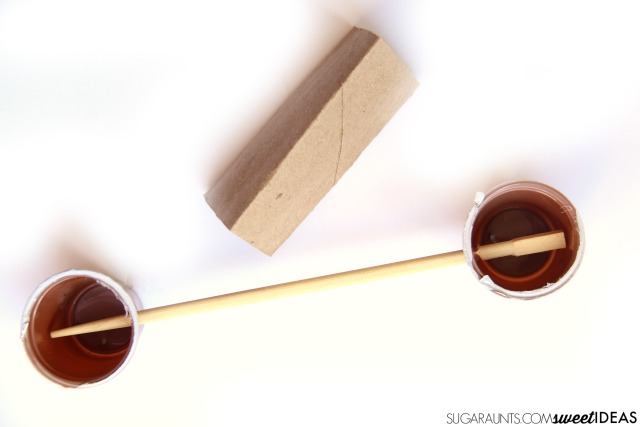
There are so many items found in your recycle bin that can be used in STEM activities.  Today, we pulled out a few materials to build a lever and fulcrum.  We used a recycled chopstick, a toilet paper tube, and two coffee pods.  

Build a lever and fulcrum with recycled materials in this STEM activity that is perfect for kids to do over the summer at home or at summer camp to prevent the summer slide!
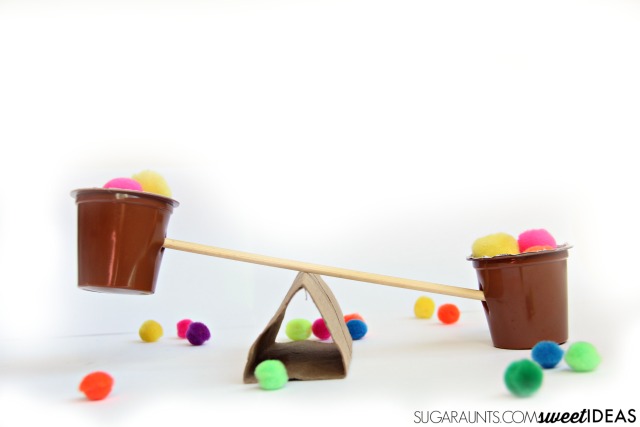
To make the lever and fulcrum:  Poke a hole in each of the coffee pods.  We used a sharp skewer to do this.  you will want the holes to be at the same height on each pod.  Insert one end of the chop stick into each pod.  Finally, fold the toilet paper tube into a triangular shape. The cardboard tube will be the fulcrum and the chop stick can rest evenly on the tube and act as a lever. 
Build a lever and fulcrum with recycled materials in this STEM activity that is perfect for kids to do over the summer at home or at summer camp to prevent the summer slide!
Now for the fun part:  It was time to play and learn with our STEM activity!
  • We added crafting pom poms to each cup and counted how many were needed to keep the lever even.  
  • We talked about the distance between the ends of the chop stick and how the fulcrum needed to be in the center in order for the lever to be even.  
  • We tried moving the fulcrum and measured the distance between the ends of the chop stick and the fulcrum.  
  • When the fulcrum was off center, we counted how many craft pom poms were needed to make the lever even again. 
I was kind of amazed at how much all four of my kids were totally absorbed by this STEM activity.  It was enough to make me smile (and cheer some more, on the inside!) for their love of science, technology, engineering, and math.
Build a lever and fulcrum with recycled materials in this STEM activity that is perfect for kids to do over the summer at home or at summer camp to prevent the summer slide!

STEM Summer Camp


Independence with Dressing Skills

dressing skills for occupational therapy

Here we are covering dressing skills as an ADL that are used in occupational therapy dressing interventions, as well as dressing skills for preschoolers and all ages, specifically the underlying fine motor skills needed for dressing skills.

These self-dressing skills are typically initiated in the toddler years, however if a toddler has little to no awareness or regression in these skills, a look at toddler behavior red flags may be in order. Self-dressing is part of child development at this stage. Let’s cover this in greater detail…

Dressing skills

“I can do it myself!”  


It’s a phrase that most parents hear at one time or another as their child begins to develop the skills needed for independence in self-care.  Sometimes, however, there are factors that interfere with appropriate development of function.  

Parents may wonder when their child will begin to pull on their shirt or don shoes and socks with independence.   The ability to dress one’s self with independence requires the development of many fine motor skills.


This month in the Functional Skills for Kids series, we are exploring Dressing as an activity of daily living. Stop by to see all of the posts in the series here.

 
Fine motor skills needed for independence with dressing. Kids and parents will like these ideas to build independence. Part of the Functional Skills for kids series by Occupational Therapy and Physical Therapy bloggers.

Dressing Skills that Require Fine Motor Skills

Pulling on socks, managing buckles, and tugging on a hat.  There are many portions of self-dressing that require fine motor skill development;

  • Pulling socks off requires a pinch grip, strength in the hands, and bilateral coordination.
  • Putting socks on requires arch development, opposition of the thumb, intrinsic hand strength, bilateral coordination, wrist extension and ulnar deviation.
  • Pulling pants up requires eye-hand coordination, bilateral coordination, and wrist and hand stability.
  • Fastening snaps and pulling up zippers on pants (Clothing fasteners will be addressed in another month’s topic)
  • Donning and doffing undergarments requires pinch grasp
  • Threading a belt through belt loops requires bilateral coordination, prehension grasp, pincer/tripod/functional grasp and wrist positioning
  • Fastening a belt buckle requires tripod grasp and bilateral coordination, hand dominance or preference, extended wrist and ulnar deviation.
  • Donning and doffing a shirt requires bilateral coordination, crossing midline, extrinsic and intrinsic muscle strength of the hands, and forearm supination and pronation.
  • Donning an doffing a coat requires bilateral coordination, crossing midline, extrinsic and intrinsic muscle strength of the hands, and forearm supination and pronation.
  • Clothing fasteners such as buttons, zippers, snaps, buckles, and ties require intrinsic and extrinsic muscle strength, prehension grasp, in-hand manipulation, hand preference and bilateral control and eye-hand coordination.
  • Pulling on boots requires a hook grasp of the hand, strength, and proximal stability.
  • Donning a winter cap requires precision grasp, bilateral coordination, and motor planning.
  • Shoe tying and one handed shoe tying require motor planning, visual perception, fine motor skills, balance, and more.
If it seems as though every step of dressing requires fine motor skill development, that is because it’s true!  Each step of each dressing task requires many fine motor skills.
 
Fine motor skills needed for independence with dressing. Kids and parents will like these ideas to build independence. Part of the Functional Skills for kids series by Occupational Therapy and Physical Therapy bloggers.
 

Fine Motor Manipulation Skills that are Necessary Independent Dressing

Let’s break down these fine motor skills a bit to see how they are helping a child complete tasks independently.  
 
Fine Motor Skills Needed in Dressing: 
  1. Extrinsic Muscle Strength: The extrinsic muscles move the fingers and thumb in full flexion and extension.  They enable a power grasp on functional items. The extrinsic muscles are essential for cohesive work alongside the intrinsic muscles of the hands during dynamic grasp patterns.
  2. Intrinsic Muscle Strength: The intrinsics allow us to use graded movements, shape the arches of the hands, and enable dexterity and precision.  They control the flexion and extension of the Metacarpophalandeal joints and power movements such as finger adduction, finger abduction, thumb abduction, thumb adduction, thumb flexion and thumb opposition.
  3. Prehension: There are three types of prehension grasps-static grips, gravity dependent grips, and dynamic grips. 
  4. In-Hand Manipulation: This fine motor skill typically develops around two years of age.  Between 2-3 the child progresses in palm-finger translation and shift.  However, at this age, they may prefer to manipulate objects between two hands instead of within one.  Read more about in-hand manipulation skills here.
  5. Hand Preference and Bilateral Control: From the age of 2-3, a child will switch hands to avoid crossing the midline,  They may show use of a preferred hand, but it may switch between activities.
  6. Eye-Hand Coordination:  Eye-Hand Coordination is accuracy of reach and control of the arm in space, guided by vision.  During dressing tasks or any functional skill, the reach should be accurate and controlled, and directed by the shoulder’s stability and mobility.  In reaching for items, the hands and eyes should work together with smooth visual tracking of the hand and with the eyes guiding the hand. 
  7. Precision of Release: There should not be immature releasing patterns noted during dressing tasks.  These might include flinging or dropping objects.  Rather, the child should be able to release items while their arm is positioned in space and with controlled motions.  Read more about precision of release.
  8. Motor Planning: During functional tasks, there should be coordinated movements with appropriate positioning and posturing.  Read more about motor planning here
  9. Separation of the Two Sides of the Hand: Separation of the two sides of the hand allows for stability and power with precision of the thumb, pointer finger, and middle finger. 
Fine motor skills needed for independence with dressing. Kids and parents will like these ideas to build independence. Part of the Functional Skills for kids series by Occupational Therapy and Physical Therapy bloggers.


Biomechanical Postural Control in self-dressing

Before the fine motor skills can be used in functional tasks, such as dressing, there are biomechanical skills that are prerequisite.  
These are proximal stability skills that enable distal precision and control.
  • Postural Control– Proximal to the arm is the upper body.  Postural instability will effect the use of the forearm, wrist, hand, and fingers and complicate the motor planning and use of the hands in functional reach.  When we reach with two hands, we shift our weight and move our body’s center of gravity.  Without dynamic control of one’s posture, shifts in weight will result in over or under reach of distal motions.
  • Shoulder stability with motion– Fine motor use of the hands requires stability of the shoulder joint.  The joint needs to maintain stability even during motion and in all planes for controlled arm positioning.
  • Control of the forearm– The arm between the elbow and wrist moves in supinated and pronated motions.  Supination is essential for many precision tasks and allows us to see what our fingers are doing in tool or fastener use.  Pronation is typically used for power grasps and hook grasps in functional tasks.
  • Wrist Position–  A functional wrist position is essential for precision grasp and manipulation. Extension of the wrist controls the length of the finger flexor muscles to an optimal position for grasp and precision.  Positioning the wrist in 40 degrees of wrist extension allows for efficient muscle function.  The wrist also moves with radial and ulnar deviation.  A position of 15 degrees of ulnar deviation promotes stability and force in the ulnar side of the hand.
  • Palmer Arches- While palmer arch development is a component of fine motor skill development in itself, it is also a proximal stability source for precision of the distal fingers.  Appropriate arch development provides positioning and stability to allow for fine motor dexterity of the fingers.  
Fine motor skills needed for independence with dressing. Kids and parents will like these ideas to build independence. Part of the Functional Skills for kids series by Occupational Therapy and Physical Therapy bloggers.


Tips to Promote Independence in Dressing Skills

 
When fine motor skills are the problem area behind decreased independence in self-dressing, it is helpful to build individual skills.  
 
Children should be provided with many repetitions of self-care skills in environments where dressing tasks are happening naturally. 
  • Dressing practice happens at the beginning and end of the day but there are many opportunities for working on the fine motor skills needed in dressing tasks.  
  • Donning shoes and socks can happen before going outdoors and when coming into the home.
  • Toileting is a way to practice lower body clothing management throughout the day.  
  • Children can further build independence with dressing through pretend play by using dress-up clothes.  
  • Repetition can be a strategy for increasing opportunities for practice.  
  • Provide various dress-up clothes in different social roles for many ways to practice dressing skills. 
  • Encourage role play as a technique to build fine motor skills in dressing: Children can dress a baby doll.
  • Provide alternate opportunities to practice fine motor skills needed for dressing such as toys to help kids practice dressing skills.


Fine motor skills needed for independence with dressing. Kids and parents will like these ideas to build independence.


Develop fine motor skills needed for functional tasks with these activities:
 

Colleen Beck, OTR/L has been an occupational therapist since 2000, working in school-based, hand therapy, outpatient peds, EI, and SNF. Colleen created The OT Toolbox to inspire therapists, teachers, and parents with easy and fun tools to help children thrive. Read her story about going from an OT making $3/hour (after paying for kids’ childcare) to a full-time OT resource creator for millions of readers. Want to collaborate? Send an email to contact@theottoolbox.com.