Lemon STEM is such a fun way to explore concepts and this lemon battery science fair project is a winner! By using a lemon and a few other materials, you can discover the chemical process of moving electric current through a lemon to create a lemon battery. This lemon battery is a discovery activity that makes a great science fair project because the experiment is a powerful tool for discussing science and exploration in kids. Plus, this lemon science experiment is easy to do (and clean up)!

Lemon Battery Science Fair Project
One of the best benefits to making this lemon battery science fair project is that it’s an easy way to learn about electrodes, electrons, and the chemical reaction required to fire up a battery. As an occupational therapist and mom, I love the other skill-building opportunities with this project too:
- Fine motor skills
- Creativity
- Engineering and building
- Planning, prioritization, task completion, task initiation, and other executive functioning skills
- Using different materials found around the home (accessibility!)
- STEM activity
When kids build the lemon battery, they are building so many skills!
Introduce them to creativity through STEM? Sounds great! Encourage my children to get excited about science and math? YES! Unleash natural potential in my girls by experiencing science projects? I like it.
And the best for me, was watching my girls do this together. The baby saw her big sister in safety goggles as she learned about cathodes and electrolytes…and has been wearing the goggles every day since. Seeing them inspire each other was just awesome.
We were making lemon powered batteries!
What is a lemon battery?
A lemon battery is a simple science experiment kids can do to explore concepts of conduction and reaction.
In the lemon-powered battery experiment, kids can see how electrolytes are conducted through the lemon and wires in order to power a light or clock.
The experiment is simple set up, easy, and a fun way to explore science!
Lemon Battery Light Bulb Science Experiment
The lemon lightbulb experiment is a classic hands-on activity that demonstrates how citrus fruits can generate electricity. This lemon and light bulb science project is a powerful way to engage kids in STEM learning by transforming a simple lemon into a working fruit battery.
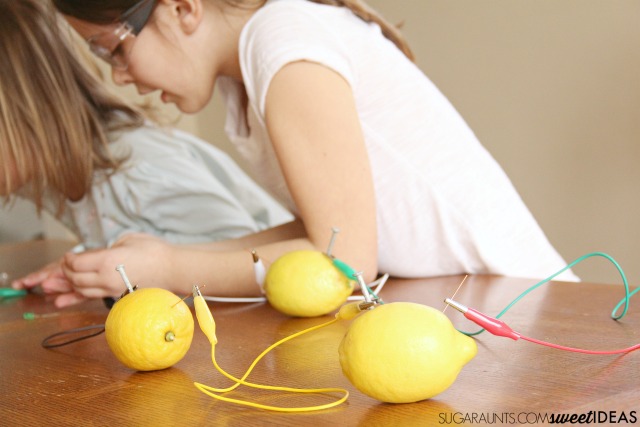
By inserting zinc and copper electrodes (such as a galvanized nail and a penny) into a lemon and connecting them with wires, you create a small electric current. Connect enough lemons in series, and you can even power a small LED light bulb, showing how chemical energy is converted to electrical energy in a tangible, visual way.
How the Lemon Electricity Experiment Works
In this lemon electricity experiment light bulb setup, the lemon juice acts as an electrolyte. When the copper and zinc electrodes are inserted into the lemon, a chemical reaction occurs that releases electrons.
This flow of electrons is electricity, and when wired correctly, it can power a low-voltage light source. This process demonstrates core concepts in physical science, including circuits, voltage, current, and chemical energy.
It’s a great introduction to alternative energy and an excellent lemon battery science fair project idea for elementary or middle school students.
Using the Lemon Battery for STEM Learning
This lemon STEM activity supports multiple domains of science, technology, engineering, and math.
Students can experiment with variables like the number of lemons, the size of the electrodes, or the type of fruit used to observe changes in voltage output. Try comparing a lemon battery to other fruit battery options such as potatoes, limes, or oranges to expand learning through data collection and hypothesis testing.
This type of lemon science experiment is engaging, messy, and memorable.
Making the Lemon Science Project Work for You
To get the most out of this lemon electricity project, document your steps with photos and a results chart. Use a multimeter to measure voltage between lemons in series versus parallel configurations.
This makes your lemon battery science fair project more advanced and competitive for older students. Encourage kids to write a conclusion reflecting on why the light bulb did or didn’t light up, and how changing variables influenced the outcome.
This critical thinking component strengthens understanding of cause-and-effect and scientific inquiry.
Food Battery Experiment
When I first showed the girls the items and explained what we were doing, they were very excited about lemon electricity!
I was surprised to read that only 1 in 1,000 girls pursue STEM careers, especially considering that out us us three sisters, two of us are in the health/science field.
Encouraging my girls to explore interests in science is important to me and I was super pumped to get my girls excited about our science experiment…and the enthusiasm was catchy!
We used a lemon in our fruit battery, but you could use any citrus fruit to make a citrus battery…oranges, grapefruit, lemons, and limes all work equally well in this kid-made battery experiment.
More Lemon Science Experiments to Try
Beyond lighting a bulb, try creating a lemon clock, powering a digital watch, or exploring how long your lemon battery will last. These lemon science experiments promote engineering design skills, allowing students to improve upon their models and test new solutions. Whether you’re creating a lemon and light bulb science project or just doing a fun weekend activity, this is a great entry point into electricity and circuitry.
Other fruits and vegetables can be used in this experiment too. It might be fun to explore which food is the best conductor for passing electrical energy. Try these fruits and veggies:
- Lemons
- Oranges
- Grapefruit
- Limes
- Potatoes
- Tomatoes
- Cucumbers
- Apples
- Bananas
Which food battery works fastest? Which is the strongest conductor? Which food battery will work the quickest? These are all fun science fair experiments to try!
Lemon Battery Science Experiment
We created the lemon-powered battery, but then used the battery in a STEM activity by adding engineering and math to the mix.
Lemon Battery Materials List
To get started with your lemon battery experiment, you’ll need a few simple materials:
- LED Bulb or a small clock, light bulb, etc.
- 4 Lemons
- Knife to cut the lemon
- Alligator Clips on Lead wires
- Zinc Nails
- Copper Wire (or a penny)
- Goggles
- Gloves
- Alcohol wipes
- Recording sheet
You can also try different metals instead of the copper penny. Try a galvanized nail, copper electrodes, Aluminum foil, metal strip, or other types of metal material.
Also note that you should have adult supervision for this activity because cutting the food with a knife can be tricky!
And we got started on our STEM project. The instructions are easy to follow images below.
How to make a lemon battery:
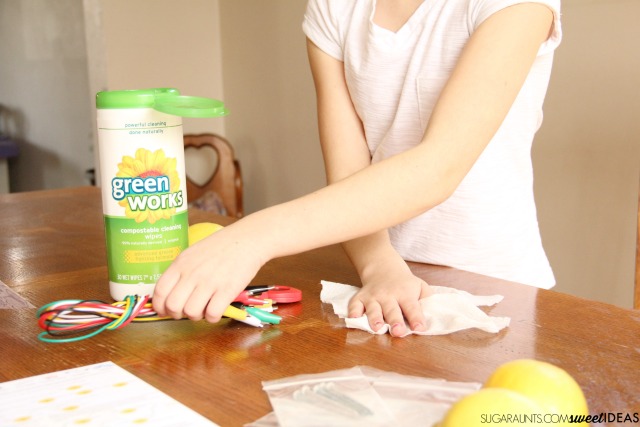
- Start with a clean surface.
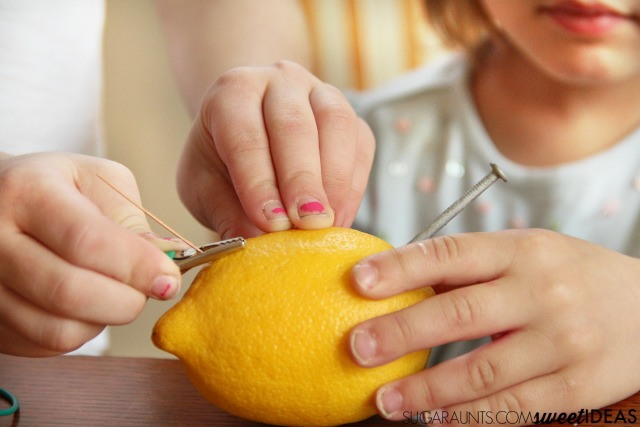
- Use the knife to make a small cut in the lemon’s surface. This will be used to push the nail and copper penny into the lemon more easily.
- Use an alcohol wipe to clean off the lemon or other food item used for the battery.
- Press the nail and copper item (penny, copper wire, etc.) into the lemon. Make sure the metal goes all the way past the peel if using a citrus fruit. You can use more than one lemon too: Push a nail into one lemon and the copper into the other lemon.
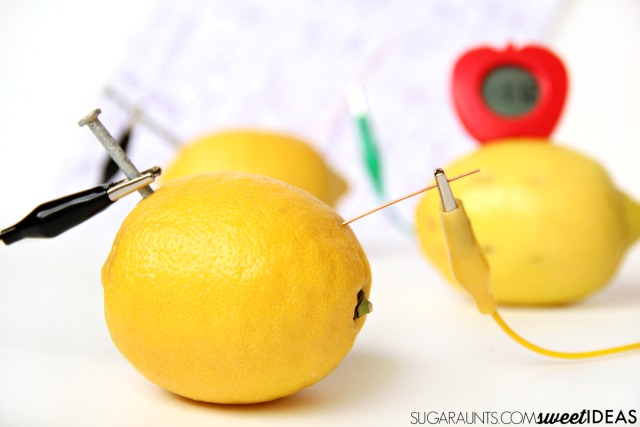
- Attach the alligator clips to the nail and to the copper item. Connect the ends of one alligator clip wire to a galvanized nail in one lemon and then the other end of the alligator clip wire to a piece of copper in another lemon. When you are finished you should have one nail and one piece of copper unattached.
- Finally, connect the unattached piece of copper to the unattached nail to the positive and negative connections of your light. The lemon will act as the battery.
- Following the instructions, my eight year old build a lemon powered battery that lit up a light bulb. We tried a few more experiments, like the mini fruit clock that came in the kit. We used it to make a lemon clock with the circuits!
Lemon Stem
This Lemon STEM activity is a great fine motor STEM idea. By pushing the nails and pennies into the lemon, cutting with a knife, and clipping alligator clips, you are building fine motor strength in a functional task.
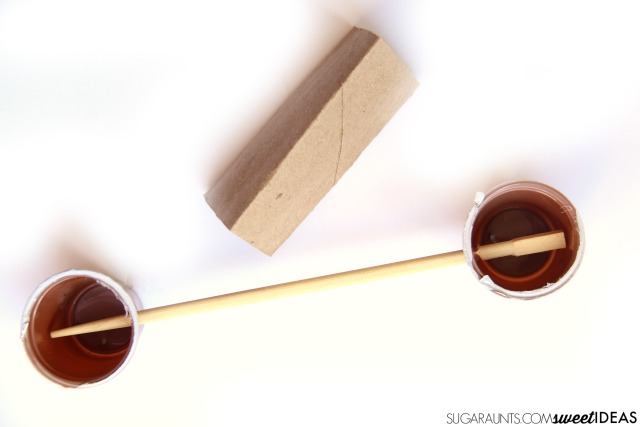
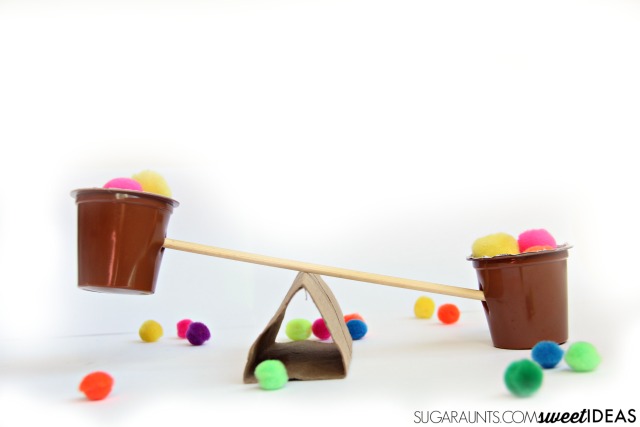
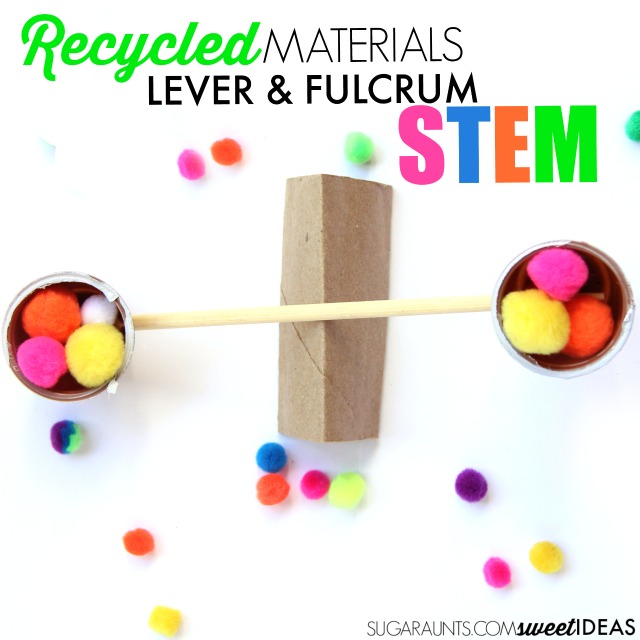
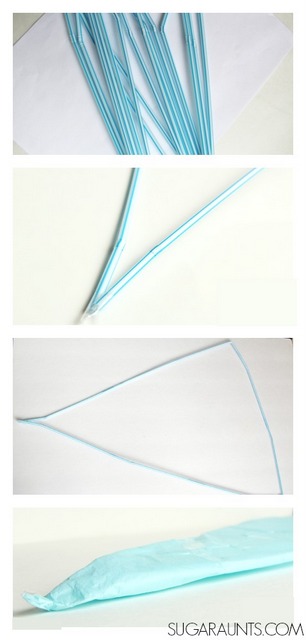
Add a few other ways to support lemon stem too: Use wooden skewers to build an elevated lemon battery.
Provide a handful of wooden skewers and ask the children to build a contraption that is strong enough to hold a lemon up off the ground. This can take a bit of creativity and trial and error, so be sure use plenty of paper towels or a wash cloth to wipe off lemon juice.
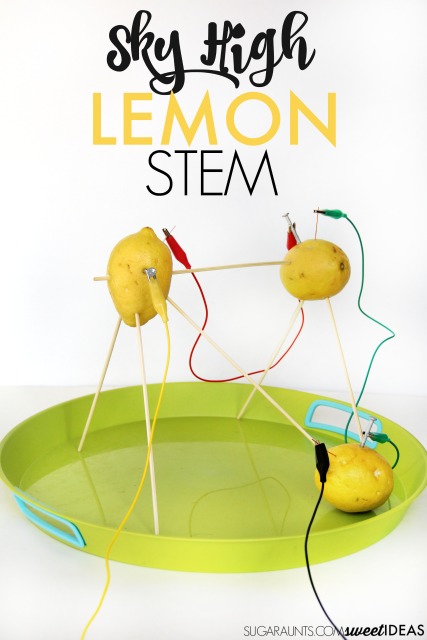
- We pulled out some bamboo skewers and created a sky high lemon battery and lit up the light bulbs using engineering in our STEM activity.
- Try building a clock tower with the skewers and a lemon. Explore how to make electricity run the clock even when it’s elevated or in different weather conditions like rain or freezing temperatures.
- With all of the zinc nail-punctured holes in our lemons, we HAD to squeeze the juice. We tried to see if we could create a lemon clock using just the lemon juice in a cup. It worked!
- After the lemons were juiced, we tried to make another light bulb glow using the rinds. This time the lights did not brighten and we decided it was because the electrolytes were squeezed away into our lemon juice and the current stopped at the rind.
Next, we used wooden skewers to create a clock tower. Press the skewers into the lemons and create a tower. You’ll need to figure out how to get the clock tower to stand without toppling, and using lemons as the base or at the connecting points. These lemons can also be connected to one another with the alligator clips, wires, and pennies or nails to conduct through the whole tower.
After all of these experiments, we were feeling a little thirsty. Non-lemon powered light bulbs went off and so my four year old had a bright idea to make lemonade. We added water and sugar and drank away the electrolytes!
It was so much fun to see my girls working together, encouraging each other, (not fighting), and being inspired in science. Someday they might look back at our experiment day and laugh at drinking their science experiment, but I’ll remember the sticky crumbs on the table, the goggles on the one year old, and the fun we all had learning together.

Colleen Beck, OTR/L has been an occupational therapist since 2000, working in school-based, hand therapy, outpatient peds, EI, and SNF. Colleen created The OT Toolbox to inspire therapists, teachers, and parents with easy and fun tools to help children thrive. Read her story about going from an OT making $3/hour (after paying for kids’ childcare) to a full-time OT resource creator for millions of readers. Want to collaborate? Send an email to contact@theottoolbox.com.