Let’s talk about measuring activities. There is a LOT of underlying skills that impact the ability to measure. There is no better way to learn about measurement than with hands-on activities and who is better to work on hands-on activities than OT? Measuring is a practical life skill that requires underlying skills: visual motor integration, executive functioning skills, and fine motor skills. Here, we’ll cover how to support the development of measuring skills even when underlying areas may contribute to measurement errors and how to support individuals of all levels in this spatial awareness ability.
Amazon affiliate links are included in this blog post. As an Amazon Influencer, I earn from qualifying purchases.
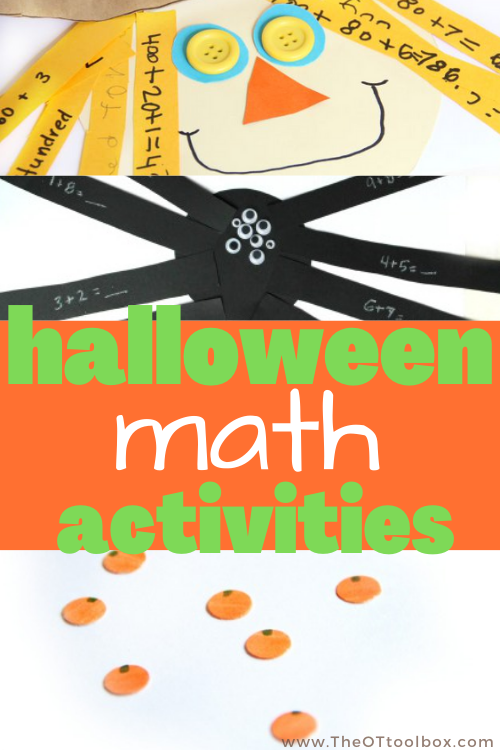
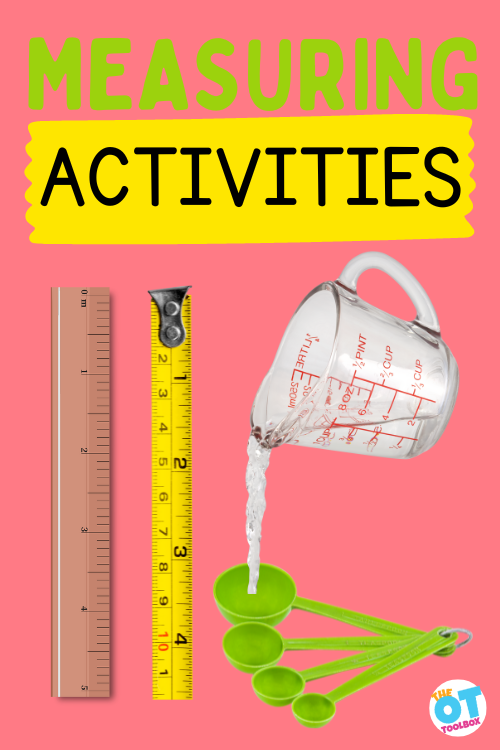
MeasurIng Activities
Measuring tasks are part of the school curriculum, but also a very functional task. We see children use measurement skills from a young age when they compare whether or not their sibling has more ice cream than they do. Measuring is a visual perceptual skill comparing who has more or less, how much to pour into a container, which person is taller or shorter, and how far did they ride their bike.
It is a skill that is learned and worked on in daily life tasks as well as being taught in the classroom.
Types of Measurement Activities
A quick review for measurement includes the forms of standard and non-standard types.
Traditionally, non-standard measurement skills are taught beginning in preschool and kindergarten. This includes spatial awareness concepts such as longer/shorter, taller/smaller, heavier/lighter, etc.
Standard measurement skills are taught over time within the academic classroom based on each child’s grasp of the concept and level of knowledge. This includes using a ruler, measuring by weight, and measuring liquids using measuring containers.
Measuring Vocabulary
With the learning of measurement comes a new vocabulary coupled with specific rules and procedures that a child must learn and apply, therefore, impacting their overall success and speed in the learning of this skill.
Measurement activities can focus on the vocabulary terms as well as knowing how much makes up that term.
- Length:
- Inch
- Foot
- Yard
- Meter
- Centimeter
2. Weight/Mass:
- Pound
- Ounce
- Gram
- Kilogram
3. Volume:
- Cup
- Pint
- Quart
- Gallon
- Liter
- Milliliter
4. Time:
- Second
- Minute
- Hour
- Day
- Week
- Month
- Year
5. Temperature:
- Fahrenheit
- Celsius
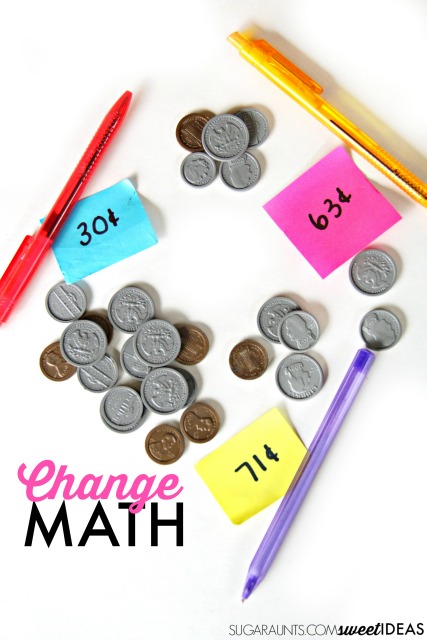
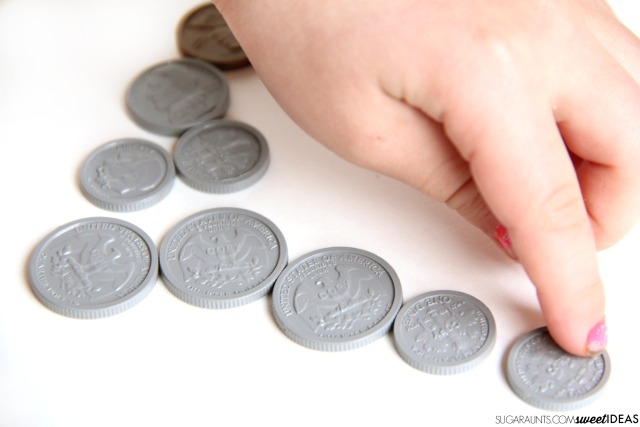
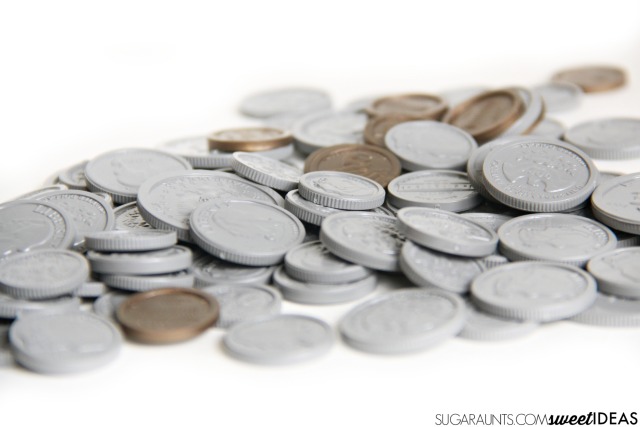
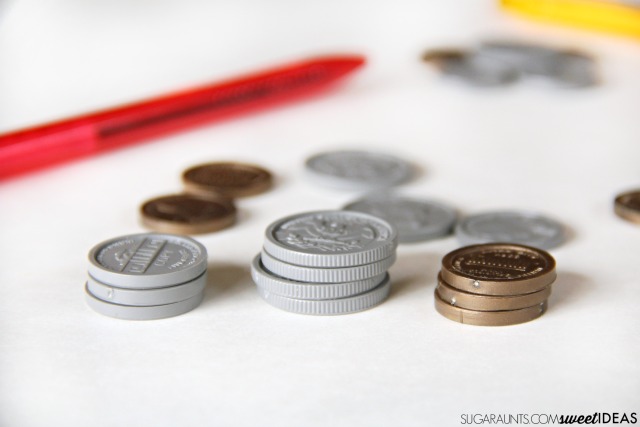
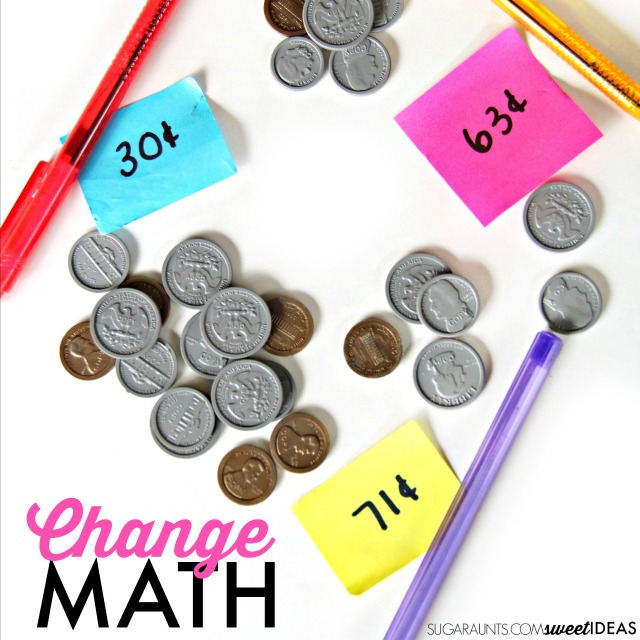
6. Money:
- Penny
- Nickel
- Dime
- Quarter
- Dollar
Measurement vocabulary words that kids know can vary depending on their age and level of development. Younger children may only be familiar with basic units of measurement, while older children may be familiar with more advanced concepts and units.
Measurement and Occupational Therapy
Occupational Therapy can enter the picture by helping to make the learning of this skill more hands-on and kinesthetic while also remaining educational and addressing important skill development needed for intervention.
Measurement activities in occupational therapy are especially important when connecting the dots between function and Instrumental Activities of Daily Living (IADLs). Looking at the terms listed above, you can see the connection between independence with tasks like laundry, cooking, shopping, budgeting, etc.
Measurement also plays a role in ADLs such as knowing which clothing will fit based on size, making it to school on time, following a calendar, etc.
Now, how about we just delve right into the beginnings of measurements with the use of non-standard units that OT can use during sessions that will make a huge impact on finding success in understanding basic measurement while also having some fun!
Plus, it makes learning less intimidating and less dreadful for kiddos as they engage in therapy.
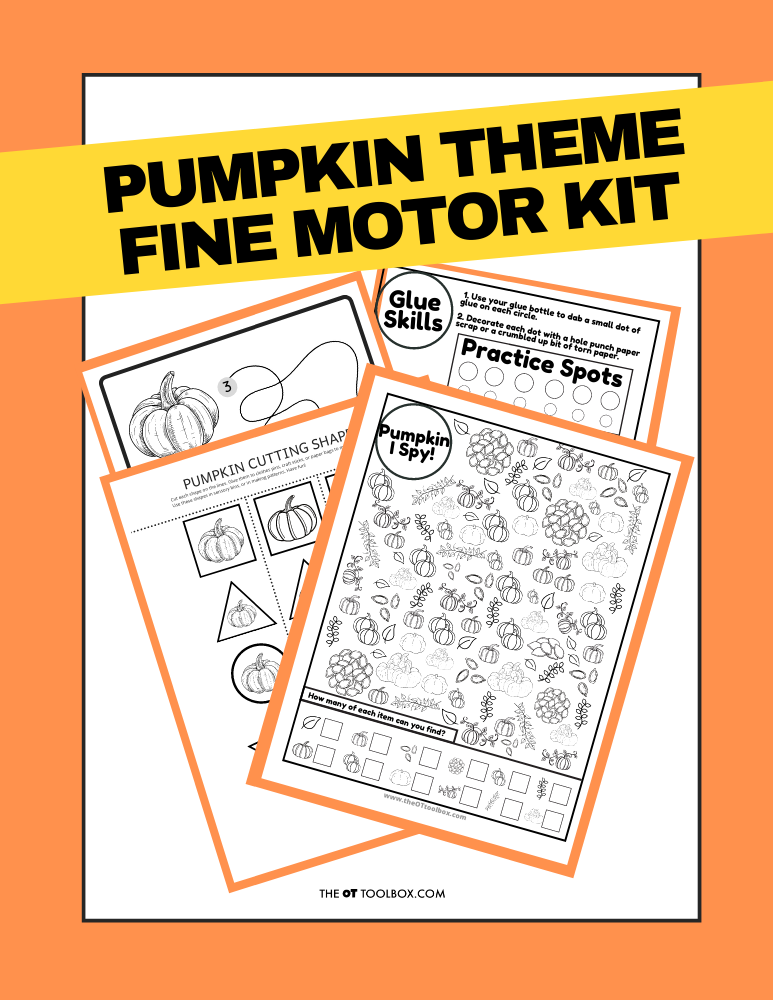
Measuring Activity Ideas:
Playdough snakes – Take some playdough or therapy putty and have a child roll pieces into various lengths of snakes, they can also add some fun googly eyes and some chips or other small objects to decorate it and make it more fun.
You can guide the child by directing them to make a snake that is longer than the first, a snake that is shorter than the first, and a snake that is the same size as the first. Have them ‘clean up’ the snakes by using tongs to pull out the chips and other small objects.
Feed a tennis ball friend – Use a sensory bin of beans or rice and gather some measuring spoons to have the child feed the tennis ball a teaspoon or a tablespoon of food or even a fraction of ¼, ½, ¾, etc.
A fun way to begin work on kitchen tool use for cooking and baking in the kitchen too. At the end of the activity, they can make the tennis ball throw up the beans or rice. Yeah, kids love doing this!
Hopping Frogs (affiliate link)– Use hopping bunnies, hopping frogs, or even the pieces from a Tiddly Winks game and use to see how far the bunnies or frogs can hop. Talk about which of the bunnies hopped the farthest or the least amount of distance.
Place tape lines on the tabletop or the floor at different distances and have the children try to hop the bunnies to each line. How many jumped the farthest or the least?
Trace your foot or trace your hand – Have children trace their foot and their hand onto a piece of construction paper and then have them use paper clips or blocks to measure the length of their foot and hand. For older kiddos, they can use a ruler, tape measure, or yardstick to measure the length of their hand and foot.
Measure your school tools – Have children sort writing and other tools such as markers, crayons, colored pencils, pencils, glue sticks, glue bottles, scissors, tongs, etc., and place them on the tabletop from tallest to shortest. Then have them go around the room and collect other therapy tools to sort and measure.
Comparing the length or height of names – This one is great for a group. Have children write the letters of their names on dot stickers and then place one letter on each linking cube. Once the cubes are together, have them either stack, link, or lay on the tabletop to compare the length of everyone’s name in the group. Who has the tallest name? Who has the shortest name? Whose name is the same length? This tall and short worksheet is a great tool for this skill.
Recycle containers – Learn with recycled containers of various sizes and have children fill to the lines with use of water, cotton balls, pom-poms, beans, or rice. You can either draw the lines on the containers or wrap a rubber band around them at different heights. Think of having them scoop with a spoon to make it another fun way to fill the container.
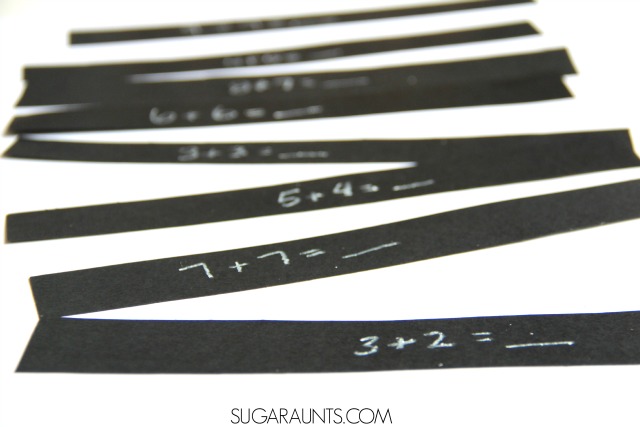
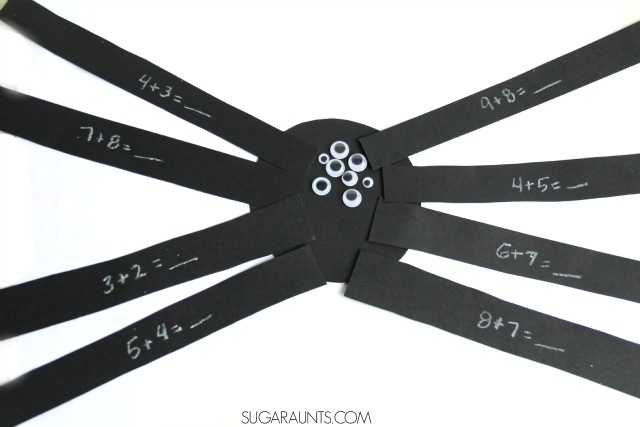
Play with tape – Use and peel tape (it’s a great fine motor activity!) or strips of construction paper and have children build a house on a sheet of paper. (Think about the fine motor skills needed to work on tearing or cutting the tape.) Once the house is finished, have them measure each strip of tape and write the number of objects it took on each strip. With older kiddos, you can even use a measuring tool to measure and write the number of inches on each piece.
Toilet paper sheets – Use rolls of toilet paper and have children unroll at different lengths and measure each length by either counting each block of paper or measuring with a yardstick or a ruler. Be sure to save that paper after the activity and you can use it for cleaning up in the therapy room. Think about the gradation of force for younger kiddos to tear that paper easily. You could also use crepe paper streamers.
Activities with graph paper– The squares of the grid on graph paper can be used to cut and measure or count to determine size differences.
Use a ruler with lined paper- this ruler activity paired with handwriting can help with holding a ruler in place on a page as the pencil moves along it.
Clock activities- These tips for teaching kids to tell time work on underlying skill areas and include measurement of time.
Measuring foods– Using spoons, cups, containers to measure food for recipes is a great cooking life skill. Children can help out in the kitchen or participate in cooking tasks in OT sessions. Use our favorite OT recipes for building all kinds of skills. Cooking supports development of skills in:
Scooping and pour with measuring cups and spoons– Use measuring cups for scooping and pouring activities using water, dry beans, rice, flour, etc. It’s a great way to foster fine motor skills and eye-hand coordination.
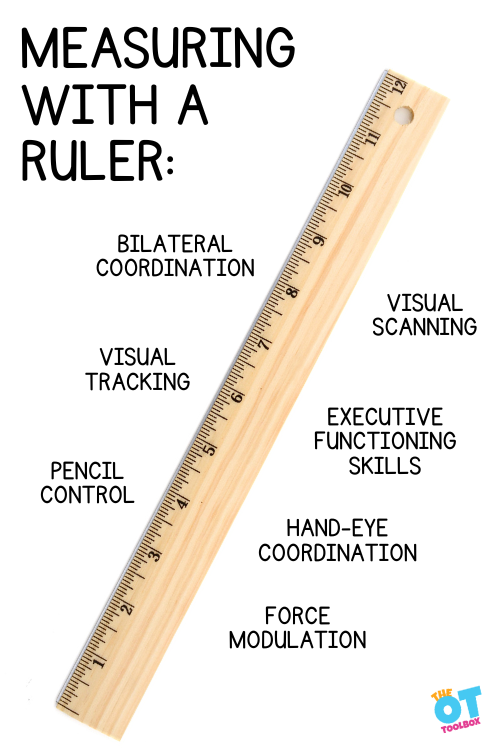
measuring with a ruler
One measuring activity can be the physical component of using and manipulating a ruler. Measuring with a ruler requires underling skills:
- Fine motor skills (fine motor and math go hand in hand)
- Bilateral coordination
- Graded grasp (force modulation)
- Eye-hand coordination
- Executive functioning skills
- Visual scanning
- Visual tracking (a pencil along a line to trace the ruler)
- Proprioception (holding the ruler in place against resistance of a pencil or to measure a distance)
Measuring Activities
Let children explore the use of many measuring tools or even make their own. Need a few ideas? Take a look at these fun ruler ideas and some other measuring tools that can be used to build not only an understanding of measurement but those important hand skills too!
Rainbow ruler – Get some free rulers from a local company or organization then have children use Sharpies to color each one-inch section a different color. This helps them build a further understanding of measurement while using a standard ruler. Coloring each 1” section helps decrease the overall visual clutter and gives the child a more solid view of each 1” area.
Bean ruler – Have children create a bean ruler by using large, dry white beans and then use Sharpies to write rainbow numbers on each bean. After numbers are written on the beans, have them place each bean in a row along the inside edge of clear packing tape. Once complete, they fold the tape over to secure. Children can use this bean ruler like a regular ruler, plus they love doing this! Completing this activity is a great way to work on executive functioning skills, fine motor, and eye-hand coordination.
Linking cubes – Use linking cubes to measure objects by how many cubes long or tall an item is – helps to build hand and finger strength and bilateral coordination while the child pushes together to stack the cubes and pulls the cubes apart to clean up.
Marshmallows – Use marshmallows to measure how tall an object is on the tabletop – helps to build fine motor coordination, pinch grasp, and precision skills.
Paperclips – Use small or large paper clips to link together and measure an object – helps to build finger dexterity, pincer grasp, eye-hand coordination, and bilateral coordination.
Pop beads or linking shapes – Use these fun tools to measure objects by either pinching and popping or pinching and clicking together. Helps to build fine motor strength, eye-hand coordination, and visual skills to connect them together. Use larger beads and shapes if a child’s pincer skills are still developing.
One last thing, do not forget the simple use of standard measuring tools too! Go ahead, it’s okay to pull out those dusty 6” or 12” rulers, tape measures, and yardsticks! They are exactly what a child needs to fully understand basic measurements!
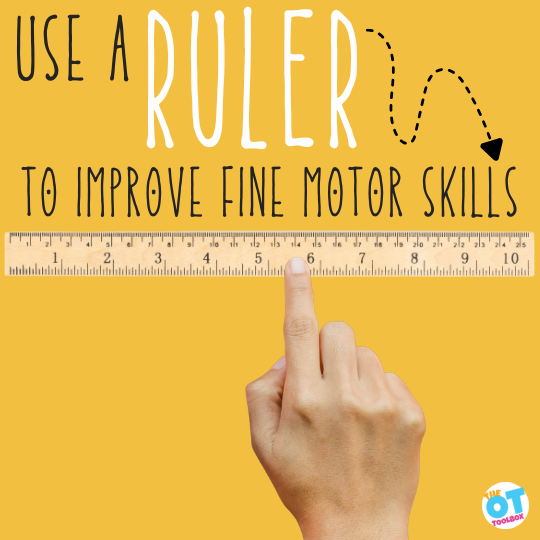
How a Ruler Supports Fine Motor Skills
Using a ruler is a simple but highly effective way to support fine motor skill development because it requires precision, control, and coordination of the hands and fingers. From an occupational therapy perspective, a ruler can be used to target several underlying skills needed for handwriting and daily tasks.
When a child uses a ruler, they must stabilize the ruler with one hand while manipulating a pencil with the other. This promotes bilateral coordination, or using both hands together in a coordinated way. The non-dominant hand provides stability, while the dominant hand performs the task, which is an essential foundation for writing and tool use.
Using a ruler also strengthens hand stability and control. The child must apply just the right amount of pressure to keep the ruler from slipping while drawing a straight line. This helps develop graded force control and improves precision in small hand movements.
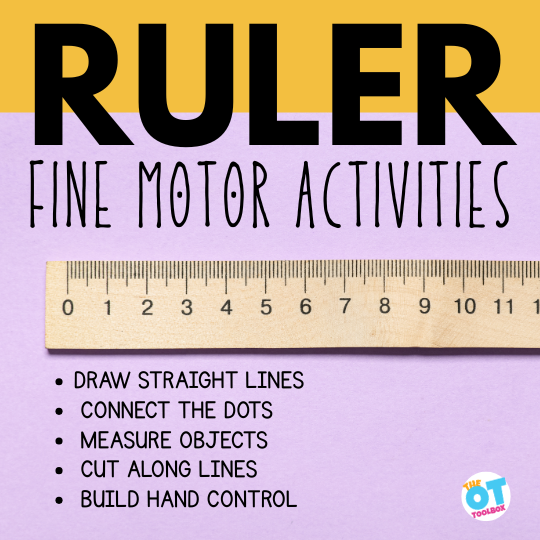
Ways to Use a Ruler to Improve Fine Motor Skills
One of the simplest ways to improve fine motor skills is to use a ruler! Below are ruler activities that improve fine motor skills:
1. Line Drawing Practice
Have children trace along the edge of a ruler to draw straight lines. This builds pencil control and supports accuracy in writing tasks.
2. Connect-the-Dots with a Ruler
Create dot-to-dot patterns and encourage children to connect the dots using a ruler. This improves visual motor integration and coordination.
3. Measuring Activities
Let children measure objects around the room. Aligning the ruler and reading measurements supports hand positioning and attention to detail.
4. Maze Creation
Children can create their own mazes using straight lines drawn with a ruler. This combines creativity with motor planning and control.
5. Cutting Along Lines
Draw straight lines with a ruler and have children cut along them. This supports scissor skills and reinforces visual tracking.
6. Border and Box Drawing
Have children draw boxes or borders around pictures or writing. This helps with spacing and organization on paper.
Skills Targeted with Ruler Use
Using a ruler helps develop:
- Fine motor control
- Bilateral coordination
- Visual motor integration
- Hand strength and stability
- Precision and accuracy
Occupational Therapy Tip for fine motor ruler activities
Start with larger rulers and thicker lines for younger children or those who need more support. As skills improve, progress to smaller rulers and more detailed tasks. You can also add visual cues, such as highlighting the edge of the ruler, to guide placement and improve success.
Using a ruler in fun, meaningful activities can make skill-building engaging while supporting the development of strong fine motor skills needed for school and daily life.

Colleen Beck, OTR/L has been an occupational therapist since 2000, working in school-based, hand therapy, outpatient peds, EI, and SNF. Colleen created The OT Toolbox to inspire therapists, teachers, and parents with easy and fun tools to help children thrive. Read her story about going from an OT making $3/hour (after paying for kids’ childcare) to a full-time OT resource creator for millions of readers. Want to collaborate? Send an email to contact@theottoolbox.com.