Rainbow Color Sort Busy Bag

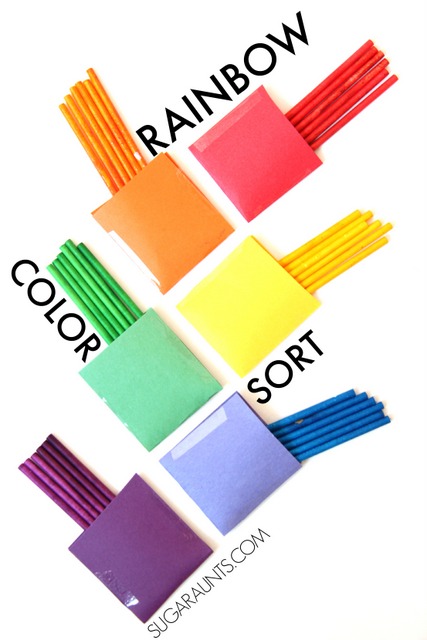
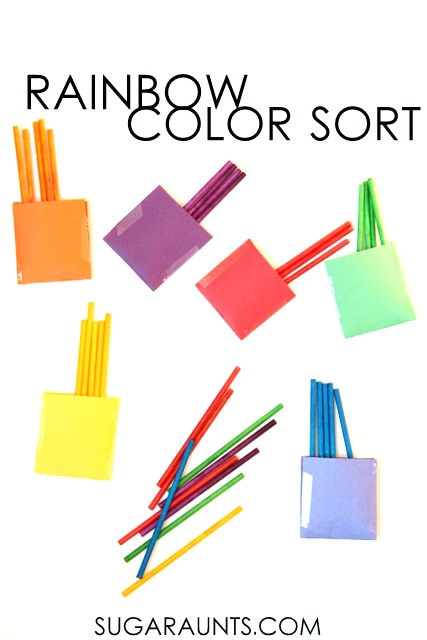
Our rainbow dyed lollipop sticks are making another appearance today with our rainbow color sort busy bag activity!  We’ve been loving the busy bag activities we’ve been doing lately as part of a series with a group of kid activity bloggers and this rainbow color sorting busy bag is a new favorite in our house! Add this activity to your fine motor skills therapy toolbox! It’s perfect for adding to your occupational therapy activities line up! 
 
Rainbow busy bag with DIY dyed lollipop sticks for fine motor color matching play


Rainbow Color Sort Busy Bag activity

This post contains affiliate links.
Rainbow lollipop color sorting busy bag
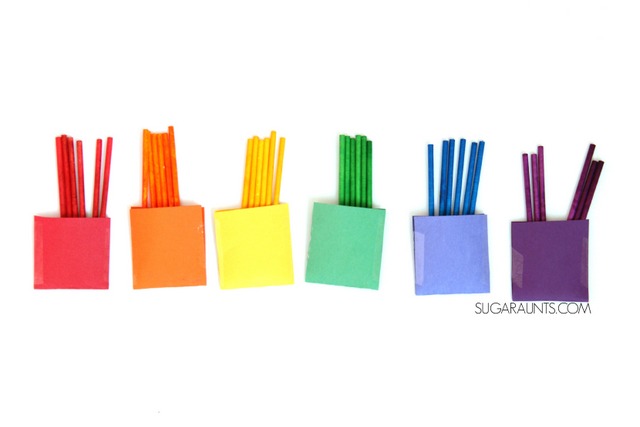
We started with our rainbow dyed lollipop sticks  (Seriously, these are awesome for so many play and learning activities!  Make them!) and a stack of construction paper
in matching colors. Cut the construction paper into rectangles and use clear tape to make small pockets. You want the lollipop sticks to fit in the pockets, but don’t want them to be too large either. 
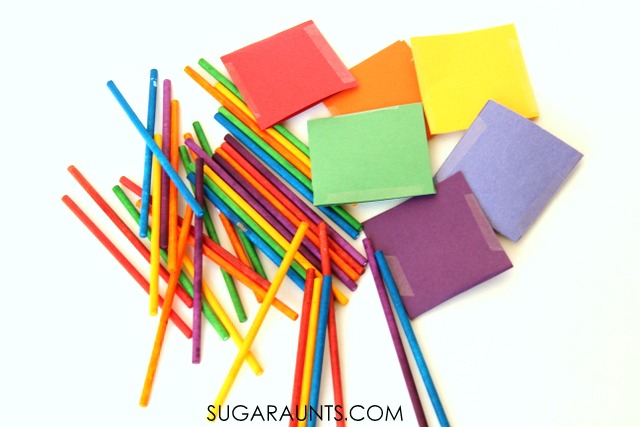
Rainbow dyed lollipop sticks color sorting busy bag for kids.  This is perfect for a quiet time activity.
How pretty are those colors!  

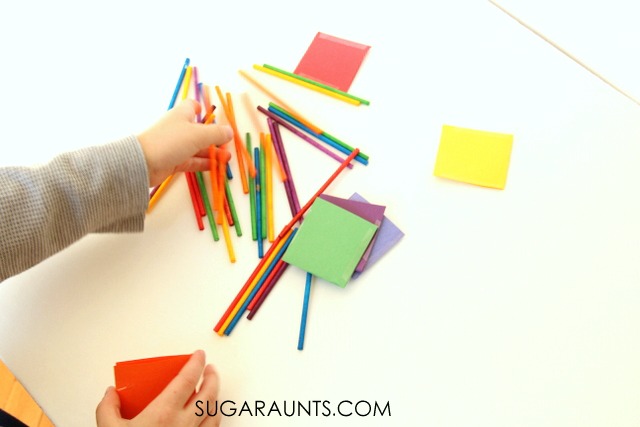
My Little Guy really got into this busy bag activity.  He liked to mix the lollipop sticks around on the table.  “I have to shuffle them up, Mom!” and then sort the colors into the correct envelopes.  Other ideas to extend this activity would be adding numbers to count the correct number of sticks, sorting in rainbow order, only sorting certain colors, or sorting in a pattern order.  I love that this busy bag activity can be done in so many additional ways to keep the little one’s interested and busy!

Color sort busy bag activity using rainbow dyed lollipop sticks. This is such a fun idea!

How to Add with Regrouping Tips Tricks

We’re excited to share how to add with regrouping today!  These tips and tricks have really helped Big Sister with her homework this year.  First grade math has a lot of new concepts.  We’ve been practicing math through play with a few new ways to practice math.  We made this regrouping activity for some homework that was a little difficult for a new adder!


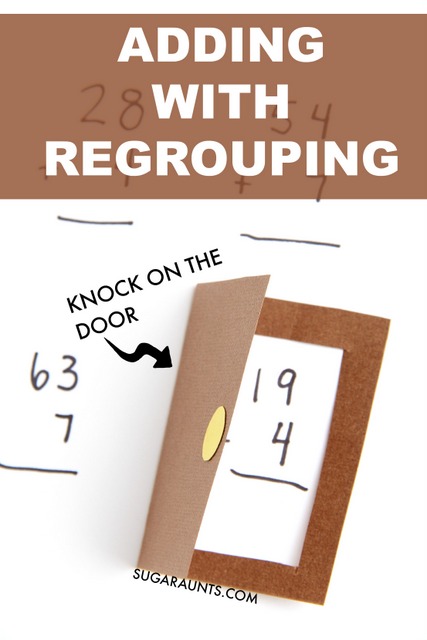
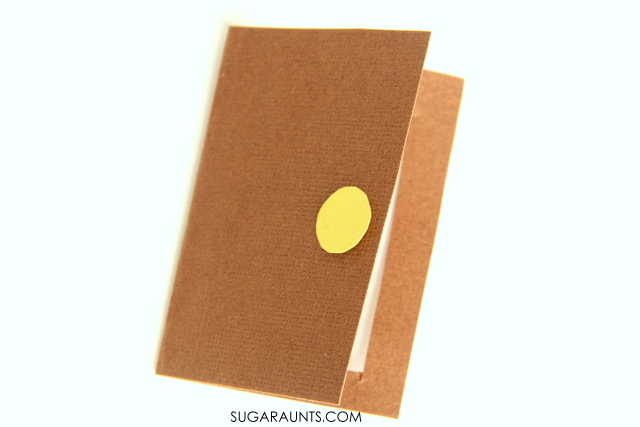
Make a paper door to introduce concepts in first grade math like regrouping in addition.


This post contains affiliate links.  See our full disclosure here.

What is Regrouping

Regrouping in math is borrowing or caryying a digit to aid in a math operation.  In addition (which we are doing now in first grade math), digits from the ones column are carried to the tens column to add single or double digits.  

Tips and Tricks for Regrouping

There are several ways to practice regrouping, including using manipulatives, hundreds charts, a number line, ten blocks (such as legos or Unifix Cubes ).  We love using manipulatives in hands-on math.  Using something like beans, children can add a fact like 7+8.  Start by using a number line to count out the answer.  Using blocks or ten frames, make two piles of blocks, one pile with 7 blocks and one with 8.  Using the blocks, group a row of 10 with the 7 blocks and three of the blocks from the 8 pile. That means there will be 5 blocks left over.  Show the child that when combined with regrouping, they have a tens column of blocks and 5 ones blocks.  Explain that they’ve made 15 total blocks.  

You can regroup a single or double digit by writing the problem vertically.  This is the part where Big Sister had a little trouble.  We explained that she can add the ones column first and carry the one over to the tens column.  This was very tricky for her and a huge challenge!   

 Adding with Regrouping Activity

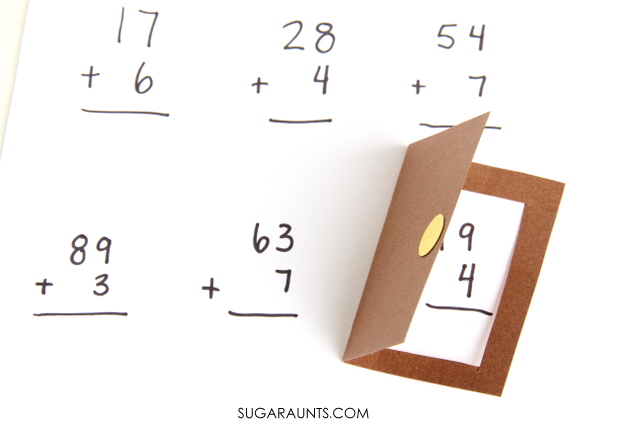
My husband had the idea to tell her something her remembered from adding as a kid.  When she carried the number over to the tens column, she could say “Knock on the door, carry it next door.”  He showed her how to knock on the table as she carried the tens over to the next column.  This physical act really helped her remember to regroup.  

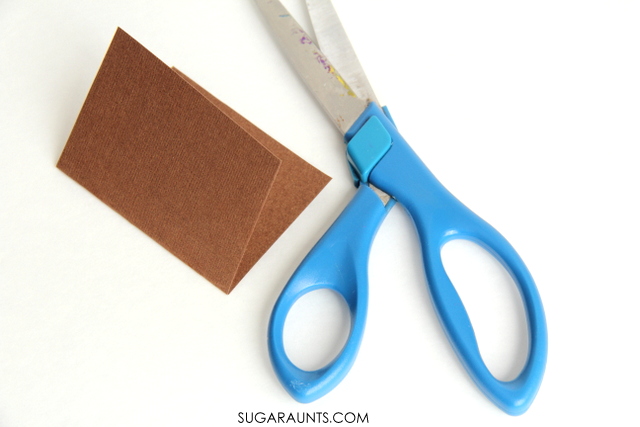
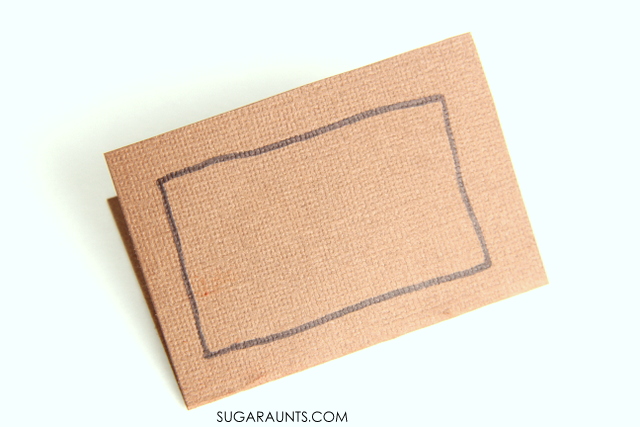
To give her a visual reminder for carrying the tens, I made her a door for her to practice math problems.  I folded a piece of  brown cardstockand added a little circle of yellow cardstock for a doorknob. Cut a rectangle for the opening of the door and you’ve got a door for knocking on.

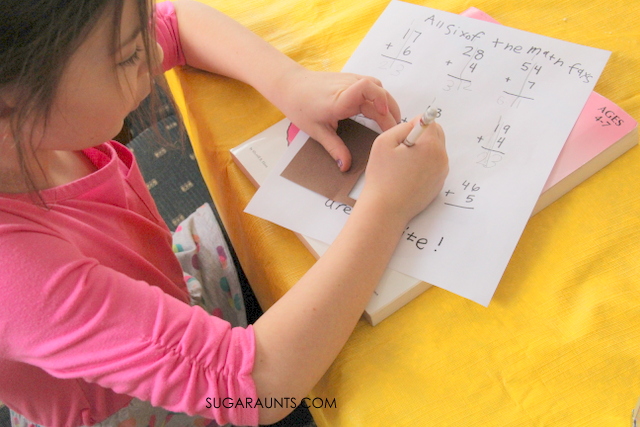
We’ve been making sheet after sheet of math problems and practicing “Knock on the door, carry it next door”.  It finally clicked for her and she keeps asking for more math sheets.   Ummmm, ok!  It is so neat to see your child “get” a concept.  I love seeing her knock on the table quietly when she’s plowing through a math homework sheet!

Need more creative ways to practice first grade math?  Try these:

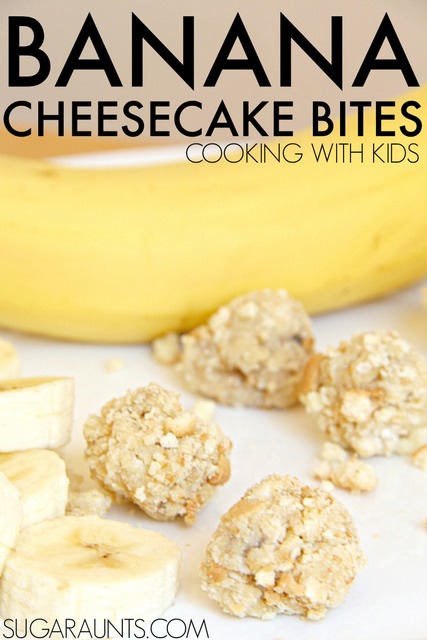
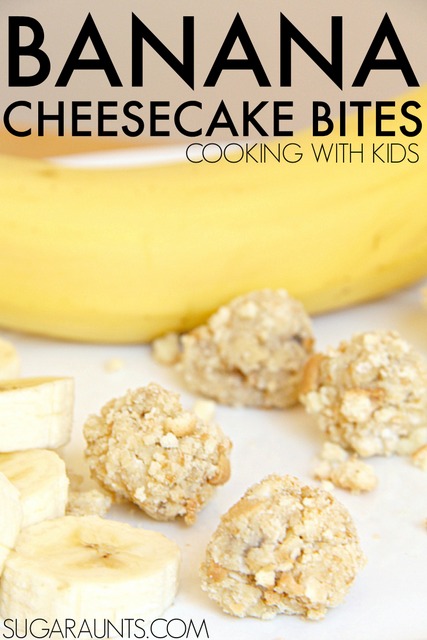
Banana Cheese Cake Bites Recipe Cooking with Kids

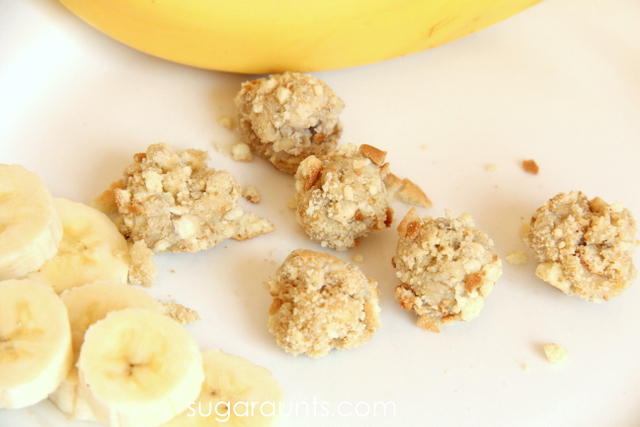
banana cheesecake bites recipe
Cooking with kids is such a fun way to spend a day.  Mixing up concoctions in the kitchen is one of my favorite ways to spend time with my kids.  They really get into the chopping and pouring of ingredients.  Getting their hands messy is a hit for them.  And when they get to eat the food that they’ve cooked, they are so excited!  We made these Banana Cheesecake Bites for our Cooking With Kids ABCs series recipe this week.

Banana Cheesecake Bites recipe. This is a good recipe to cook with kids!

Banana Cheesecake Bites Recipe

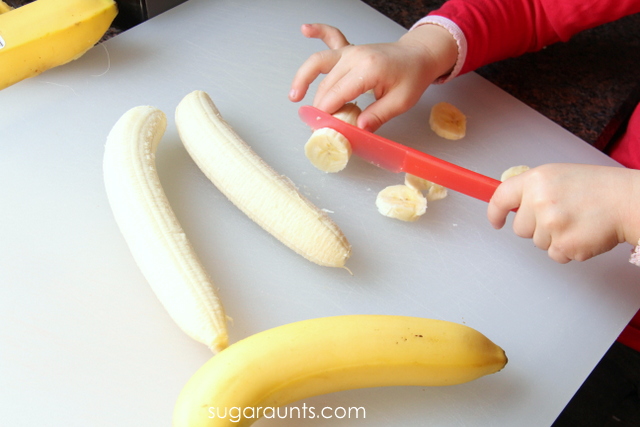
Start by chopping up 2-3 bananas.  Mash them in a bowl.  Little Sister (age 3) loved doing this job.
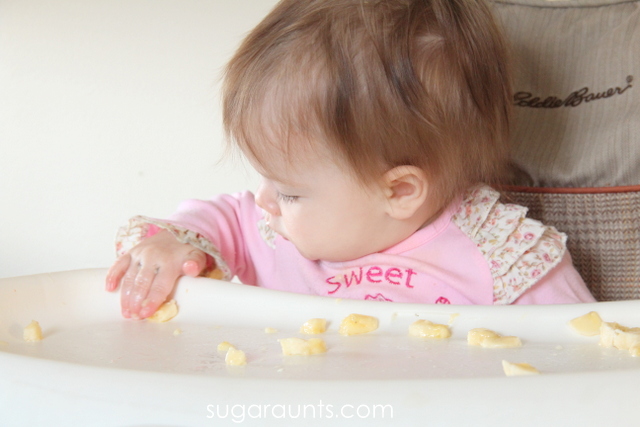
Of course, when bananas are involved, the baby needs to eat.  She LOVES her bananas!
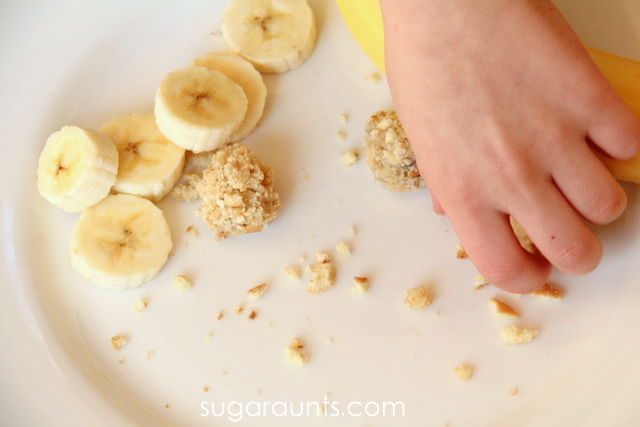
Cooking with kids. Banana Cheesecake bites recipe

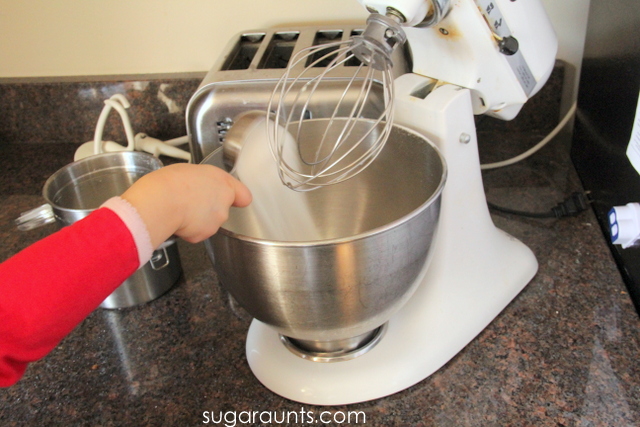
In a mixer, cream 3/4 cup sugar, 2 tsp vanilla, and 2 eggs.  Blend in 2 (8 oz) packages of cream cheese and the mashed banana.  Mix the batter well at a high speed until creamy and well mixed.  Pour the mixture into a casserole dish and bake at 350 degrees F for 50 minutes or until top has browned.

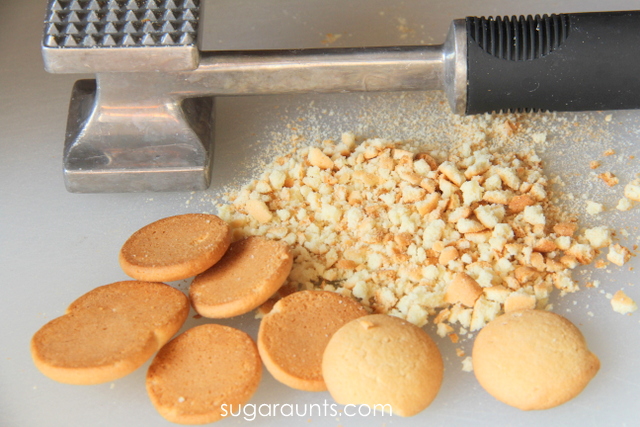
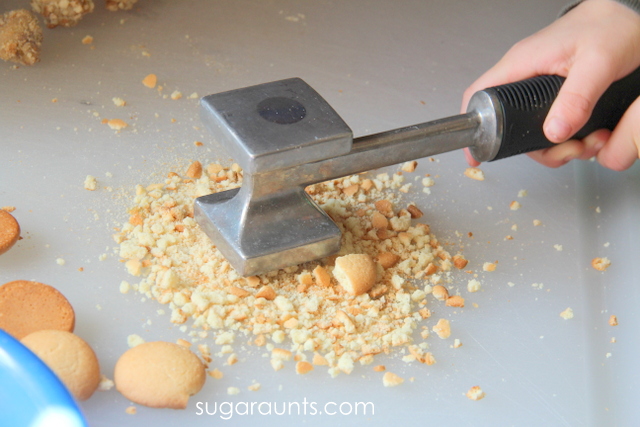
For the crumb coating, you will need one box vanilla wafer cookies.  Crush the cookies into crumbs using a kitchen mallet.
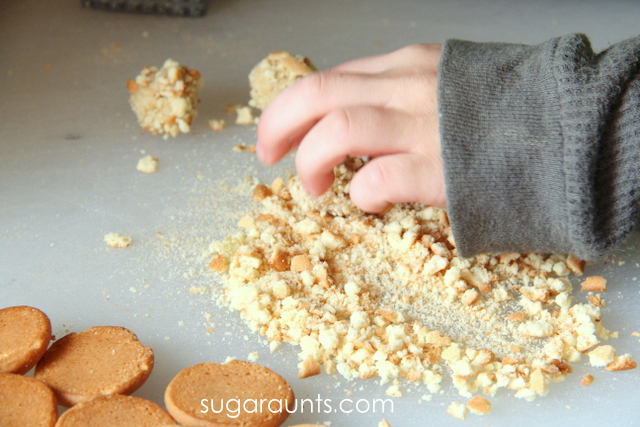
This part of the recipe got my Little Guy into the kitchen, fast!  He loved pounding the cookies into smithereens and wanted to crush more cookies.

 Once the cheesecake has cooked and cooled to touch, you can scoop small amounts of cheese cake and roll into a ball.  Roll cheese cake balls in the cookie crumbs.  Keep chilled until ready to serve.

These cheesecake bites are small enough that you can eat more than one.  Our plate of cheesecake bites went fast!


This post is part of the Cooking with Kids ABC series.  You can see all of the B is for Banana recipes here:


You might enjoy our last post, A is for Apple Dumplings.

Caterpillar Grapes Snack for Kids

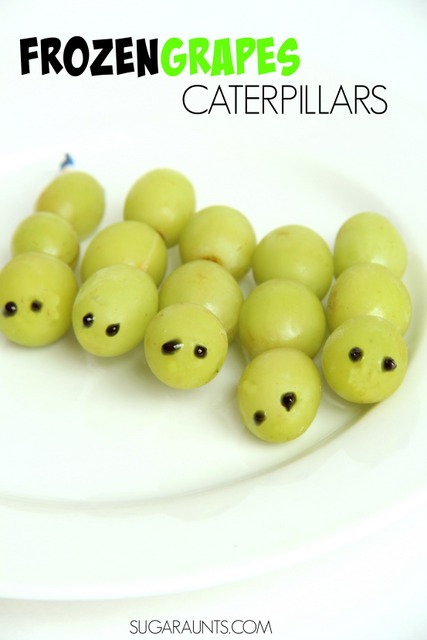
This caterpillar grapes snack is a cute snack for kids, but also a healthy and sensory snack.
Healthy Snacks for kids can be cute and easy.  This Green Snack and craft is a fun way to eat and the color green! We made green frozen grapes caterpillars for a cute food for kids and a green collage art craft.  Cooking with kids is a big hit in our house and these grape caterpillars were a fun recipe that we will be making again (and again, and again)!

Caterpillar Grapes Snack

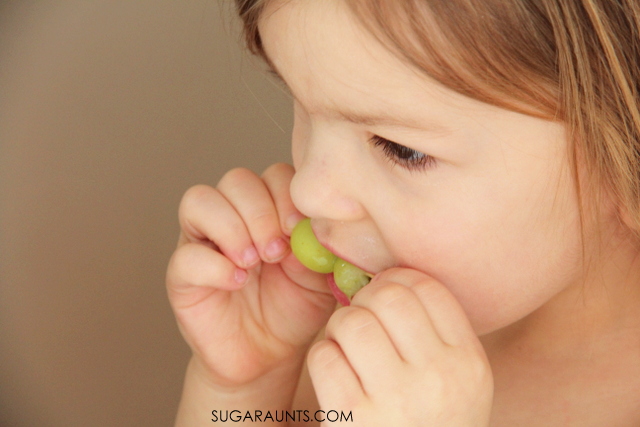
Frozen grapes caterpillar healthy snack for kids.


Cooking with Kids : Frozen Grapes Caterpillars

 
This post contains affiliate links.
Frozen grapes caterpillar healthy snack for kids.


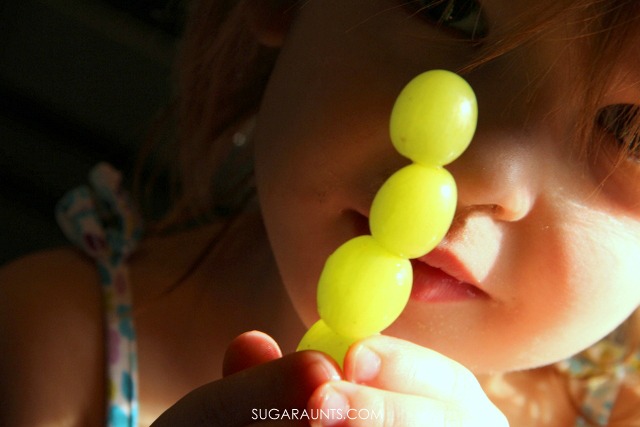
Little Sister helped with this cooking with kids snack.  I pulled out a few toothpicks and green grapes.  We threaded three grapes onto each toothpick. Little Sister really had fun with this activity…and what a great fine motor activity it is to thread grapes.
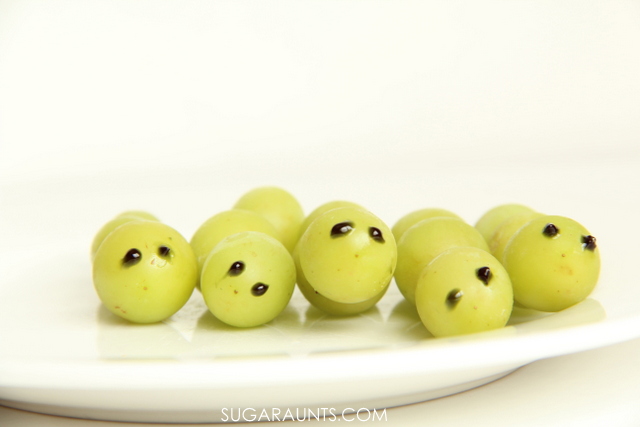
Frozen grapes caterpillar healthy snack for kids.


We popped the grapes into the freezer for a few hours until we were ready for a healthy snack.  I used
black gel icing to make quick eyes on the caterpillars and snack time was ready.
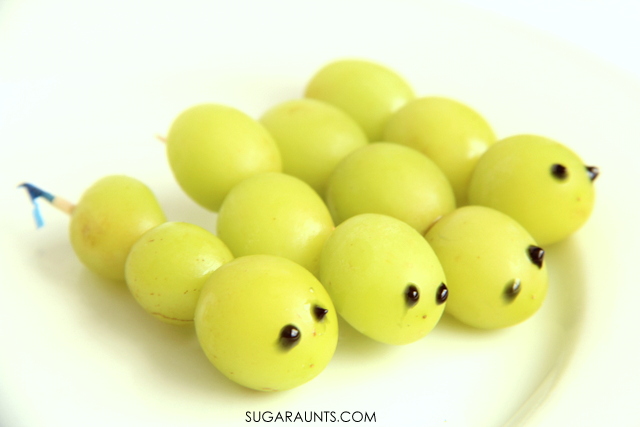
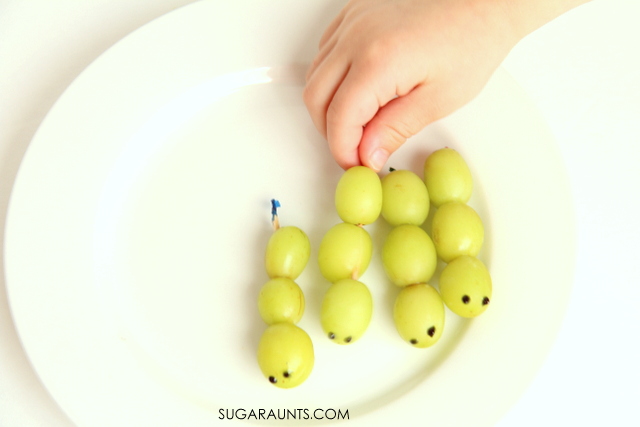
Frozen grapes caterpillar healthy snack for kids.
Frozen grapes healthy snack for kids.


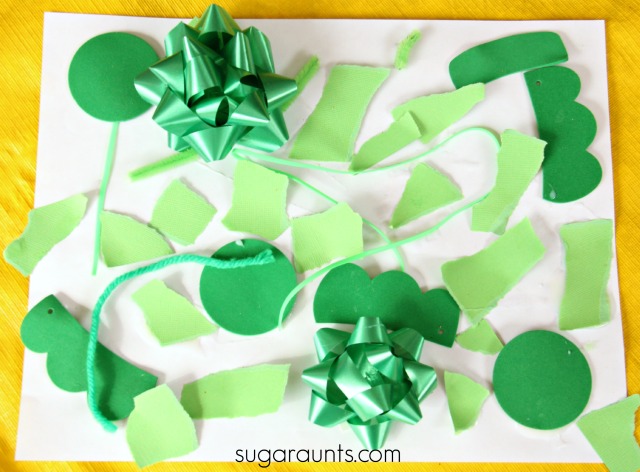
To go along with our green snack, we made a Green Collage Art project.  Go on a color scavenger hunt around your house to gather green strings, ribbons, and scraps.  Happy playing and crafting with green!


Encourage healthy eating in your kids by eating through the colors of the rainbow.  Let us know if you make these caterpillars! We would love to see pictures and hear about it!


This post is part of an Eating through the Rainbow series with a few other kid activity bloggers.  Check out the links below for more snack ideas to eat through the rainbow!  Each blogger chose a color and came up with a healthy snack and a craft or activity to go along with that color.  How fun!  Get ready to play and eat your way through the rainbow!

Stress Reducing Sensory Bin

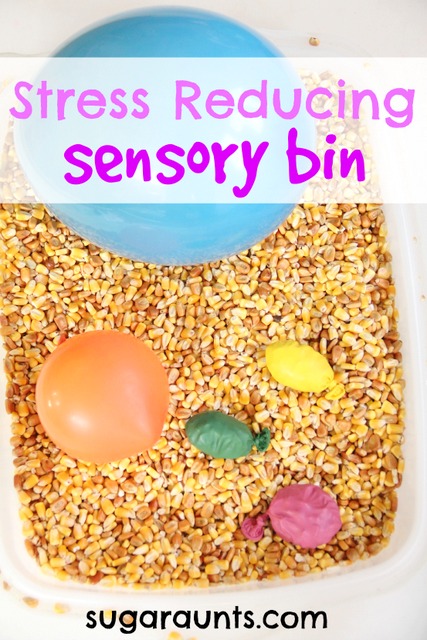
Sometimes a mom (and the kids) needs a little stress-reducing.  We’ve done lavender scented sensory play before (a few times!) for a scented relaxation activity.  This stress reducing sensory bin is not scented, but it is stress relieving with it’s sensory play, resistive activity with proprioceptive input, and general slow-down-time-to-play-together-fun.


Stress Reducing Sensory Bin for Kids (and Moms)

Stress reducing sensory bin with strengthening, fine motor play, and proprioceptive feedback
This post contains affiliate links.  
Gather your sensory bin materials:
balloons
 
Start to play!  We played in the corn a long time.  We pull this bin out all the time for sensory play and it’s common for the kids to ask for it at least once a week.
 
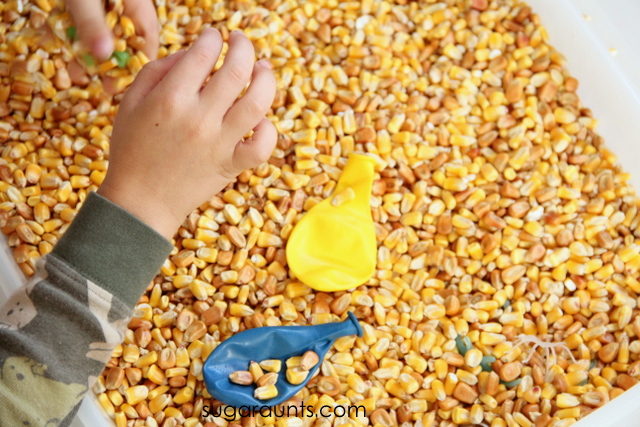
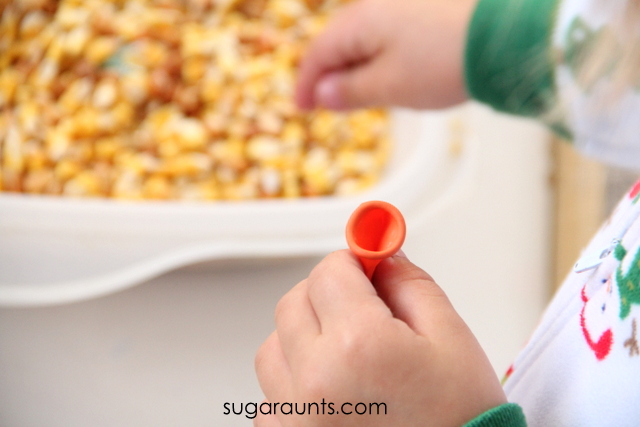
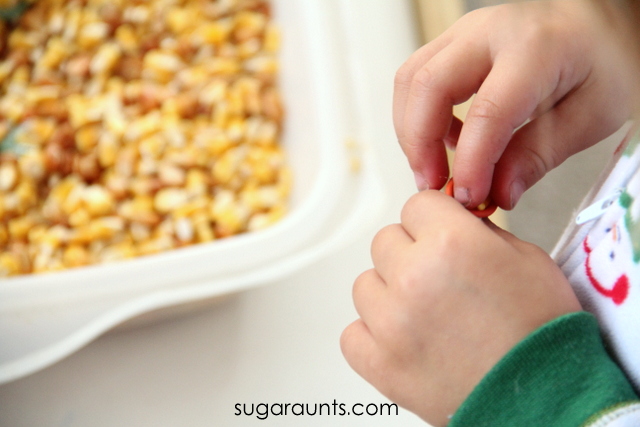
This time, I showed Little Sister and Big Brother how to place the corn kernels into the balloons.  What a great fine motor dexterity activity!  Tripod grasp on the kernels,  bilateral hand coordination to manage the balloon, eye-hand coordination (visual motor integration) to place the kernel into the balloon…this was therapeutic fun!

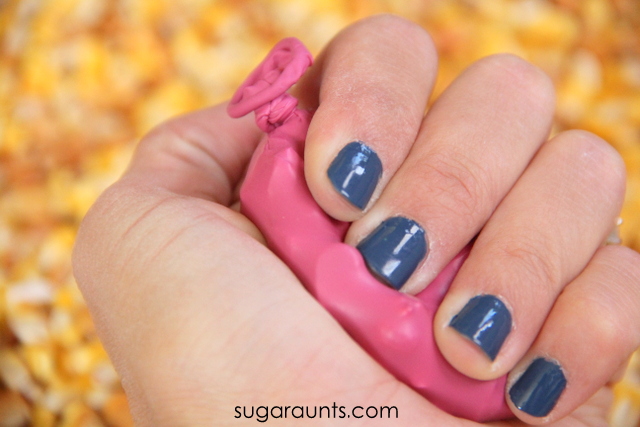
Once the balloons were filled up, we had our own sensory bin full of DIY stress balls!  It was cool to manipulate the corn in the balloons with a resistive gross grasp (using all of the fingers together at once to squeeze the balloon)  A gross grasp of the hand is essential for many skills and requires strength and endurance to complete tasks like managing scissors or a hole punch.

Proprioceptive Sensory Bin

Proprioception is a sensory process of the body that allows input to be regulated and responded to with motor movements and positions.   The proprioceptive system receives input from the muscles and joints about body position, weight, pressure, stretch, movement and changes in position in space.  Our bodies are able to grade and coordinate movements based on the way muscles move, stretch, and contract. Proprioception allows us to apply more or less pressure and force in a task.  
 
This gripper activity will not only provide a strengthening exercise for the hands, it also provides feedback to the muscles of the hands. It can help busy hands to slow down given resistance and amplify the feedback of the muscles of the hands. 
 
This is a GREAT exercise to “wake up” the muscles of the hands before a handwriting task.  Kids that press hard when pressing too hard when writing with a pencil would really benefit from the feedback this proprioceptive activity provides.
 
Create a Proprioception activity for hands with a relaxing corn sensory bin
We threw the large balloons around the room and listened to the different sounds corn made when the smaller and larger balloons were shaken.
More relaxing activities for play:

Play Dough Scented with Body Wash

Oh, how we love play dough!  This month on the 12 months of Sensory Dough series is scented dough.  I can’t wait to see what the other bloggers joining us have to share for scented sensory dough you can make at home.  The olfactory sense is a very powerful one.  Scents can be calming or alerting to children (and adults!) and can evoke memories.  Scented sensory play and activities are beneficial to children who are over-responsive or under-responsive to the sense of smell.  
 
We created our scented dough with an item that it seems we always have around the house.   Body wash smells amazing, comes in so many scents, and it seems to multiply in the cupboard.  
 
(OK, not really, but we do seem to have a TON of body wash.  All the time.)


Make Play Dough scented with Body Wash

Did you know you can make your own homemade scented play dough using body wash?  This stuff smells amazing and is so easy to make!

This post contains affiliate links.  

body wash play dough recipe

We’ve got a ton of body wash collecting dust in our cupboard.  They come in as gifts, samples, collected from hotel stays…and they are definitely used…but today, we made dough!  This dough can use any scent of body wash, although different brands may change the dough’s consistency.  We trialed two recipes with this dough and came up with a soft, moldable, scented dough that we loved!


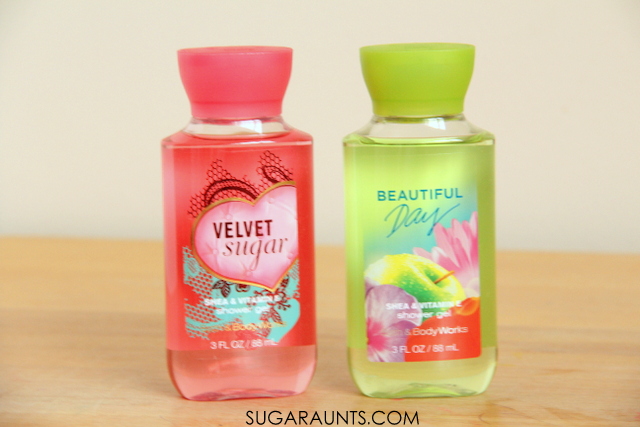
For our dough, we used Bath and Body Works Velvet Sugar
and Bath & Body Works Beautiful Day
(which has a great apple-y scent).

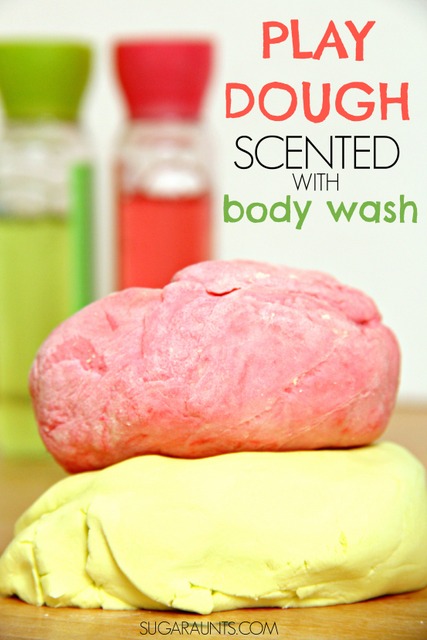
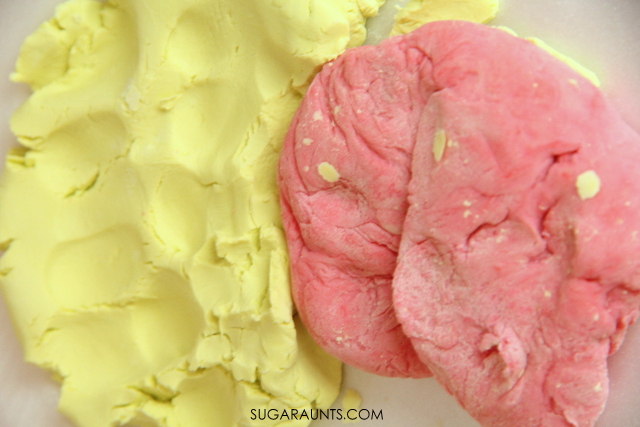
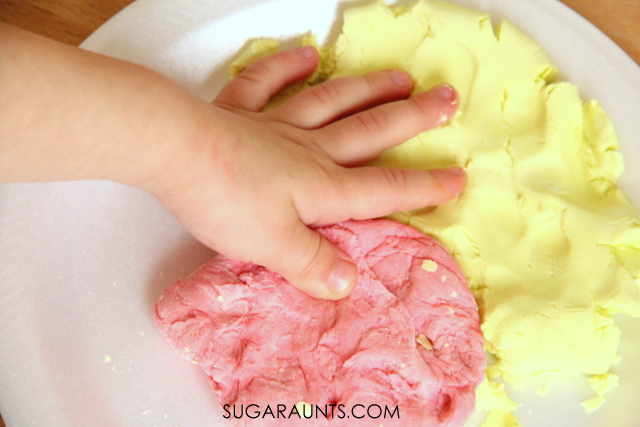
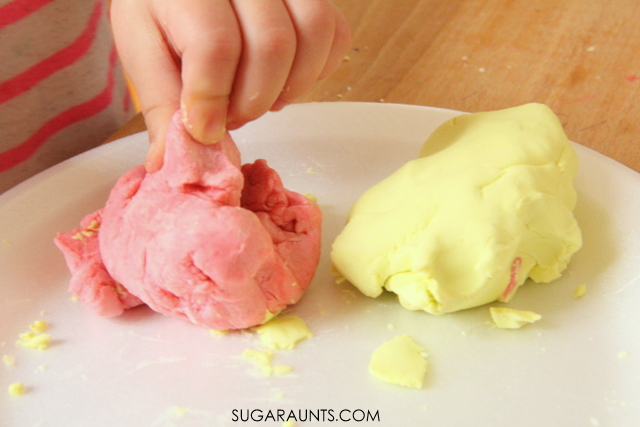
Shower gel scented play dough made with flour and baby powder. A fun sensory play experience!
 
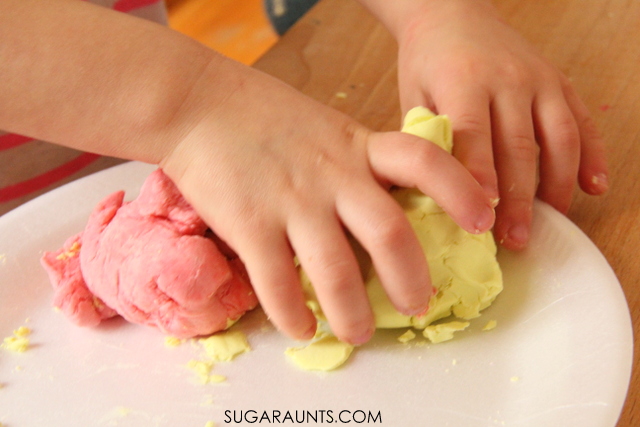
This dough is very easy to make.  The green dough used the Bath & Body Works Beautiful Day and baby powder and became a soft, moldable dough that was very soft to the touch.  The pink dough used Bath and Body Works Velvet Sugar and flour.  It was a firmer dough and not as soft to mold.
 

Body Wash Sensory Play Dough Recipe

To make the dough, add 1 TBSP body wash to 1/2 cup baby powder (or flour).  Mix together by hand to make a crumbly mixture.  Add 2 TBSP water and continue mixing.  The baby power will be difficult to mix with a utensil and mixing by hand is easier.  Add a few drops of food coloring and continue mixing.  The flour dough needed more kneading.  

Time to play!  The body wash gives these doughs a great scent.  Many dough recipes that have salt lose the scent.  This recipe seems to hold it’s scent for a while after playing.  


The pink dough (made with flour) was much more resistive and a greater workout for the hand muscles compared to the green (baby powder) dough.  If you’re looking for hand strengthening, the pink really worked those intrinsic muscles!


Pretend Play with Play Dough

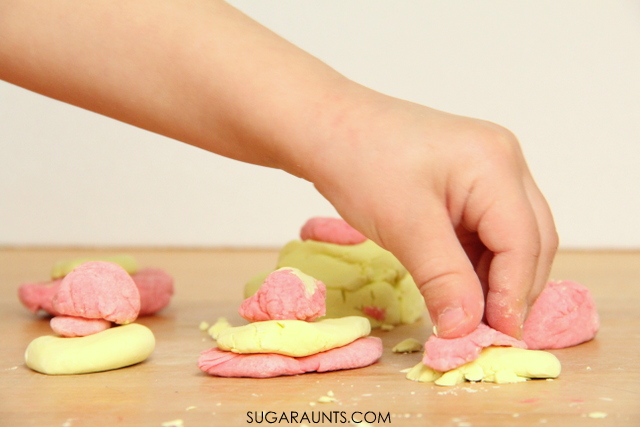
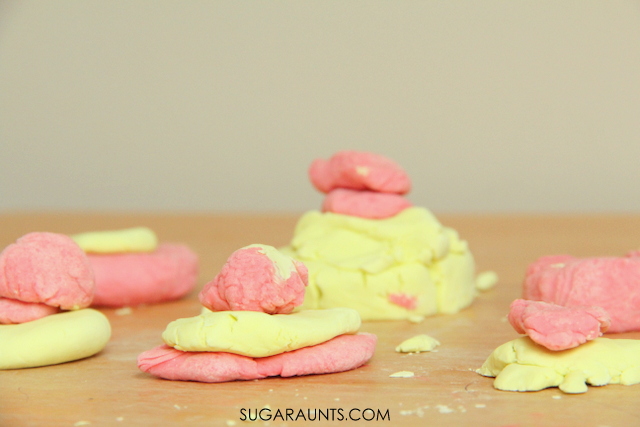
Use your scented dough to make cookies with a great scent.  We made pink and green cookies.

 
**Always supervise your child when playing with scented doughs.  This dough should not be ingested and the scent may encourage any child to taste. 
Looking for more scented sensory dough ideas? 


Turtle Thumbprint Art

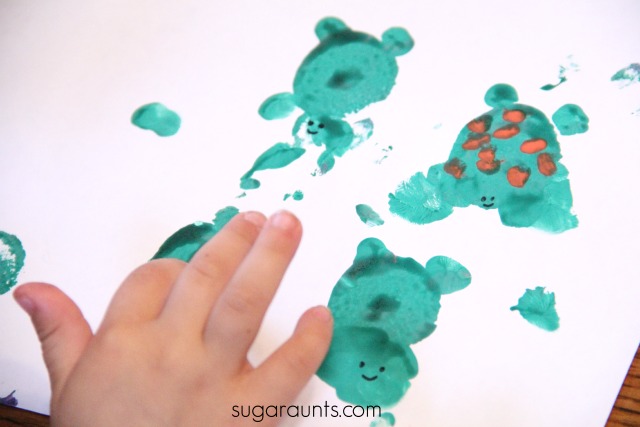
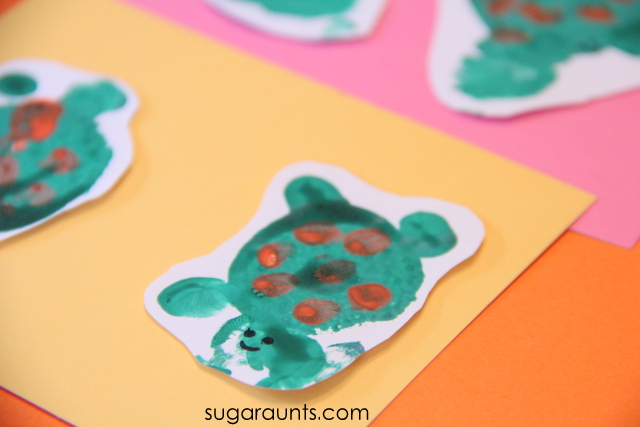
fingerprint turtle craft

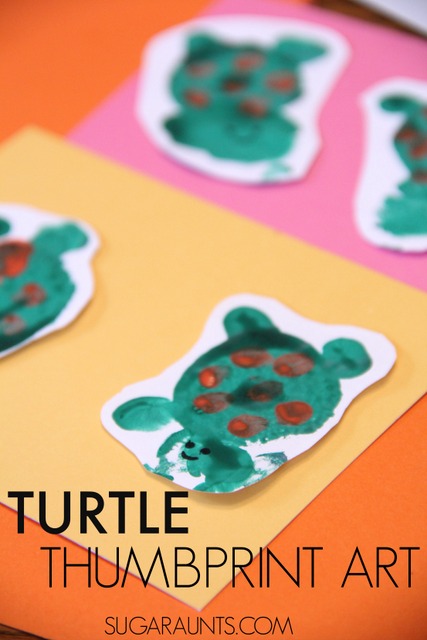
Make a fingerprint turtle and work on fine motor skills! This turtle craft is a huge hit with kids.

We have a love for print crafts.  From creating with handprints to pipe cleaners, stamping art is fun for kids and a creative way to explore shapes, colors, and textures.  


Fingerprint Turtle


We made this turtle thumbprint art one day while playing with green paint.  They are so cute that you’ll want to make a whole turtle family!

 
Turtle thumbprint craft for kids


This post contains affiliate links.   
To make Turtle Thumbprint Art, you’ll need a few supplies: 
 
  1. our favorite green paint
  2. white paper
  3. orange paint
  4. Sharpie Permanent Marker


How to make fingerprint turtle art

This turtle fingerprint art is a simple craft that develops fine motor skills. Here are the instructions to make a fingerprint turtle, but you can modify the activity as meets the needs of the individual. 
 
  1. Paint your child’s thumb pad green with green paint
  2. Press the thumbprint onto paper.
  3. Add four legs and a head by pressing fingertips into the green paint.
  4. Lightly tap the fingertips onto the green turtle back on the paper.
  5. Once dry, use the Sharpie Permanent Marker to make smiling faces.
  6. You can also add details to the turtle’s shell by adding orange fingerprints onto the green shell. The orange paint on a fingertip can add details to the shells. 
 
 
 I loved that this craft was a collaboration between my kids, with Big Sister making the shells, Little Brother making the heads and feet, and Little Sister adding orange dots. Everyone had to get in on the fun.  They are just too cute to resist!
 
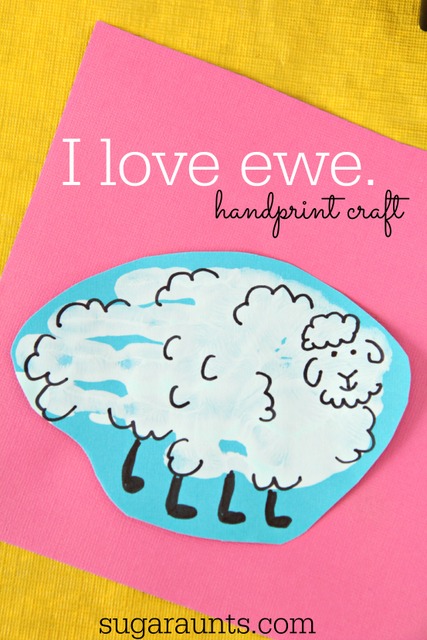
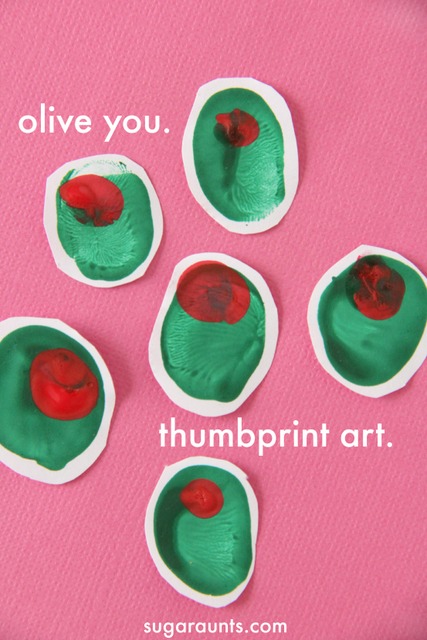
Try more thumbprint and fingerprint art:


Flip Flop Math Commutative Property of Addition

Big Sister is moving right along in math!  She says it’s her favorite subject in school and loves when she has math homework.  (Is this child mine?? 😉 )  Some of the things she is learning in first grade throws me off as a parent going through this for the first time.  Is my baby really learning these pre-algebraic concepts? In first grade??  It’s hard to believe she is growing up so fast and learning so much!  It’s just a little nervousness from this mom as her first baby grows.  She will always be my baby.  Even when she does algebra 😉

One of the concepts that Big Sister learned in math this year was the Commutative Property of Addition.  She had to learn the term and the meaning of the property, and use it in math worksheets.  One of the ways we practiced the Commutative Property was with this flip flop addition activity.  It was fun to extend the homework and practice some math facts with our flip flop game!


This post contains affiliate links.  See our full disclosure.
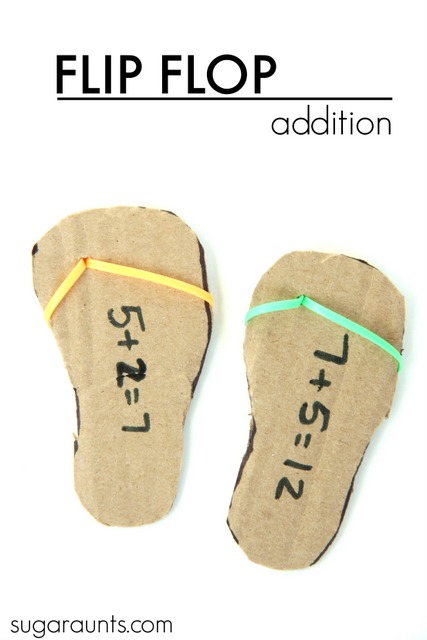
Flip flop math: This is a fun math activity for first graders to practice the Commutative Property of addition with flip flops!


What is the Commutative Property of Addition?

In the commutative property of addition, we can switch order of numbers and still get the same answer.  For example, 5+1=6 and 1+5=6.  Using the Commutative Property, 5+1=1+5.  


Flip Flop Math Activity

We made this Flip Flop Adding activity after we talked about how the numbers can “flip flop” and still add up to the same answer.  

Flip Flop math for adding in first grade.
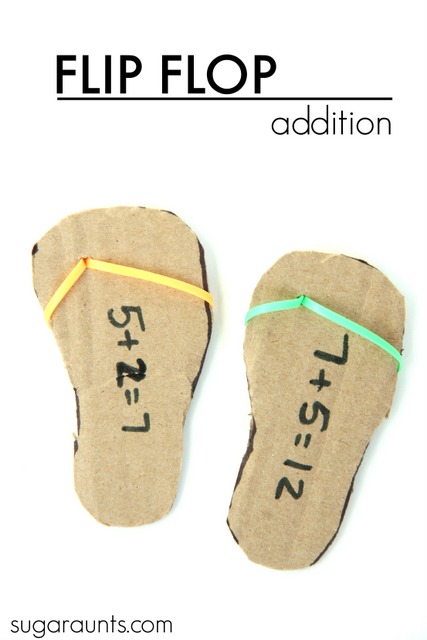
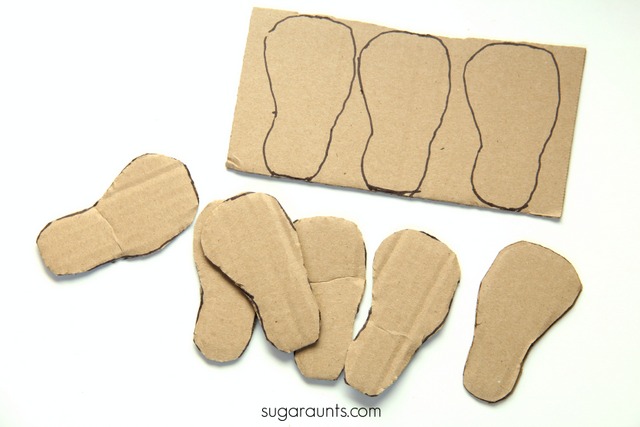
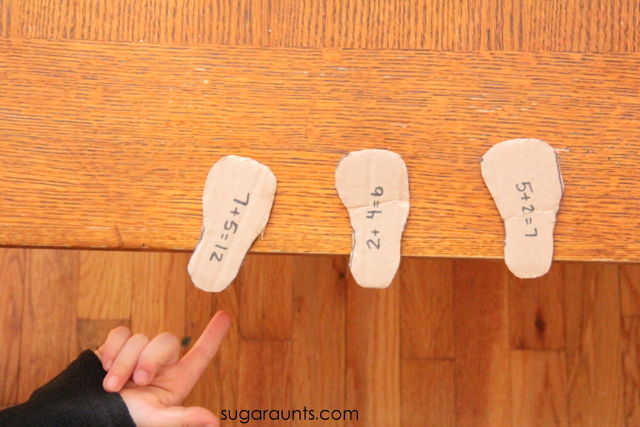
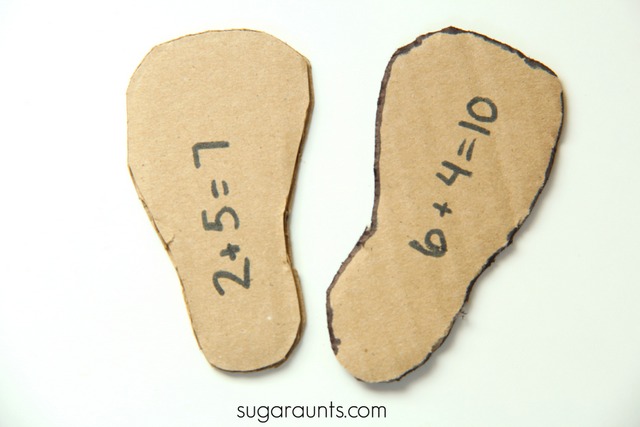
I started by making flip flop sandal shapes on cardboard.  You could also do this activity on paper with flip flop shapes, but I wanted to make our Flip Flops actually flip!  


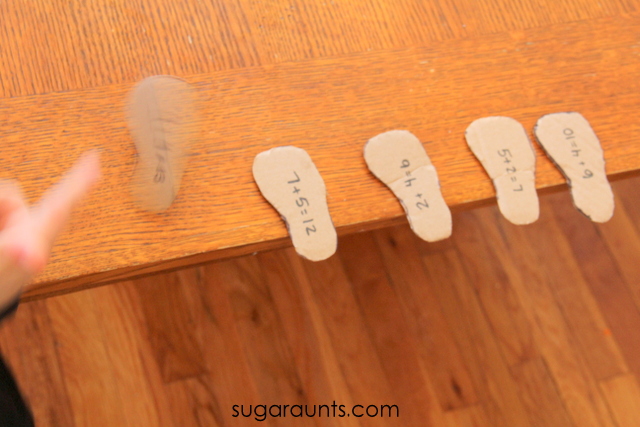
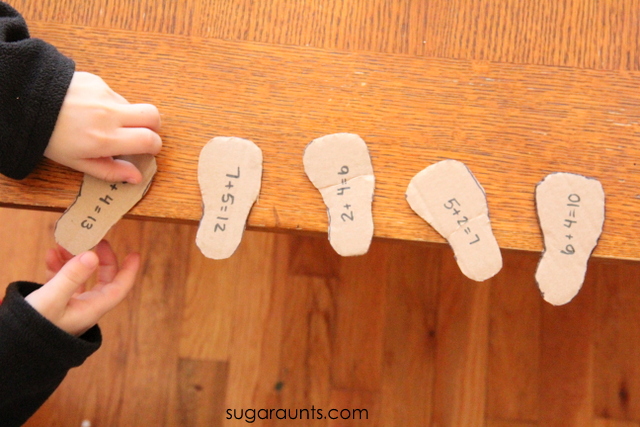
I wrote out some a + b=c math problems on the flip flops.  On the reverse side, I wrote the numbers using the Commutative Property (b+a=c).

Write addition problems on flip flop shapes.  Practice the commutative property of addition with a flip flop game!
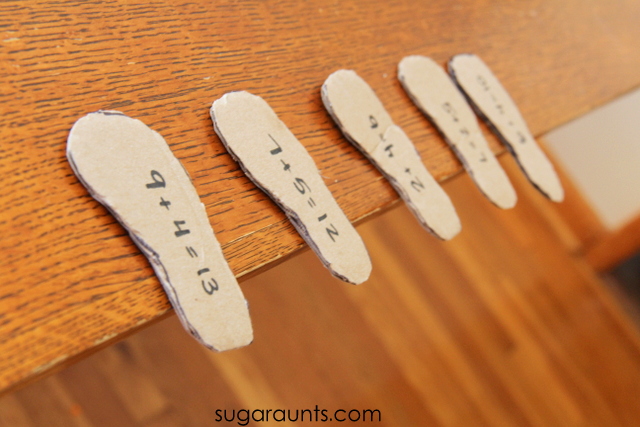
Line the flip flops up on the edge of the table.  Practice the math facts.  You could have your child fill in the answers, flip the shape, and then fill in the answer on the opposite side.

This was a TON of fun!

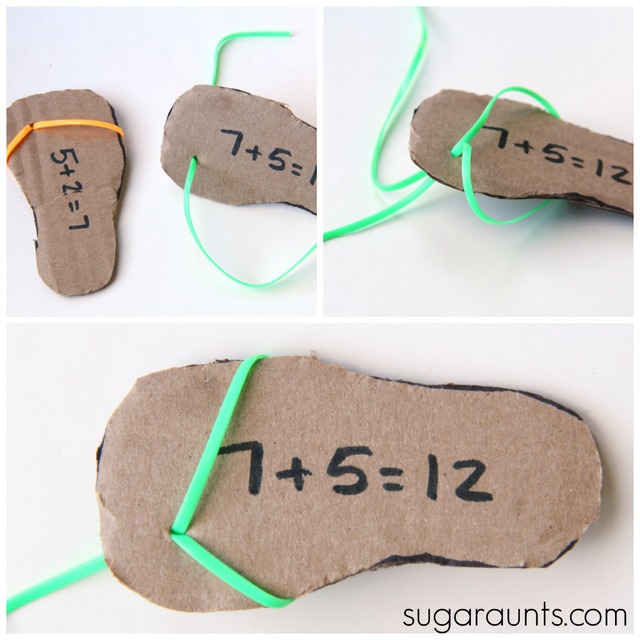
We decided that our flip flop math equations needed some details.  We used plastic lacing cord to make straps on our flip flops.  Poke a hole in the cardboard with a pen.  Push the lacing cord through the hole, wrap it around the shape, and tie a knot in the back.
Have fun with your flip flop math!

Try more of our math activities:

How to Make Homemade Blender Baby Food

I’ve got four babies and have been making baby food for what seems like a decade.  Ok, so it’s only been for about seven years, and with chucks of non-baby food time in there.  Regardless, with four babies, we’ve had a TON of splattered sweet potatoes and mashed bananas smeared on the high chair! (And spit in mom’s hair, spewed across the table, and crusted on the wall.)  Over the years I’ve had a lot of friends ask how to make their own homemade baby food so I thought I would share my technique.  


How to make Homemade Baby Food (the easy way):

How to make baby food at home? Use a blender and a couple of easy steps!

This post contains affiliate links.  See our full disclosure here.

How to make homemade baby food.  In a blender! SO easy.
Baby food starts with the basics.  Whether you’re starting with fruits, veggies, or a combination of foods, homemade baby food is easy.  Many recipes call for a food processor  but I’ve never used one.  I use my second-favorite kitchen appliance (can you guess what my first favorite appliance is? I’ve got four kids who don’t like to sleep all night…). 


To make baby food, I always use my plain old blender.  It’s always handy on the kitchen counter for making smoothies so it’s in easy reach for baby food making.  

Boil the vegetable.  I made sweet potatoes recently.  If you boil first, the skins will peel right off (saving time and steps by avoiding the vegetable peeler).  Before boiling, cut the potatoes into chunks for quicker cooking.  You’ll want to cook until soft.  You’ll know when they are done by sticking a fork into the potatoes.  Drain the veggies but save the liquid.  That’s where some of the nutrients went when cooking, so you’ll want baby to get them too!
Make homemade baby food in a blender.  SO easy and good for baby!

Next, toss the cooked vegetables into the blender.  Our in a little of the water you saved from boiling.  Blend a little, stir, and blend some more.  Depending on the stage of food your baby is eating, you can add more water or less water for a thicker or thinner consistency.  You’ll want to ensure all of the chunks of food are blended and the consistency is smooth, so use a spoon to scrape the edges of the blender.  Other liquids you can add to the baby food are pumped breast milk, formula, water, vegetable stock (watch the salt content on stocks!)

Serve a little to baby and store the rest for later!


How to store baby food in the freezer:

Next, pour/scoop the baby food into ice cube trays.  I love using water bottle ice cube trays because they stack really well in the freezer.  Lay a piece of plastic wrap over the ice cube tray and pop it into the freezer.  Once frozen, pull it out and run a little warm water over the back of the ice cube tray.  Pop the frozen baby food cubes out and dump into a large gallon sized plastic bag.  Keep these in the freezer and pull out one or two at a time for future meals.  Baby will love it!

Storing homemade baby food in the freezer

Homemade Baby Food Recipe Ideas

Start with the basics like peas, sweet potatoes, butternut squash, and acorn squash or fruits like bananas, apples, pears, and peaches.  The possibilities are really endless with homemade baby food. I’ve even blended meats or parts of our dinner to make baby’s dinner. Have fun blending!
 Be sure to follow your doctor’s recommendations for foods.